# Final Project
## Collage Audio Workstation
Is there a way to hold sound as a physical object that you can cut, stretch and collage to make your own compositions? I often work with a Digital Audio Workstation (DAW) to create music from samples of my voice, instruments and other sounds.
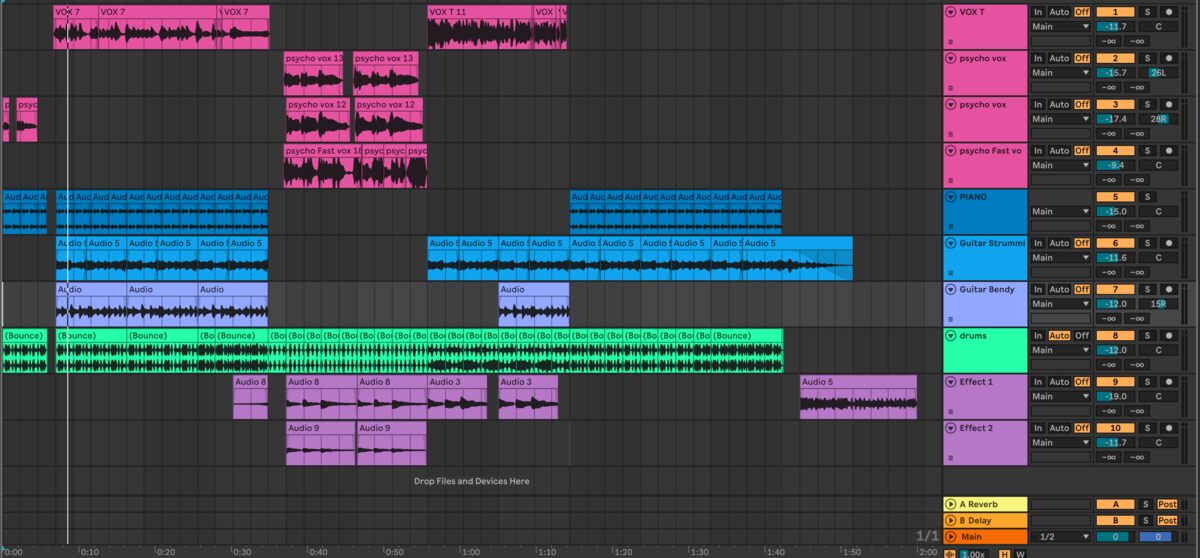
*Fig. 1 - typical composition in a DAW, notice the colored strips and waveforms for the sounds.*
What if these sound clips could be printed out instead on paper as they were recorded?
Here is a sketch with them as bar codes:
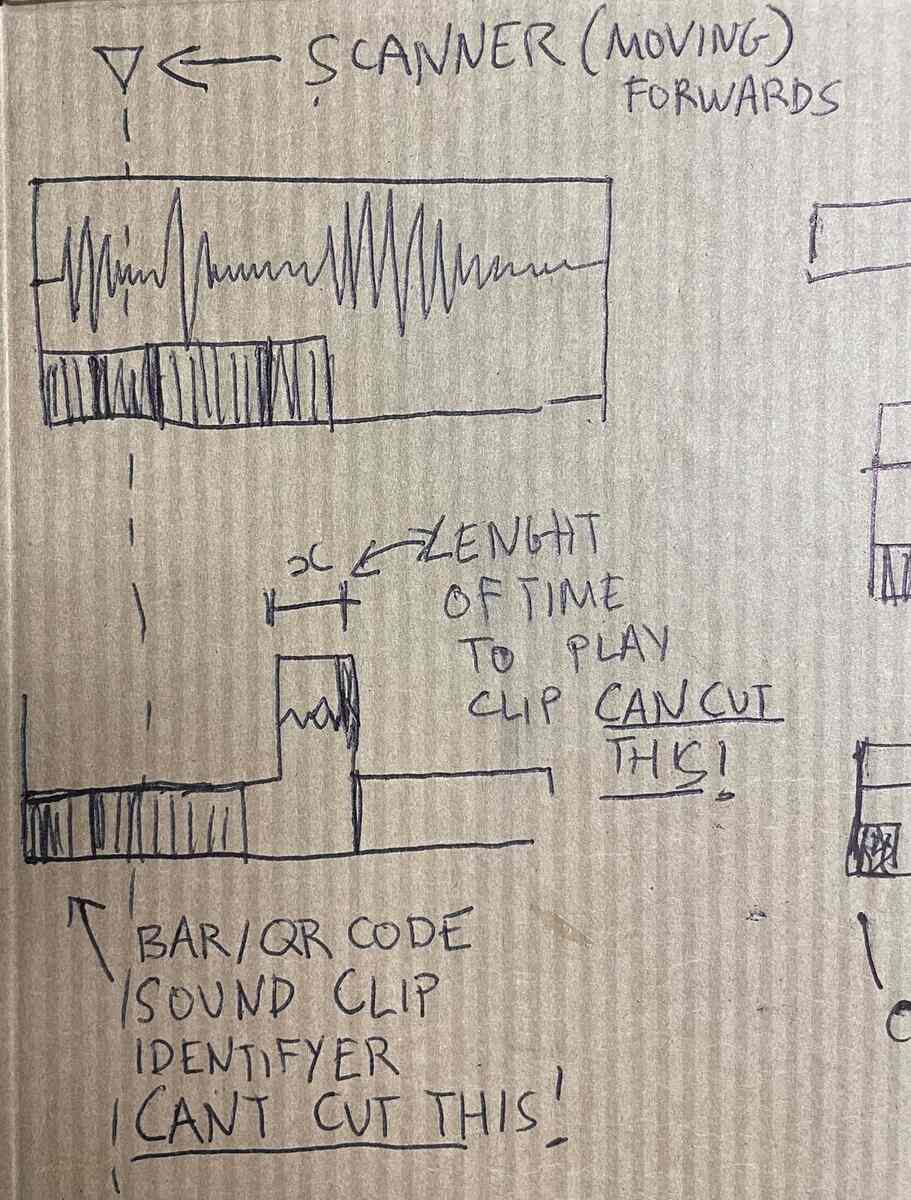
*Fig. 2 - Sketch of how sound clips could work with bar codes*
We could use a simple receipt printer.
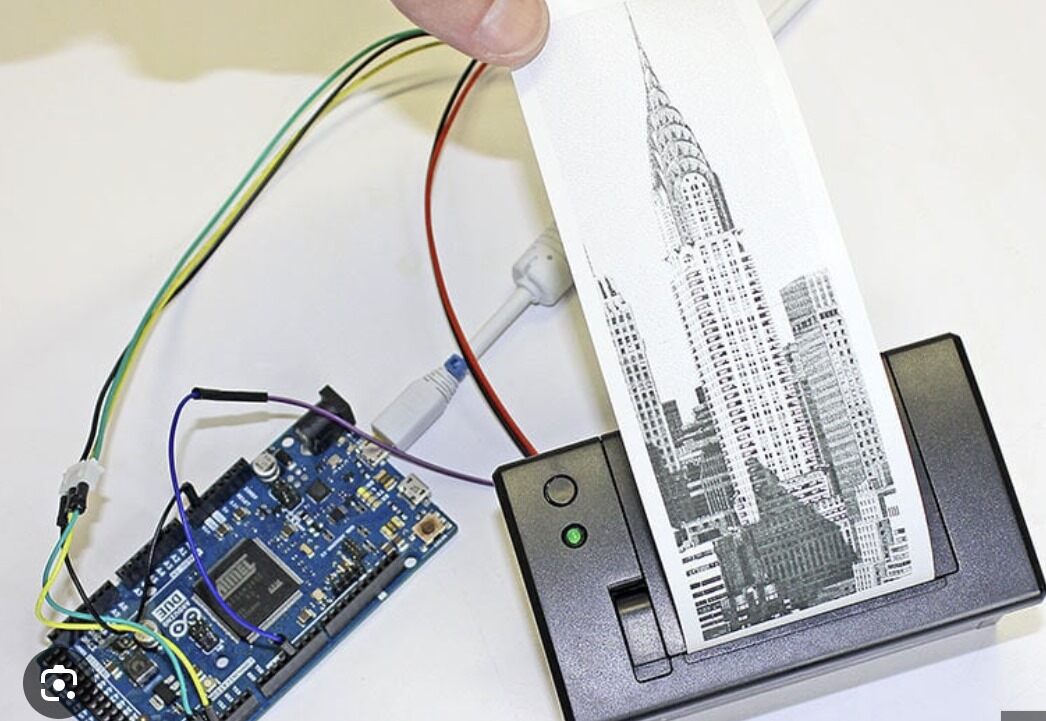
*Fig. 3 - DIY receipt printer project precedent*
It would be ideal if they were printed on paper of different colors, and that the feeling of creating the composition is like assembling a collage.
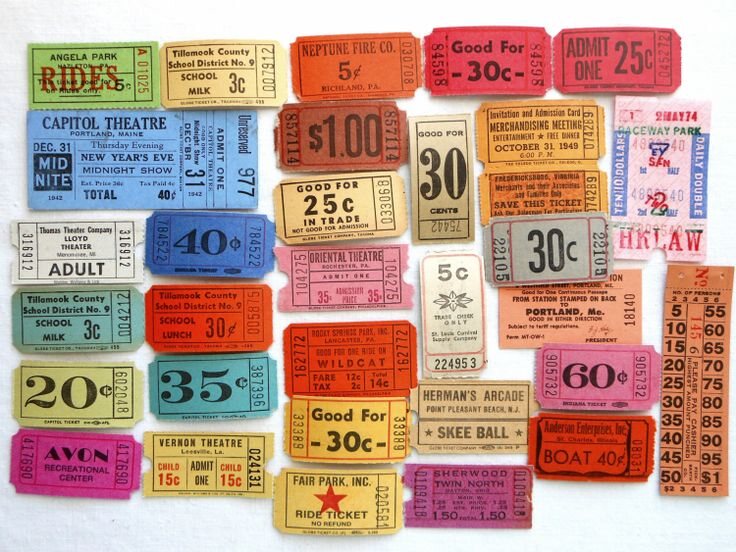
*Fig. 4 - Raffle ticket inspiration*
This project is limited by the print density of the printer, and the quality of the scanner to code and decode the sound clips from paper to digital audio. But how can the sound clips be represented on paper in a way that is visually easy for humans to understand, but readable by a machine? How much information needs to represented per inch to have a quality sound given print quality?

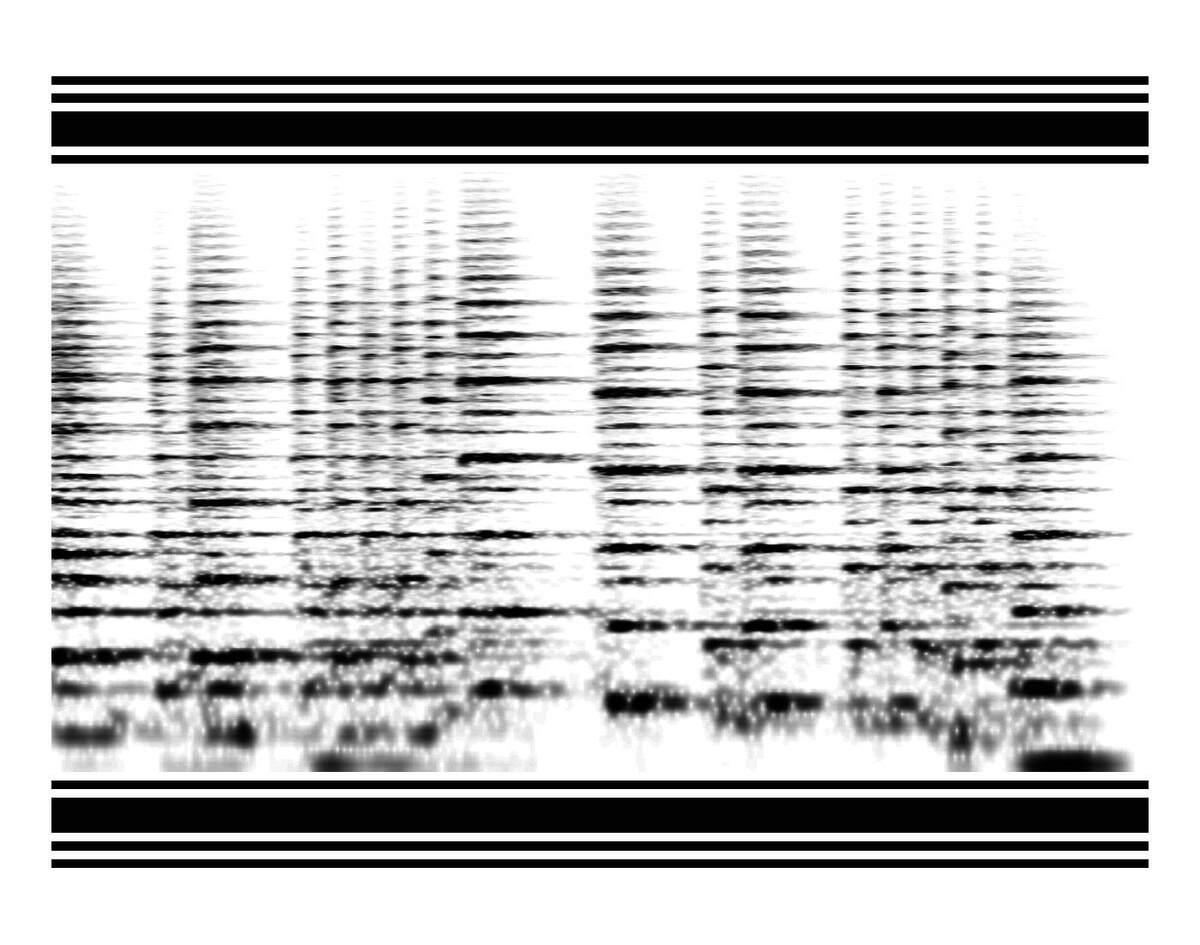
The [PhonoPaper](https://www.warmplace.ru/soft/phonopaper/) project shows how sound can be translated to printed paper.
From this project, you print out a piece of paper that looks like this:
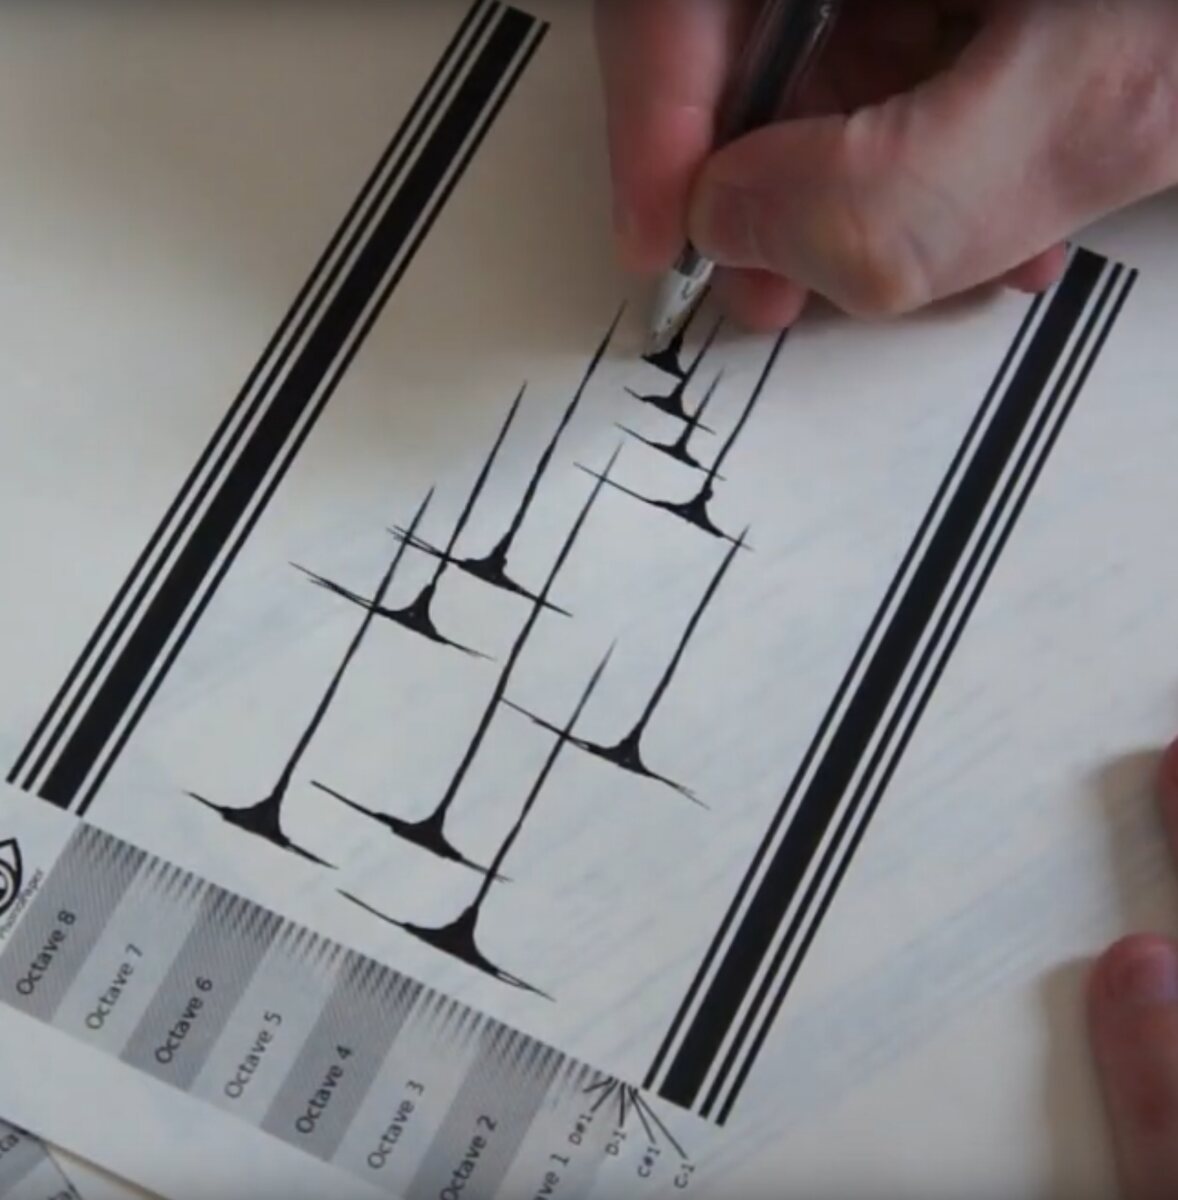
The phonopaper system even shows that you can draw on your own sound compositions:
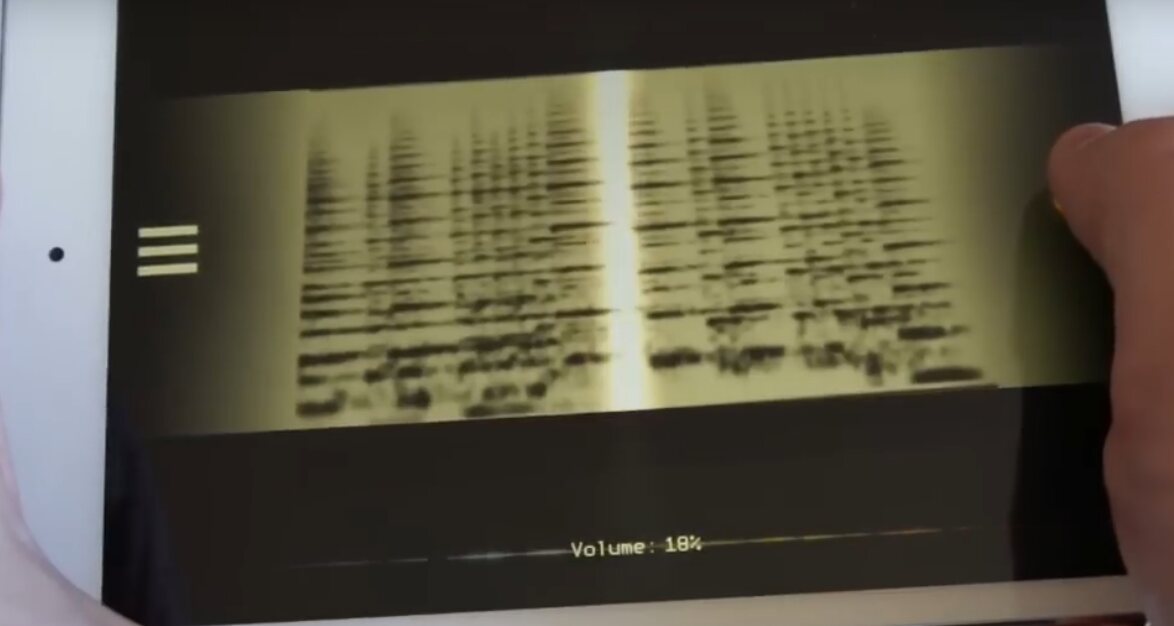
You can then scan the composition using a smartphone:
### Information Density of Sound and Paper
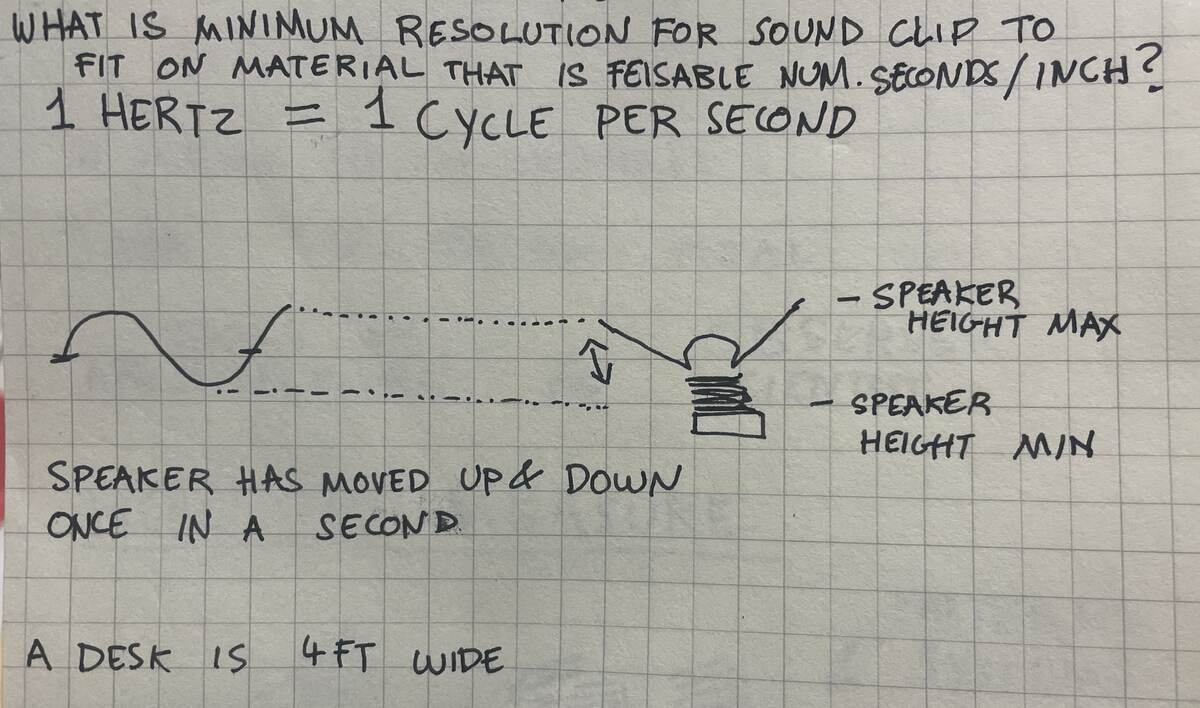
Here is a first sketch that describes some of the fundamental data density questions this project relies on:
|  |
|:---------:|
| *Trying to understand what hertz are, and min. resolution for sound clip on paper* |
### Working with Audio
Here is a past project called the [Capsense Piano](http://fab.cba.mit.edu/classes/863.13/people/nitsky/week11.html).
### Working with MP3s
This [DFR0299 DFPLAYER Mini MP3 Player](https://www.digikey.com/en/products/detail/dfrobot/DFR0299/6588463) could be good for this project.
### Problems with this project:
- It involves printers which we have been warned are difficult to work with microcontrollers.
- The quality of the sound is not good enough to be used as a recording station or DAW.
### System Diagram of Collage Daw
|  |
|:---------:|
| *System Diagram of Collage Daw* |
### Sample Pad
#### Milling the board
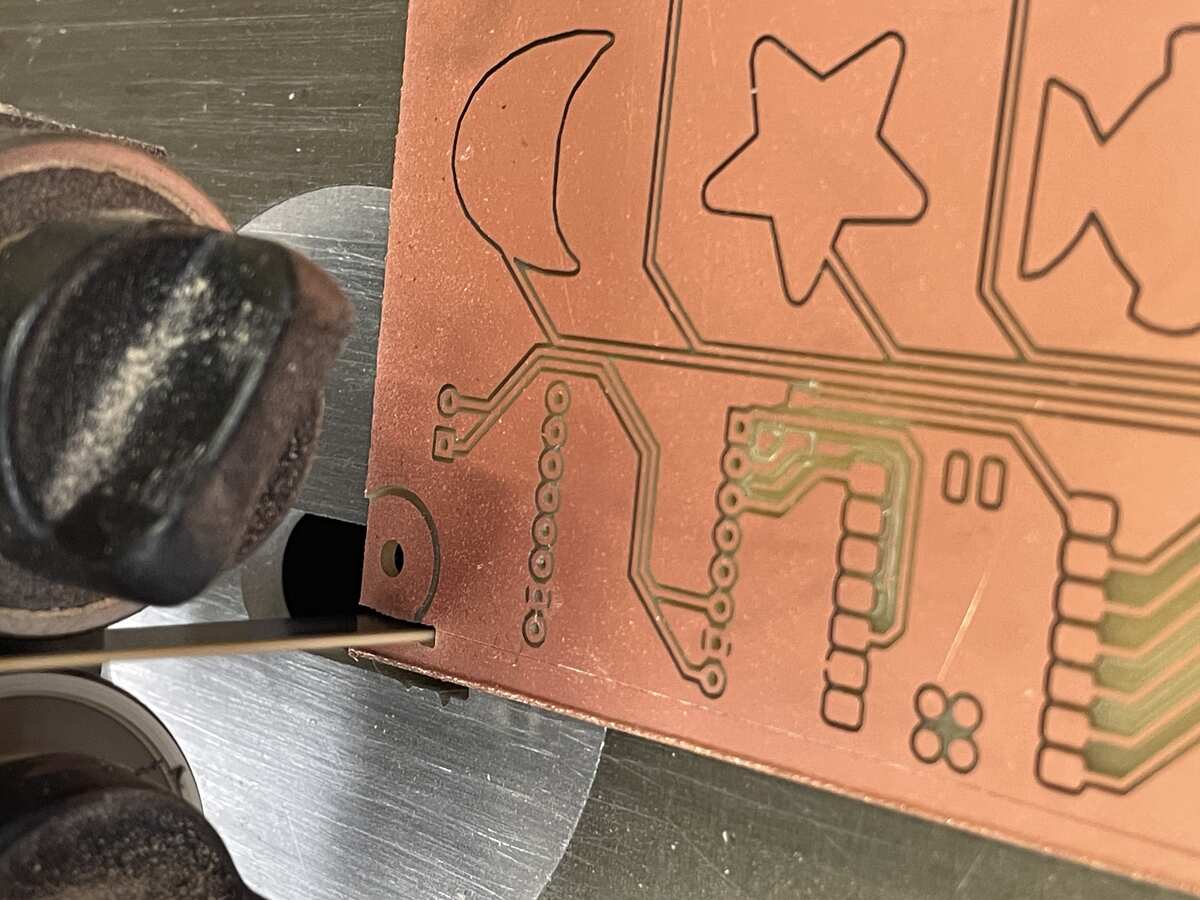
Here is the process of milling board.
| 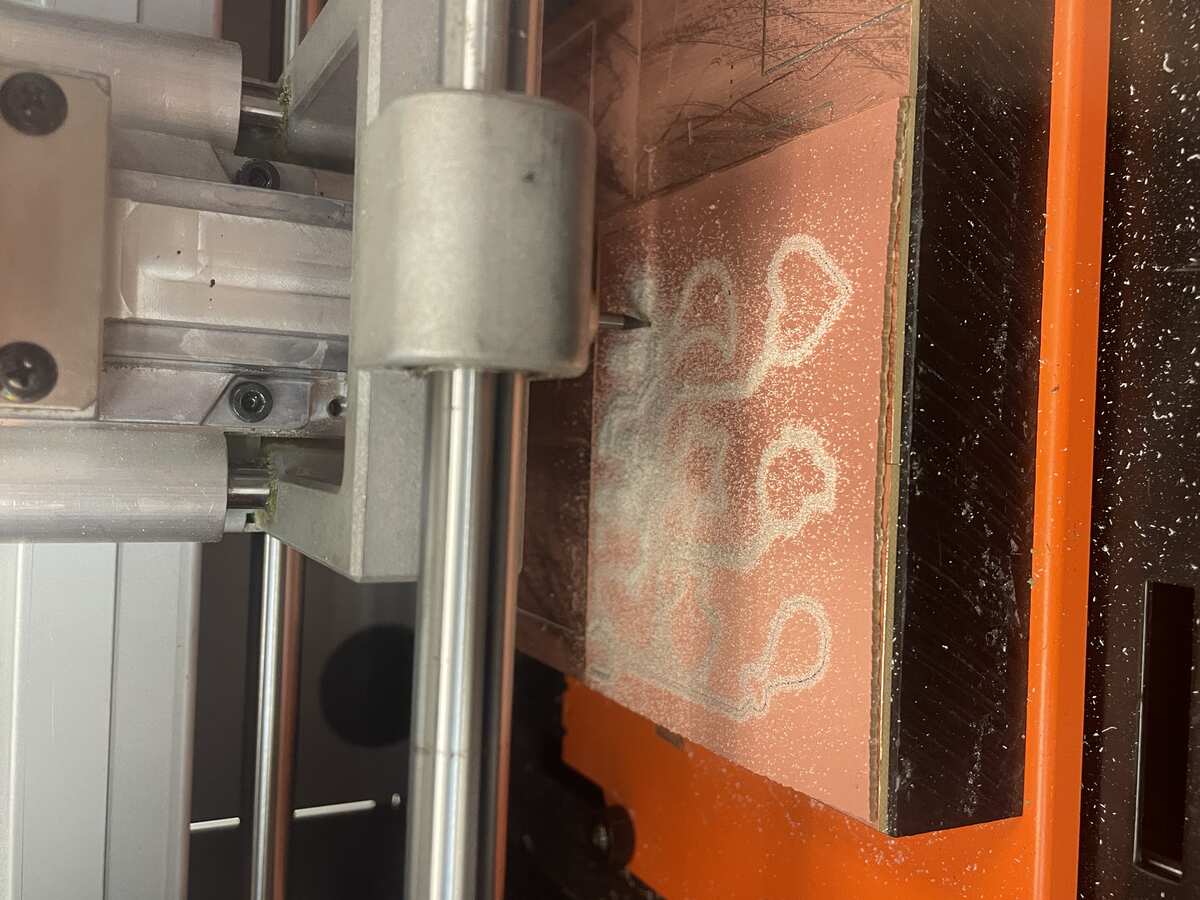 | 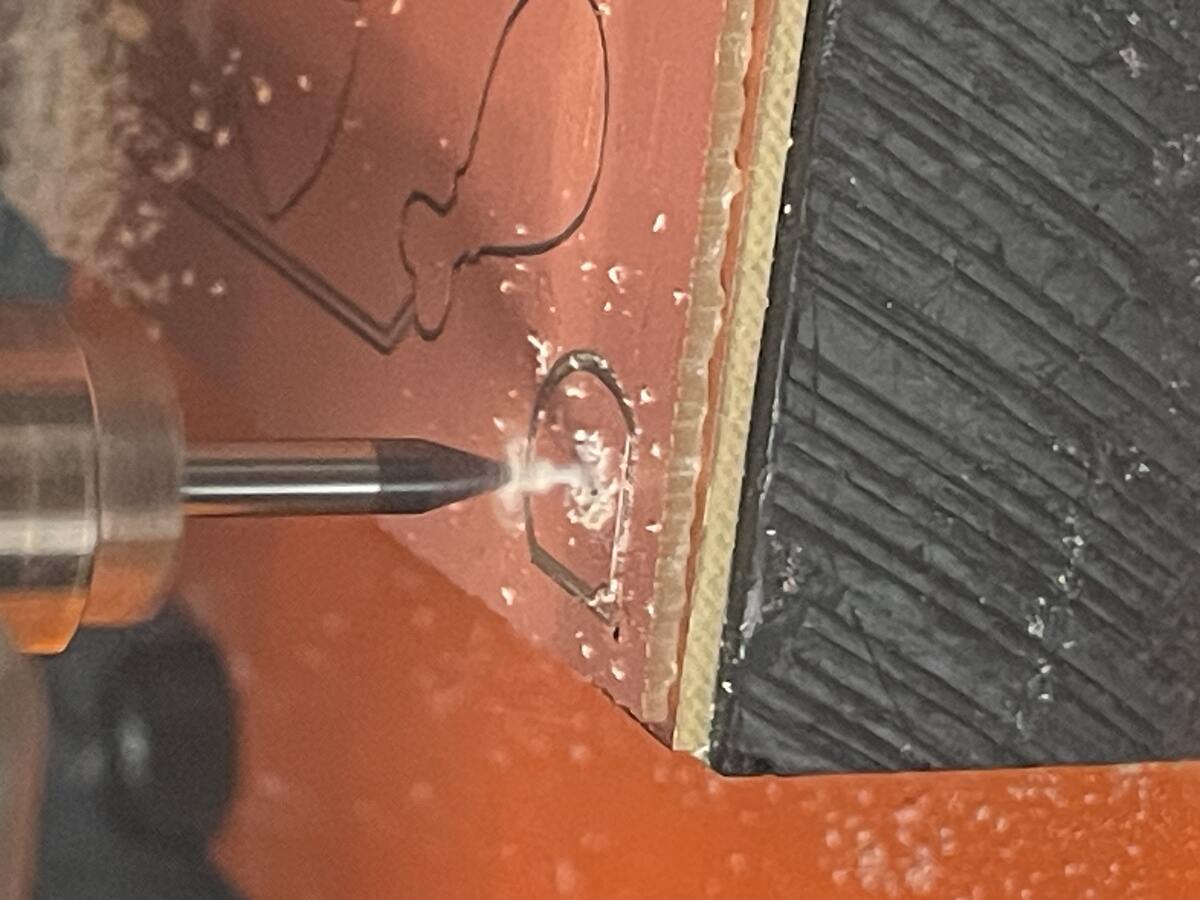 |
|:---------:|:---------:|
| *Milling the traces* | *Milling out Holes to attach the board to case* |
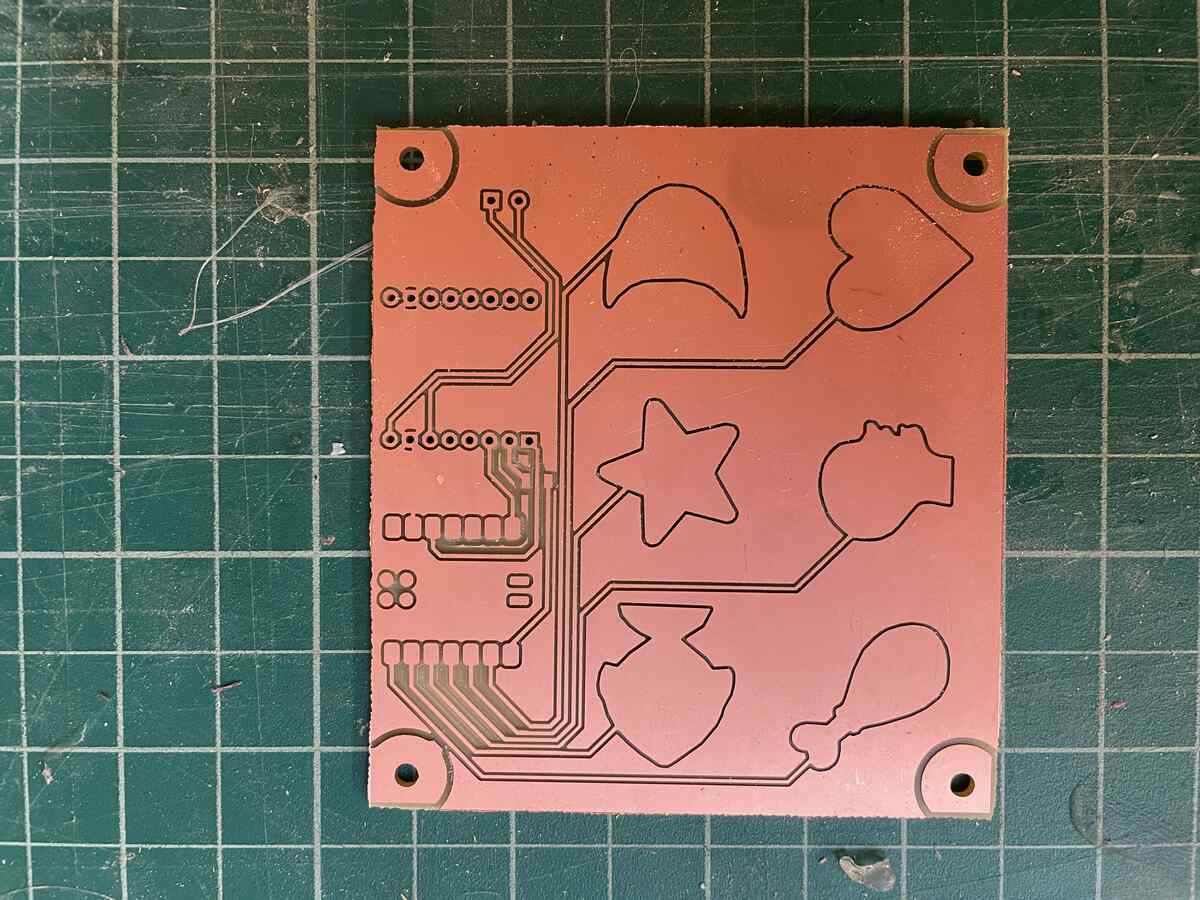
| 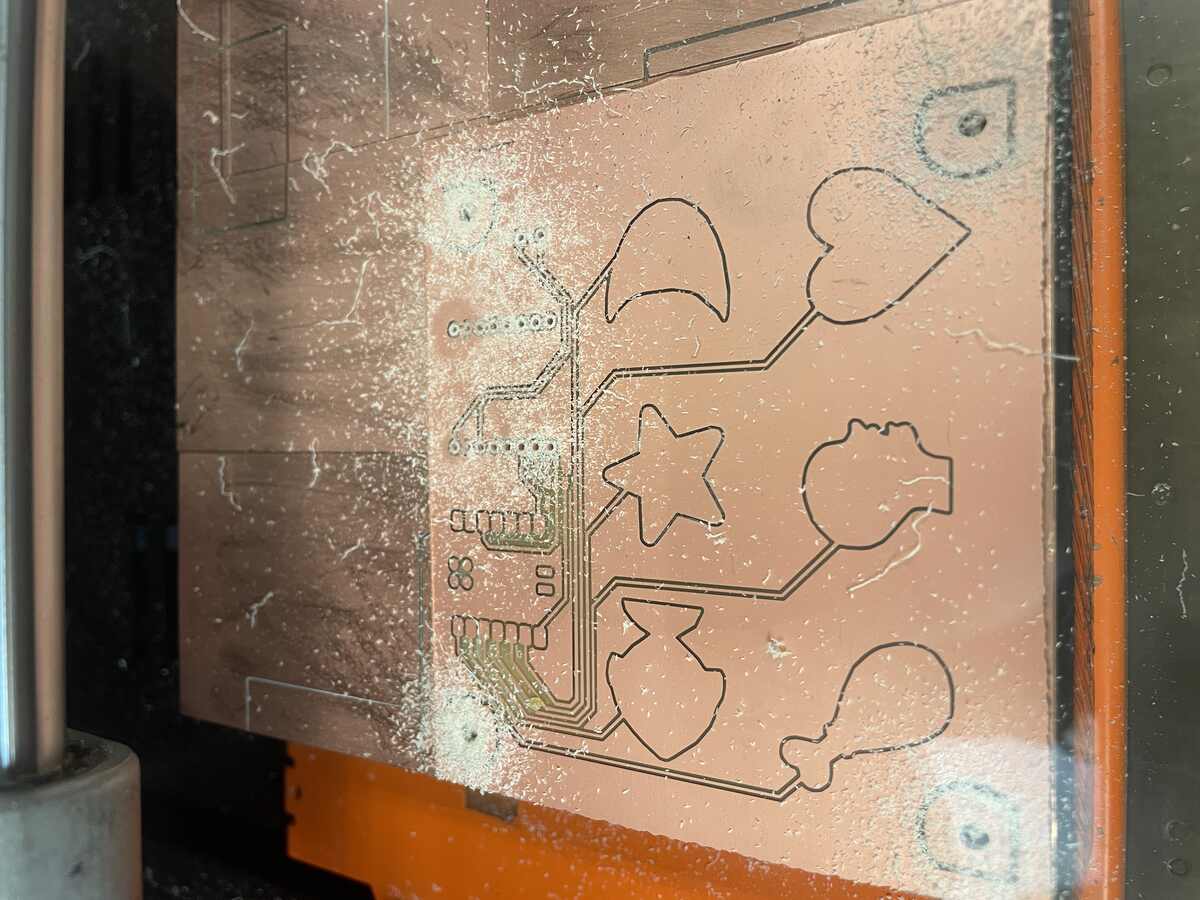 |
|:---------:|
| *The board after milling.* |
I had to do the exterior cuts by hand because I forgot to align my exterior cut file! I still managed to salvage the board.
| 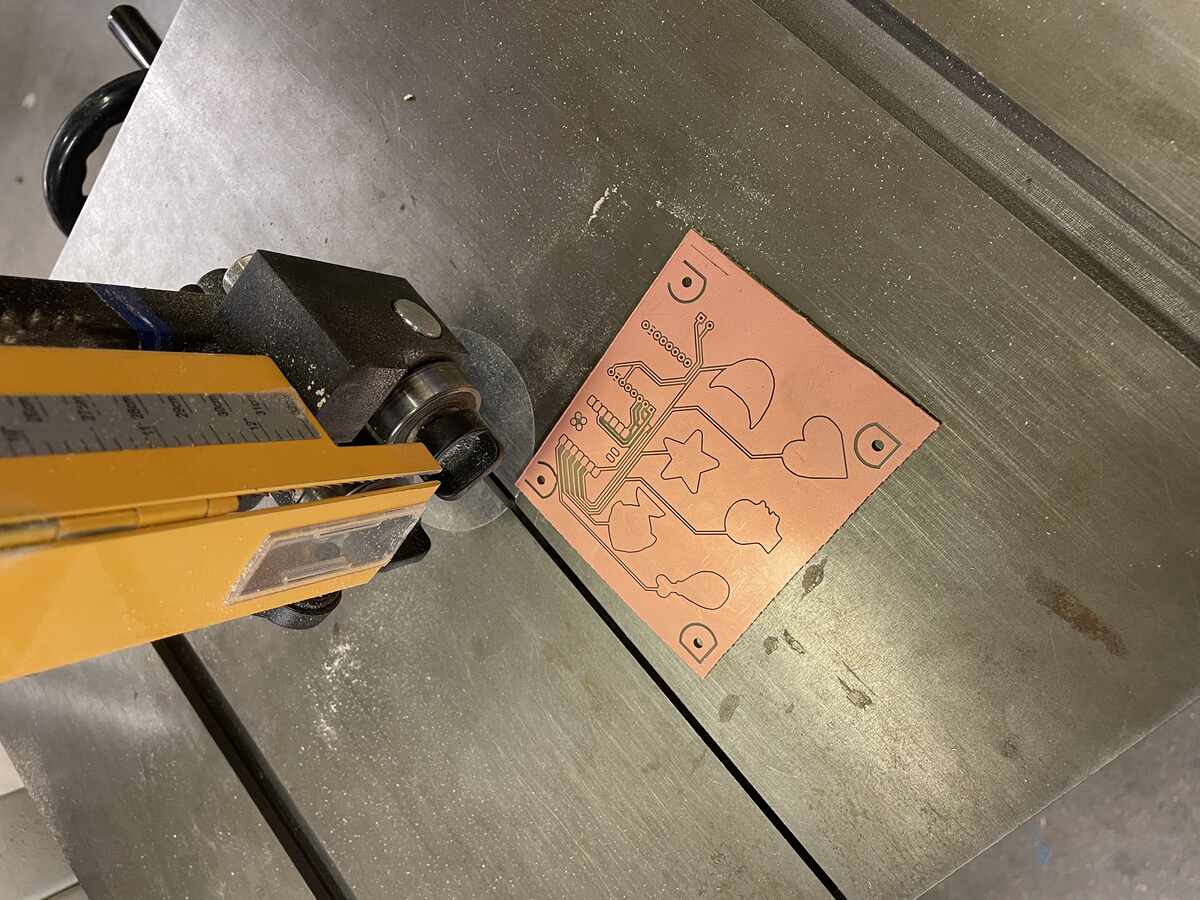 |  |
|:---------:|:---------:|
| *Bandsawing the Exterior Cuts* | *Closeup of cutting* |
|  | 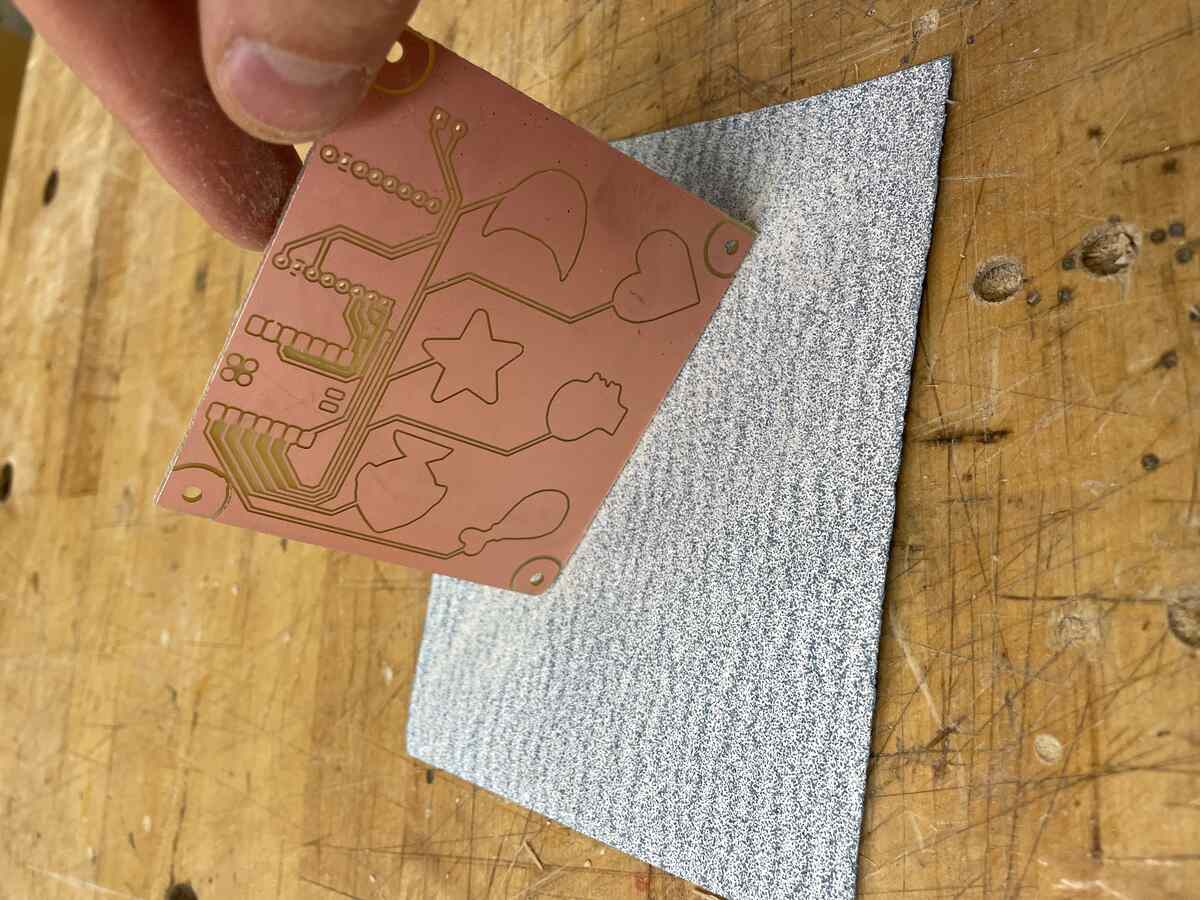 |
|:---------:|:---------:|
| *The board after bandsawing with rough edges* | *Sanding the board down by hand* |
| 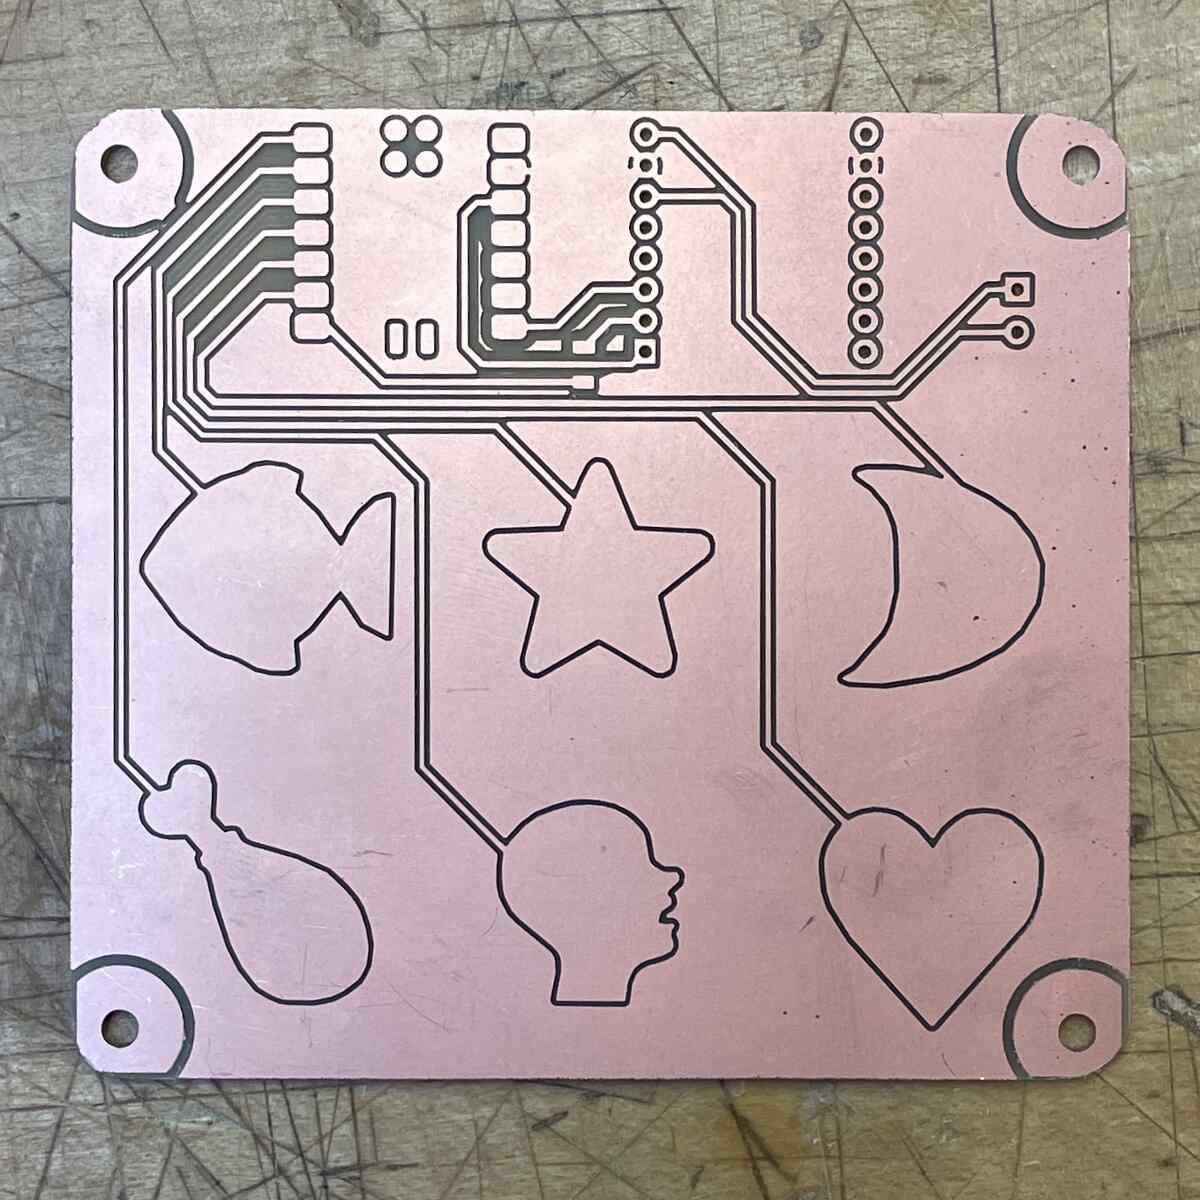 |
|:---------:|
| *The finished, unstuffed board* |
#### Code for the Sound Pad
I wrote code based off of the demos from Quentin for the touch sensor and the sample code for the DFPlayerMini.
I had issues with the DFPlayer mini. One of the first was that it only can read from card formatted in the FAT32 format, which by concequently means that the sd card cannot be larger than 32gb.
To play specific audio files on the SD card, DFPlayerMini examples only show it mapping to folder names with numbers. I used the `playFolder(int, int)` function like so:
`player.playFolder(15, pad_sounds[2]);`
So every audio file I want to play must be in a folder named "15." This seemed arbitrary but was the only reliable way I could get the DFPlayer to work.
To test out the responsiveness and the timing that was possible with the DFPlayer, here is some code that turns the device into a metronome. I used AI to help me understand what patterns to use, but modified it for my needs as shown [through the chat here](https://claude.ai/share/5bf6c098-15ae-41b9-9cc3-c3d1e5175674).
```
#include "Arduino.h"
#include "DFRobotDFPlayerMini.h"
DFRobotDFPlayerMini player;
#define N_TOUCH 6
#define THRESHOLD 1
#define DEBOUNCE_MS 1
int touch_pins[N_TOUCH] = {26, 27, 28, 29, 6, 7};
int touch_values[N_TOUCH] = {0, 0, 0, 0, 0, 0};
bool pin_touched_now[N_TOUCH] = {false, false, false, false, false, false};
bool pin_touched_past[N_TOUCH] = {false, false, false, false, false, false};
unsigned long last_trigger_time[N_TOUCH] = {0, 0, 0, 0, 0, 0};
int pad_sounds[N_TOUCH] = {1, 2, 3, 4, 5, 6};
// Drum machine timing
unsigned long last_beat_time = 0;
unsigned long beat_interval = 2290;
void update_touch() {
int t;
int t_max = 200;
int p;
for (int i = 0; i < N_TOUCH; i++) {
p = touch_pins[i];
pinMode(p, OUTPUT);
digitalWriteFast(p, LOW);
delayMicroseconds(5);
pinMode(p, INPUT_PULLUP);
t = 0;
while (!digitalReadFast(p) && t < t_max) {
t++;
}
touch_values[i] = t;
pin_touched_past[i] = pin_touched_now[i];
pin_touched_now[i] = touch_values[i] > THRESHOLD;
}
}
void setup() {
Serial1.begin(9600);
Serial.begin(115200);
if (!player.begin(Serial1)) {
Serial.println("unable to begin:");
while(true);
}
Serial.println("player ready");
player.volume(30);
player.EQ(DFPLAYER_EQ_NORMAL);
player.outputDevice(DFPLAYER_DEVICE_SD);
Serial.println("Drum pad ready!");
}
void loop() {
unsigned long current_time = millis();
// Update touch sensors
update_touch();
if (current_time - last_beat_time >= beat_interval) {
player.playFolder(15, pad_sounds[0]);
last_beat_time = current_time;
}
}
```
Here is the final code I used with maps each sound in a file named "15" to a touch pad on the board:
``` C++
#include "Arduino.h"
#include "DFRobotDFPlayerMini.h"
DFRobotDFPlayerMini player;
#define N_TOUCH 6
#define THRESHOLD 1
#define DEBOUNCE_MS 1
int touch_pins[N_TOUCH] = {26, 27, 28, 29, 6, 7};
int touch_values[N_TOUCH] = {0, 0, 0, 0, 0, 0};
bool pin_touched_now[N_TOUCH] = {false, false, false, false, false, false};
bool pin_touched_past[N_TOUCH] = {false, false, false, false, false, false};
unsigned long last_trigger_time[N_TOUCH] = {0, 0, 0, 0, 0, 0};
int pad_sounds[N_TOUCH] = {1, 2, 3, 4, 5, 6};
void update_touch() {
int t;
int t_max = 200;
int p;
for (int i = 0; i < N_TOUCH; i++) {
p = touch_pins[i];
pinMode(p, OUTPUT);
digitalWriteFast(p, LOW);
delayMicroseconds(5);
pinMode(p, INPUT_PULLUP);
t = 0;
while (!digitalReadFast(p) && t < t_max) {
t++;
}
touch_values[i] = t;
pin_touched_past[i] = pin_touched_now[i];
pin_touched_now[i] = touch_values[i] > THRESHOLD;
}
}
void setup() {
Serial1.begin(9600);
Serial.begin(115200);
if (!player.begin(Serial1)) {
Serial.println("unable to begin:");
while(true);
}
Serial.println("player ready");
player.volume(30);
player.EQ(DFPLAYER_EQ_NORMAL);
player.outputDevice(DFPLAYER_DEVICE_SD);
Serial.println("Drum pad ready!");
}
void loop() {
unsigned long current_time = millis();
// Update touch sensors
update_touch();
// example pressed button
if (pin_touched_now[0] && !pin_touched_past[0]) {
// button 0 was just pressed, do something
player.playFolder(15, pad_sounds[1]);
}
// example pressed button
if (pin_touched_now[1] && !pin_touched_past[1]) {
// button 0 was just pressed, do something
player.playFolder(15, pad_sounds[2]);
}
// example pressed button
if (pin_touched_now[2] && !pin_touched_past[2]) {
// button 0 was just pressed, do something
player.playFolder(15, pad_sounds[3]);
}
// example pressed button
if (pin_touched_now[3] && !pin_touched_past[3]) {
// button 0 was just pressed, do something
player.playFolder(15, pad_sounds[4]);
}
// example pressed button
if (pin_touched_now[4] && !pin_touched_past[4]) {
// button 0 was just pressed, do something
player.playFolder(15, pad_sounds[5]);
}
// example pressed button
if (pin_touched_now[5] && !pin_touched_past[5]) {
// button 0 was just pressed, do something
player.playFolder(15, pad_sounds[6]);
}
}
```
#### Demo
I changed my project to not have all the audio be digital. The sample pad can play any audio file that is placed on the sd card using a set of six touch capacitive keys. Here is a demo of using the sample pad as a drum pad:
### Case and Assembly
I made the case and assembly out of scrap aluminum found in the loading docks and other maker spaces around campus.
| 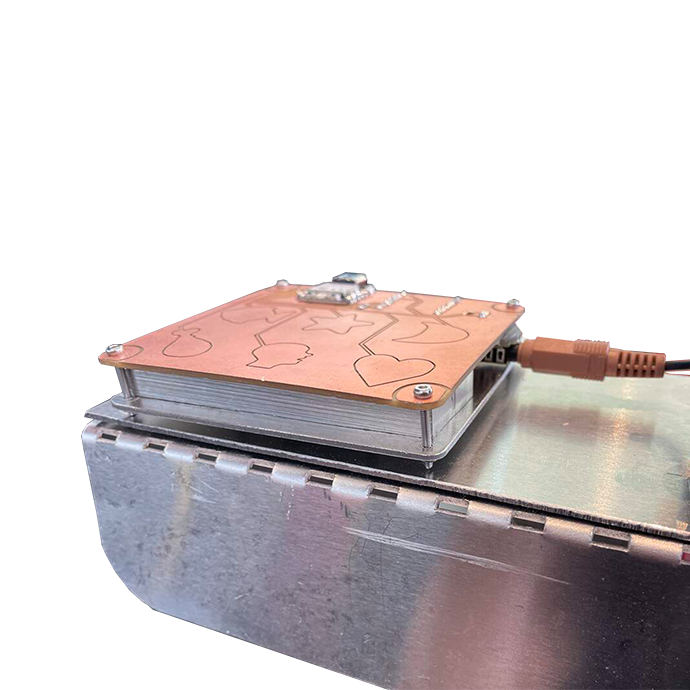 |
|:---------:|
| *Closeup of the case and assembly* |
### Endefactor
### Making the Sound Tank
I tested the tank outside first to see if leaks:
### Final Project Demo
Here is a demo on the day of the final review.
I still need a better video showing off the full capabilities with a better backgound for the light than the rug, and showing how it can be used as an actual tool.
| 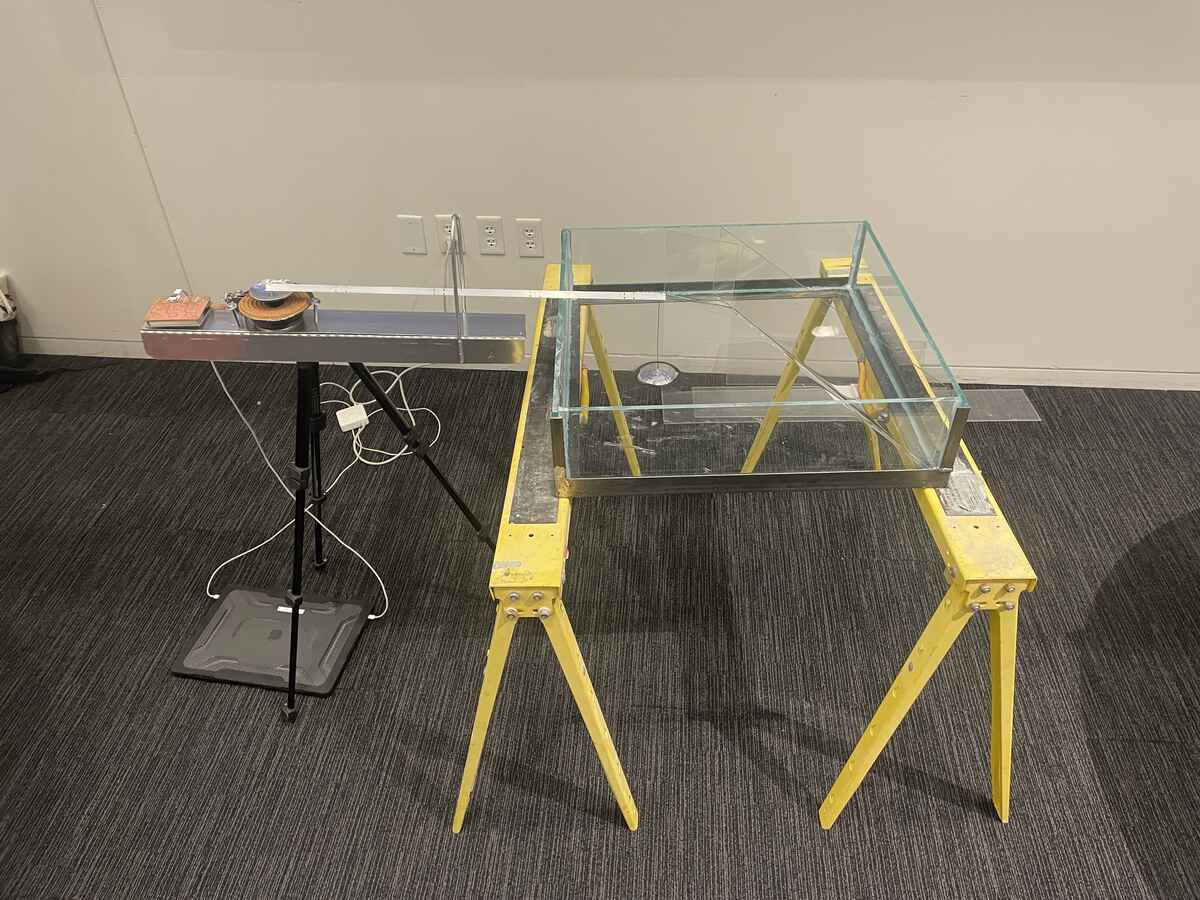 |
|:---------:|
| *The full installation* |
## Attachments
Code for the sound pad:
[251215-sound-pad.ino](files/251215-sound-pad.ino)
See previous weeks for the cut files for the sound pad!