# Week 2
## Project Management
### Student agreement
> download, read, and sign the student agreement, and commit the file to your repo
To sign the student agreement, I copied [the student agreement file as a .md document](https://gitlab.cba.mit.edu/classes/863.25/site/-/blob/main/file/agreement.md) and edited the text of the document to add my name as a signature.
[Here is the student agreement in my gitlab repo.](https://gitlab.cba.mit.edu/classes/863.25/people/GeoffreyHazard/-/blob/main/agreement.md?ref_type=heads)
### Git and Web Development
> work through a git tutorial
> build a personal site in the class archive
describing you and your final project
See the [How to Make this Website](../web-dev/index.html) portion of the site for how I use github and built my site. I will keep updating this as I add features to my site.
## Computer Controlled Cutting
### Group Assignment
#### Safety Training
> Do your lab's safety training
Since I am a student and monitor in the architecture department, I had an in depth safety training for the architecture labs.
#### Lasercutter design rules and settings
> characterize your lasercutter's focus, power, speed, rate,
kerf, joint clearance and types
I did my lab's safety training and characterized my lasercutter's focus, power, speed, rate, kerf, joint clearance and types.
### Individual Assignment
#### Vinylcutter
First you follow the tutorial on the Architecture website.
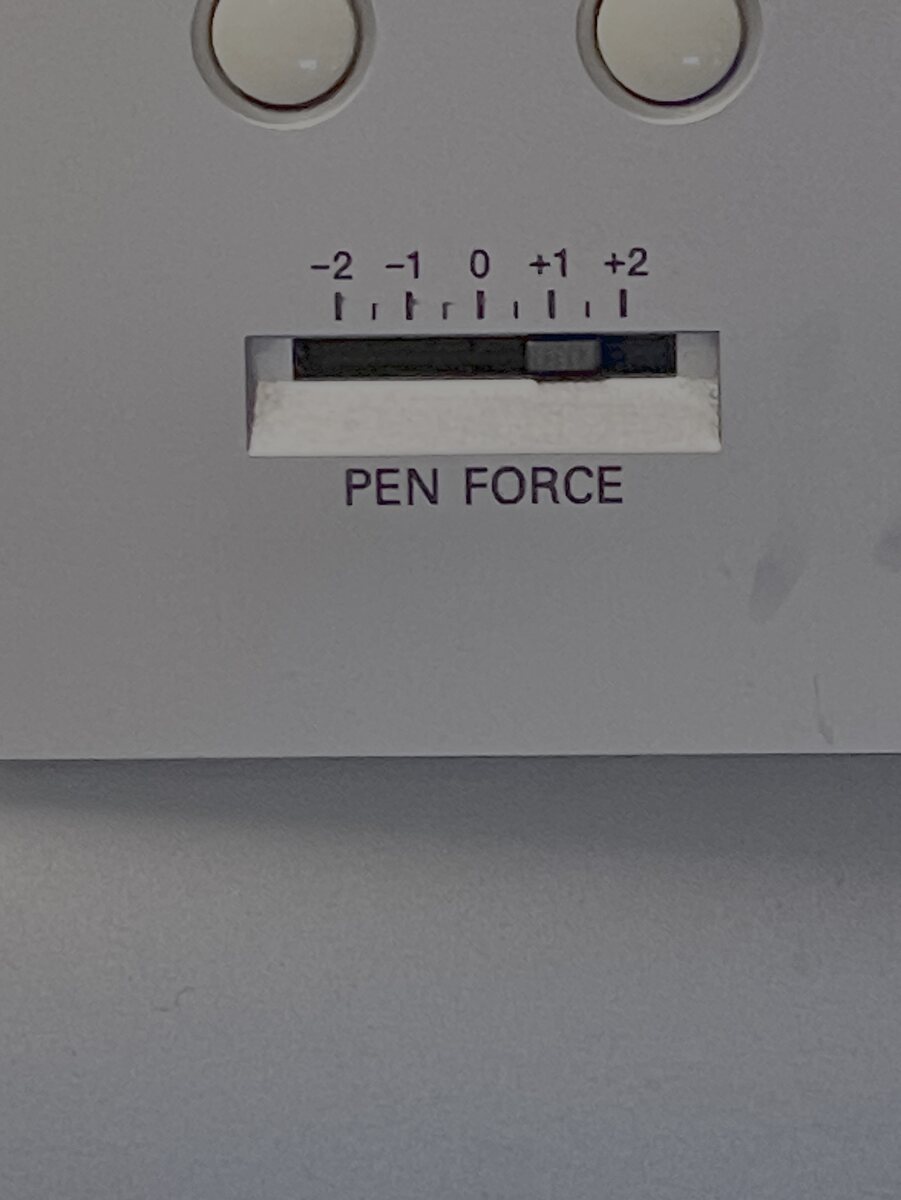
##### Vinyl cutter setup
You want to make sure you have the right pen force
Most critically you want to make sure the wheels are on the gears
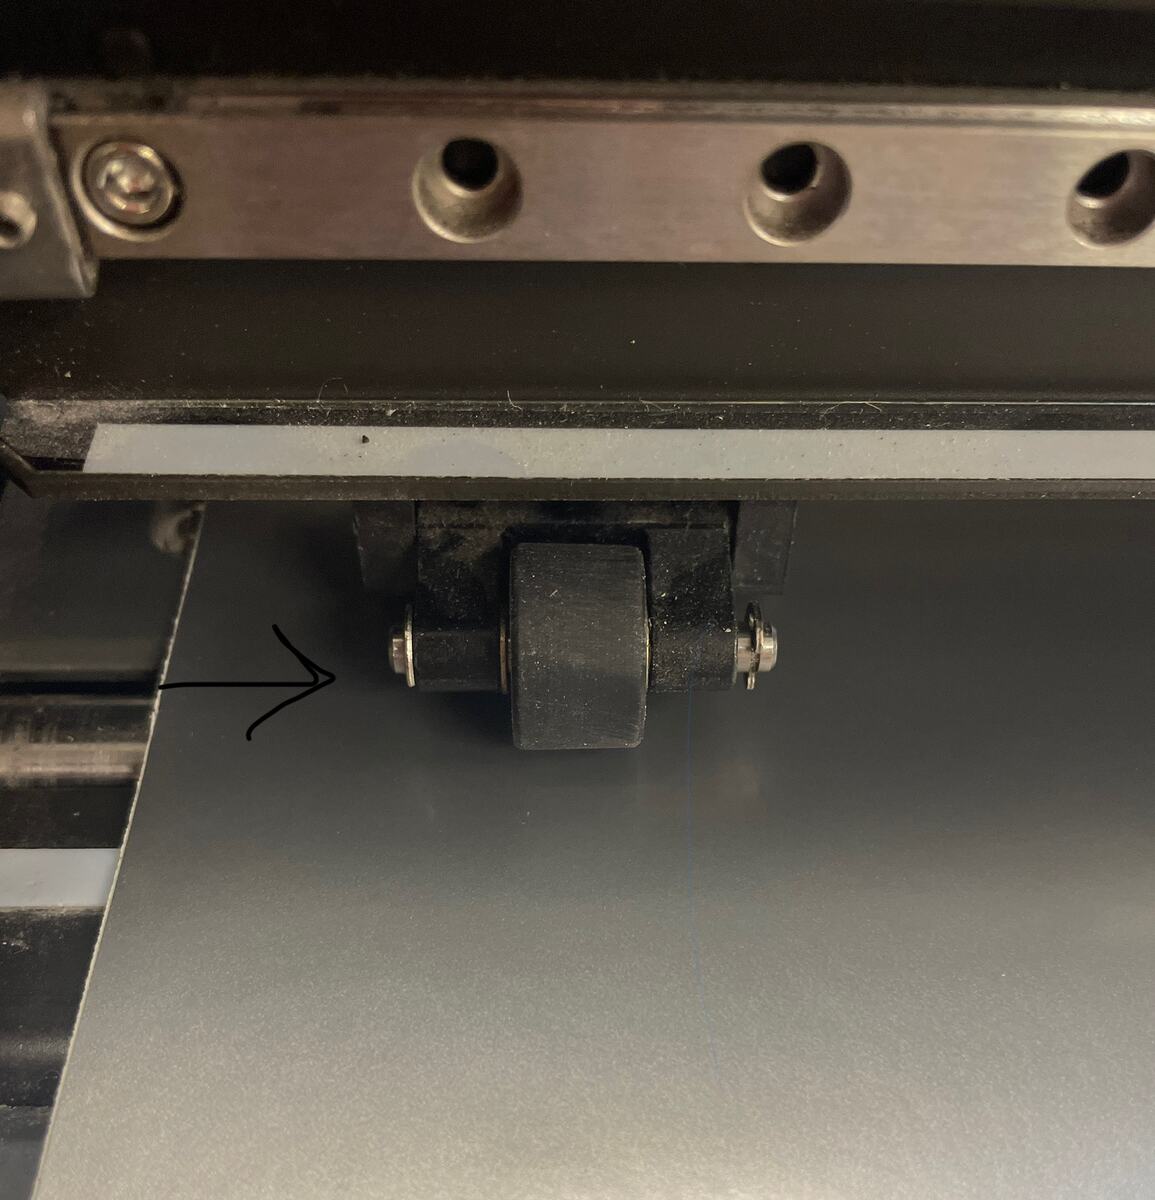
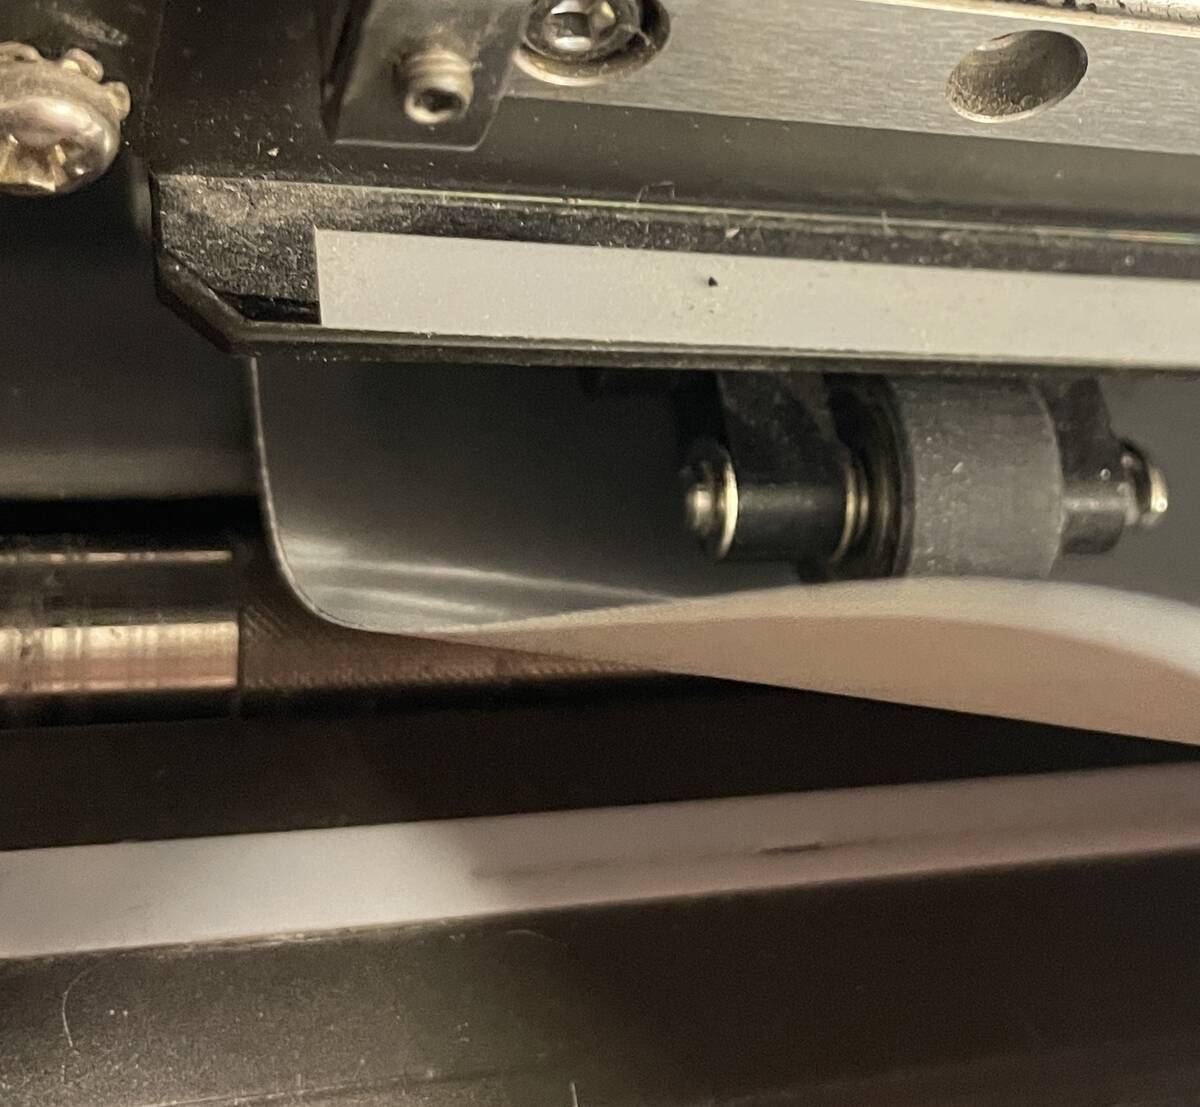
If not you will get an error like this
##### Software setup
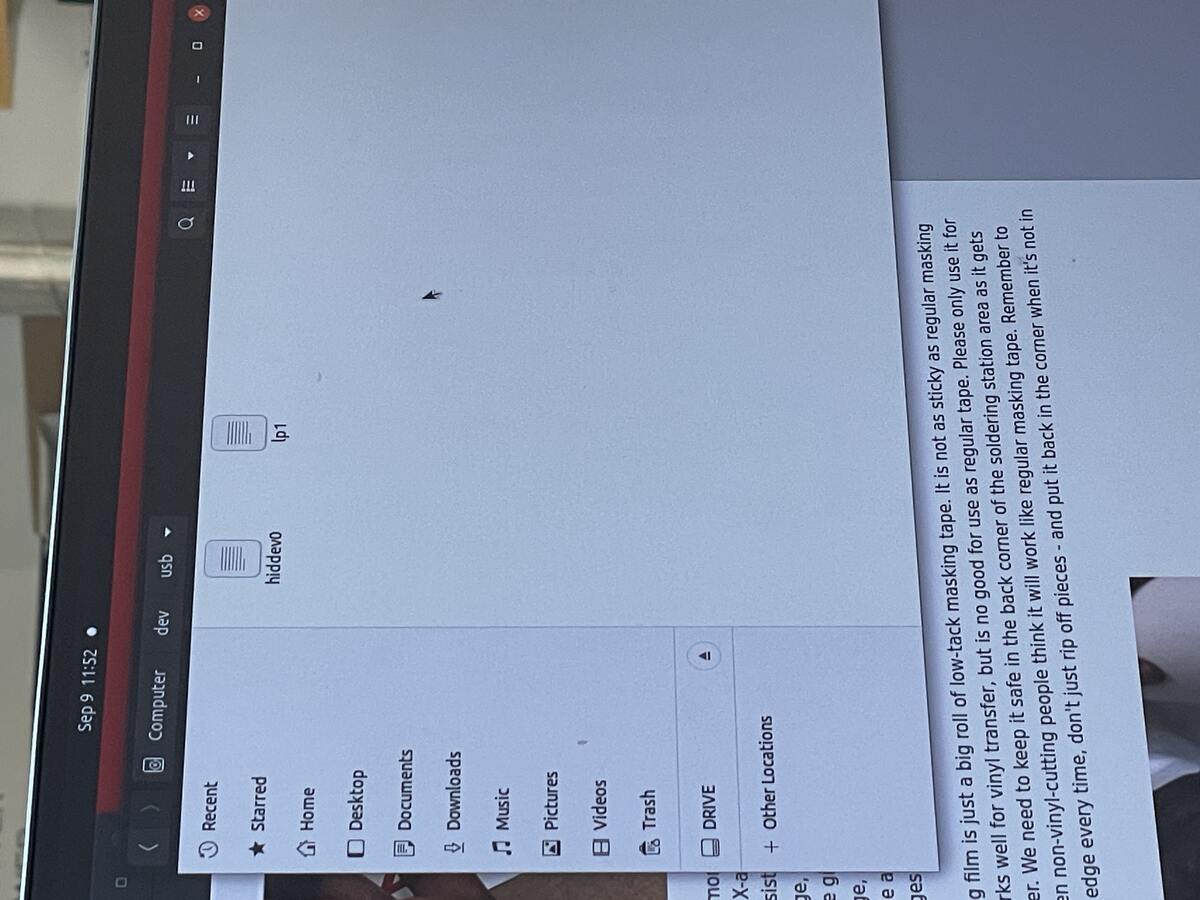
You need to find the file to run the software, which was a little hard to find.
Then you upload your .png file.
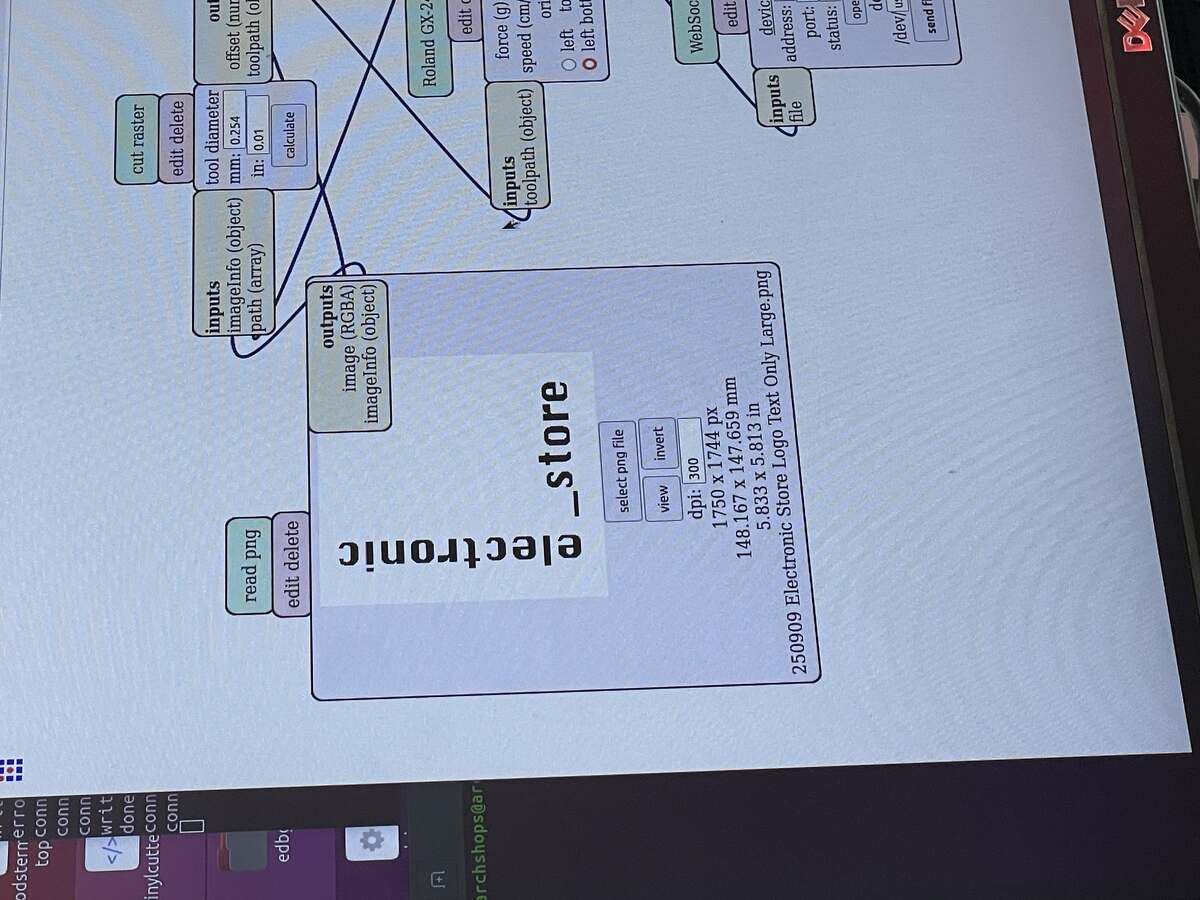
Then you run through the settings (see arch website)

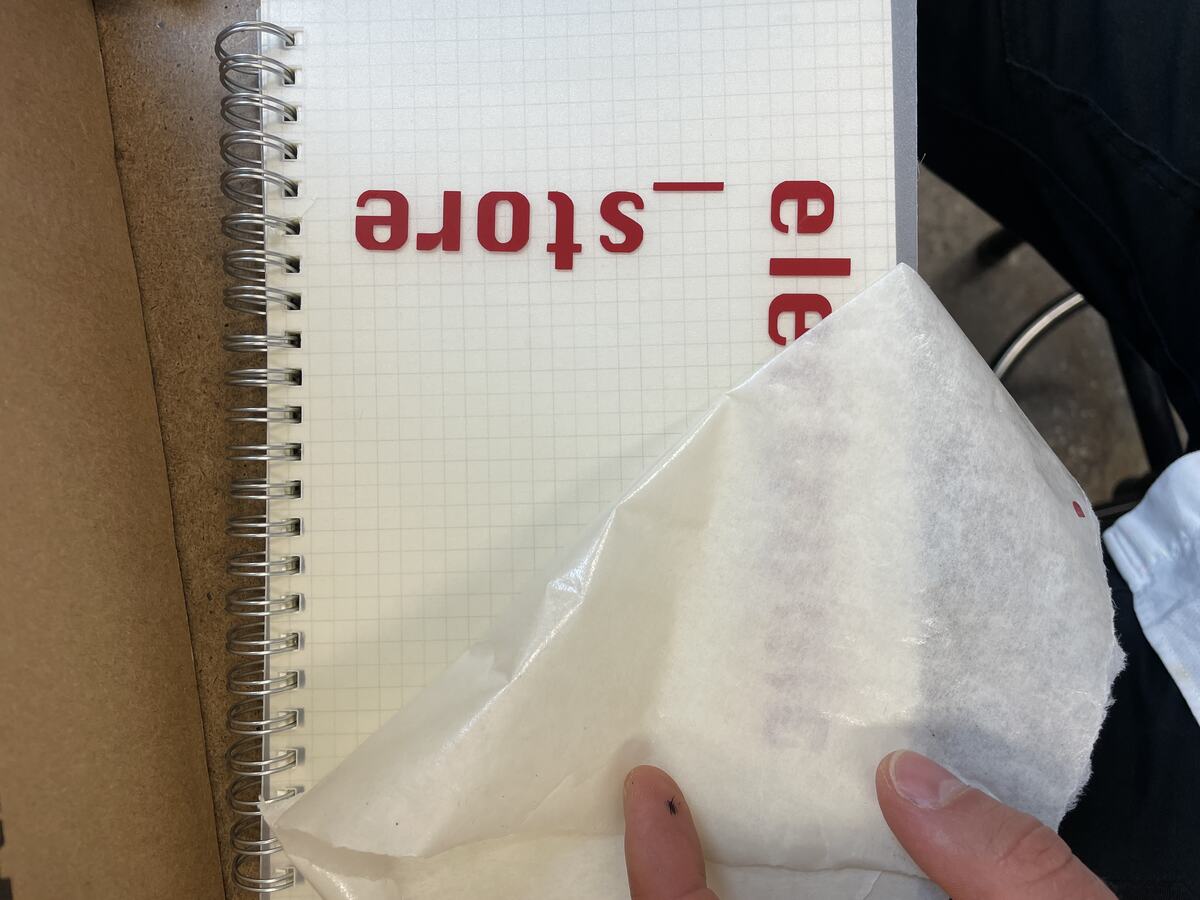
#### Vinyl Cutter project
#### Lasercut Parametric Kit
I designed, lasercut, and documented a parametric construction kit, accounting for the lasercutter kerf, which can be assembled in multiple ways, and for extra credit include elements that aren't flat.
I wanted to make an assembly kit inspired by tinker toys. While the kit is simple, it is a great project to learn about parameterization, because the there are many parameters to adjust which greatly affect how the kit behaves. The following list describes list of adjustable parameters. They are ordered in terms of dependence (the first item in the list determines the parameters that follow it):
- thickness of material: m_t
- width of stick member: s_t
- size of holes in nodes: h
- offset for folder support for stick member: f
- offset for node connection: p
- distance between nodes: n_d
- offset of dodecahedron wrapper: d_w (dependent on m_t)
I decided to create my parametric kit in Grasshopper for Rhino because that is the standard toolset that we use in architecture school.
I want to use the vinyl cutter instead of tape to assemble the dodecahedrons
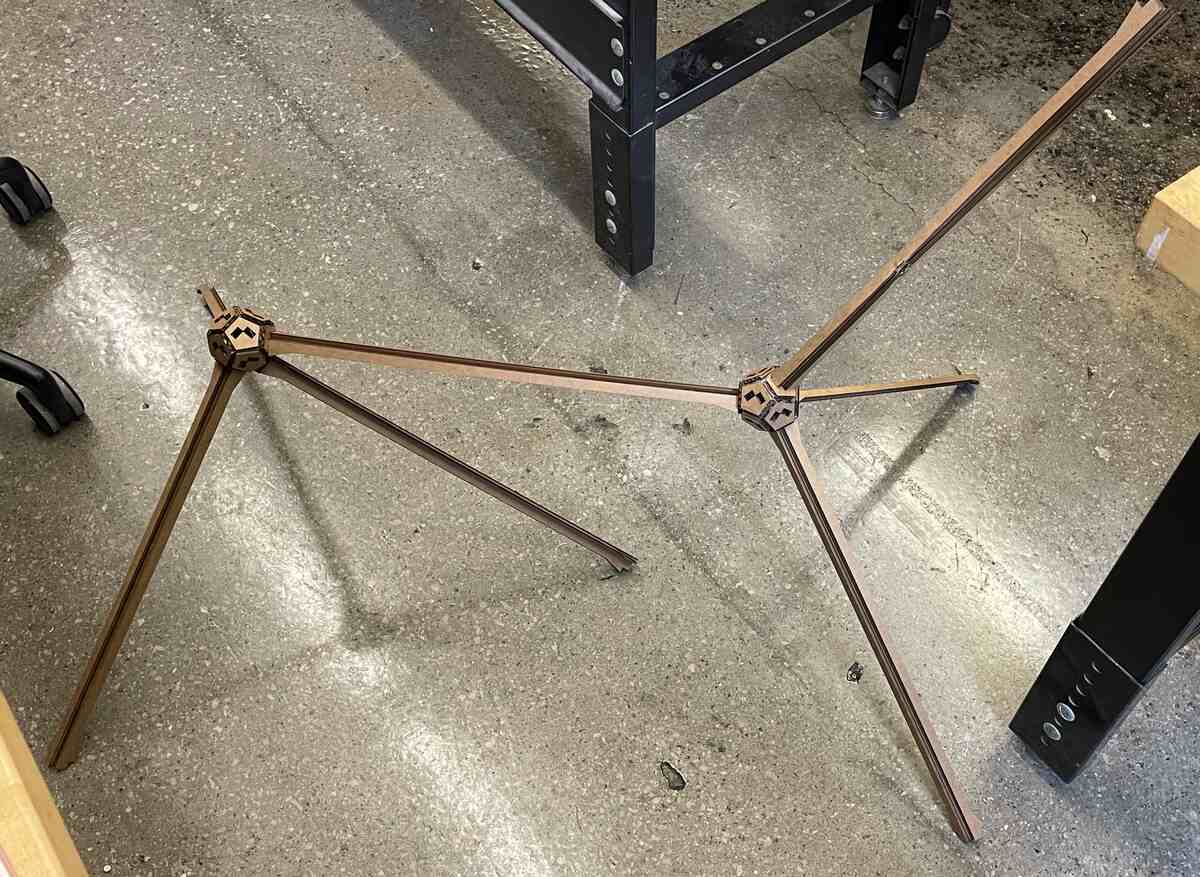
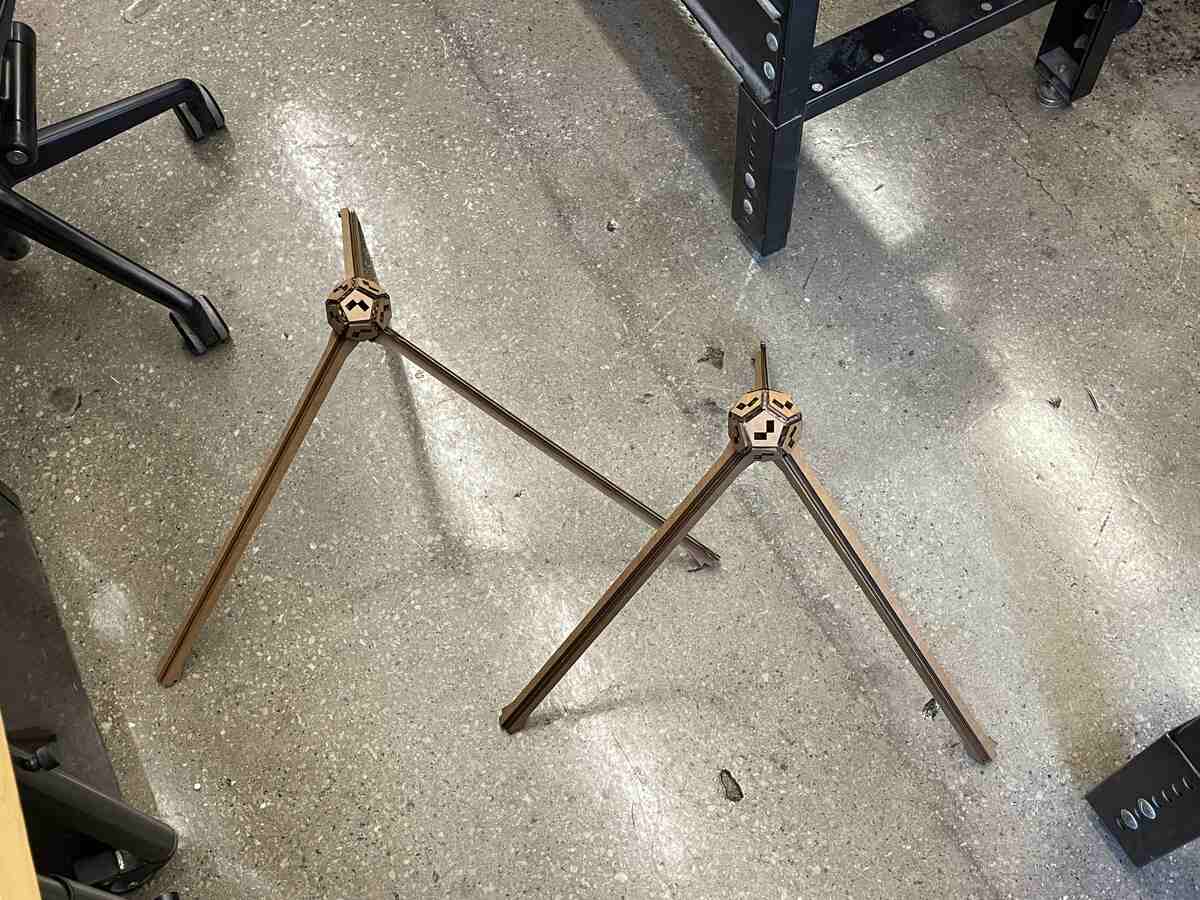
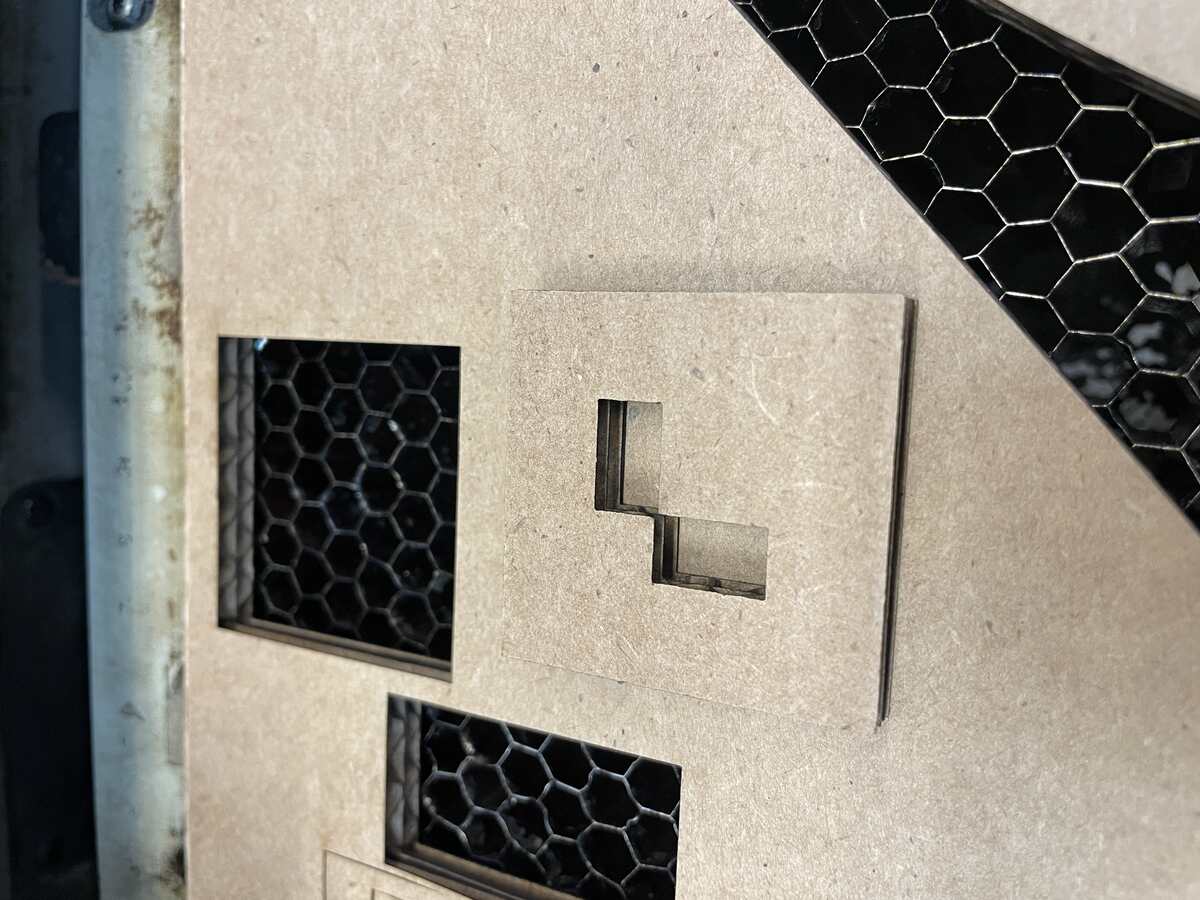
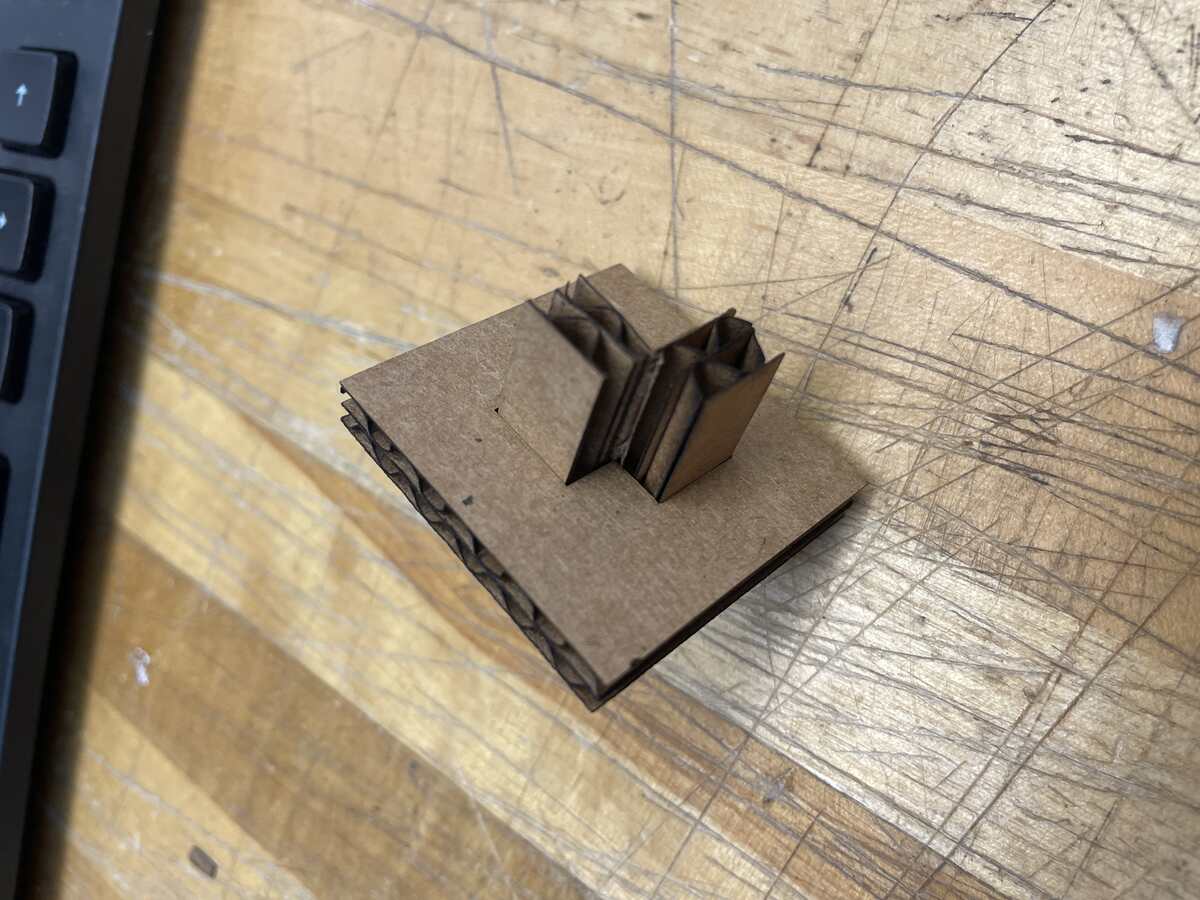
Here are some process images:
Here is the final result: