Week 4
Assignments: Printing & Scanning
group assignment:
• test the design rules for your 3D printer(s)
individual assignment:
• design, document, and 3D print an object that could not be made subtractively, (small, few cm3, limited by printer time)
• 3D scan an object (and optionally print it)
PRINTING
print file is here: file
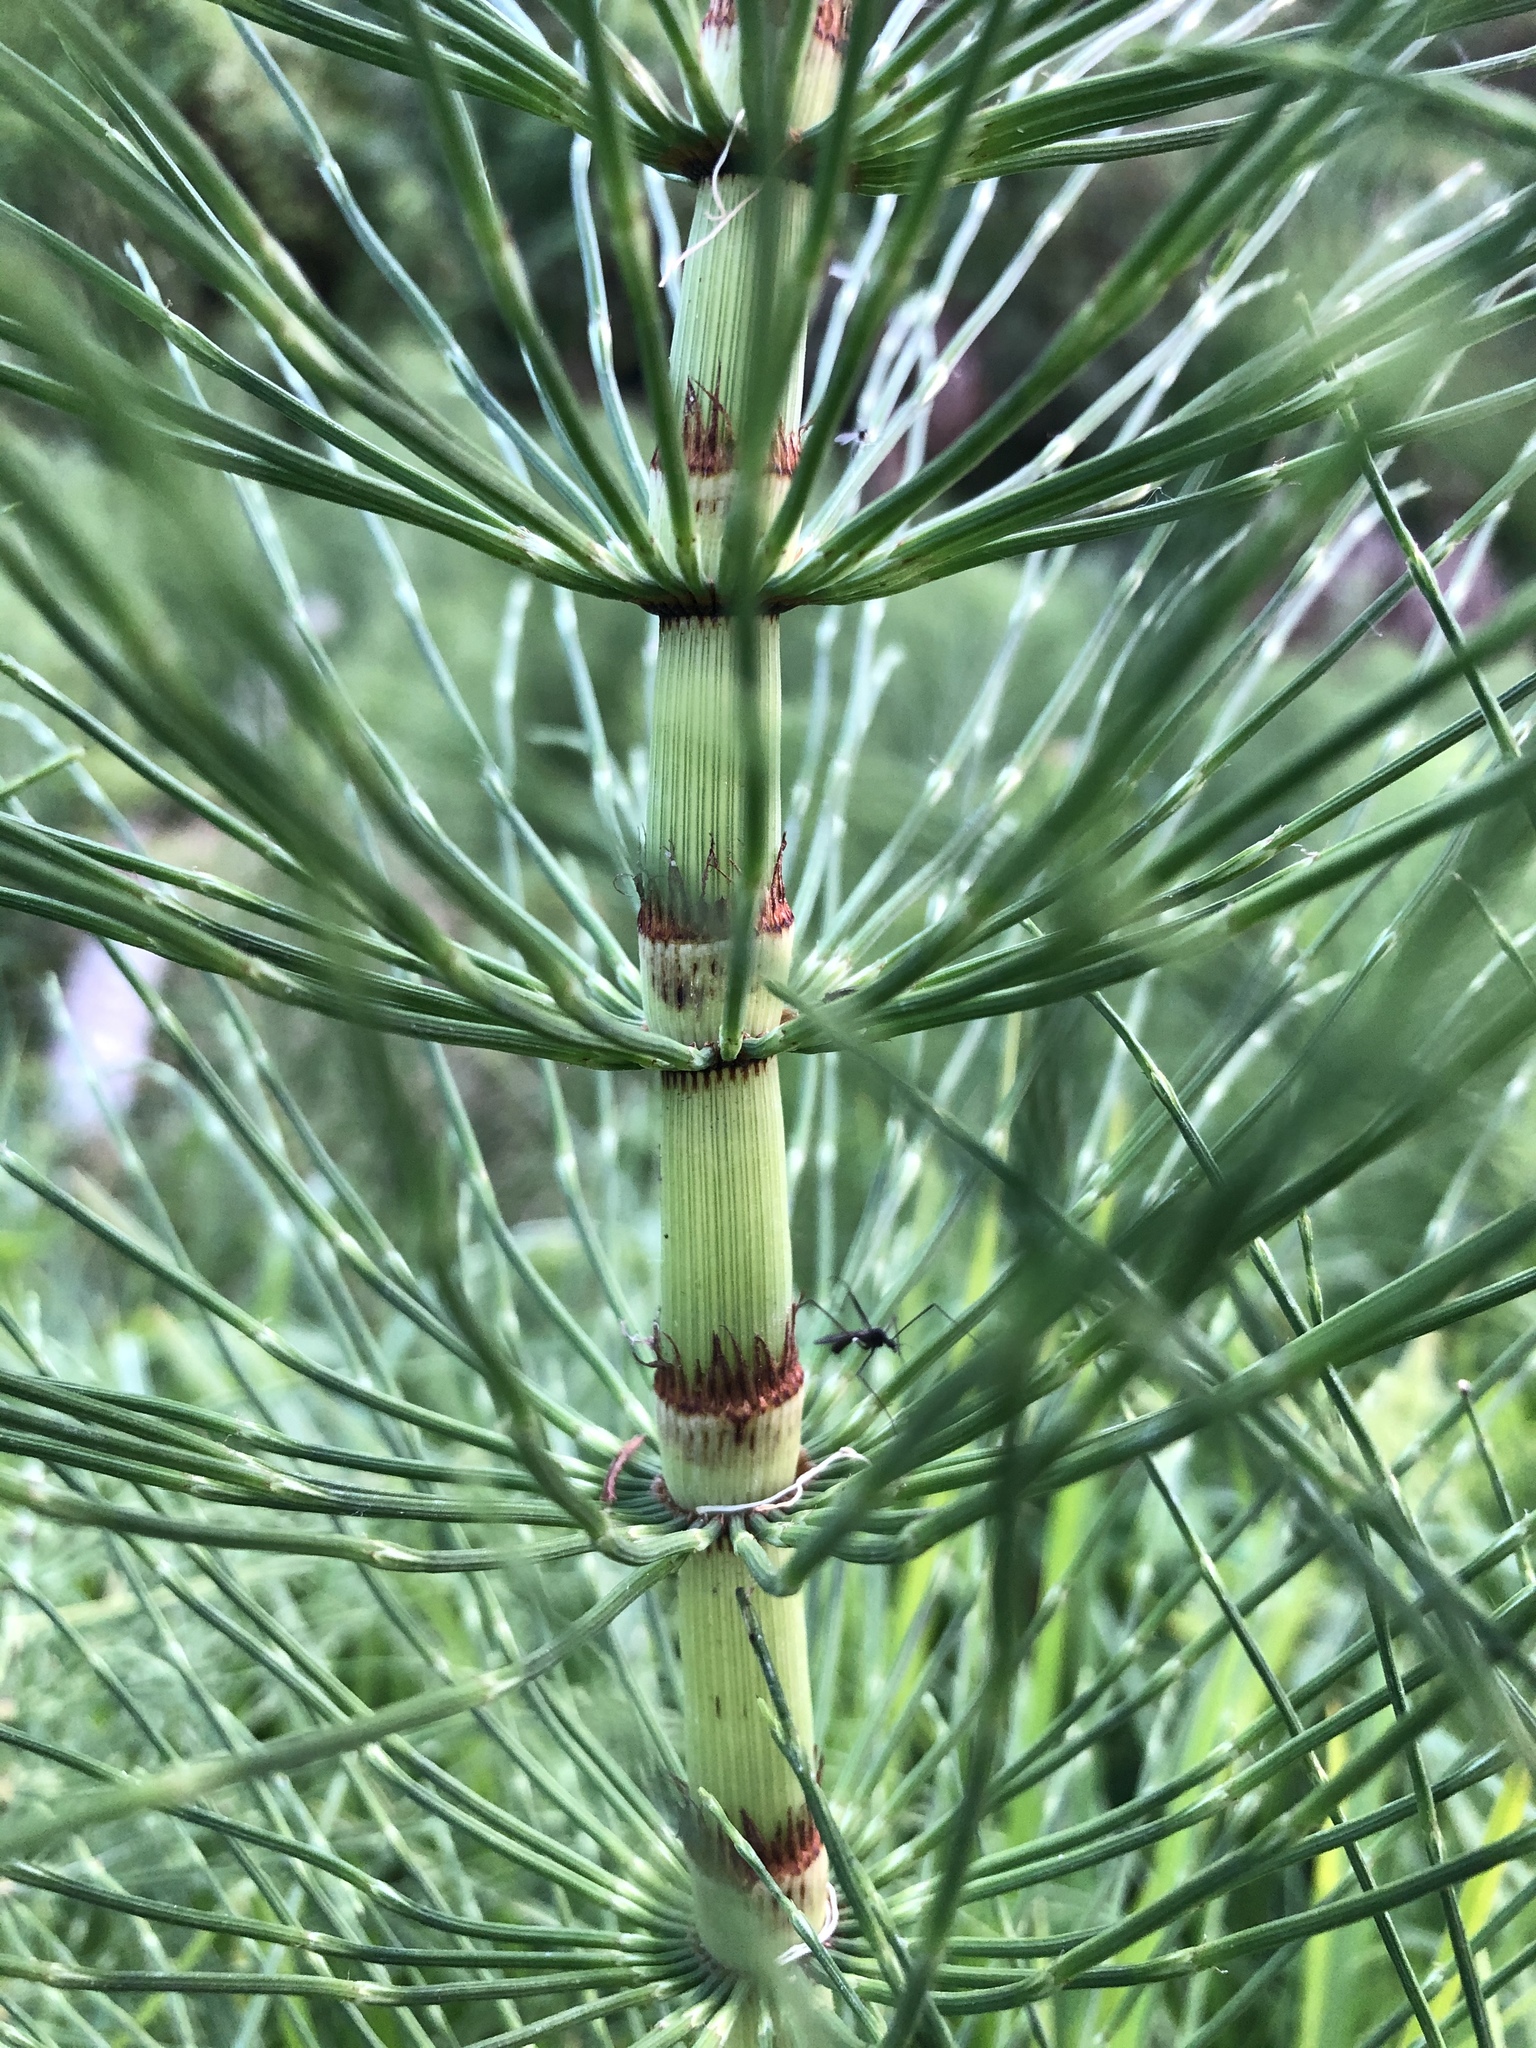
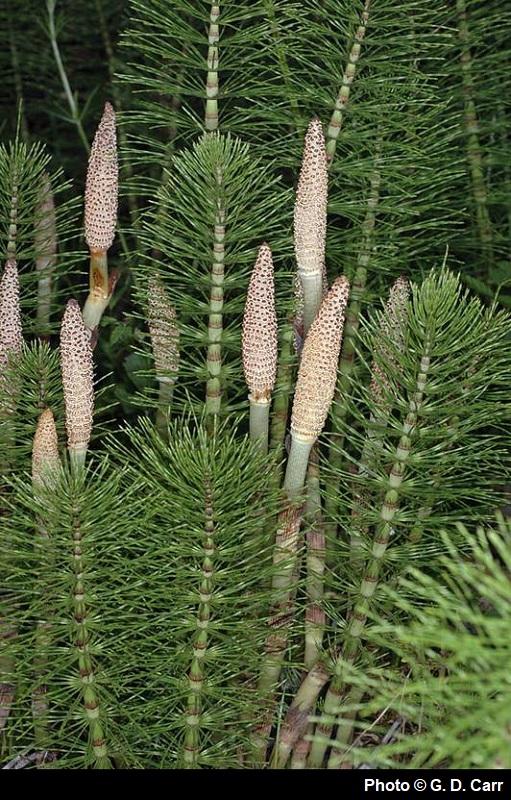
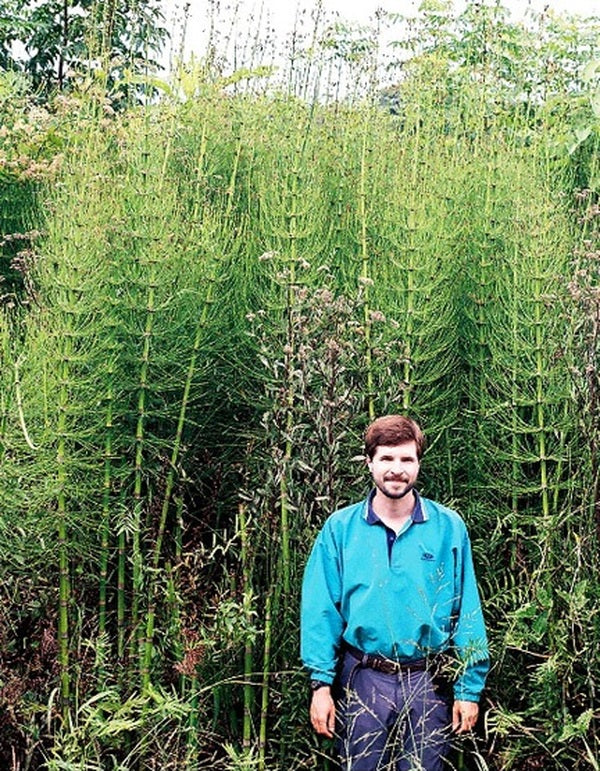
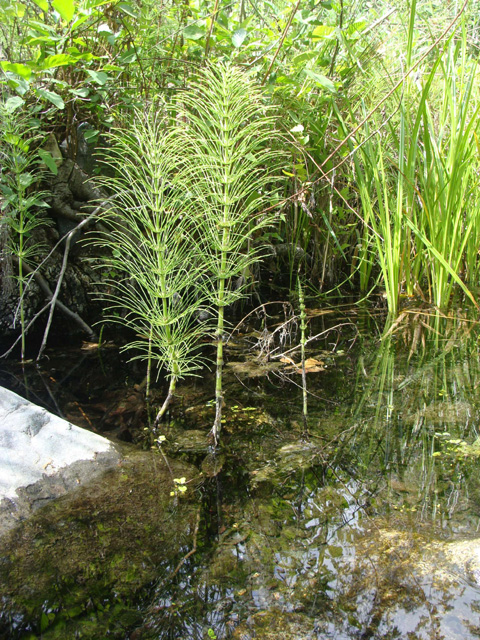
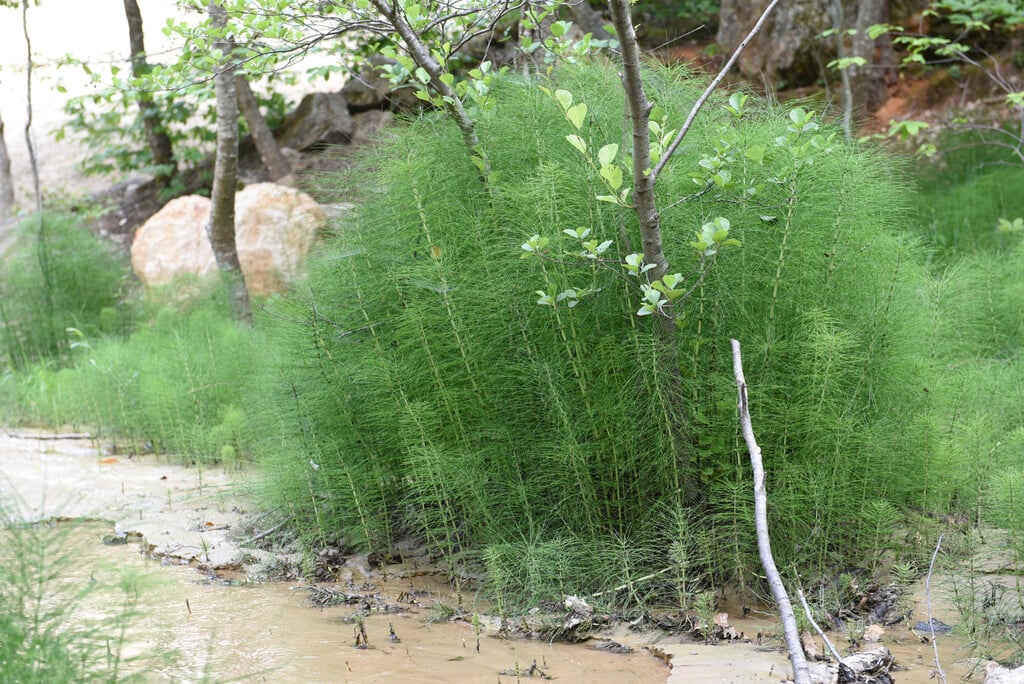
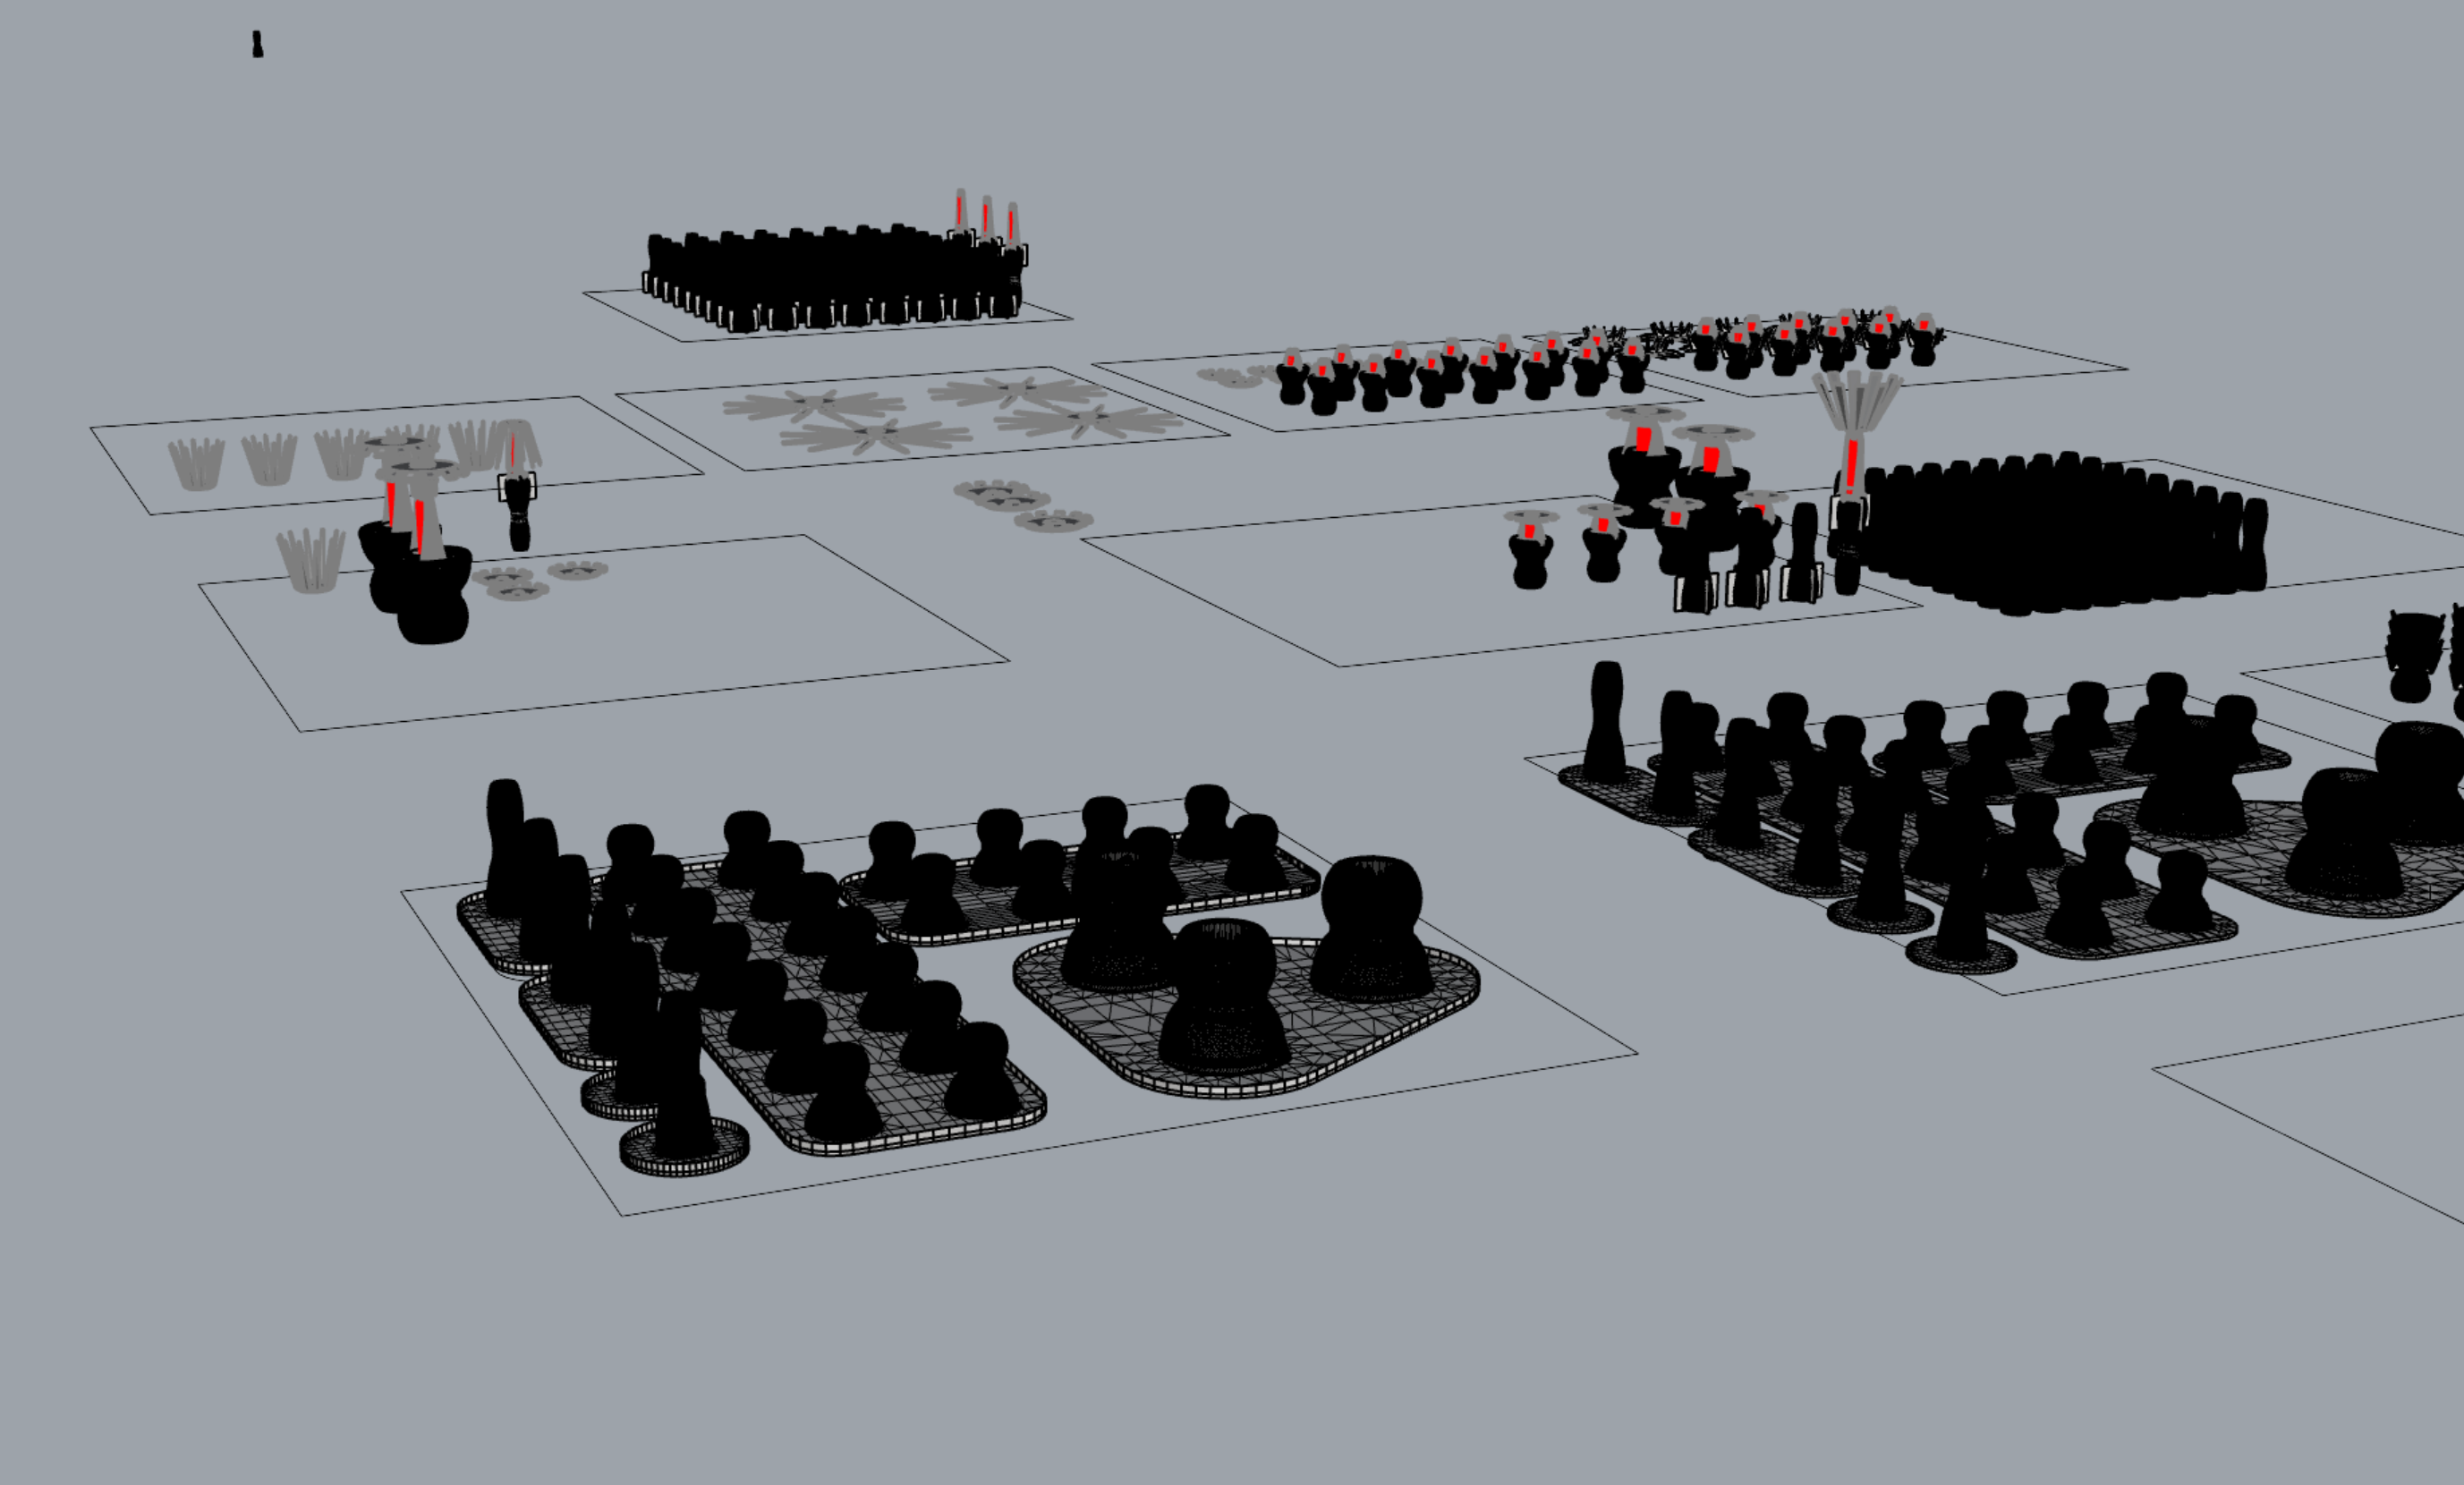
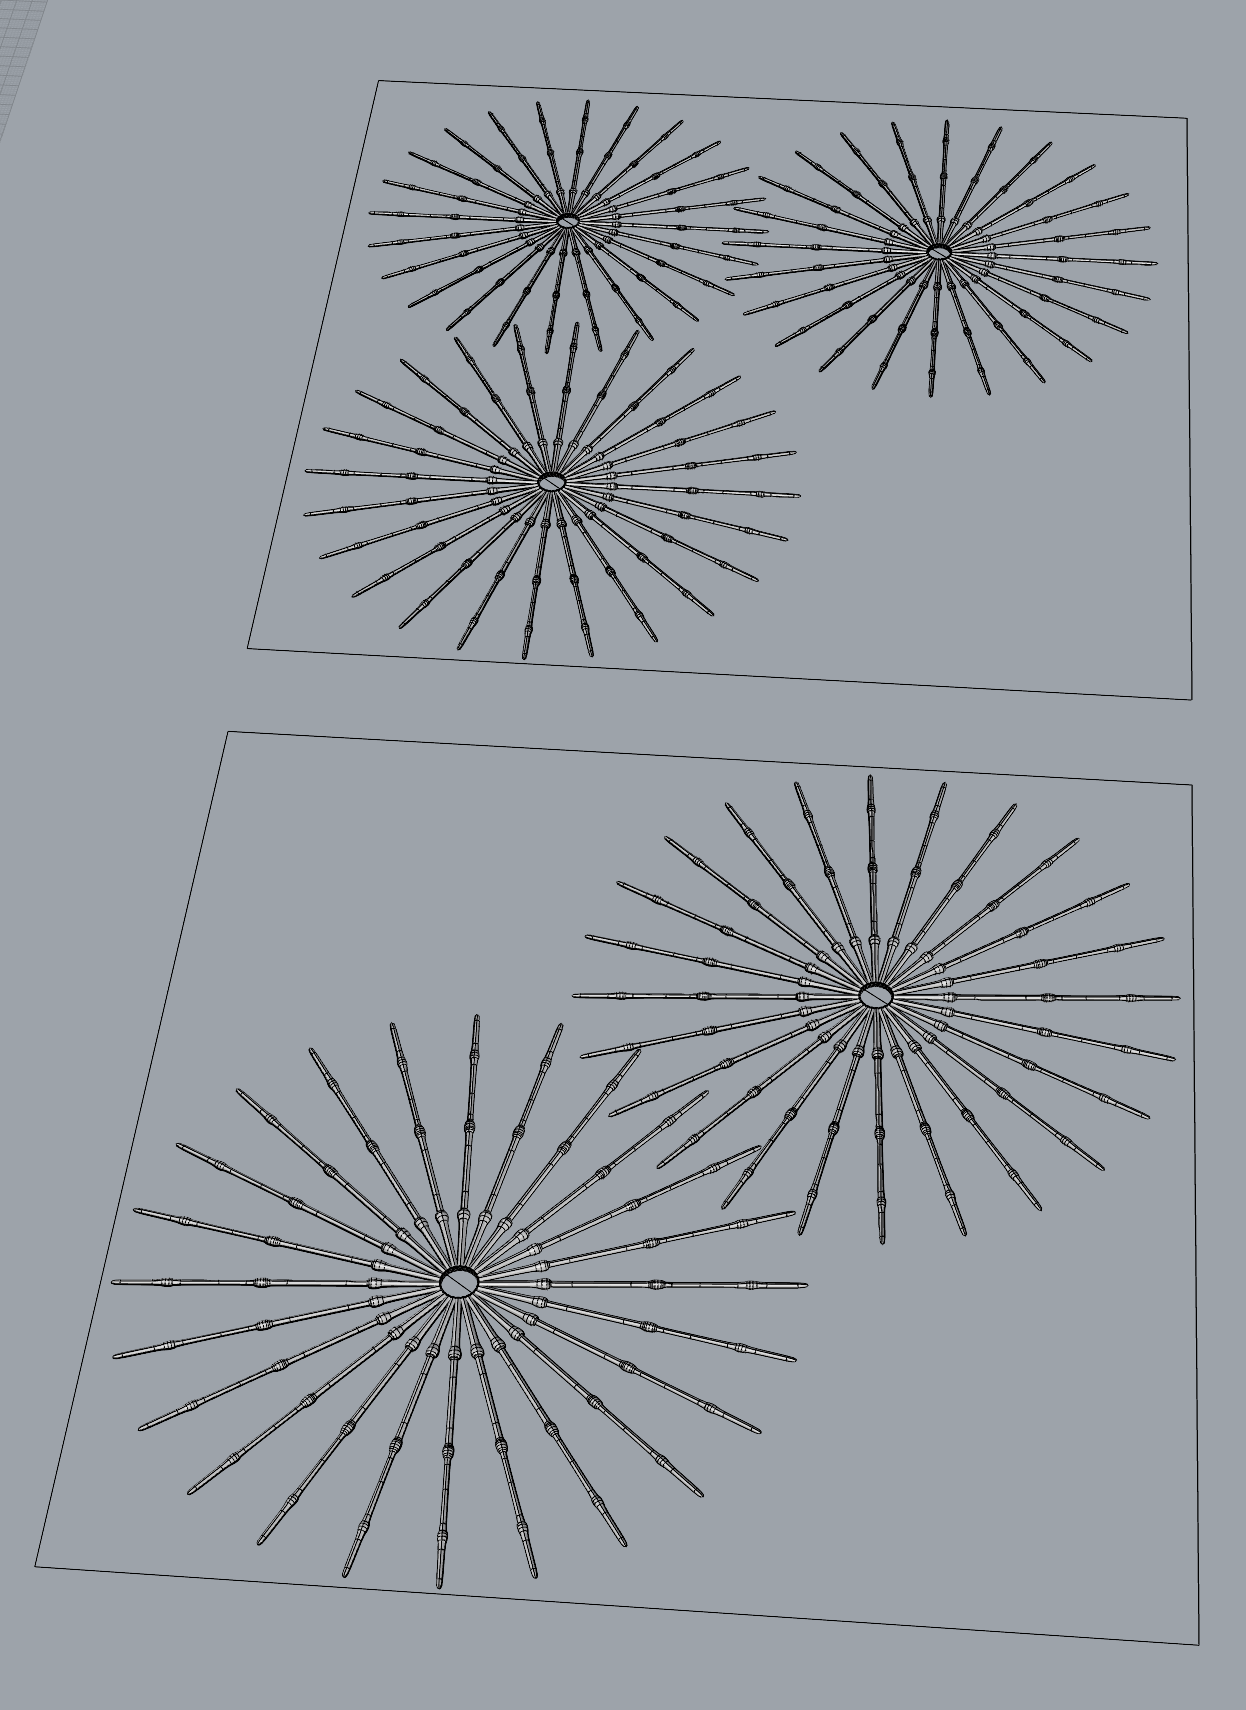
For my 3-D printing assignment, I decided to work off of a previous instance of design work done in the spring of 2025 this previous work involved a 3-D printed pipe made of rigid segments when combined form a watertight tube that is flexible and can produce 180° turns around six times the radius of its interior diameter (fig 6-10). These pieces were modified versions of commercially available gooseneck pipes, using rhino to edit them to ornament scale, augment or stretch them so that they could produce new shapes express themselves with more rigidity, or with specific posture, or towards some aesthetic category of which they originally did not pertain. I decided to take the same idea of producing chains of captive parts to instead mimic an existing plant form that I fell in love with over the course of the summer. Equisetum seen figure one is a genius of gymnosperm whose plant lineage extends to some of the earliest clades of vascular plants. Those specific species that I encounter this summer is known as Equisetum gigantean species that at one point was called brown eye that’s spelled RAUNI. This species of Equisetum is known from very mesic soils and in the area of humble in which I was seeing them, I believe that they are annually, deciduous producing new sprouts from an underground to rise zone. This means that their growth is fast numerous and even in the Midsomer, I was seeing various shoots of different ages and sizes within individual stands.
I wanted to make a realistic model that could hold onto each subsequent segment, capture the thinness of the hairlike joints between segment, be of the correct dimension and hollowness of the familiar plant forms, and then also posess a density and ephemeral thinness of the sub-branches. This meant that I needed to scale the whope 3D print down much farther than the previous itterations of the parts.
• I used rhino, alternating between mesh and surface operations at 1 to 1 intended scale, ultimately aiming to have "rebuilt" meshes with consistent faces and a reasonable face count.
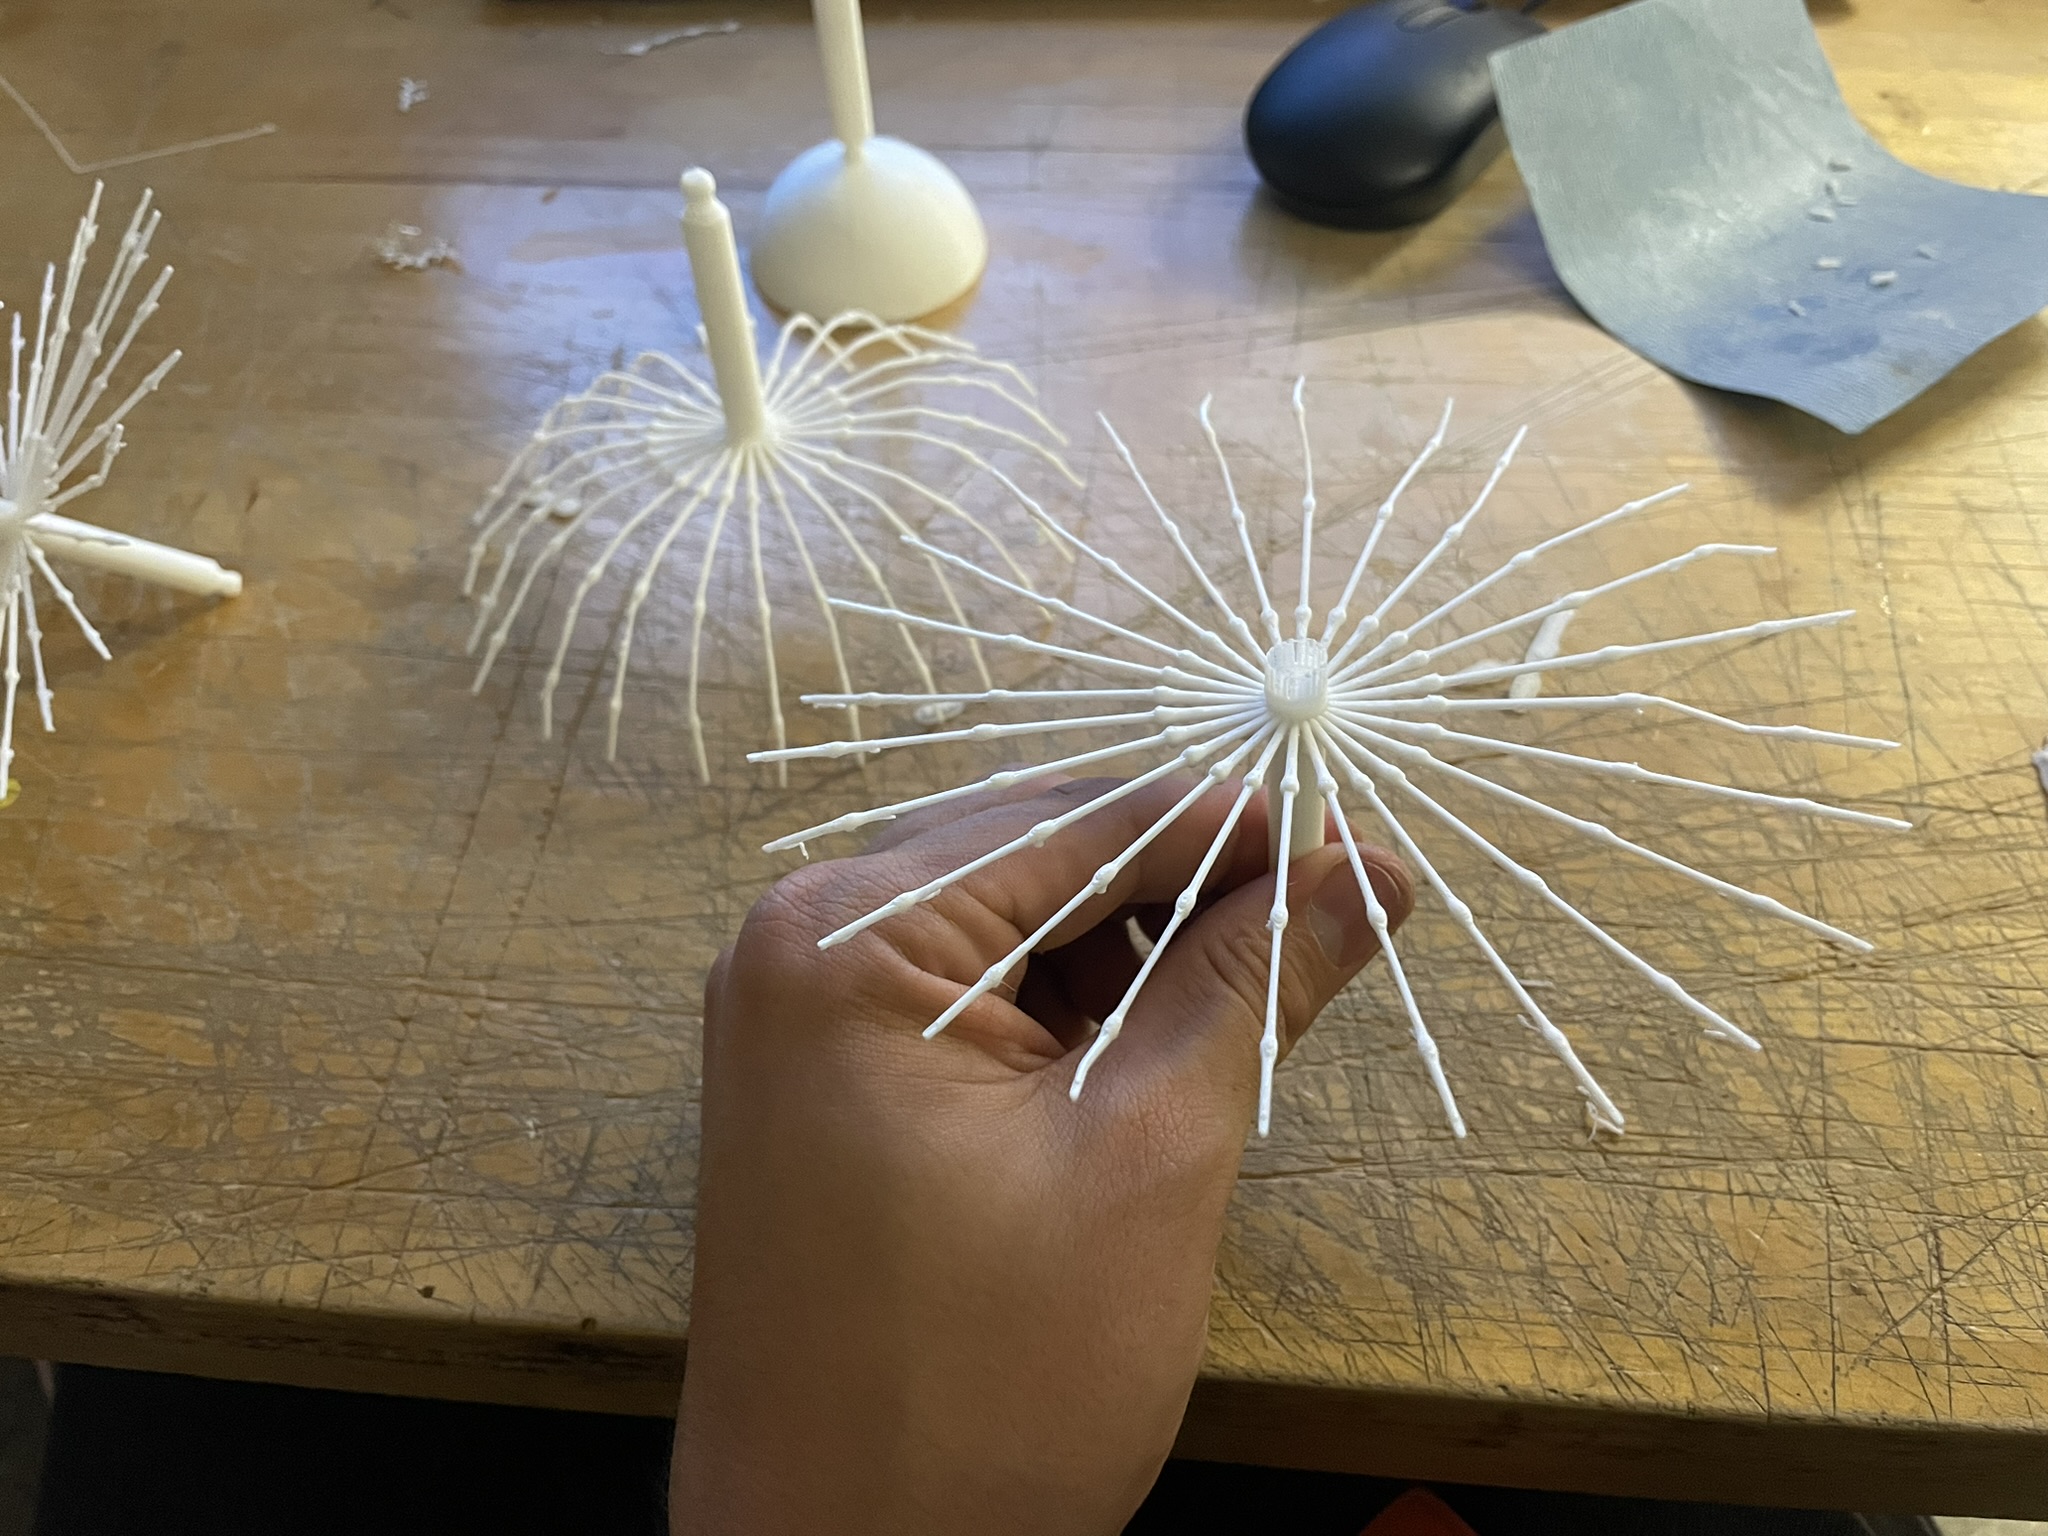
• Using images of botanical cross sections I settled on a 24pt polar symmetry, and it ended up looking and feeling pretty good.
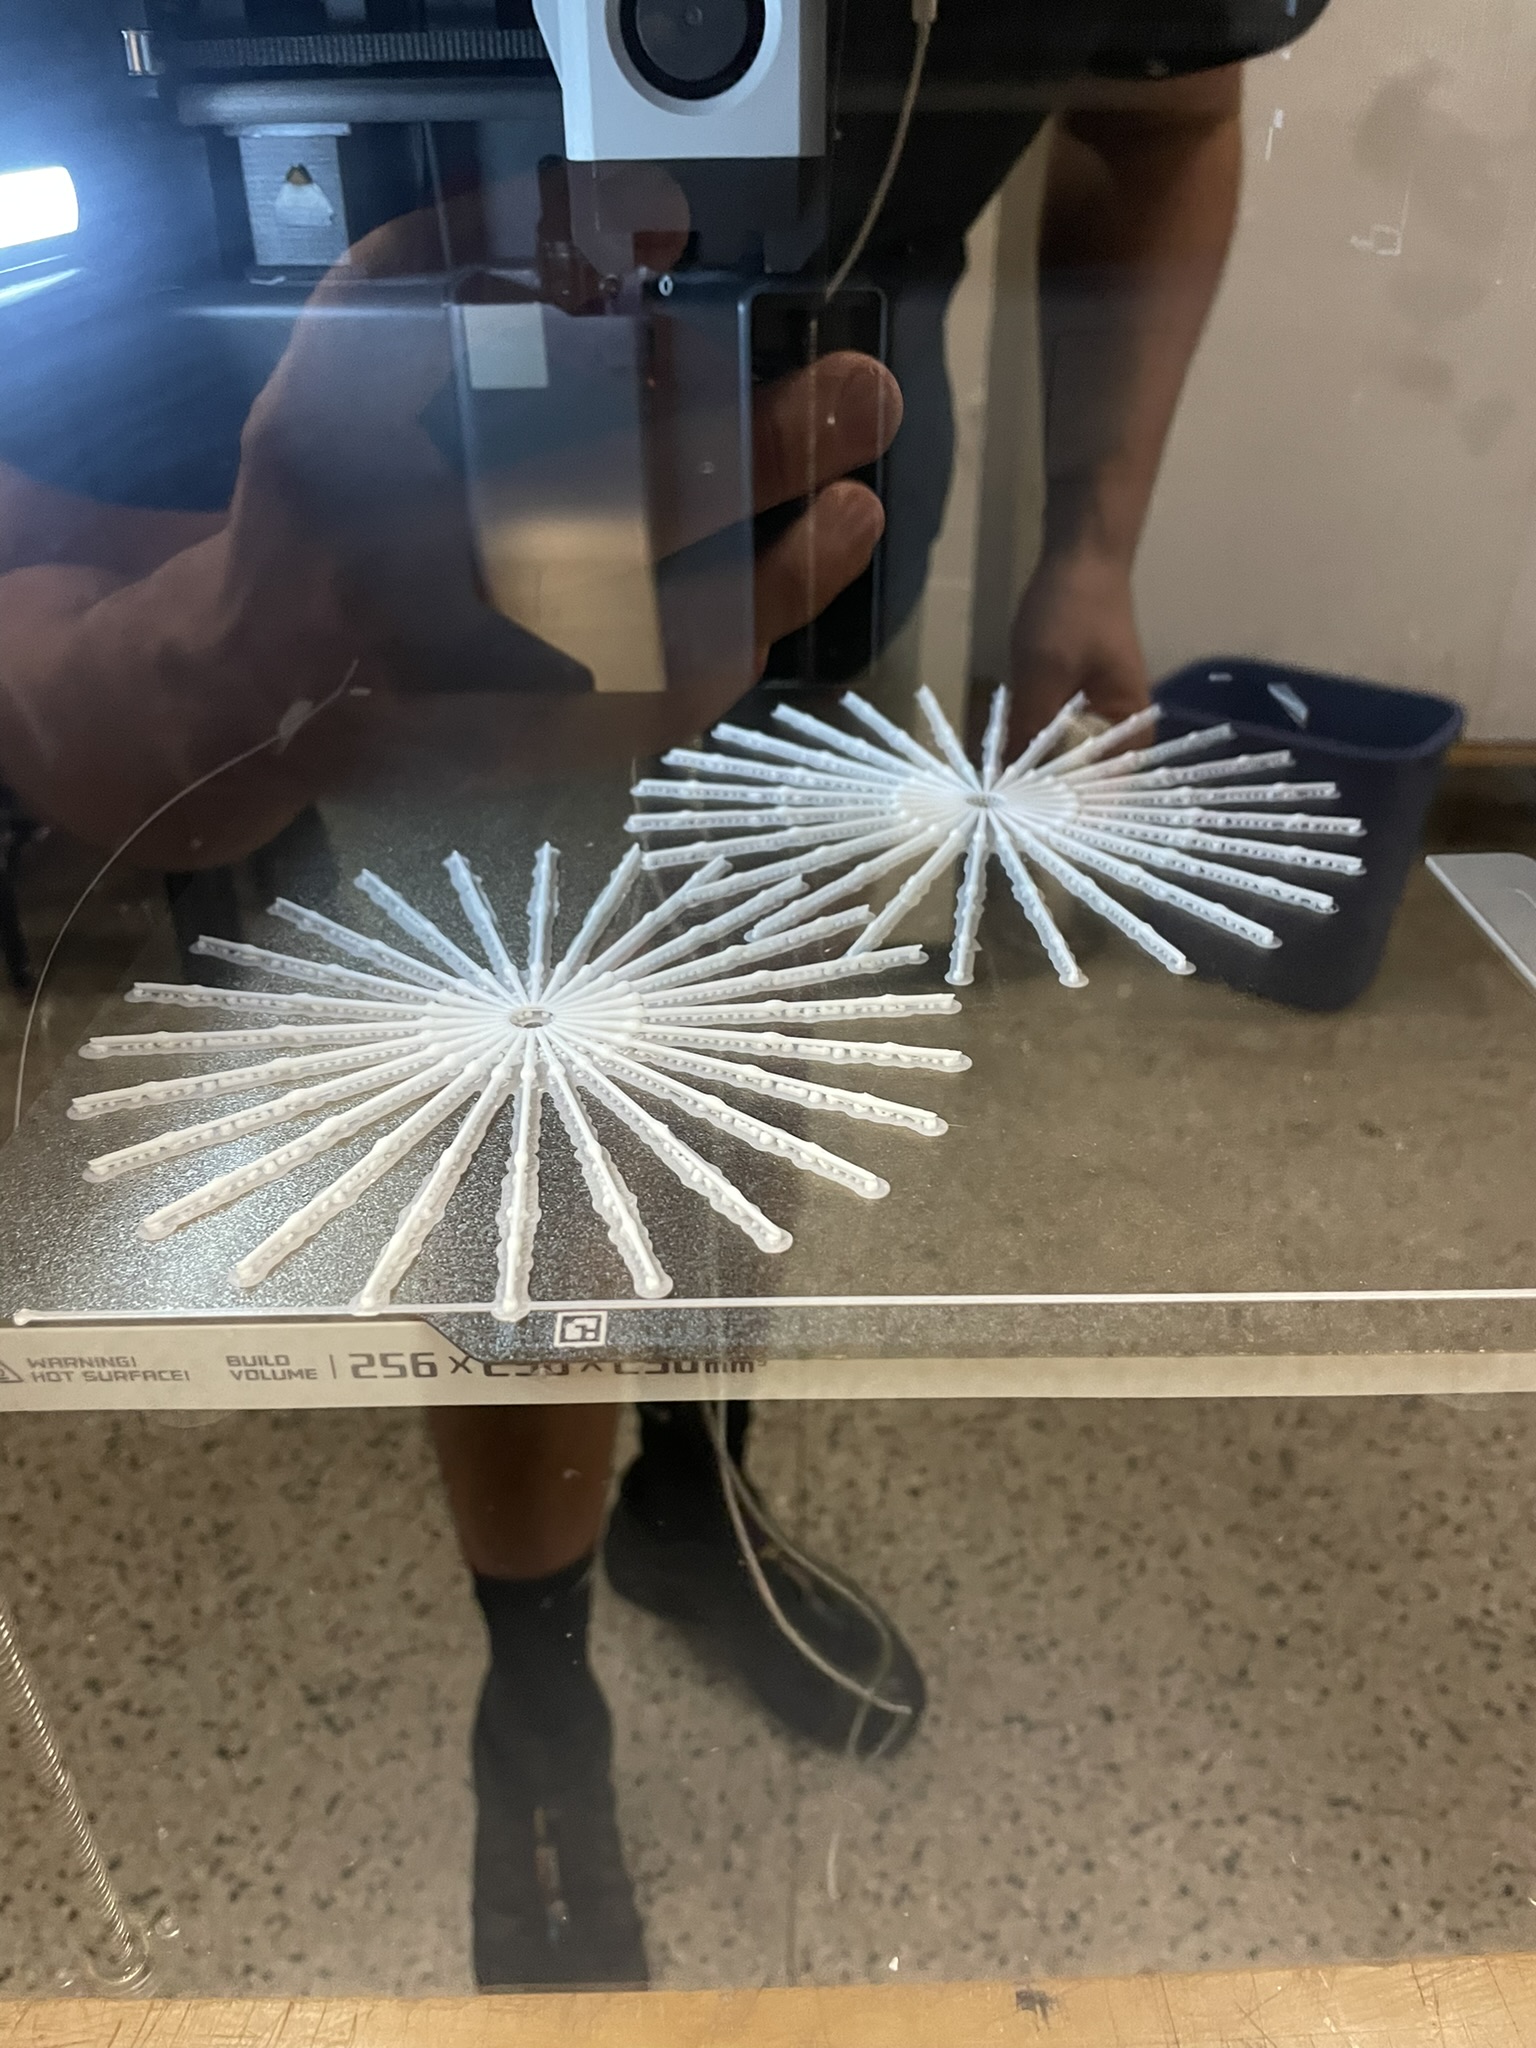
• The printer is a bambulab printer in the architecture department, using the default white fillament.
• The printer slicer is Bambus native,
Problems encountered when persuing these several moments of thinness involved:
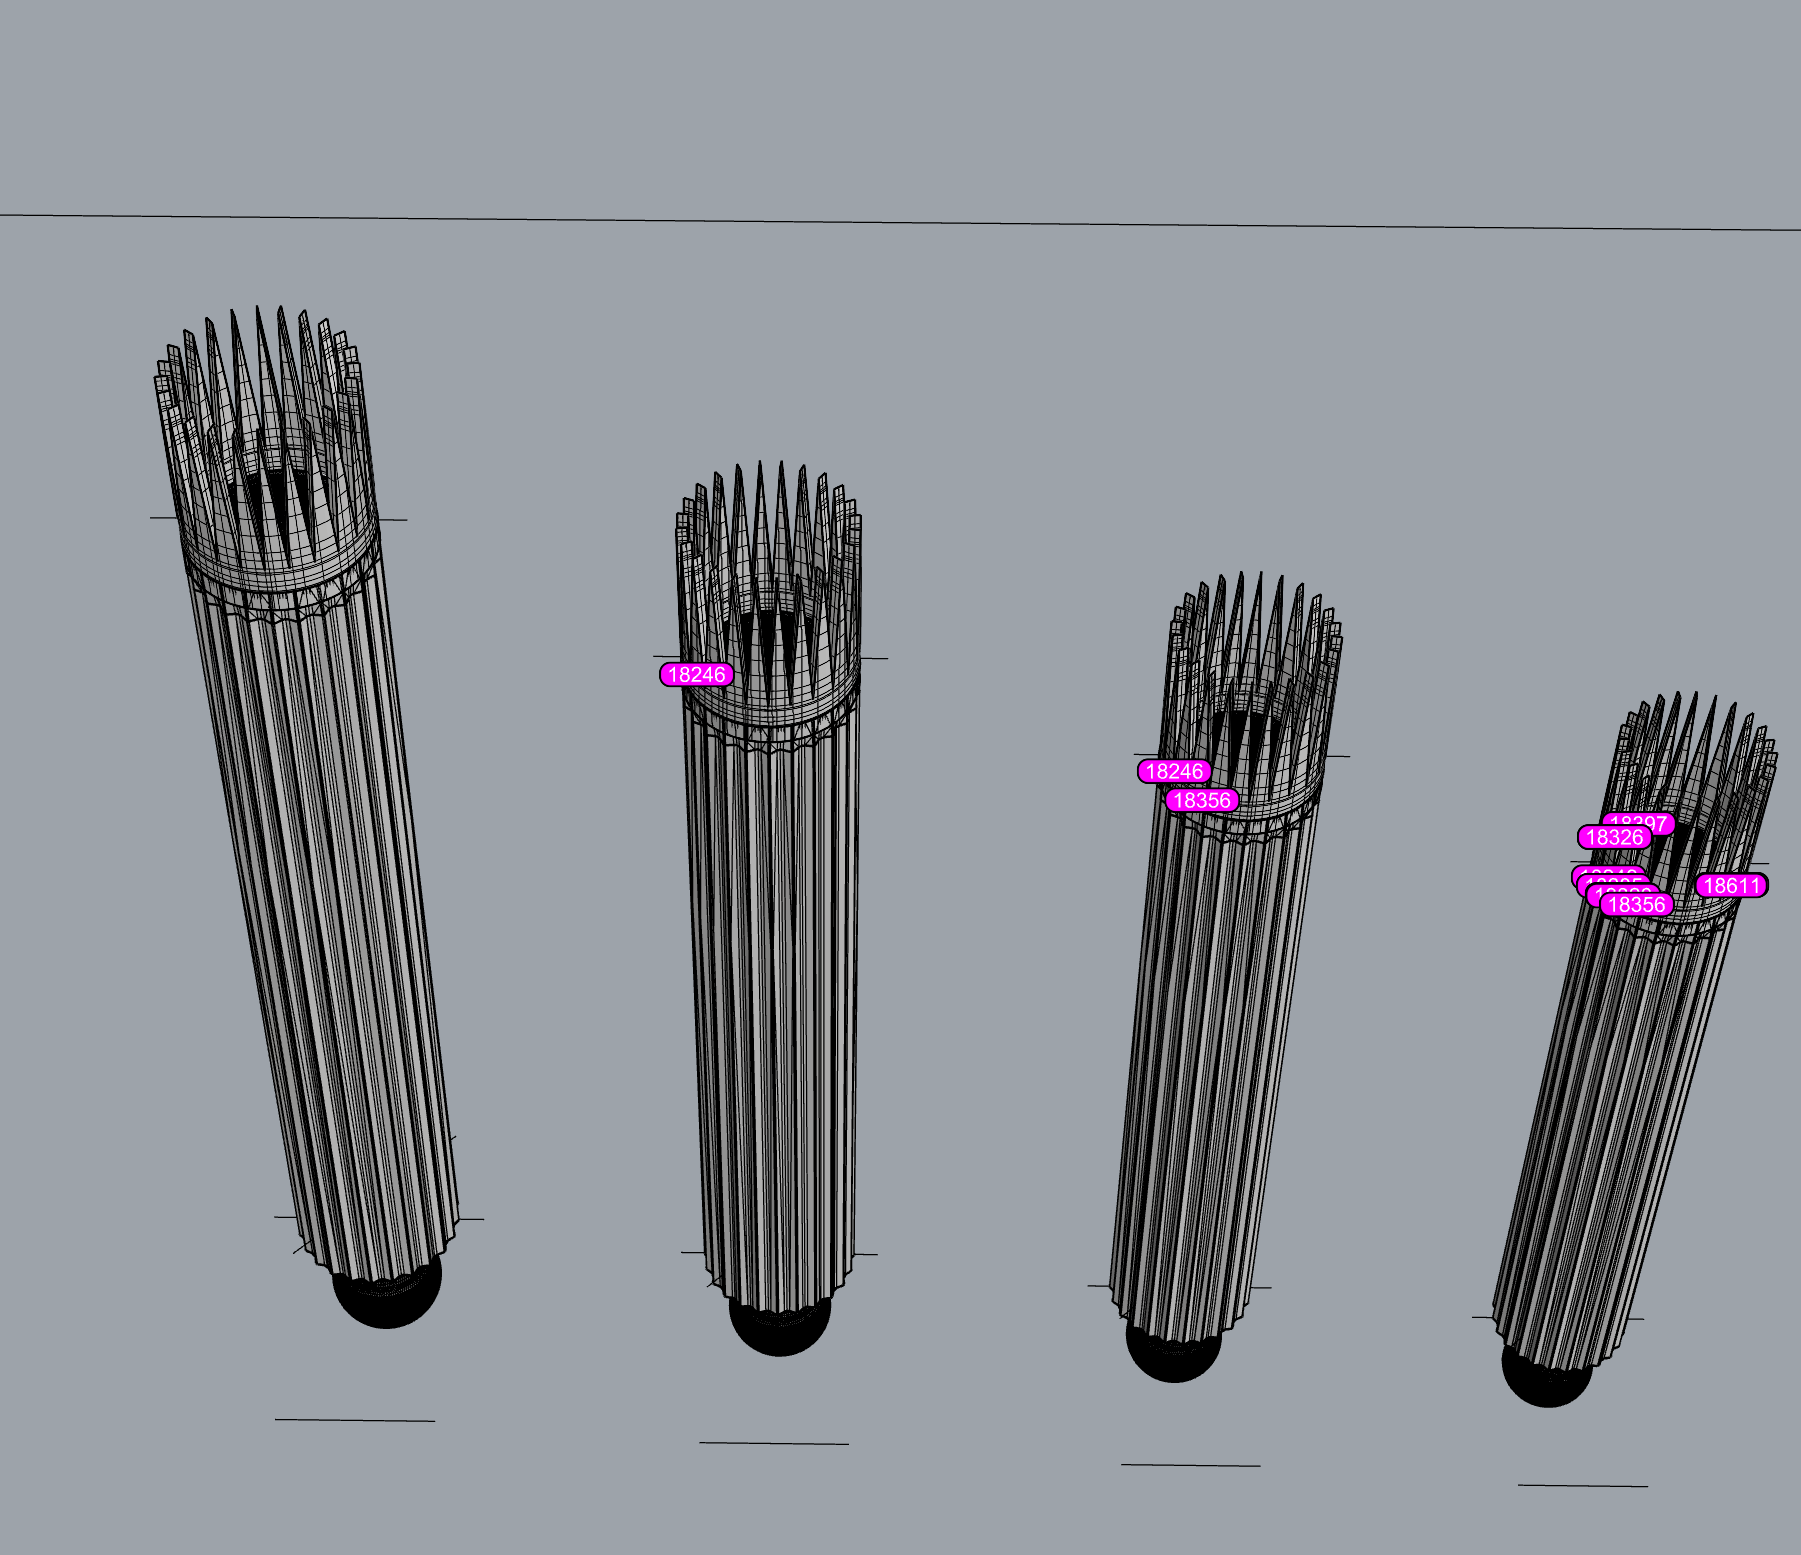
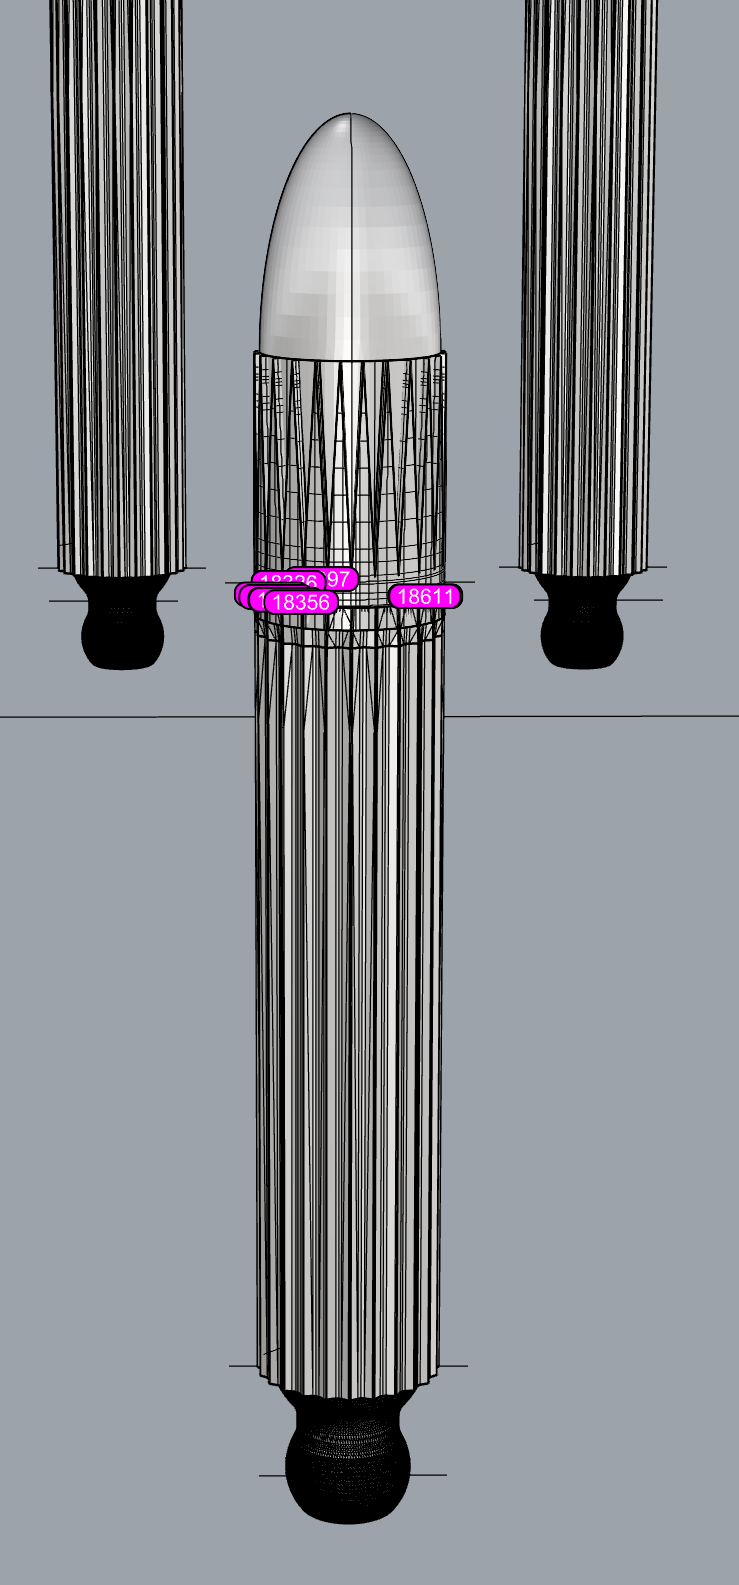
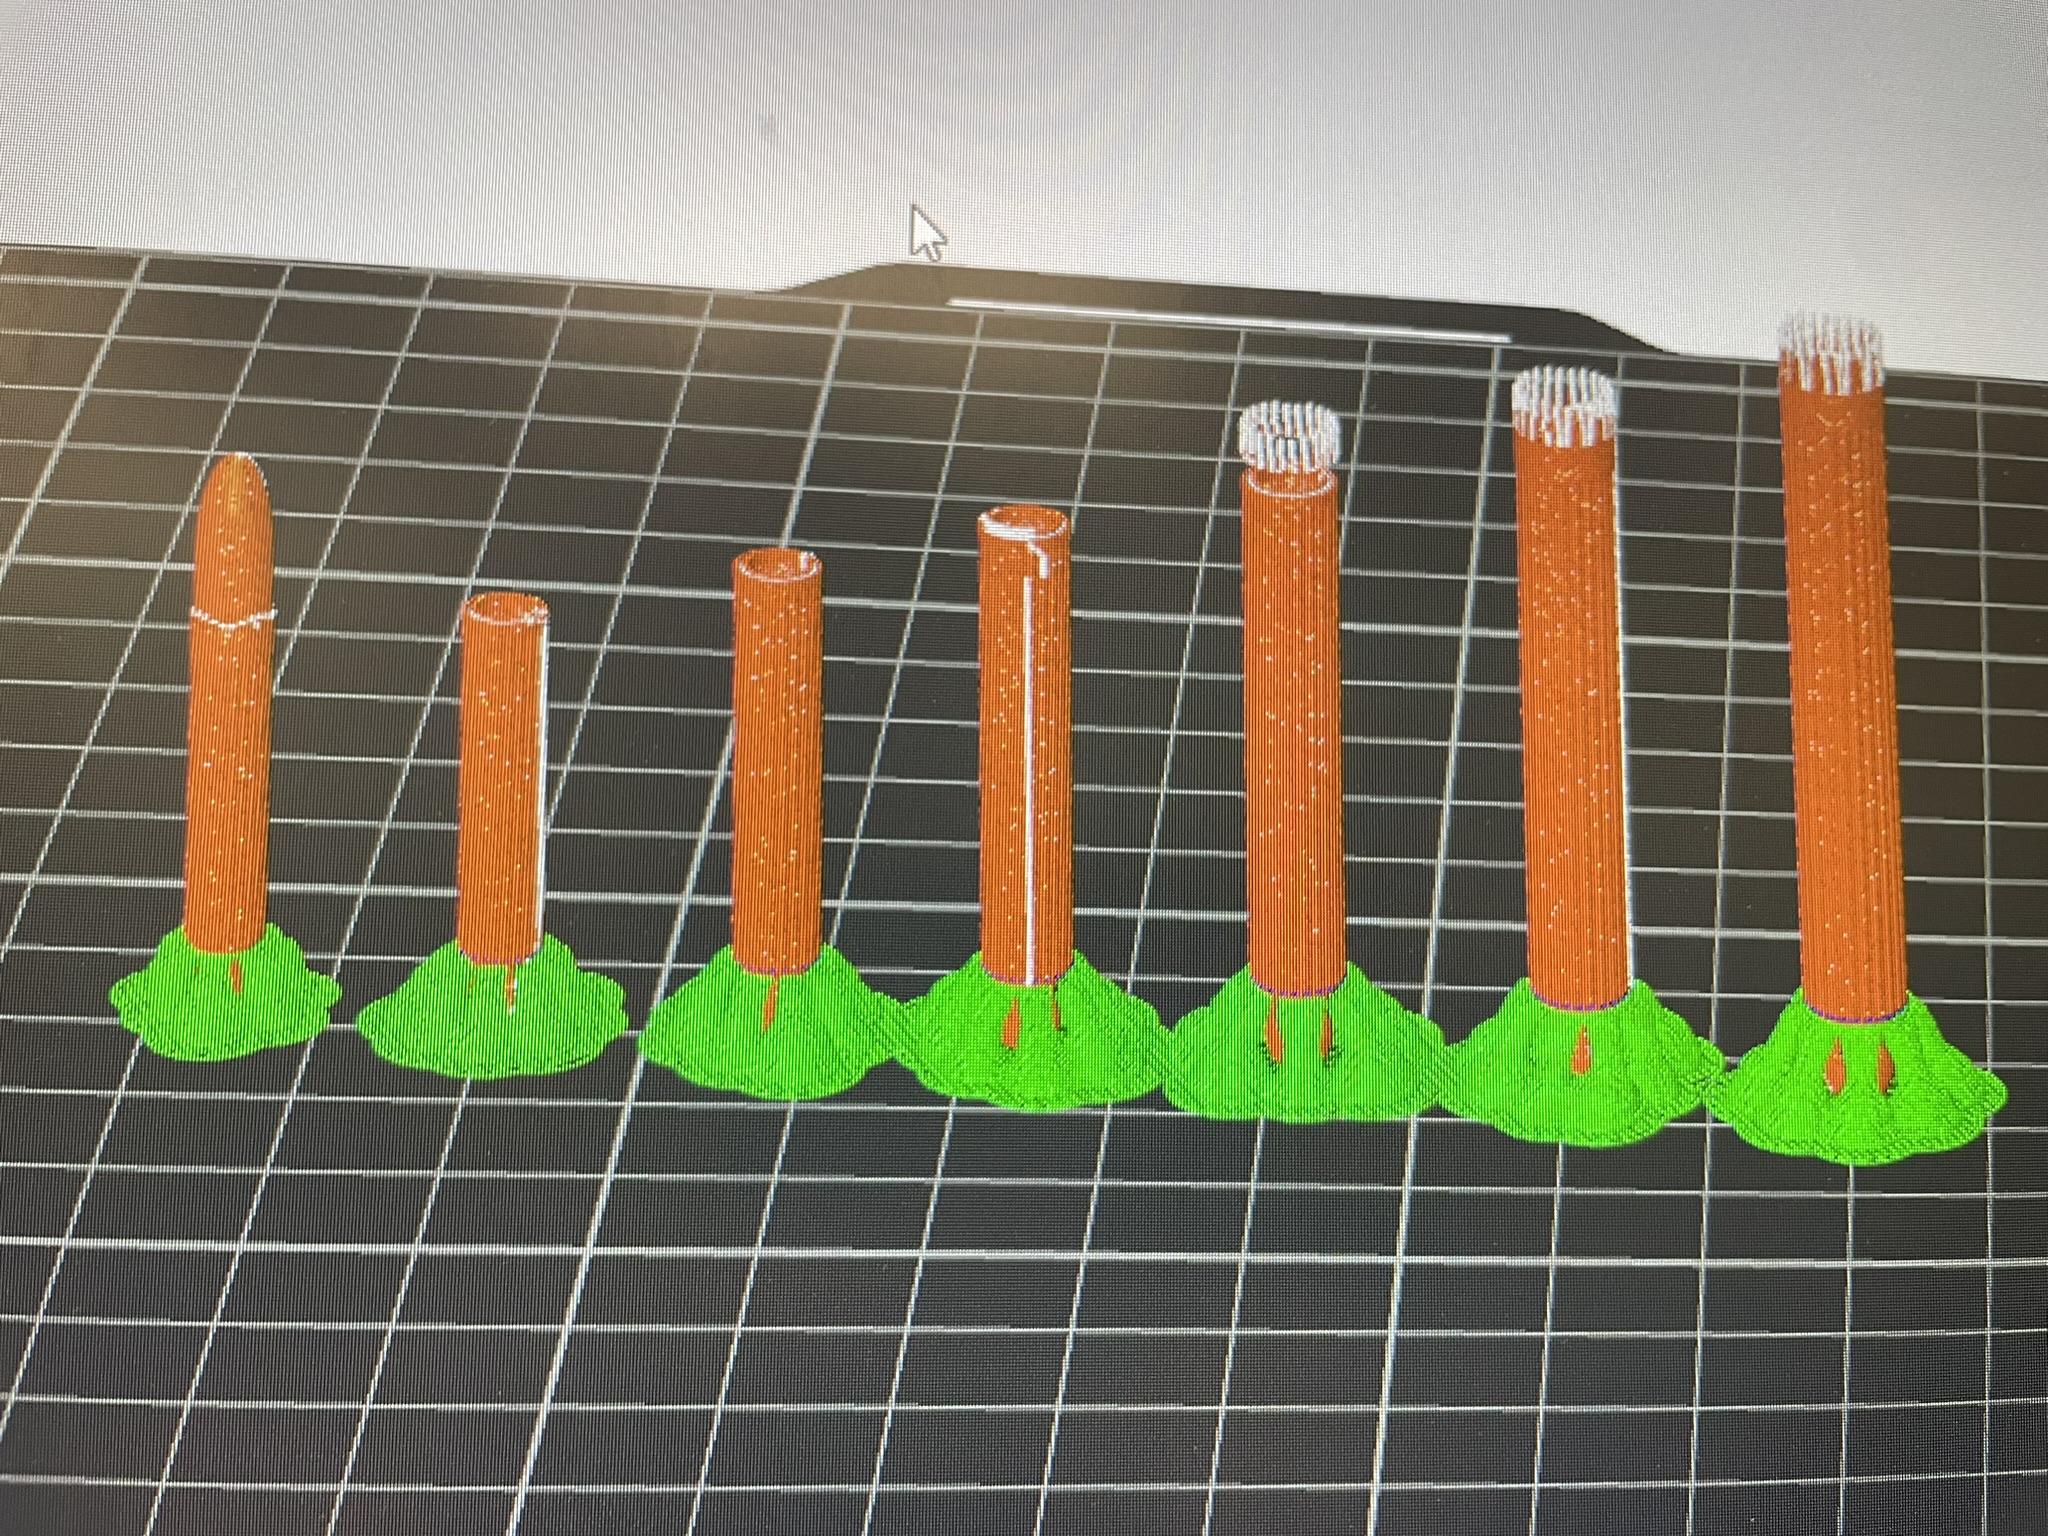
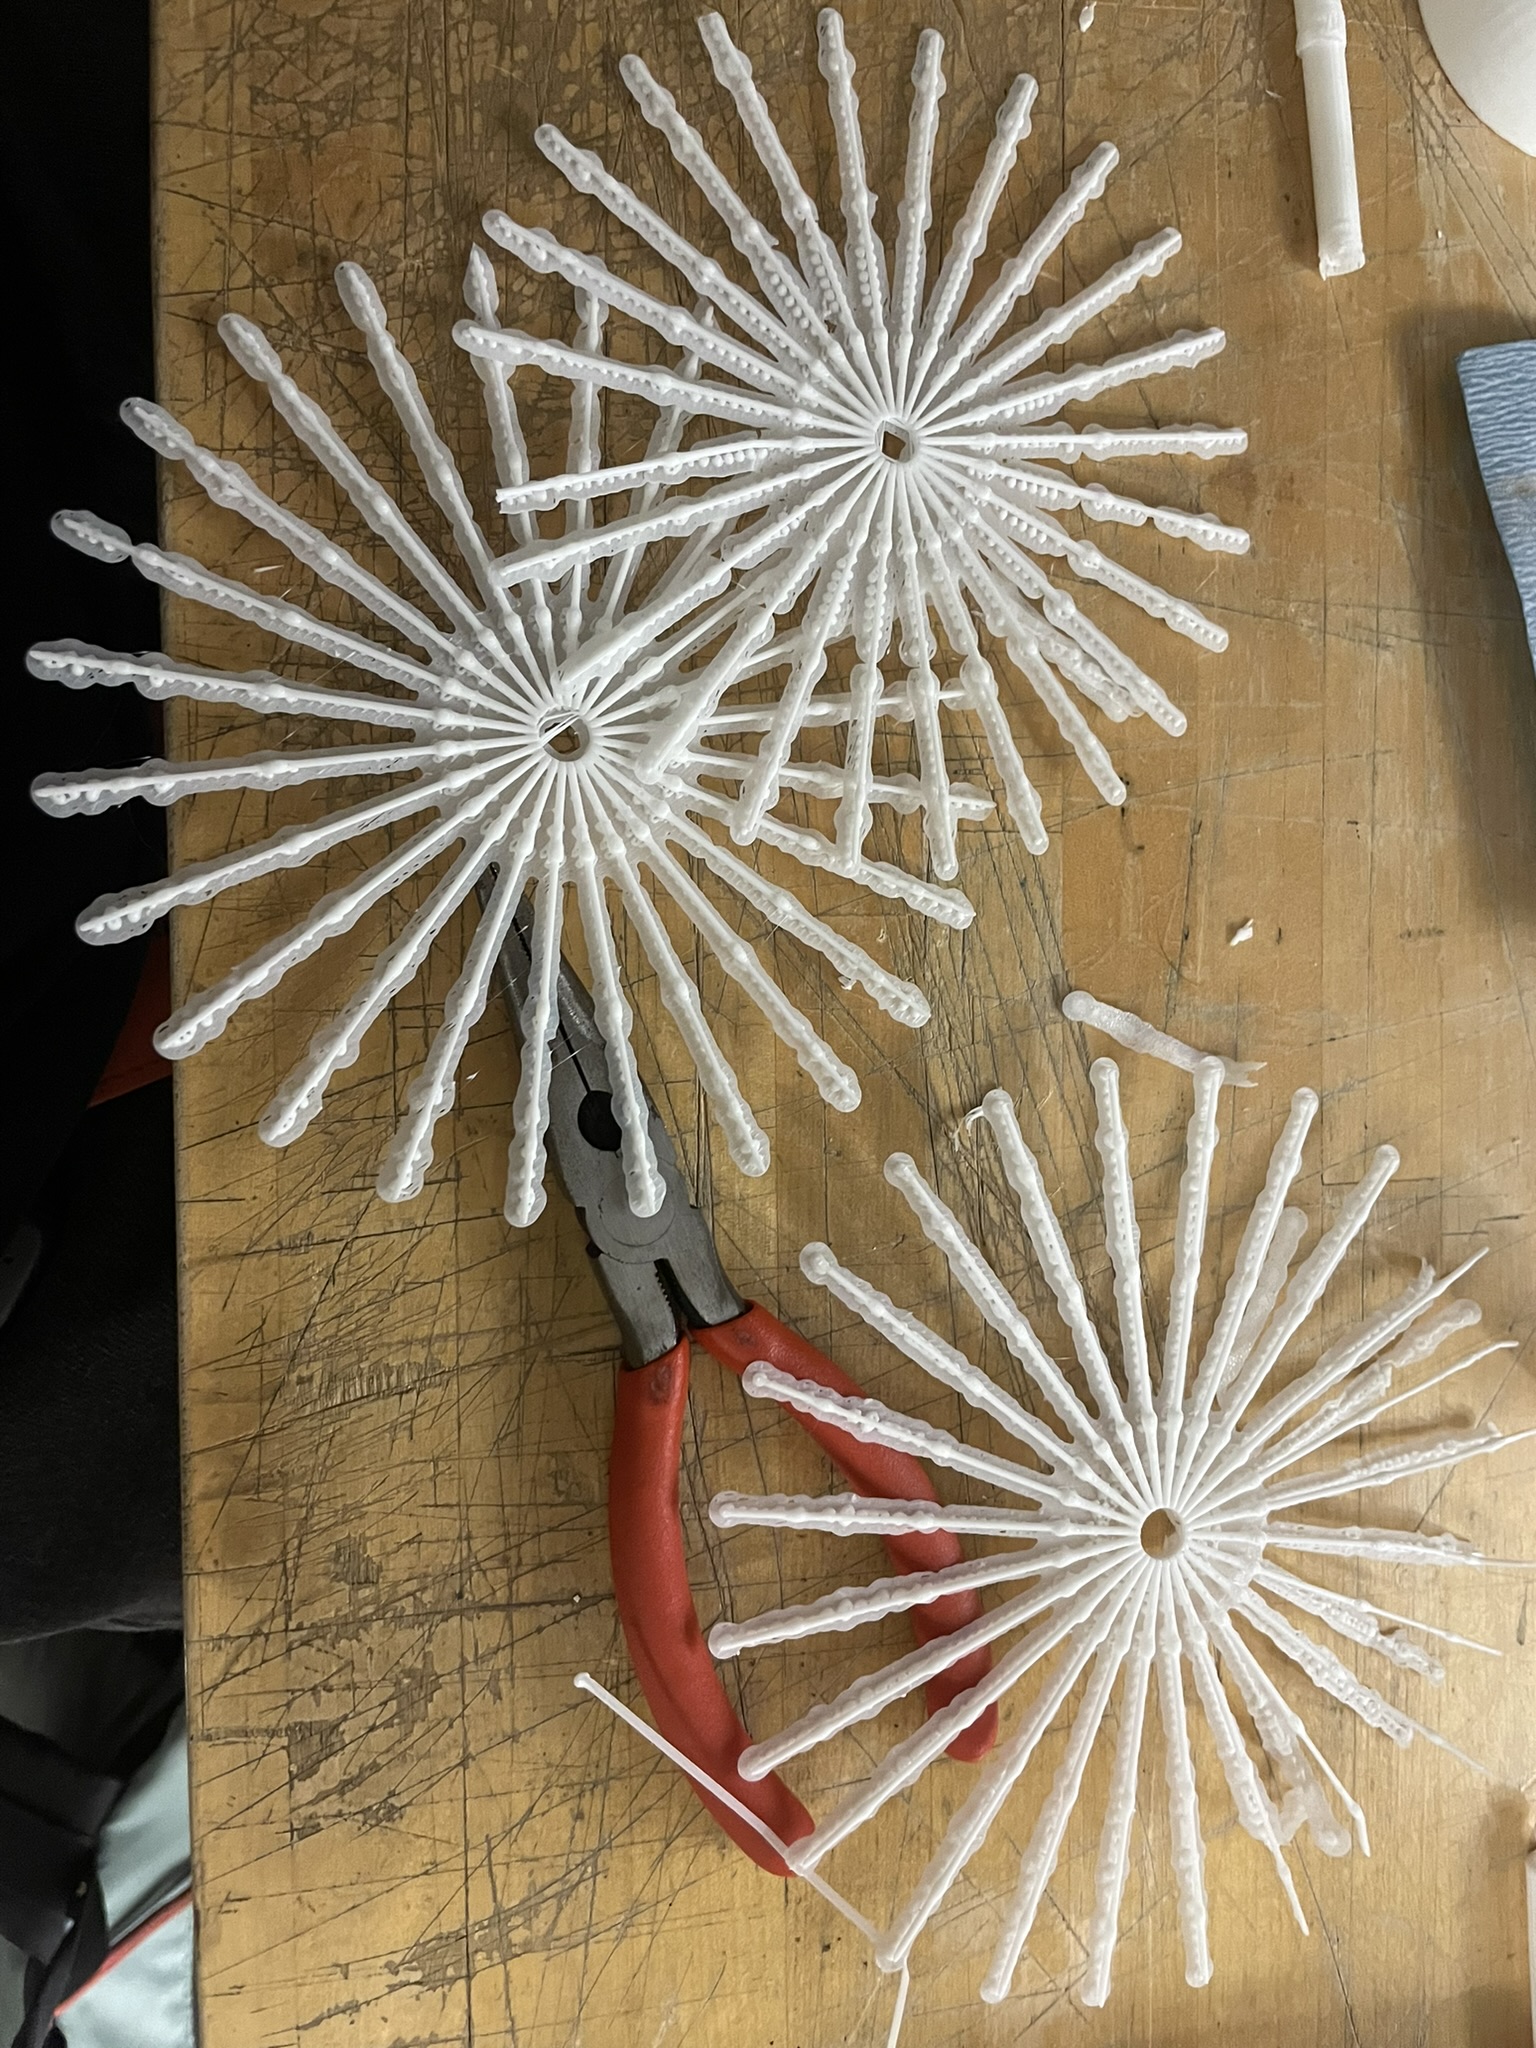
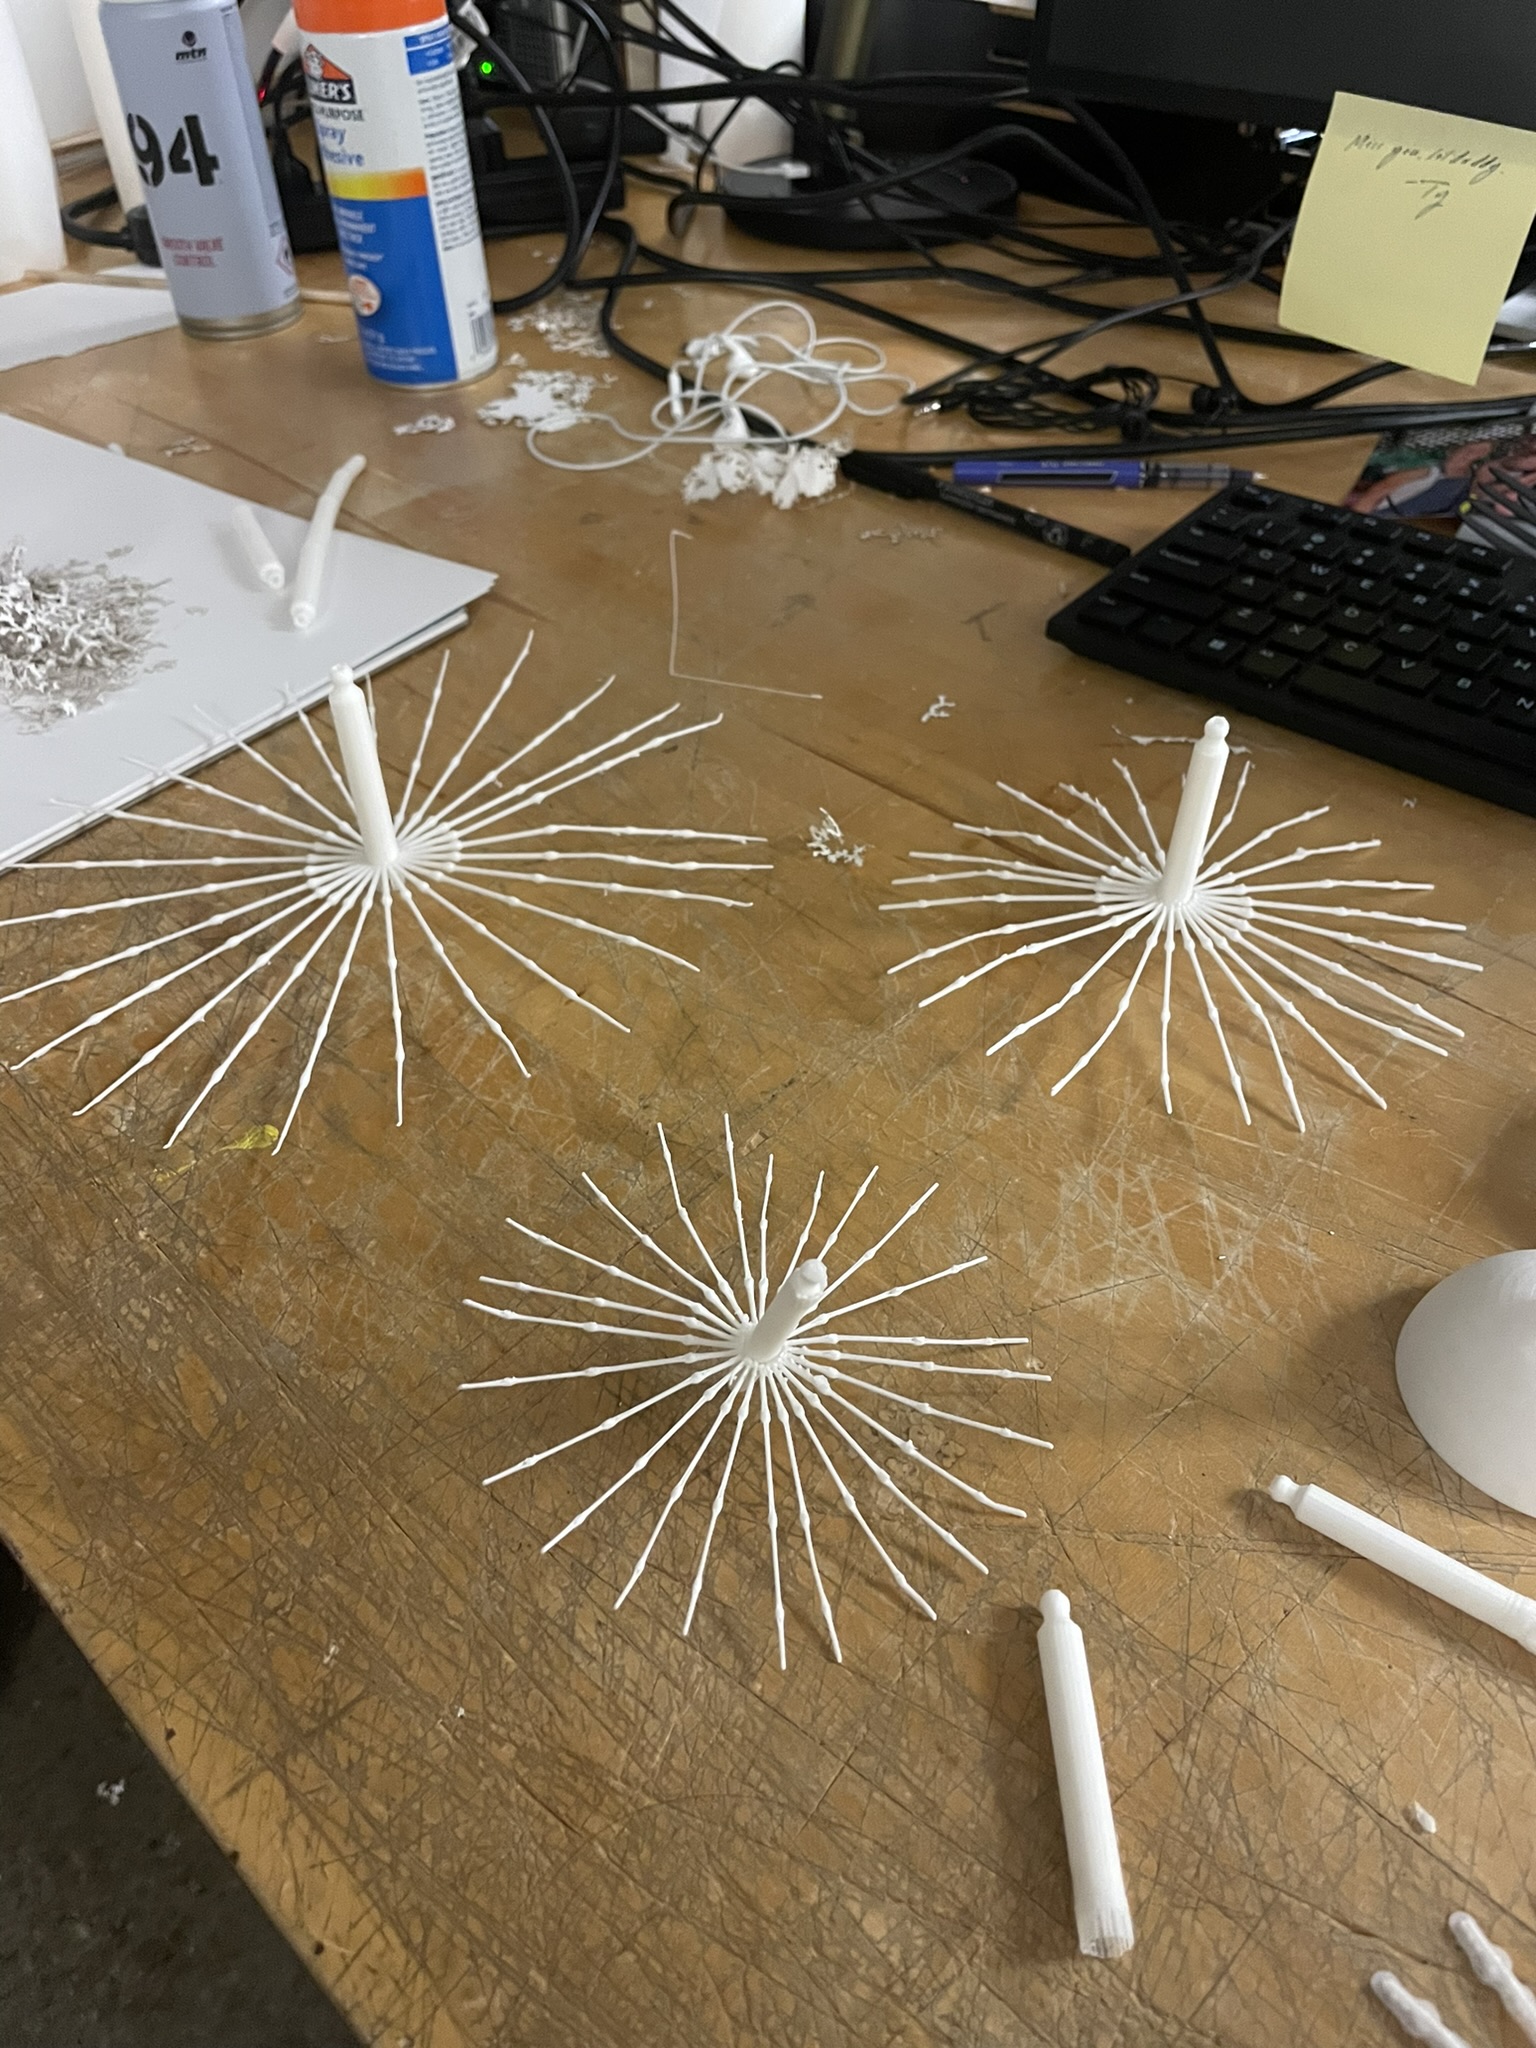
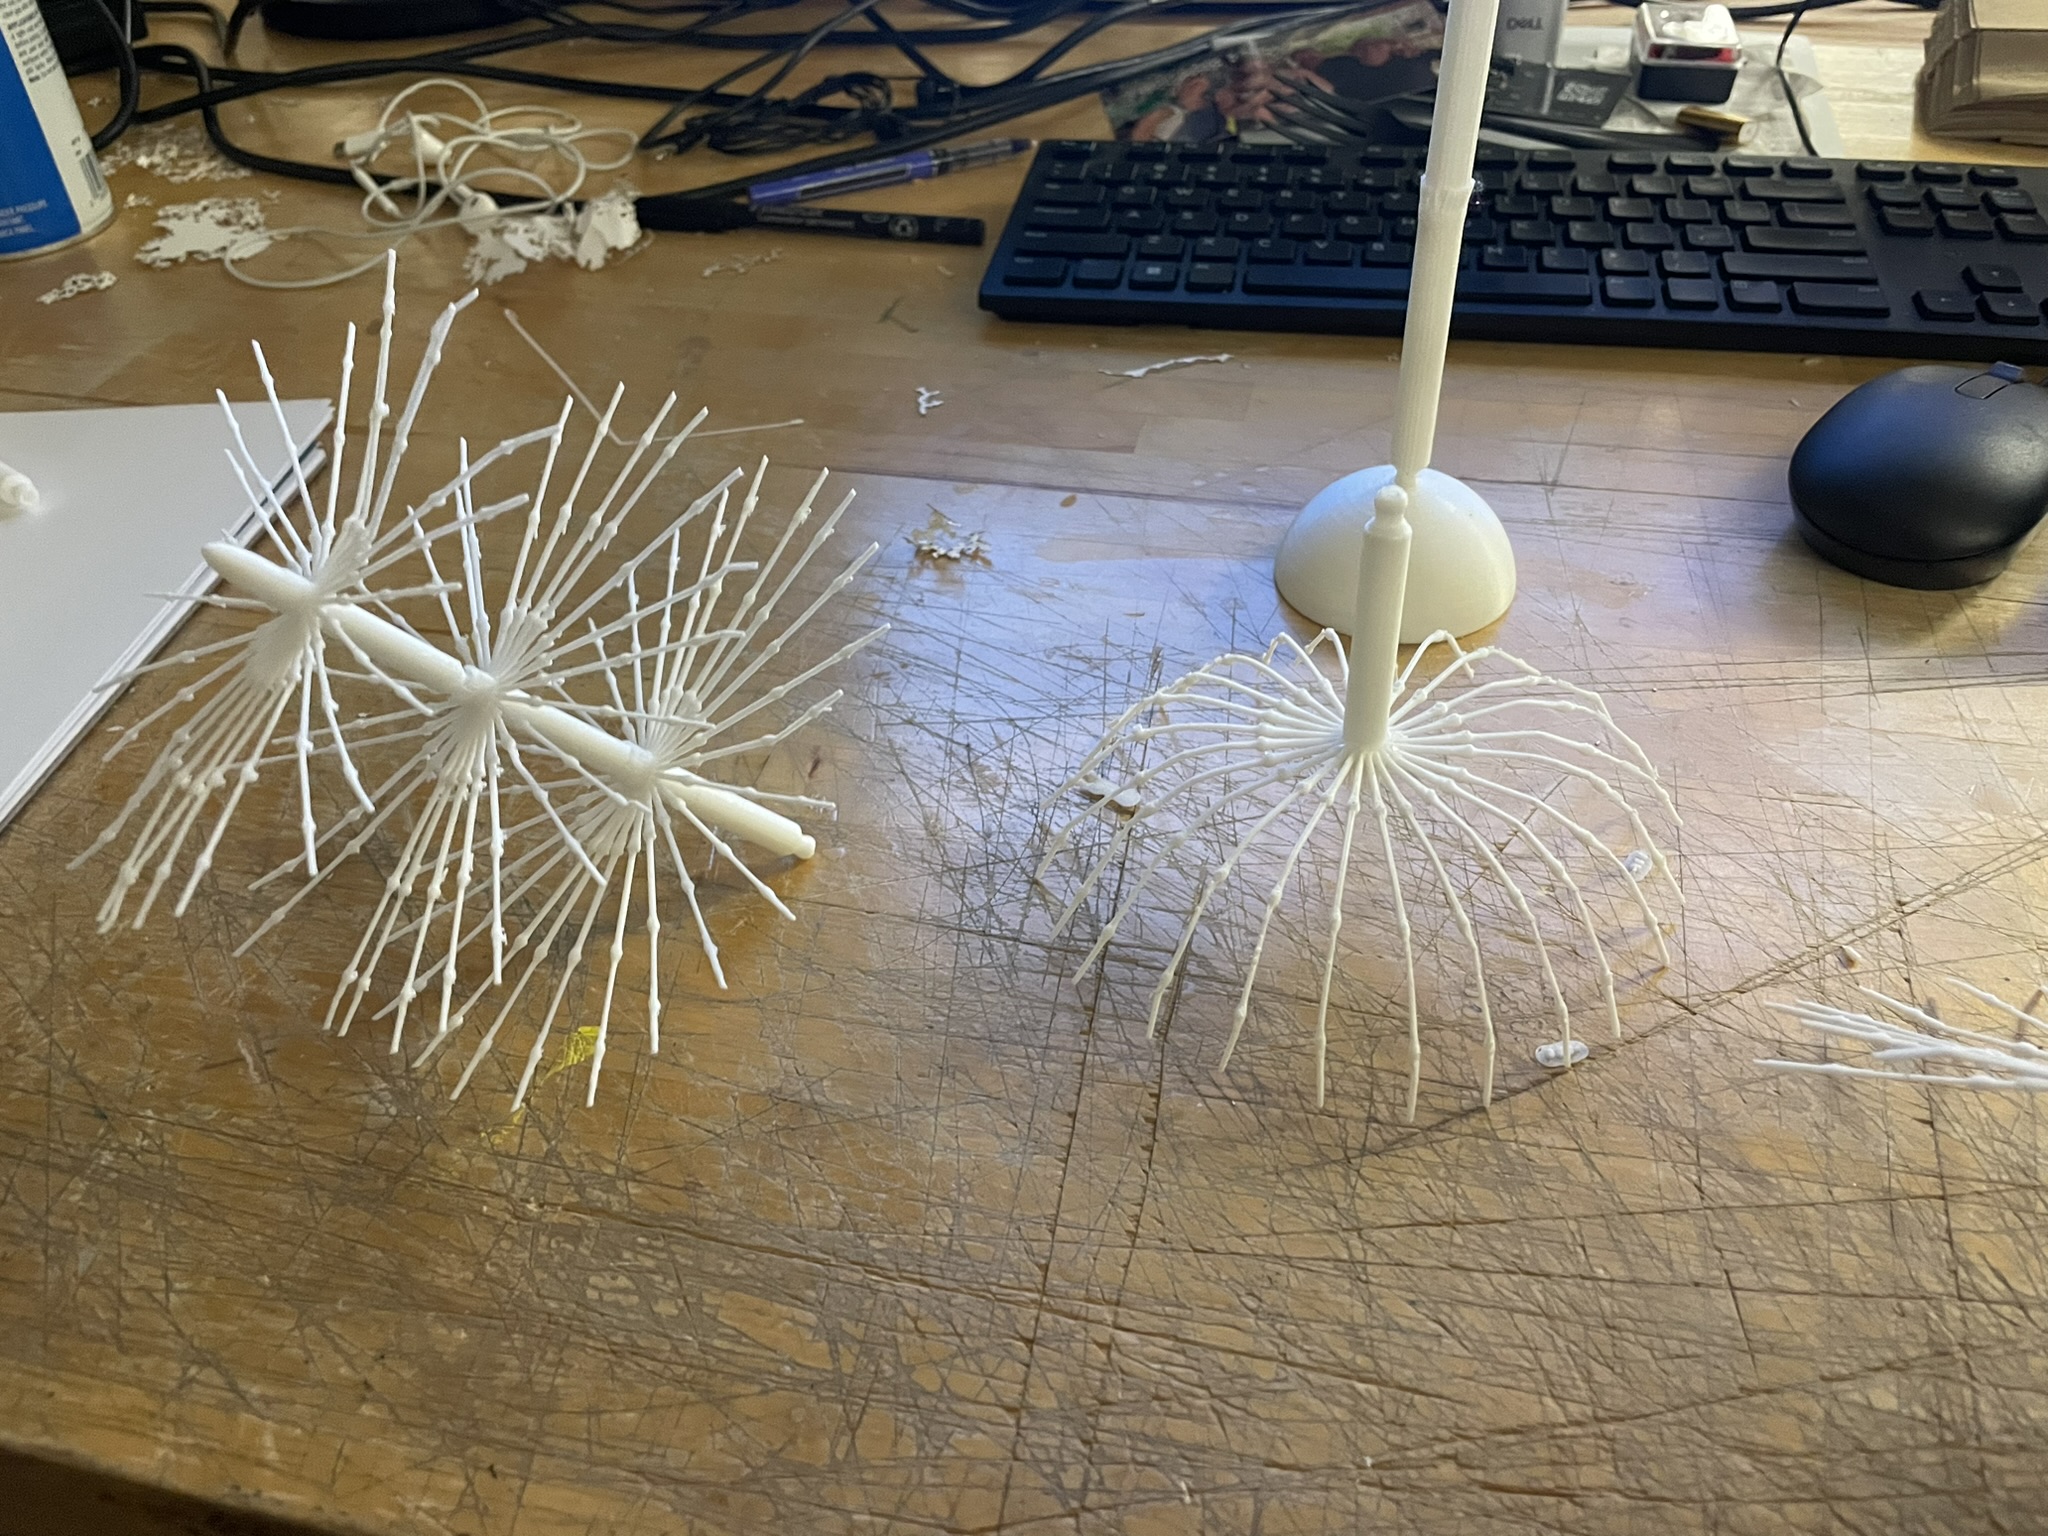
• avoiding floating regions in the stl file, and required enlarging of the parts by 25% so that the slicer started reading the thin walls. The branches were designed to be around .4mm thin at their thinnest, and the joint hairs at .4mm, which I believe is the lower limit of a single walled print on our bambulab printers (fig 11,15,16)
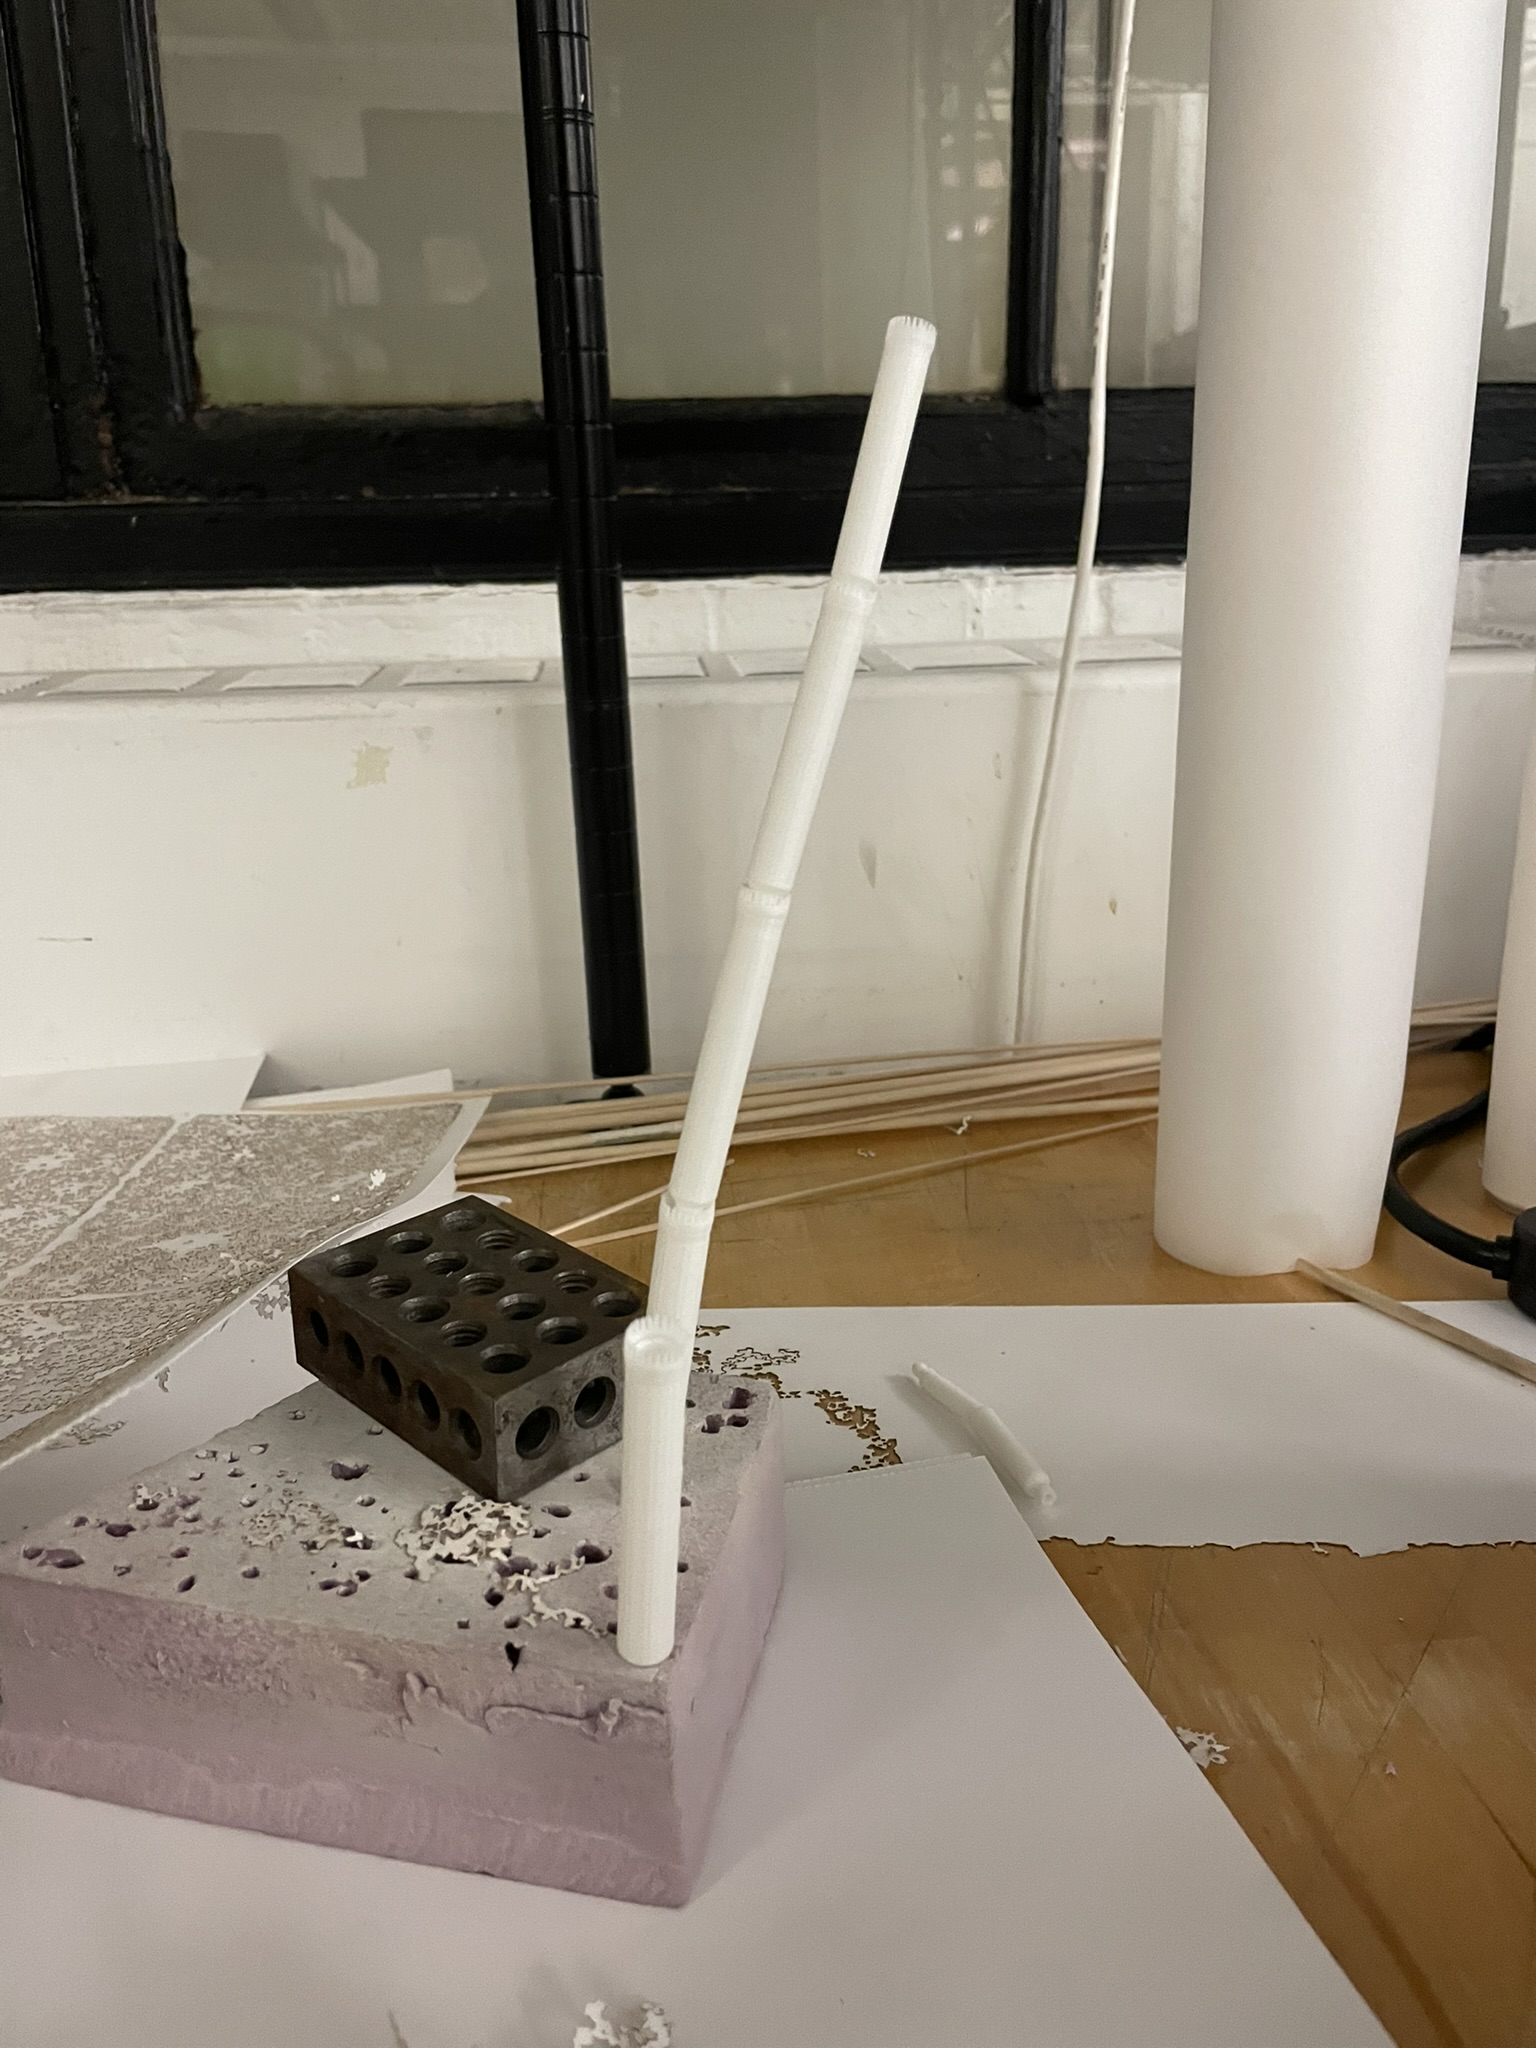
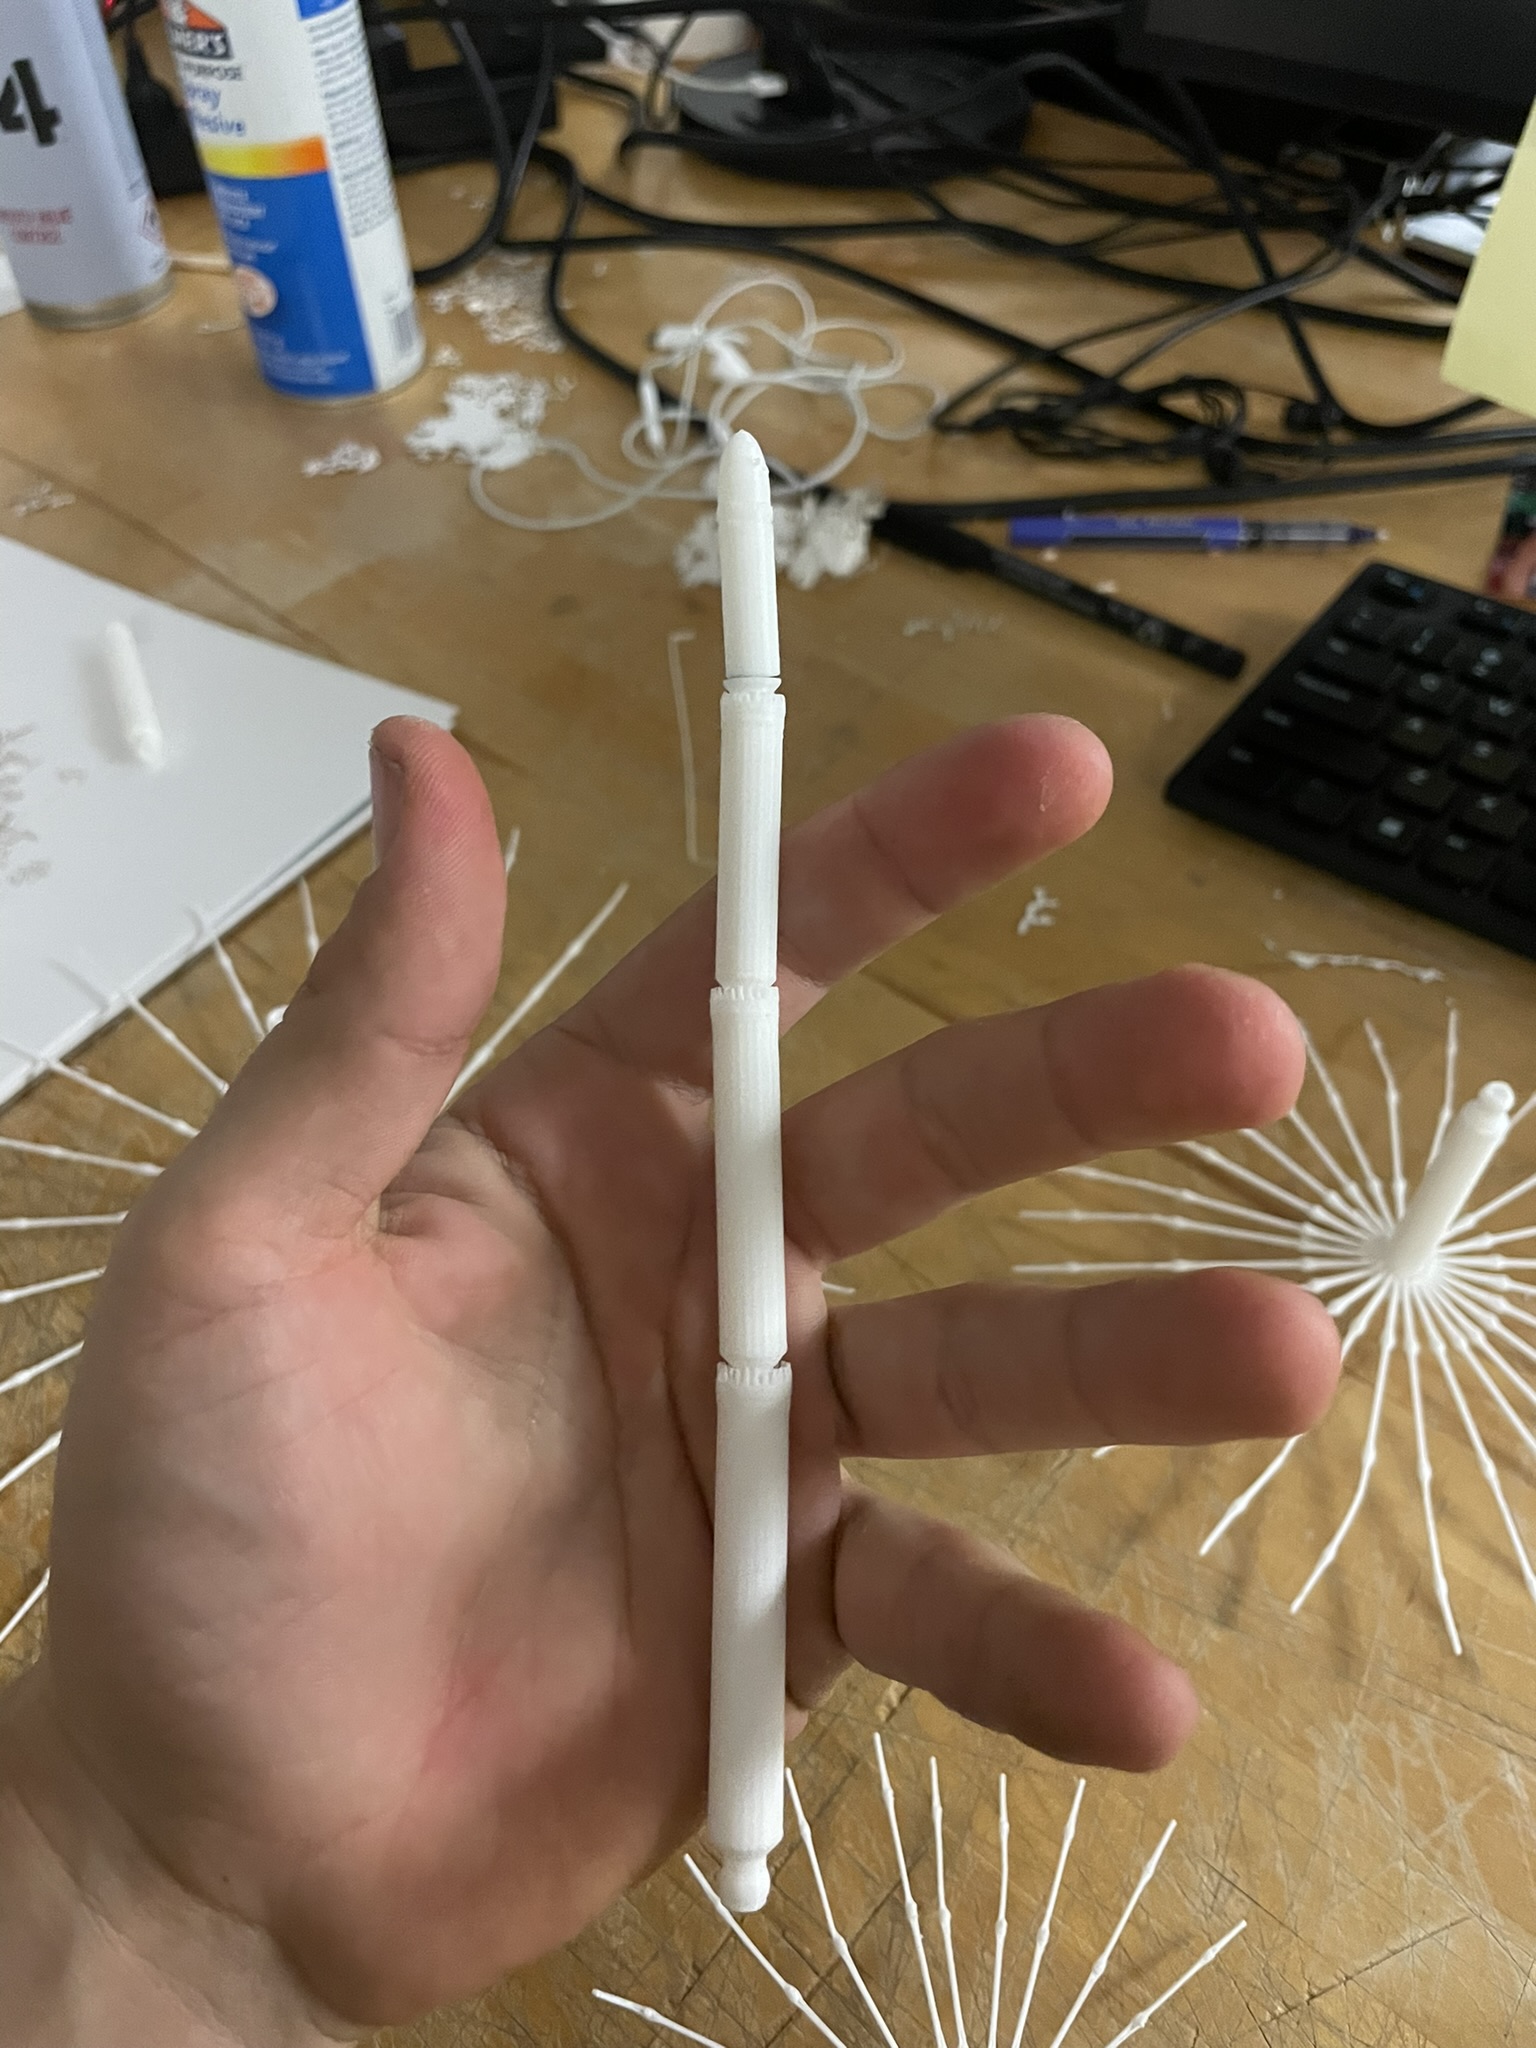
• parts kept knocking over in the printer as they got taller to avoid failure from previous point. The solution was to enable tree supports that do not have a limit for undercut angle. (fig 11, 14)
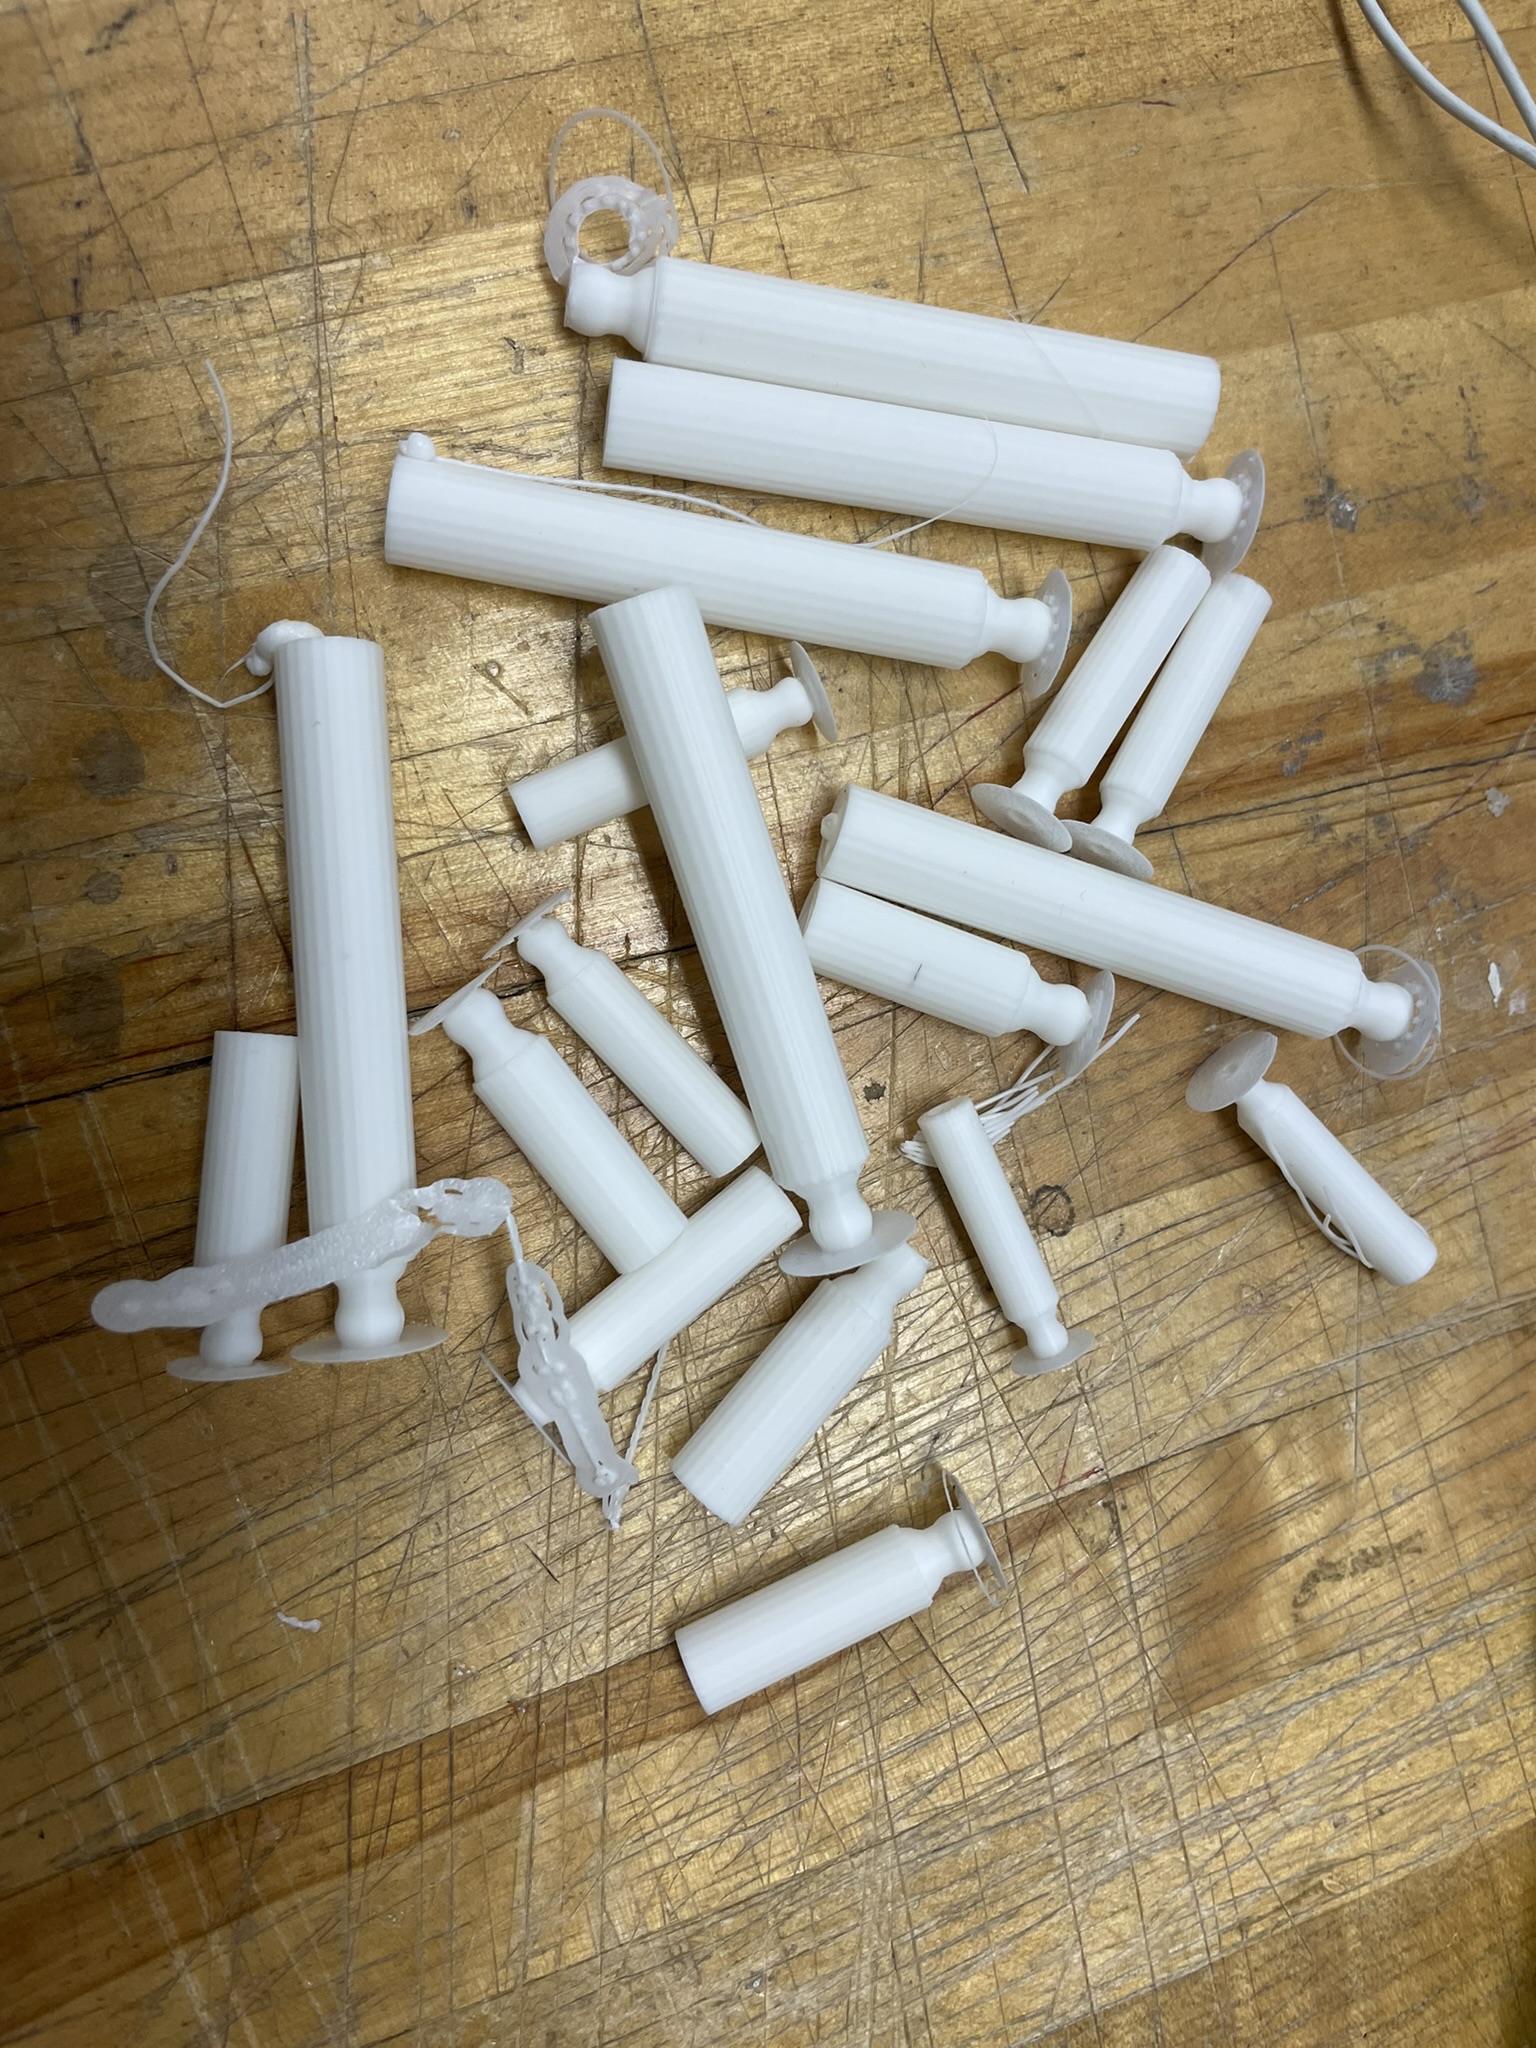
• additionally putting the captive couplings together was challenging because the single pla layer print was borederline explosive in its triangular form and tend to shatter while assembling/ , however they look so much like the real thing that this seems to be acceptable. This was an improvement on the first version I did (fig 18,19) which had shorter less hairy joints and left a gap between segments.• parts were bent by hand, and did not shatter at all due to the direction of the fillament, ,think anisotropic splitting of wood (fig 20,21).
SCANNING
scan file is here: file
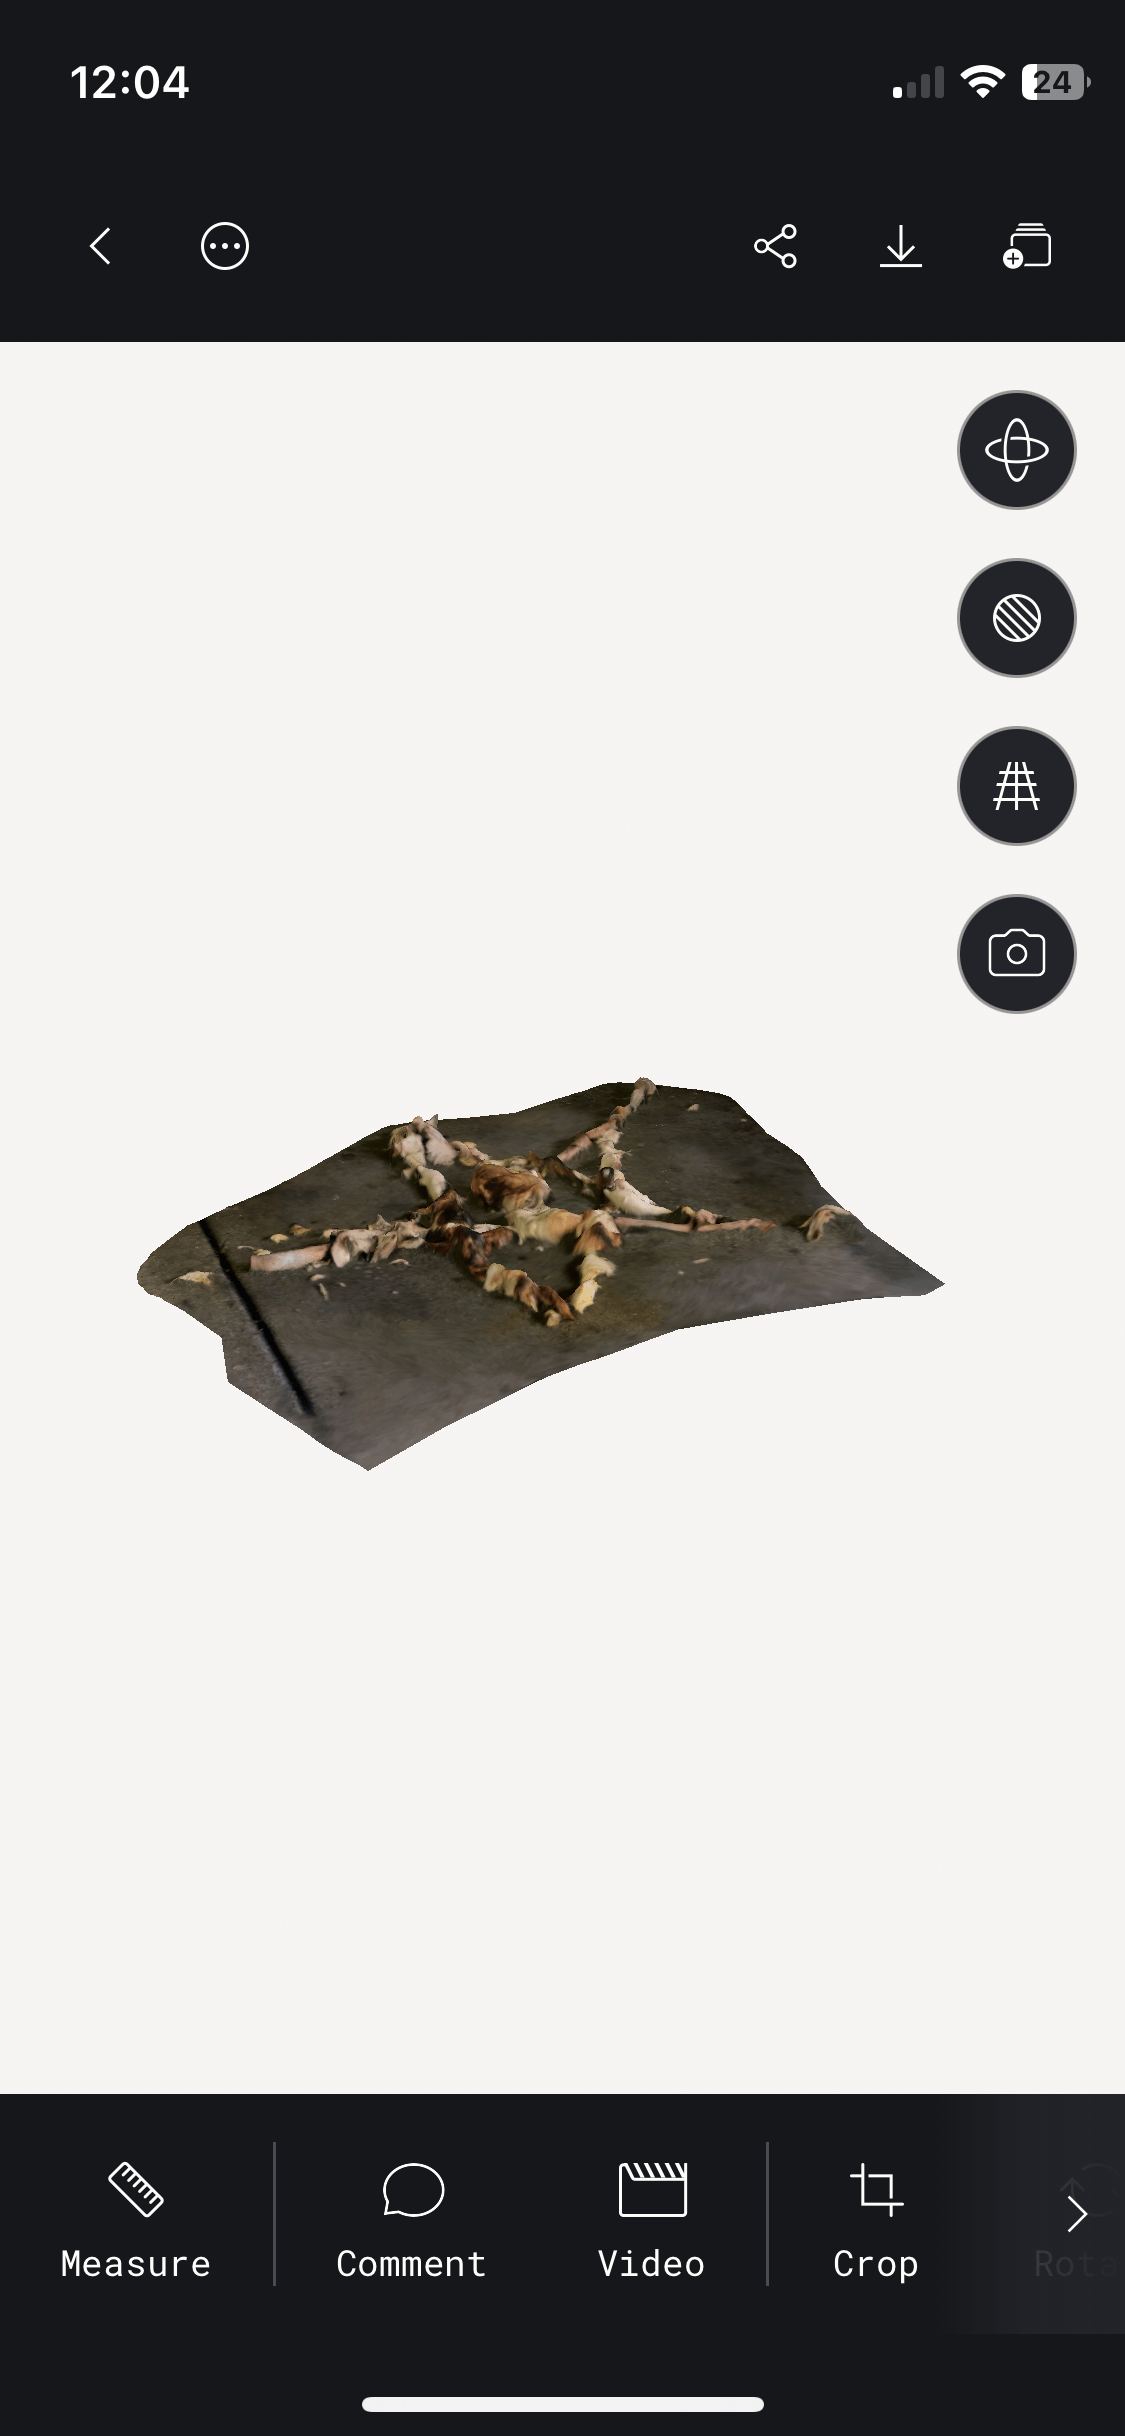
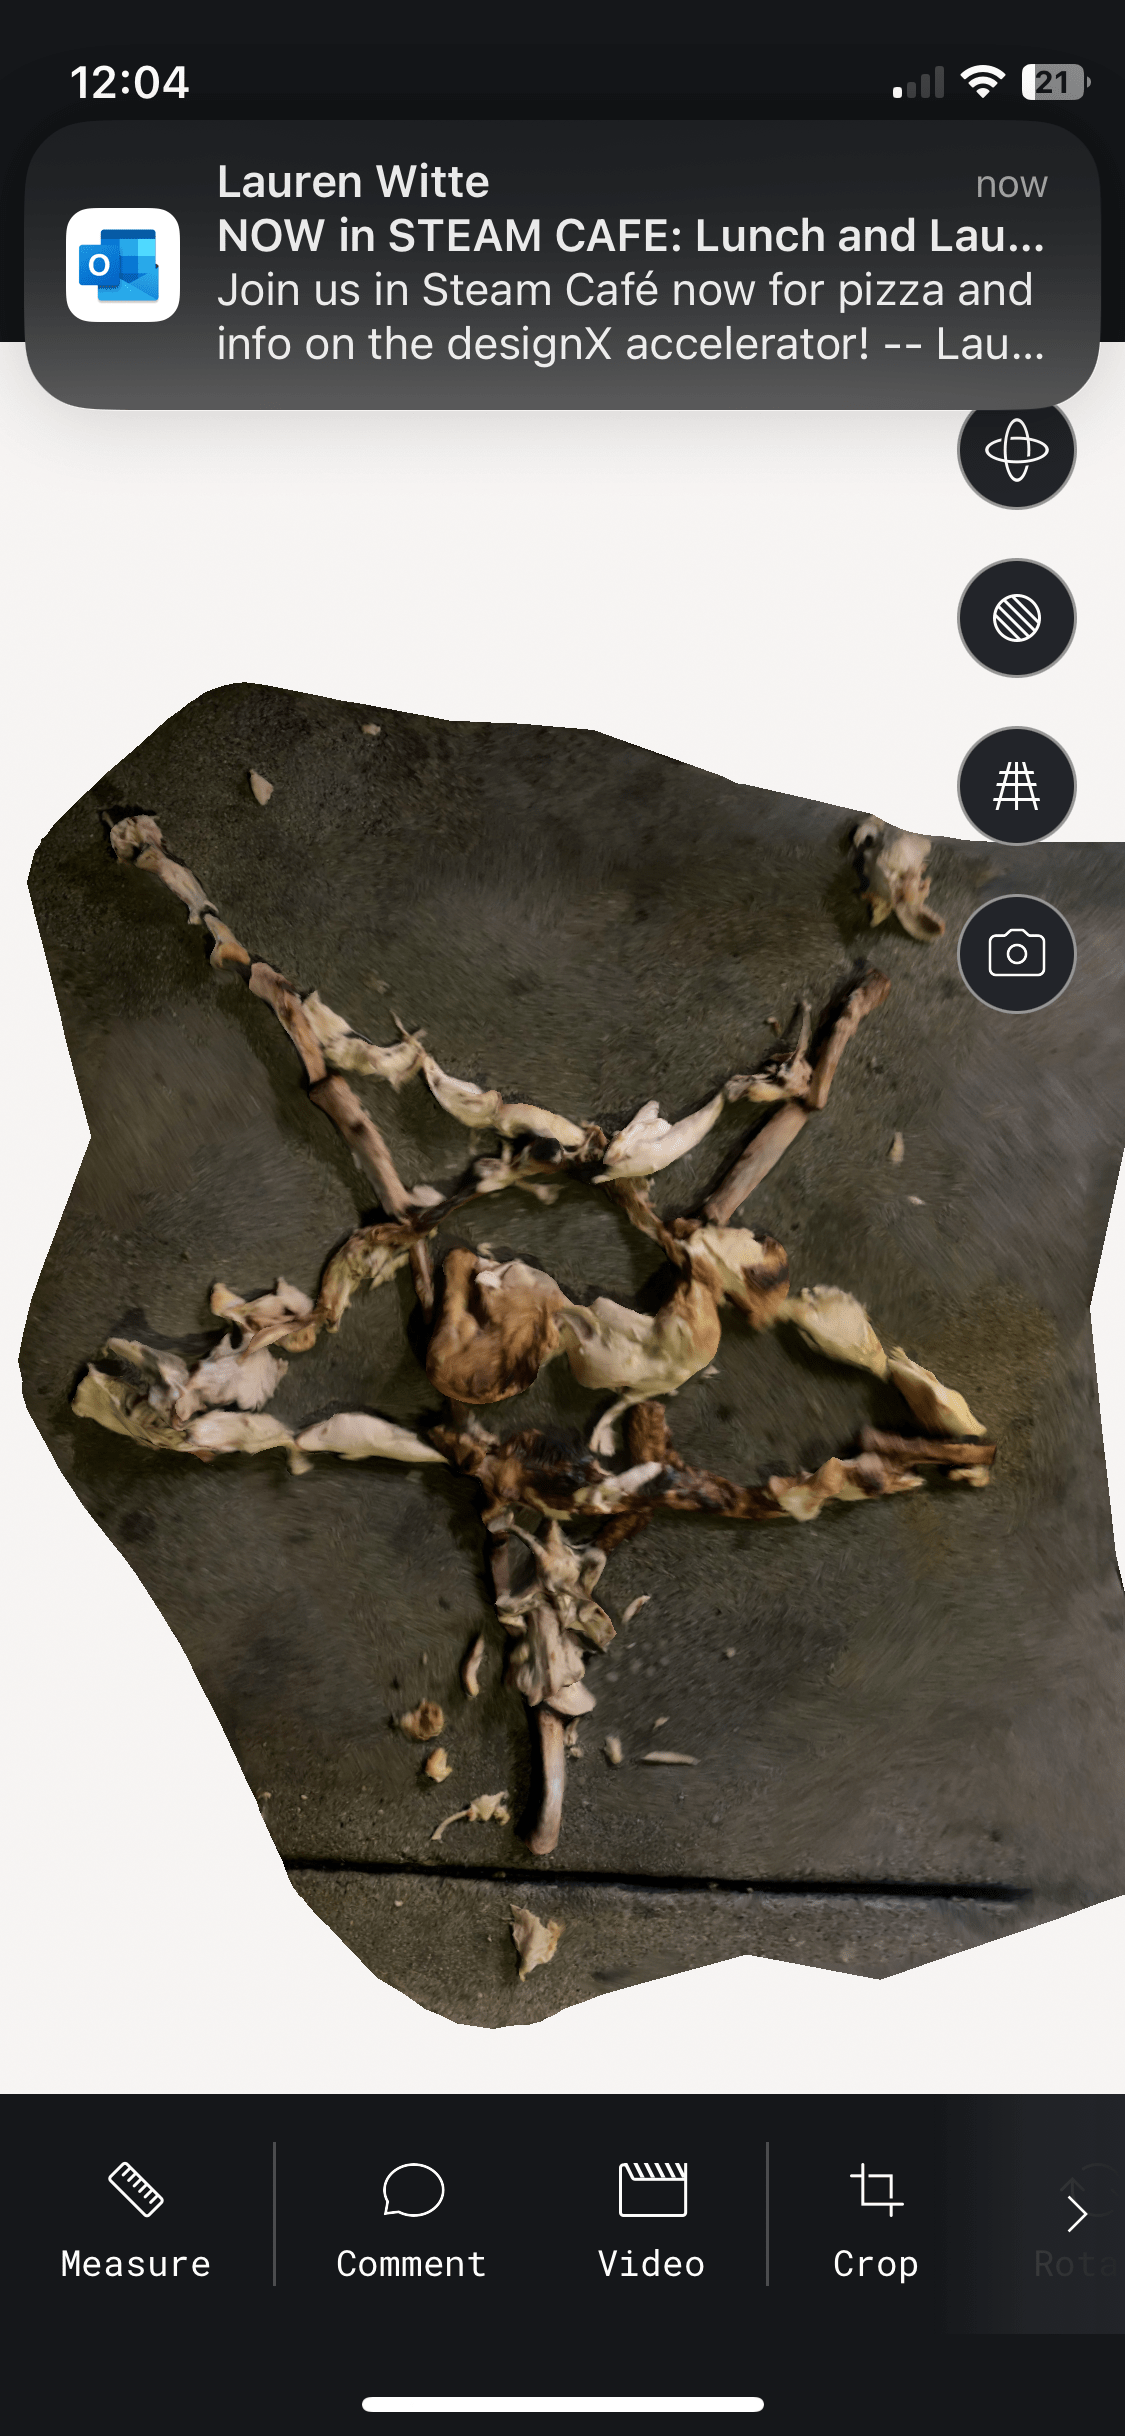
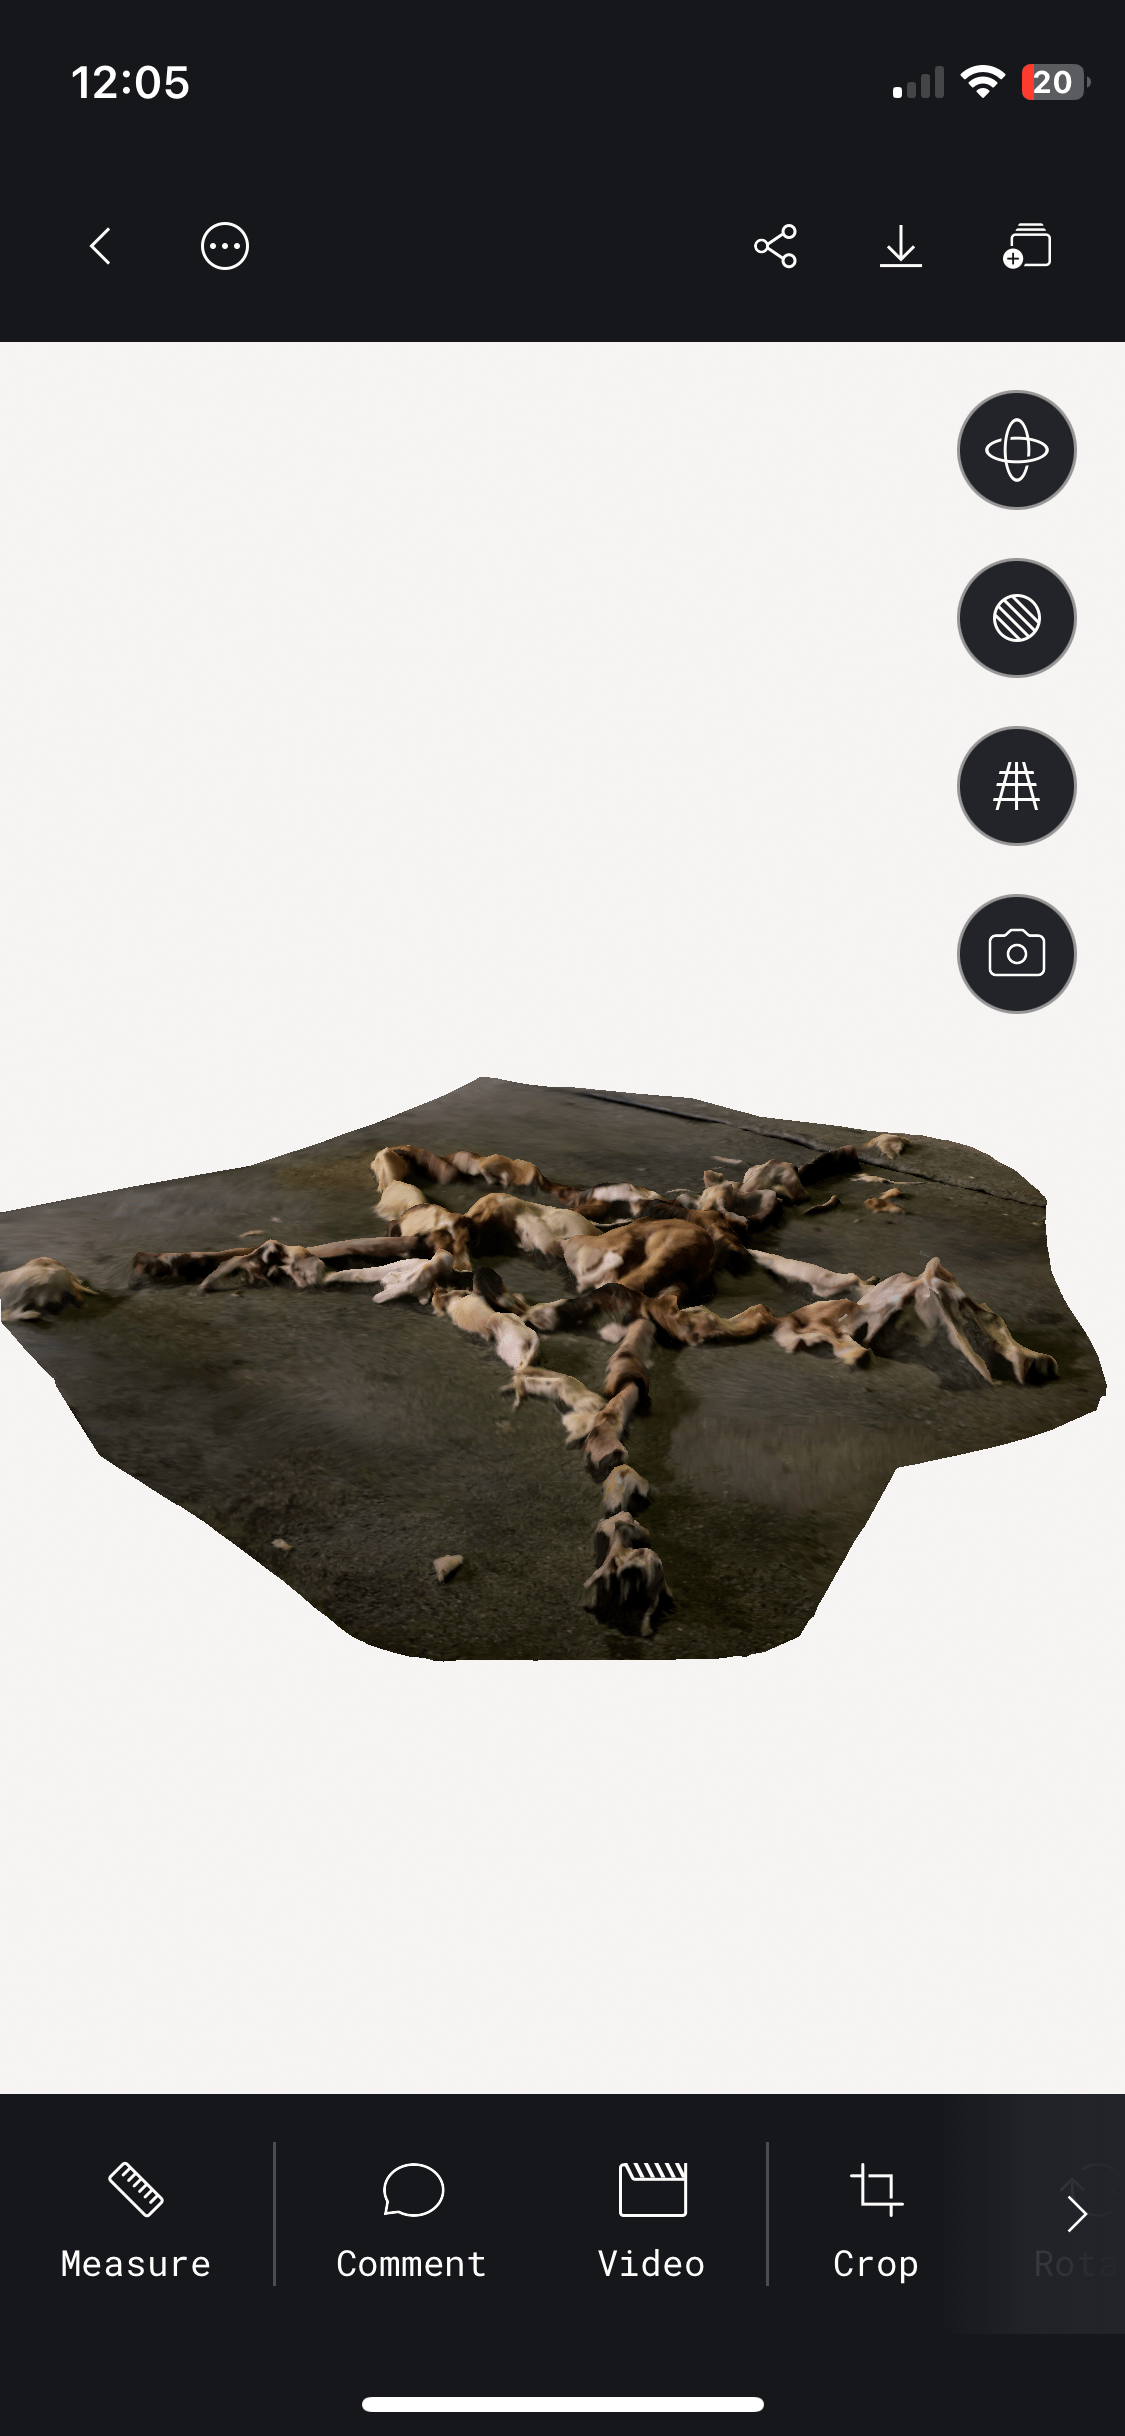
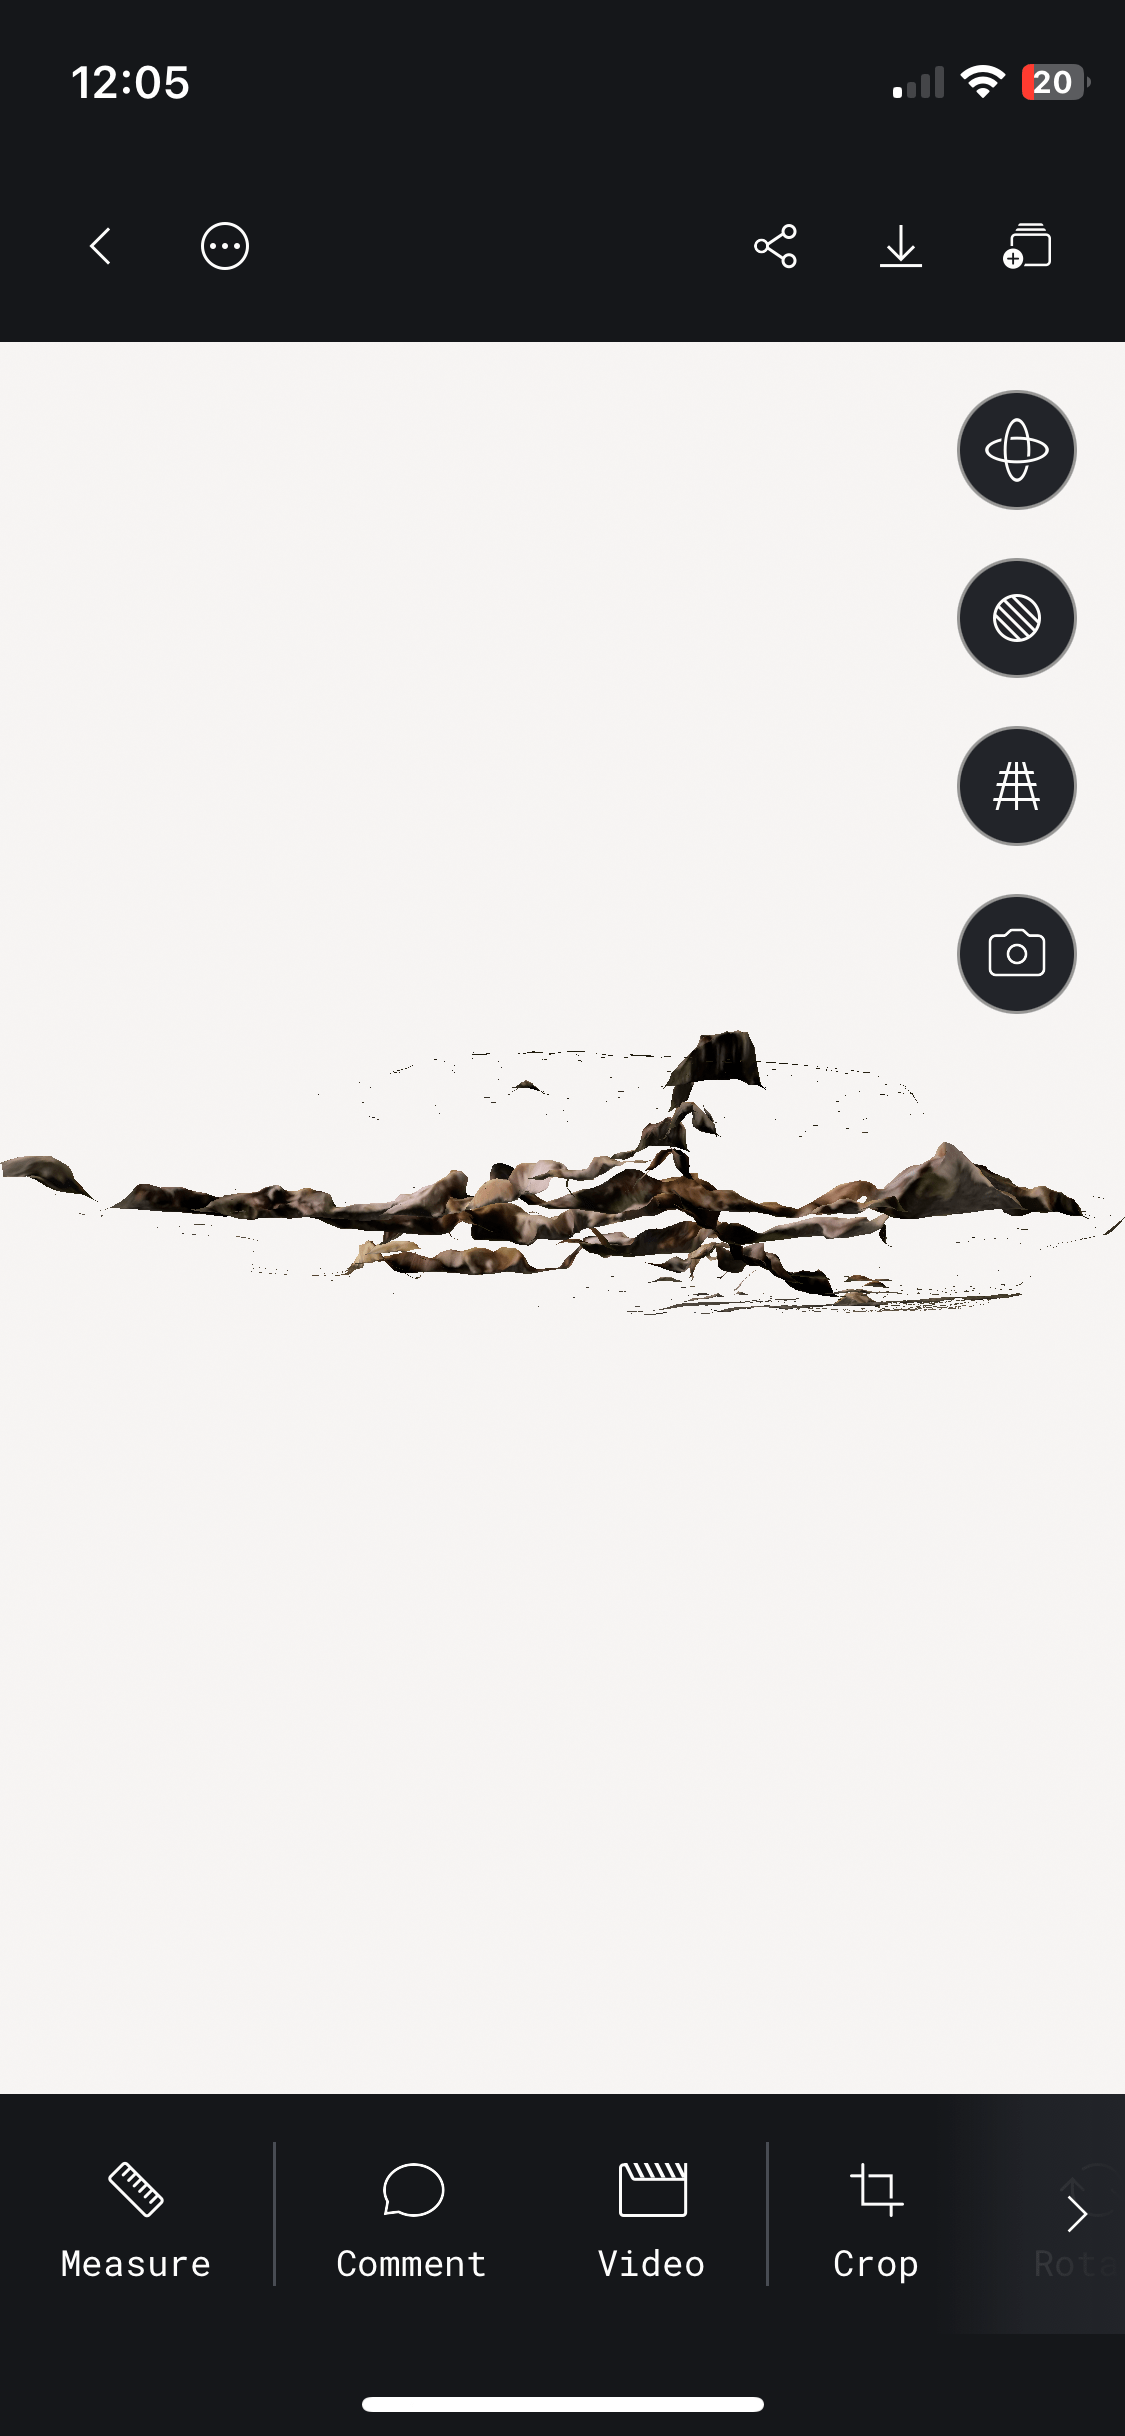
I found a rotisserie chicken pentogram on the street when I went to New York this weekend, so I used polycam to capture the moment. (fig 22-25)
from under the model you can begin to see the contours of the object, otherwise its a bit hard to see its 3d at all. (fig 25)
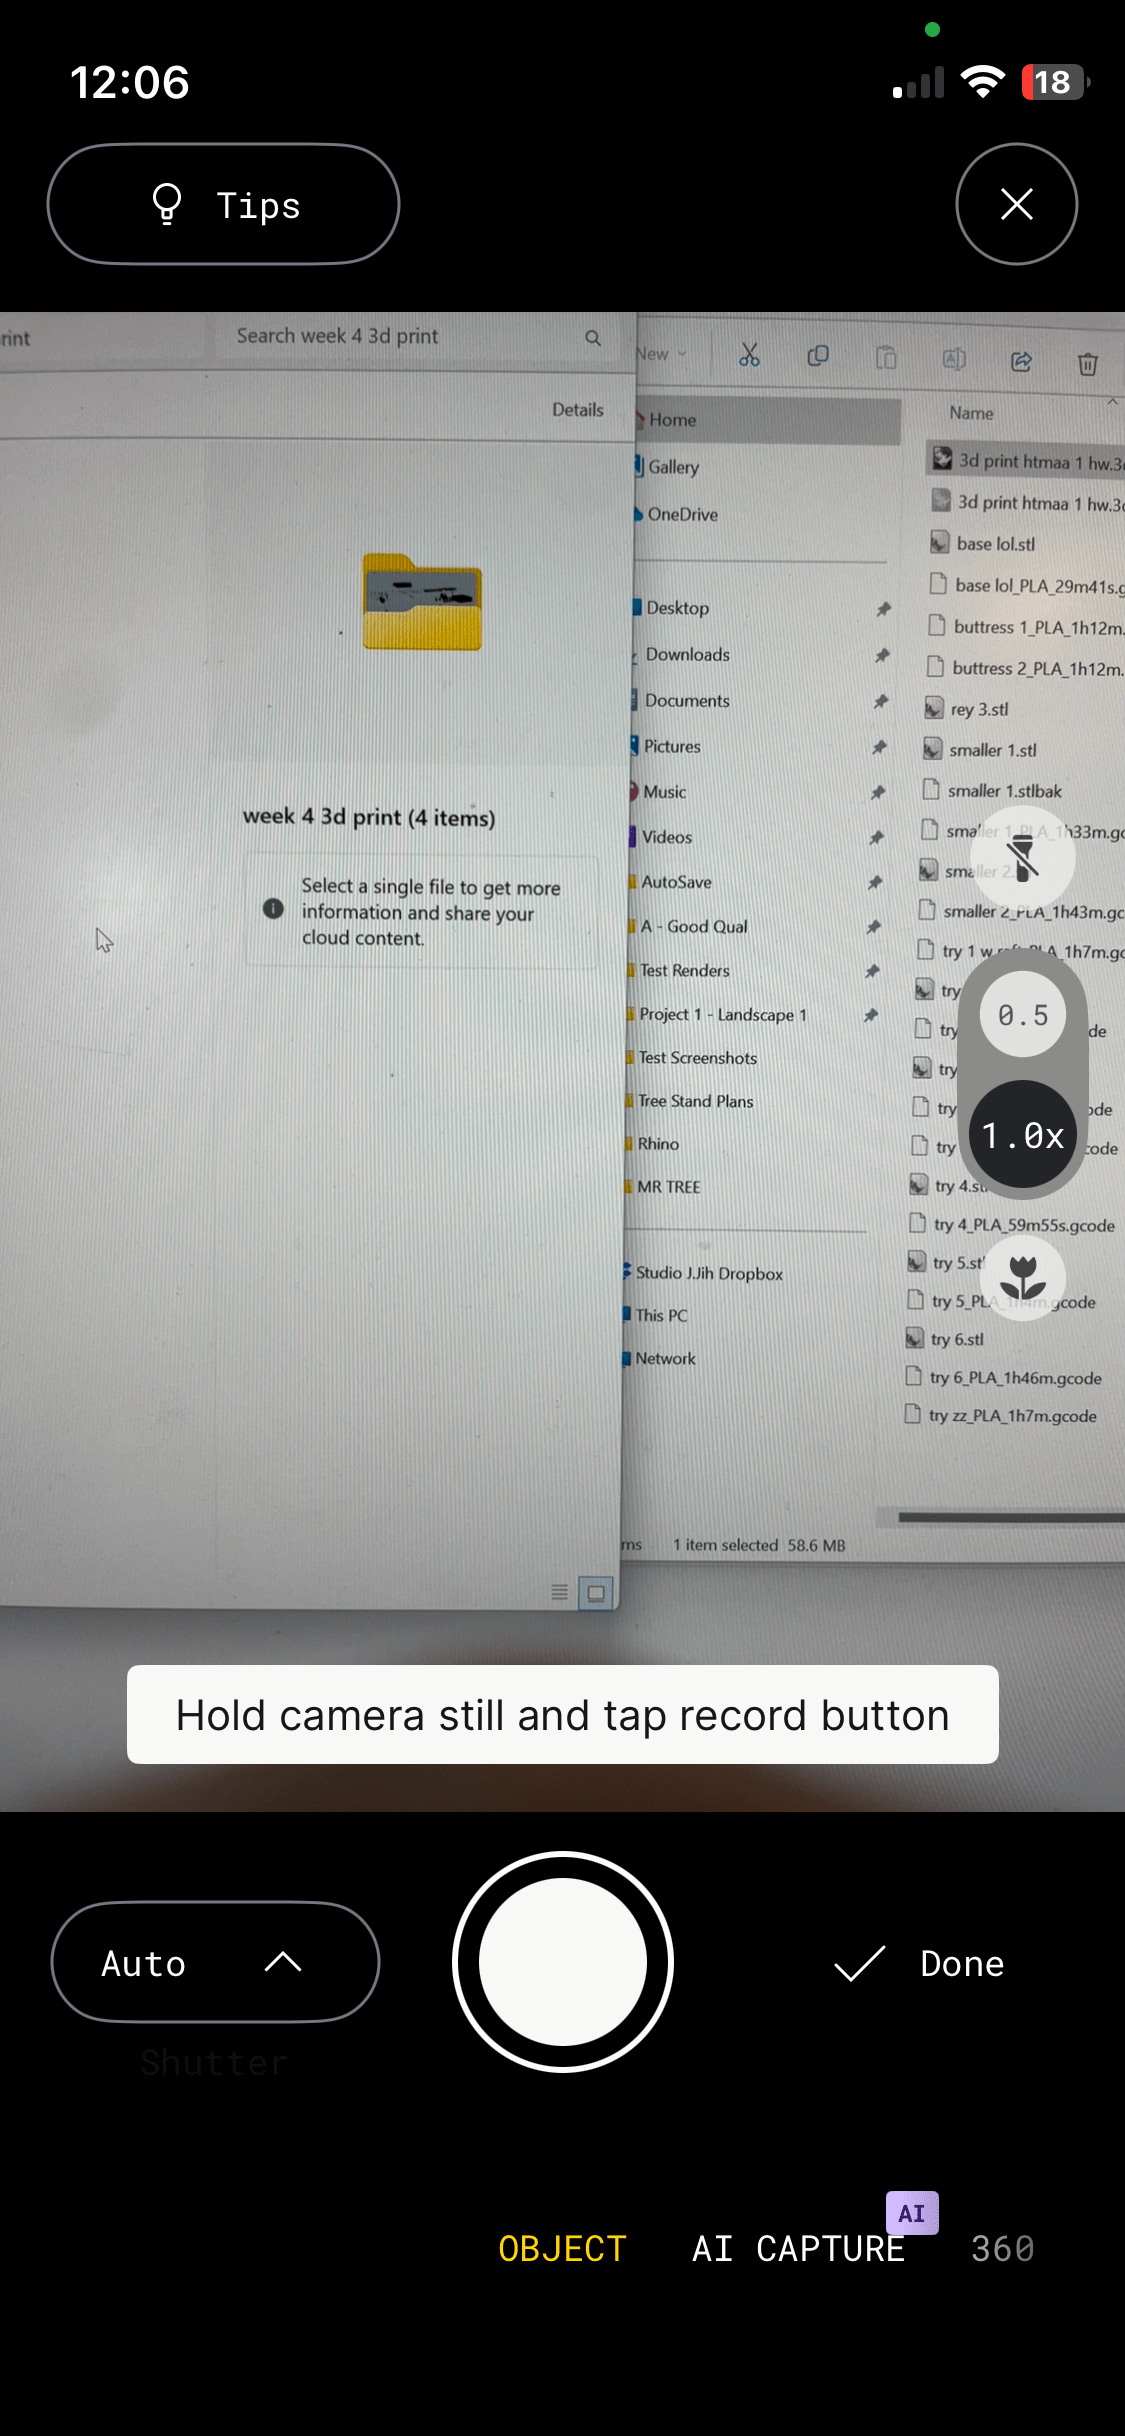
I took as many photos as I was allowed w/ the free acct. around 80 shots, using video mode I got down close to the ground with my face and knees, with phone upsidedown, stuck it between chunks when possible and the lidar clearance allowed. then processed. It was very easy.