Introduction
This assignment is targeted at applying the two different 3D printing technologies: FDM and SLA, to print some interesting objects that can’t be machined by the classic mechanical methods. Here I’m going to use two open-source software to generate the 3d model for printing: Rotatable molecular model, and caustic lens.
No AI was used during this assignment.
1. The FDM printed molecules
This idea comes from the GitHub([longjie0723/molfidget]) by Ryosuke Tajima, which is a software called molfidget that can generate the 3D-printable, rotatable molecular 3d objects through the .pdb file that includes the atoms’ coordination information inside. However, this software can only run on a Linux system. After installing it through the guidance on GitHub, I used the command to generate the molecules model:
molfidget --scale 10.0 --shaft-gap 0.2 /path/to/your.pdbTo generate a .pdb file, I need the 3D-coordination of atoms, so I used GaussView 6.0 (a commercial computational chemistry software) or Avogadro (an open-source, free molecule modeling software). Here, I used the iminofluorene, which is a molecule I’m going to publish for a paper, and hydroxypropanal, methoxyethanol, which are molecules that have been published by my labmates, as examples. All .pdb files and generated .obj files are listed here: (Google drive link)
For the FDM printing, I used my own 3d printer instead of the CBA shop machines, since mine is more updated, faster and reliable. It’s Bambulab H2D with AMS2 pro, (link here), which has the duo nozzle design on only one tool head to support multi-color or multi-material printing with very limited material waste.
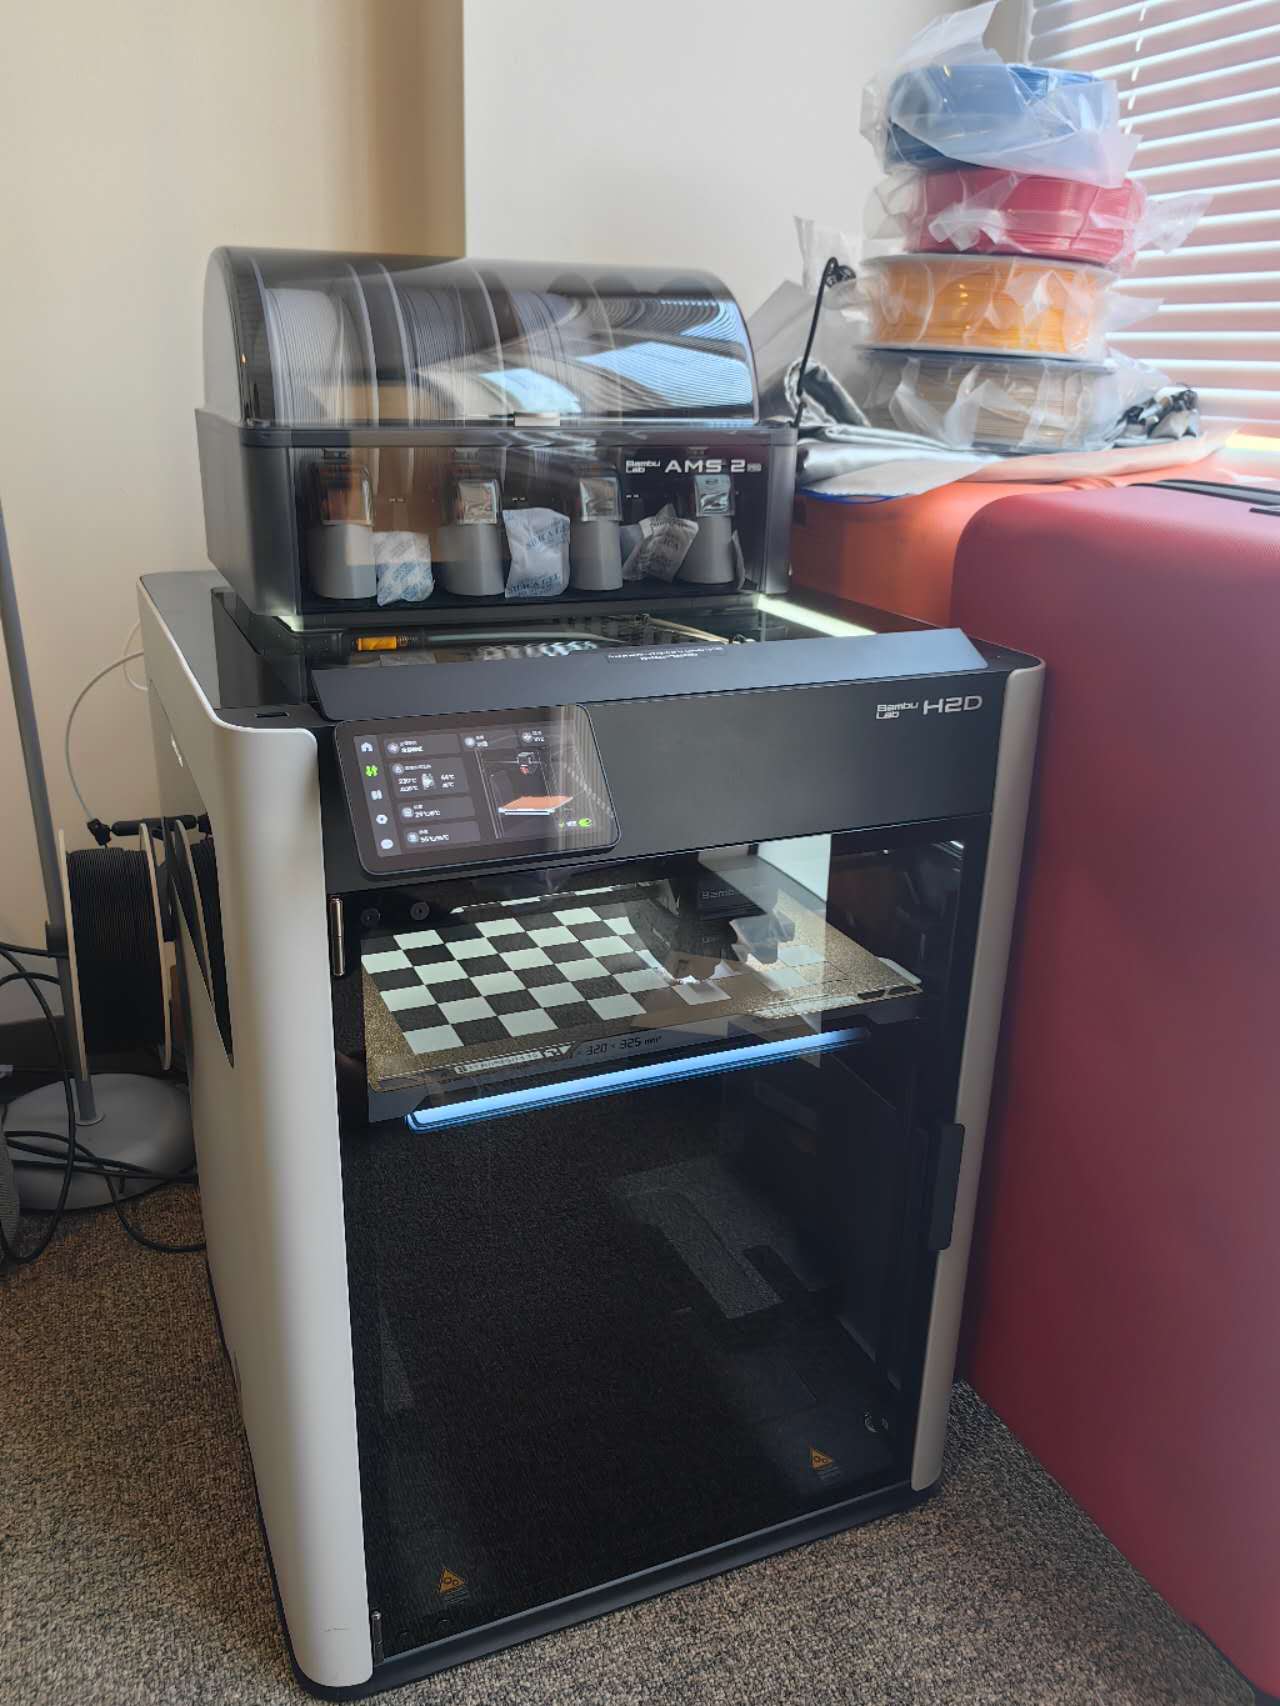
To apply its duo nozzle advantage, I used PETG as the second material to support the PLA, which can give the best quality supporting surface, and it will be easy to remove the supports because two different materials have the weakest adhesive force.
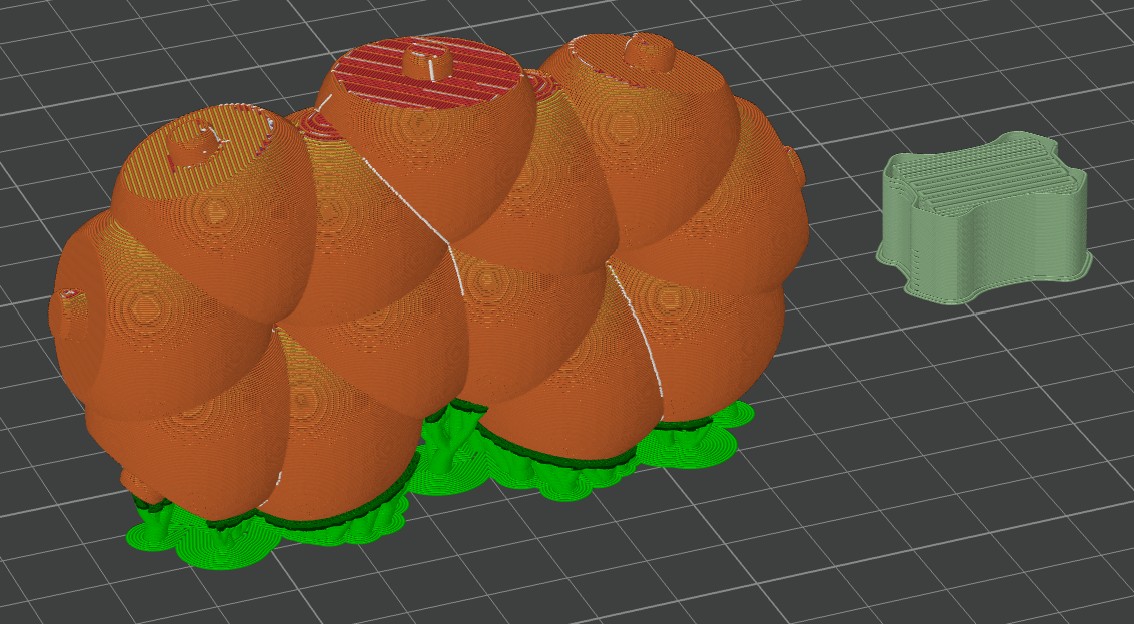
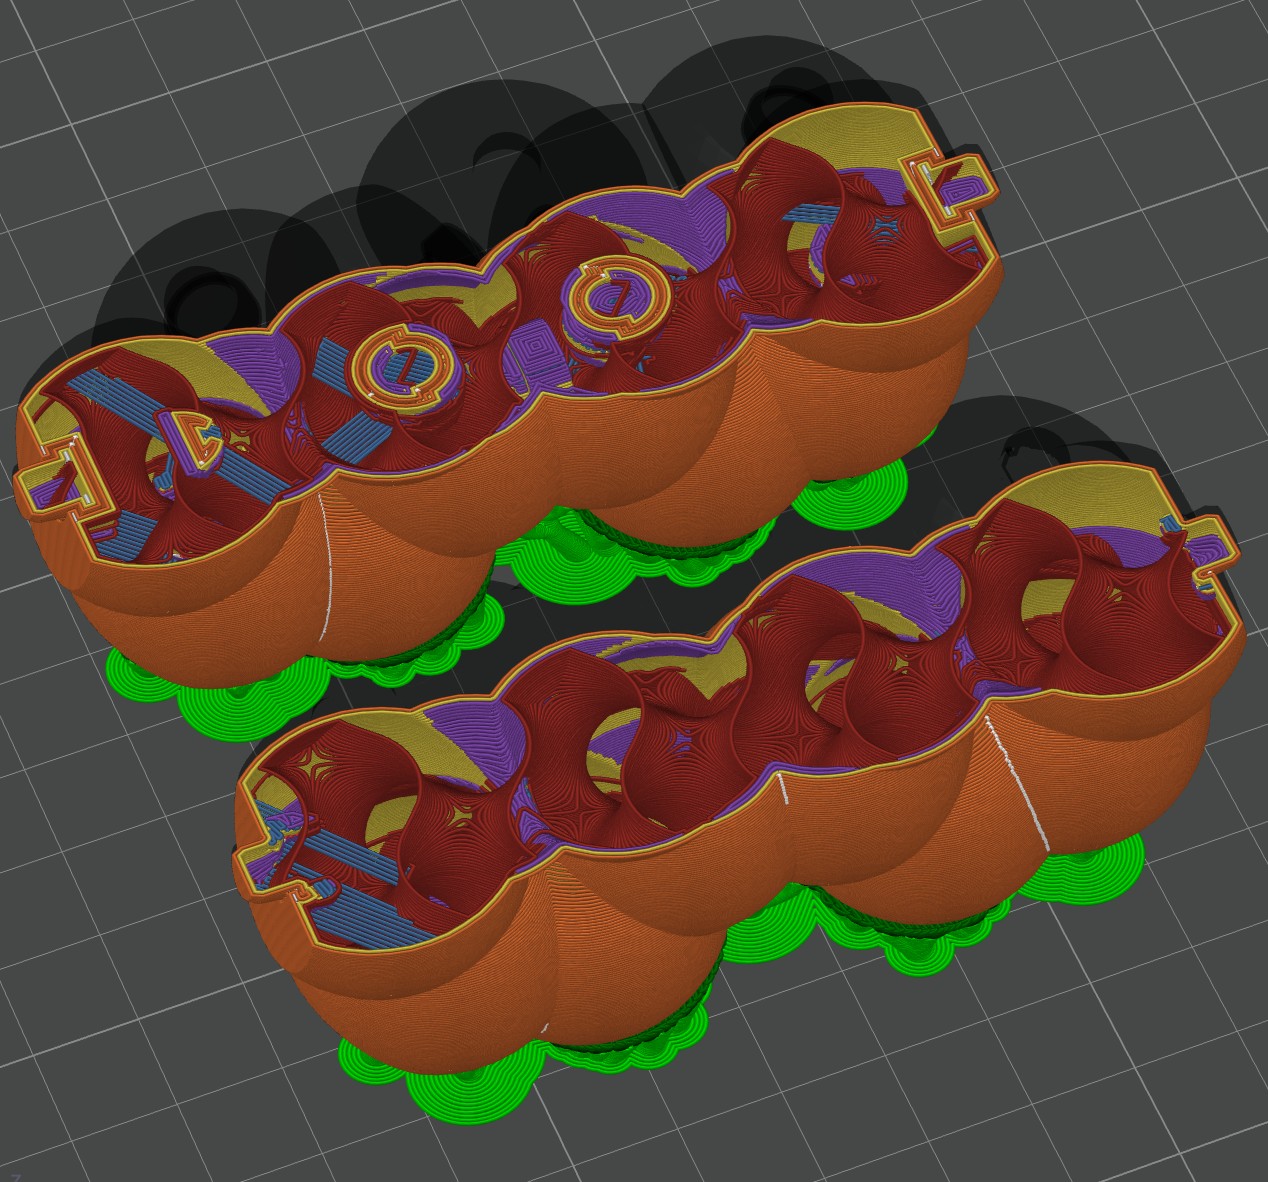
The dark green material in the figure above is a PETG supporting layer, and the orange/light green part is a PLA body and support. The wipe tower is necessary for the dual nozzle printing.
Specifically, all atoms’ joints have embedded rotatable structures that can’t be machined. But for a big aromatic rigid structure, the inner embedded structure is not necessary, so I want it to become a whole part to save material. I used Blender to combine atoms and rebuild inner geometry for aromatic rings, but it’s not necessary. (top is the original, and the bottom is a rebuilt 3d file)
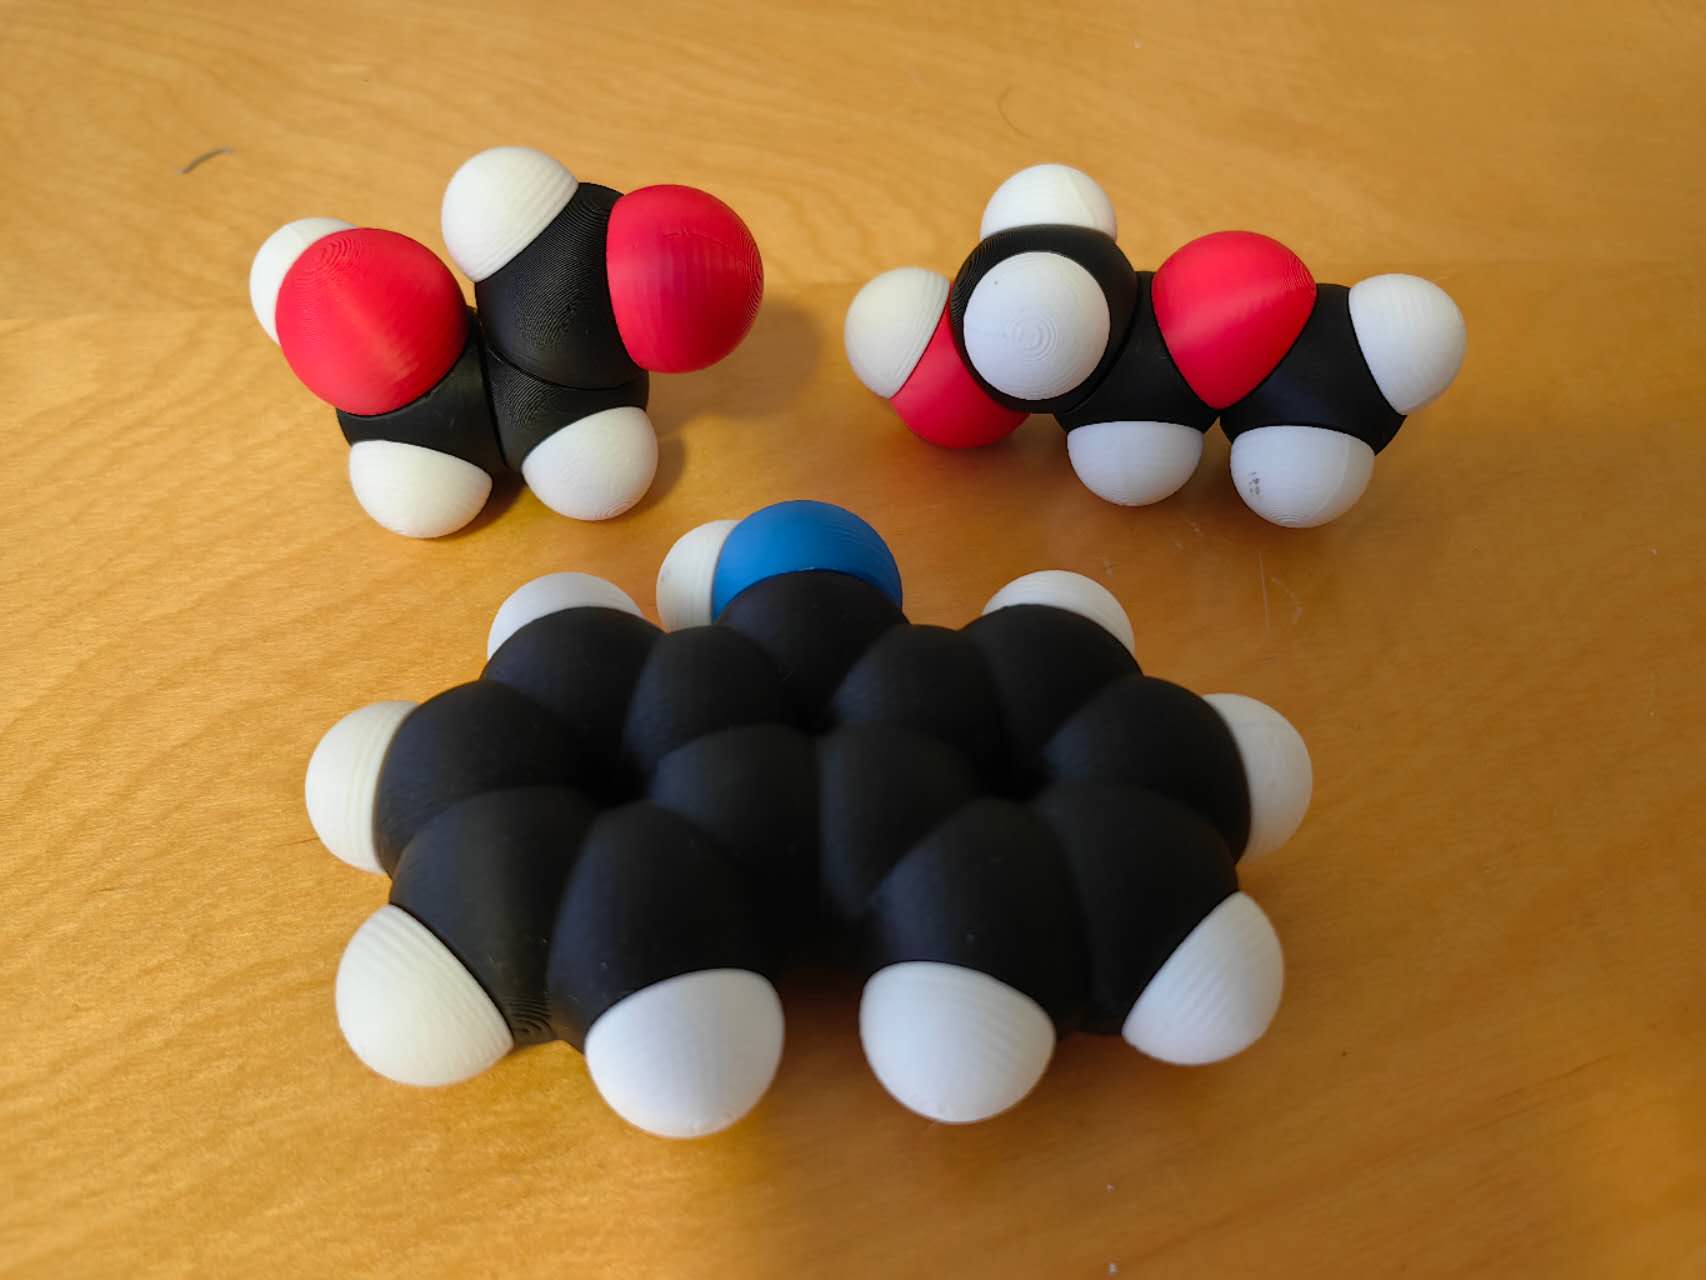
Here is the result of the printed molecules: (parameters: 5% infill to save materials, organic support, PETG-CF supporting layer with 0 z shift. PLA is all official Bambulab Matte with default 220°C nozzle temp and 55 °C bed temp)
2. The SLA printed caustic lens
When light passes through some materials, because of the refraction and reflection, it will be deflected, and some part of the shadow will become lighter while other parts will become darker. This is called Caustic. If the surface of the lens is carefully computed and generated, the caustic effect can cast a certain designed shape of shadow. My idea of this caustic lens was learnt from an introductory video: 焦散透镜DIY 全流程教程_哔哩哔哩_bilibili (Chinese inside), and I tried to replicate the computing, the simulation, and the 3D-printing/post-processing here with the SLA printer (Formlab Form 4 SmartColt) at CBA and Clear V5 resin.
To generate the caustic lens with a designed image, first I need two square images: Source (totally white) and target (result with black and white). Use the open-source software fast-caustic-design v0.0.1 on Github: dylanmsu/fast_caustic_design: Code to quickly compute the shape of a transparent surface such that it casts an image if light passes through it.
The paper that introduced how computation is realized: Schwartzburg Y, Testuz R, Tagliasacchi A, et al. High-contrast computational caustic design[J] (High-contrast computational caustic design | ACM Transactions on Graphics)
Basically, I used the code below to generate the 3d objects:
.\custic_design -res 512 -focal_l 1.5 -thickness 0.2 -width 1 -in_src .\data\source.png -in_trg .\data\traget.png Here is the target image I used. focal_l means the distance of projection to the lens. It takes several hours for the computer to calculate it, and the generated file is 156 MB, so I uploaded it to Google Drive: https://drive.google.com/file/d/1qlktNxkc2NEzIoLaGmwE_VA6juf3qaMj/view?usp=drive_link
To simulate it, we need Blender with the LuxCore (2.10.1 here) plug-in. I followed the guidance from that Chinese video mentioned above, and here is the result: 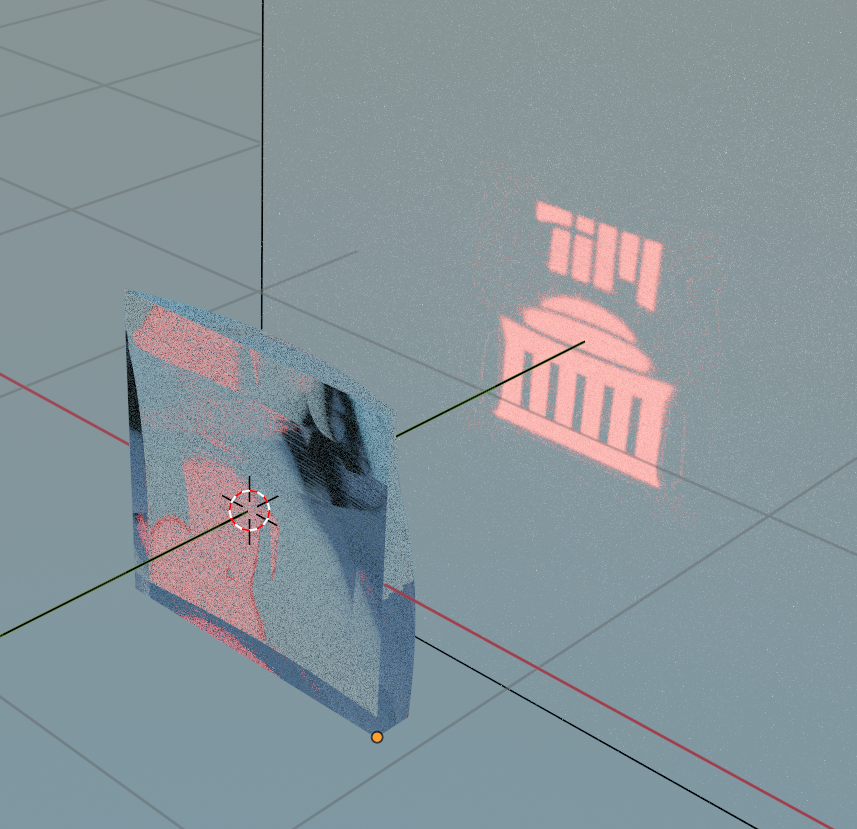
Then, from the simulation, I figured out that the projection is the mirror image, so I need to mirror the object during the printing!
To print it, I used the software Preform to slice the 3d object, while I set the layer height as 0.025 mm and printed it with the standing direction to get the best resolution for the surface. It looks like this: 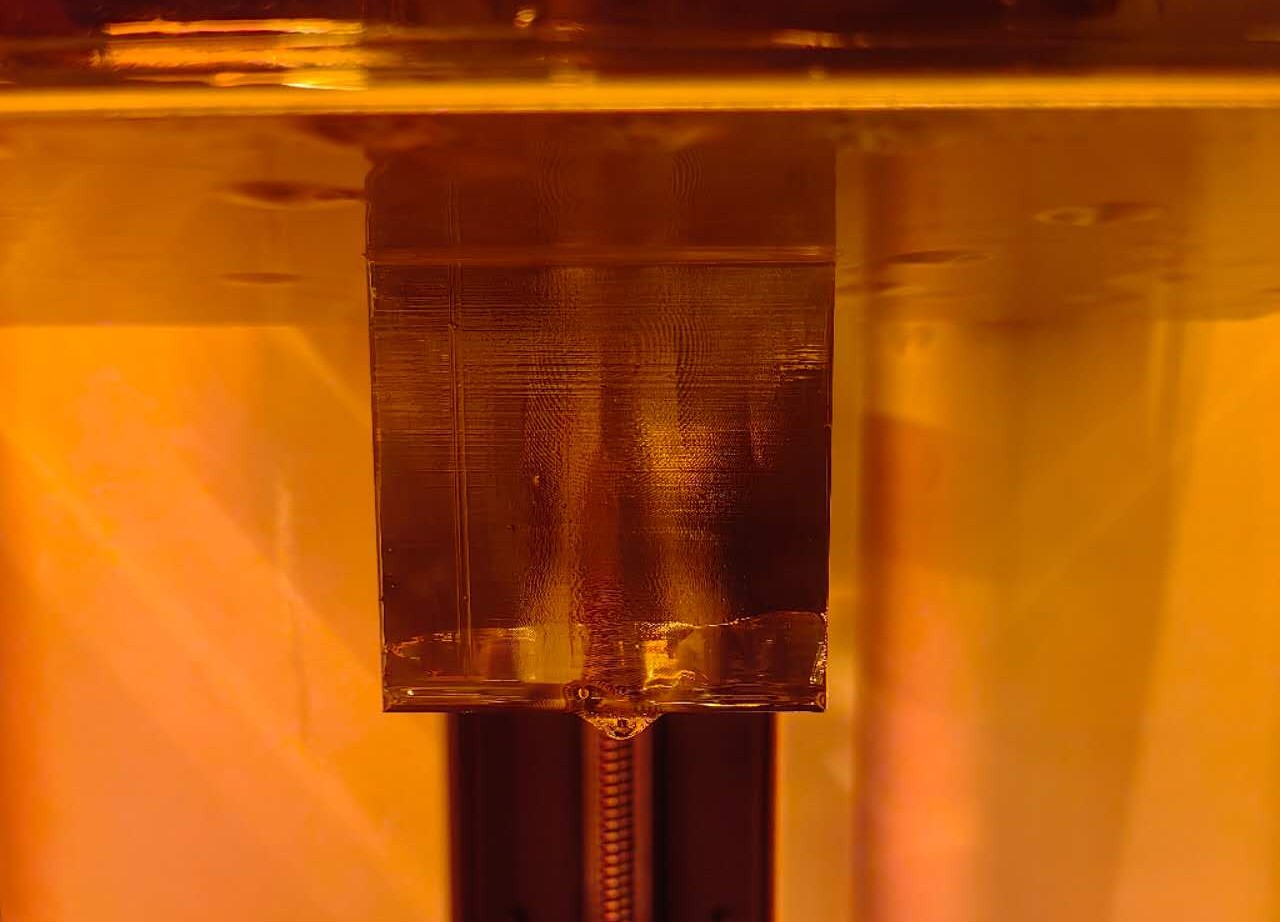
For the post-processing, I need to wash it with isopropanol twice first, and then cure the resin for 15 min under UV and 60 °C heating. After the curing, the lens seems more yellow, but it becomes more transparent later: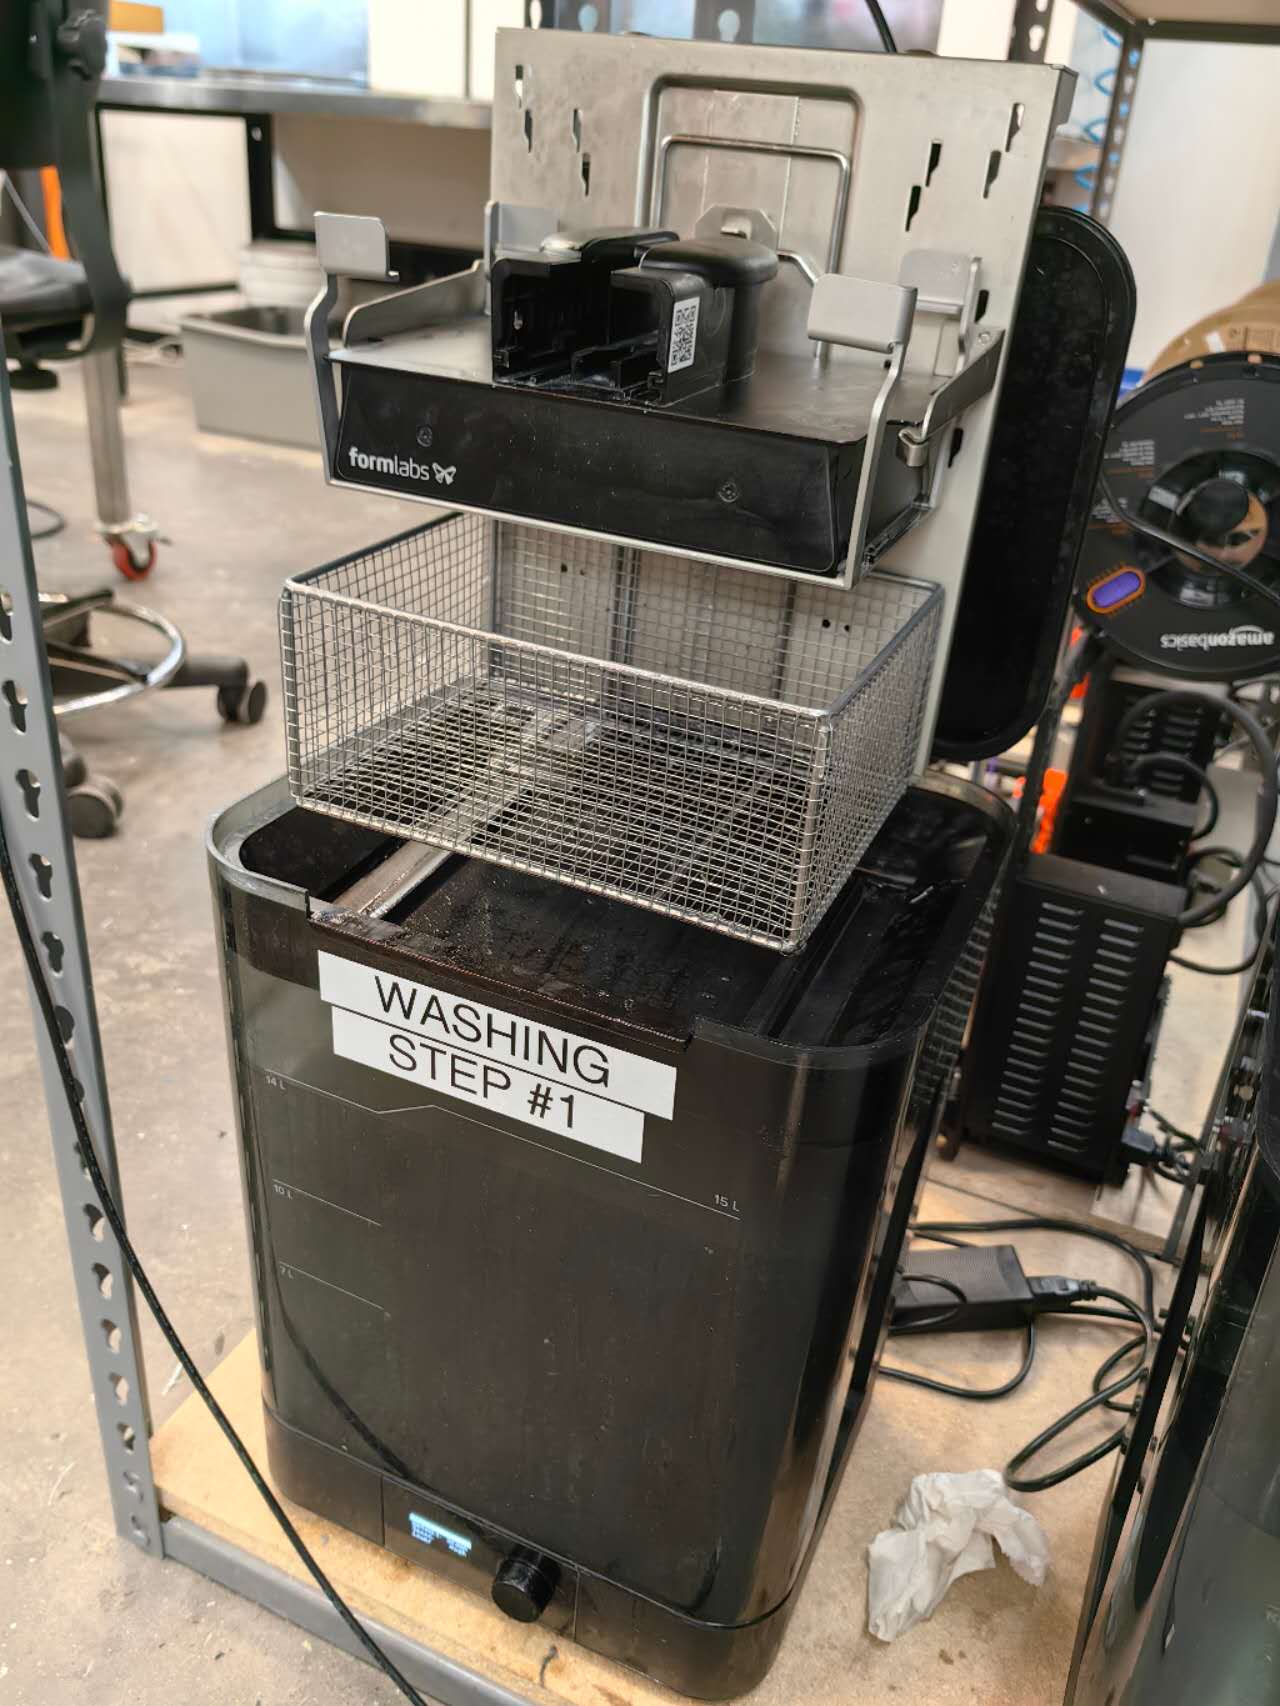
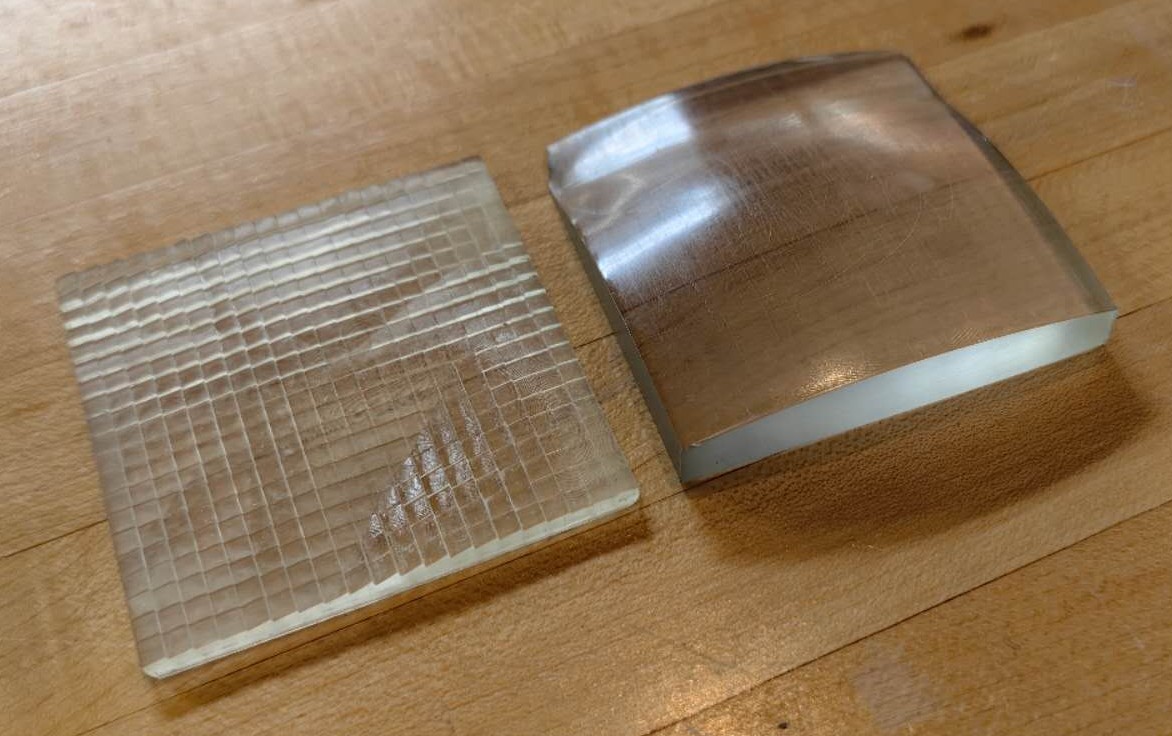
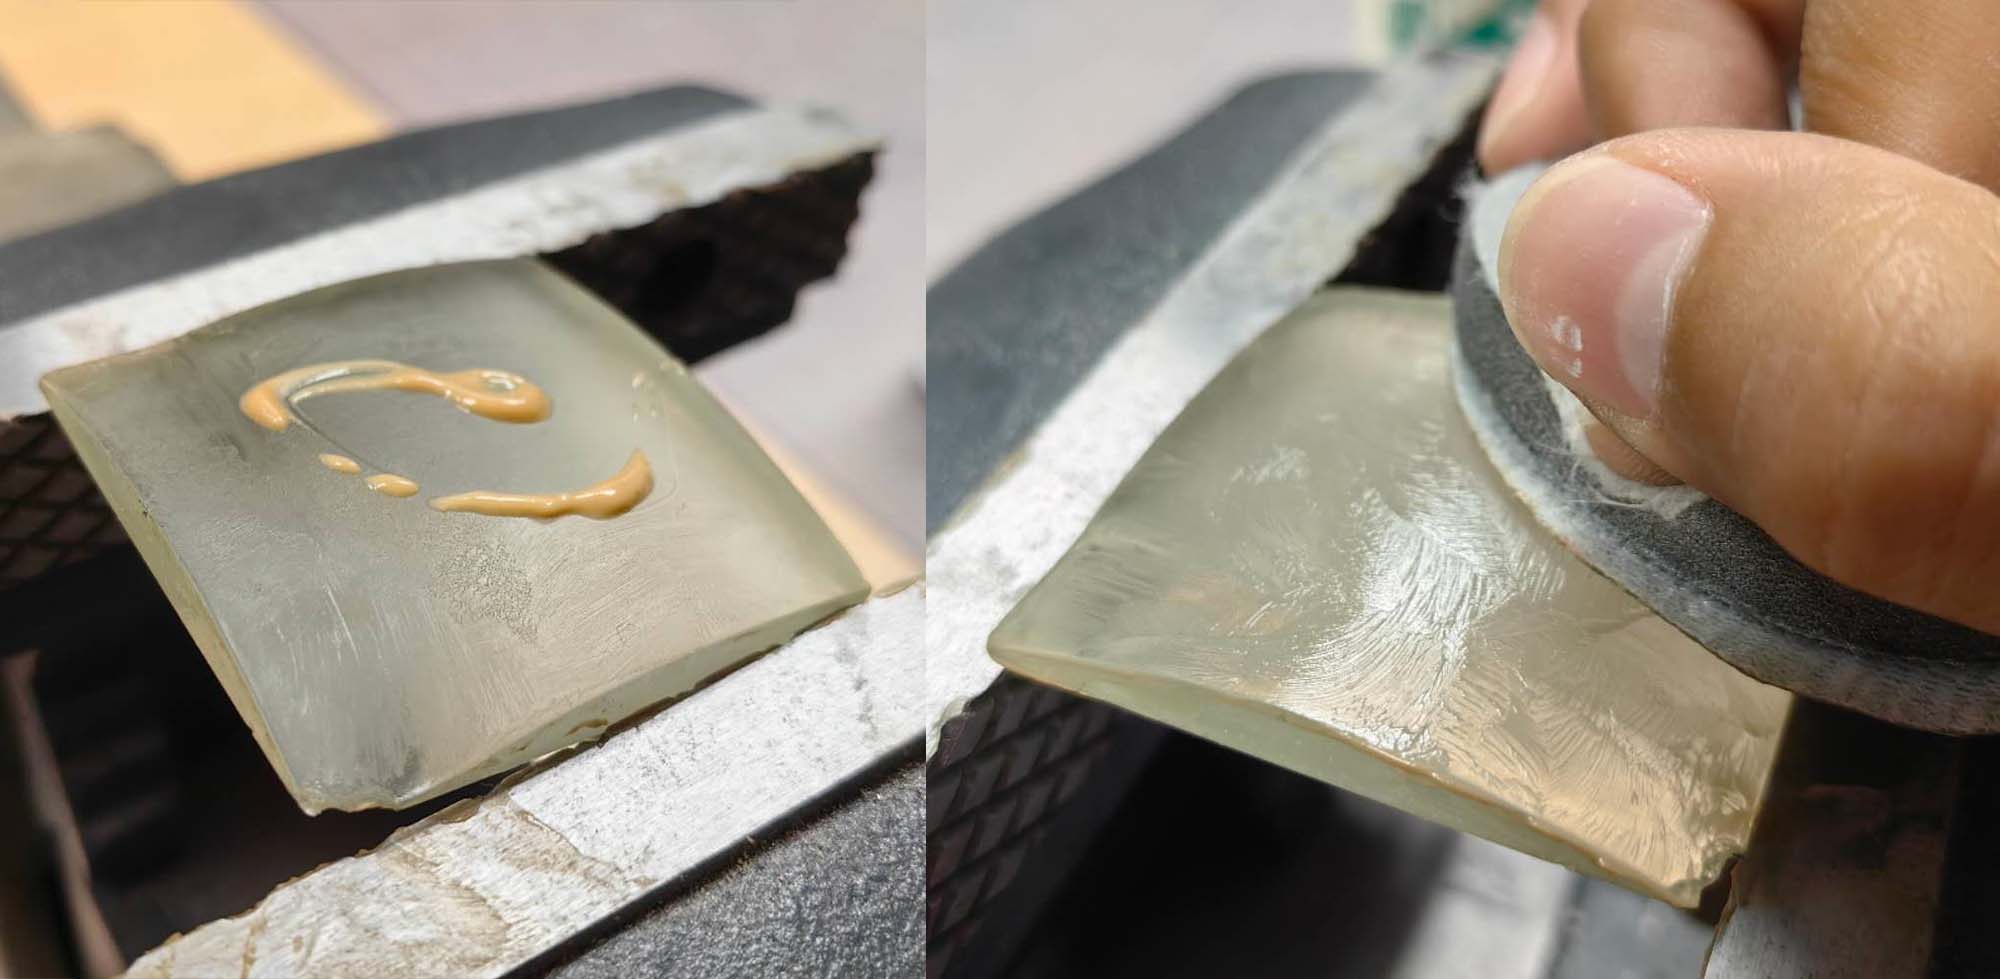
After the washing and curing, I need to polish the lens since the printed surface is not smooth enough, more like clouded glass at the beginning, which will scatter most of the injected light.
To polish that, I started with 1500-grit sandpaper with water, and then 2500-grit sandpaper, and then the 15000-grit polish disk with scratch remover polish compound. For the free-form surface, I need to use a finger to carefully polish; when compared with the flat surface, it is much easier to just polish on the desktop. At the end, I applied some Wax to form a thin layer on the surface, which can fill tiny scratches and make it more transparent.
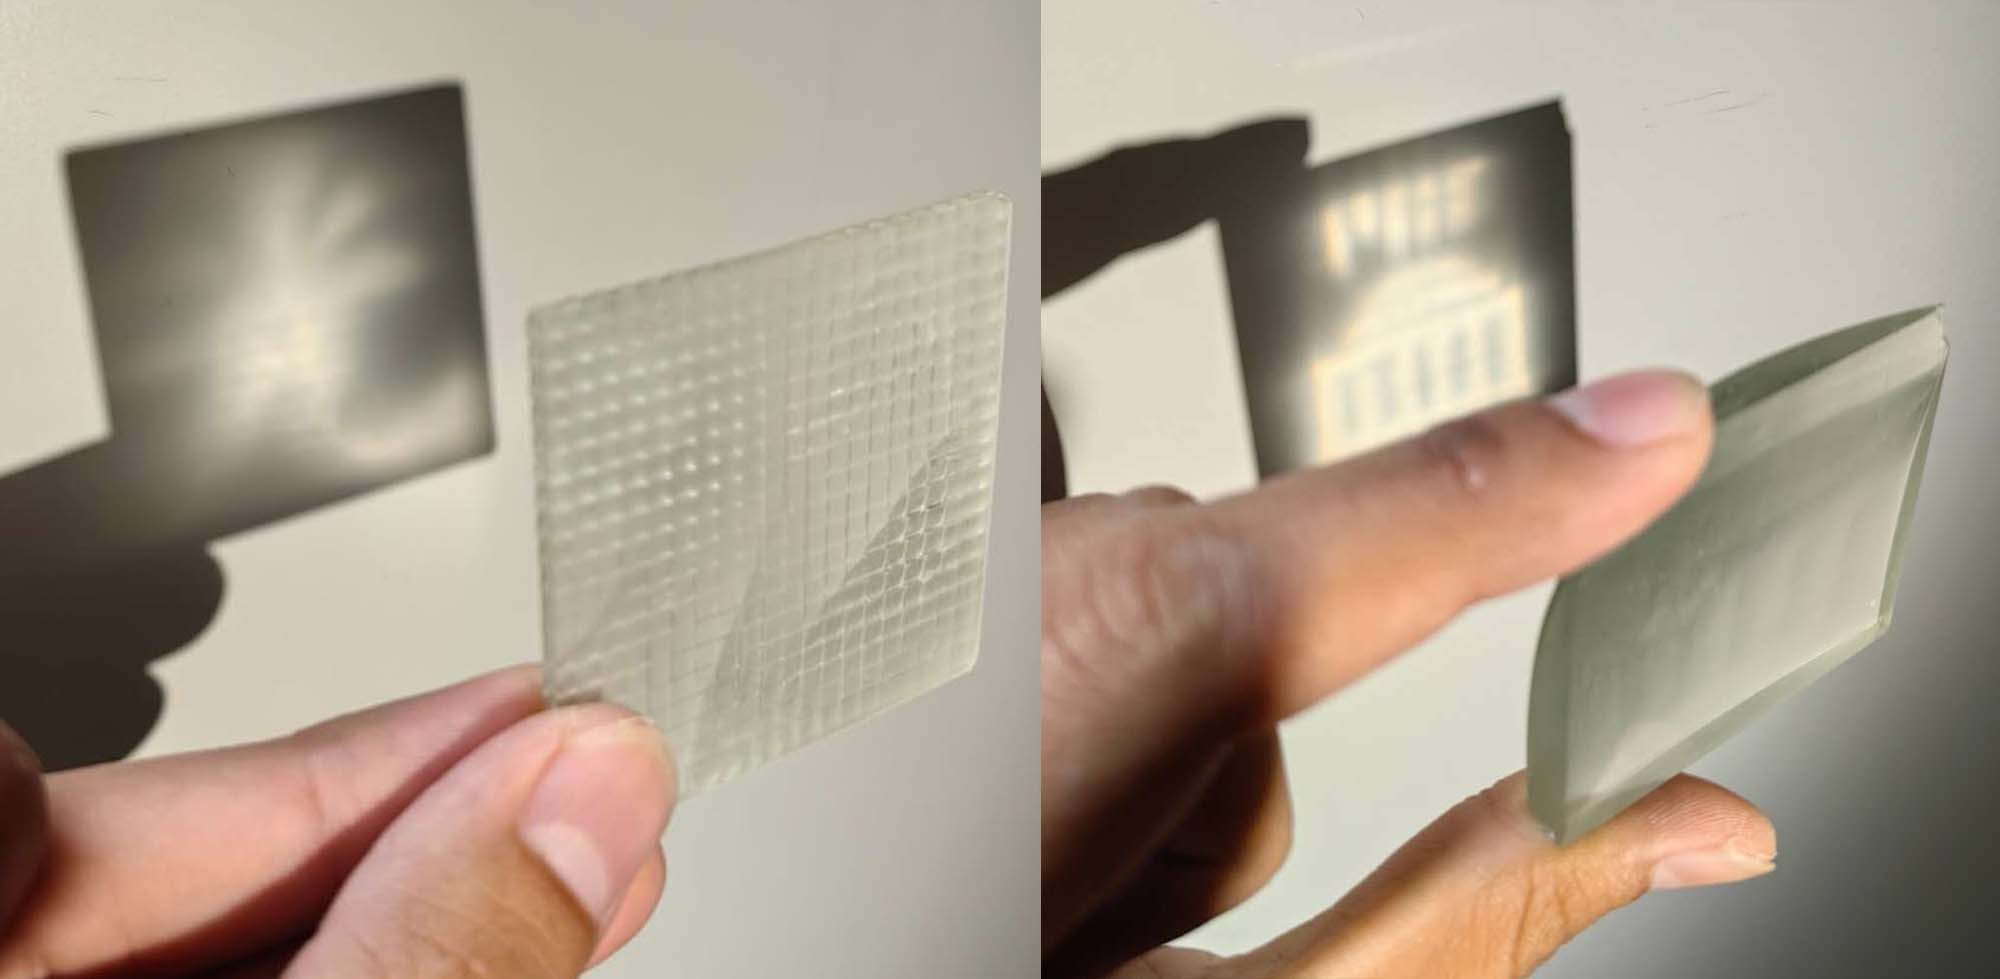
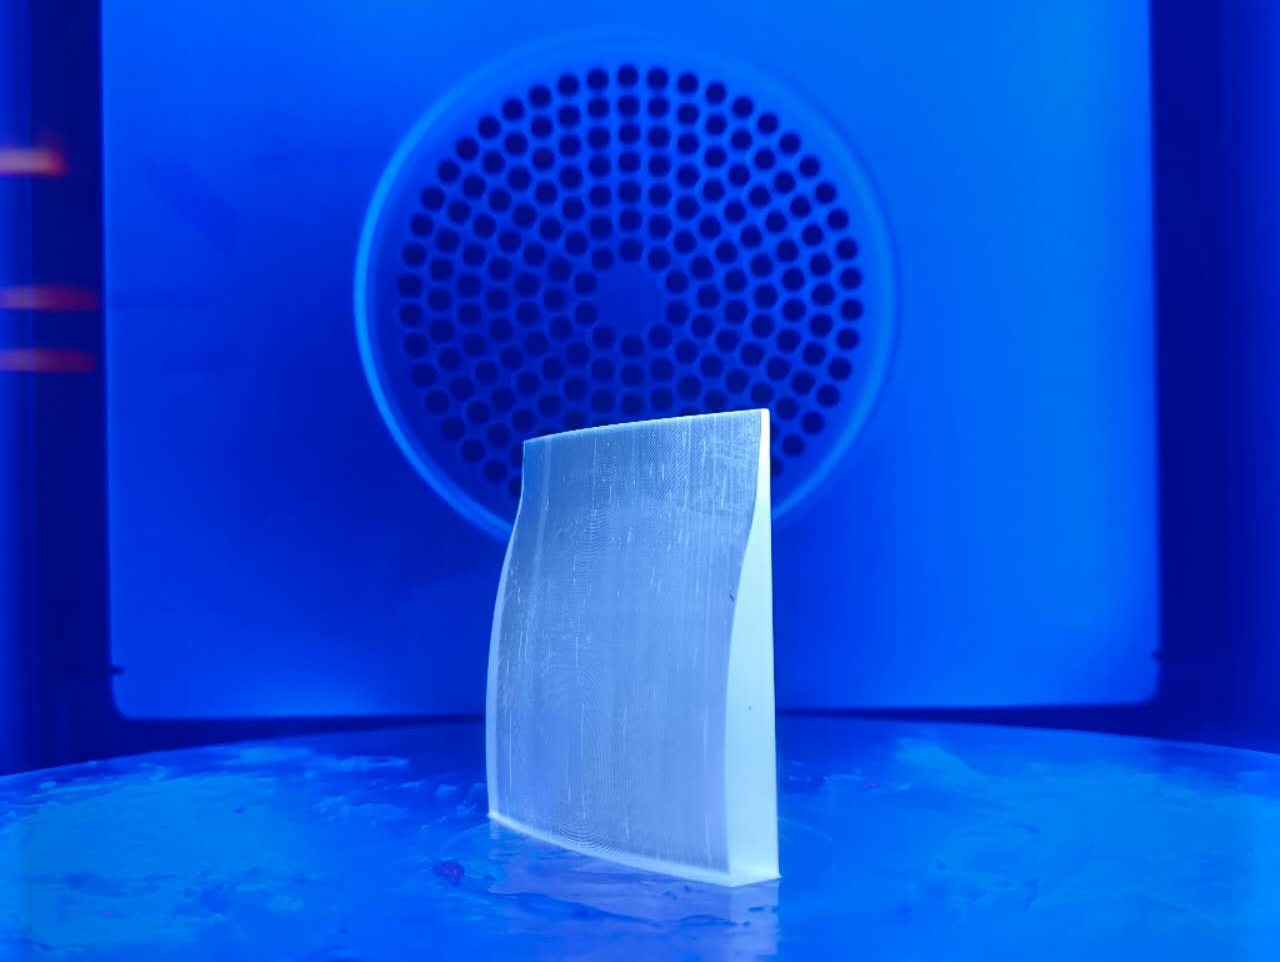
Apart from this free-form surface caustic lens, I also printed another special example downloaded from Printables: 《光》Facet Caustic Lens SLA clear resin print by Grayson Wu | Download free STL model | Printables.com, and this one seems similar to a Fresnel lens, which can cast a Chinese character “光”, which means light. However, considering its complex geometry, it’s not polishable on one side, and not printable with the standing direction, but can only be printed with the lying direction. Not sure why after the lens is printed, it distorted a little to become not flat anymore: But after the polishing, both lenses worked pretty well: (I assume blur comes from the not-perfect polishing)