
For Wildcard Week, I decided to embark upon the Wire EDM. This is a process on a very expensive machine where a wire thinner than a piece of hair has up to 300 volts passed through it, cutting metal with close to zero-tolerance precision. Many of the best examples online were puzzle pieces retailing for over one hundred dollars, so I originally planned to copy that vision. However, when I arrived at training and saw that the puzzle piece design was exactly the example shown, I knew I needed to be more creative.
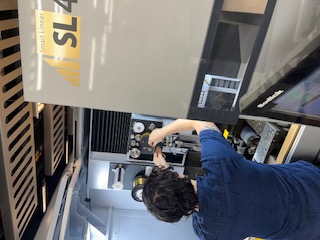
Here is Anthony teaching the Wire EDM process:
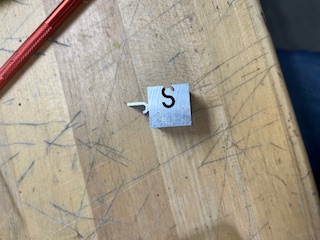
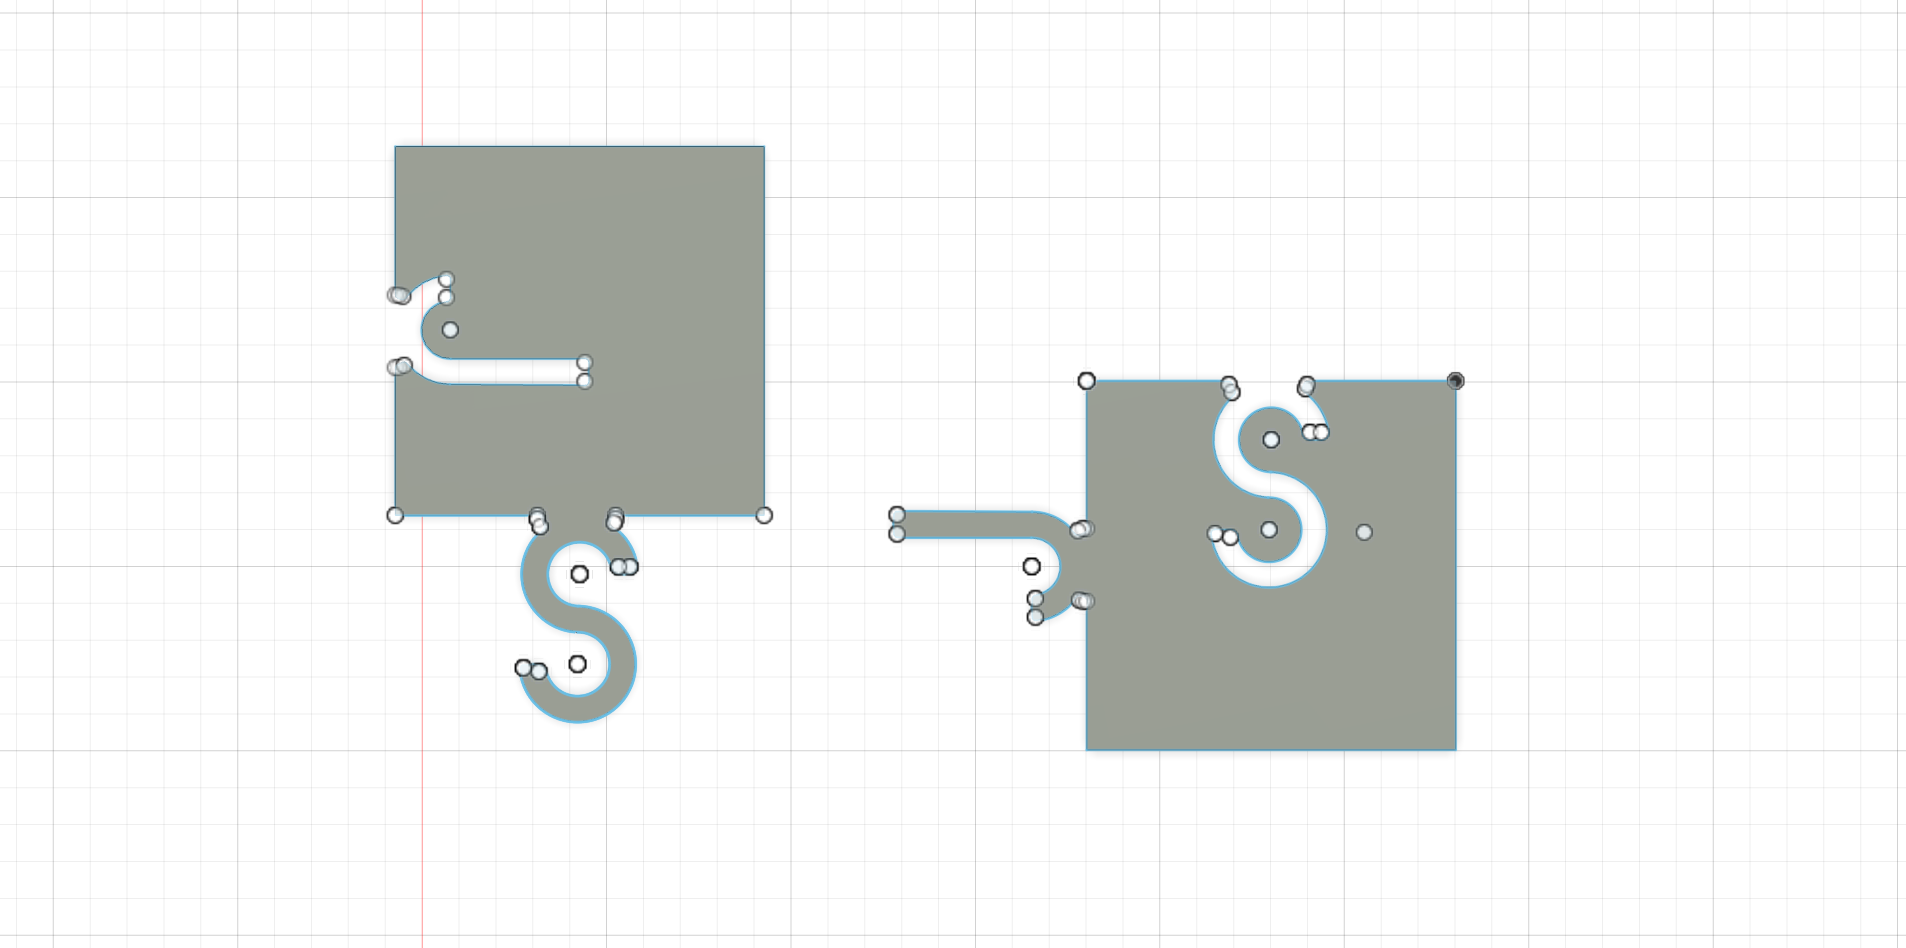
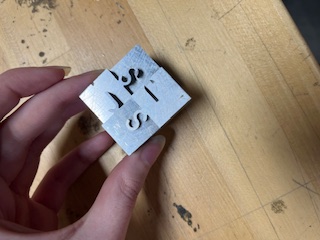
I stuck with the puzzle concept, but decided to make the protruding parts my initials: J and S. Using circles, lines, and many fillets in Fusion, I designed two different pieces — one with a positive J and negative S, and the other reversed. Fillets are critical for Wire EDM because the machine does not handle acute angles well.
After exporting the design as a DXF, I brought it into the CBA machine shop. The machine setup process is quite involved and documented in a 55-page guide designed to shorten the much longer original manual. With Anthony’s guidance, I uploaded the DXF and began loading the wire.
Threading the wire seems simple in theory, but caused a surprising number of issues. The automatic water-stream threading failed, and we had to manually assist the process. Once everything was threaded correctly and the precise settings were dialed in, the cut began on a 1-inch-thick aluminum block.
About 30 minutes later, the first piece was complete. I reused the same file for the second cut, but about 15 minutes in, the wire caught and the job failed. Upon inspection, the cut had somehow become offset, leaving edge details hanging off the aluminum block.
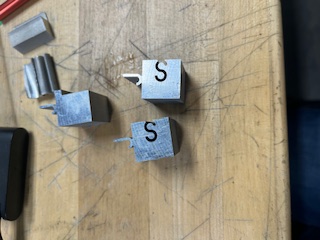
After carefully resetting the offsets and re-threading the wire, the second cut succeeded. The third cut went much faster after having completed the full setup once already. After two days, I returned and cut the final puzzle piece without any issues.
With all four pieces complete, they slid together beautifully — a satisfying demonstration of the machine’s near zero-tolerance precision.
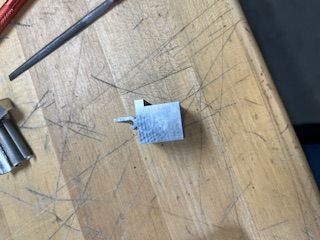
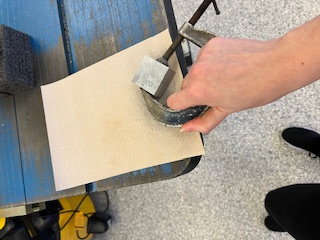
I brought the pieces to EDS for sanding, starting at 400 grit and gradually working upward. While the pieces became smoother, the uneven heights and my limited sanding experience meant the final appearance wasn’t quite what I had hoped.

Overall, this project was incredibly fun and rewarding. I am extremely impressed with the Wire EDM’s precision, and the finished puzzle pieces are delightful to play with. Best of all, I now have a very cool Christmas gift for one of my many family members with the initials J & S.