
A CNC-baked goose chair, served with brute force
Serves: One large stuffed goose (and one determined student)
Total Time: Many hours of design, machining, assembly, and hauling
For the “make something big” week, I wanted to create a themed chair. I am really quite fond of many types of waterfowl, so what better choice than a goose-shaped chair for my large stuffed goose?
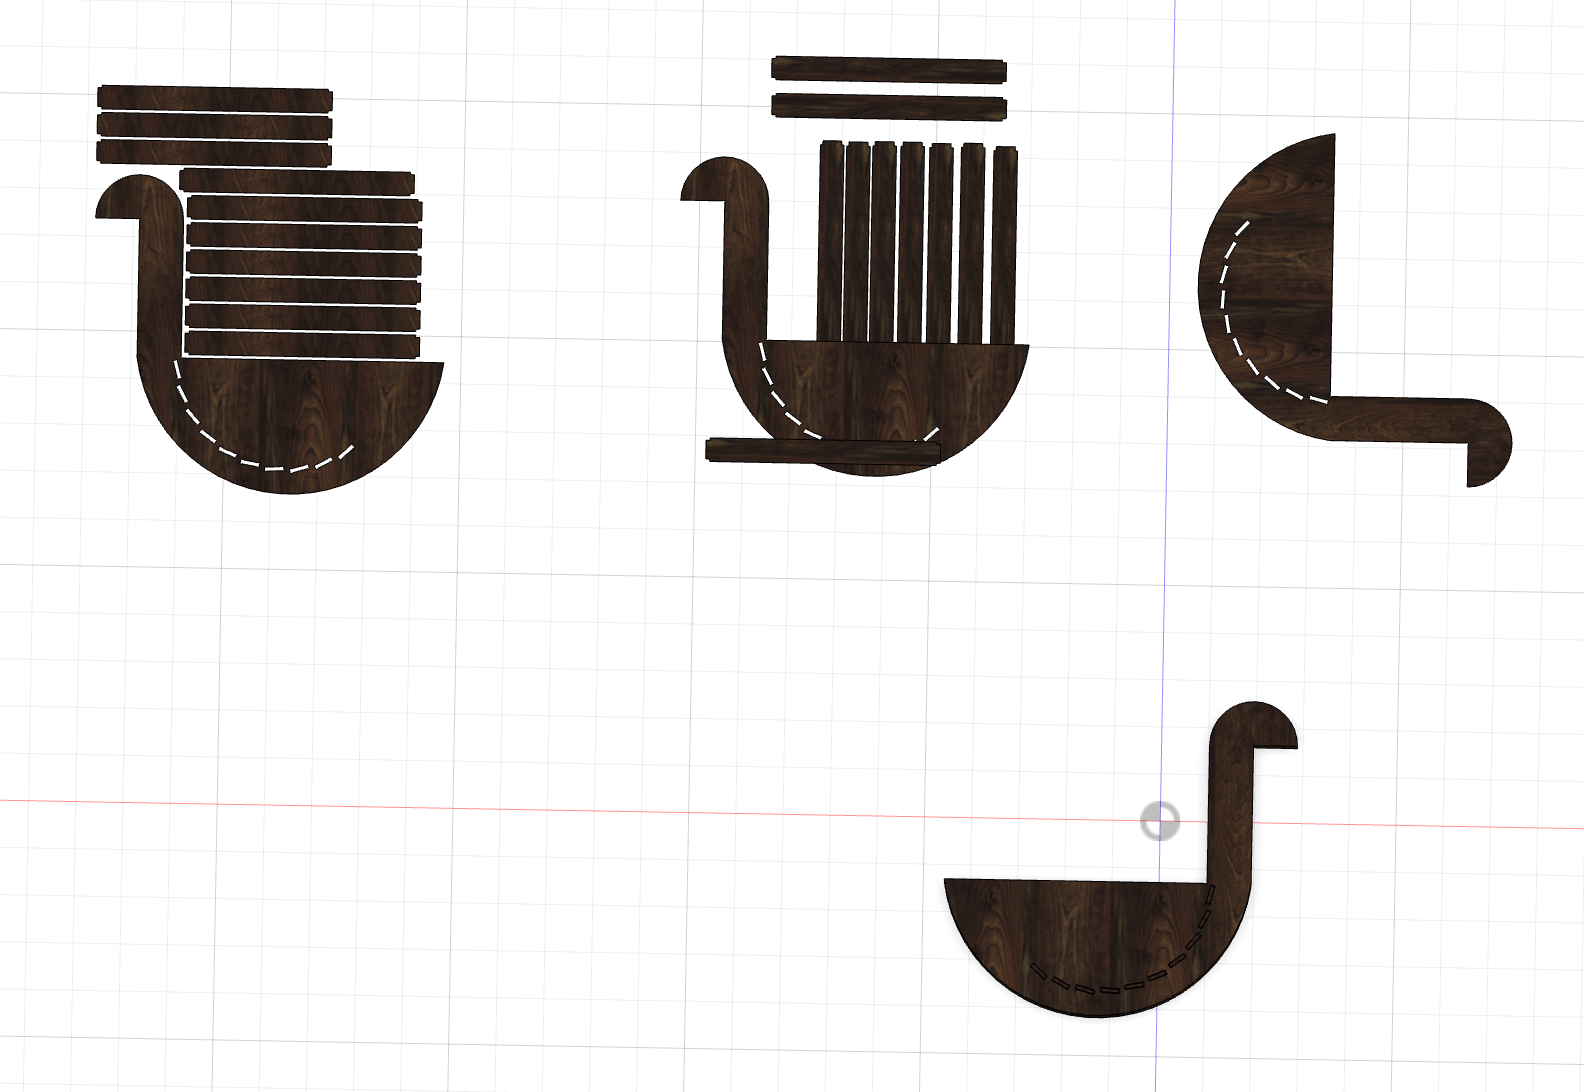
I began by designing a simplified goose silhouette along with a set of rectangular structural bars in Fusion 360. This step took an incredibly long time, largely because I had been using Onshape all semester and the shift to Fusion was… humbling.
In hindsight, I absolutely could have stayed in Onshape and imported the files. But learning a new tool is part of the process, even if it hurts a little.
Once the design was complete, I followed the machining workflow Anthony outlined in his video: adding dogbones, selecting tools, and setting up toolpaths. I used Fusion 360’s Manufacturing workspace to arrange the parts and generate the G-code for the CNC machine.
We used two different tools:
The smaller tool was critical for the dogbones that allow the parts to slot together cleanly.
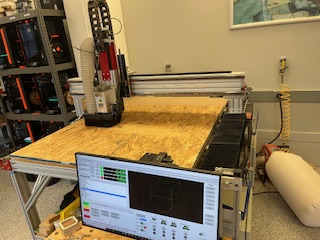
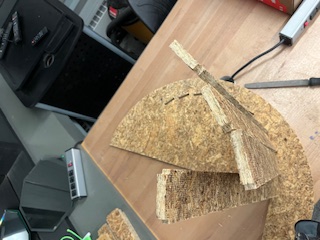
After stapling the plywood down to the CNC bed, it was finally time to machine.
Watching the pieces get cut out was genuinely satisfying. Removing them from the stock afterwards, however, was significantly less fun — I had left quite a few connecting tabs.
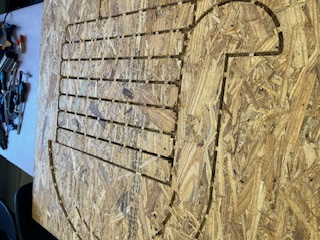
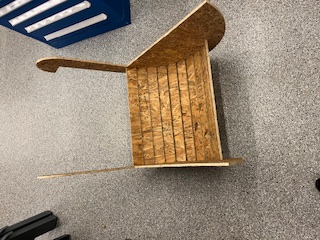
Once all the parts were removed, it was time for assembly.
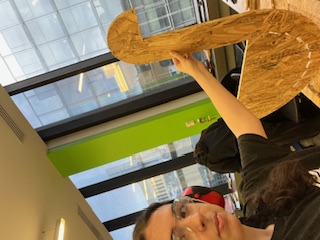
This step required a surprising amount of brute force. With help from Anthony (since I am, unfortunately, very weak), a mallet, a hammer, and sheer hope, the goose chair slowly came together.
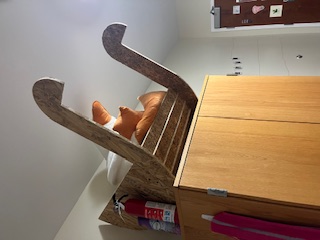
After assembly, I embarked on the long and arduous journey to deliver the chair to class and then transport it home — sustaining only minor injuries from the moving cart.
Now, the goose sits majestically in my room, looking down upon all of us with an undeniable air of royalty.
This week was my first real encounter with a lesson I continued to learn throughout the semester: sometimes, brute force is the solution.
Filing down slots so pieces would fit, malleting the sides until everything snapped together — there was no precise science here. Just a growing intuition for how to make things work when reality does not perfectly match the CAD.
And honestly? That might be one of the most important skills I learned.