Week 1
Acknowledgments
ChatGPT logs
https://chatgpt.com/share/68c76324-7418-8007-ad90-89759b46e741
https://chatgpt.com/share/68c85445-04fc-8007-9a8b-5ae33403adb2
Anthony Pennes was super helpful, and he explain to me how to use the machines and helped debug them when I was having some issues!
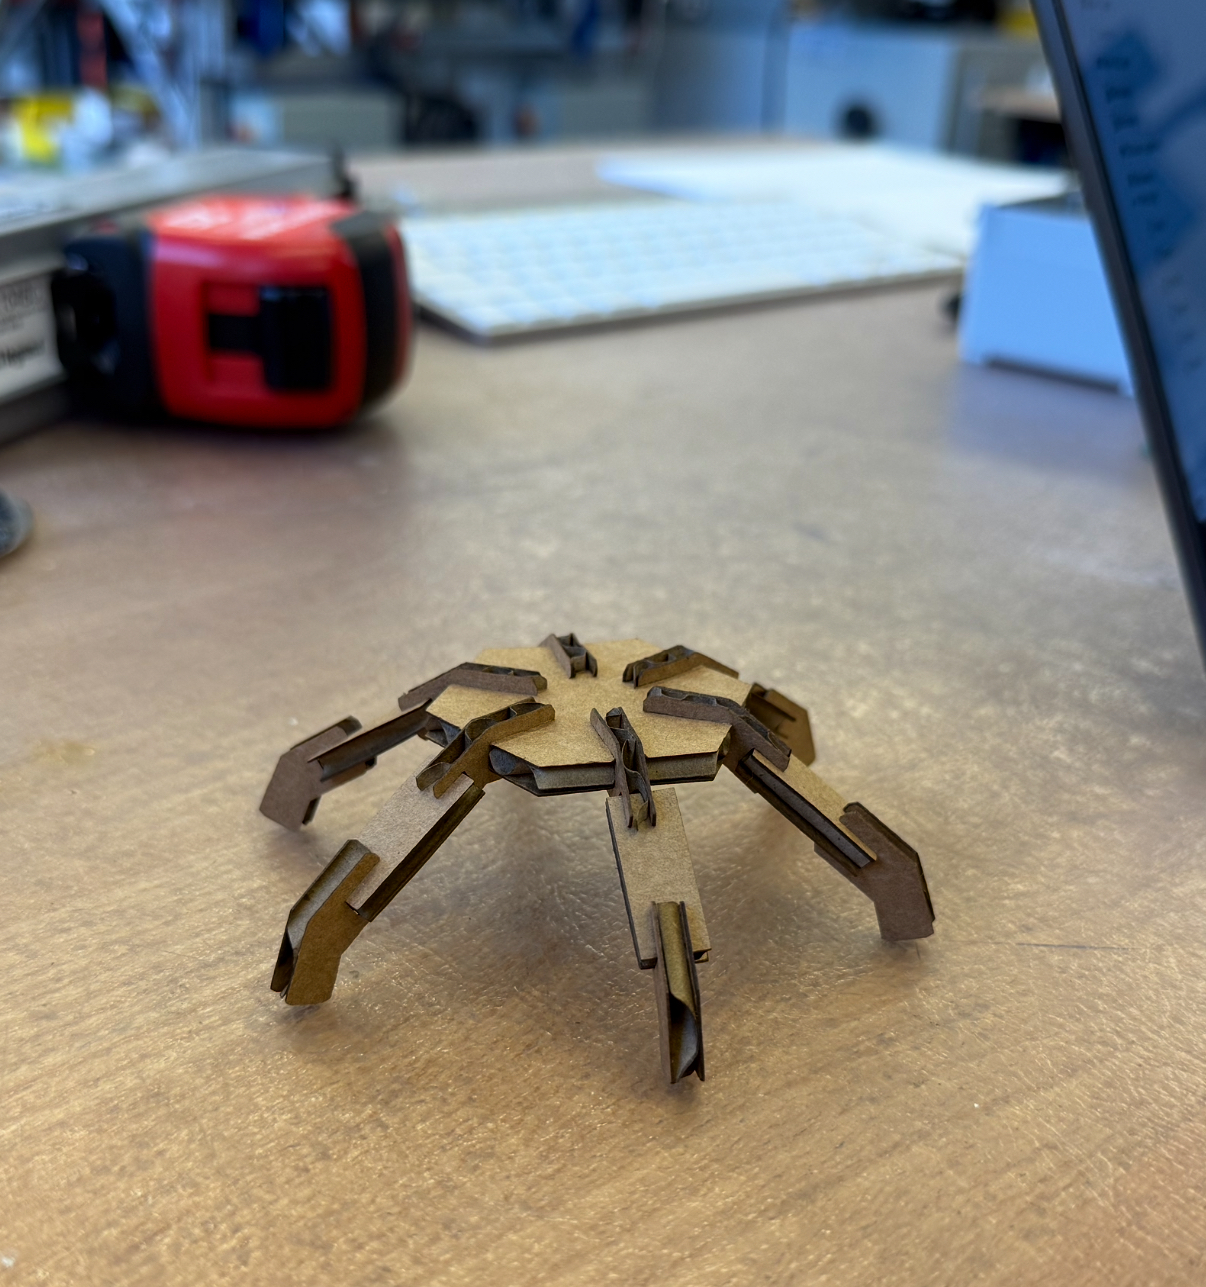
For this week I wanted to utilize the laser cutting assignment to gain some inspiration of robotic forms which is related to my final project. I ended up going with a classical hexapod, and I prefer smaller sized things so I ended up designing a miniature hexapod.
The core part of this assignment was parametric cad design. So I made the width of the slots be a parameter , and although it doesn’t matter as much I made a depth variable (the z dimension) .
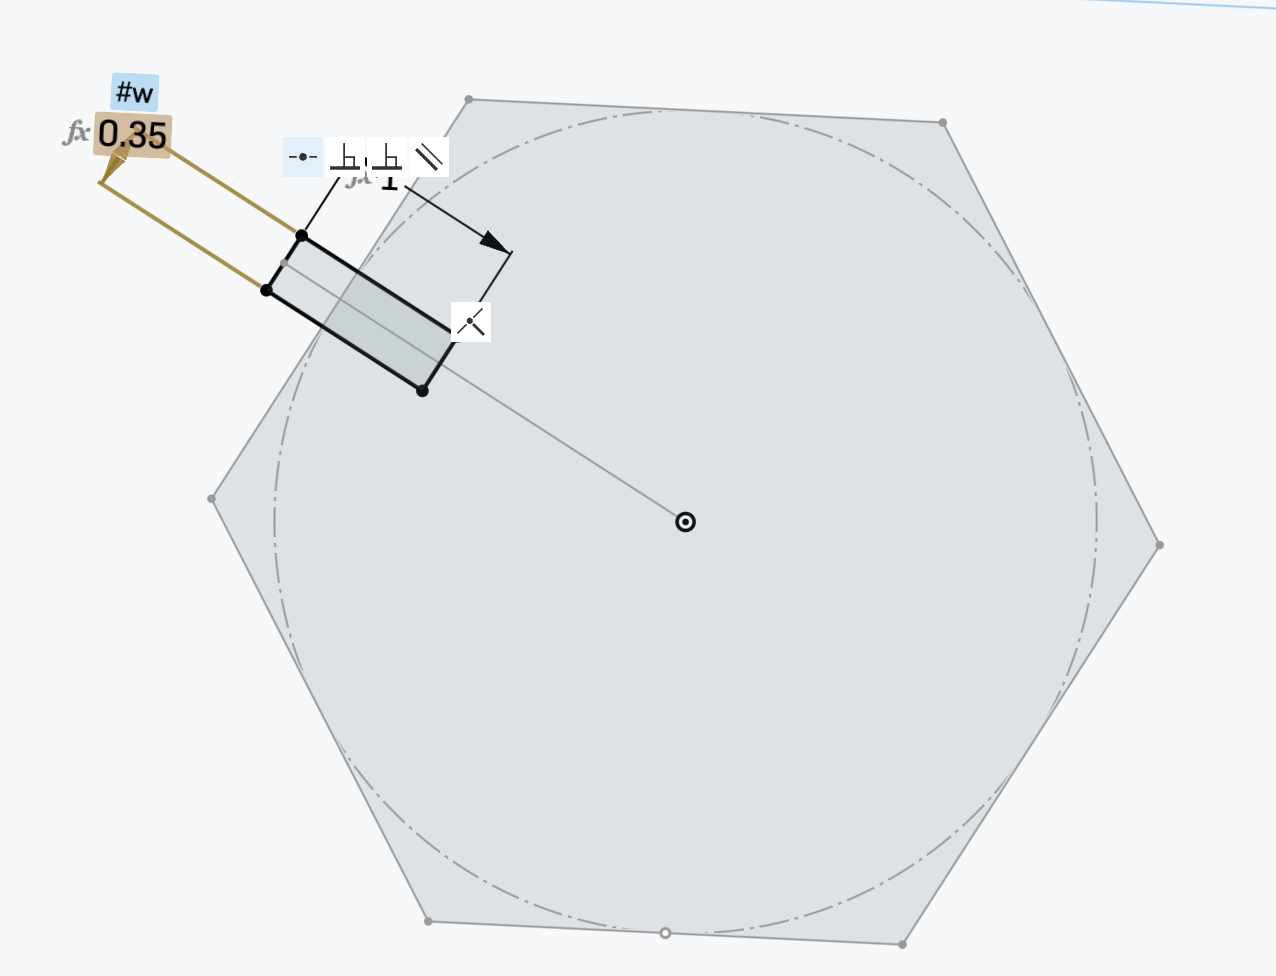
I first laser cut this with . I had obtained this value from measuring multiple cardboards thickness with a caliper then subtracting a small value to make the slot width a tad bit smaller than the cardboard so that it is a tight fit. I noticed that I can pinch the cardboard a bit, so that is why I made the width smaller than the thickness. With Anthony we worked on the laser cutting settings and I converged to 100% power 15% speed. After this I made the first leg joint.
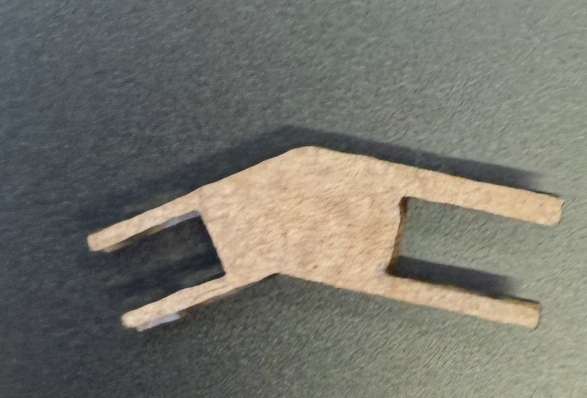
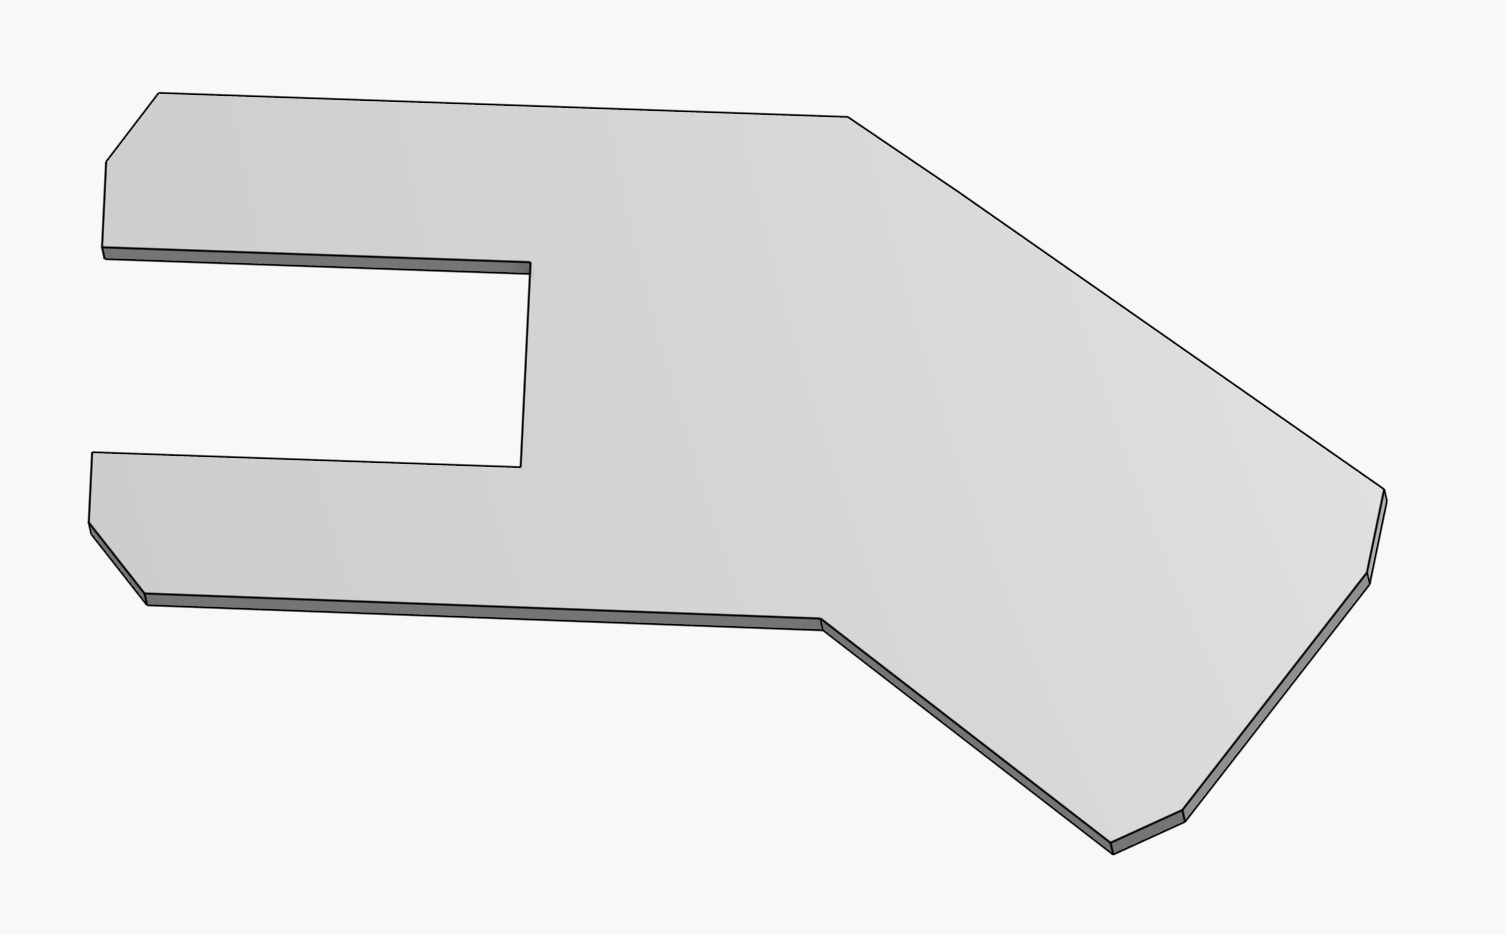
I tried to make it thin so that it doesn’t stick out from the base too much, but this was too thin and it didn’t have much integrity to be slotted into the base hexagon. After this I modified the file by adding some extra material.
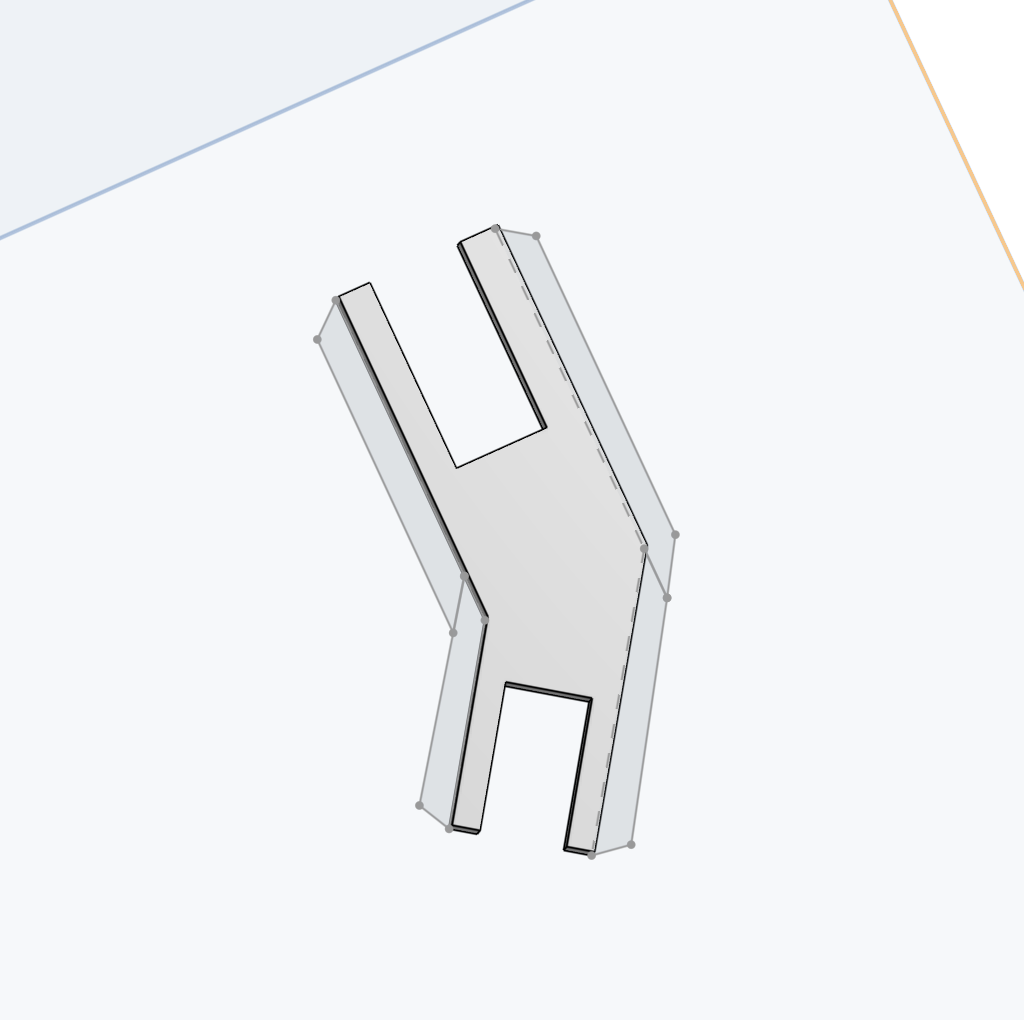
Here is the second version in comparison to the first.
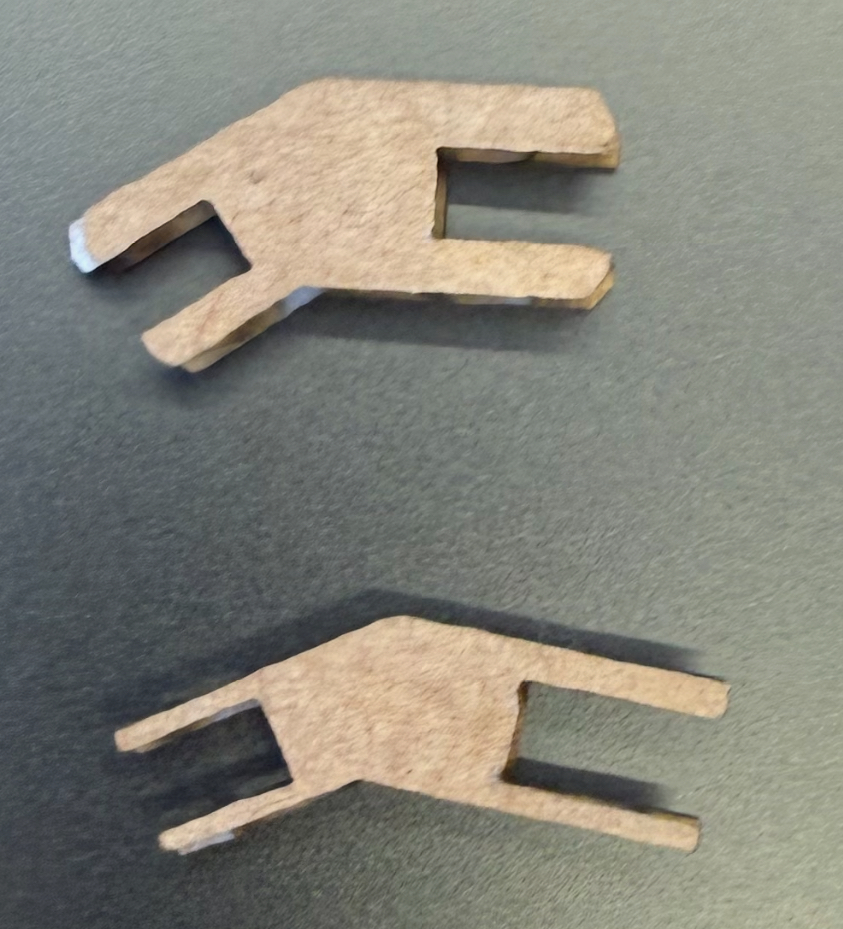
This was much more sturdy and I could now attach the joints to the base.
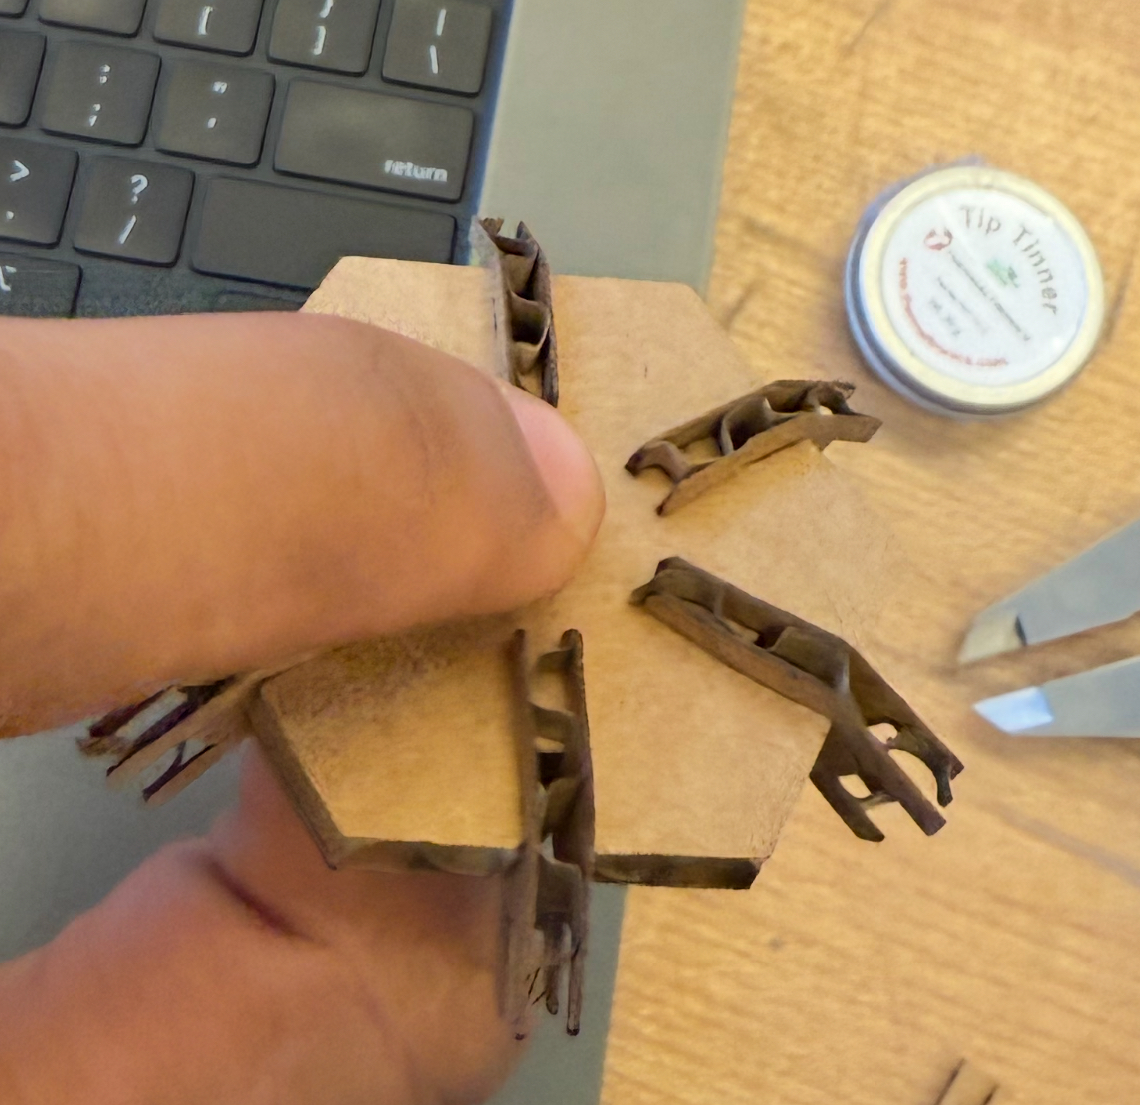
I reused the same design for the foot, and just covered up one of the holes.
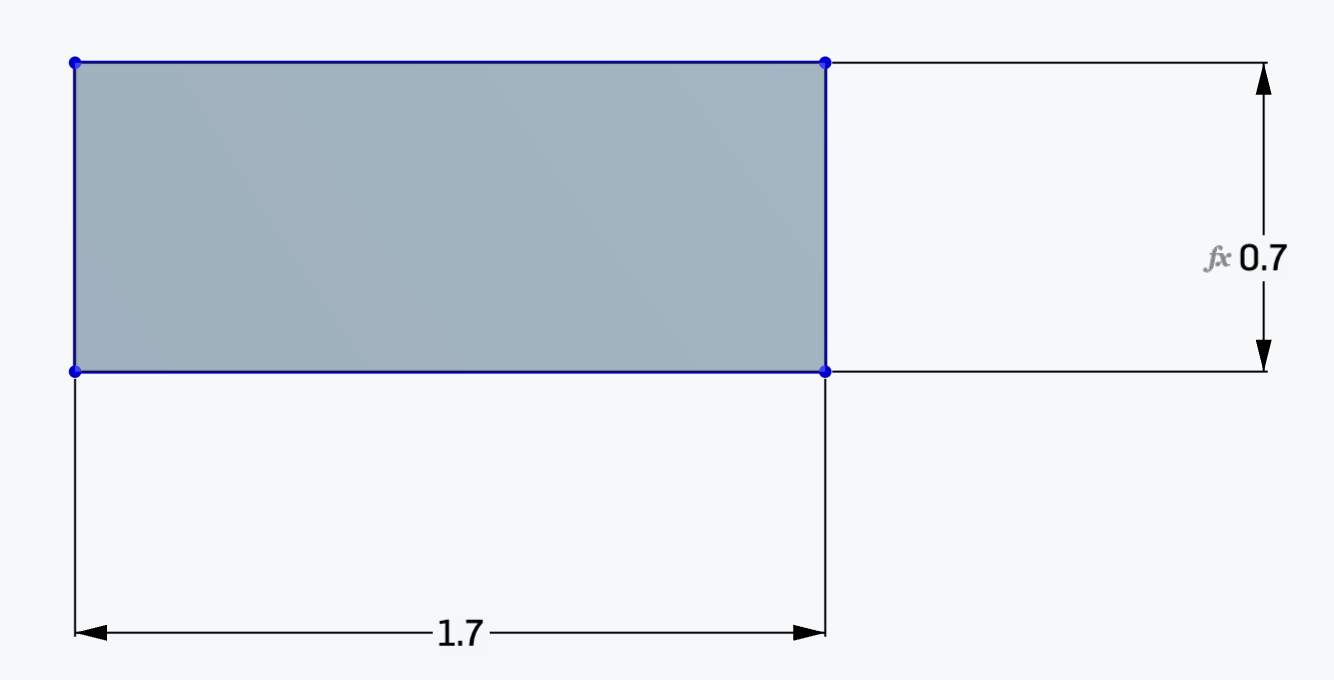
Finally, I needed to make the connectors between the joint. Initially I made it a thin rectangle, which dimensionally made sense, however due to the internal structure of cardboard I ran into issues as shown here. As you can see, the width of the rectangle was too small, to the point where I couldn’t reliably get a full truss inside. I then increased the width to 0.7 cm.
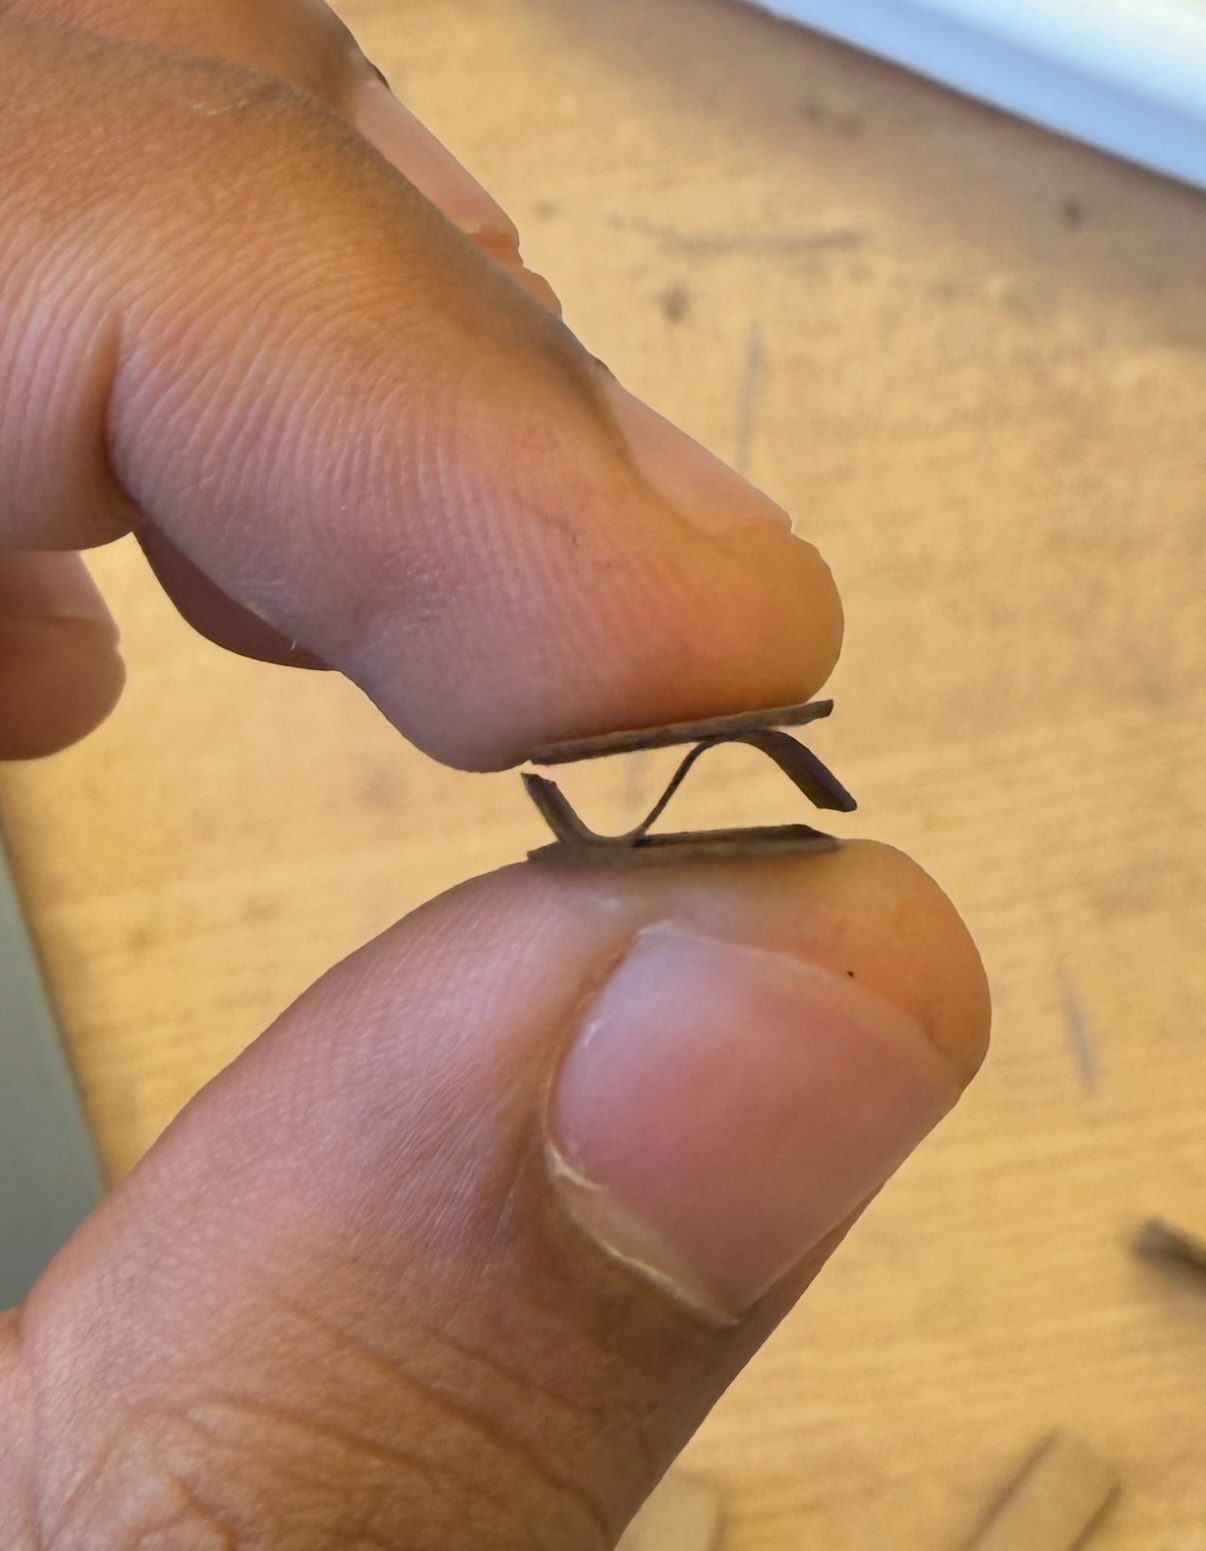
However, even with this there was some pieces that didn’t have a fully connected truss inside, and that depended on where the laser cutting location was. So I just printed more than needed, and took the ones that had a proper truss inside. Finally I assembled everything and then ended up with a mini hexapod!
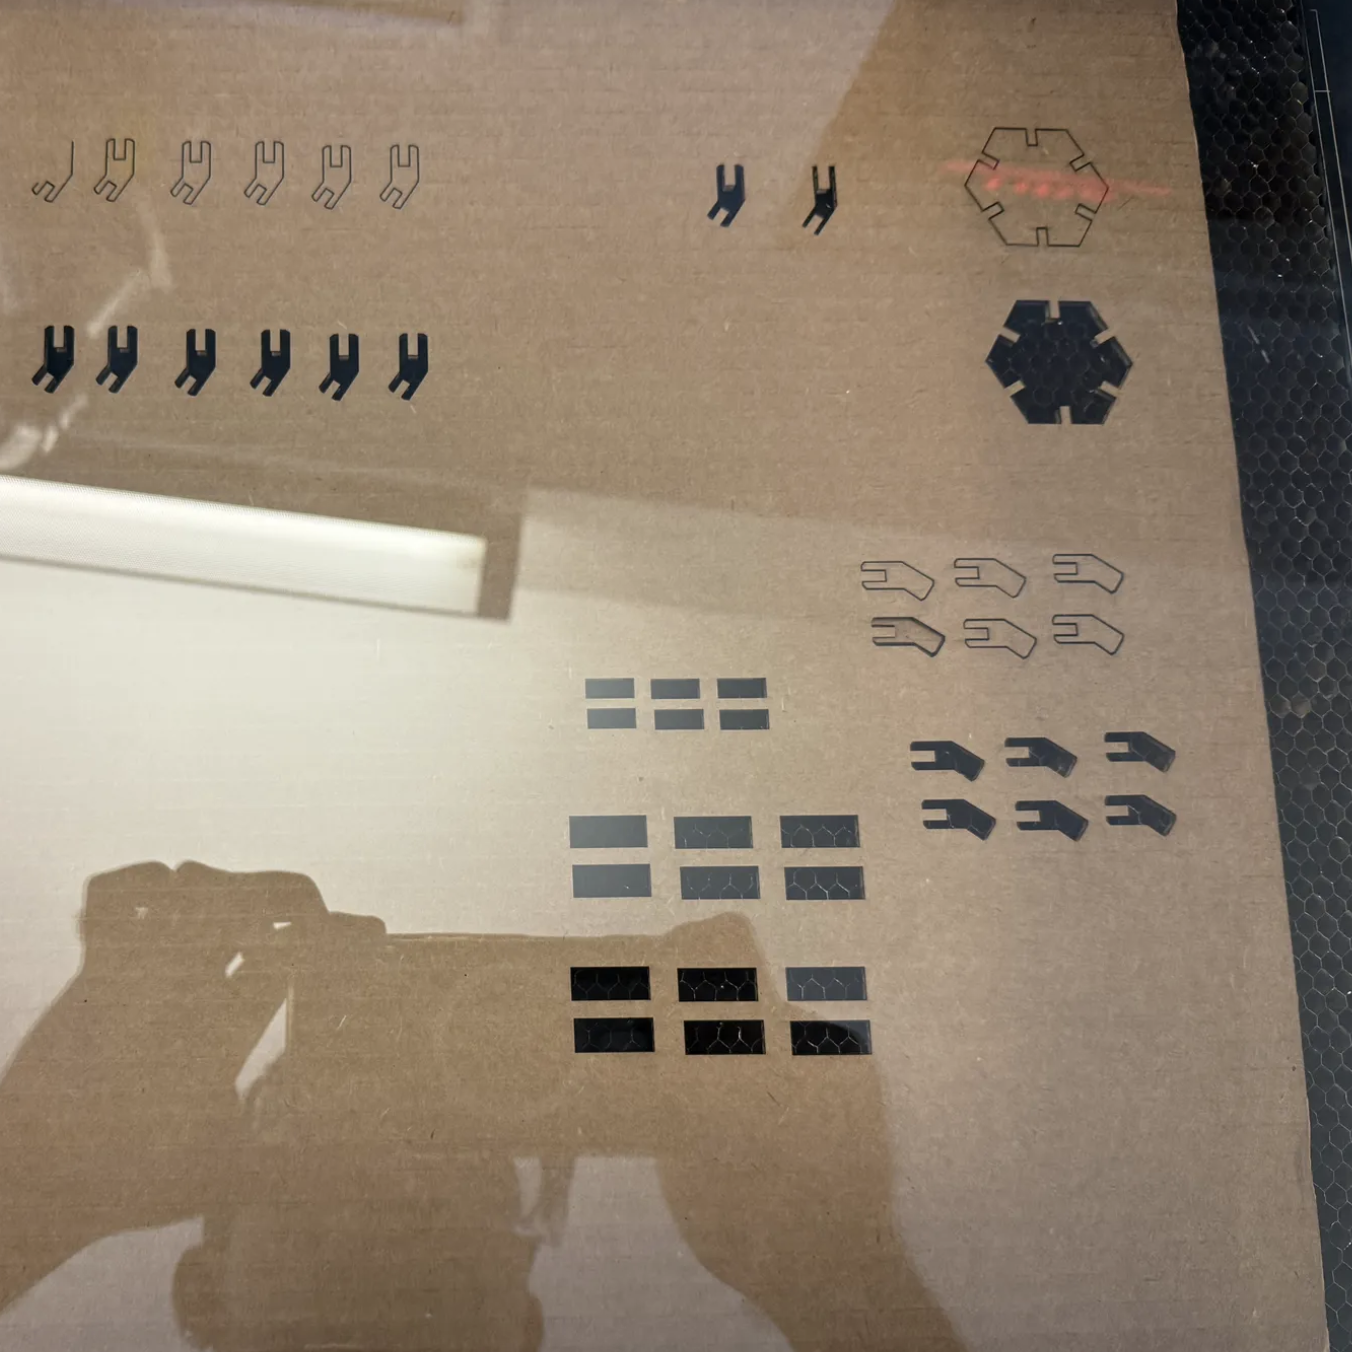
Files to reproduce.
For the vinyl cutting assignment, I decided to print my Seminar’s name + logo: scale-ml.org.

I converted it to a black and white image using this website: https://onlinepngtools.com/convert-png-to-black-and-white. Then I used the modsproject to process the black and white image and send it to the Roland cutter.
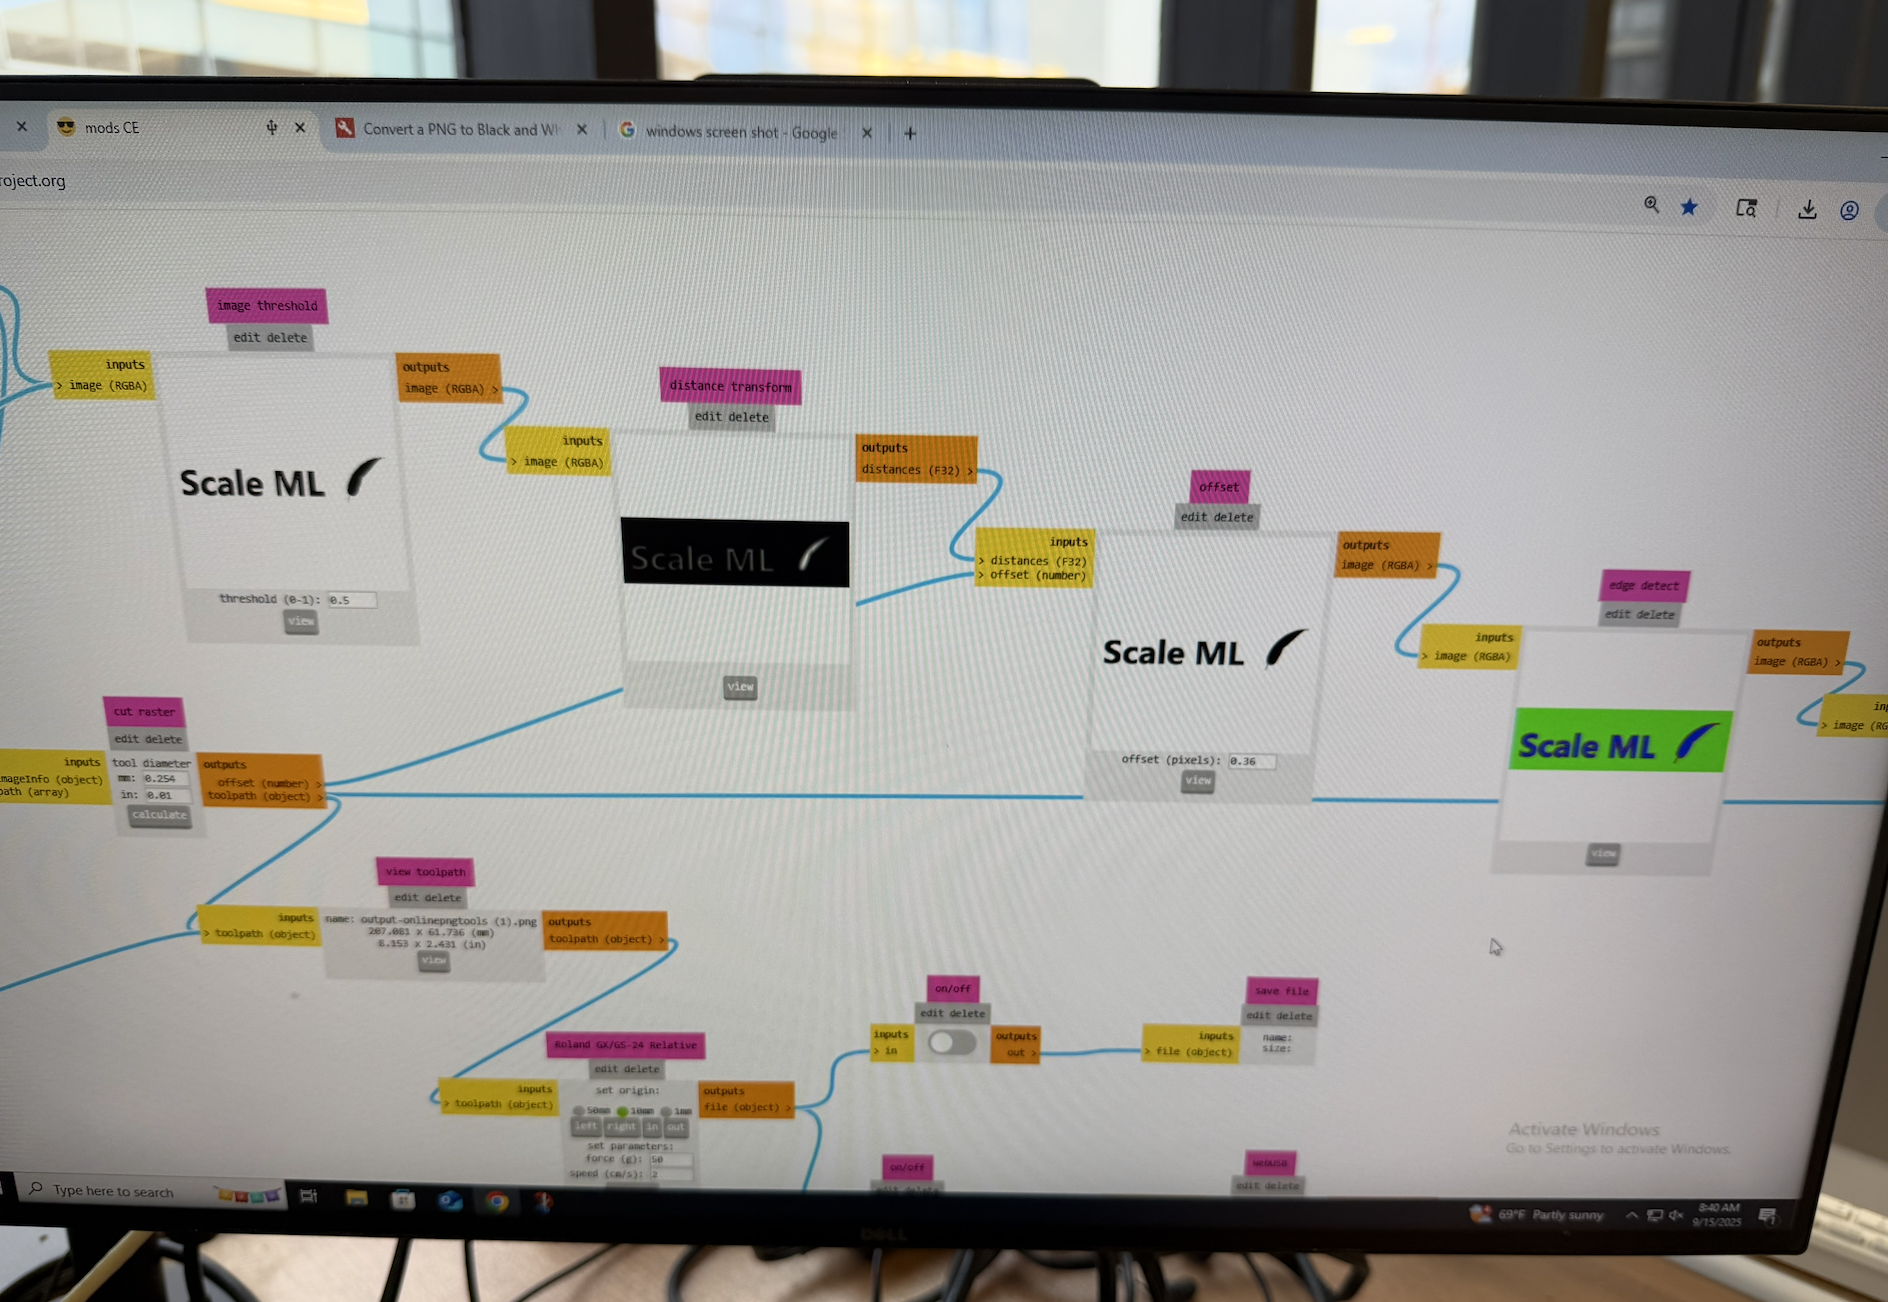
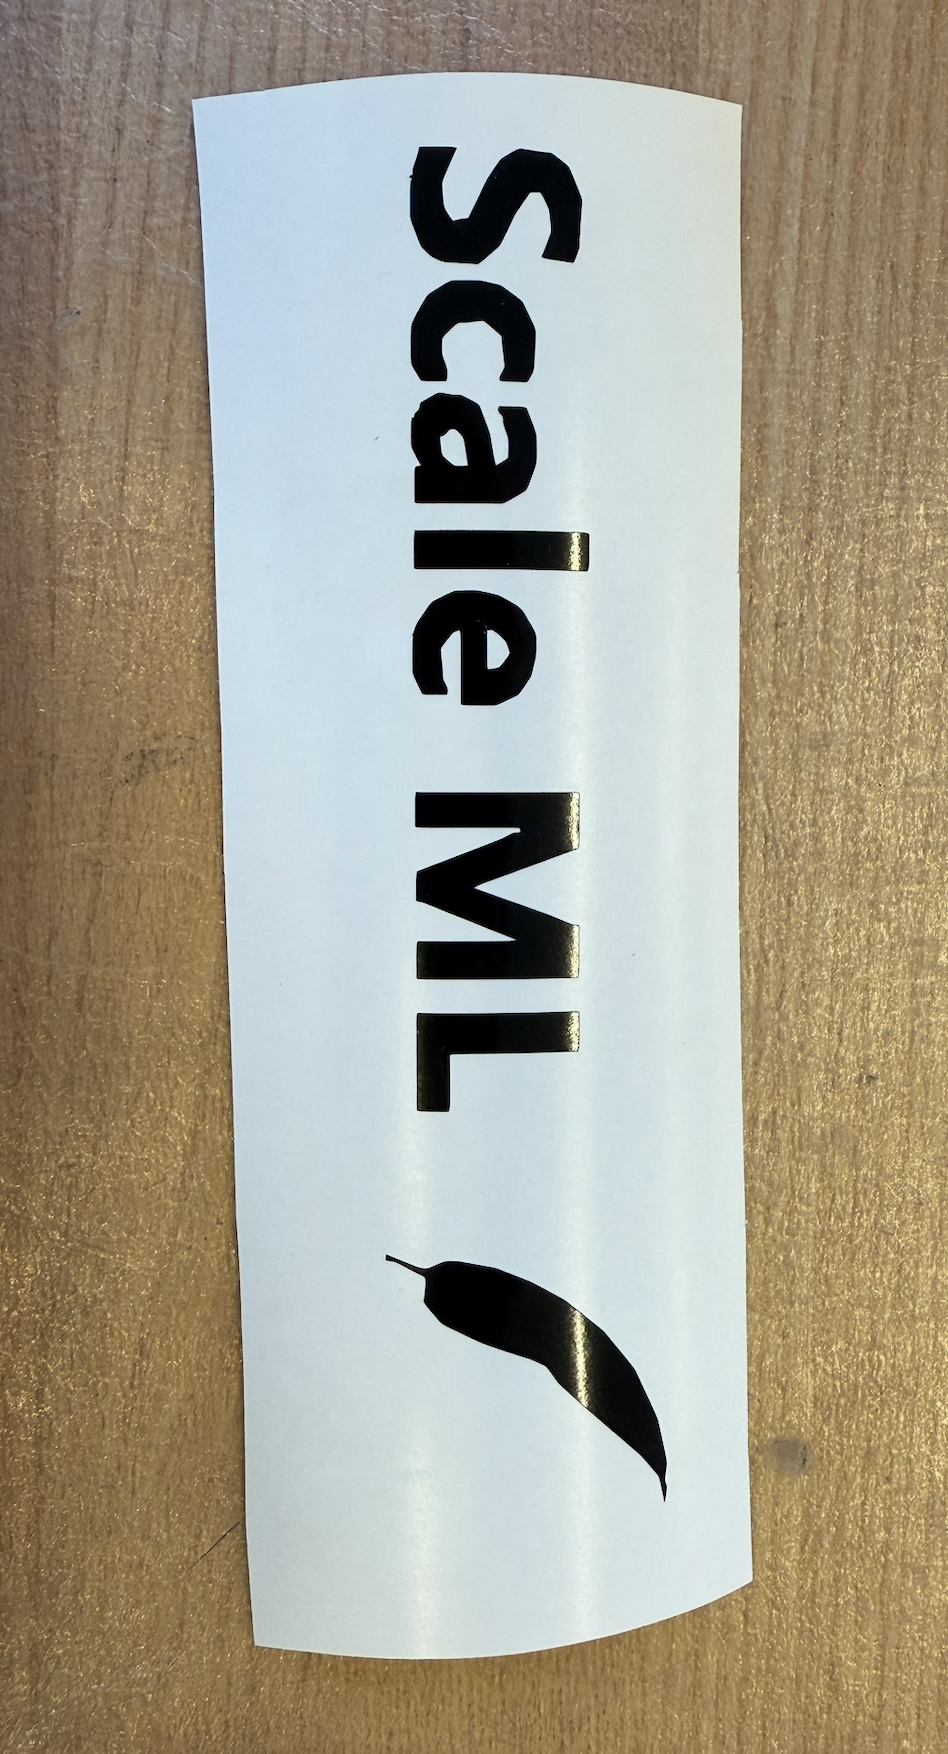
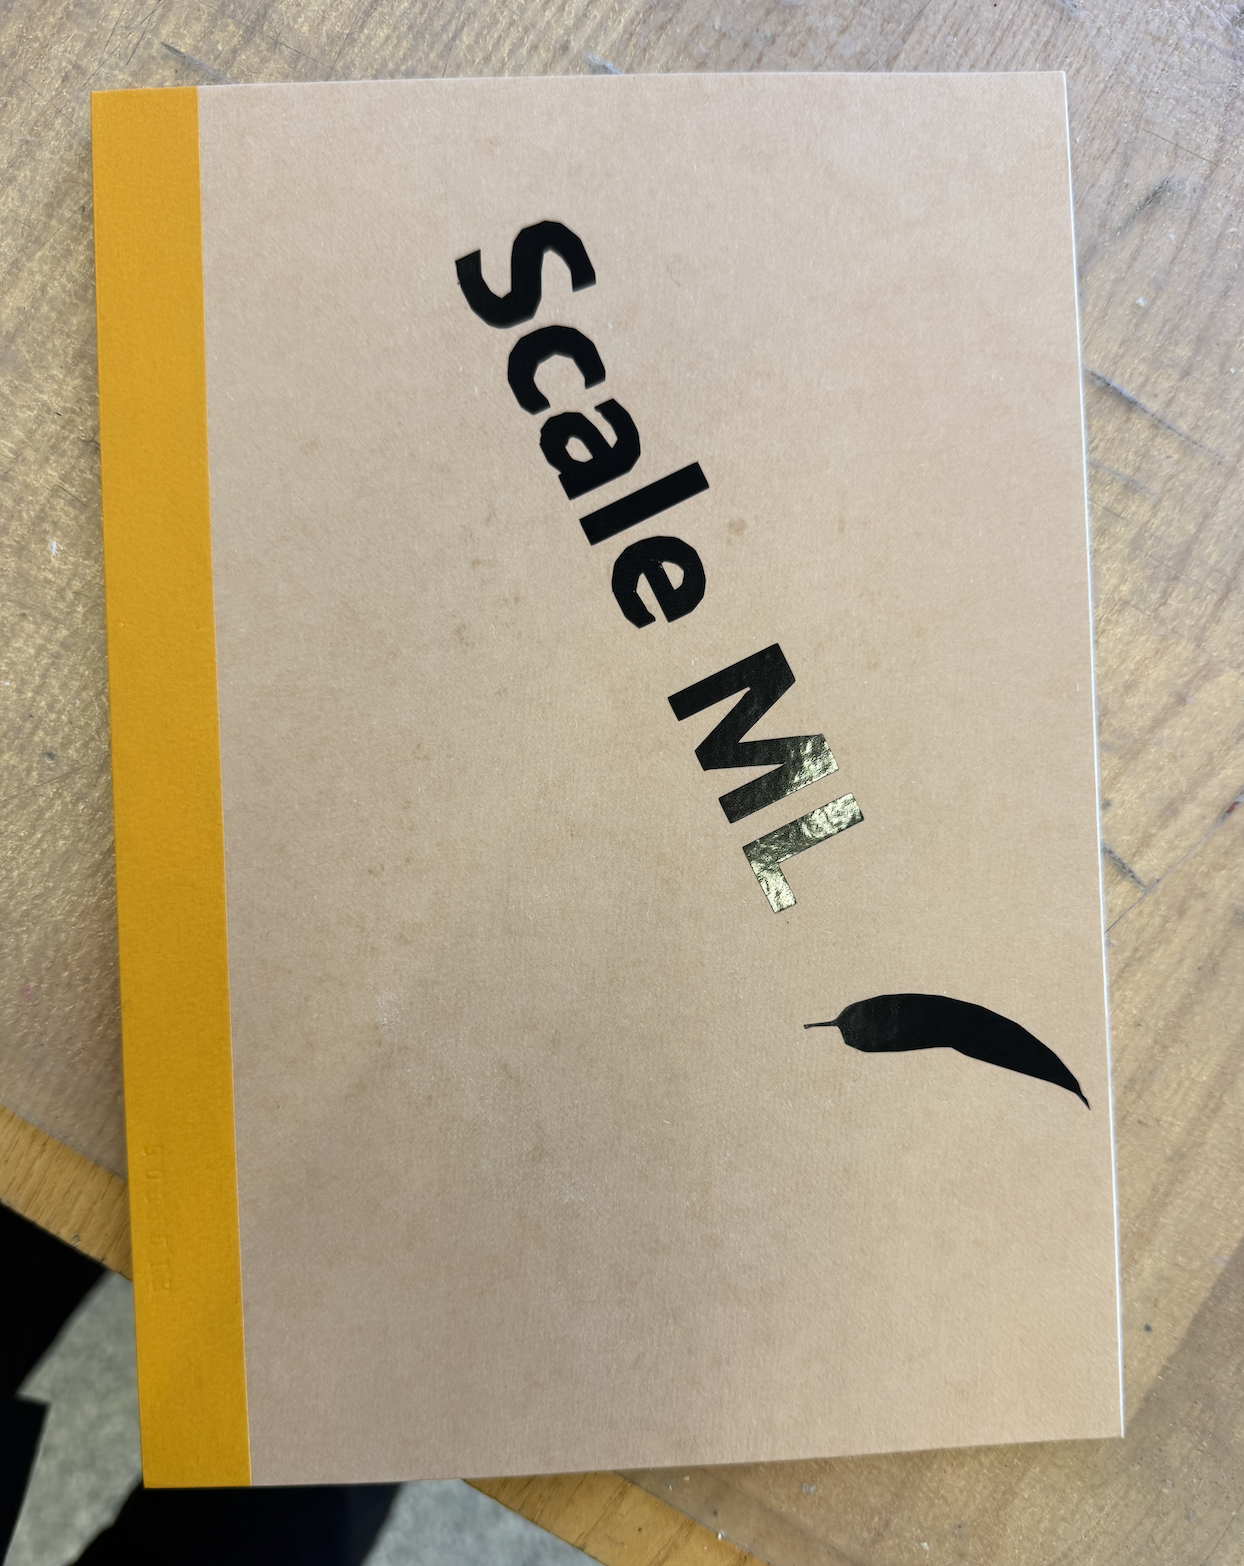
Notice the letters are not super smooth - I think that is because the image I used didn’t have a high enough resolution.