Week 3
Acknowledgments
https://www.youtube.com/watch?v=3cWqf-joxXY
https://www.reddit.com/r/Notion/comments/elh20k/videos_on_html_export_not_properly_exported_fix/ - this is for rendering videos from a notion html export.
Saleem answered some questions I had about about the printer setup.
For the group assignment - I did not do it, when I came to the lab I saw that the prints were inside the printer and Saleem and Katherine took them out and removed the support material. After they did that I inspect them
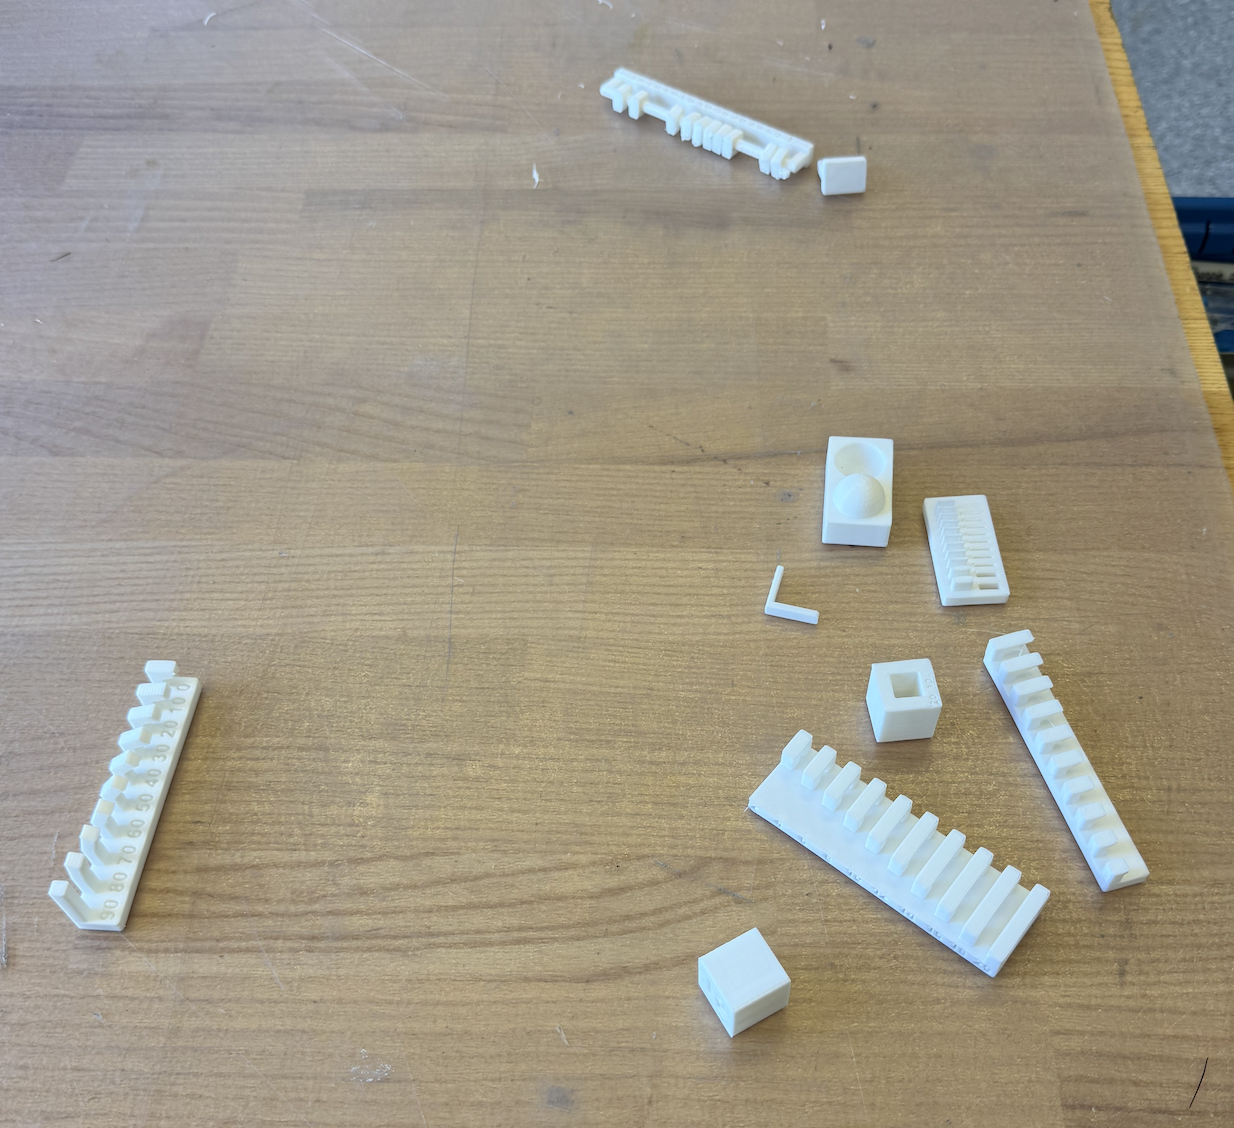
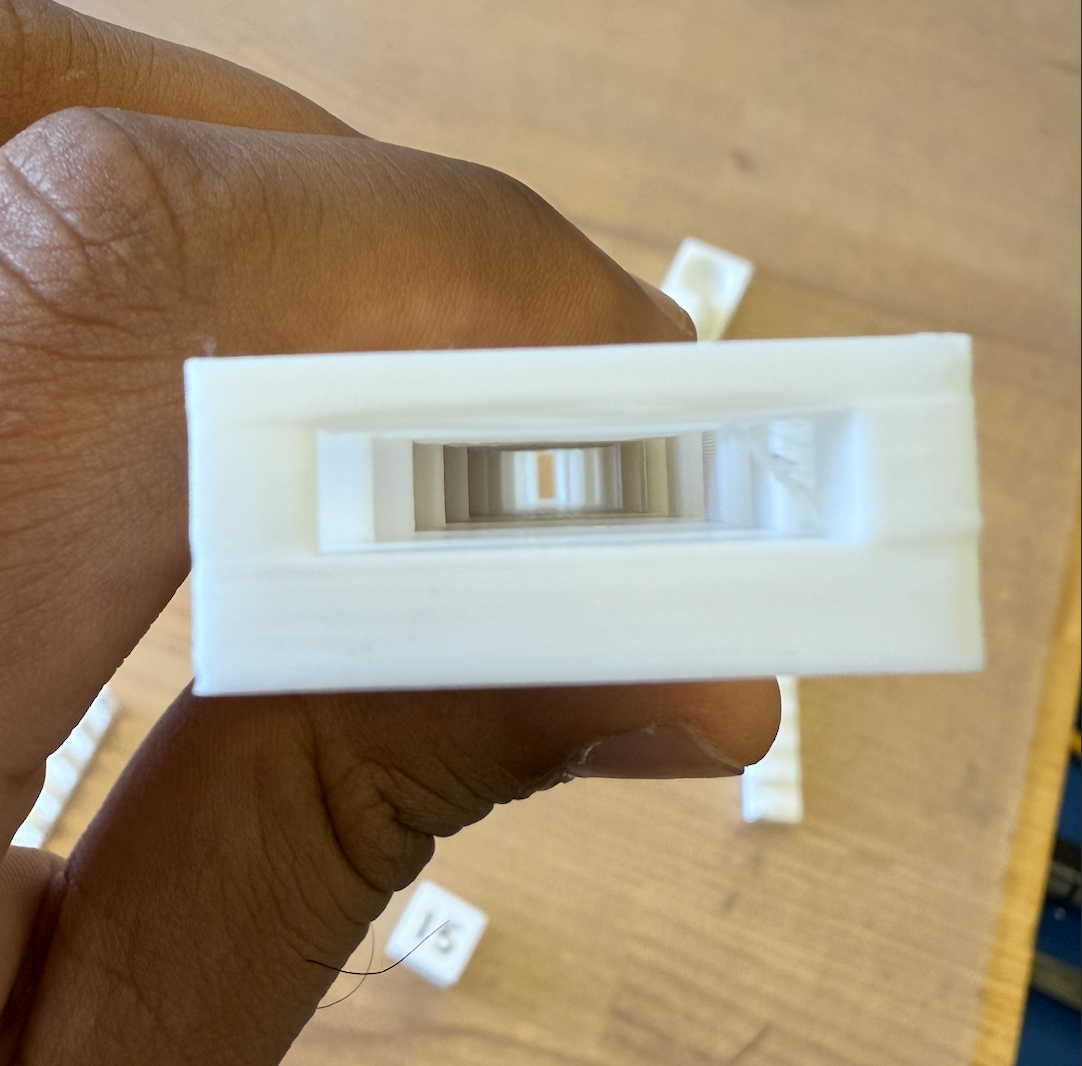
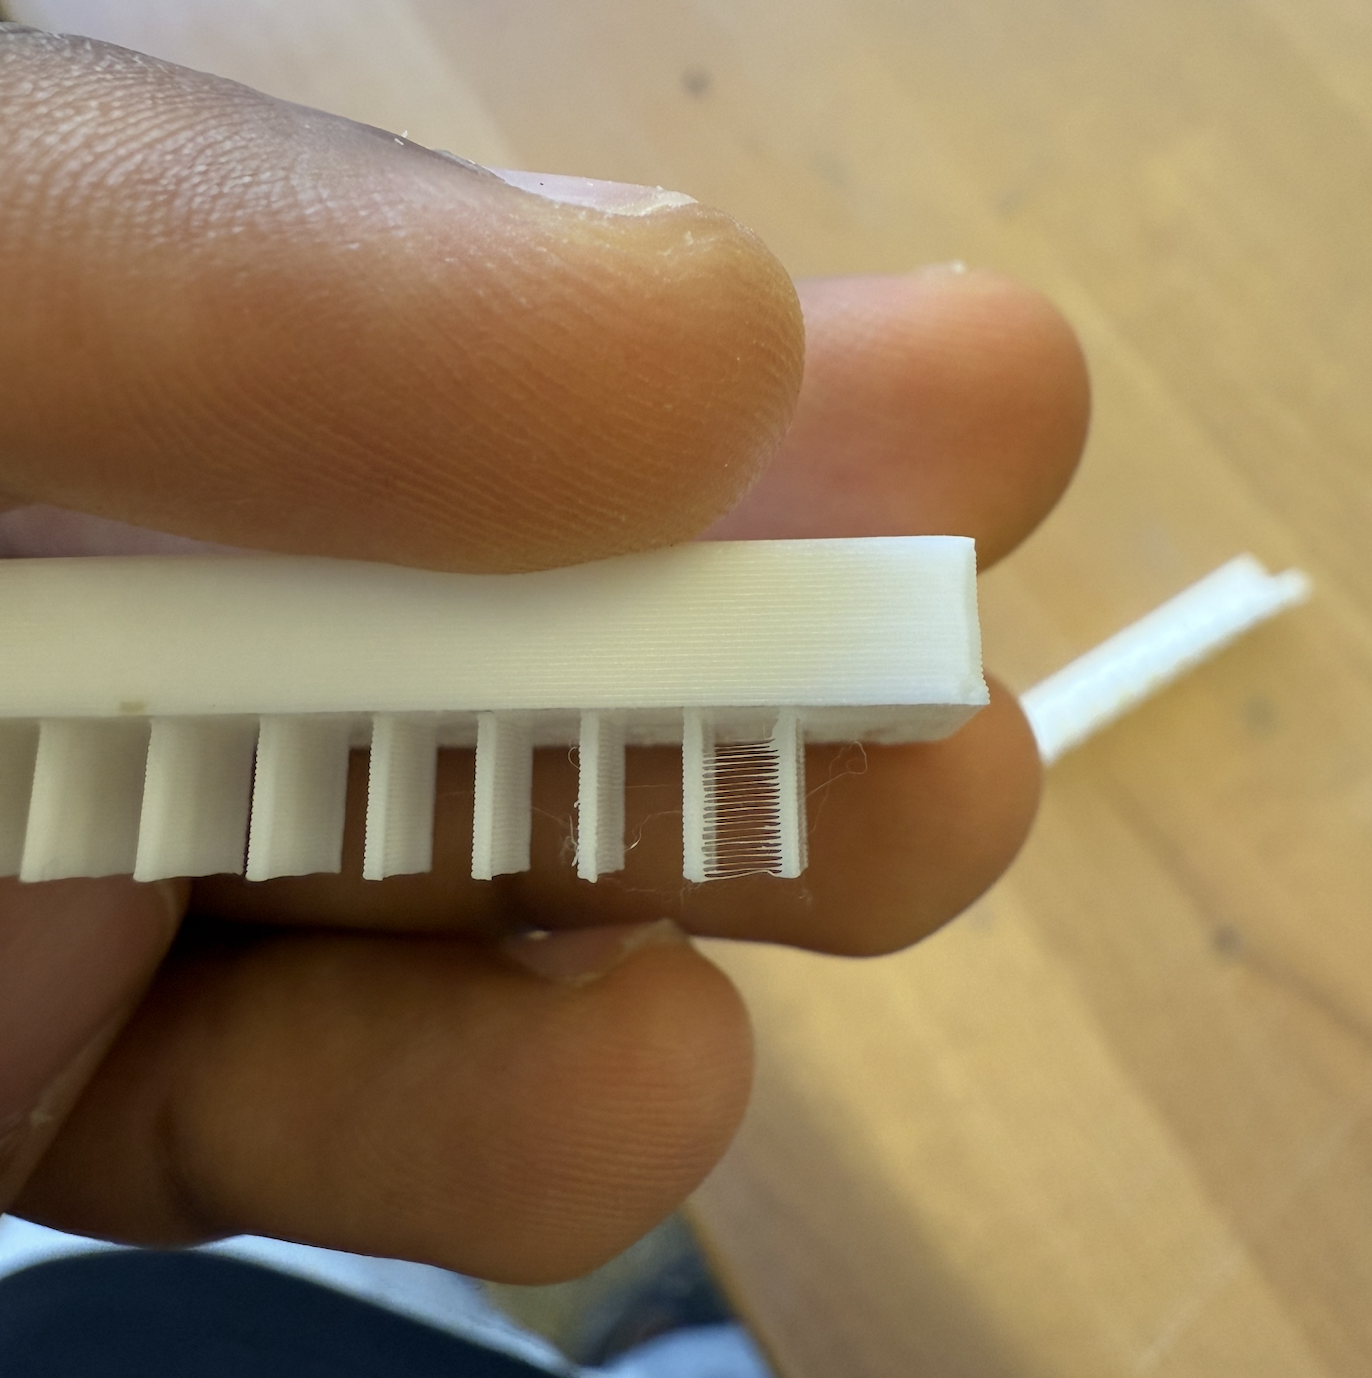
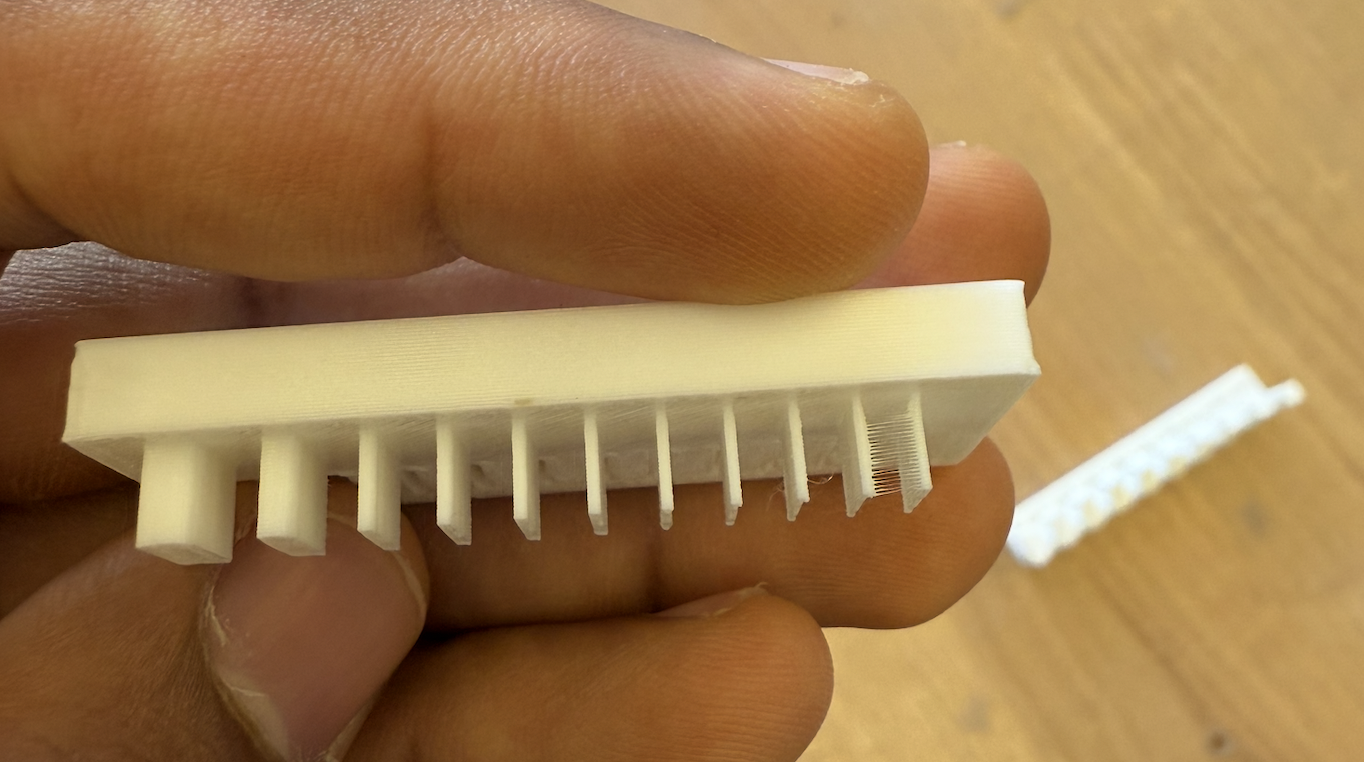
What I found most surprising was the thin wall test, it seemed that it was only 1-2 layers thick and the print quality was impressively good. However, for some reason there is stringing between the 2 thinnest walls. I read the following: https://www.simplify3d.com/resources/print-quality-troubleshooting/stringing-or-oozing/, which says the following:
Stringing (otherwise known as oozing, whiskers, or “hairy” prints) occurs when small strings of plastic are left behind on a 3D printed model. This is typically due to plastic oozing out of the nozzle while the extruder is moving to a new location.
This could be because the thinnest walls don’t have enough surface for all the filament to stick on - hence the stringing between them.
This week I am just making a 3d pyramid shell with small leg stands to understand my final project better. Using the video I linked above, I learned about making planes and adding points.
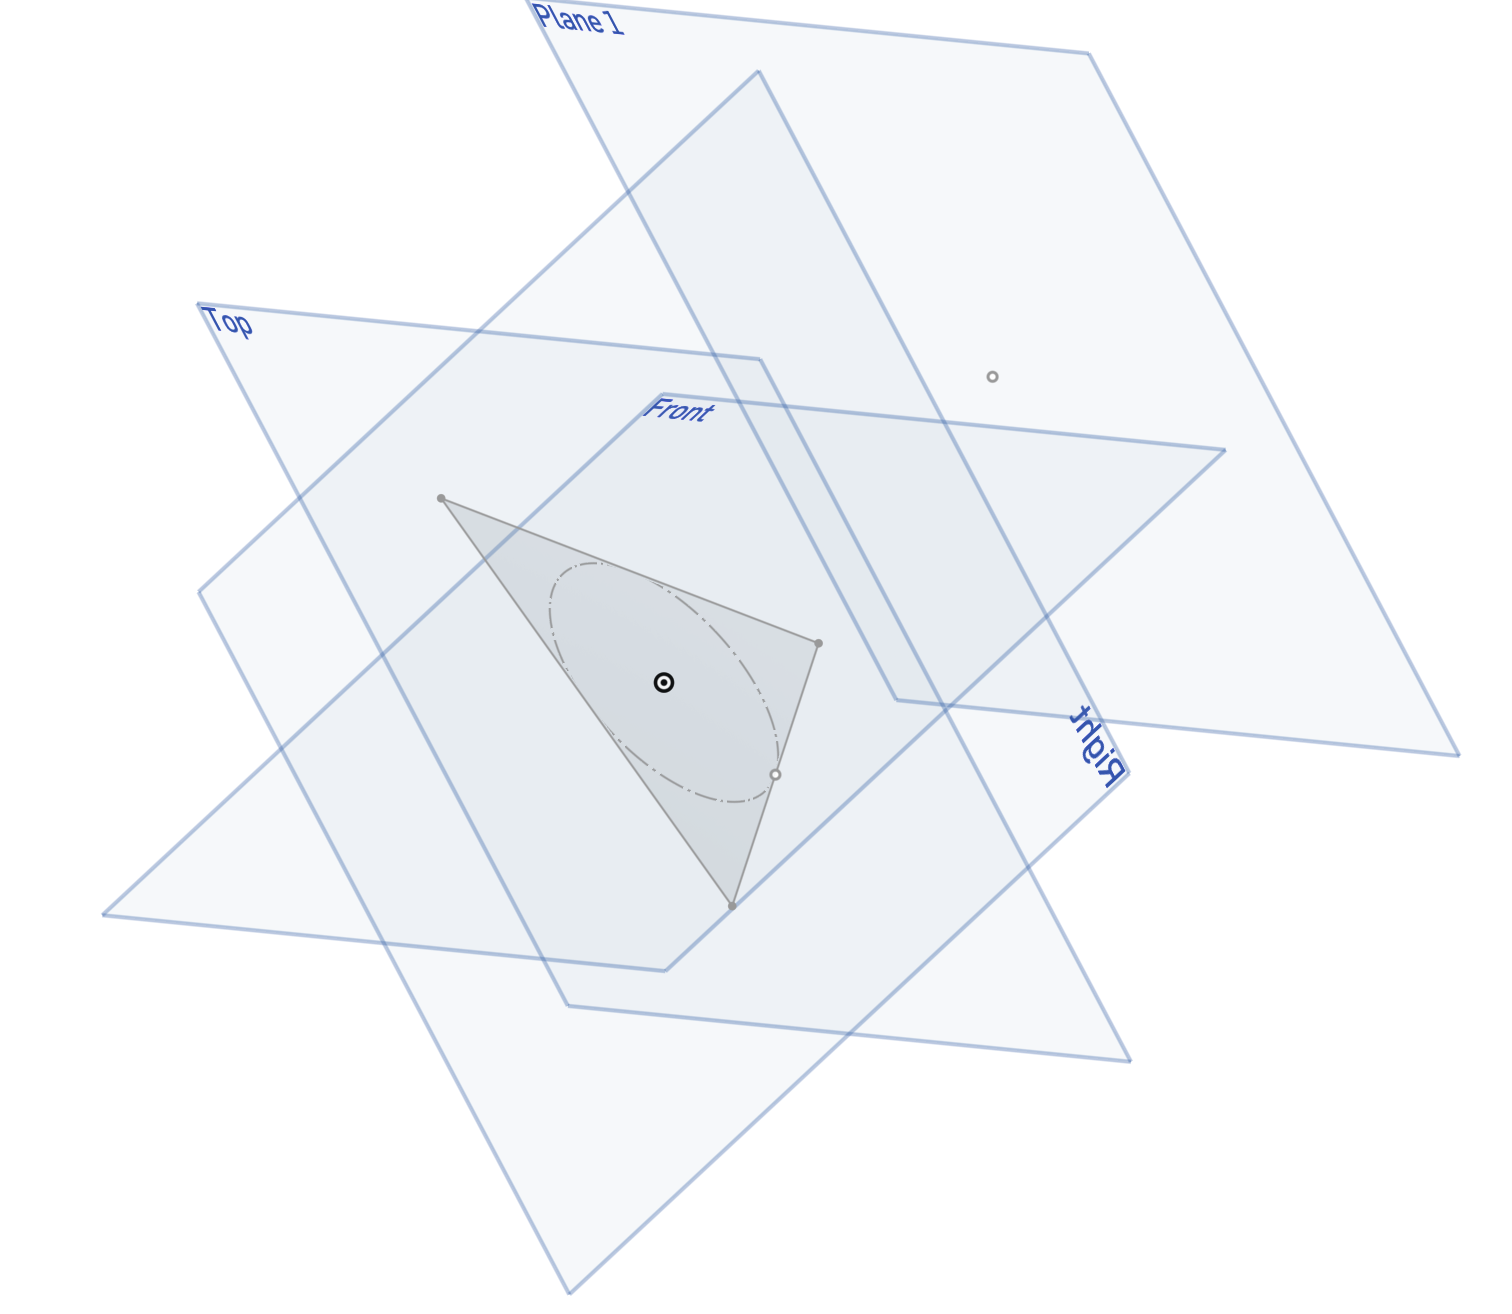
Then via the lofting tool I can make a pyramid.
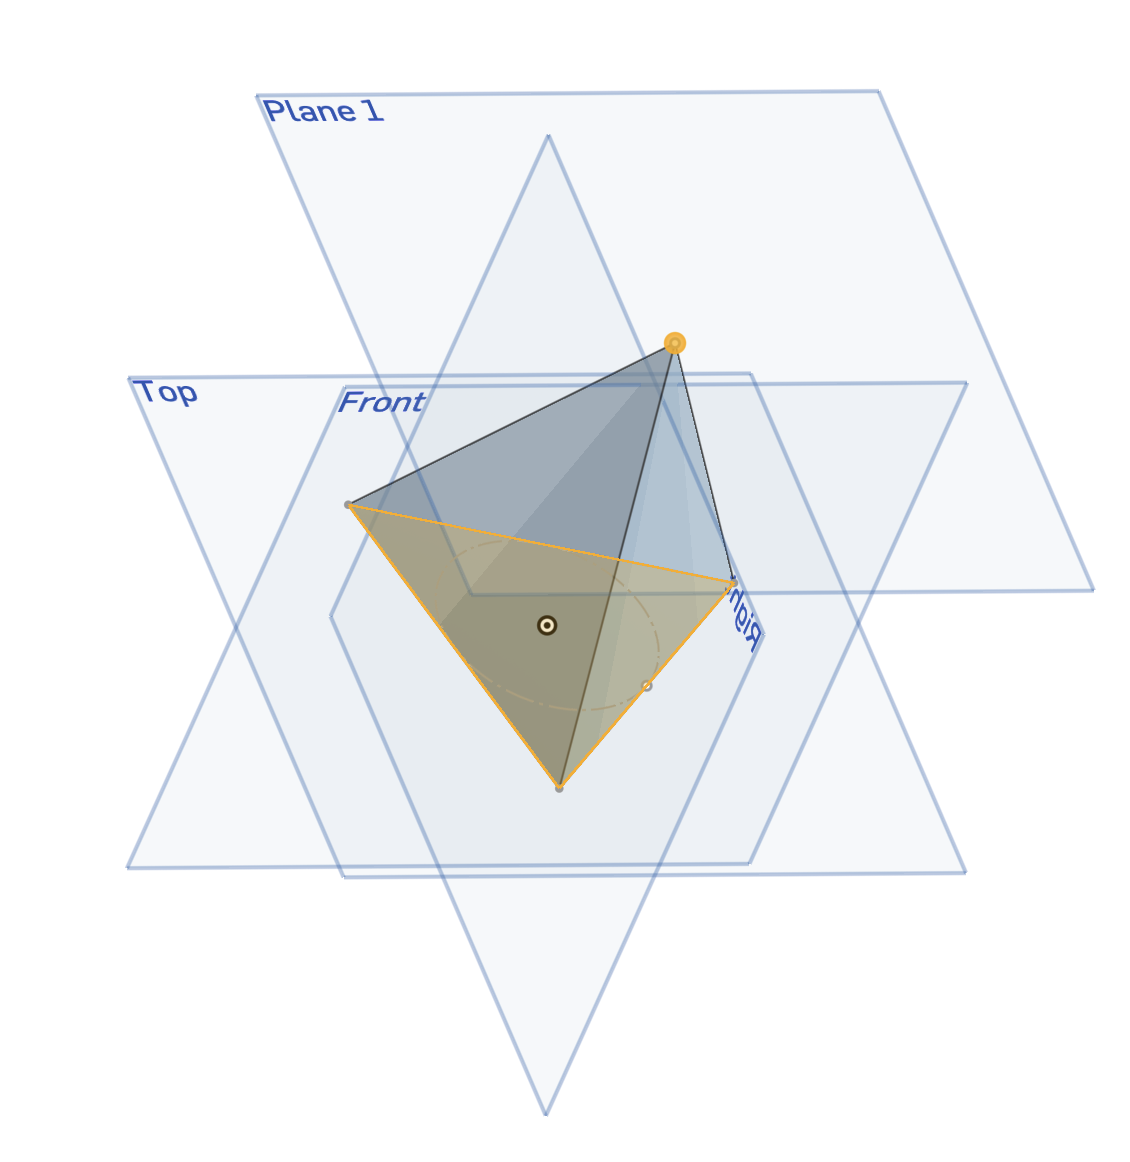
Then I used the fillet tool to round everything off.

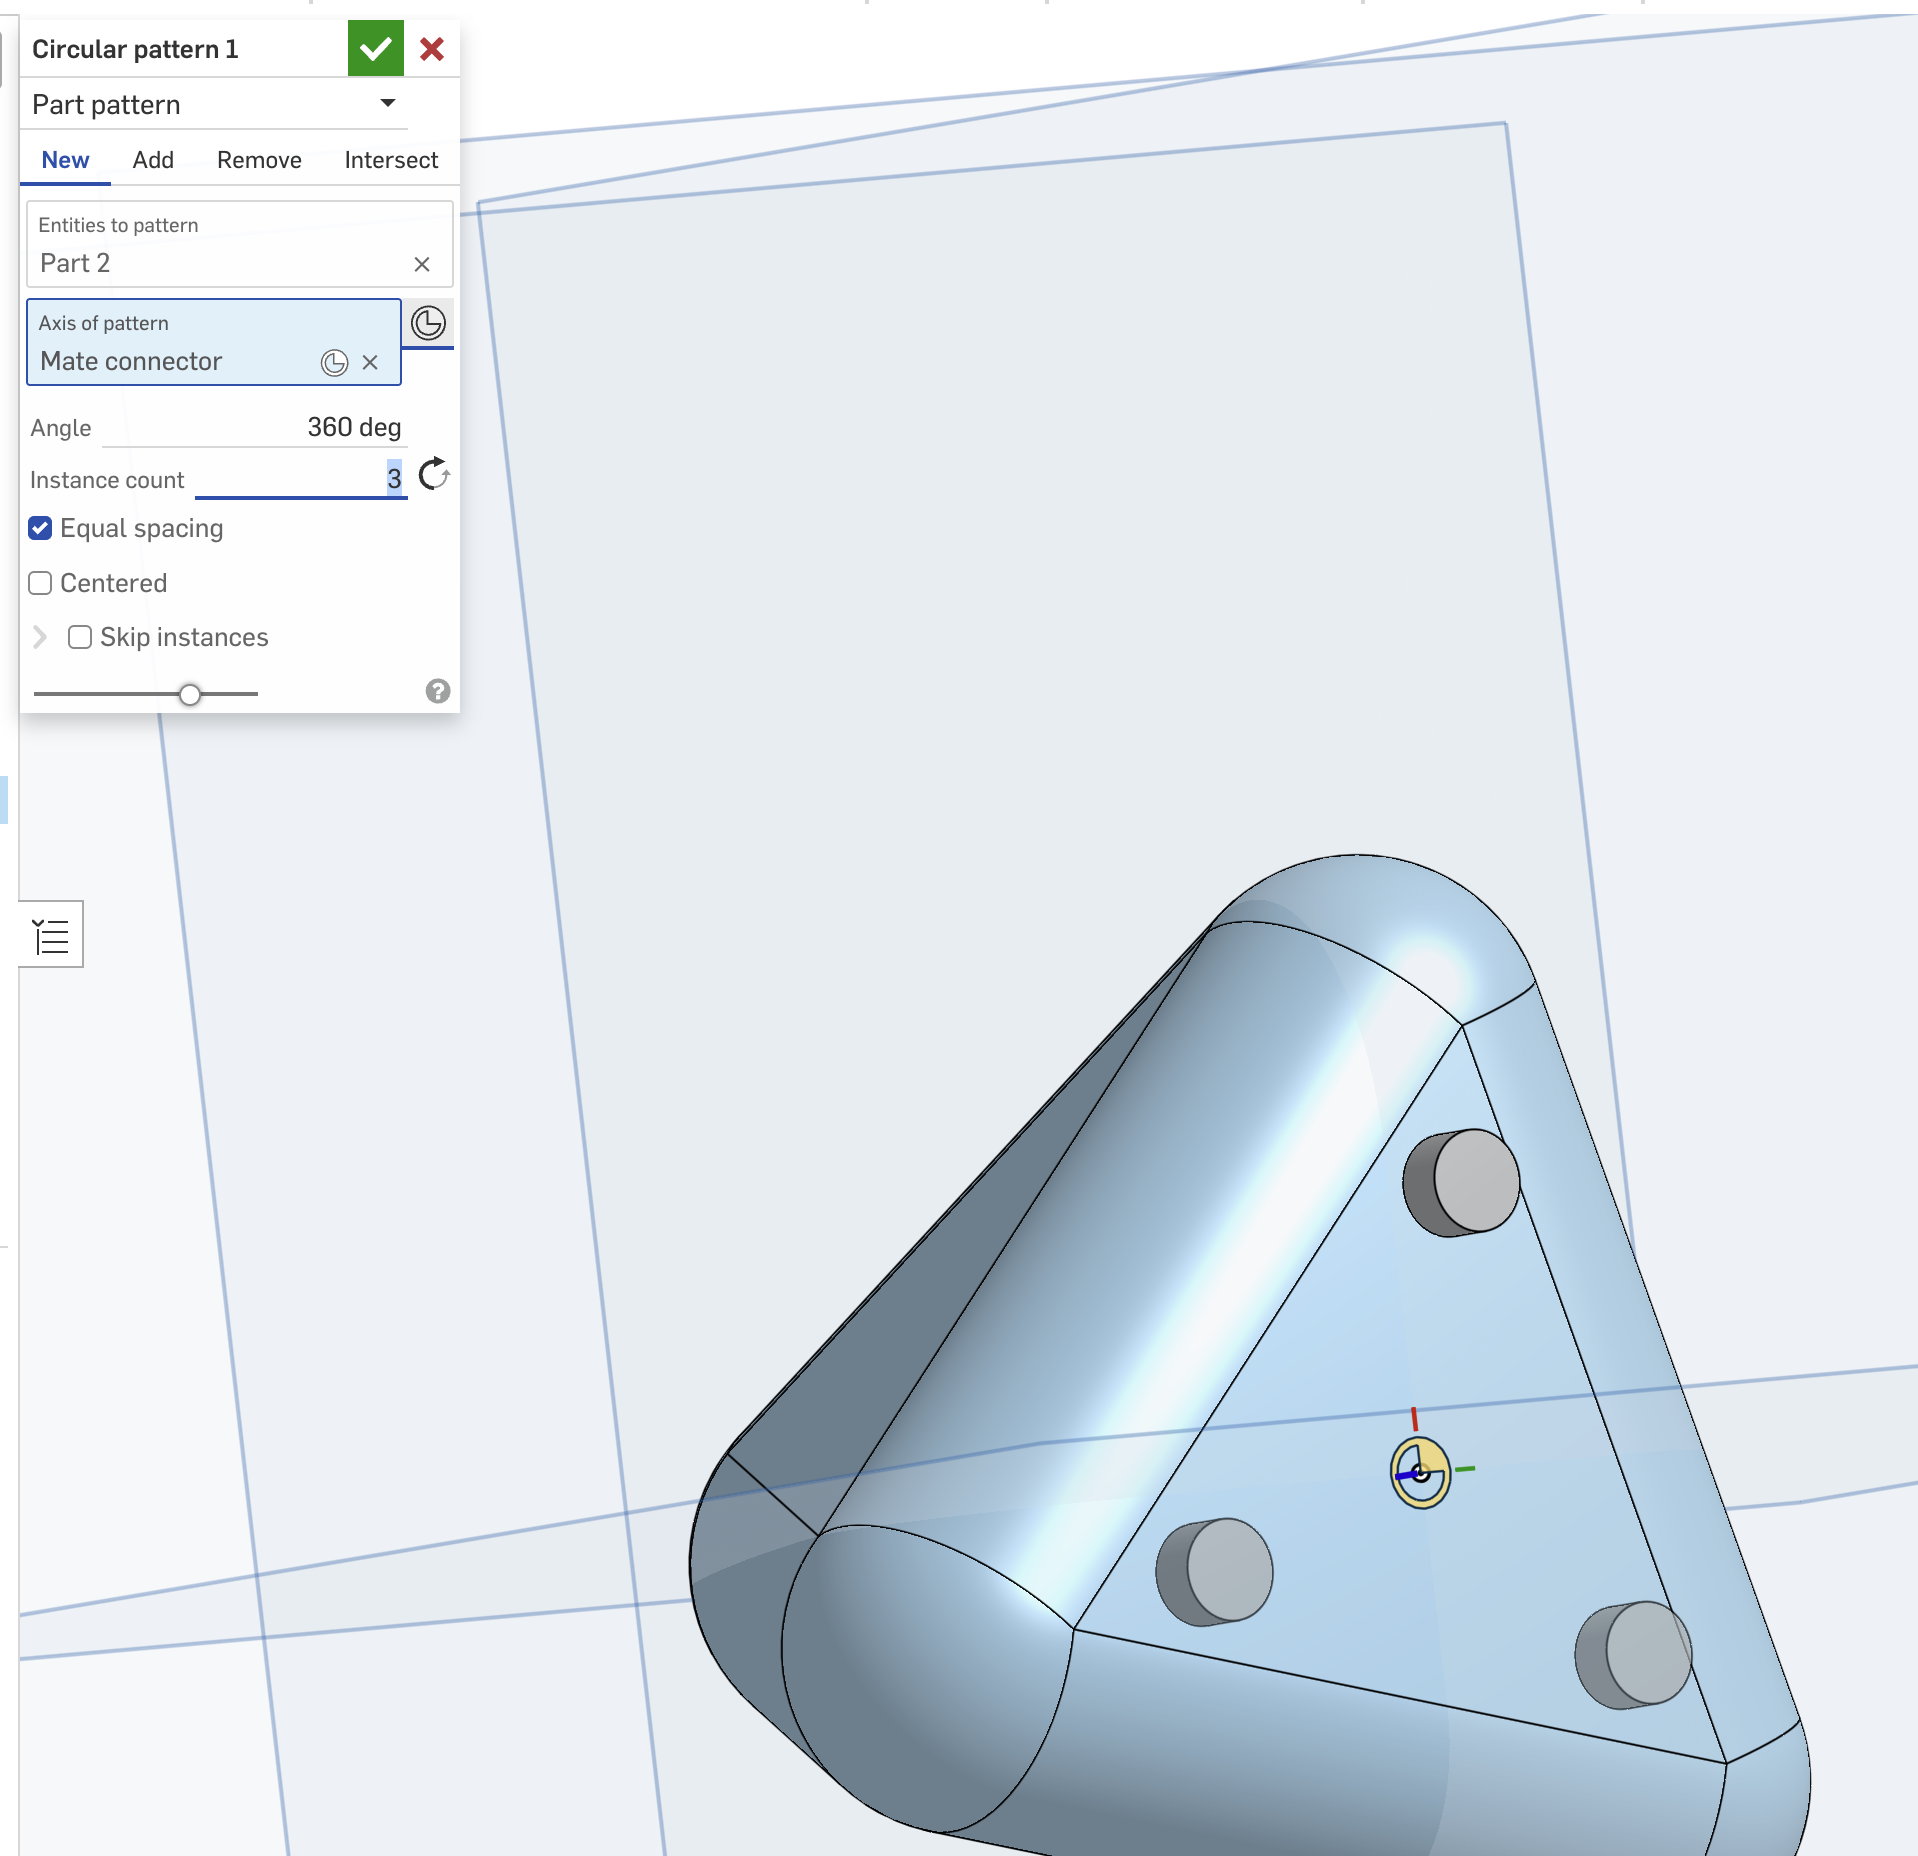
Then I wanted to add 3 legs, then using the same circular pattern tool I used in my laser cutting section.
Then I need to modify this to make it satisfy the homework requirement of not being made through subtraction.
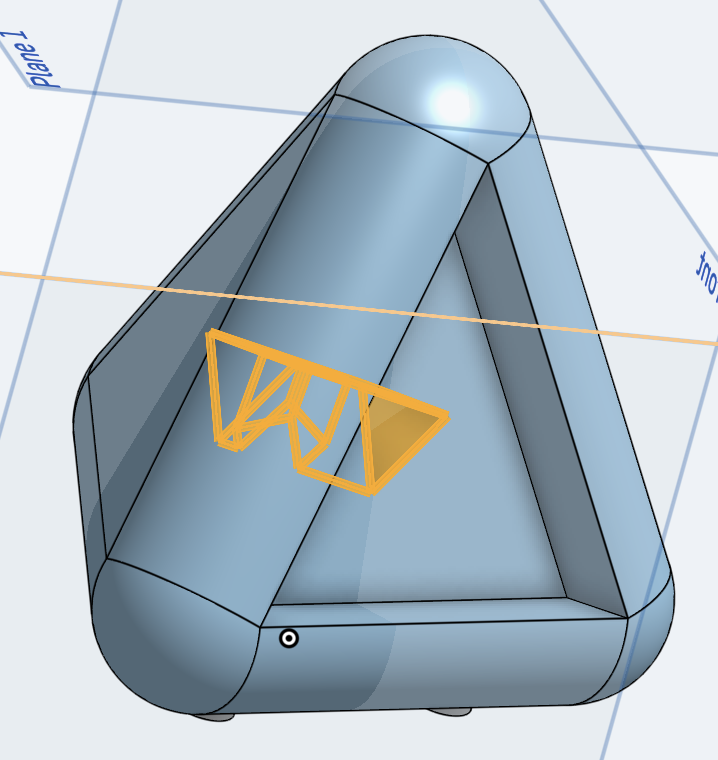
I ended up making this triangular hole inside with a column going through it. It reminded me of a cave with crystals inside.
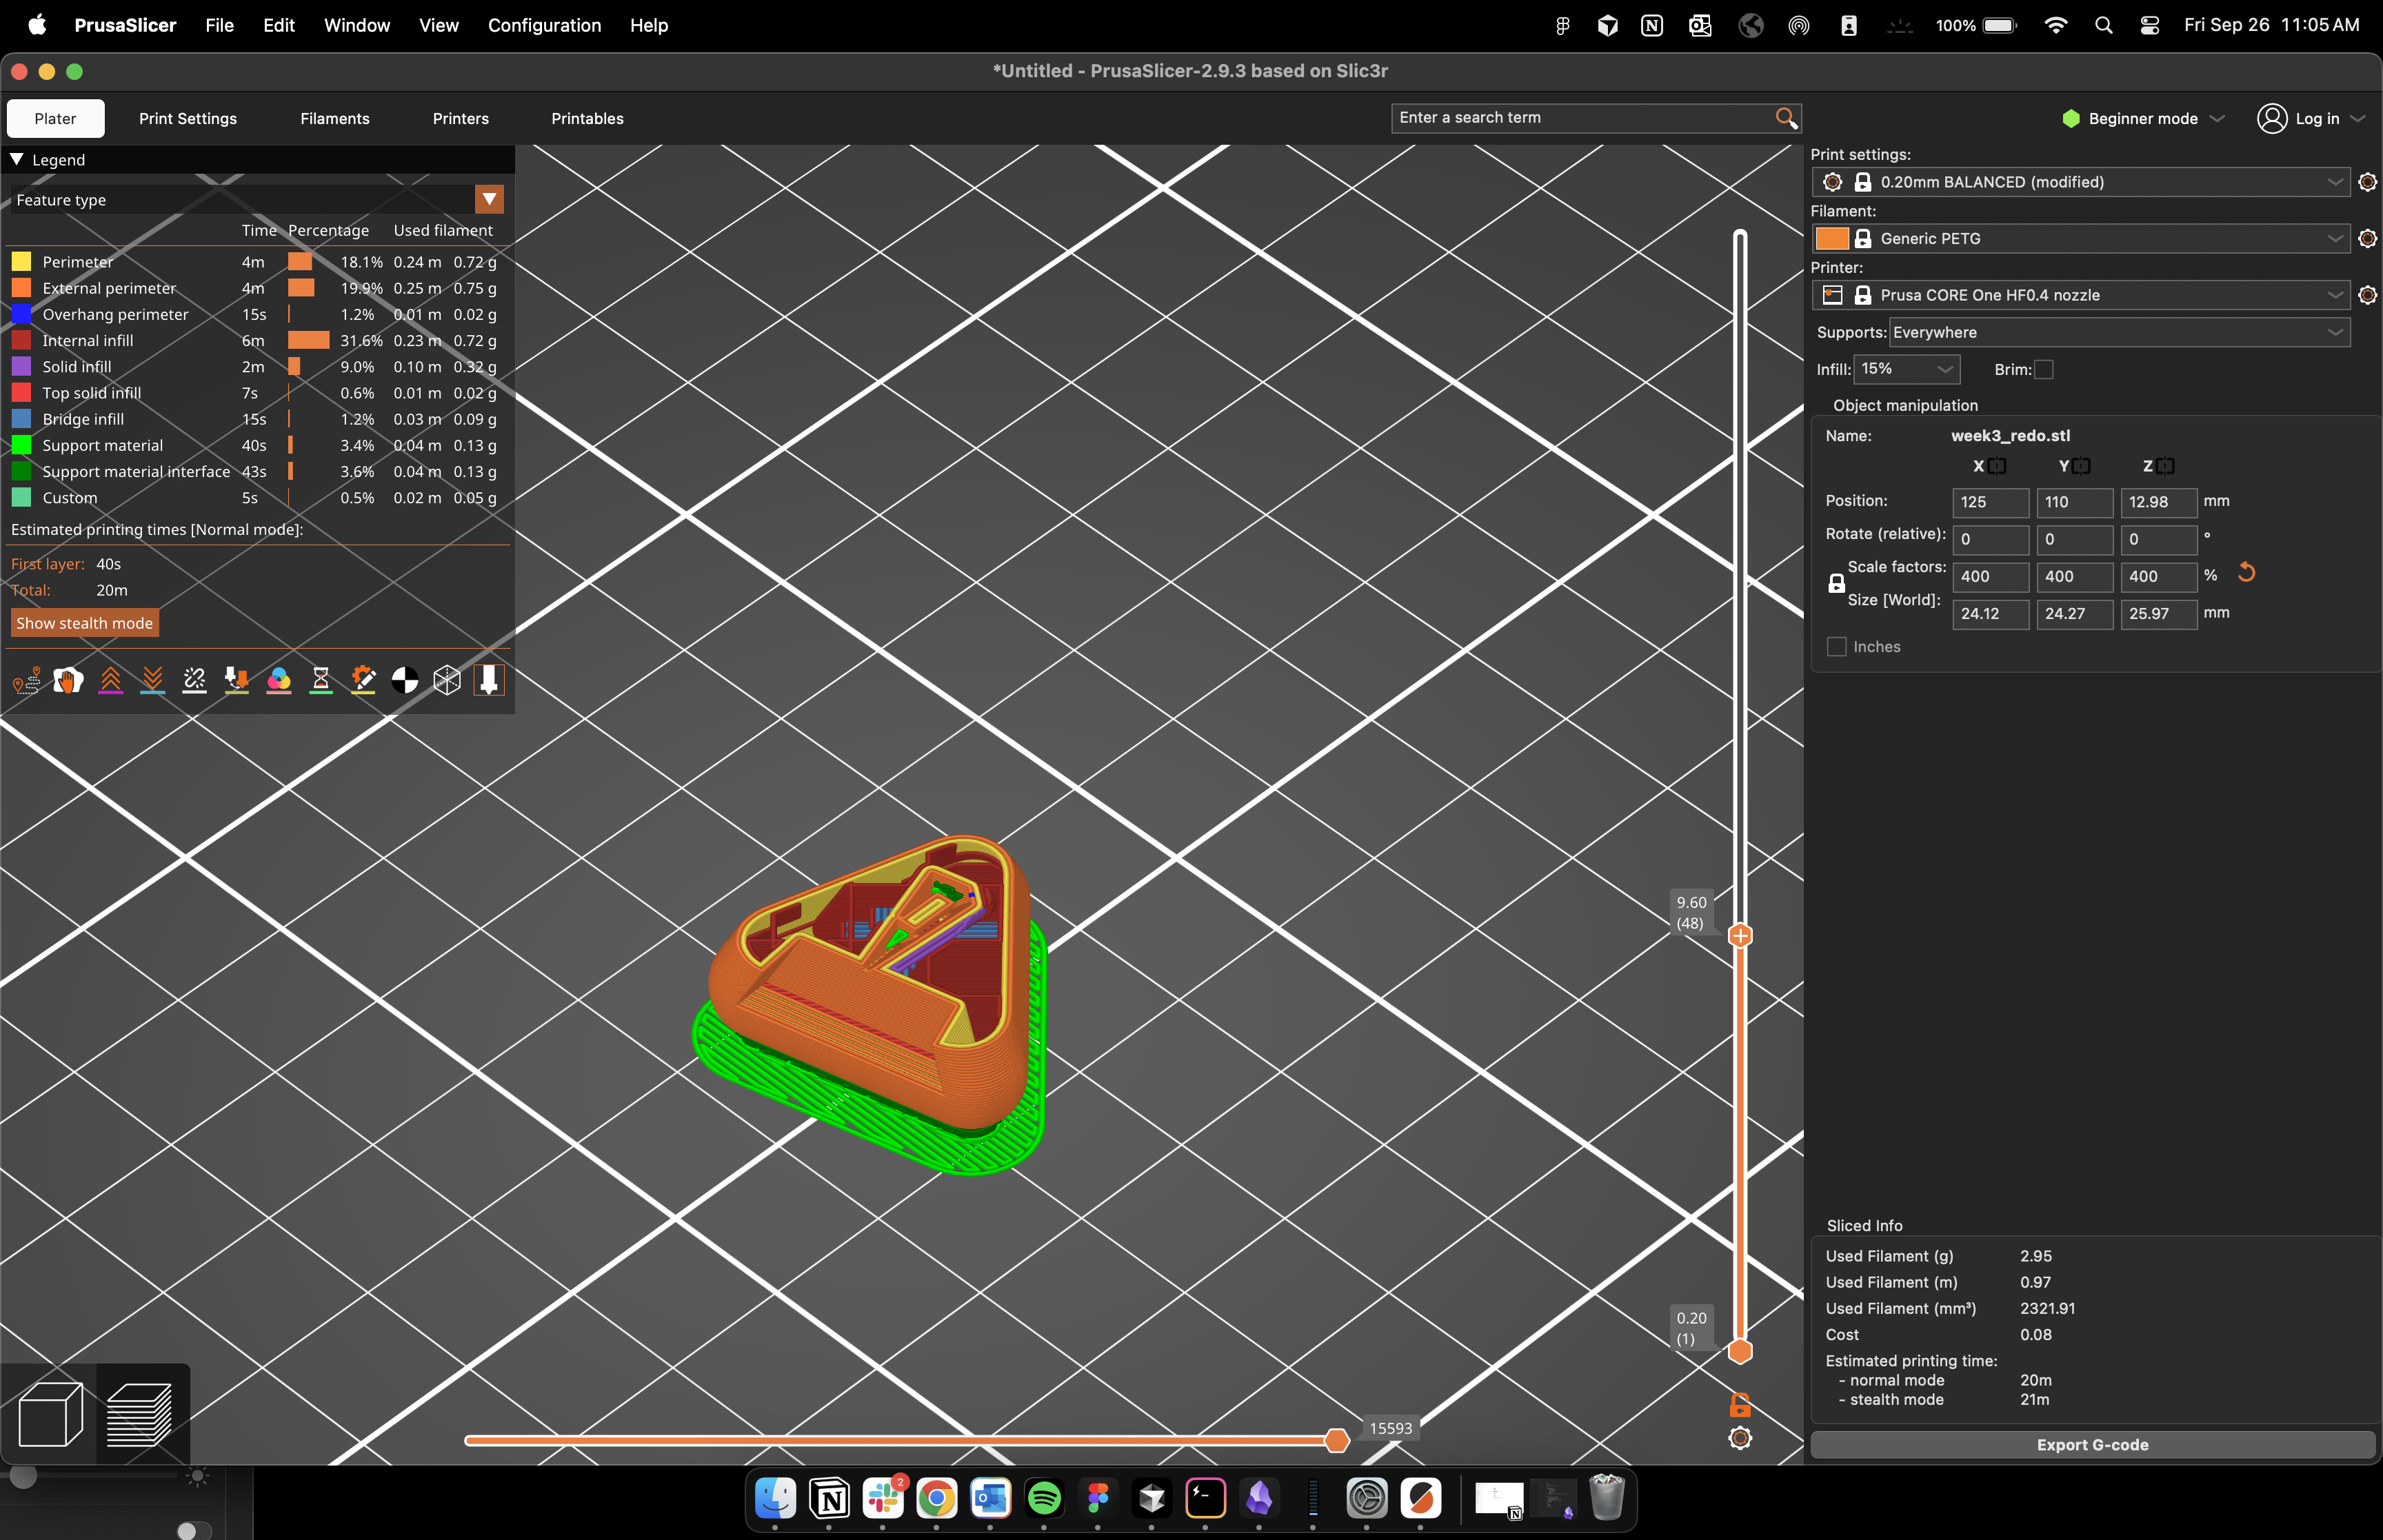
Then I moved to Prusa Slicer.
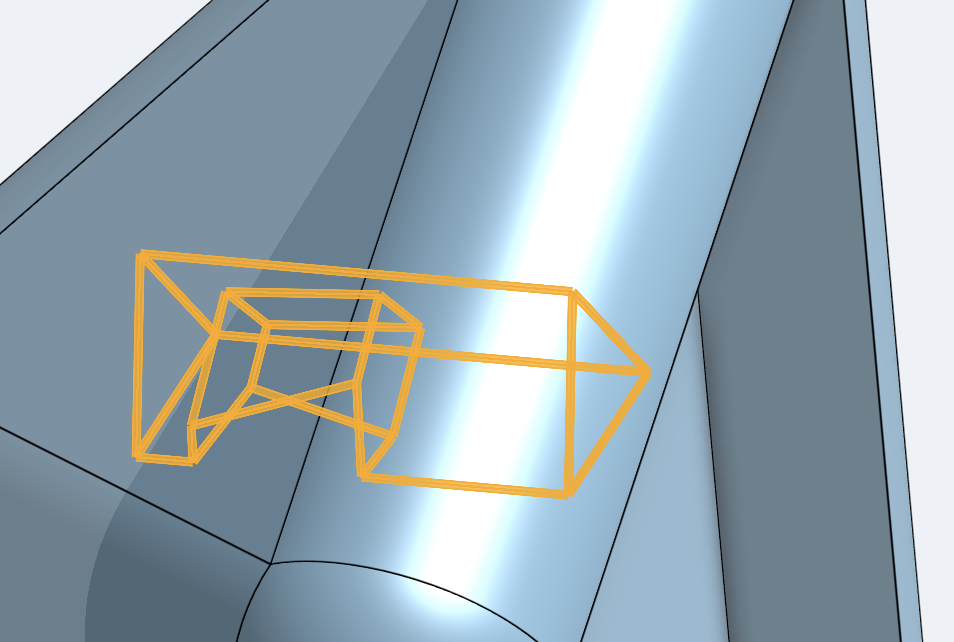
I increased the scale factor to 400 to make it a reasonable size (2.5 cm). The reason I chose this is because if you look at the below image you can see the print pattern for the inner column is just few nozzle widths wide, I can’t make it too small or else that would make it unstable to print. I used a light infill percentage of 15% to make the print time shorter. The printer I was using used an orange PETG filament.
I then got the print and inspected it and removed the bottom raft which was easy just to peel off.
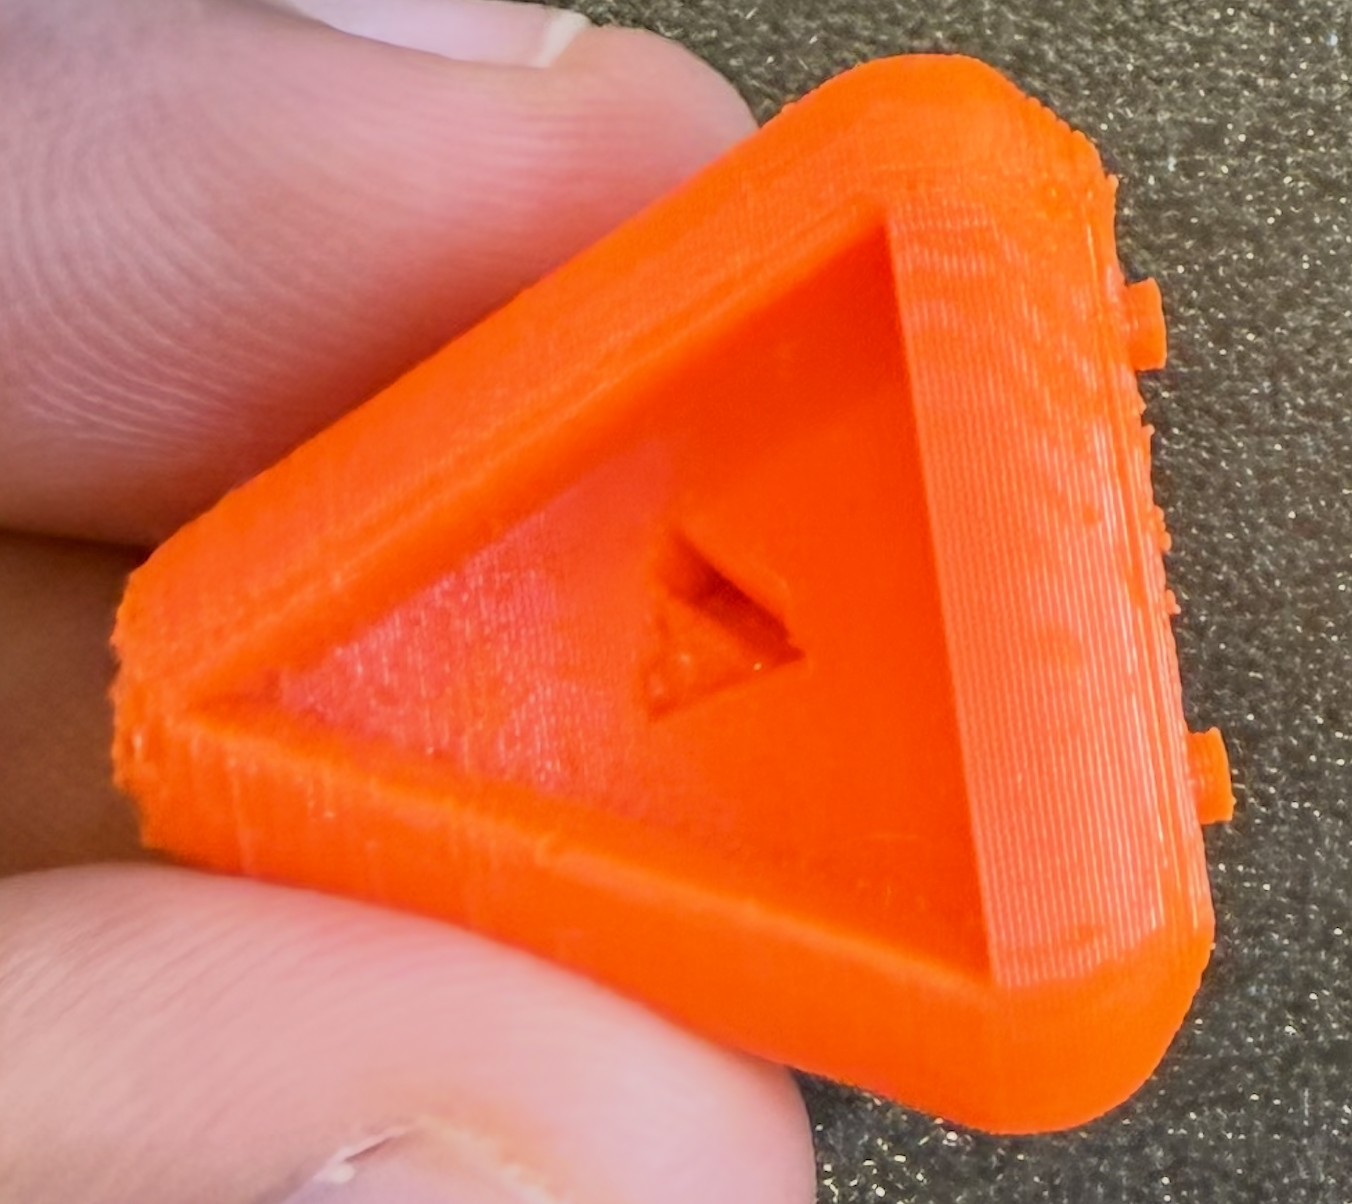
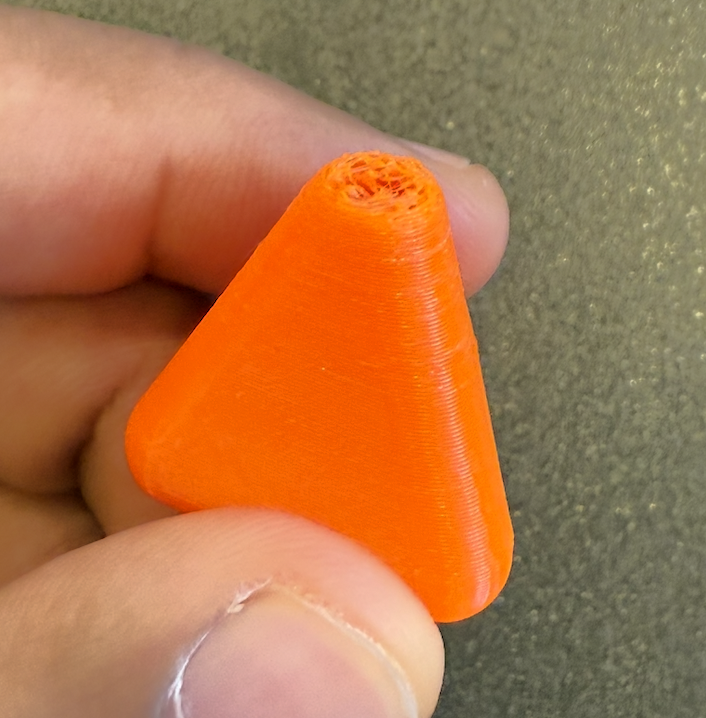
Some key things, the support inside the triangular cave seems hard to remove and the top of the print didn’t print cleanly. I think that might be because my infill was too little causing the dome creation to not have a adequate base.
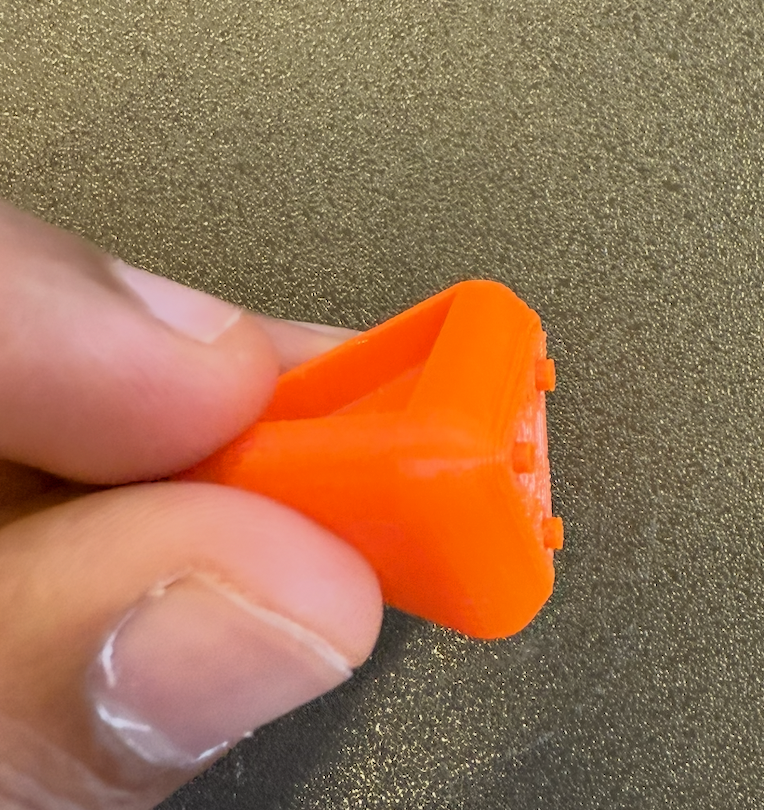
Then I spent some time with a screwdriver and thin pliers to loosen the support and eventually pull it out. And it came out cleanly!

We can see the inner column!
For fun I found this tiger from Thingiverse that has a moving clamp for the mouth: https://www.thingiverse.com/thing:988088. I like how the structure is designed to use the spring like nature of plastic.
Finally for the scanning aspect, I used Polycam: https://poly.cam/. I used this because a former colleague of mine asked us to scan settings for his project: https://arxiv.org/abs/2403.03949
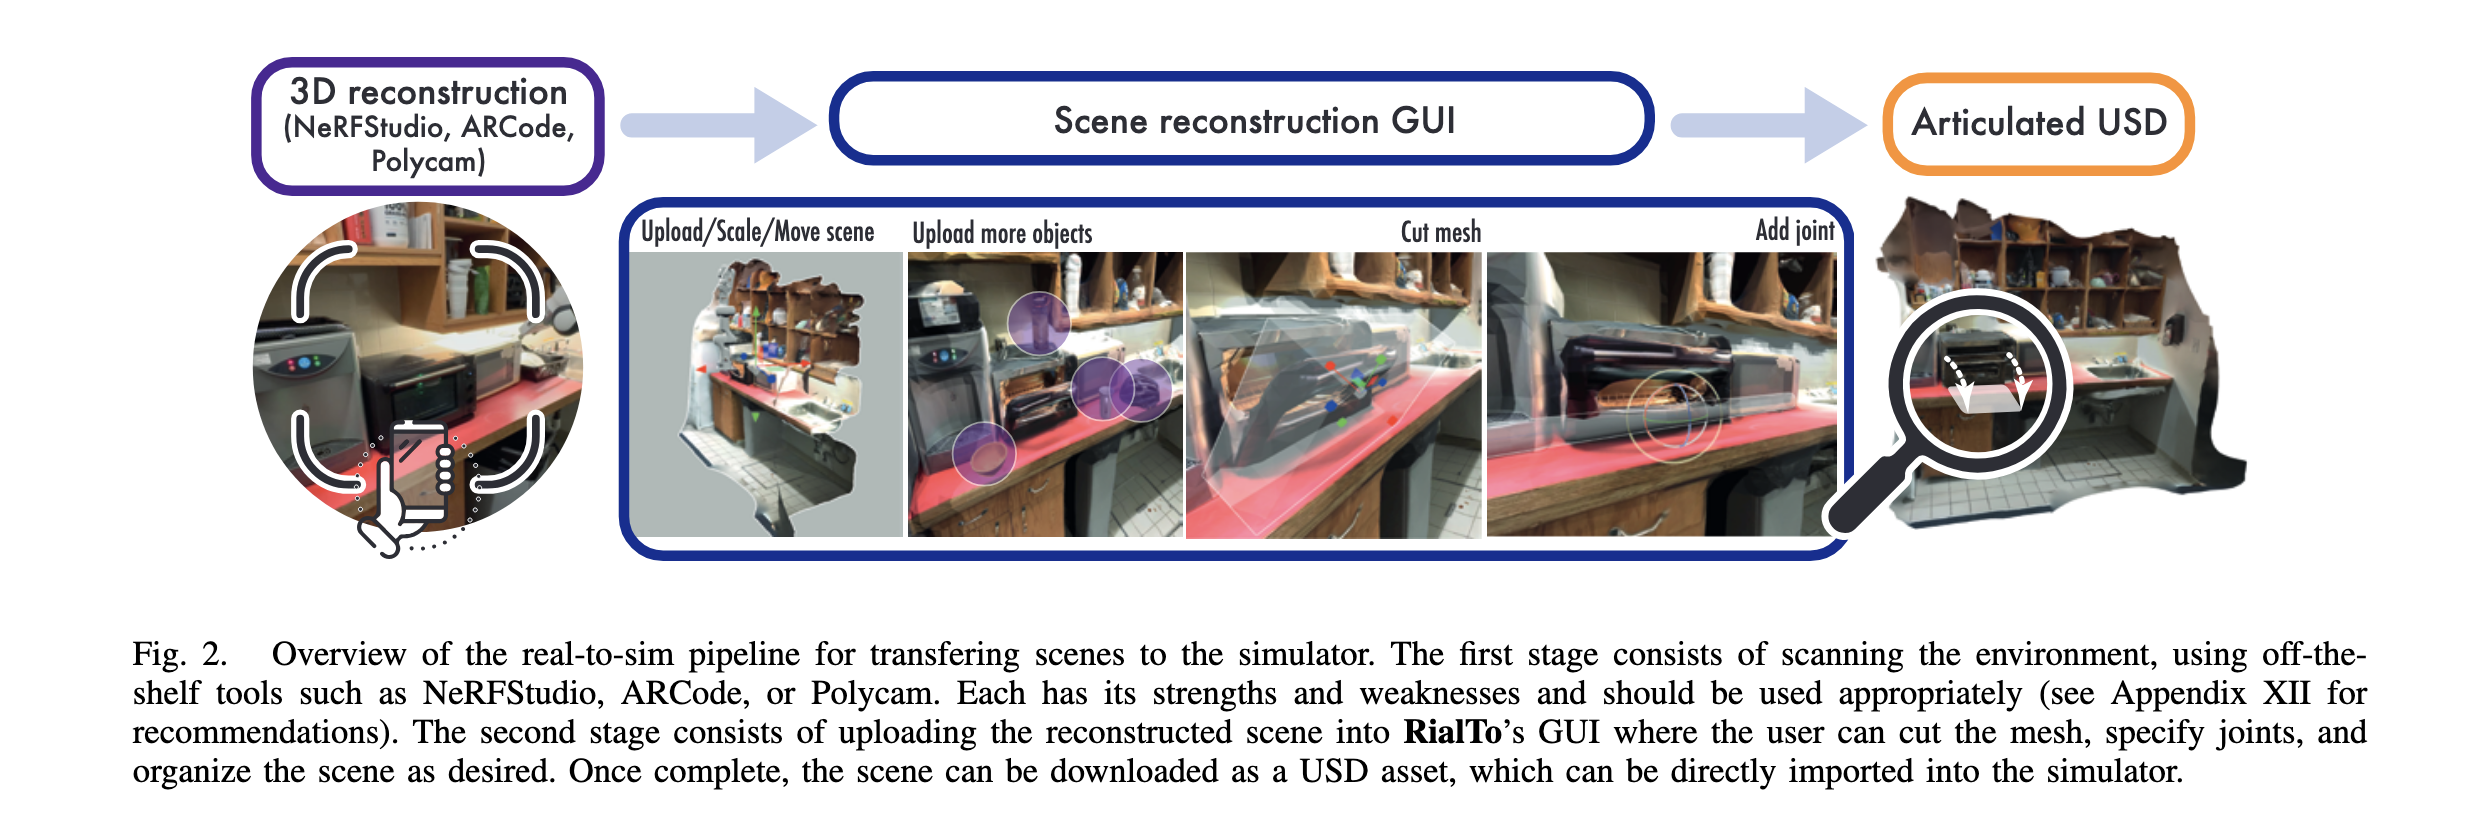
So I used the free version to scan the group project. I revolved my IPhone as it took pictures. The follow video is the scan, and here are some details. It used 63 frames, and there are 25.3k vertices.
Files!