Week 1 - Concept
This week’s assignment
assignment
- model (raster, vector, 2D, 3D, render, animate, simulate, …) a possible final project, compress your images and videos, and post a description with your design files on your class page
Project Considerations and Ideas
For my final project I’m currently deciding between two ideas. Luckily, they use somewhat similar individual pieces, so getting familiar with those will hopefully enable me to eventually build either of the two.
- I like the idea of Calm Technology and Ambient Connections. I’d love to build a “smarter” version of those magnetic alphabet letters that a lot of people have on their fridges to spell out words. If I had 4-6 little magnets with e-ink screens and allow them to attach to each other via magnets and pogo pins, could they figure out their arrangement (4, 5 or 6 in a row)? If so, could I then send a daily word to these magnets on, let’s say, my parents' fridge so that they had a small one-word message from me every day? Or could I let AI analyze my google photos and Oura bio signals from yesterday and have it come up with a fitting word that describes how I felt that day?
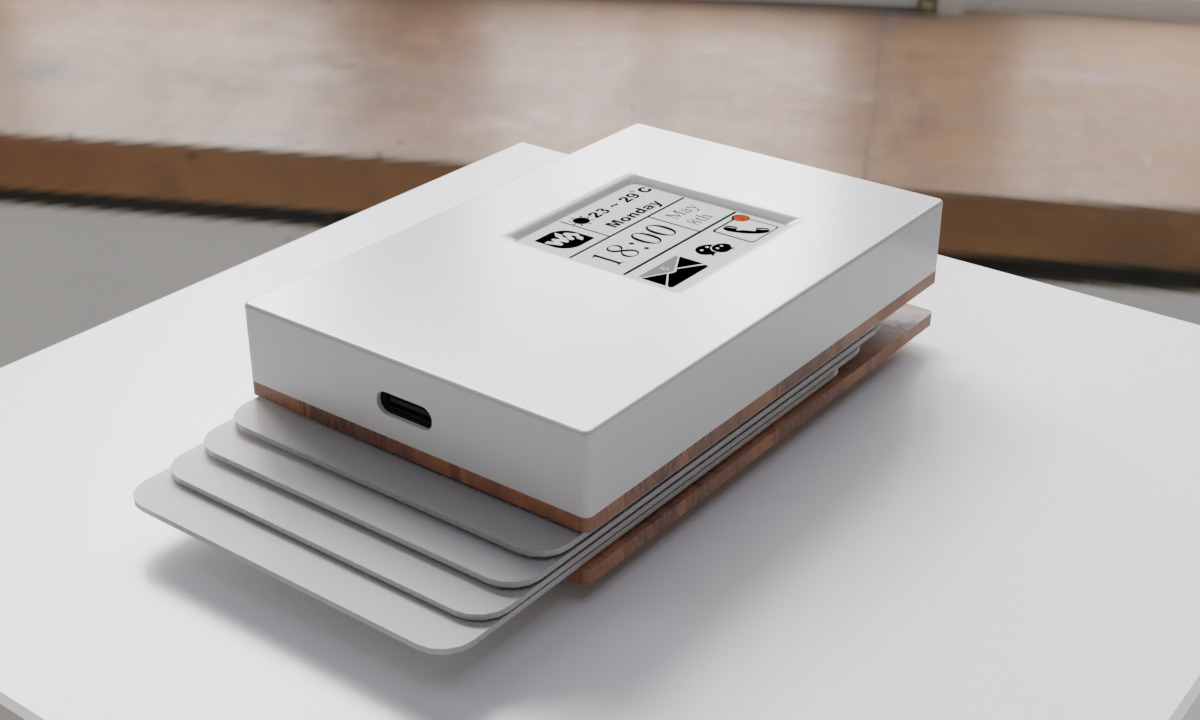
- Similarly, I’d love to build a “smarter” version of my credit card holder. My research is in XR and I’d love to have a little e-ink enabled smart wallet, that holds my credit cards, but that can also show graphics on the back. Can it then connect to XR glasses and allow those to send graphics like QR codes onto the display? Can I board a flight like that without my phone?
Results
Some visuals up-front. Hover and click!
Smart Magnets
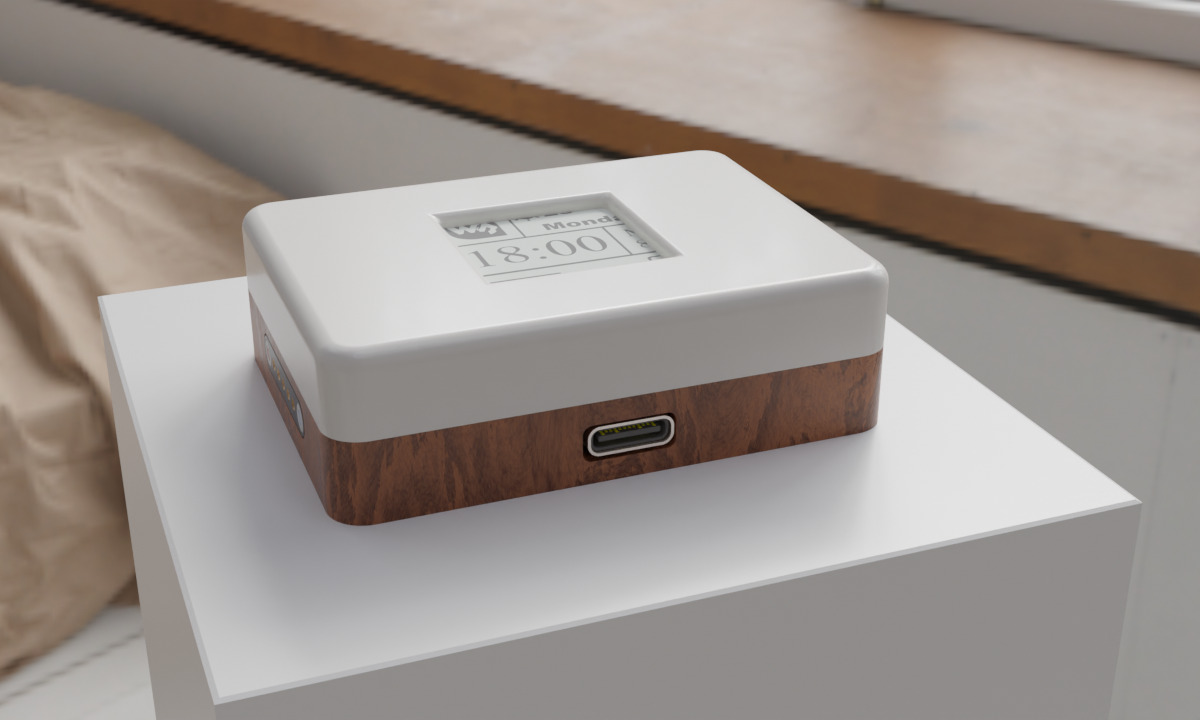
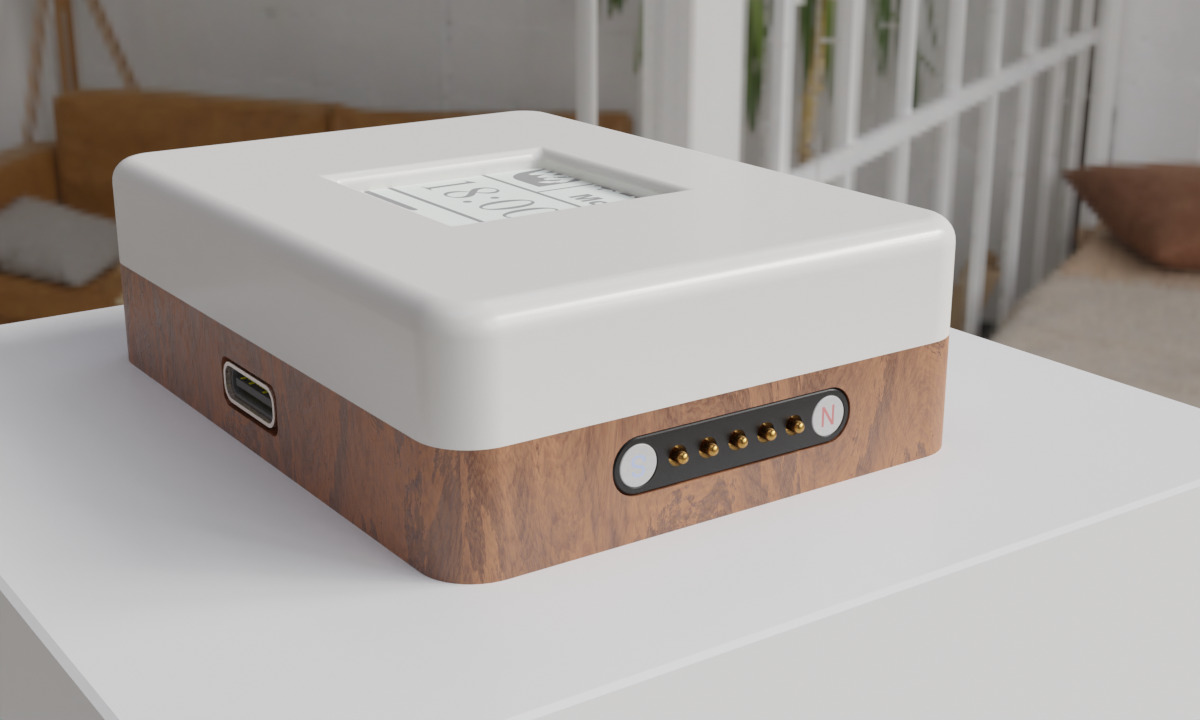
Smart Wallet

How It’s Going
My background is in visual effects, fashion tech and generally computer graphics. I have a little experience with microcontrollers and I have designed a PCB before. My electronics skills are fairly rudimentary, though. I have not used CAD software before - at least not for anything serious.
My main goals this week are to think through some design decisions and to understand CAD better.
Day 1
Today has been a humbling experience. I thought I’d be better at picking up CAD software considering that I’ve spent over 2 decades in tools like Maya, Blender and Unity. I realize that my design will need to improve a lot, as well.
I’ve started learning about parametric design in Fusion 360 by watching this tutorial about construction and parameters.
The experience so far is quite frustrating because the assumptions I’m bringing to the table don’t work for me here. My background in 3D with tools like Blender is getting in the way a little bit. Navigation in 3D is one of these issues and so is how reference objects work in the outliner. I can’t just move them around the way I’m used to. I end up using the Move tool a lot in Fusion, but I dont think that’s how I’m supposed to use the software. Fusion makes me hit Enter after every move - an indication that moving here means something different than in Maya or Blender.
I’m frustrated with Fusion’s layout, too. I can’t keep the parameters window visible and it doesn’t have a shortcut assigned?
It seems incredibly easy to mess things up. The timeline is not intuitive to me at all, right now. Moving bodies into components after building them seems to erase/hide parts of the timeline? Is it just nesting/combining actions on the timeline? I’m still not sure how it all fits together.
I’m redoing a bunch of work because I don’t fully understand how Fusion stores these operations.
When I’m scrolling back in time and then forward to present again, everything has jumped around. Why? My move actions don’t seem to make it onto the timeline, - that must be why.
Definitely learning a lot here. It’s a new way of working that I need to get used to. I always liken learning something new to sitting behind a car’s steering wheel again for the first time. I’m starting to be a bit more comfortable in this car.
Things I’ve learned today about my design and project decisions:
- If I stick to e-ink screens as my output device, I should investigate if there’s any chance to use one without having to rely on these big breakout boards. The breakout boards put size constraints on my design that I’m not happy with.
- I need to figure out the power demands of these screens so I can incorporate the right battery and consider its dimensions in my design.
I’ve brought a preliminary version of the design into Blender and felt much more at home. I used pre-made procedural materials from BlenderKit 1 and a free HDR 2 for lighting. I grabbed reference objects for the Waveshare display, pogo pins, battery and XIAO microcontroller from grabcad3.
Day 2
I used my learnings to design the casing for my second idea - the smart wallet that connects to XR devices. Designing it went much more smoothly this time. I documented my over-reliance on the Move operation earlier. I have now figured out the (hopefully?) correct concept to use instead: Joints. CAD software conceptually doesn’t seem to like or ideologically want any free-floating objects that the user just places where they please. Instead, it’s much more useful to create relative relationships between these reference objects and the design. This tutorial helped me understand how Fusion expects the user to establish these relationships.
I’m already feeling much more confident about my CAD skills. I’m sure that’ll change as soon as I try to build something more complex, but this first week has been a great transitional moment for me - away from the more artistic approaches I’ve used in the past (based on meshes and the like) to a more precise way of working that allows for actually manufacturing the designs.
I went back and changed the design of my smart magnets a little, as well. Using my new skills! Here’s the final glb that I came up with.
Random Notes
I’m planning on presenting my work here using both images and interactive tools. This page has embedded .glb files that allow everyone to look at the design from all angles, for example. Two thoughts on that:
- I will make sure to not use too much storage for these models. The models used on this page have been stripped of all textures and use Draco compression for the meshes (they’re all ~1mb in size).
- I might write short How-Tos if this sort of functionality is ever interesting to others. Please let me know if that’s the case. You can contact me via the Contact page or just find me in class or the workshop. This page is set up using Hugo4 with the Bear Theme 5. I might customize the theme quite a bit as I go along, though. For example, the embedded enteractive features are easy to add via Hugo’s Shortcode6 system.