Week 2 - Cutting
This week was a lot of fun. The moment when I saw my first design come to life by cutting it on the laser cutter was actually quite special and I’m really looking forward to these next weeks in which I’ll learn more fabrication skills.
This week’s assignment
assignment
group assignment:
 • do your lab's safety training
 • characterize your lasercutter's focus, power, speed, rate,
   kerf, joint clearance and types
individual assignment:
 • cut something on the vinylcutter
 • design, lasercut, and document a parametric construction kit,
   accounting for the lasercutter kerf, which can be assembled
   in multiple ways
 • extra credit: include elements that aren't flat
 • extra credit: engrave as well as cut
Group Work
Ben, Jacqueline and I met up to learn how to operate the laser cutter from Dan. Thank you, Dan!
We experimented with the Power and Speed settings of the xtool cutter to find a combination that we were happy with. We wanted to keep the Power setting relatively low, but obviously still cut all the way through the cardboard. We also learned how to have the machine measure the height of the cardboard so that it can focus the laser optimally.
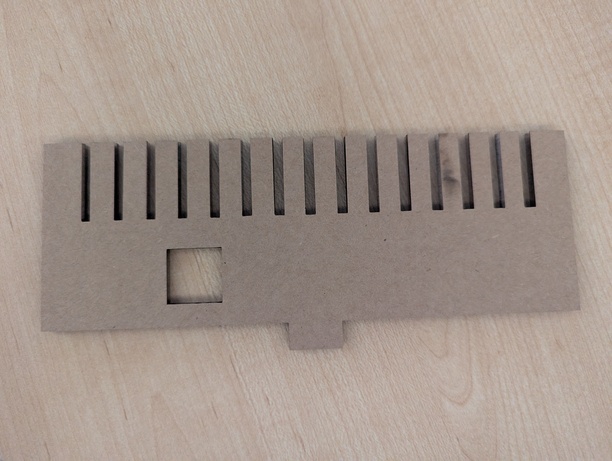
In order to figure out the kerf of the laser, we created a comb-like design. It allowed us to measure an element in the design that we knew the exact measurements of to figure out the delta between design and fabricated piece. It also allowed us to experiment with fitting the cardboard in slots of different widths to understand what dimensions lead to a tight fit that makes for stable structures.
Individual Work
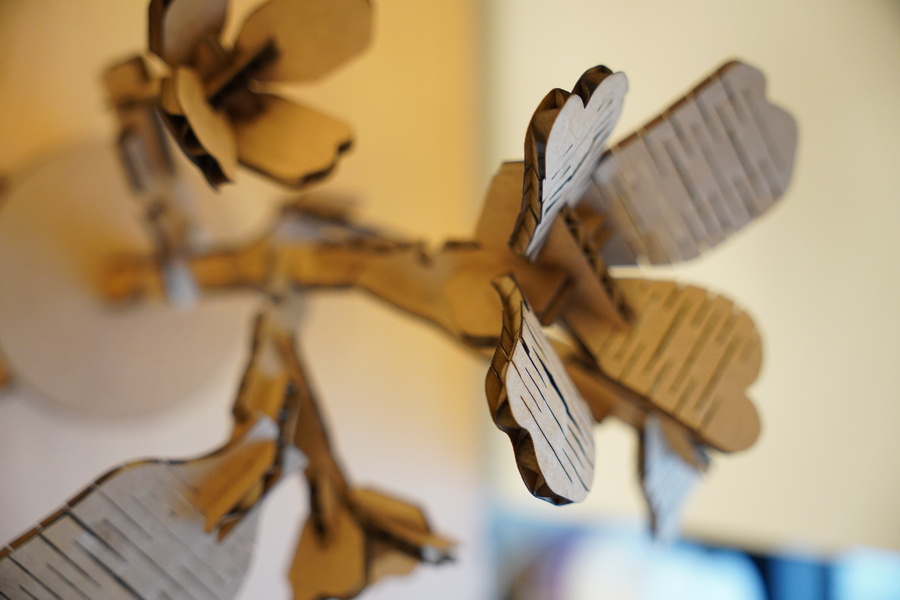
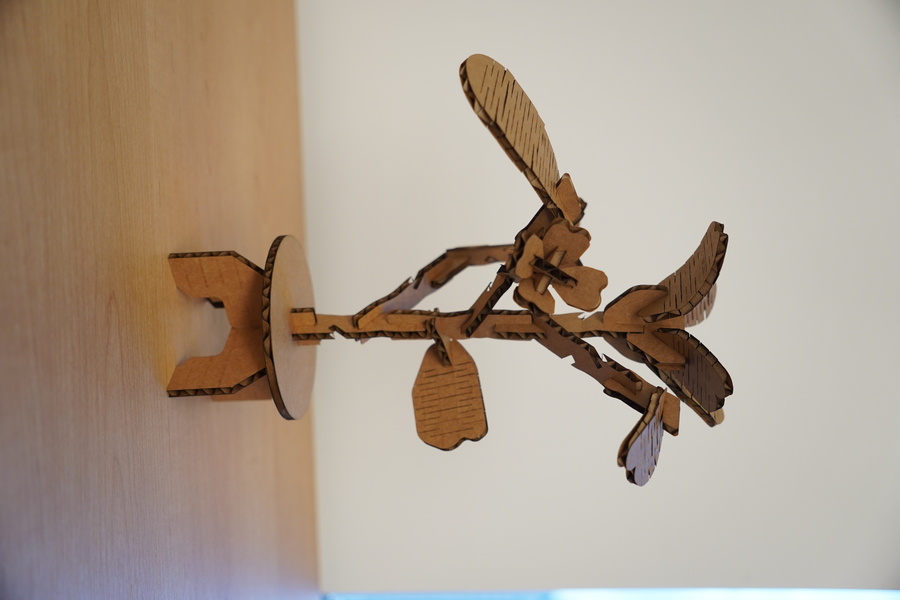
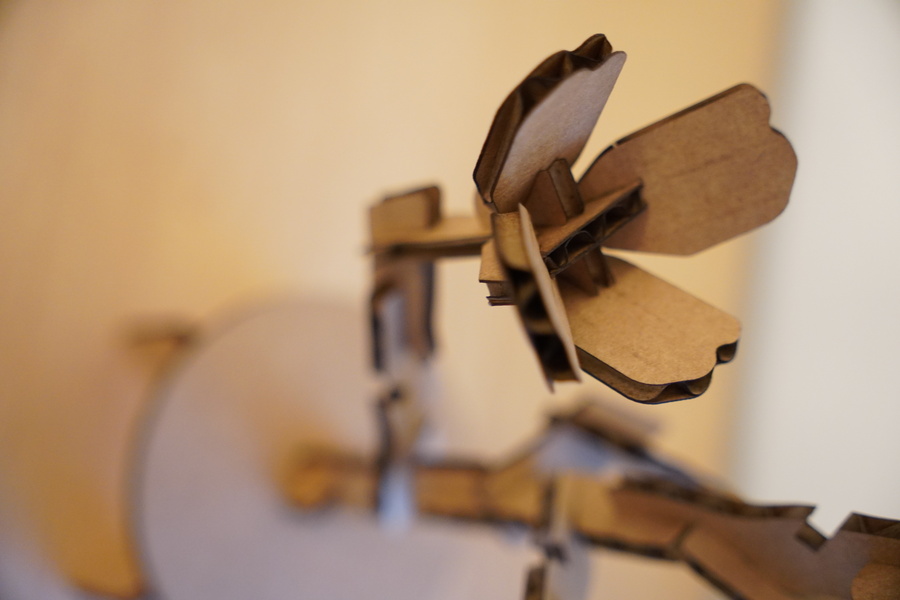
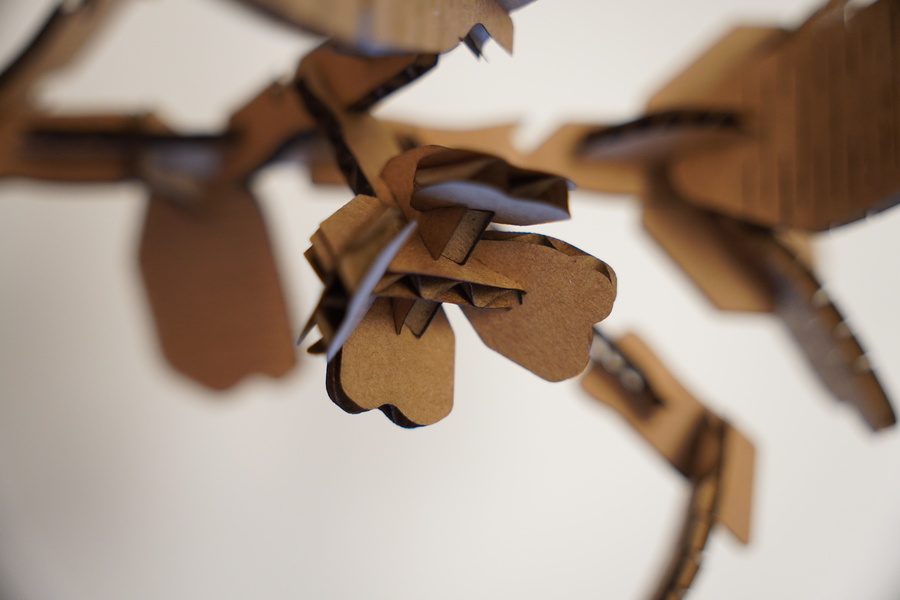
I knew pretty quickly -having just moved into a new home with no plants- that I wanted to make a construction kits for plants. I have played with L-Systems for plant generation before and I guess in a way it inspired my approach. I’m also inspired by miniature artist Hannah Lemon whose work I absolutely adore. So, despite having both a technical and artistic inspiration, my approach to this week’s project ended up being fairly artistic as outlined below. Before going into the details - here are some visuals. I tried creating a gaussian splatting representation of my final flower, but since I’m recording it on my phone and need to keep final file sizes fairly small, it’s not the most high resolution scan. I think it still gives a nice impression of what the final result looks like. The scan was done with the Scaniverse app. Zoom into the scene to look around (desktop only, currently).
Initial Approach and Design
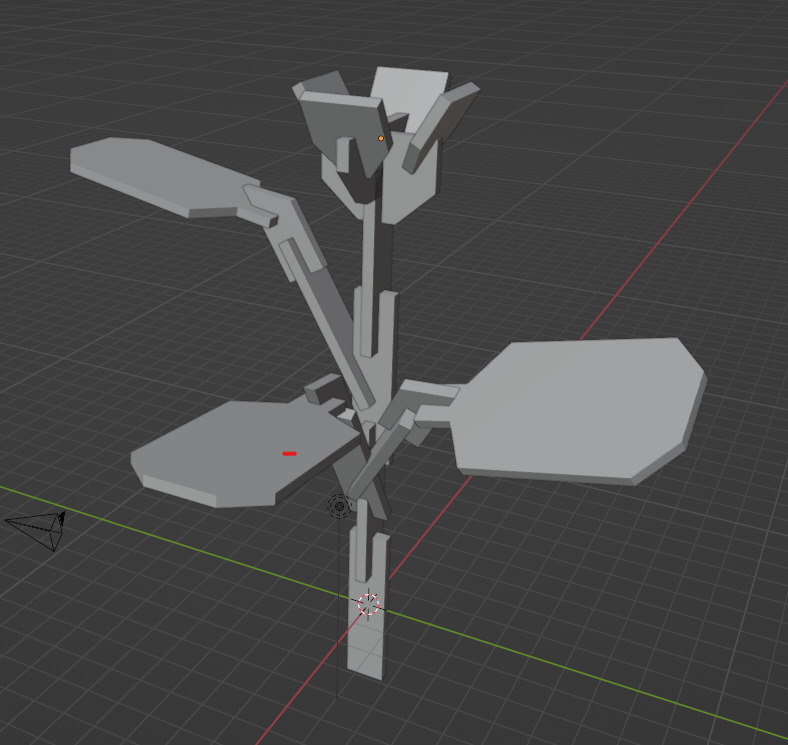
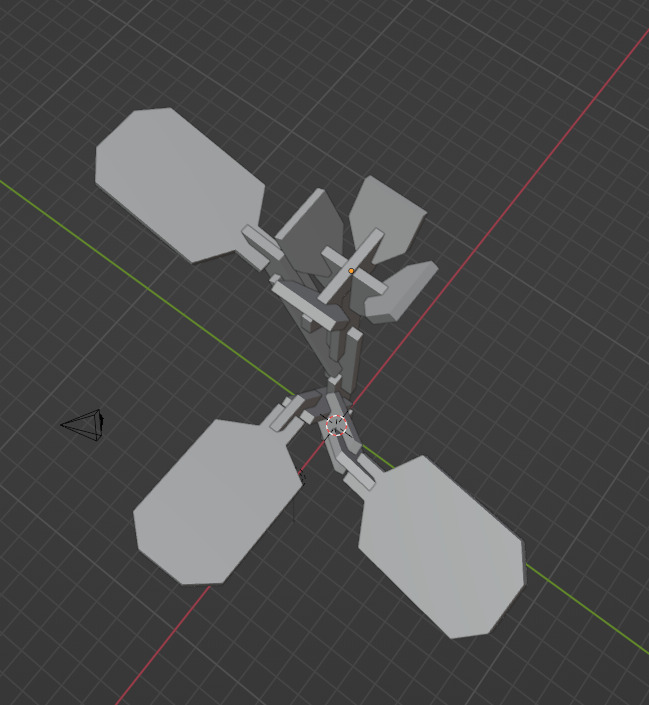
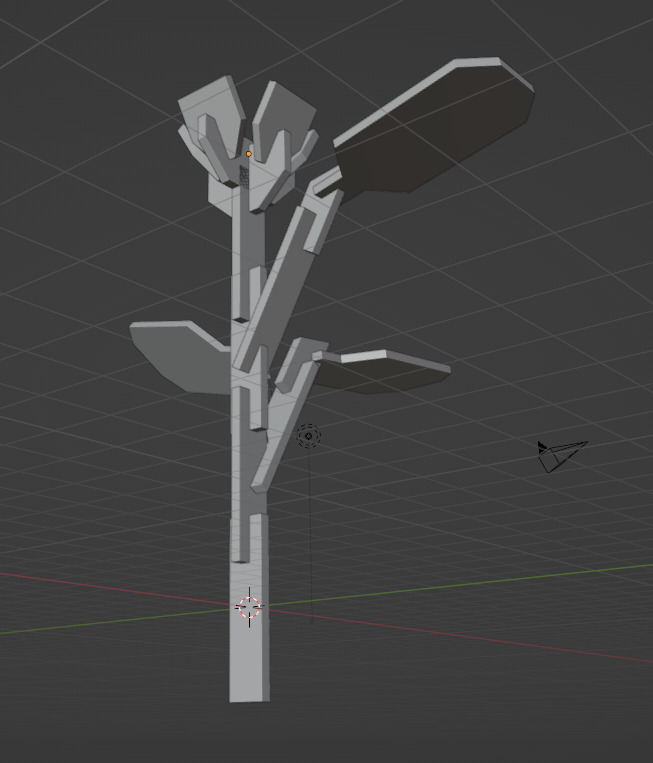
My first iteration of this was sketching out the dimensions of the possible building blocks in Blender. As I’ve said before, I’m a lot more comfortable in Blender than I am in CAD software. It was a quick way to figure out how different pieces could relate to each other. Below is a gallery of screenshots that show this step.
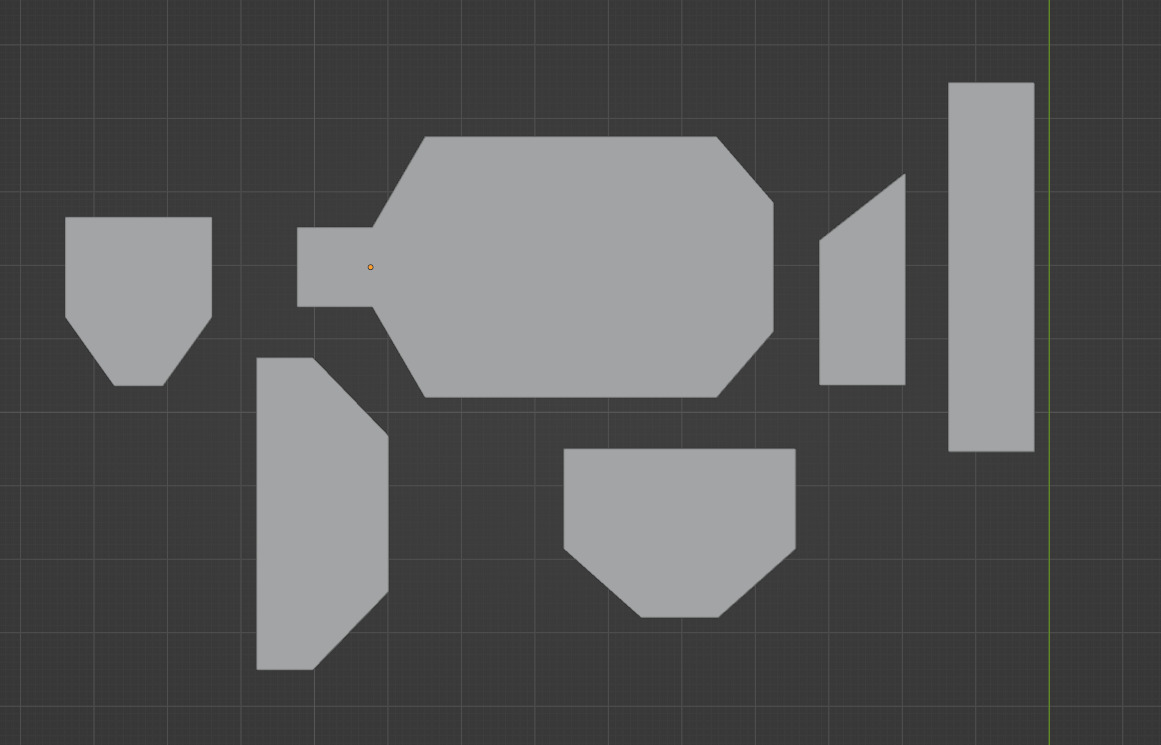
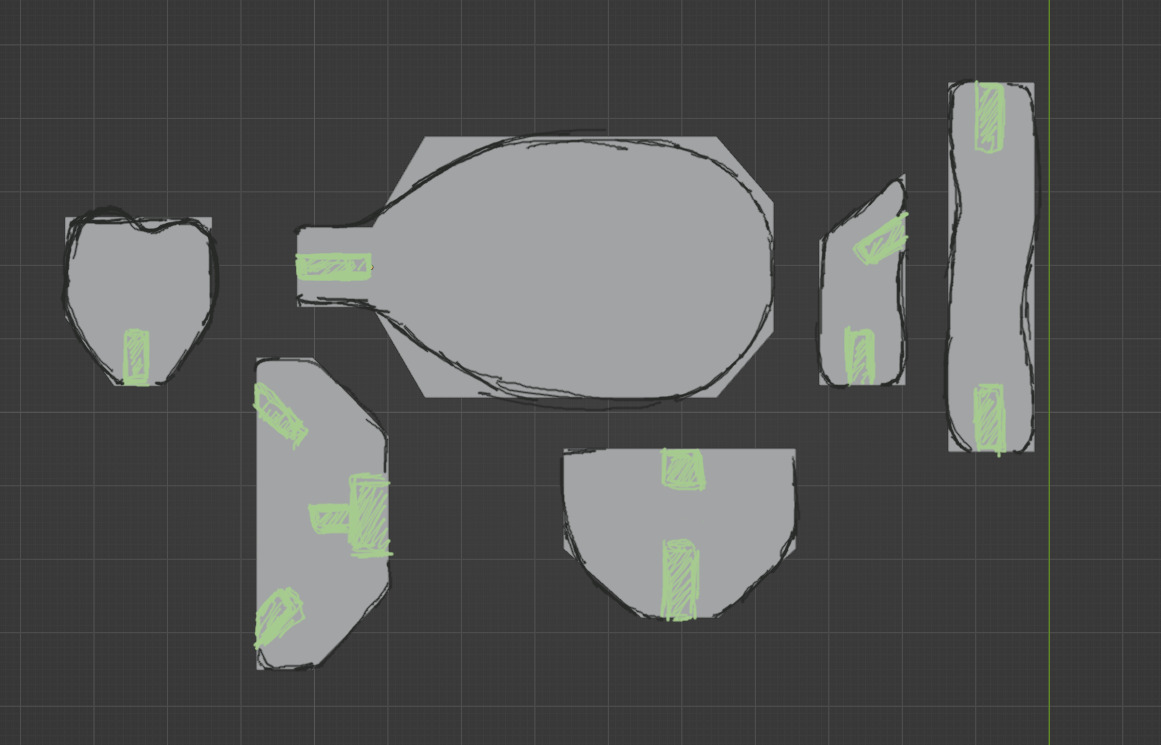
I then flattened the pieces in Blender by making copies of each unique item, rotating them into the X|Z plane and rendering an orthographic image from the top. The resulting image was a good starting point for sketching in GIMP to determine the actual shapes I was hoping for. At this step I hoped to break up the straight lines, create a more organic look, and also indicate where the parametrized joints needed to be.
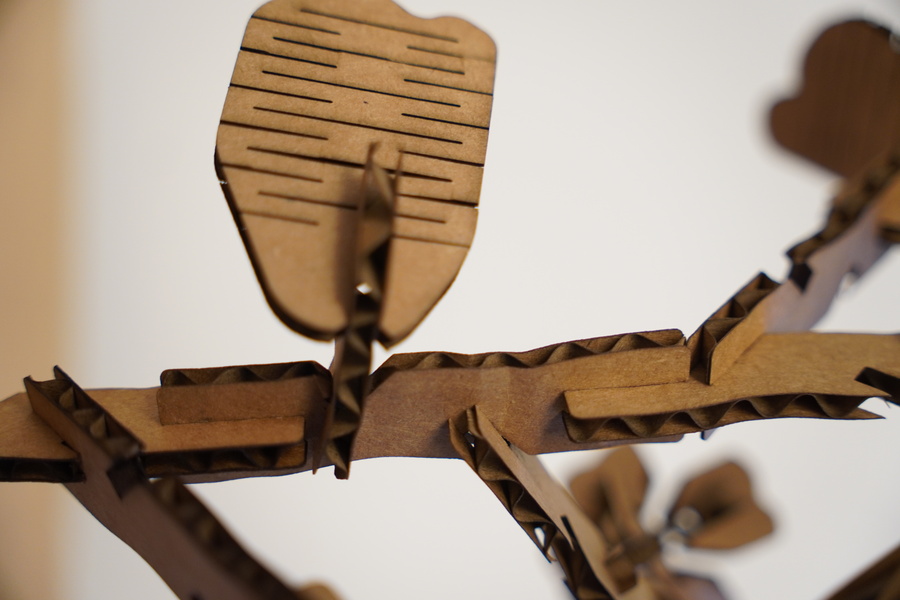
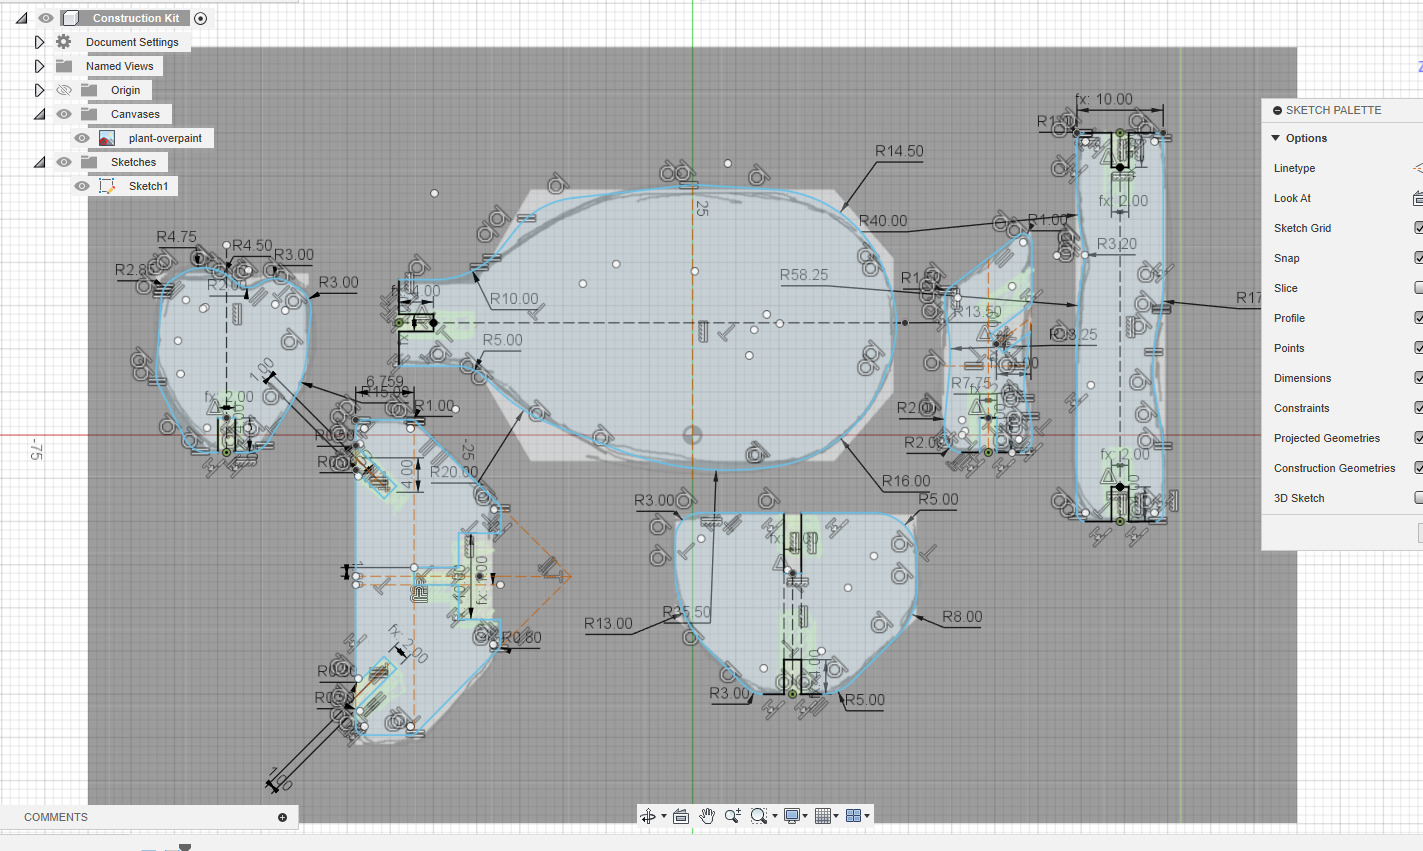
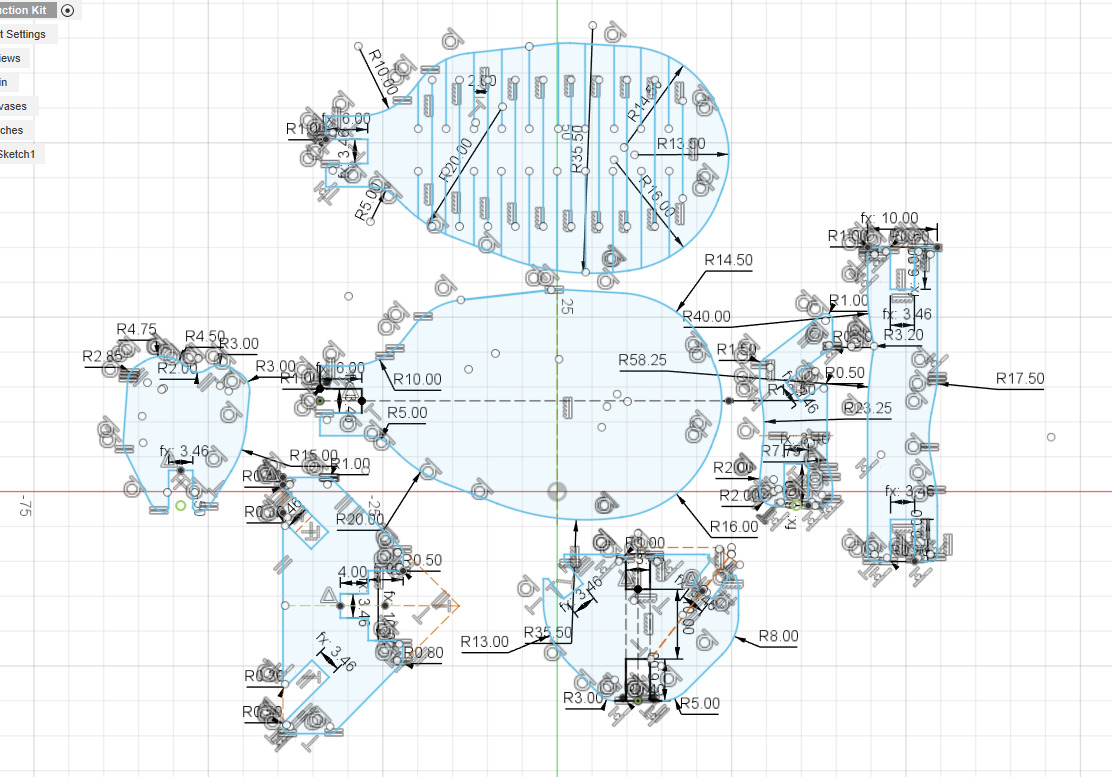
After bringing this sketch into Fusion as a reference, I tried to figure out the physical dimensions that my plants should have. This was a step that I got wrong. Being unfamiliar with the cardboard material (and the frequency of the corrugation in particular), I based my estimate more on aesthetics and ignored feasibility. We will come back to this. With my (unfortunate) measurements, I proceeded to create the sketch. As can be seen in the following pictures, using fillets to create organic shapes became a cluttered affair pretty quickly. I will need to learn if and how I can use proper Bezier style curves in Fusion.
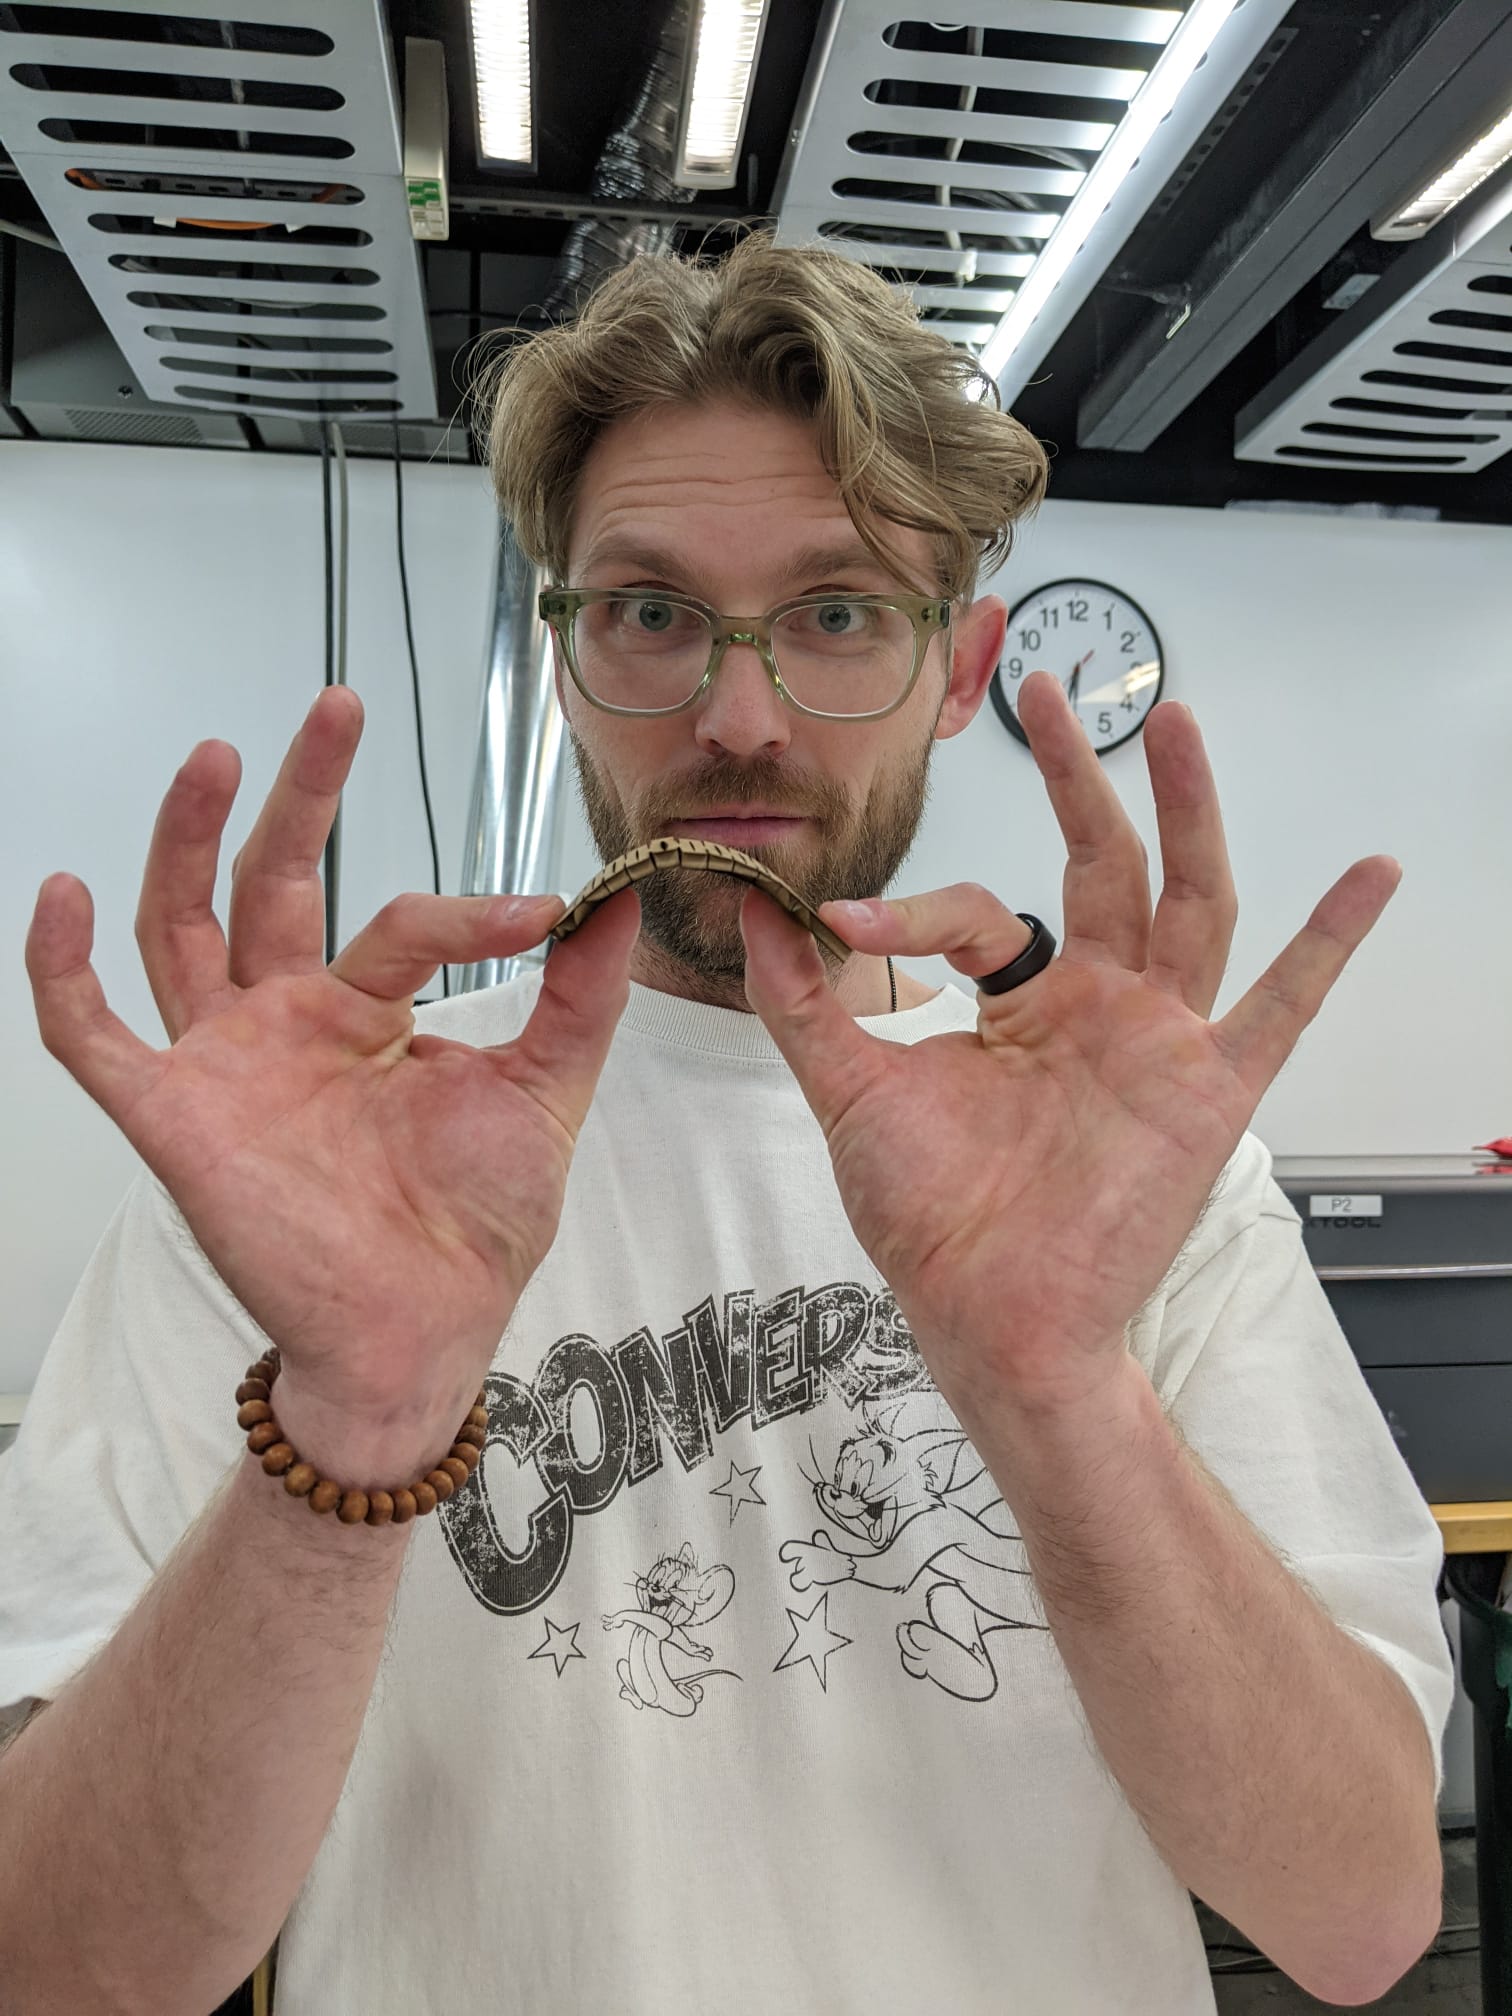
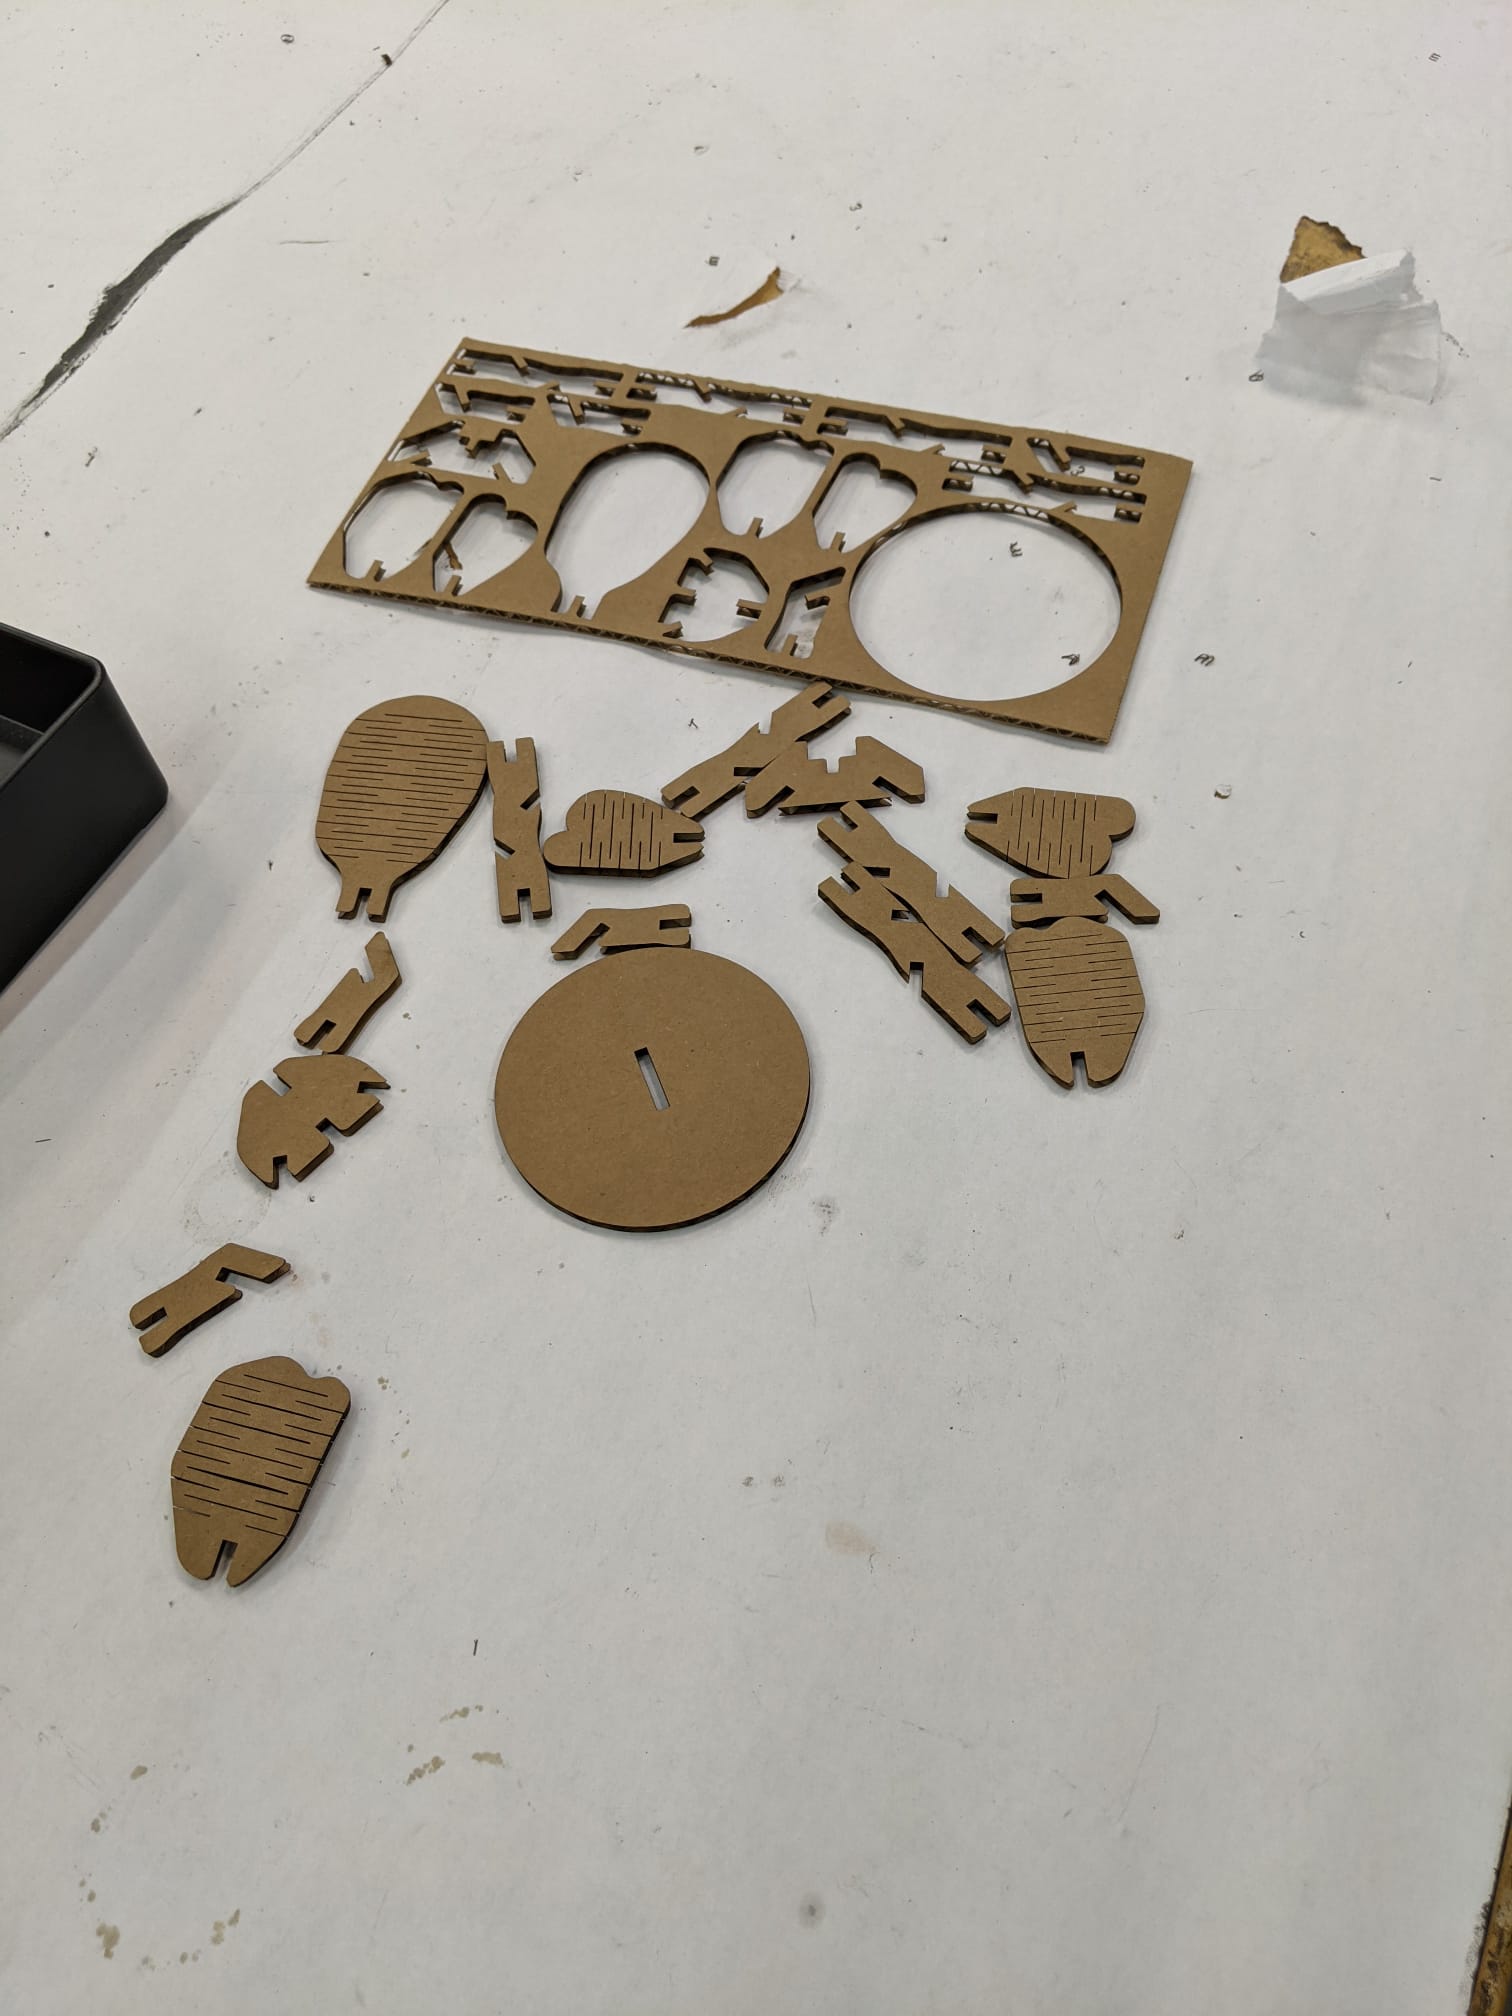
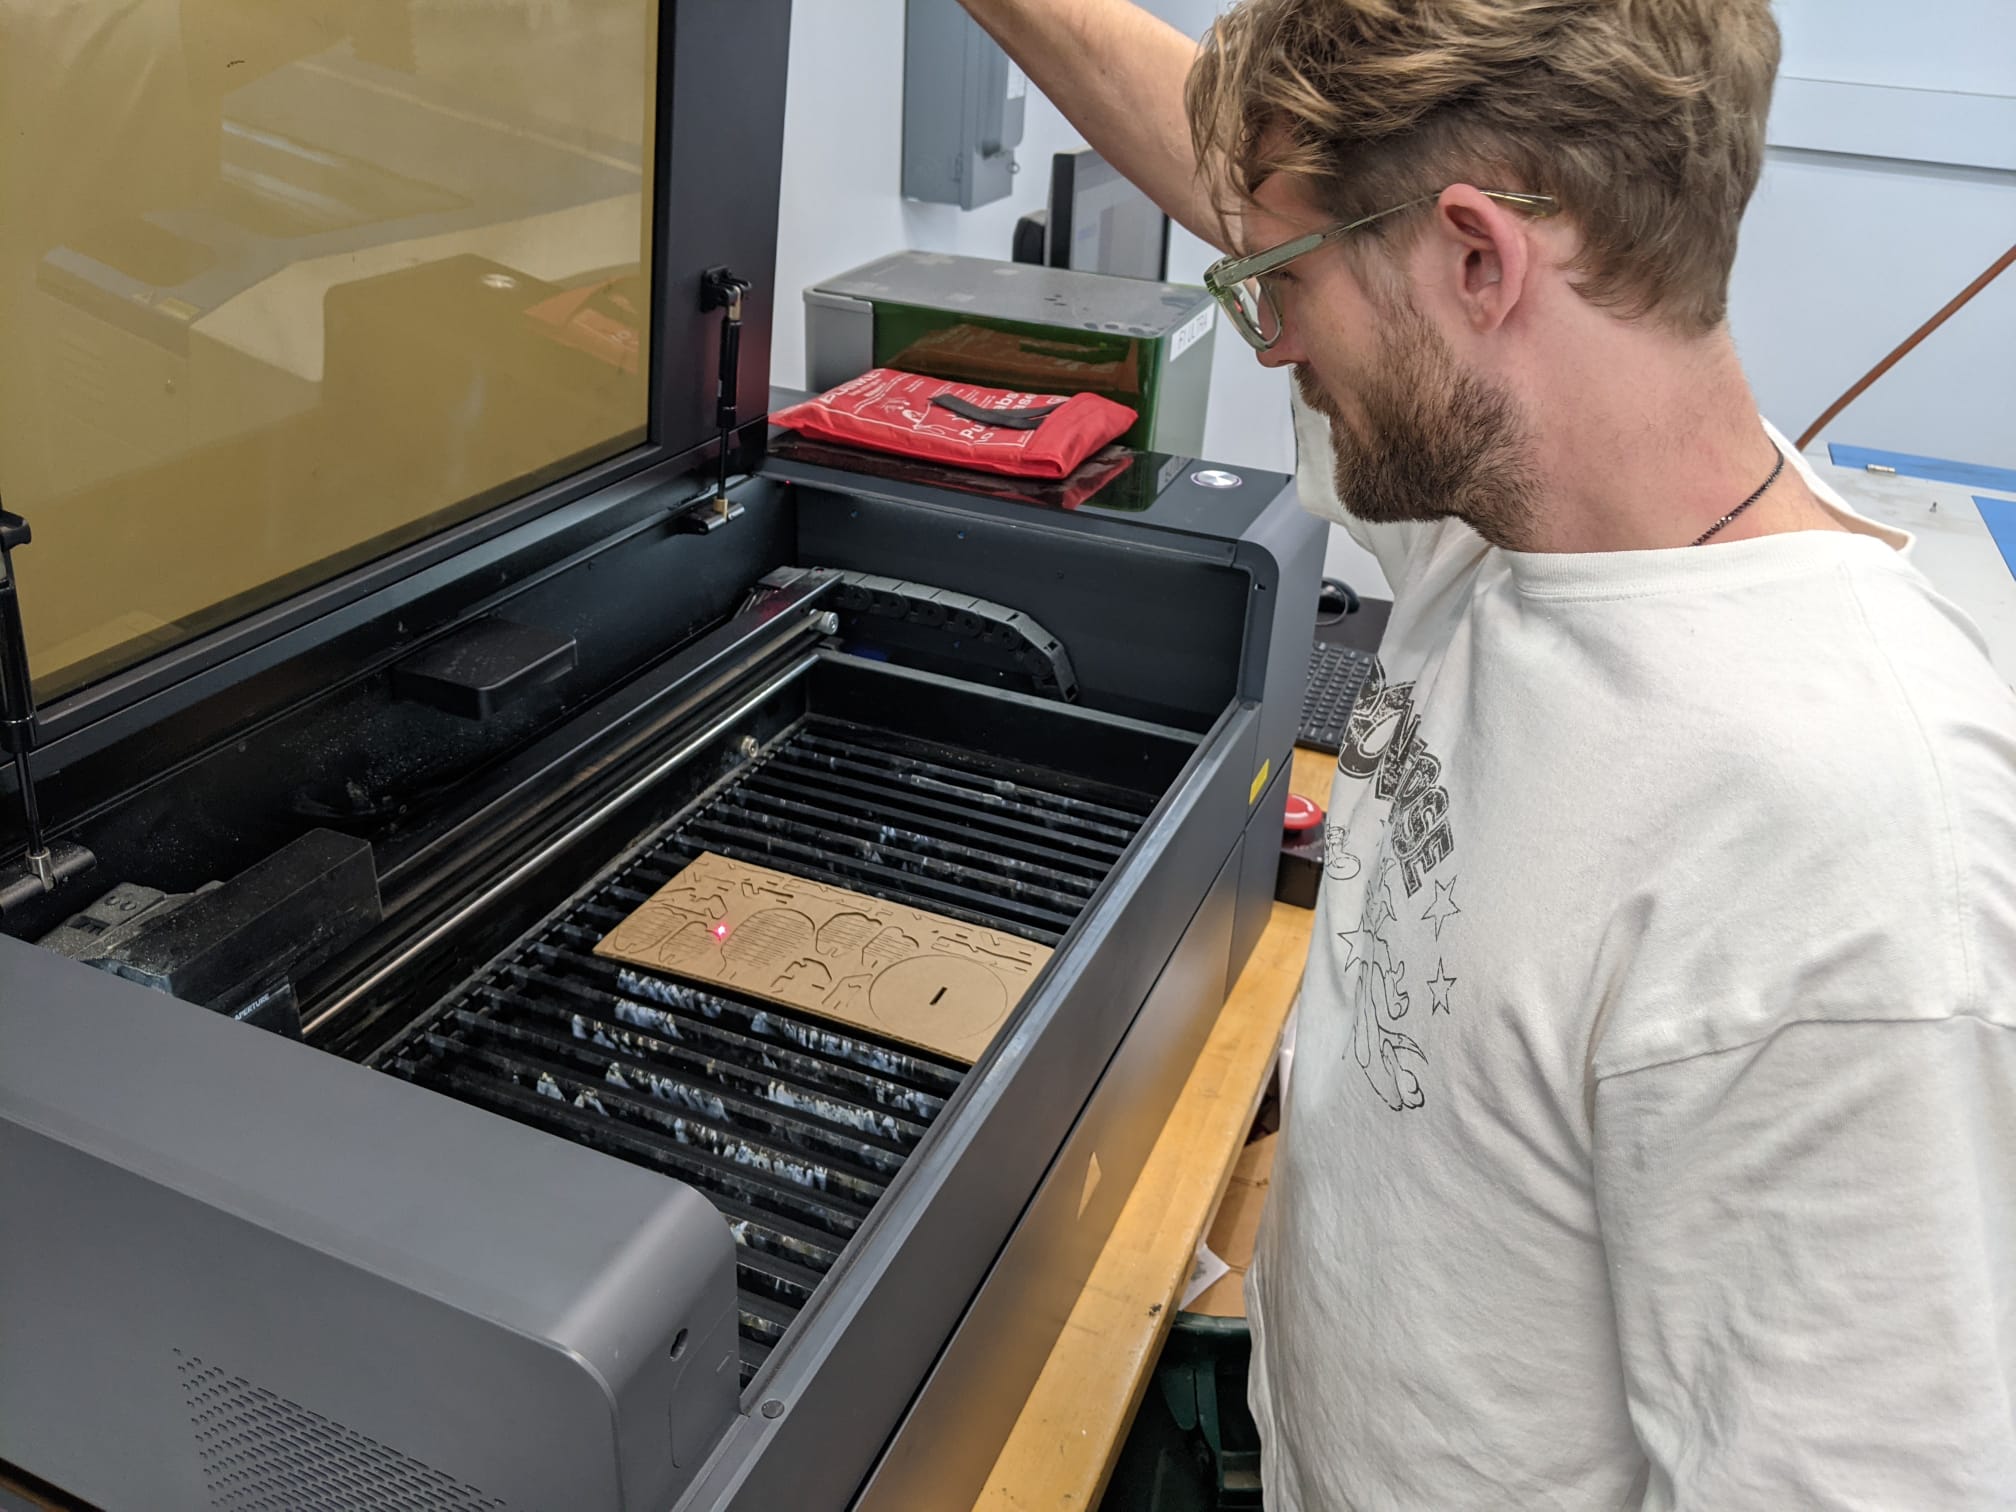
Cutting
Dan had showed us how to use the xtool laser cutter and using it myself was actually very straight-forward. As I alluded to earlier, my estimated size was off by a bit, though, - and while I liked the more fragile nature of the pieces I made, they were just not structurally sound enough to be used. I used Fusion to scale all the pieces to 150% and also designed a little stand for the flower. Scaling the pieces was relatively easy as the slots in the design were driven by a width parameter anyway.
Iterations
The stand I made had a design flaw I noticed when cutting it for the first time. I fixed it in Fusion and the next cut came out ok.
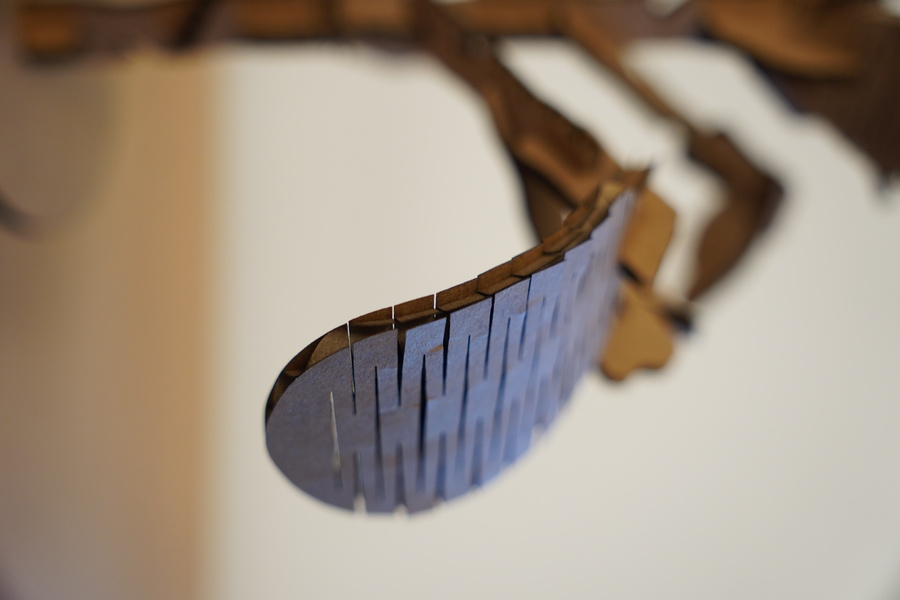
I also started playing with living hinges to see if I could make the leaves bend. I would rate the result a 5/10. They clearly have the potential to bend, but I think I’d need to put weights on the tips of the leaves to force them into the shape I had envisioned. I tried orienting the cuts for the living hinge both perpendicular and parallel to the corrugation. The version with perpendicular cuts turned out better in terms of structural integrity, - so that’s the final design I went with.
Things I’d love to learn
There are a few things that I would love to look into that I either didn’t quite have enough time for this week or are generally over my head.
To guarantee that the laser cutter translates my design accurately onto the cardboard, cardboard movement needs to be minimized. That’s important for fine details like the living hinges in particular. I’ve observed the laser cutter cutting the outline of my pieces first in some instances, before then going to work on the living hinges. At that point the piece is fairly loose and I’ve seen it move quite a bit once the entire outline has been cut. So, to alleviate these sorts of problems for future projects that might require more accuracy, I’d love to understand better how the software determines the order of the cuts it makes - and how I could influence that so that cutting the outline is the final step for a component.
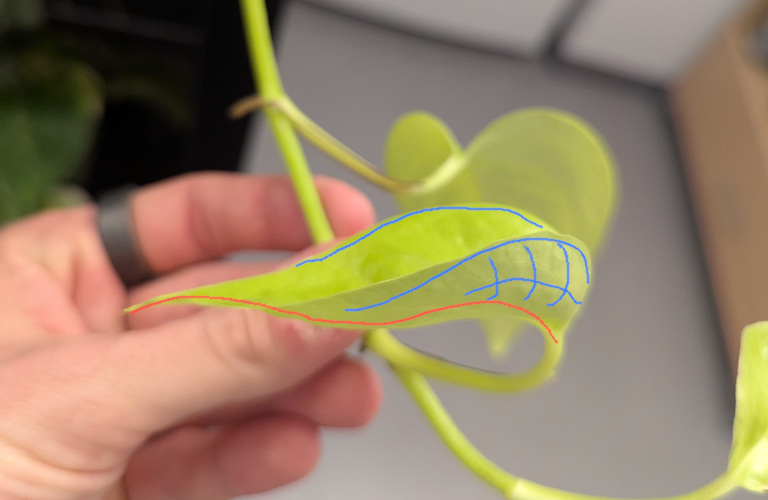
When I first saw the living hinges and patterns that allow for certain movements of the material, I was wondering how I could do true 3D structures (not just a bend in a single axis). I was wondering if I could make a leaf that, when adding a weight at the tip, would bend in the main axis but then as a consequence also pull up the sides. The below picture of our beloved pathos plant illustrates what I was hoping for. I quickly realized that I don’t know where to start when it comes to simulating the effects of cut patterns and abandoned the idea of truly 3D leaves. It’s still a question that’s spiraling around in my head, though.
I also would’ve liked to look into painting my final pieces. I might still do it in the future.
Vinyl Cutting
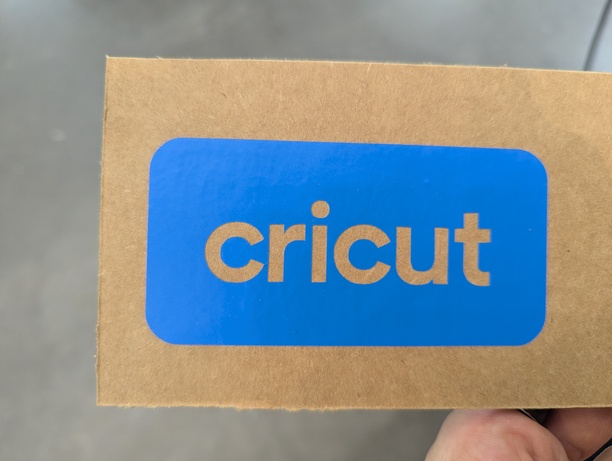
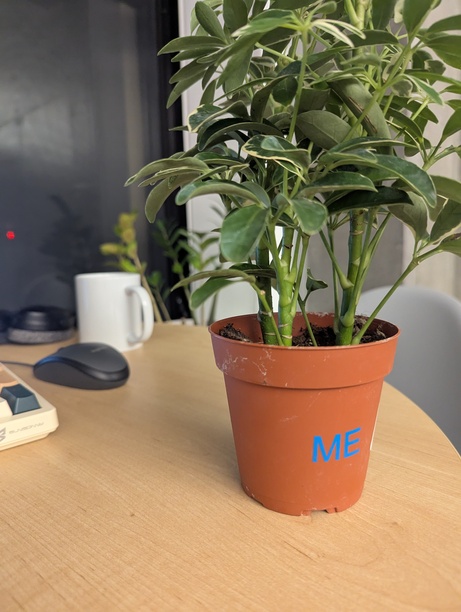
For the vinyl cutting I kept it very simple. I cut the default test cut that cricut wants to go through when first setting up the machine. I then also designed two letters in Fusion (M and E, for Matti and Erin, my girlfriend). I also used Cricut Studio to add the same letters just to have gone through the process in that tool as well. I found Cricut Studio fairly terrible, to be honest. The first time I added the letters, I must’ve used a font that wasn’t free and it tried to charge me $4.99 when I started the cutting process. Switching to a free font worked. I also had an issue with the exported DXF that had my own letter design. Looking at the file in both Fusion and Inkscape showed me the expected paths, Cricut Studio seemed to swallow one of the paths. I don’t understand how exactly Cricut Studio loads that file, so I don’t want to blame it. It’s totally possible that my export from Fusion had some flaw that I couldn’t see in Fusion and Inkscape. The letter design I made in Cricut Studio came out ok, though.
Overall, I’m very happy with how this week went and I’m looking forward to the next class project.
Note from future Matti: DXF seems to just be a terrible format with multiple conflicting specifications that may or not be supported by different software tools and machines. If you can, avoid it and use SVG instead. This has been a recurring theme across the semester.