Wildcard week!
This week I had some fun with Moiré patterns, and the XTool F2 Ultra laser engraver. I made a cube with three different ways of inducing Moiré, and a series of nested spheres which is mostly just beautiful but also creates a bit of Moiré.
Cube
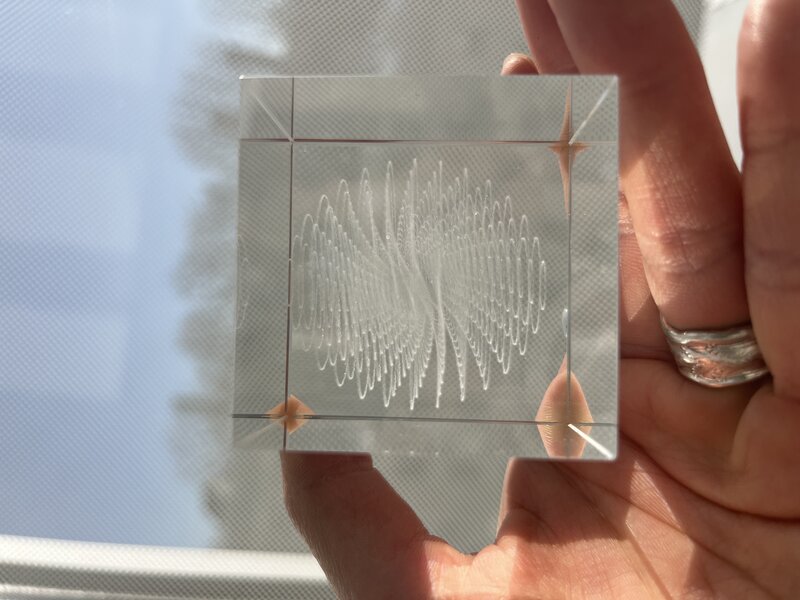
First, Quentin helped me create a cube in Blender where each side is an array of tiny cubes, which behave as a grid of dots. We will use this as the base for our Moiré experiments. As we know, a cube has 6 sides, that is 3 pairs of sides. I crafted the 3 pairs of sides as follows: On one pair of sides, one of the grids is warped (in-plane) relative to the other. On the second pair of sides, we pushed and pulled on one of the sides so that there is a gently sloping “hill” and “valley” – a distortion on the z-axis. On the third pair of sides, we added a few sharp peaks.
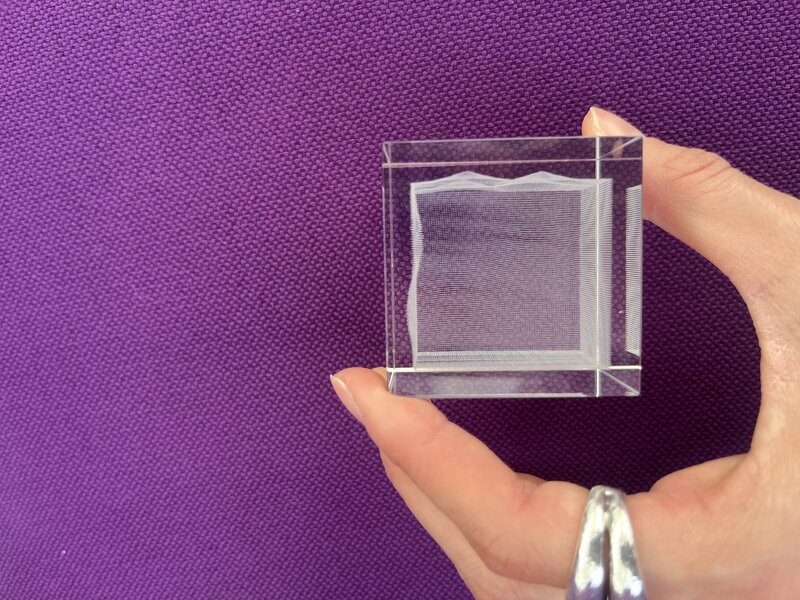
Here’s the view through the sides where there is a hill and a valley (push and pull). Notice the artifacts – many of the tiny cubes were skipped. Quentin and I hypothesized that this is because this was the deepest (into the glass stock) face of the cube, and the glass is not very high quality, so the laser had trouble focusing at just the right spot due to the refraction within the uneven glass.
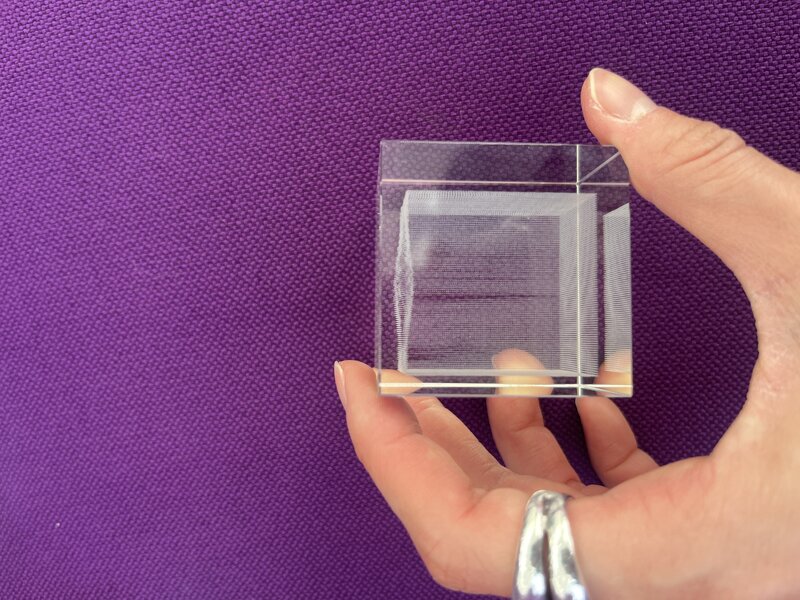
Here’s the view through the sides with an in-plane warp:
Here’s the view through the sides with sharp peaks:
Here’s the .blend file, and here is the .stl.
Sphere
To make this object, we sliced a sphere into circular disks (in Blender, we made a UV sphere and deleted the longitudinal edges). Then we arrayed them while decreasing the radius, to nest many concentric spheres into each other, Russian-doll style. Then, we added a slight rotation, and got this:
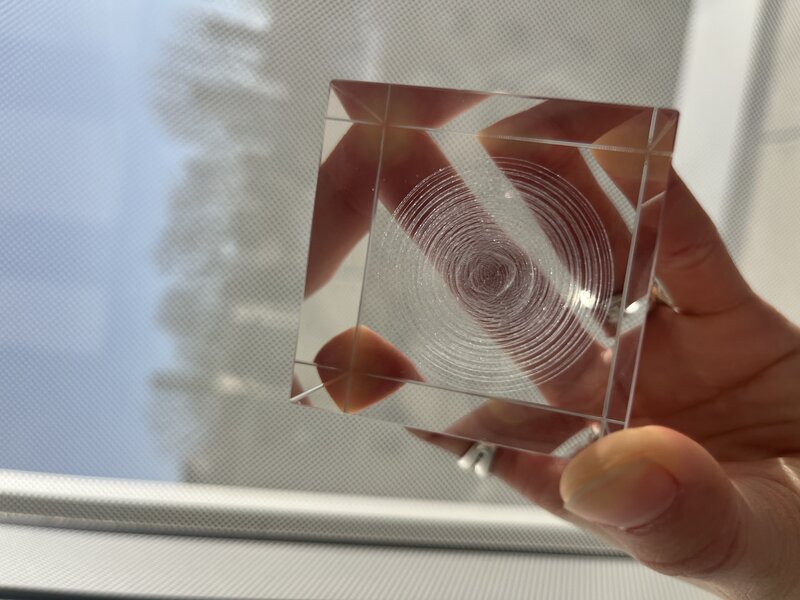
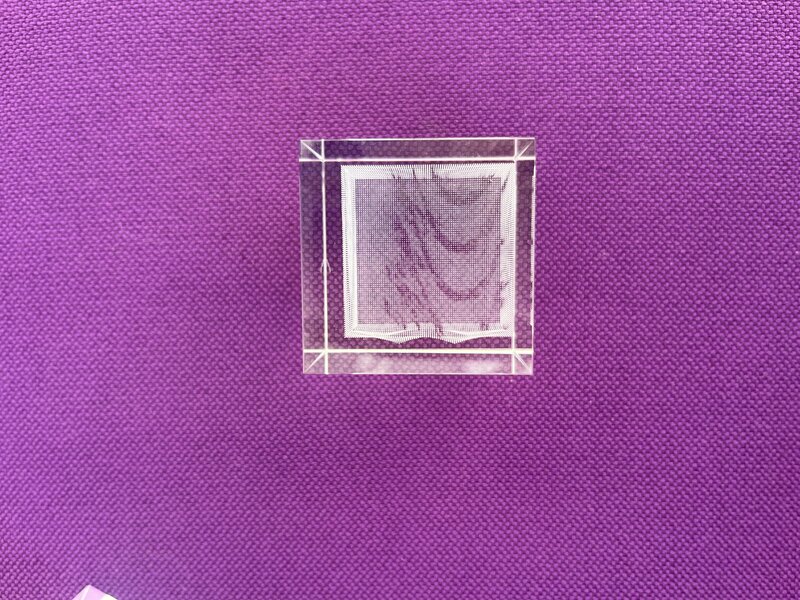
There’s even some Moiré you can observe from the top view:
Here’s the .blend file, and here is the .stl.
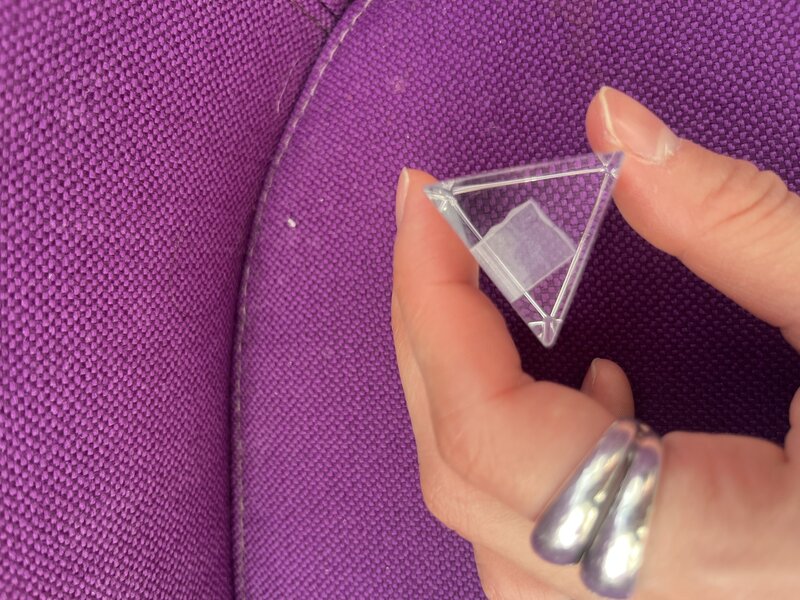
Test prism (baby cube)
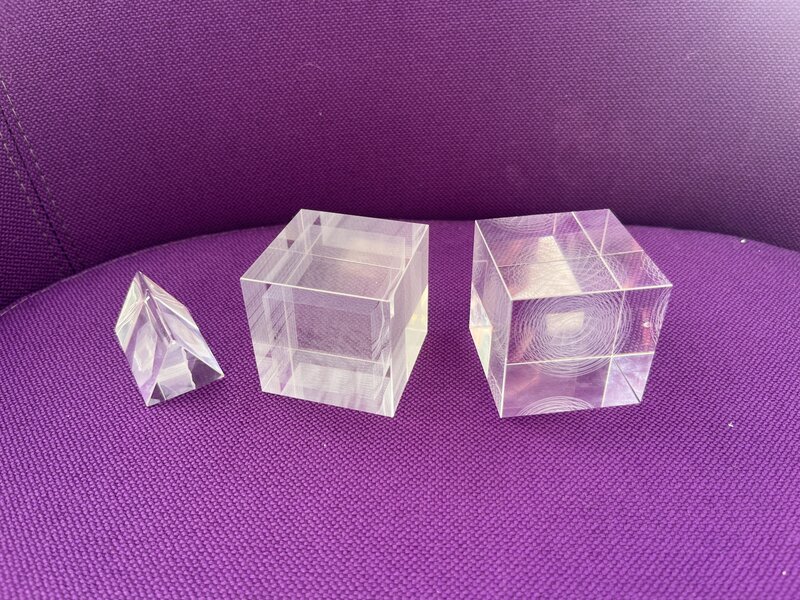
Here was my initial test triangular prism - I used the same cube files as above.
And, here are all of my glass engraved objects in order: