Designing & 3D printing chain links
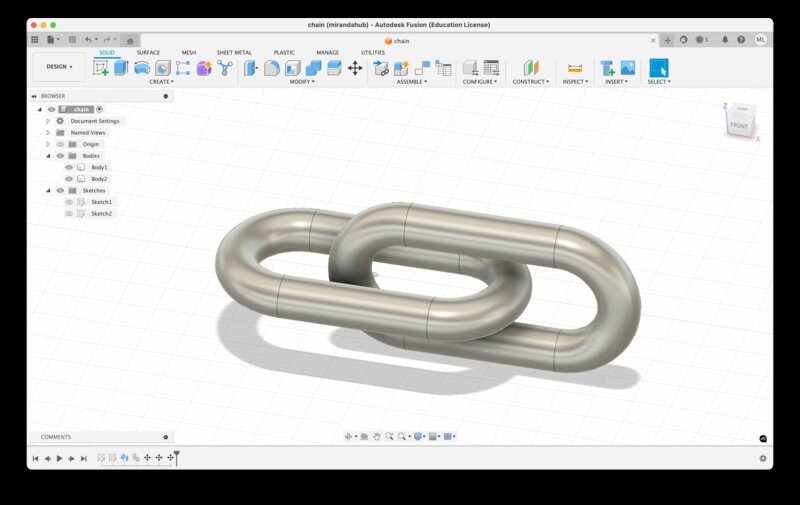
First, I designed two simple chain links in Fusion360. To do this, I made a sketch of a slot to get the general shape of the chain link. Then, I created a circle perpendicular to that path, and used the Sweep tool to sweep the circle around the path to produce a single link. I copy-pasted that link and arranged it so that it intersected the middle of the other link. Here was my final model in Fusion:
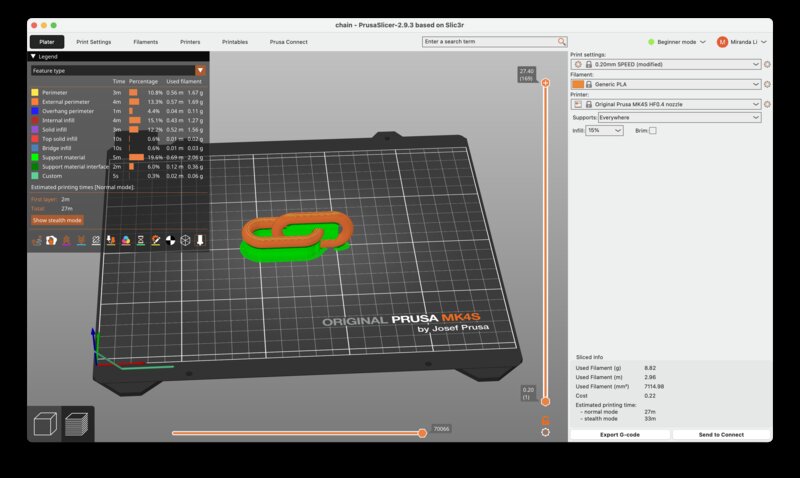
Next, I exported my .stl file and imported it into the Prusa slicer. After selecting my machine and configuring the materials and adding supports I was able to export a .bgcode file for printing.
I learned how to load filament into the Prusa printer and loaded in this nice silver filament to match my chain. Here’s a photo of the Prusa hard at work:
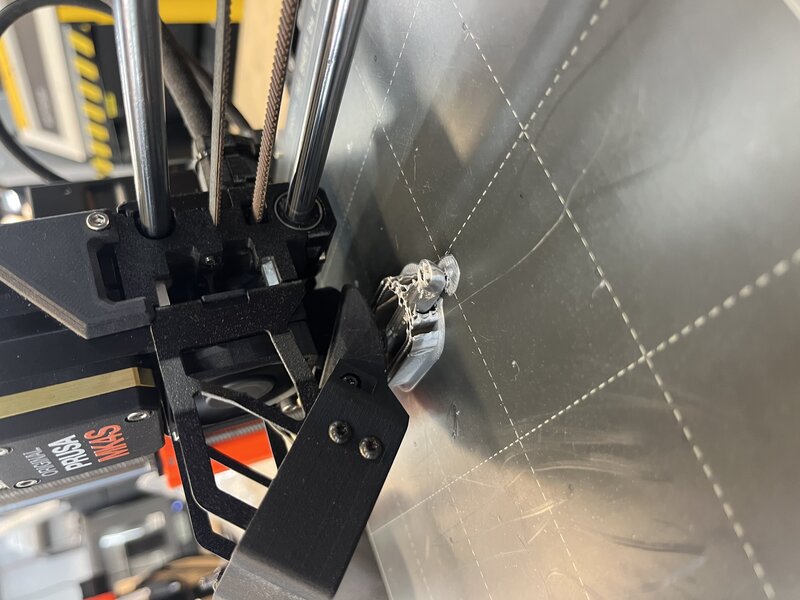
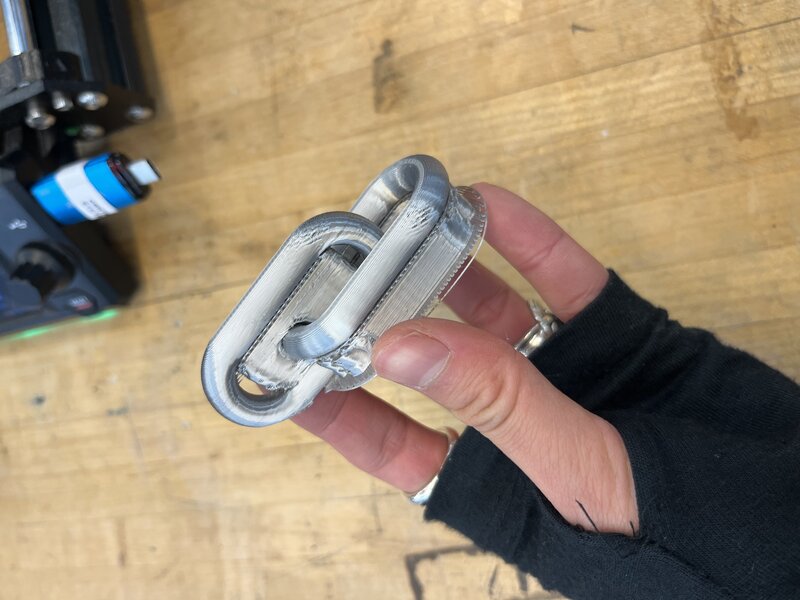
The whole thing took around half an hour. Here’s how it came out:
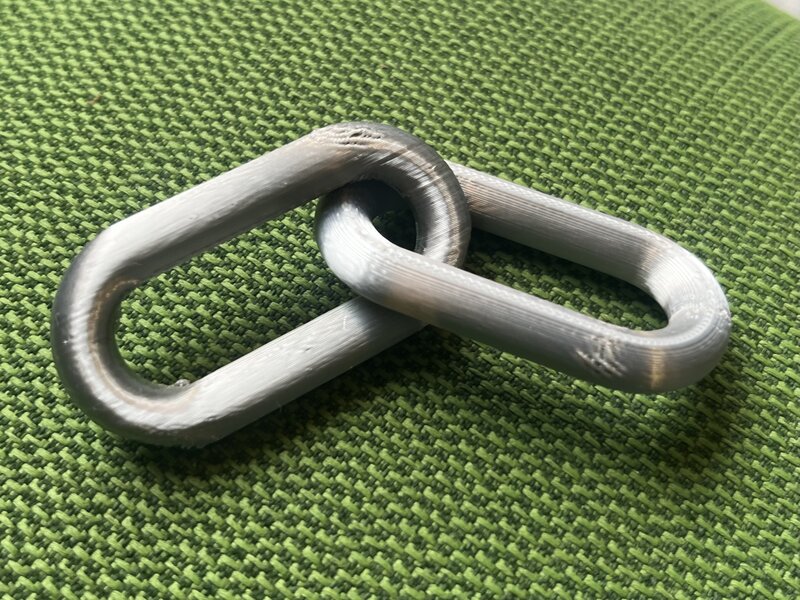
I used some pliers and my brute strength to remove the supports:
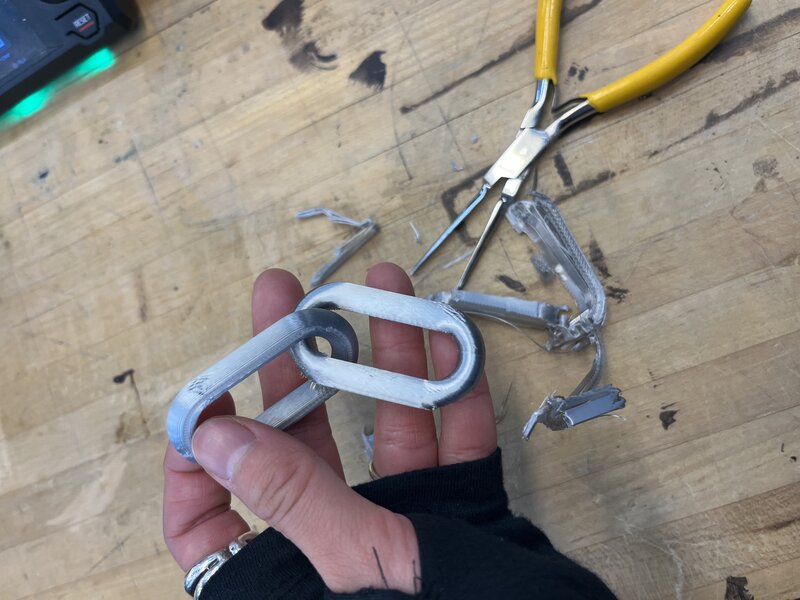
And, the final product! It is an incredibly satisfying fidget toy, and I am overall happy with how it turned out. There are a few patches of unnevenness in the print, but it’s not too serious. Baby’s first 3D print, in the books! :)