Software Group: IMU Data Testing
My participation in the project began with the Software Group, where I focused on the Inertial Measurement Unit (IMU). The objective was to implement robust orientation tracking, which is fundamental for the robot's balance and navigational capabilities. I researched various 9-DOF sensor definitions and established a testing pipeline to visualize raw data from the accelerometer, gyroscope, and magnetometer.
Although the initial tests were promising, I evaluated the team's overall resource distribution and realized the software sub-team was well-staffed. To maximize my impact on the project and assist where manpower was more critical, I made the strategic decision to pivot to the Creative and Assembly groups the following day.
Creative Group: Generative Videos
Transitioning to the Creative Group allowed me to contribute to the project's artistic narrative. Our goal was to create a visual language that represented the robot's internal state or "consciousness." I collaborated on developing generative video content that would be displayed during the installation. utilizing algorithmic approaches to generate fluid, evolving visuals. These videos were not just background decorations but integral elements that contextualized the machine's existence within a broader artistic framework.
Mechanical Assembly
Beyond the digital domain, I immersed myself in the physical construction of our machine. The assembly process was intricate, involving the coordination of hundreds of parts. I was responsible for assembling a diverse range of components, from precision gears and transmission systems to the complex structural panels and connectors that formed the robot's body.
This hands-on work required careful attention to detail and patience. We faced real-world challenges such as tolerance stack-ups and part fitment, which required immediate problem-solving and adjustments. Contributing to the physical build gave me a profound appreciation for the mechanical complexity of our design and the necessity of precise integration.
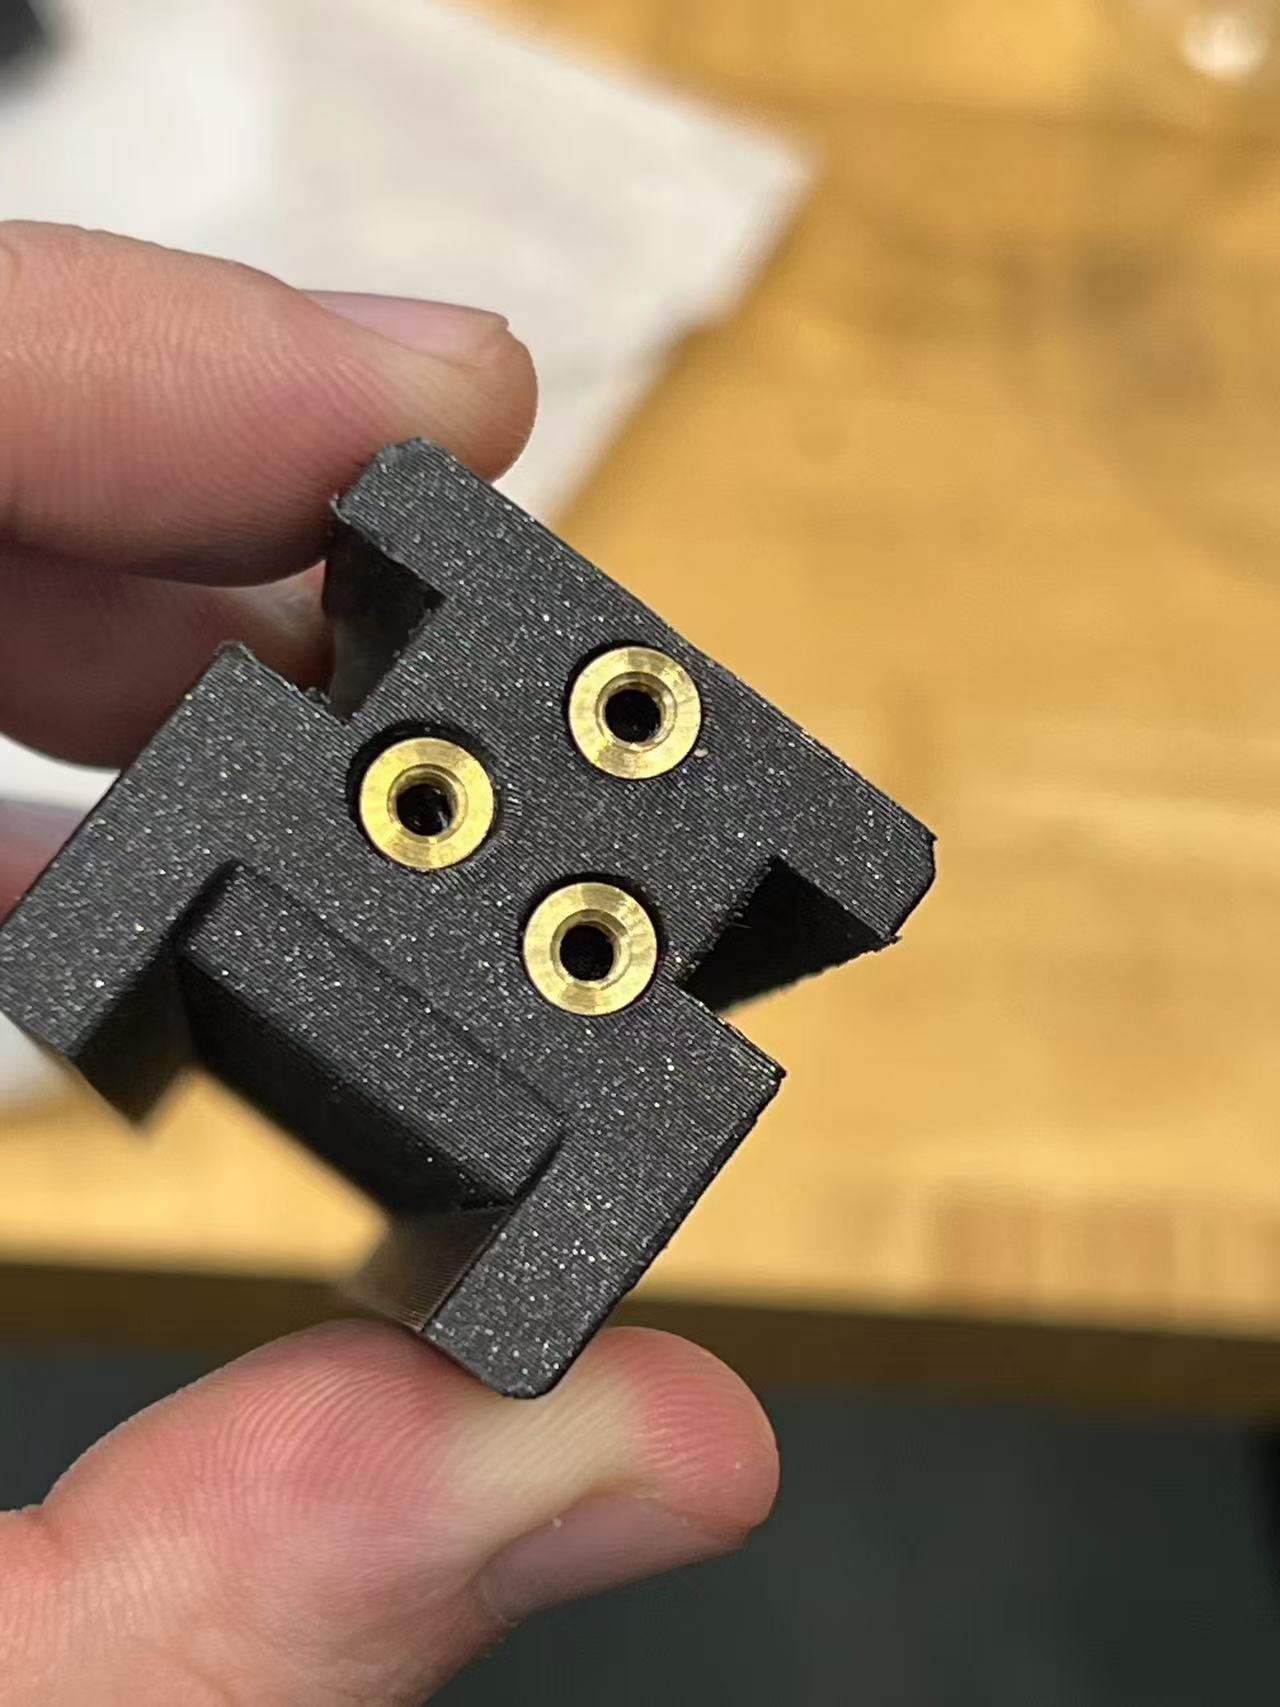
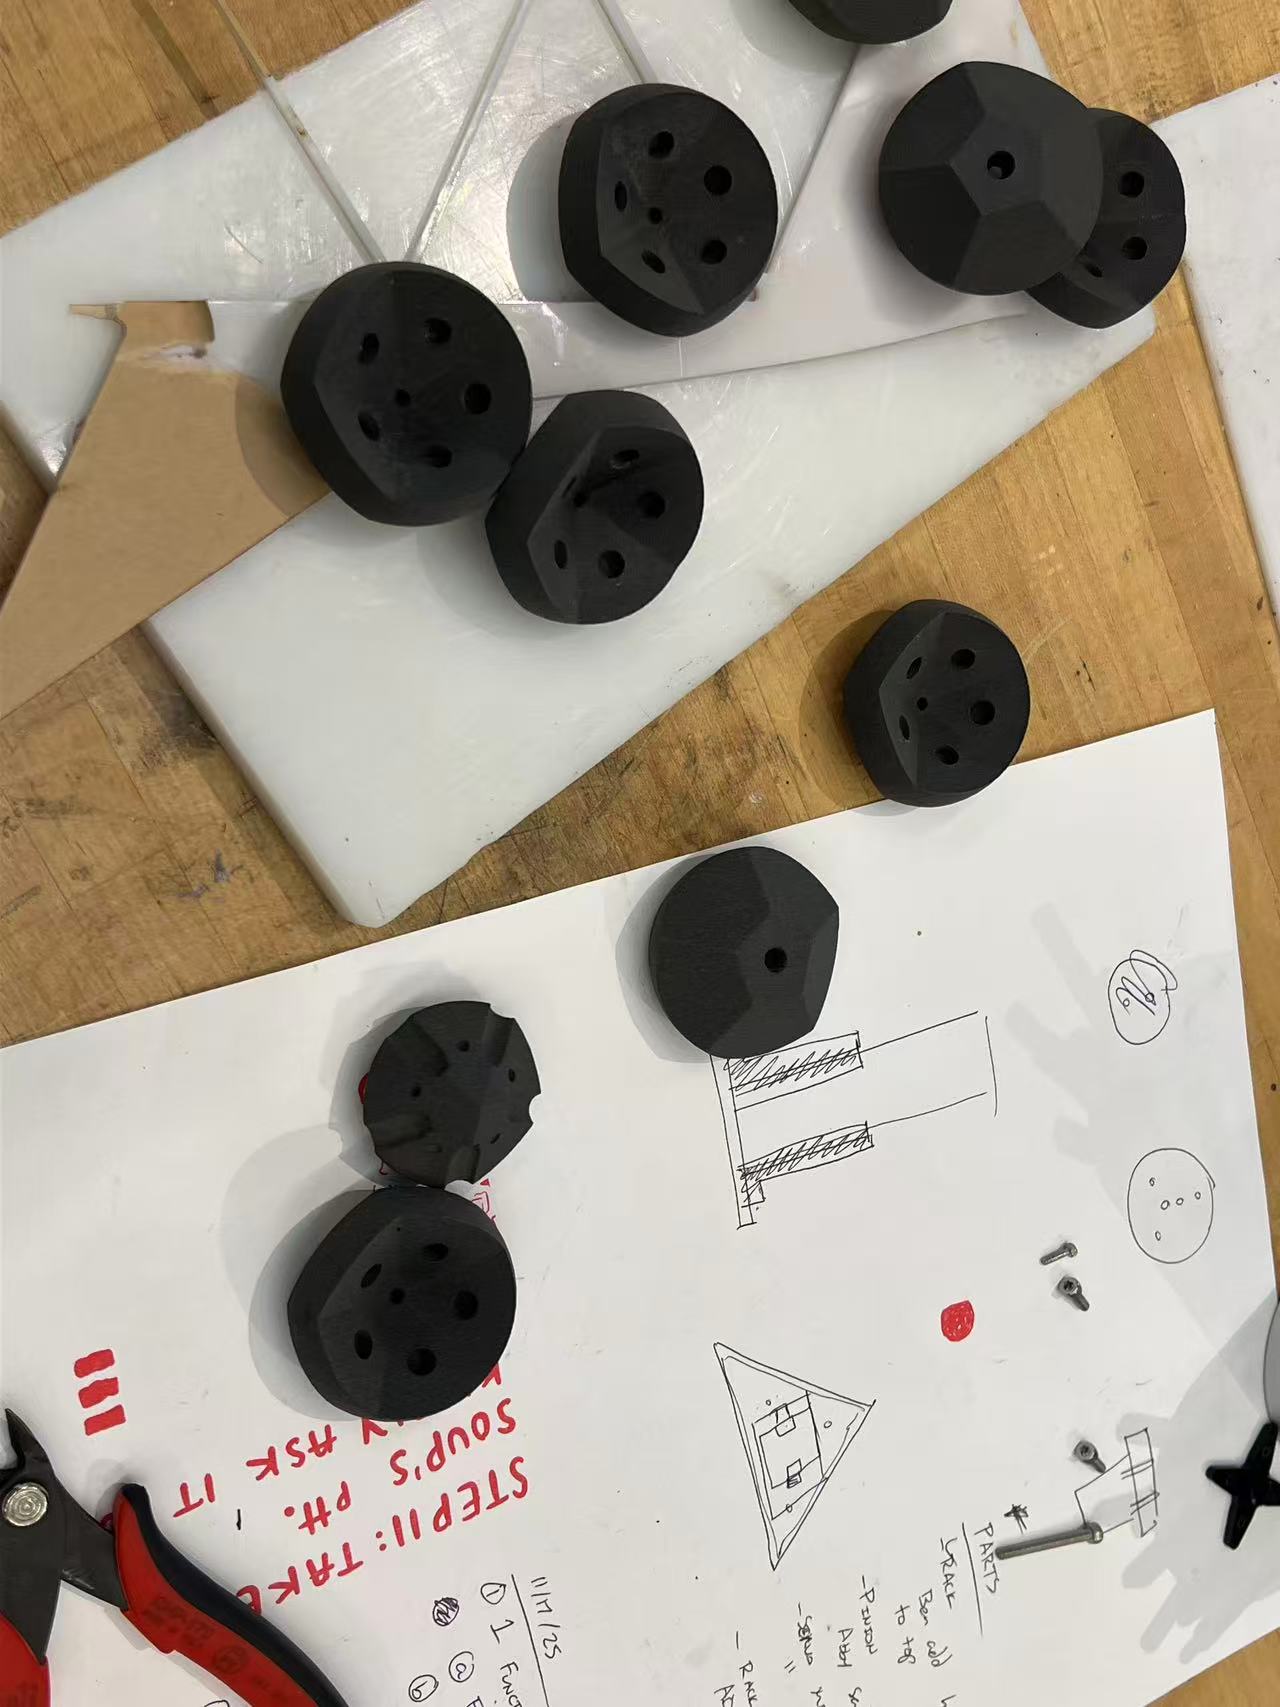

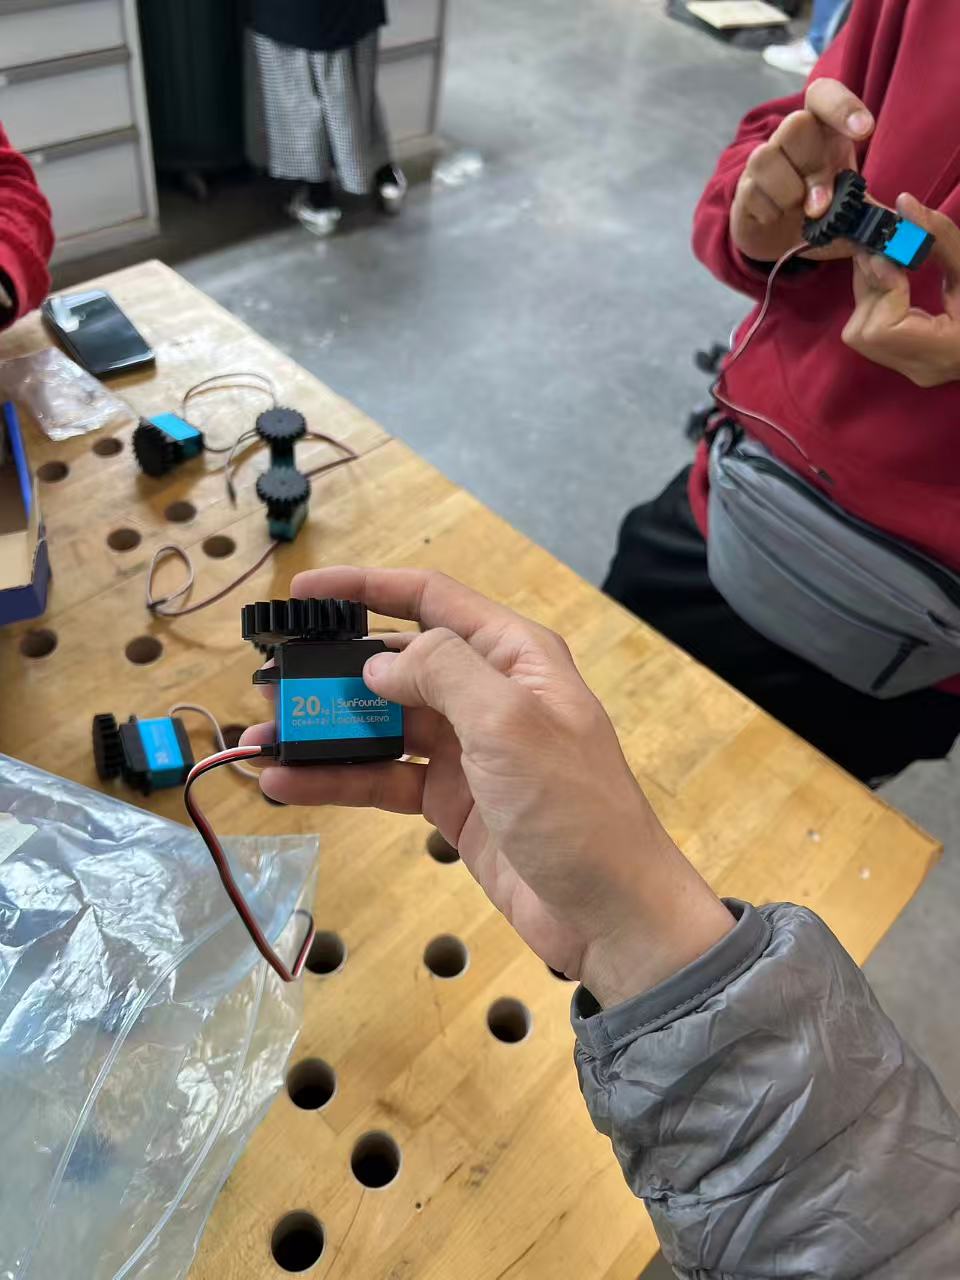
Assembling gears, connectors, and panels.
Final Preparations at ACT Lab
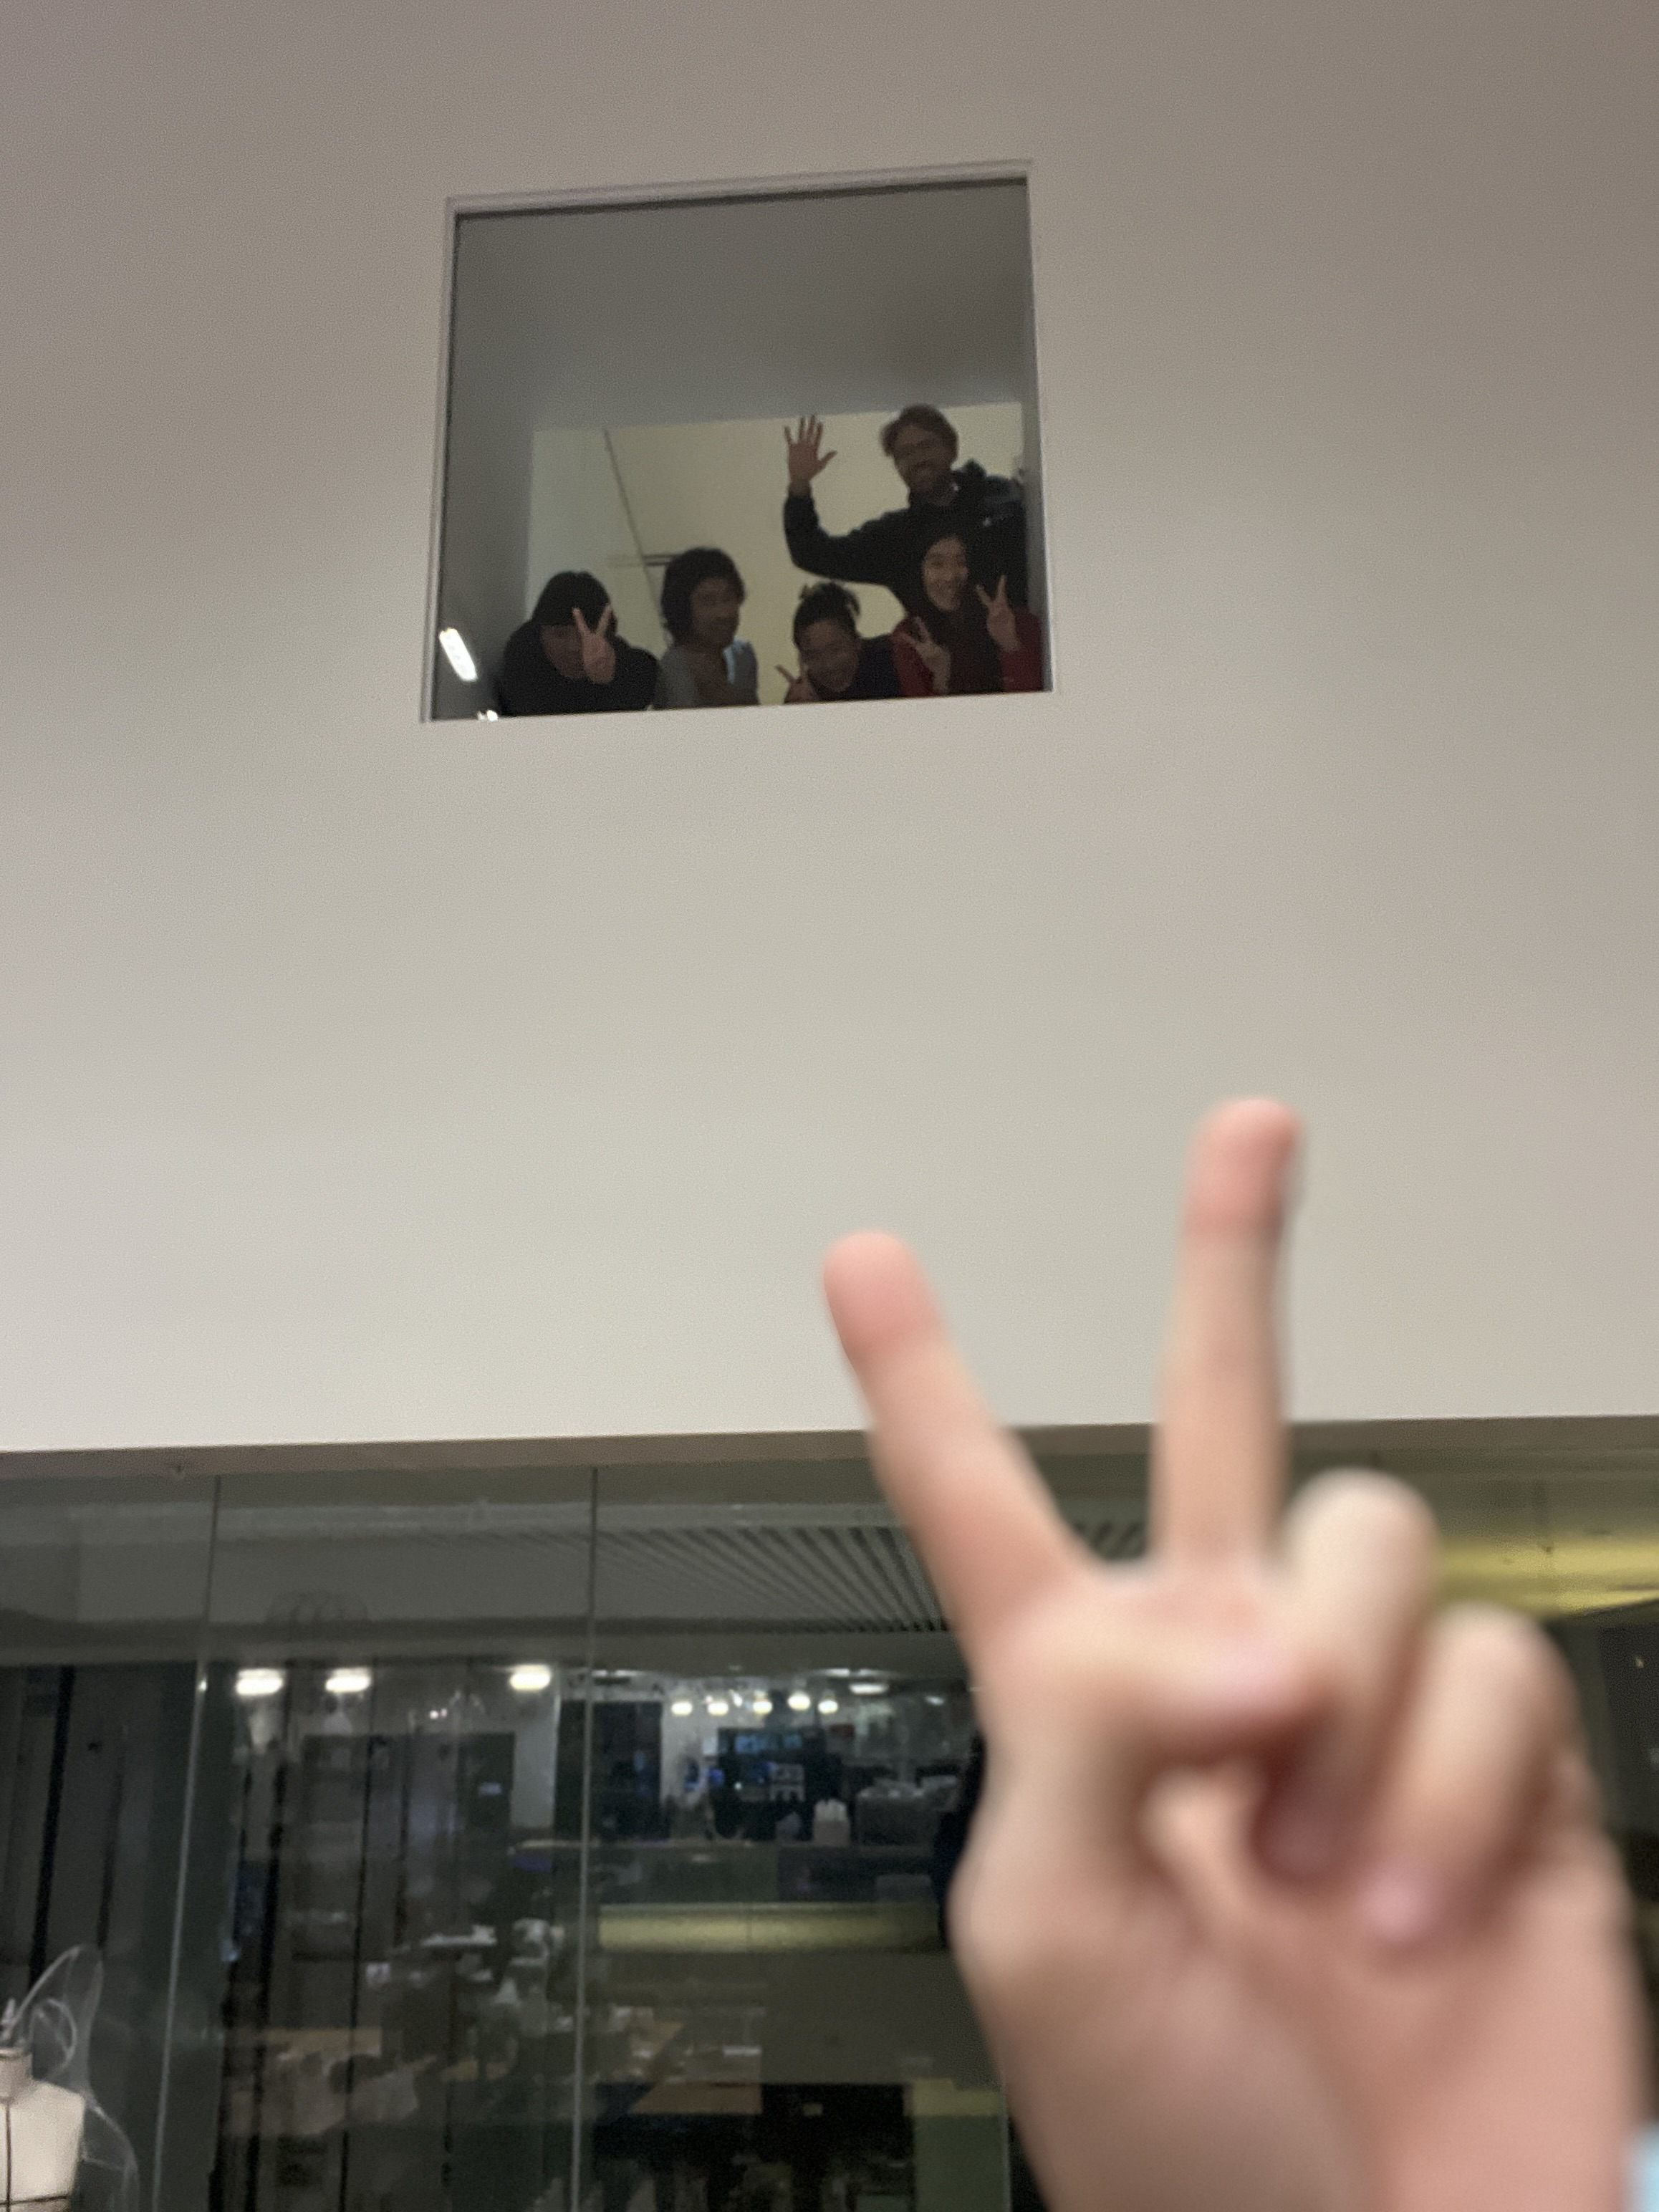
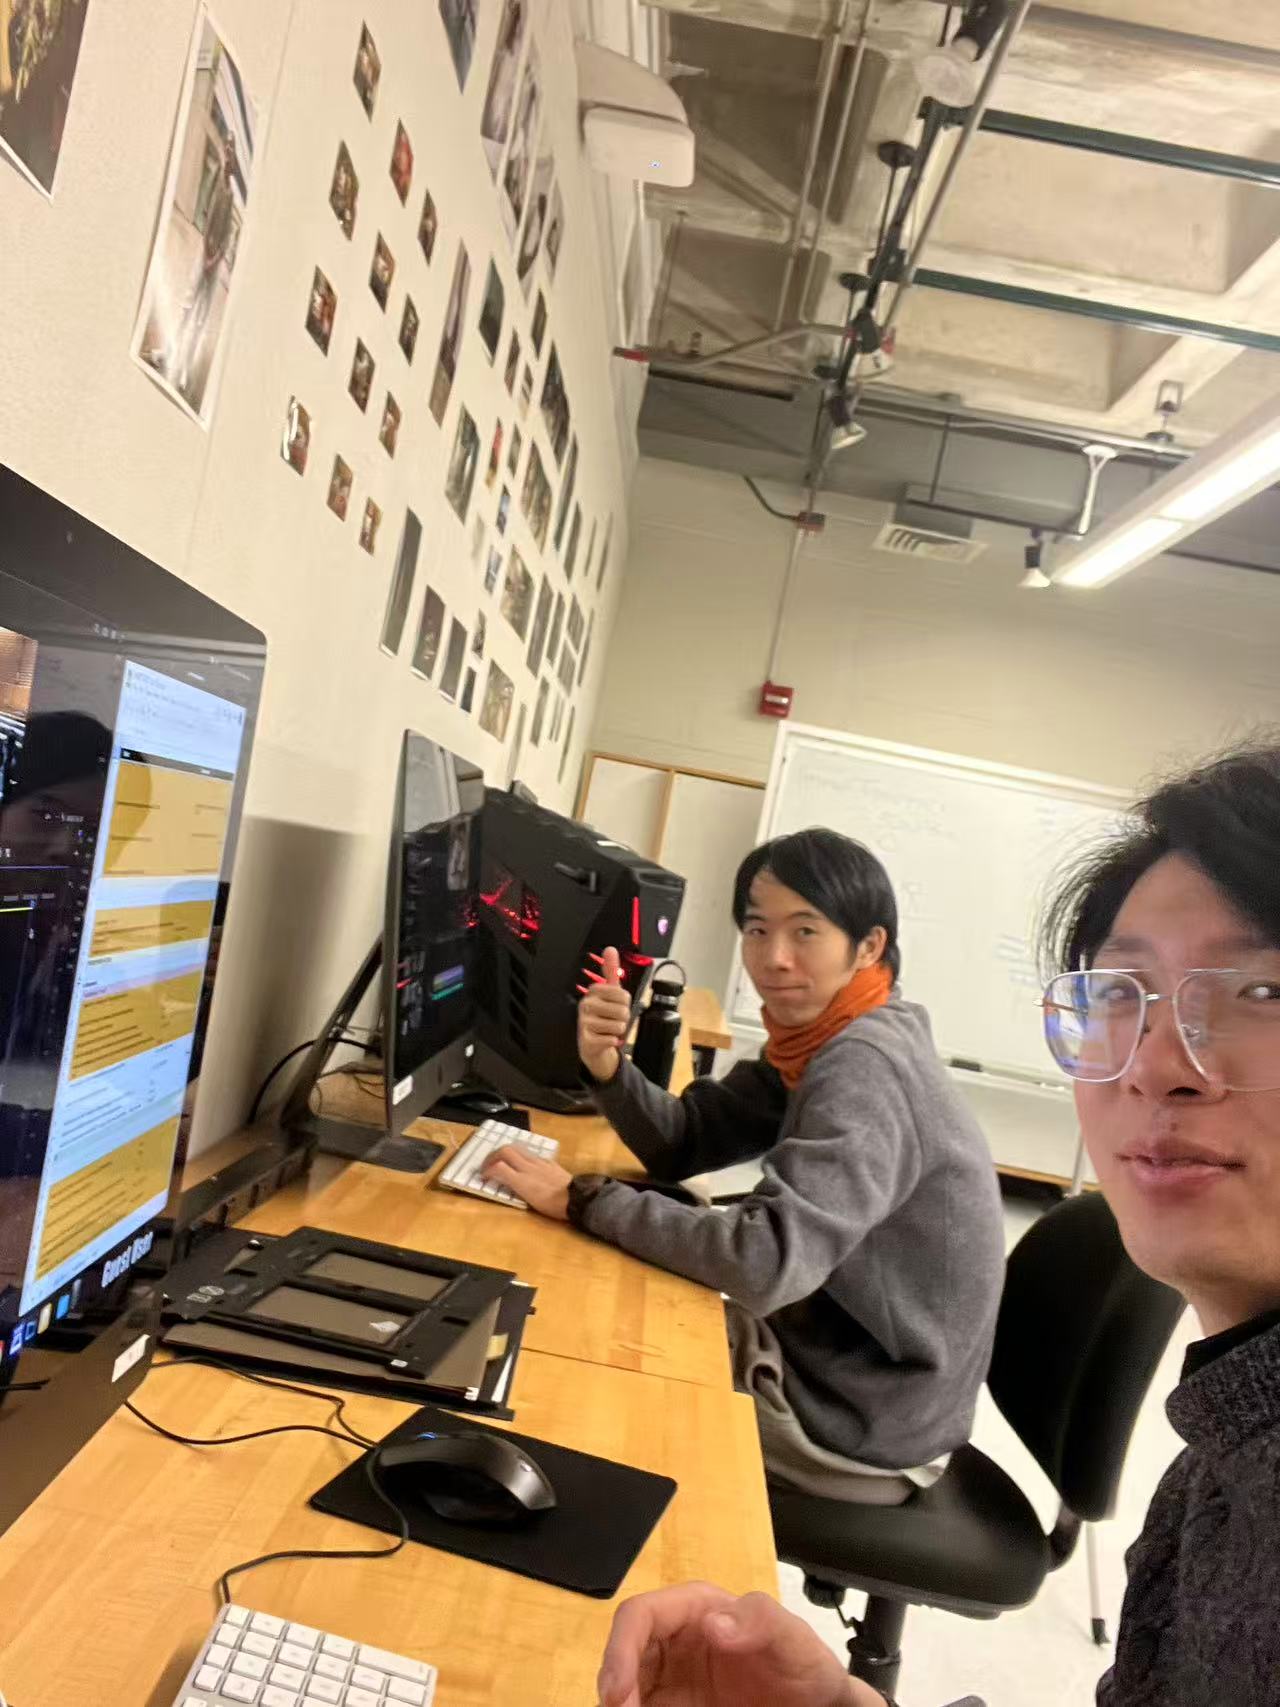
The night before the final presentation, the atmosphere was intense yet electric. I collaborated closely with the creative team at the ACT equipment lab, working alongside Awu and Eitan. We spent the night fine-tuning the final video edit, ensuring every frame aligned with our narrative. It was physically exhausting but mentally incredibly rewarding to see all the pieces come together in those final hours.
Documentation and Reflection
Throughout the chaotic yet exciting development process, I also assumed the responsibility of documenting our progress. I captured high-quality photos and videos across different sub-groups—software, mechanical, and creative. This documentation was vital not only for our final presentation but also for maintaining a clear record of our iteration and problem-solving journey. It allowed every team member's contribution to be visible and recognized.
Final Thoughts
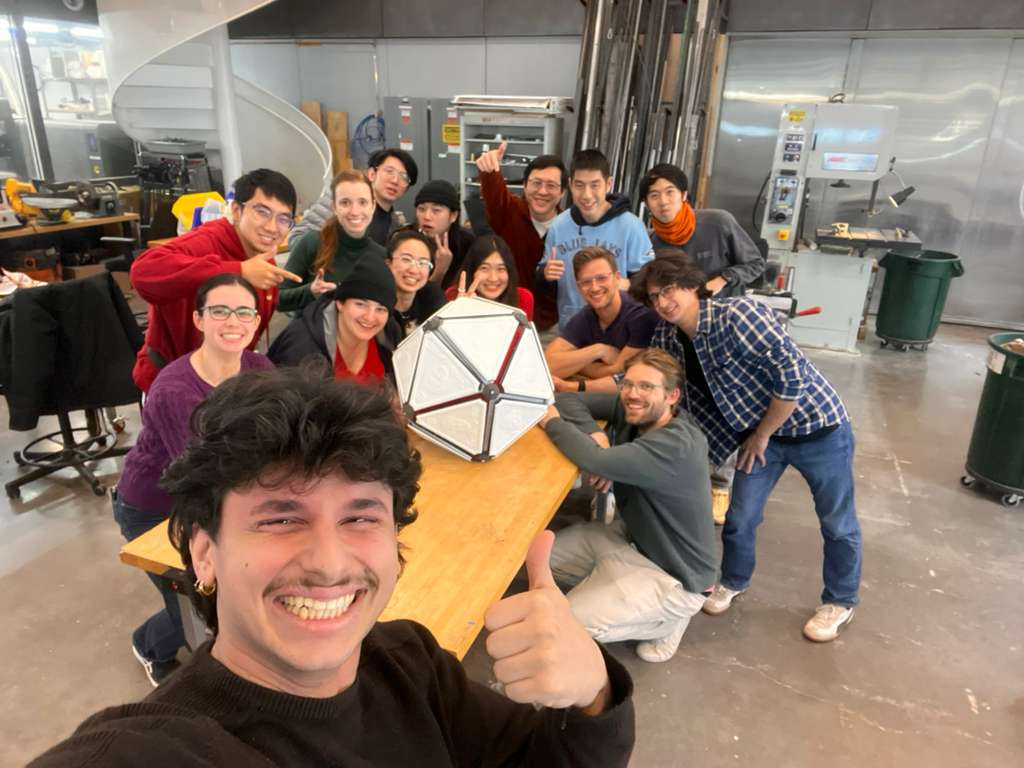
It has been an absolute honor to finish such a massive and ambitious project alongside these incredibly talented people. The journey from initial concepts to the final, working machine was filled with challenges, but the collaborative spirit of the team made every obstacle surmountable. I am proud of what we achieved together.