Group Assignment: PCB Fabrication
For this week's group assignment, we followed the process from previous years to design and fabricate a PCB featuring the Media Lab logo. The goal was to prepare the design files and send them to a PCB manufacturer to understand the full lifecycle of electronics production, from design to factory fabrication.
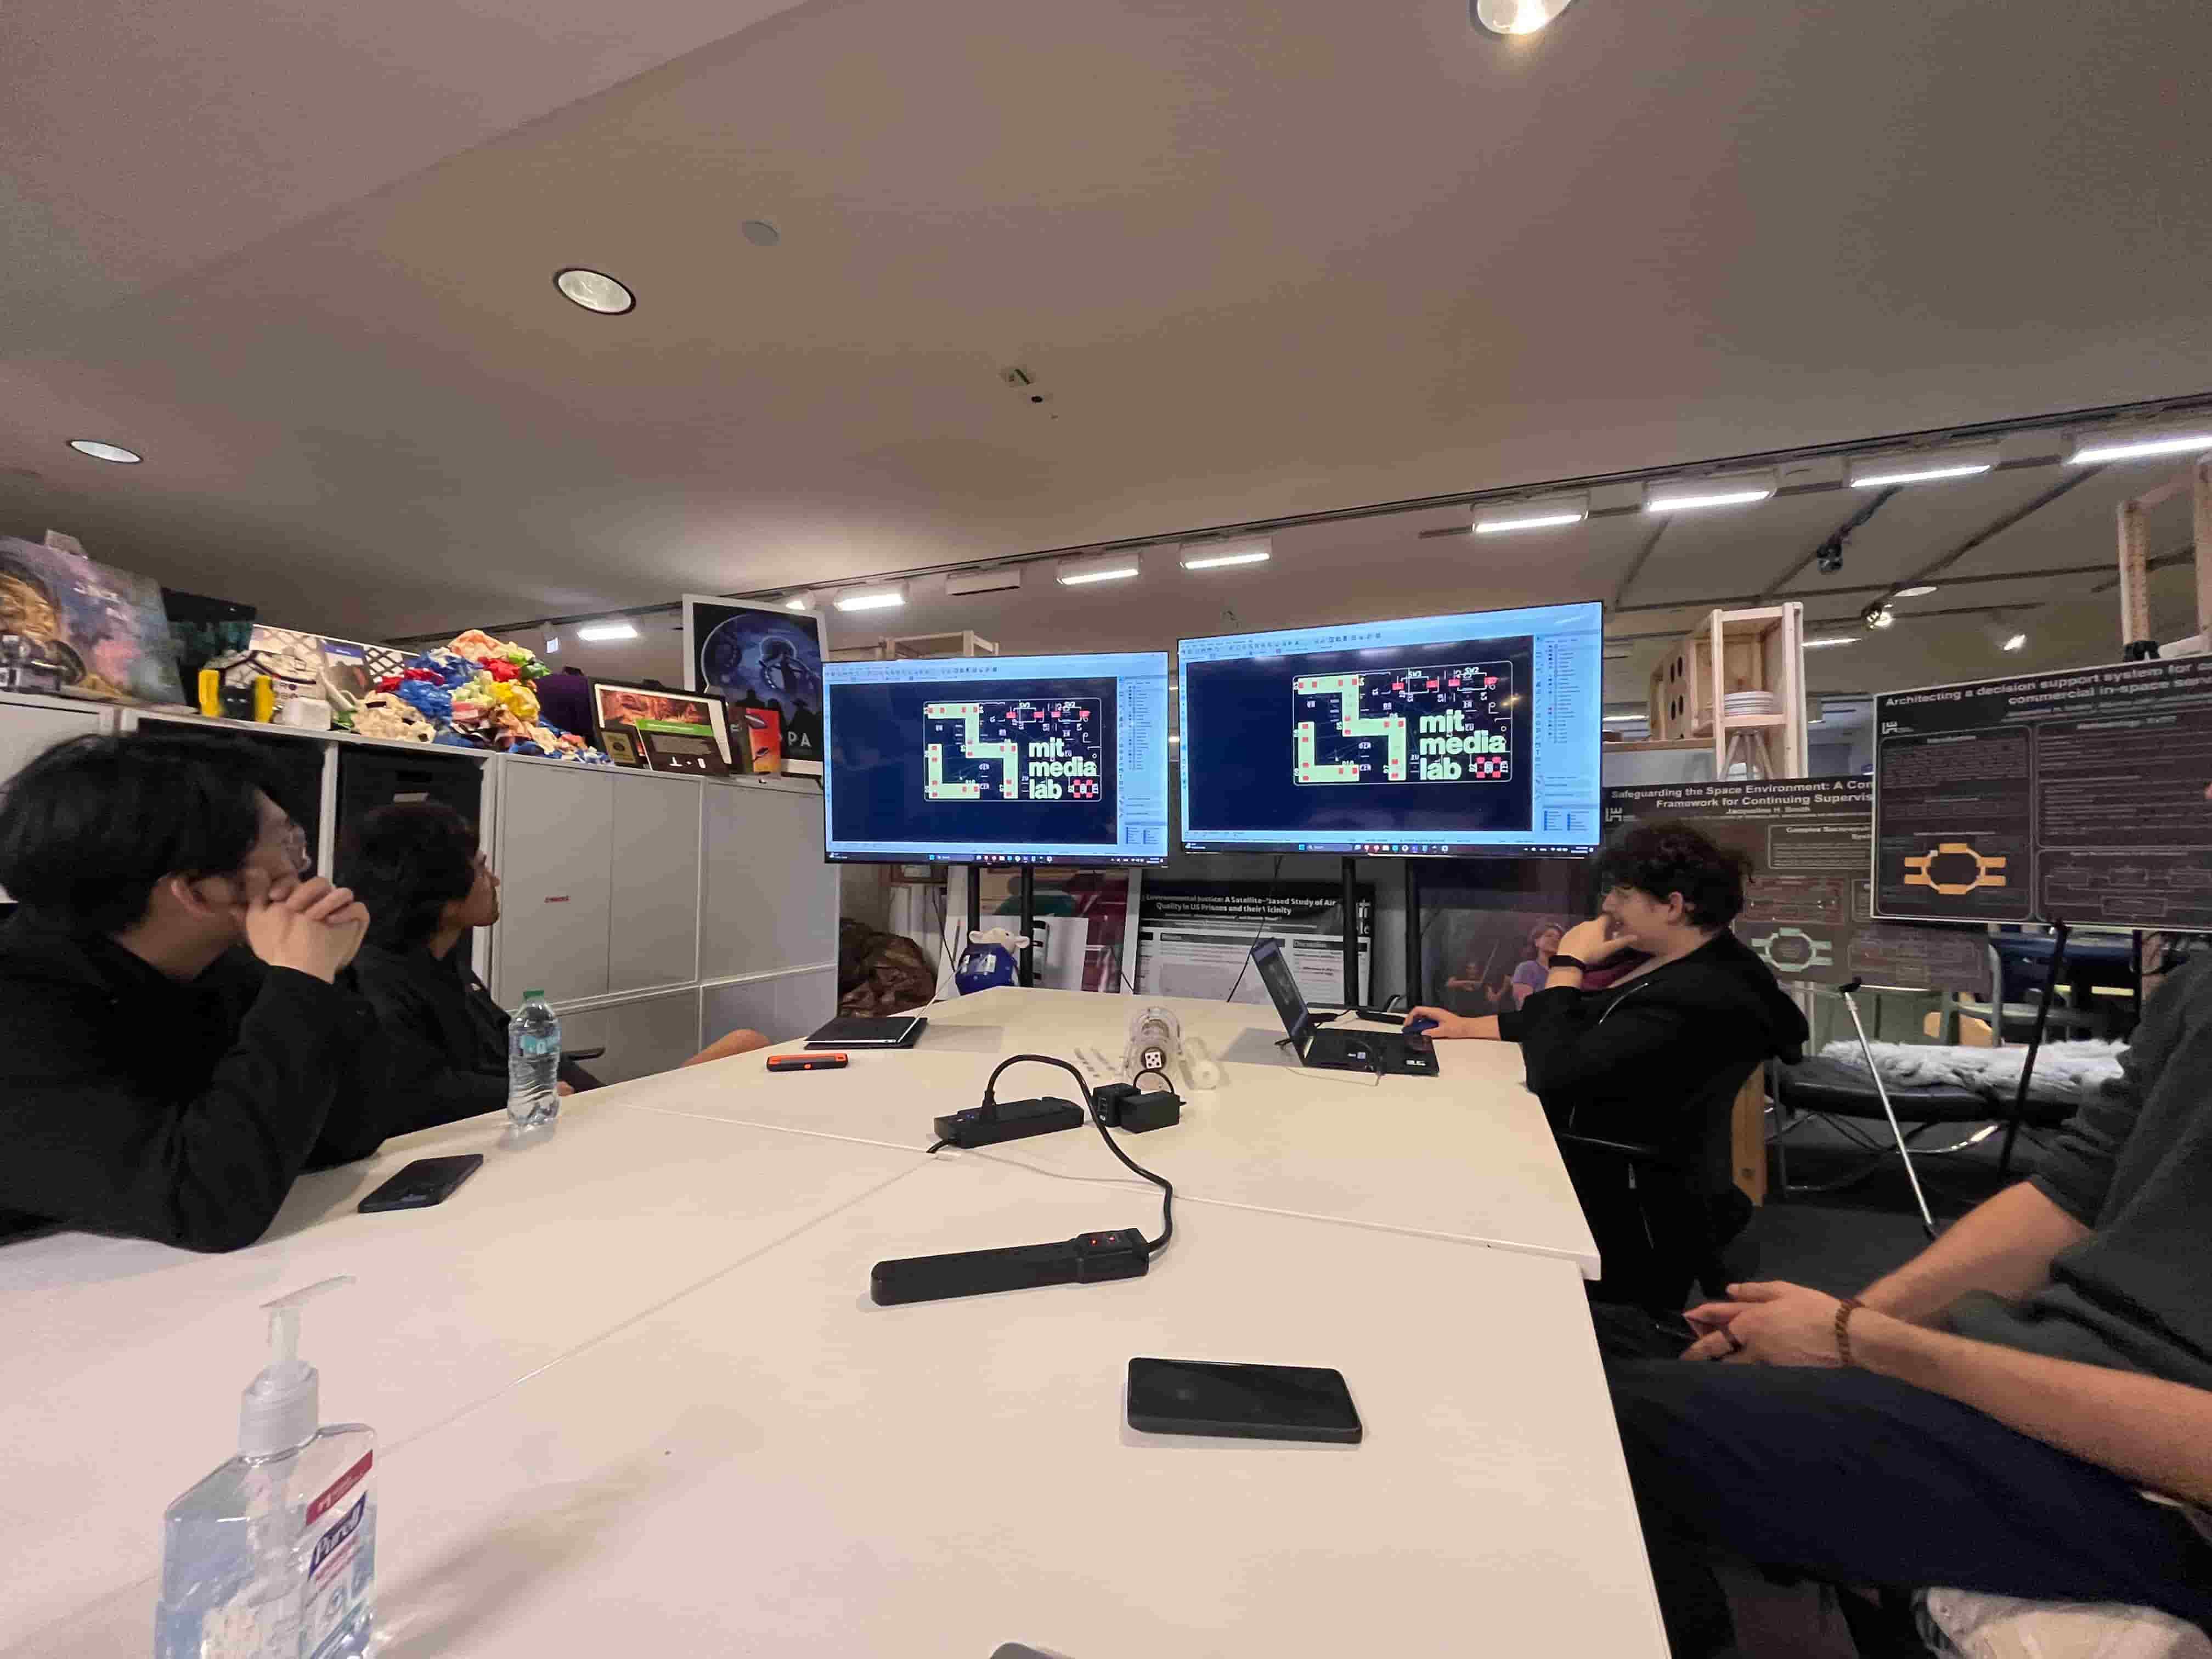
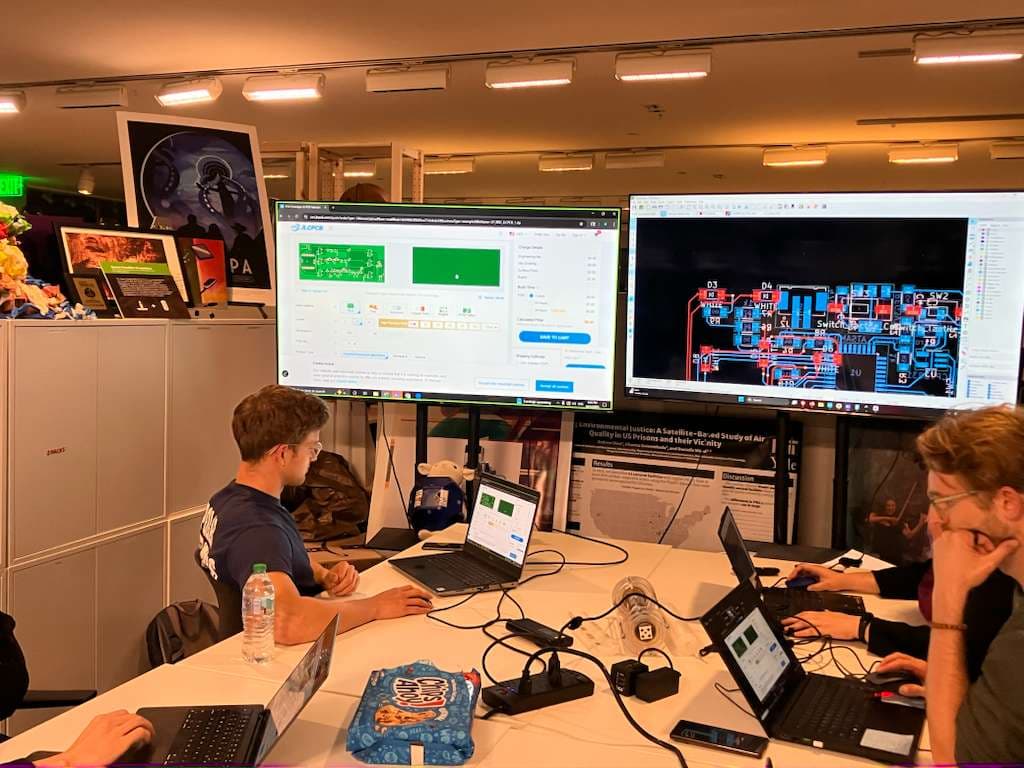
This exercise provided practical experience in generating manufacturing files (Gerbers) and interfacing with fabrication houses, which is a crucial step in turning a prototype into a product.
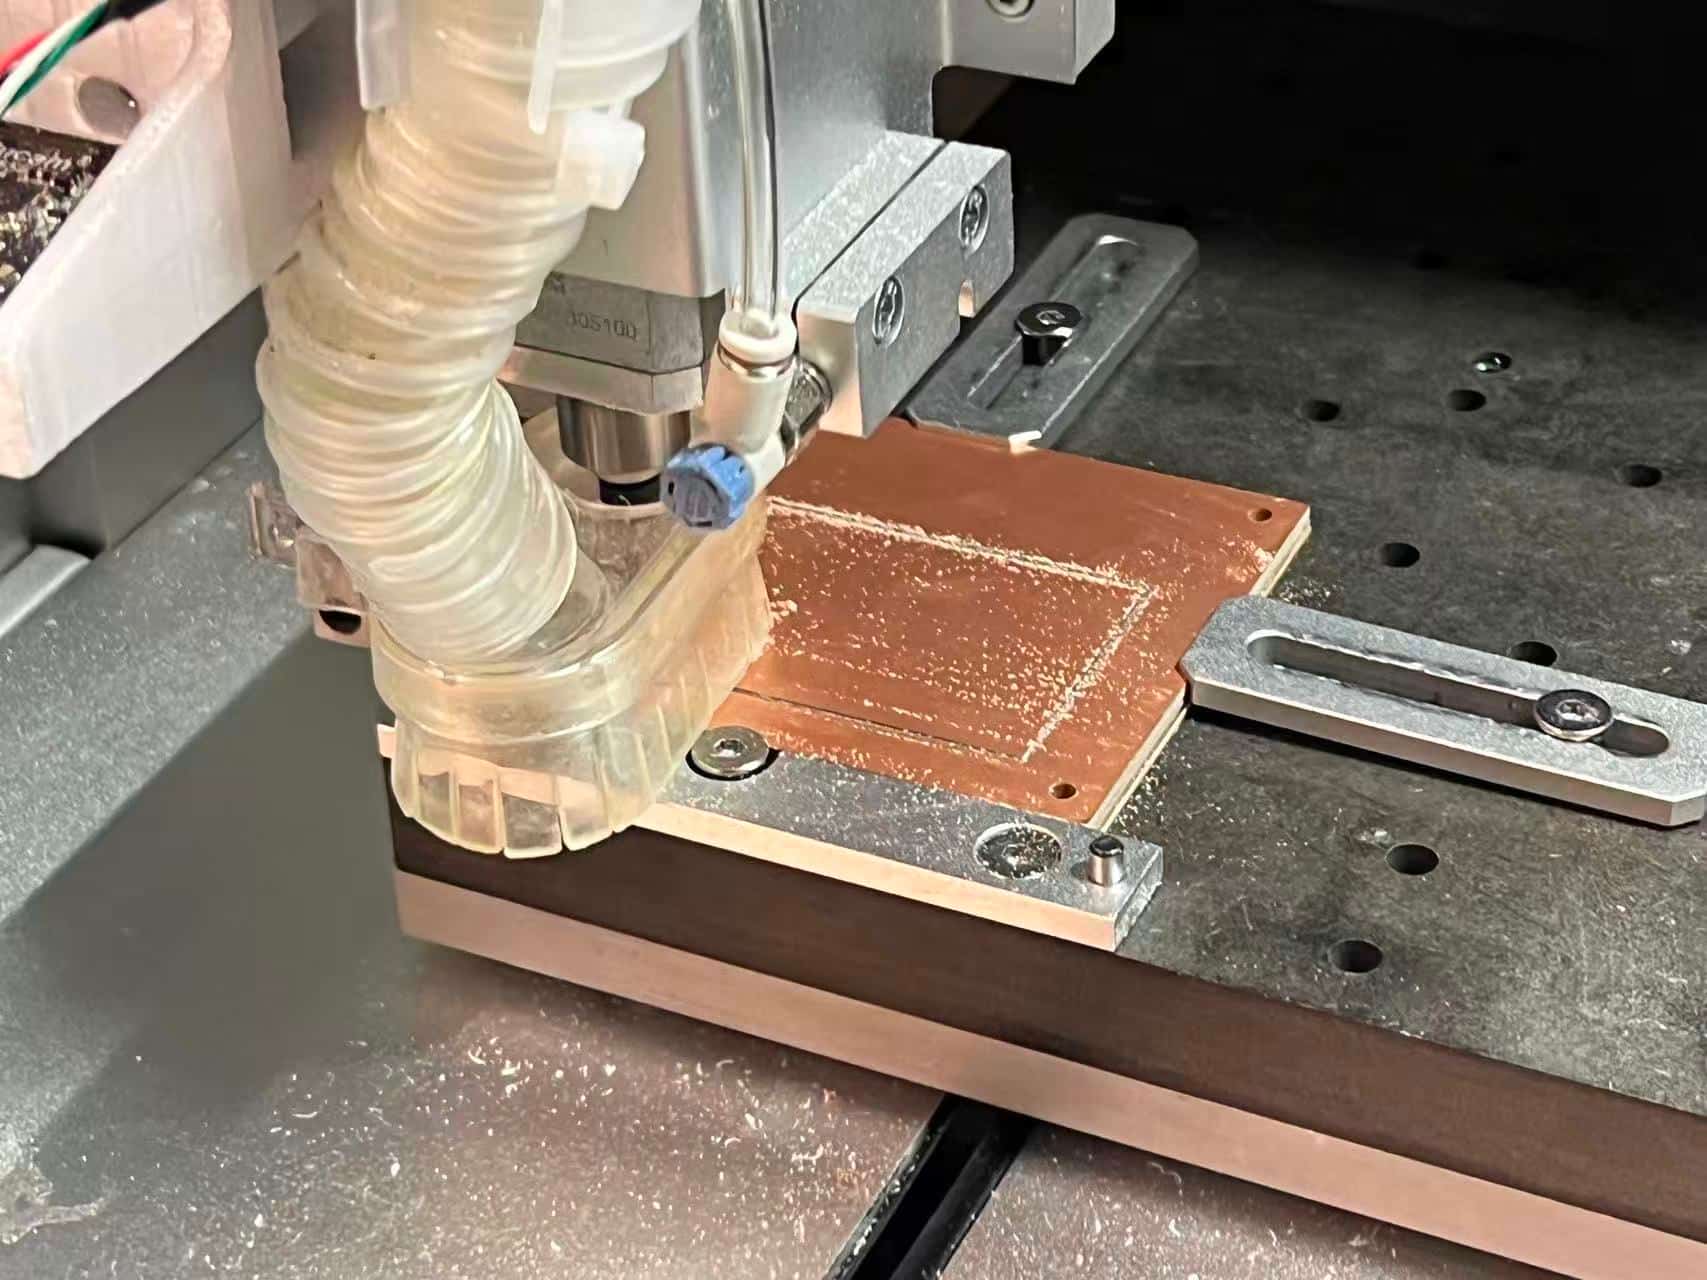
Individual Assignment: PCB Milling and Assembly
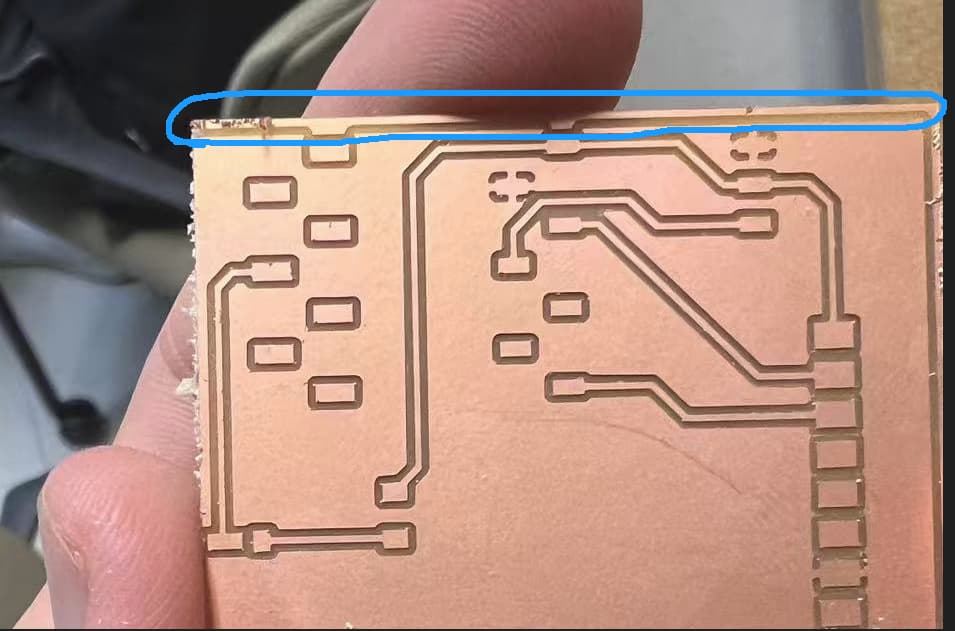
This week, I worked on milling and assembling my own PCB. The process involved several attempts and learning from failures.

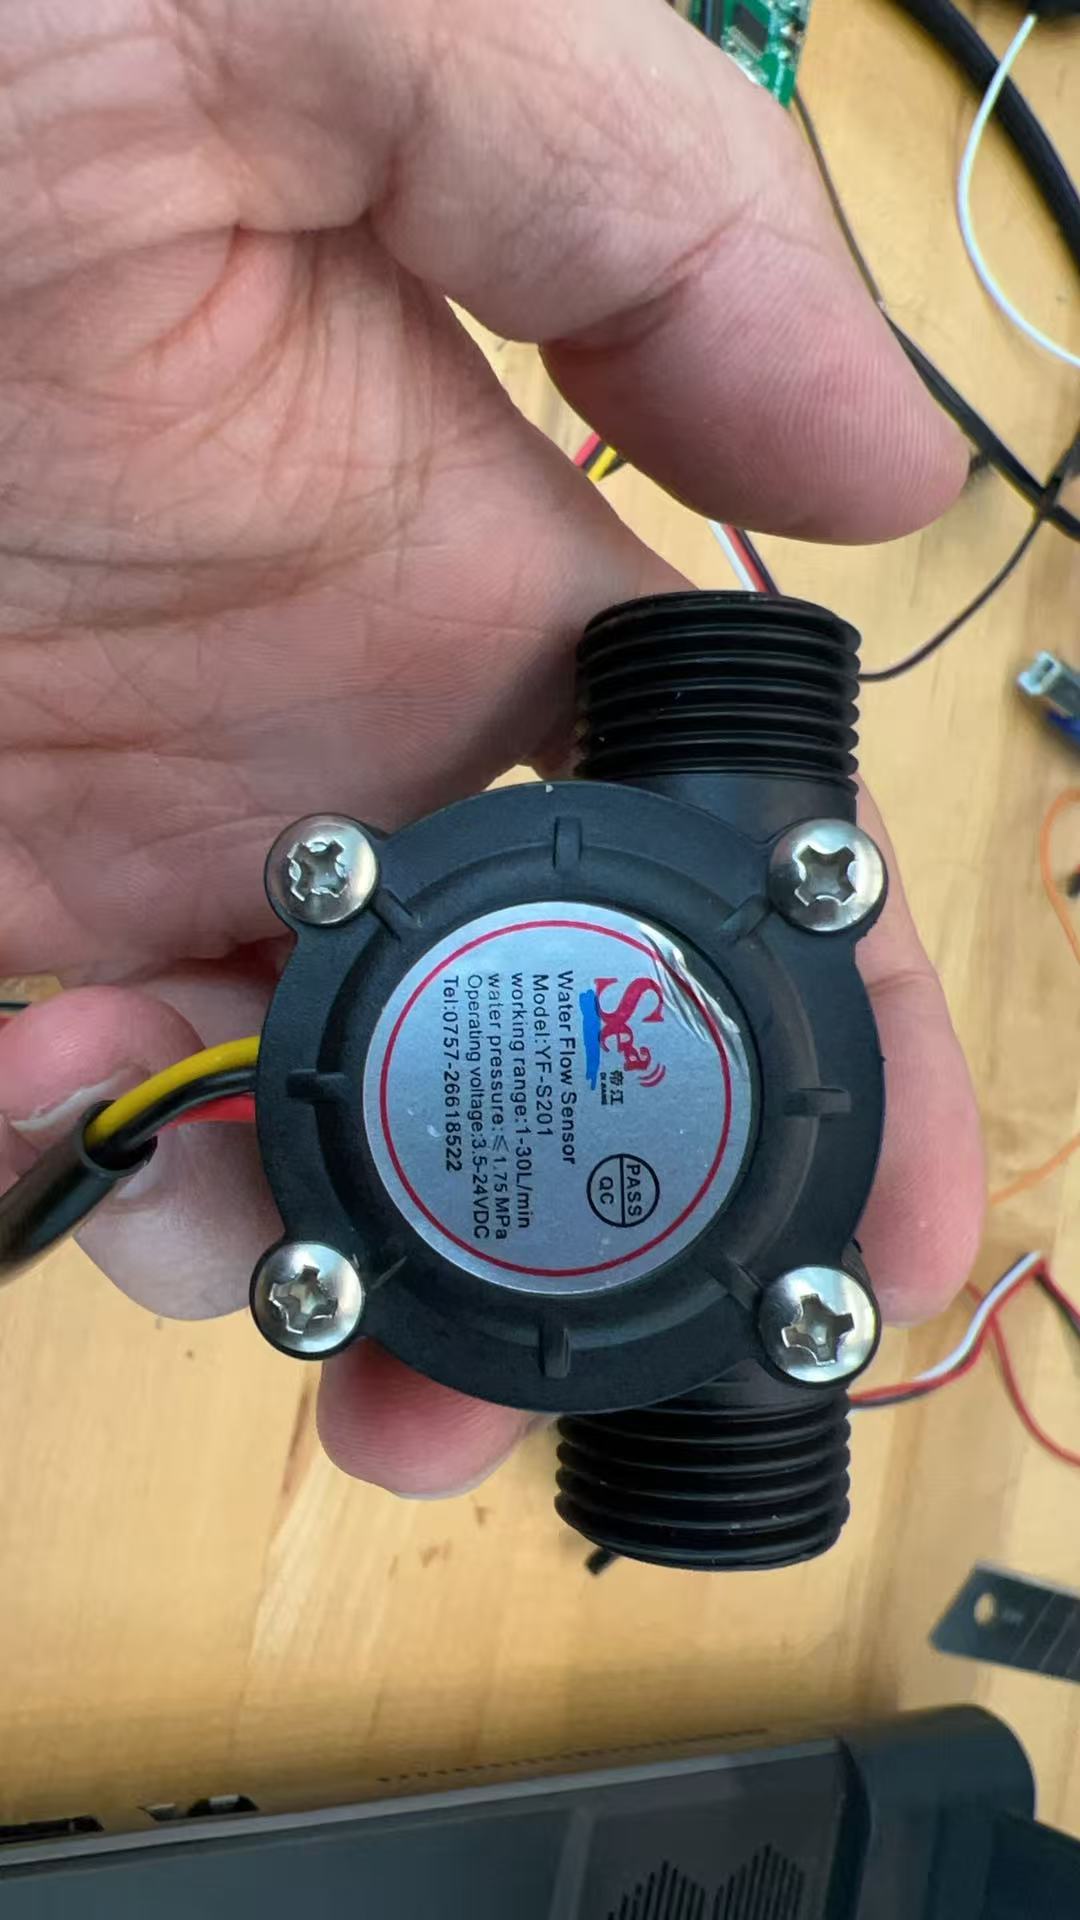
The Water Flow Sensor Nightmare
Then it was the nightmare. I spent three days trying to connect this water flow sensor that I had used before, and it worked properly on my Arduino Uno. However, I tried everything but still couldn't get it to show any data. My connection was good, and I tried connecting it to a XIAO ESP32 S3, a XIAO RP2040, and even without a PCB board, but I feel like this sensor may only work on the Uno due to a custom combination (I bought it from my home country, not in the US).
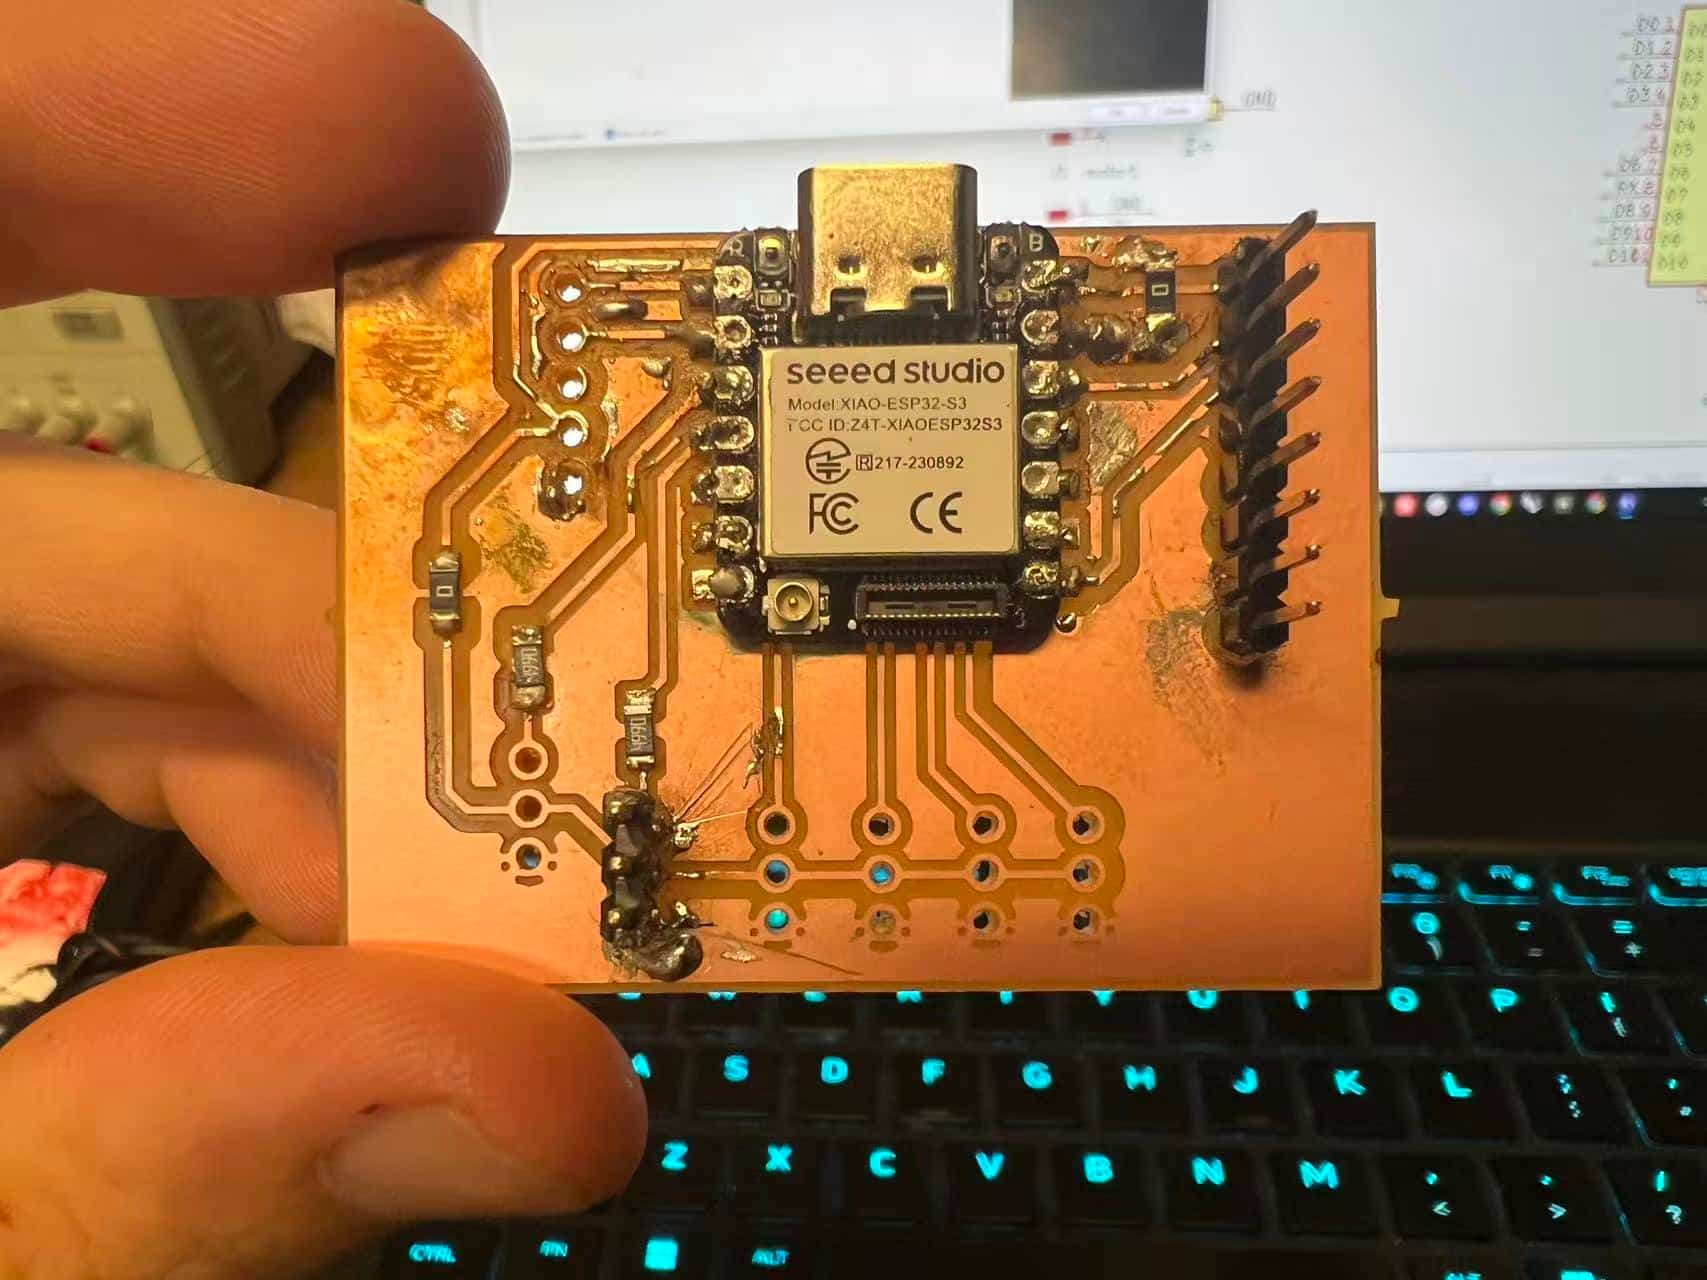
XIAO Board Success
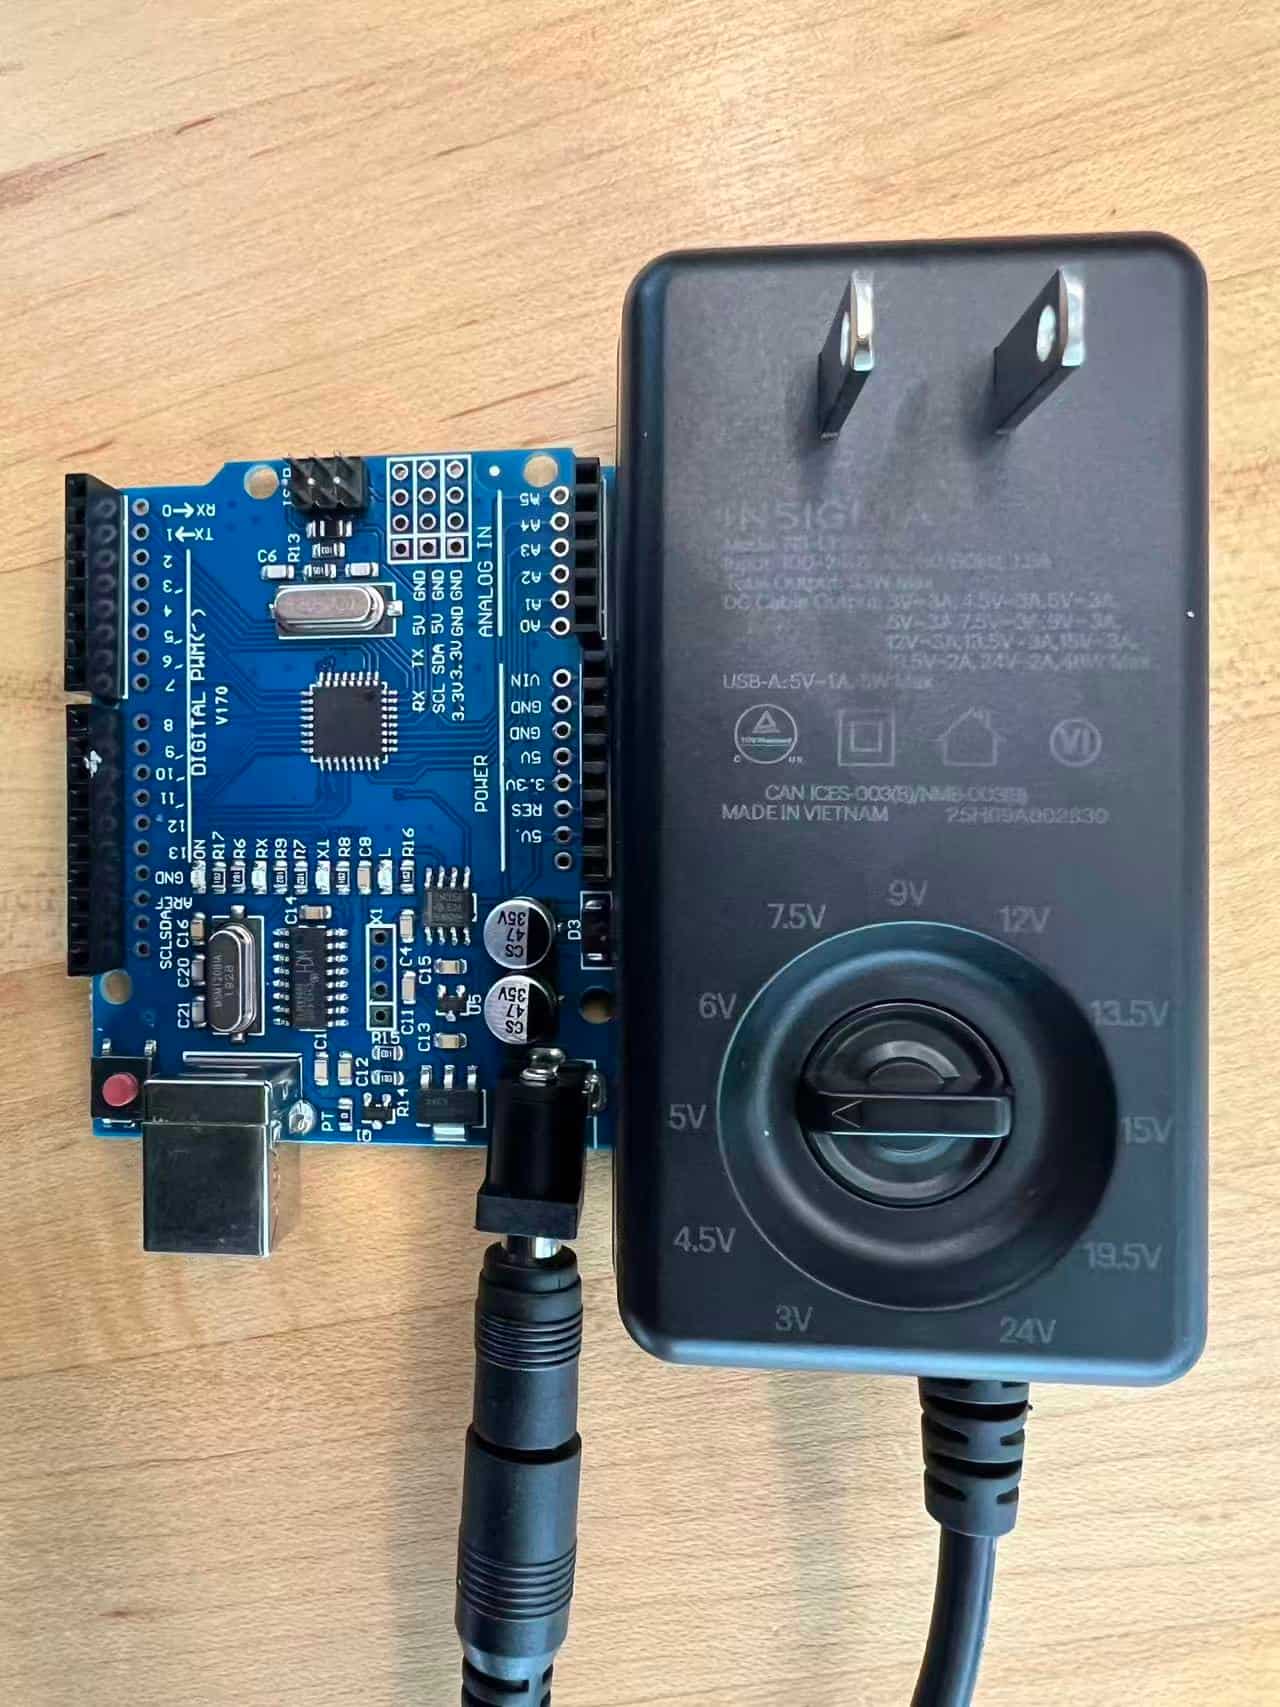
After the issues with the water flow sensor, I tested the XIAO board to ensure it was functioning correctly. My XIAO worked properly, which confirmed the problem was likely with the sensor itself and not my board.
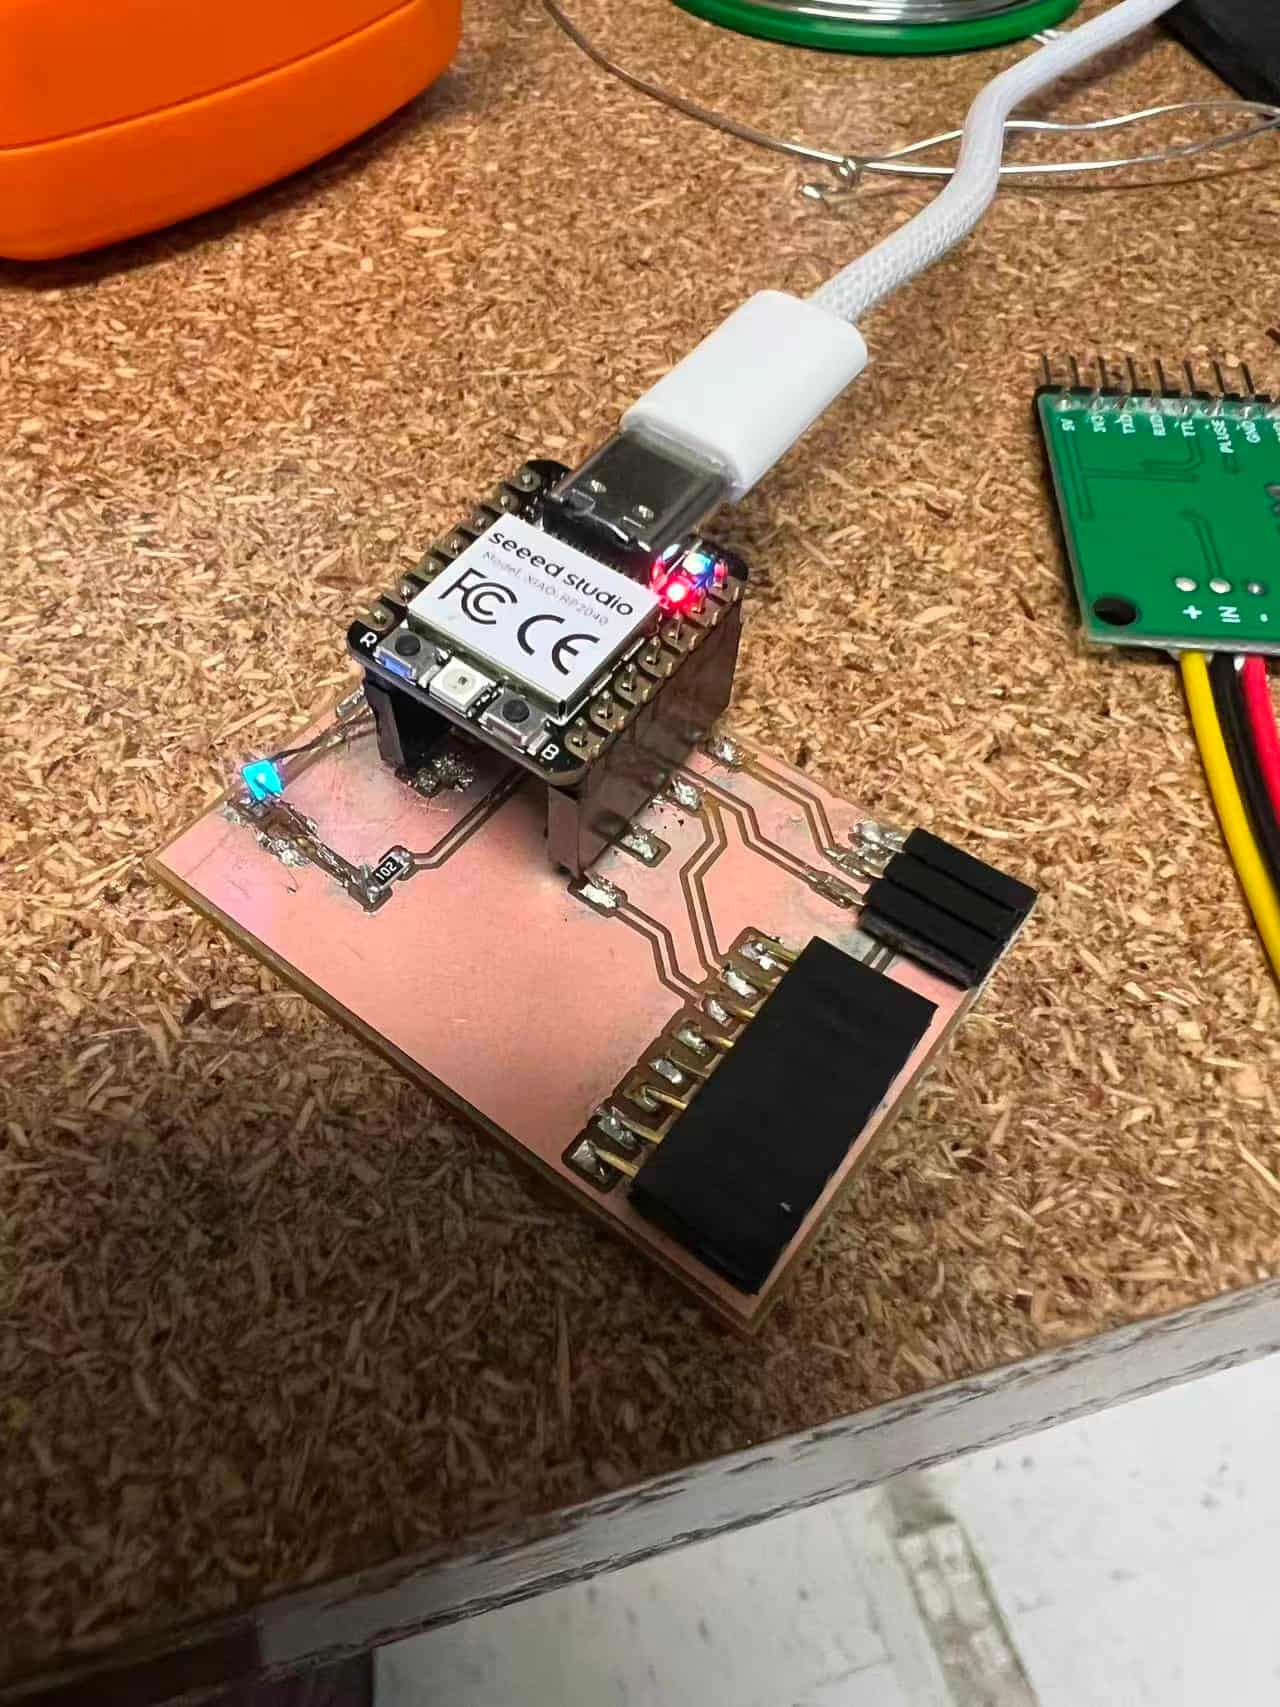
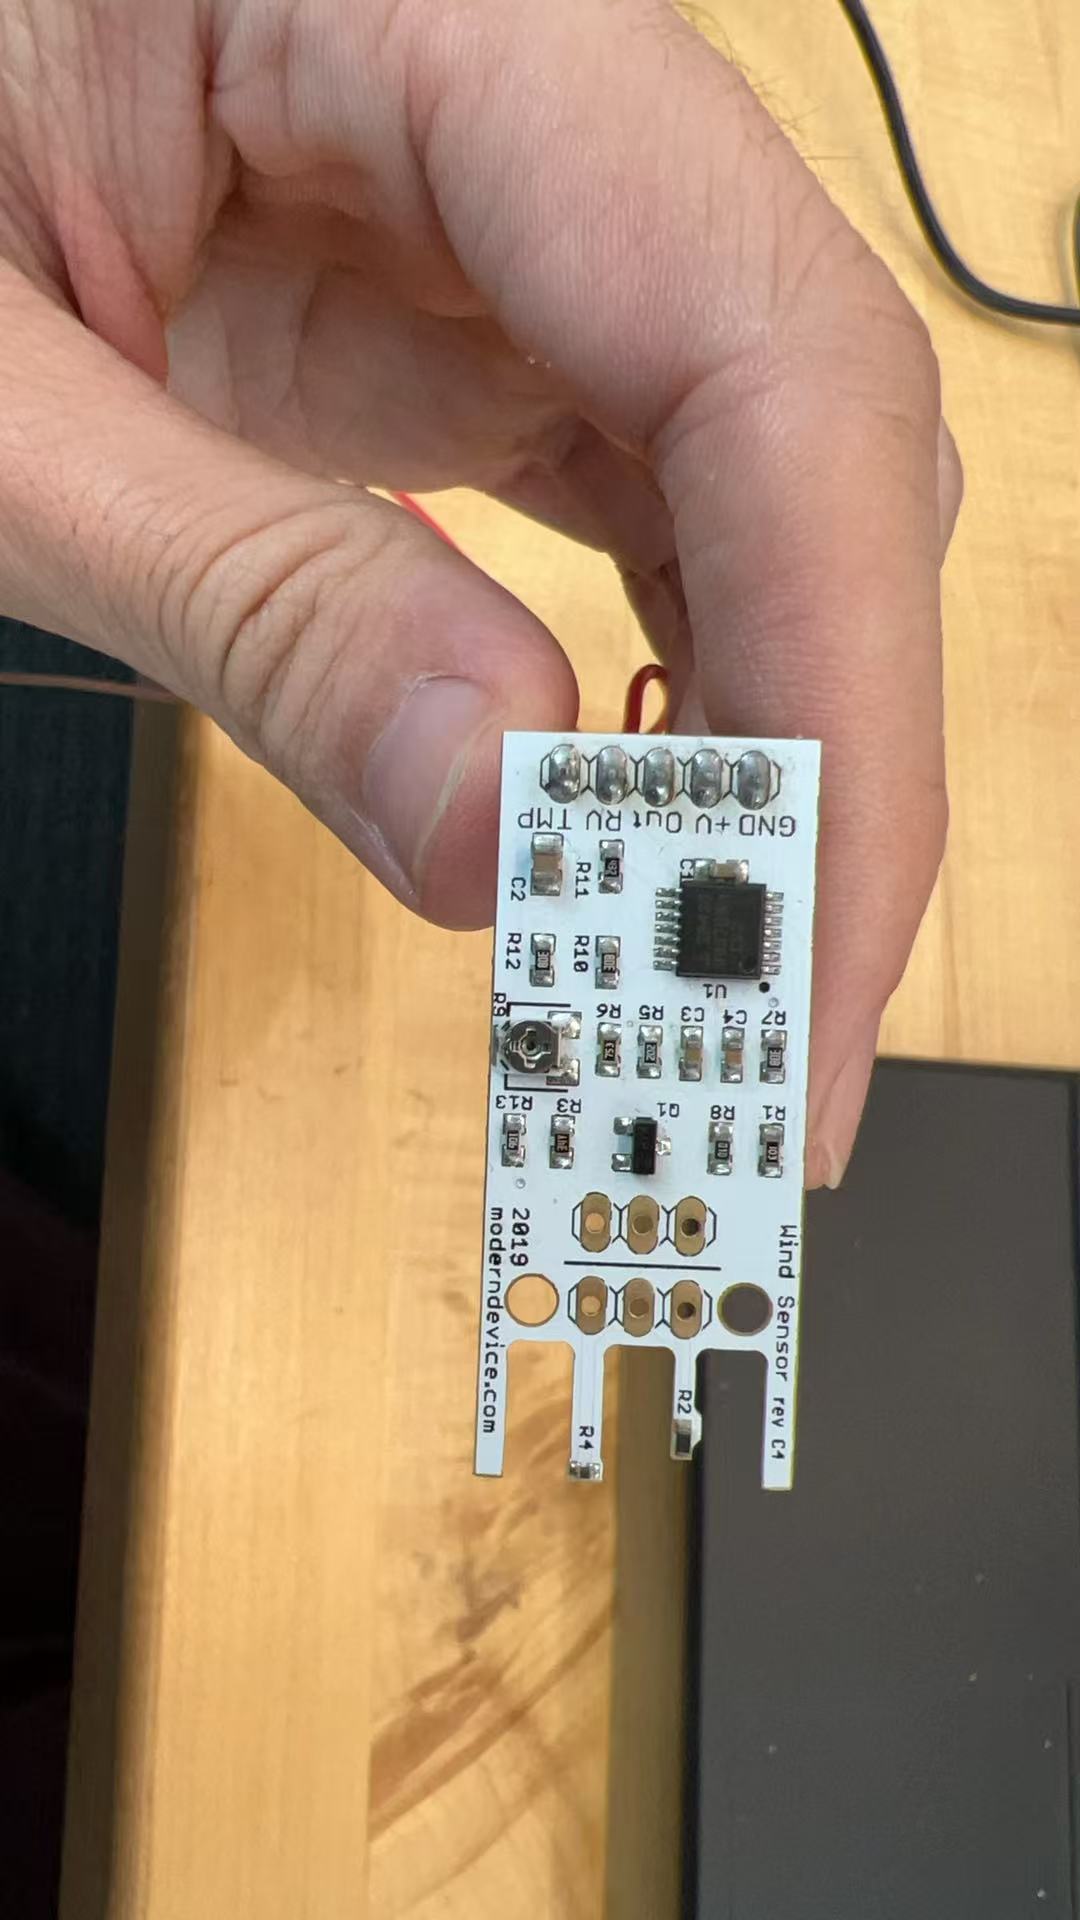
Switching to a Wind Sensor
Since the water flow sensor was not working, I had to switch to another sensor. I chose a wind sensor, and although the data is a bit delayed, it worked. This confirmed that the issue was not with my PCB design.
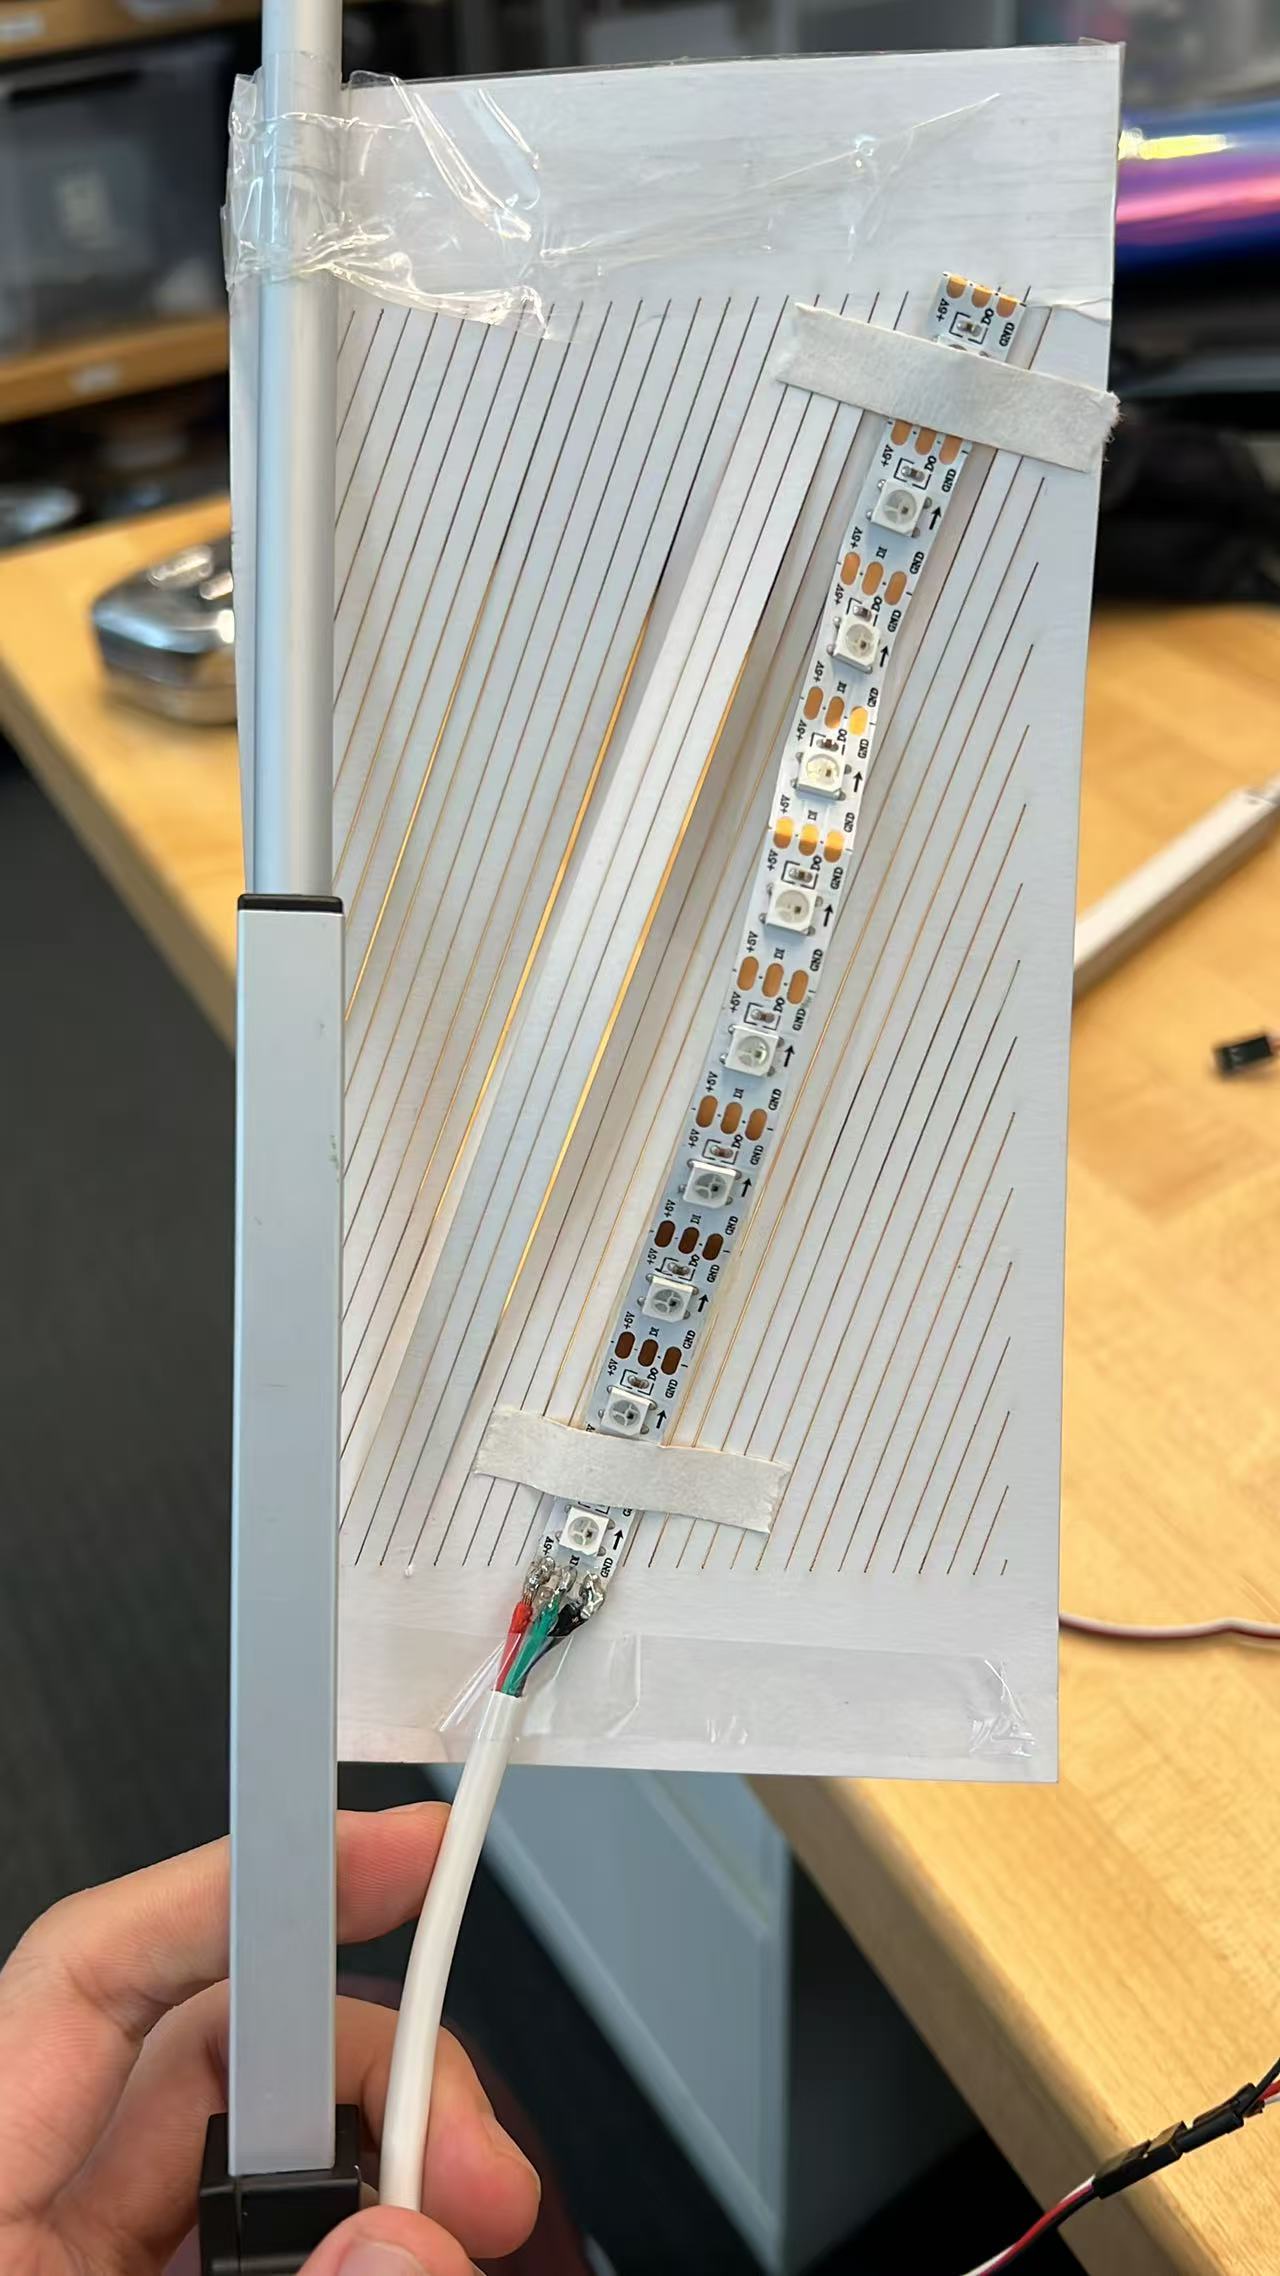
Next Expectation
My PCB board should work properly, as the test I did with the Arduino board. Here are some demo videos for the test of the final project. I am using a linear actuator to make a breathing paper, but the final goal is to finish a breathing wall, and the input data is from the air sensor.