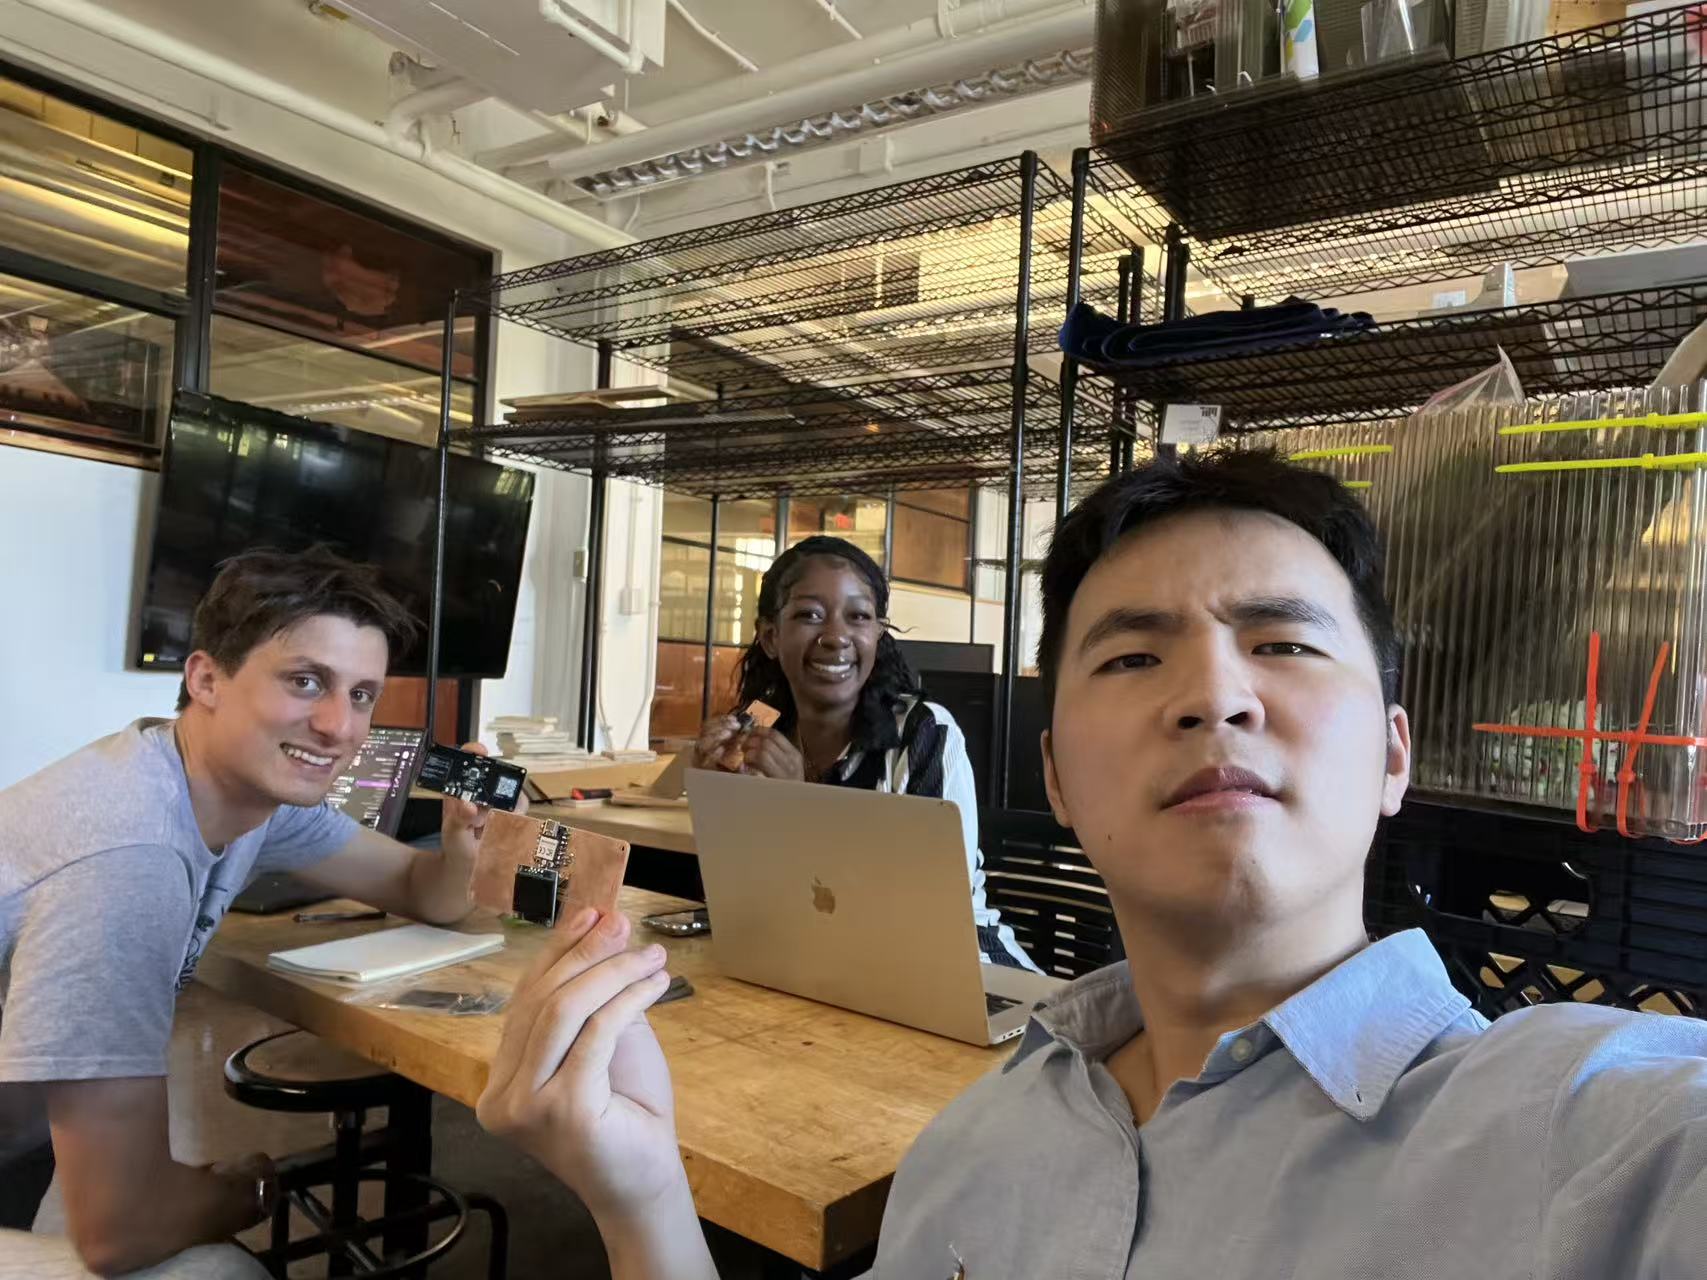
Group project portion. We met as a group to compare embedded architectures, toolchains, and day-to-day workflows. We also opened a shared page on the architecture site titled Week 2, and everyone in our section contributed to it using git. Below are my notes distilled from that discussion, plus photos from my own kit build.
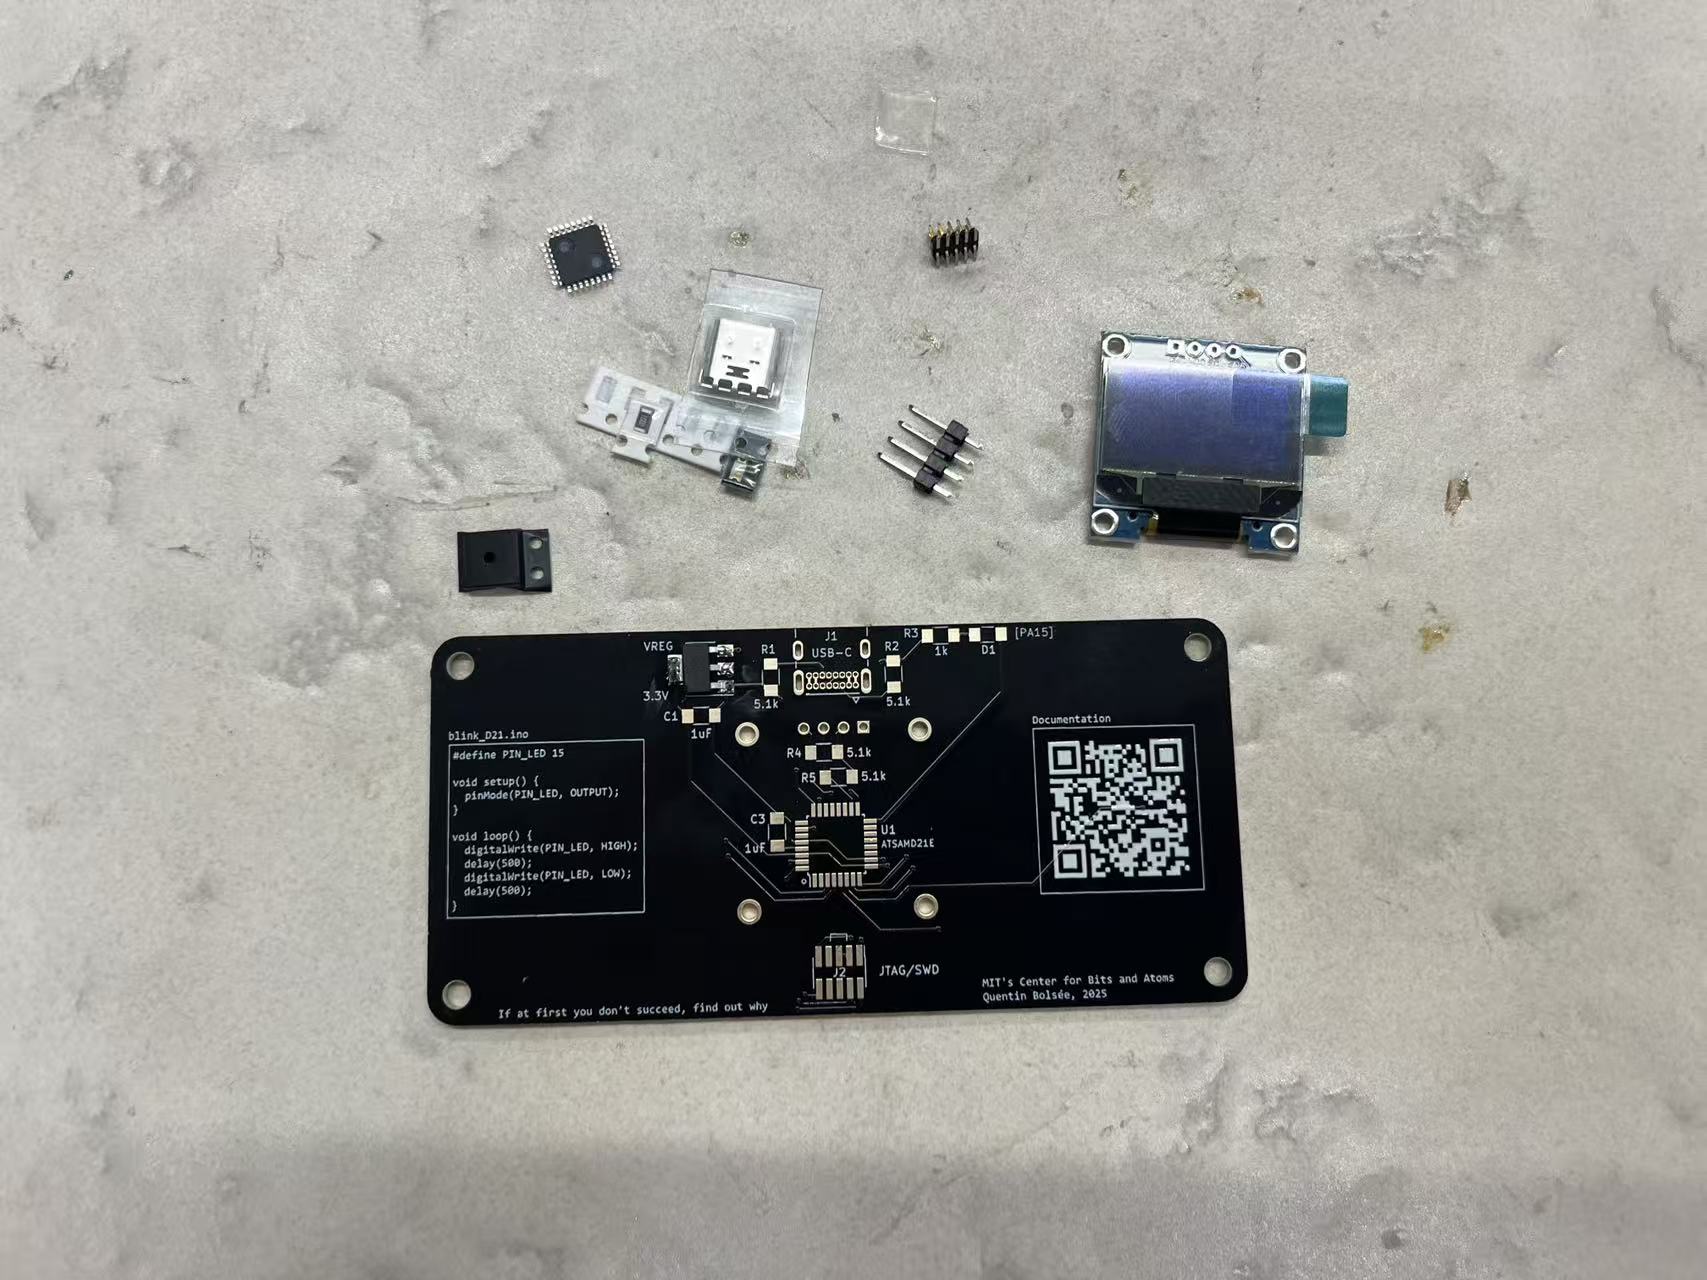
Two boards in Quentin Bolsee’s QPad kit
Our section had two board options that share the same form factor but target different microcontrollers: Seeed XIAO and ATSAMD21E.
- XIAO version: the fast build. You mostly solder the module itself, the OLED screen, and two resistors. It can run C/C++ (Arduino) and also MicroPython—nice if you prefer Python—but you do need to be careful with runtime errors because you get fewer compile-time guardrails than with C.
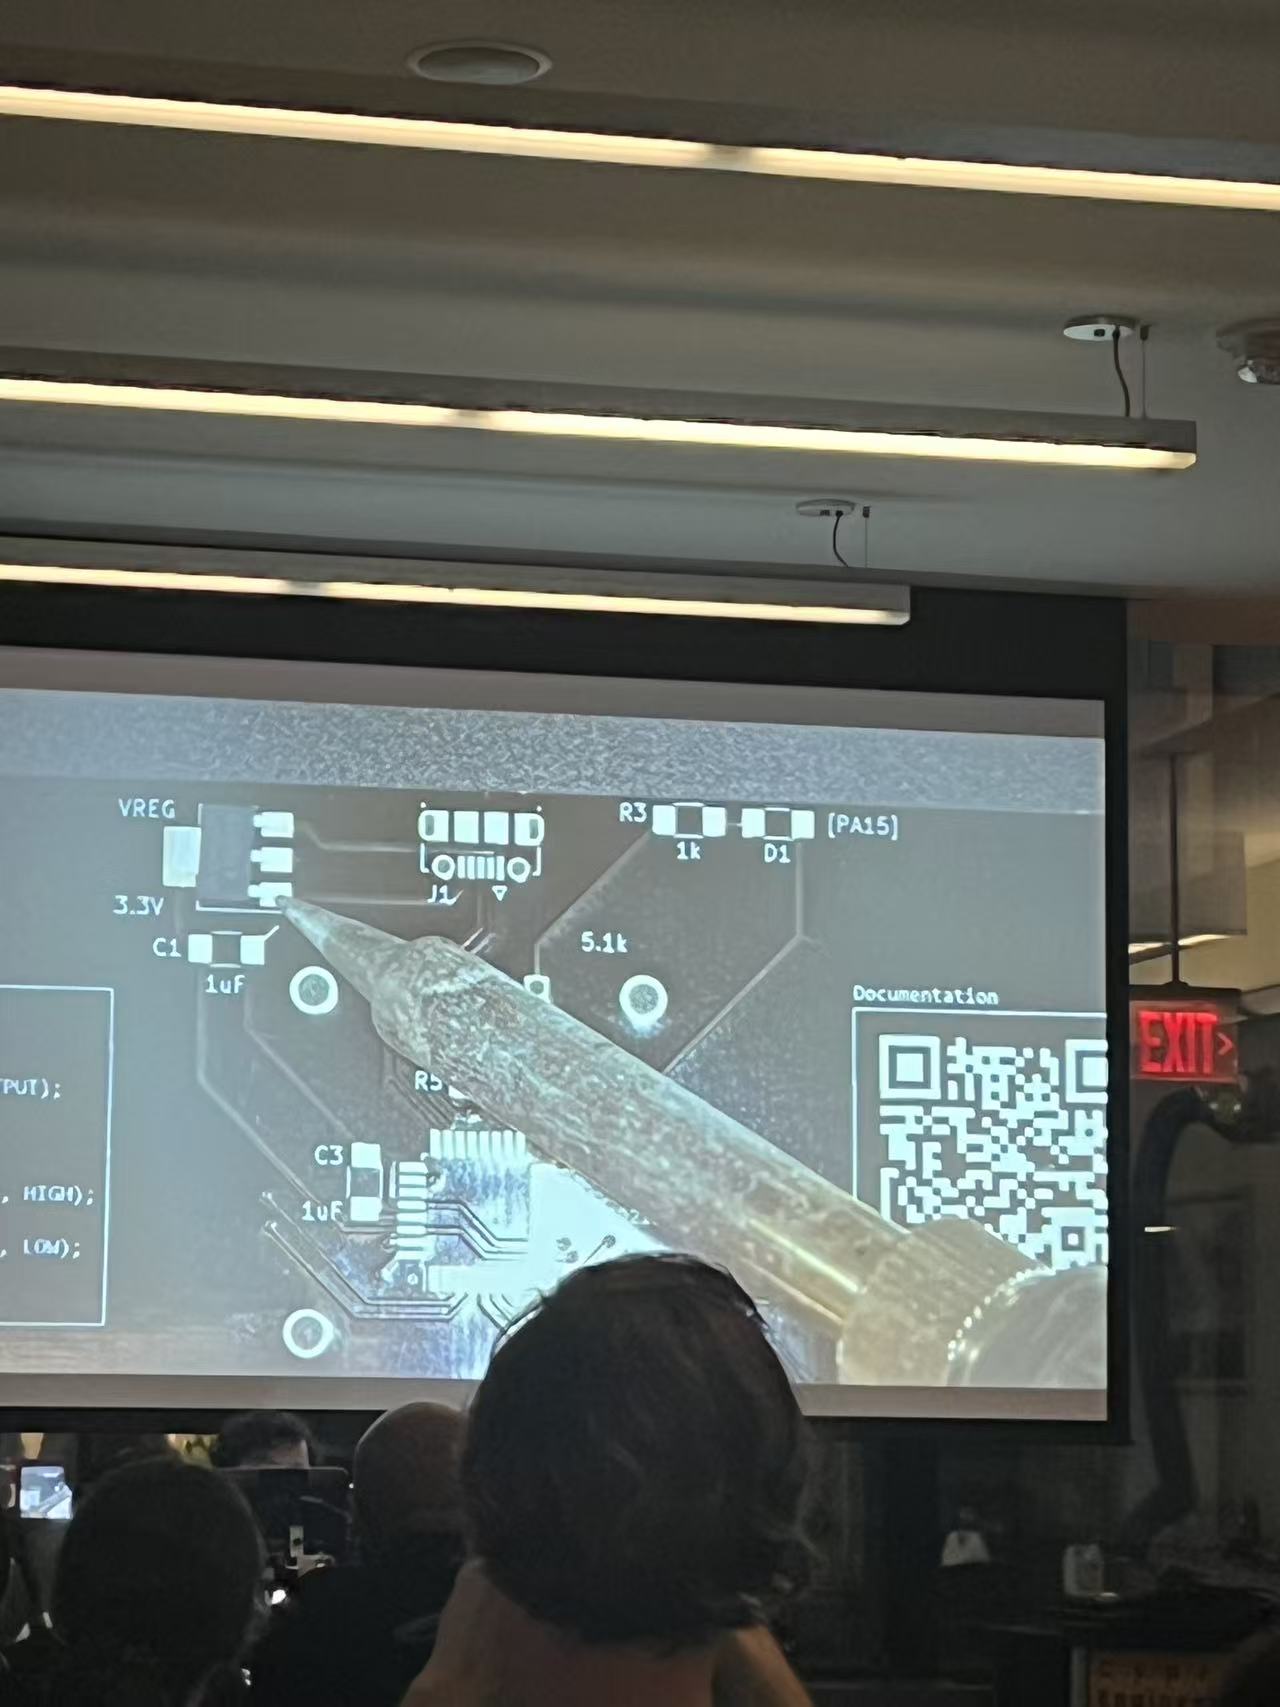
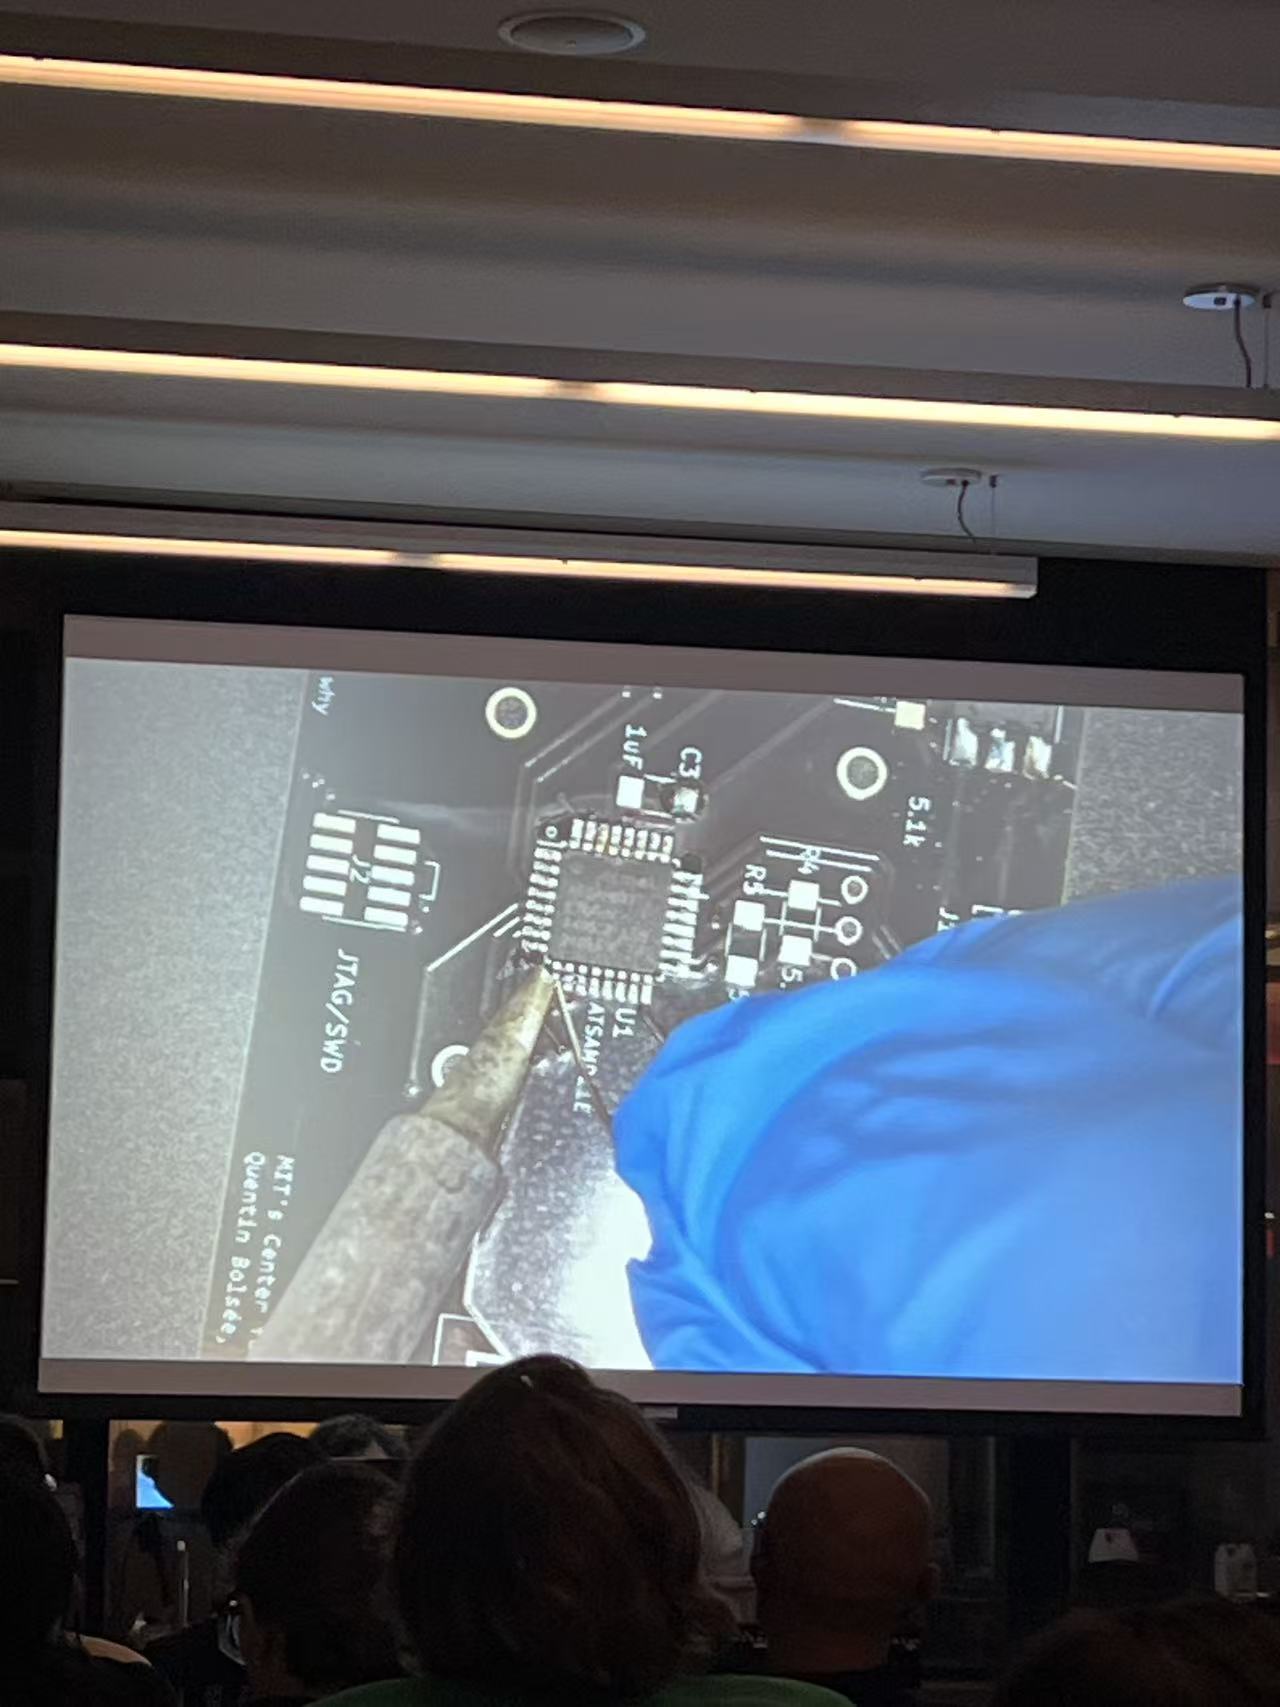
- ATSAMD21E version: closer to a bare-metal setup. It needs more supporting circuitry (power, LED, capacitors, resistors), so there’s more soldering and probing—but you see exactly what a minimal SAMD board requires to run.
USB connectors: tiny parts, big challenge
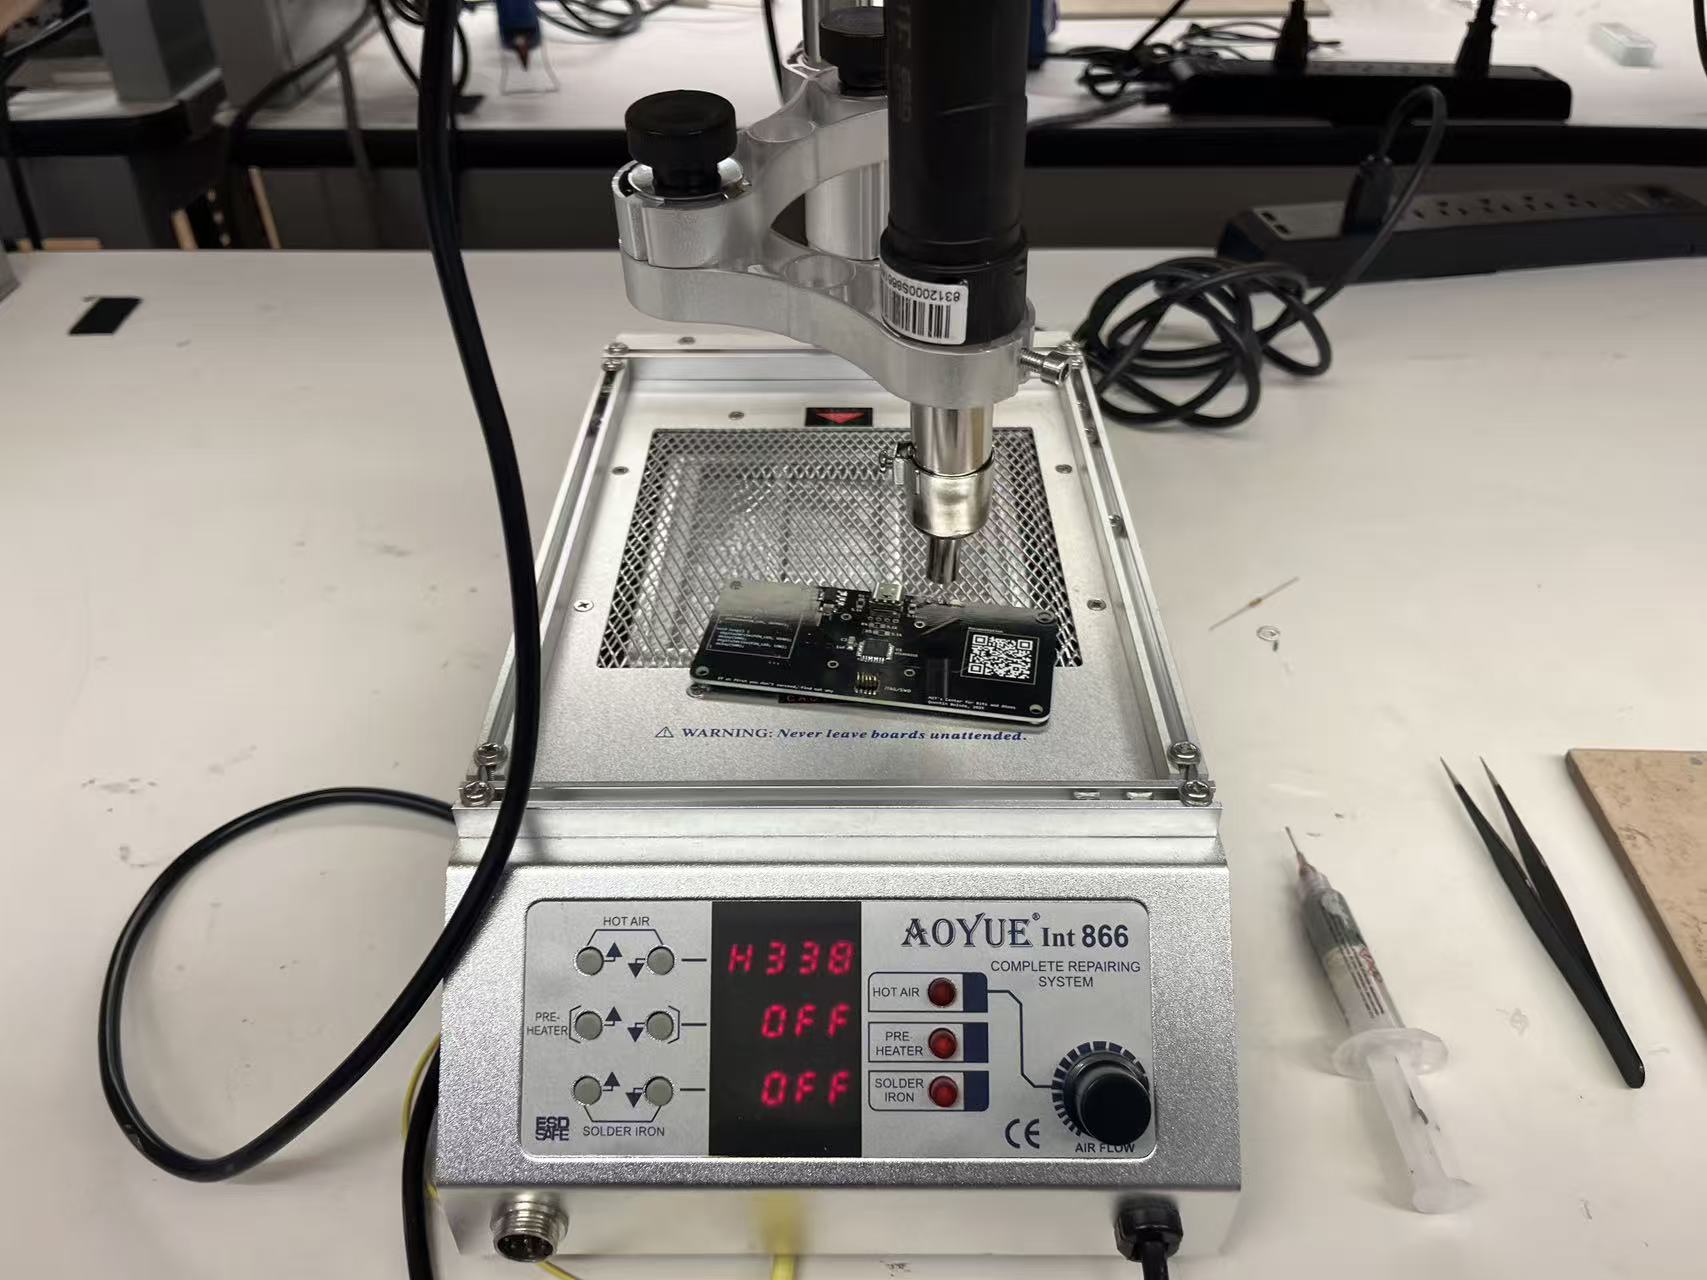
We had two SAMD variants due to sourcing: one with USB-C, another with micro-USB. Surprisingly, the connector footprint is the trickiest part of assembly. My take: micro-USB felt harder because the metal shroud blocks access to some pads. I assembled the USB-C version and still needed flux, fine tweezers, and patience.
Toolchains & workflow
- Arduino IDE (C/C++): common path for both boards; quick to flash and great for early experiments.
- MicroPython on XIAO: convenient REPL and scripting; watch for memory limits and runtime exceptions.
- Git: we used a shared repo to document steps and compare setups; each commit shows the evolution of our boards and code.
Gallery

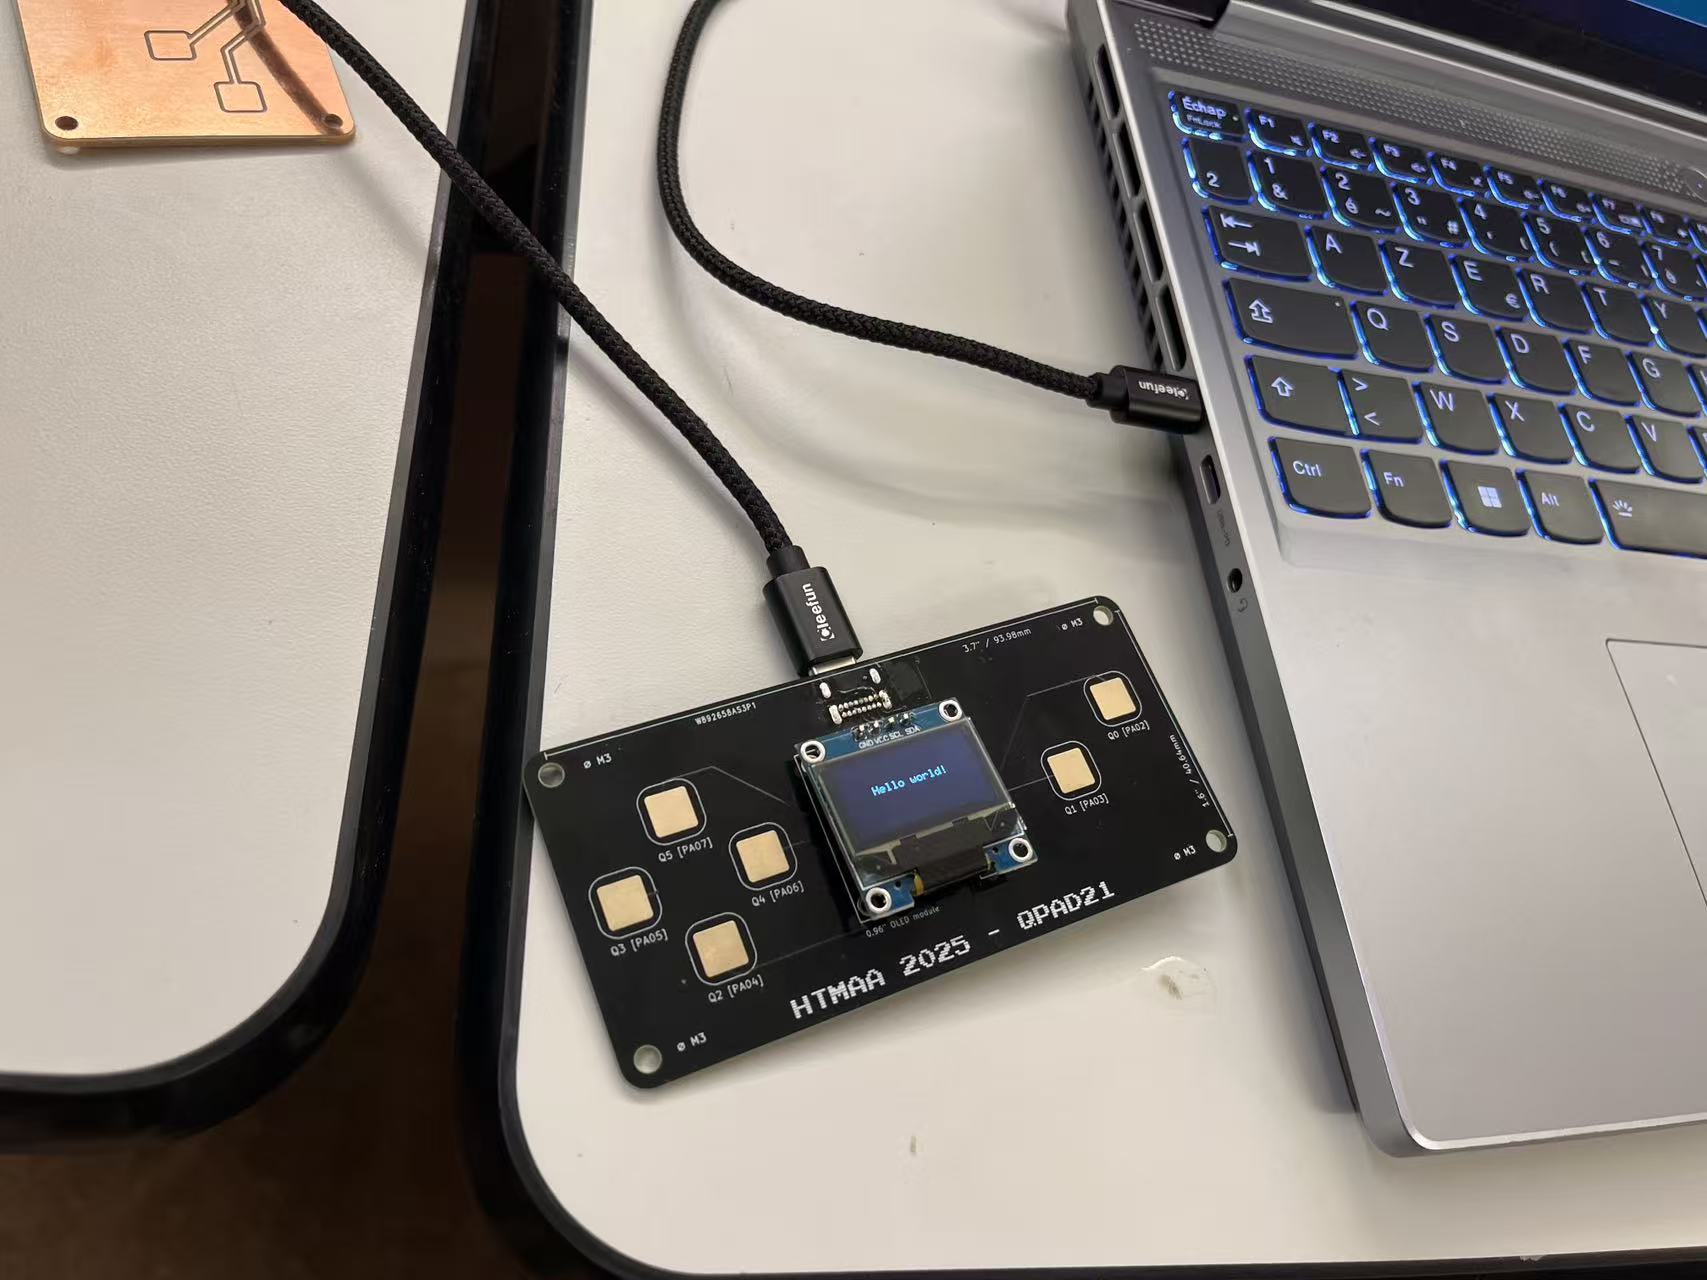
hello world succeeded!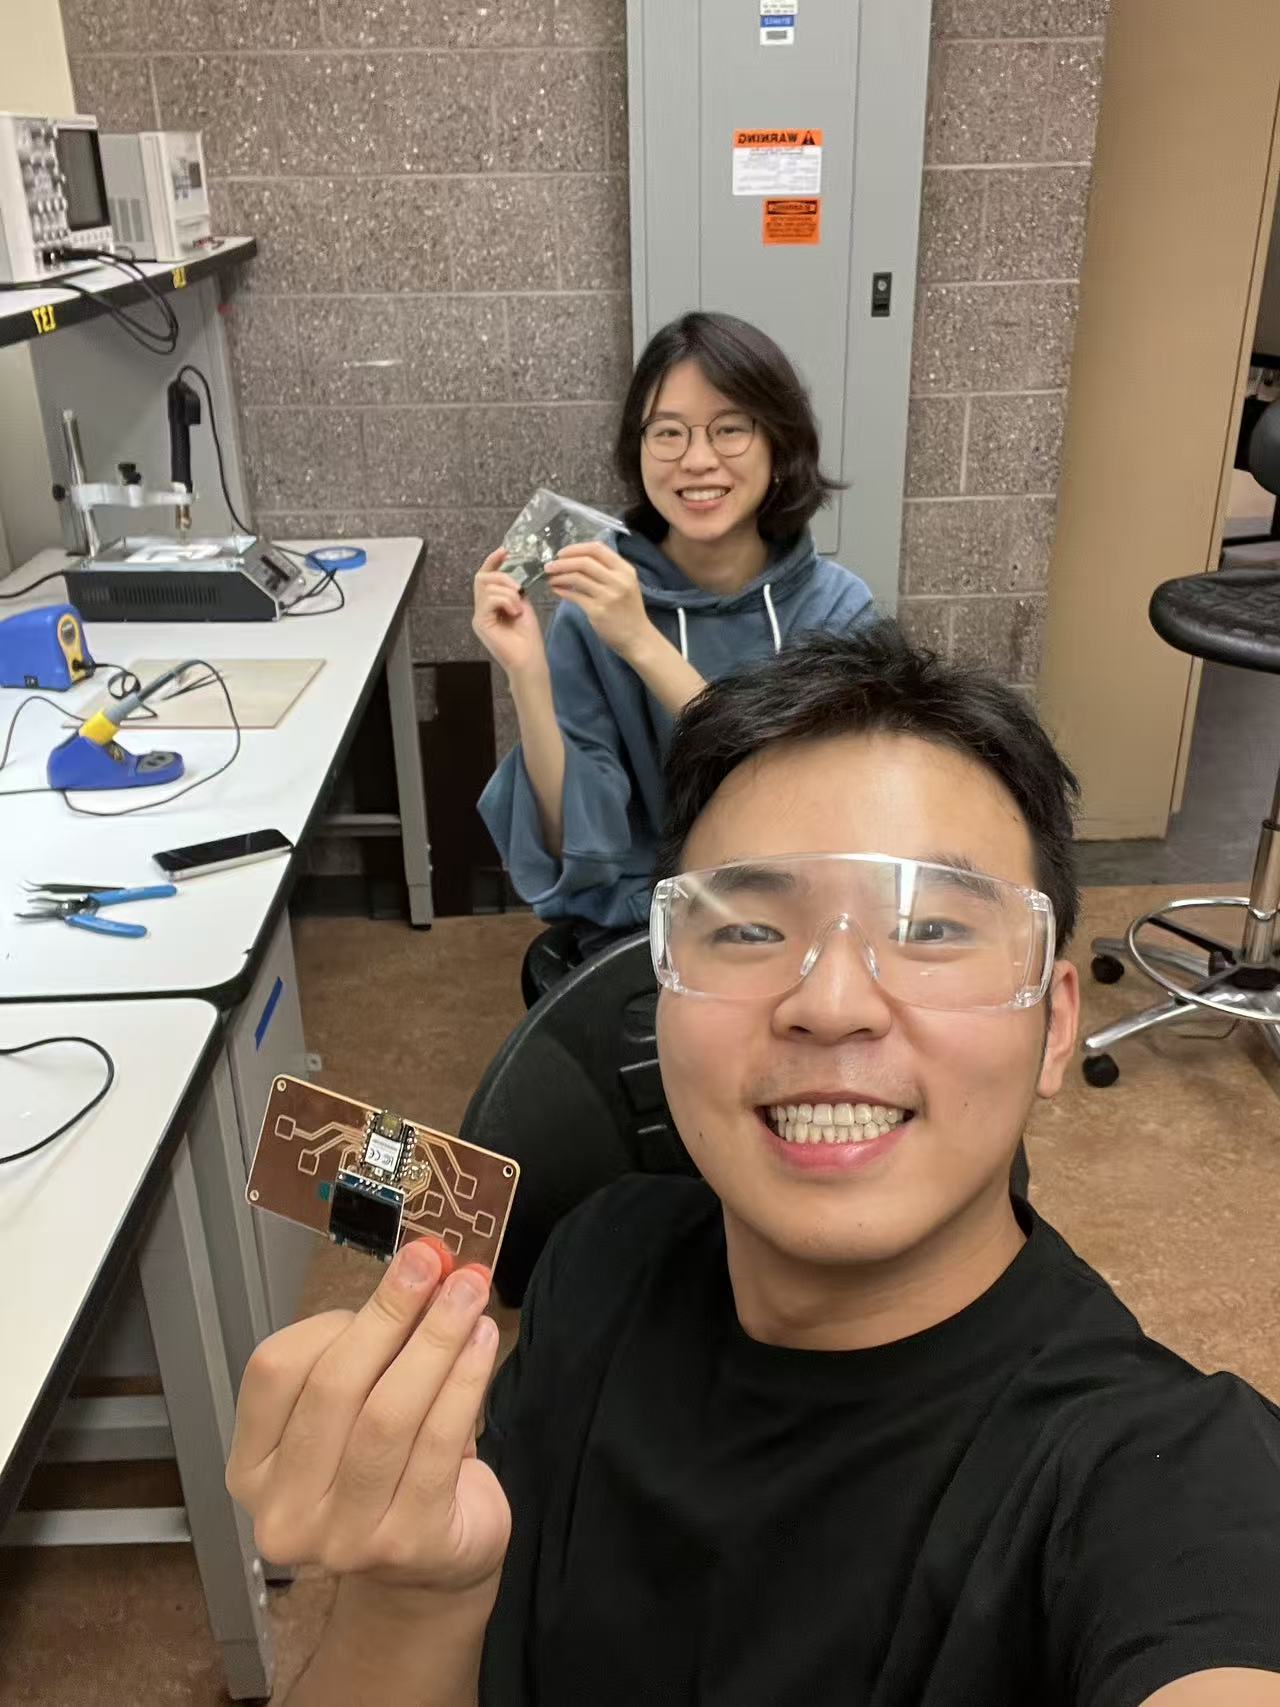
Videos
What I learned
- Choosing a board is also choosing a workflow — XIAO is faster to start; SAMD teaches more about the base hardware.
- Connectors can be the highest-risk soldering step; anchor tabs matter as much as signal pins.
- Keep a simple
Blinkand a serial echo sketch handy for smoke tests before bigger features.