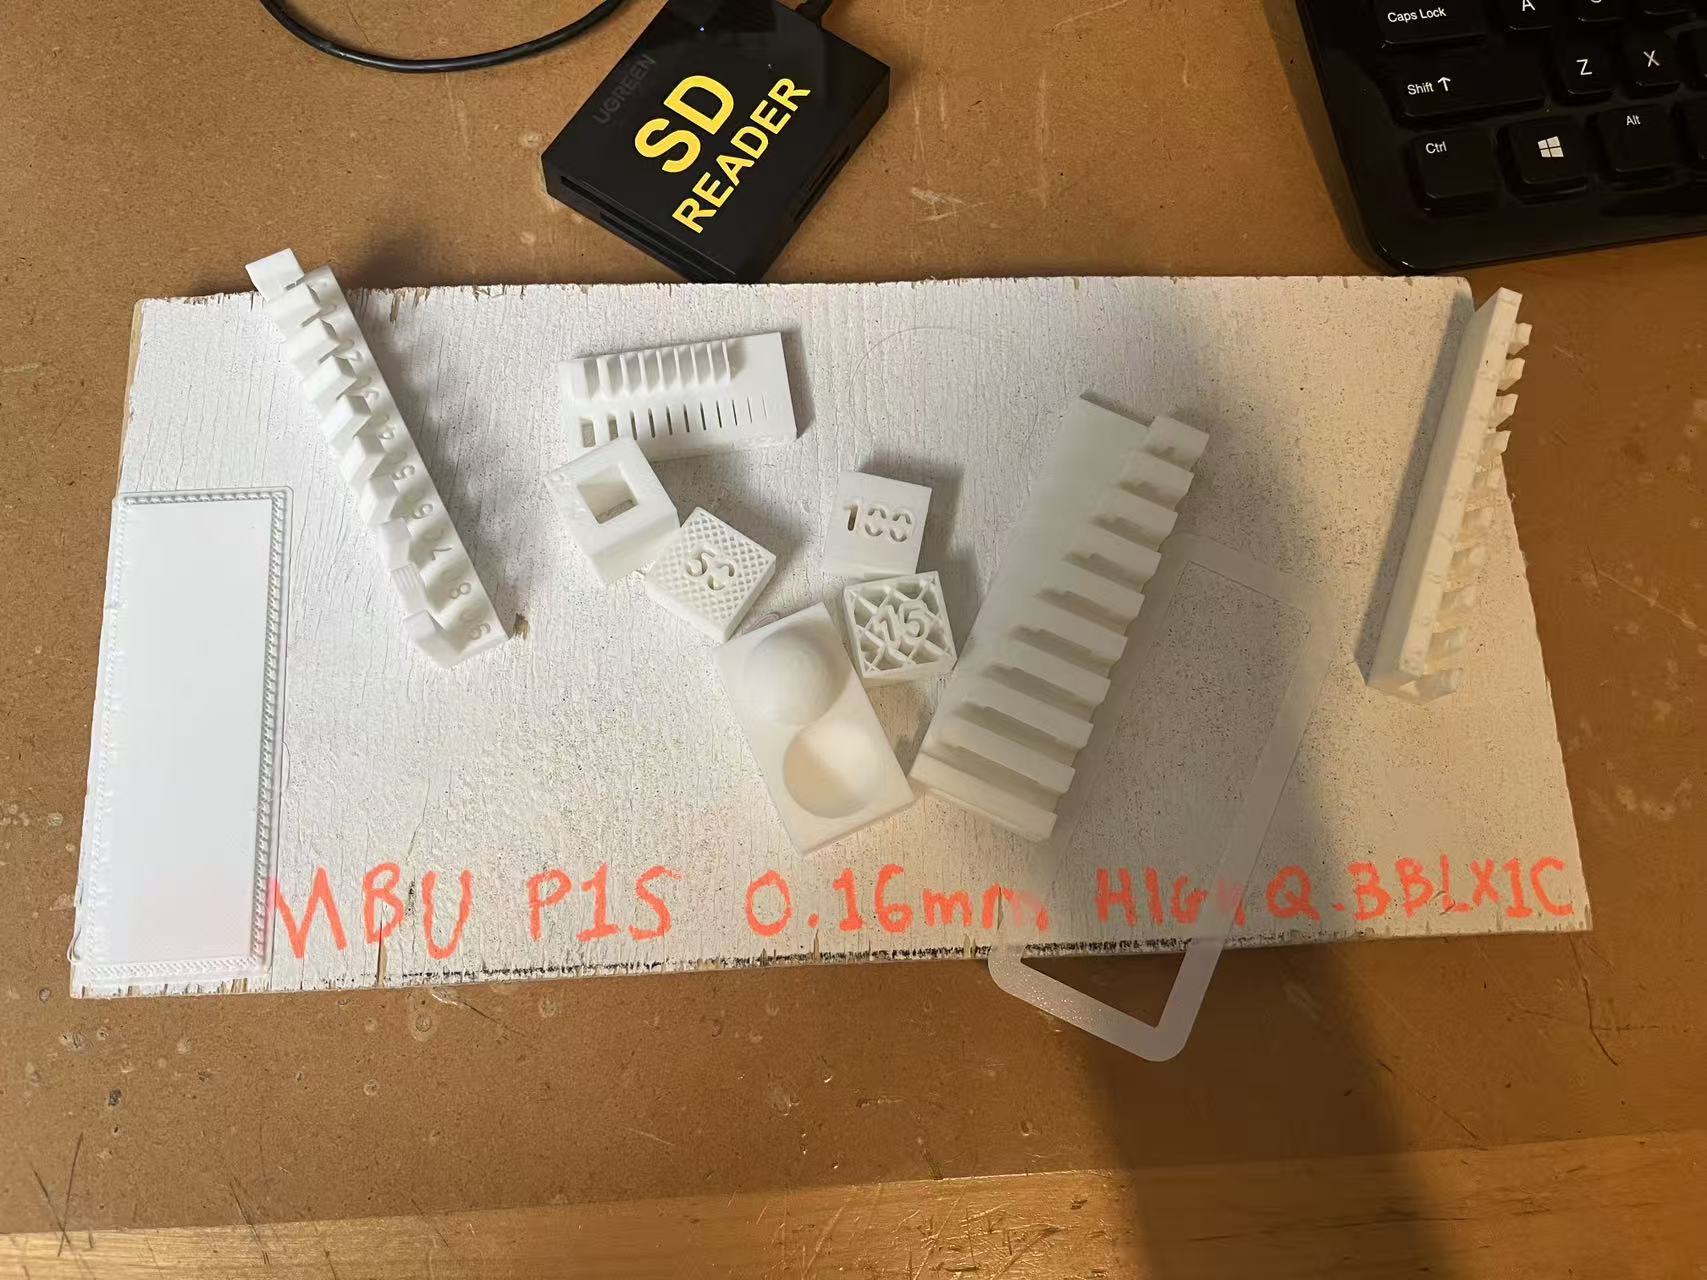
Group project portion. We kept it simple and hands-on. For printing, we mainly chased two questions: how far can we push overhangs and how much does infill vs. wall count change the feel. Everyone printed small test sticks, swapped slicer settings, and compared by touch. For scanning, we tried a turntable and quick phone captures—fun, fast, sometimes messy. Below are my notes and photos in the order I made them.
3D Printing
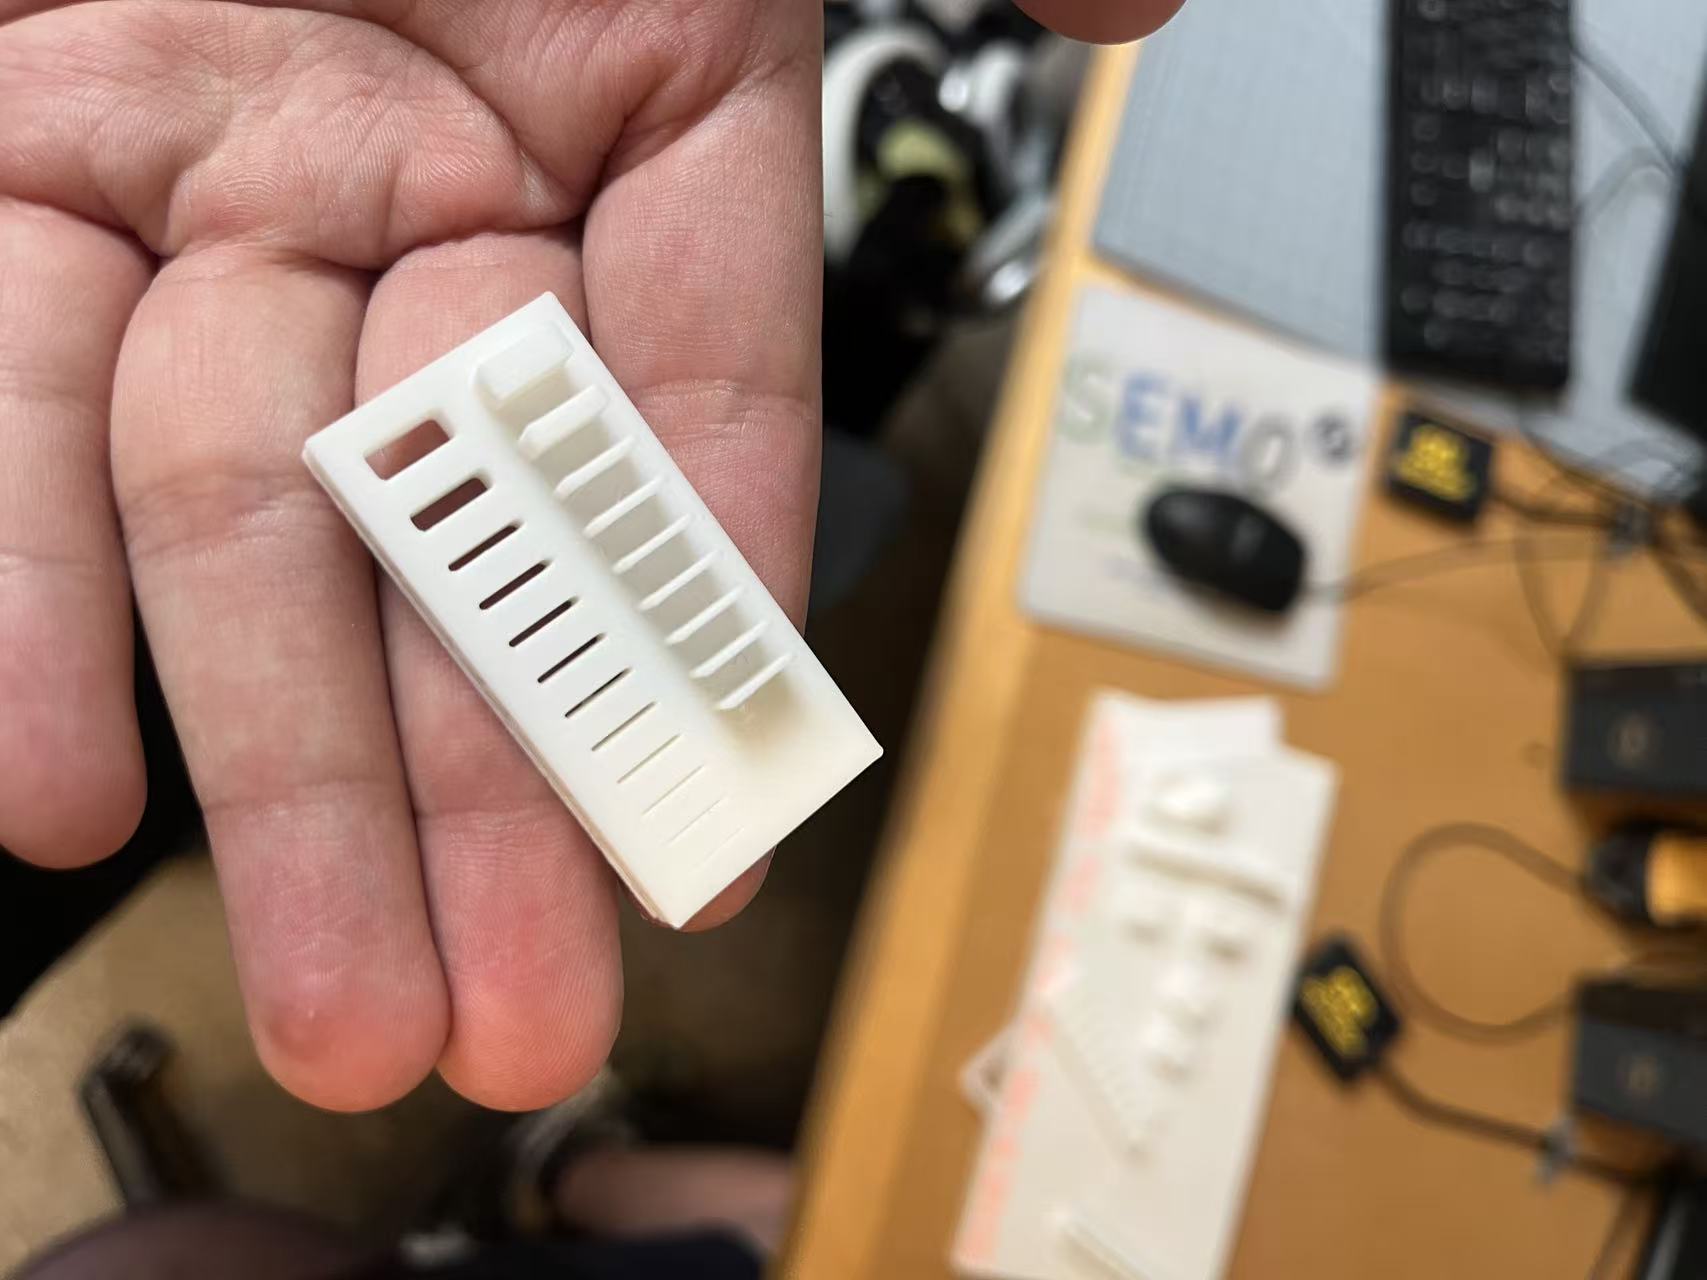
My checklist this week was very practical:
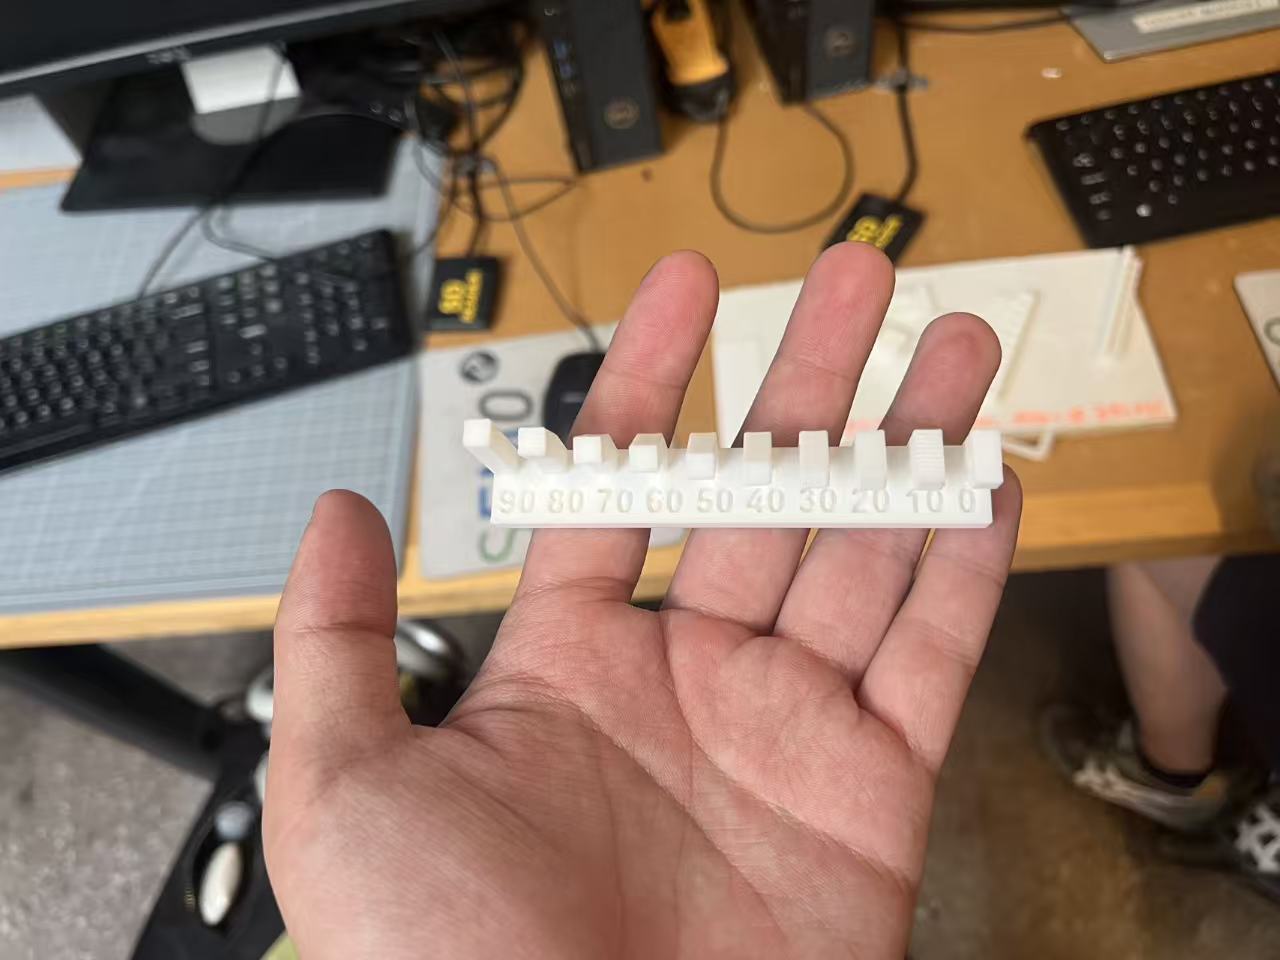
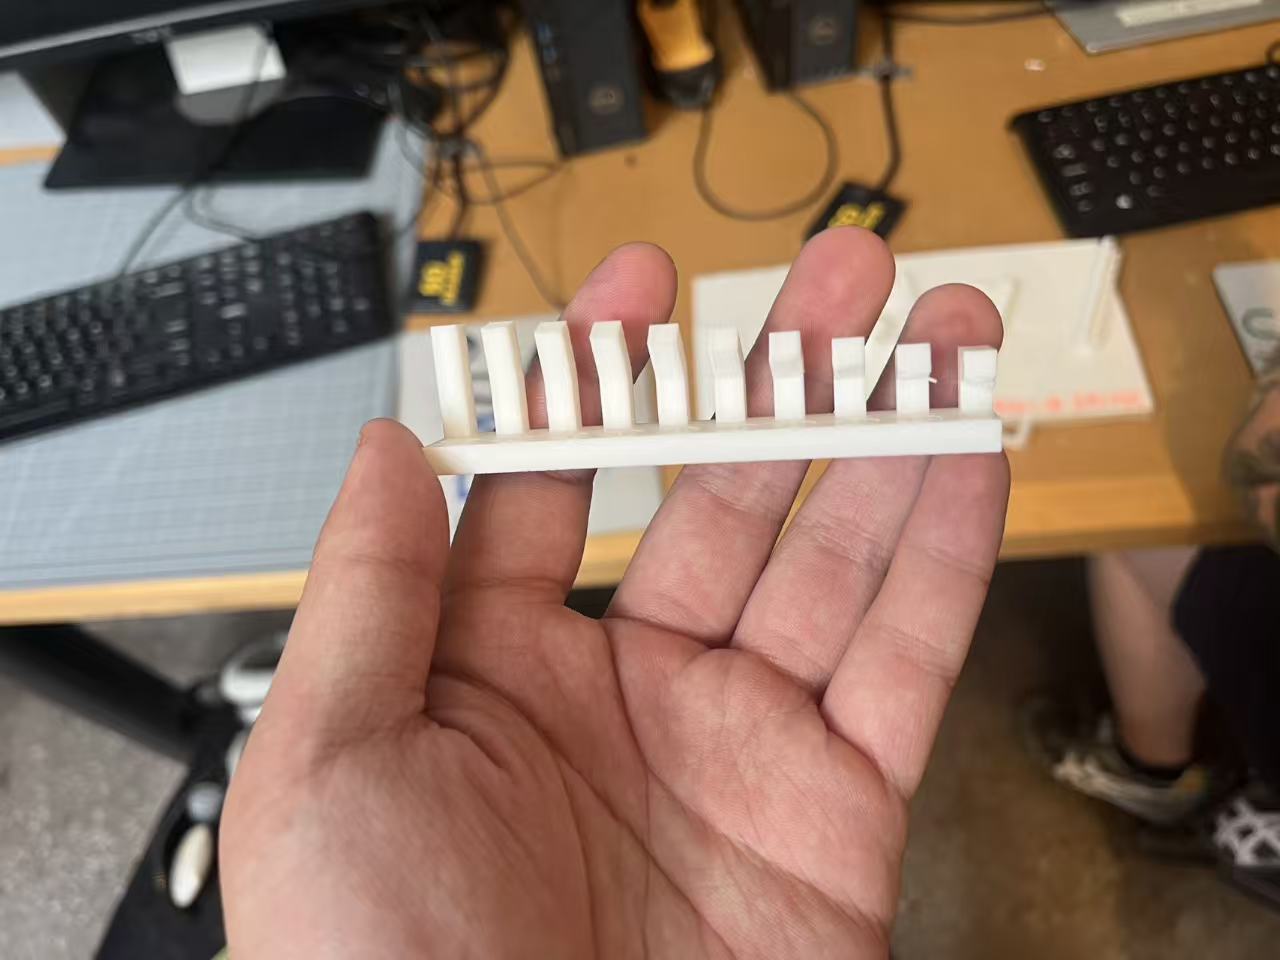
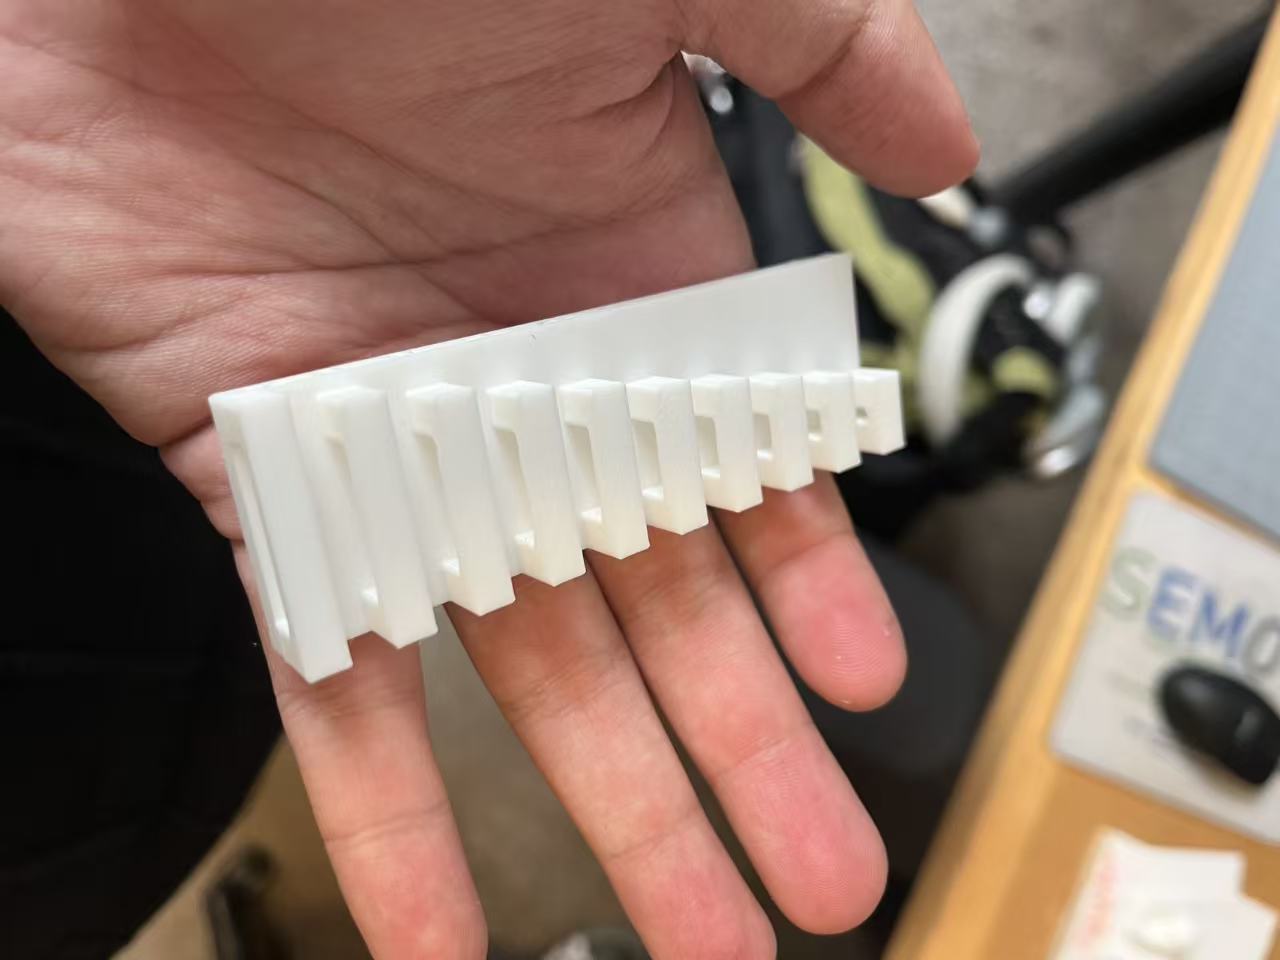
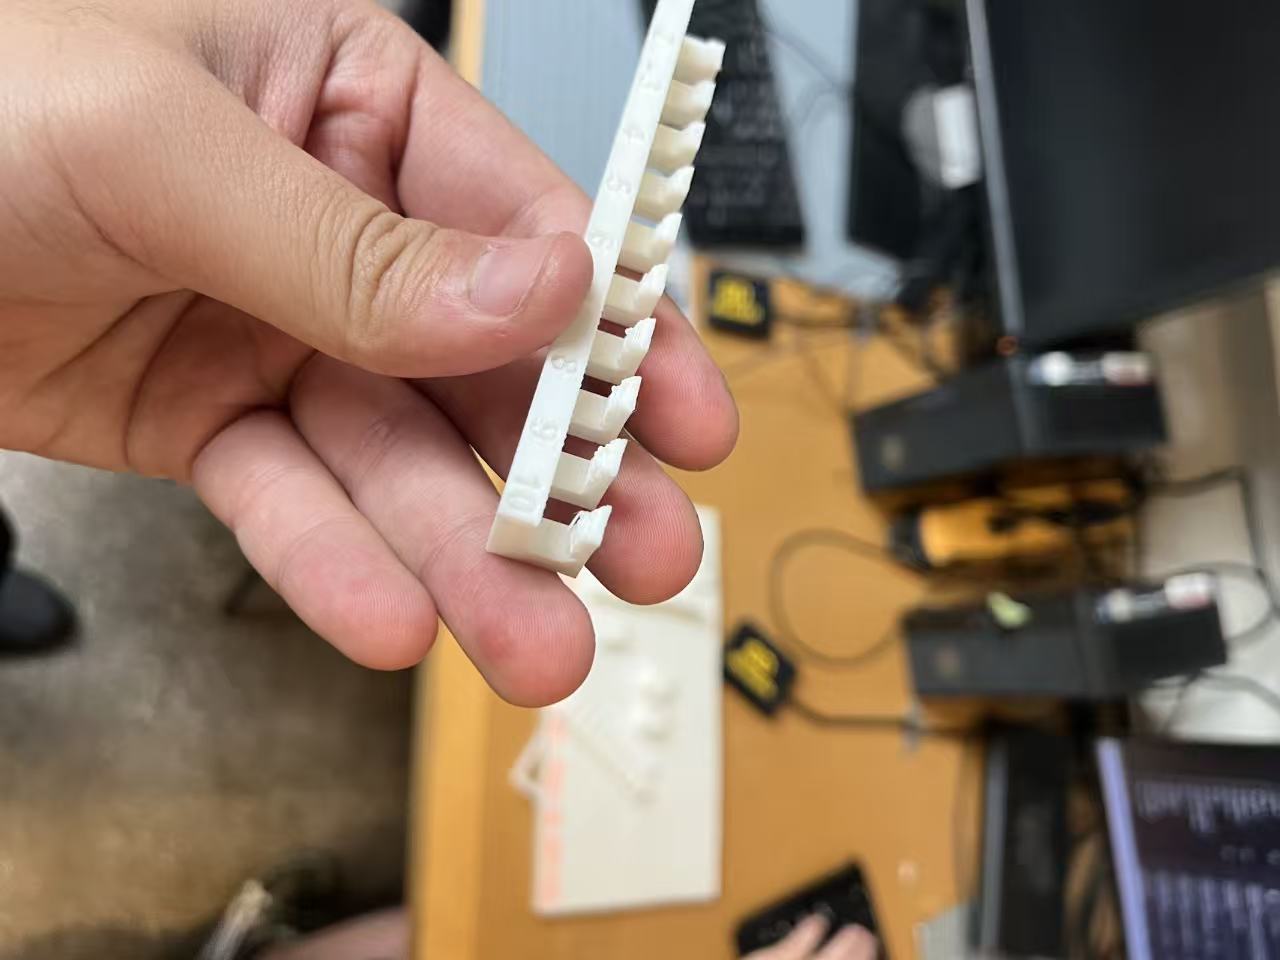
- Overhang ladder: when the angle got too steep it sagged unless I slowed down and pushed more fan. Part orientation made the biggest difference.
- Infill vs. walls: for small parts, adding perimeters changed stiffness way more obviously than cranking infill from 10% → 30%.
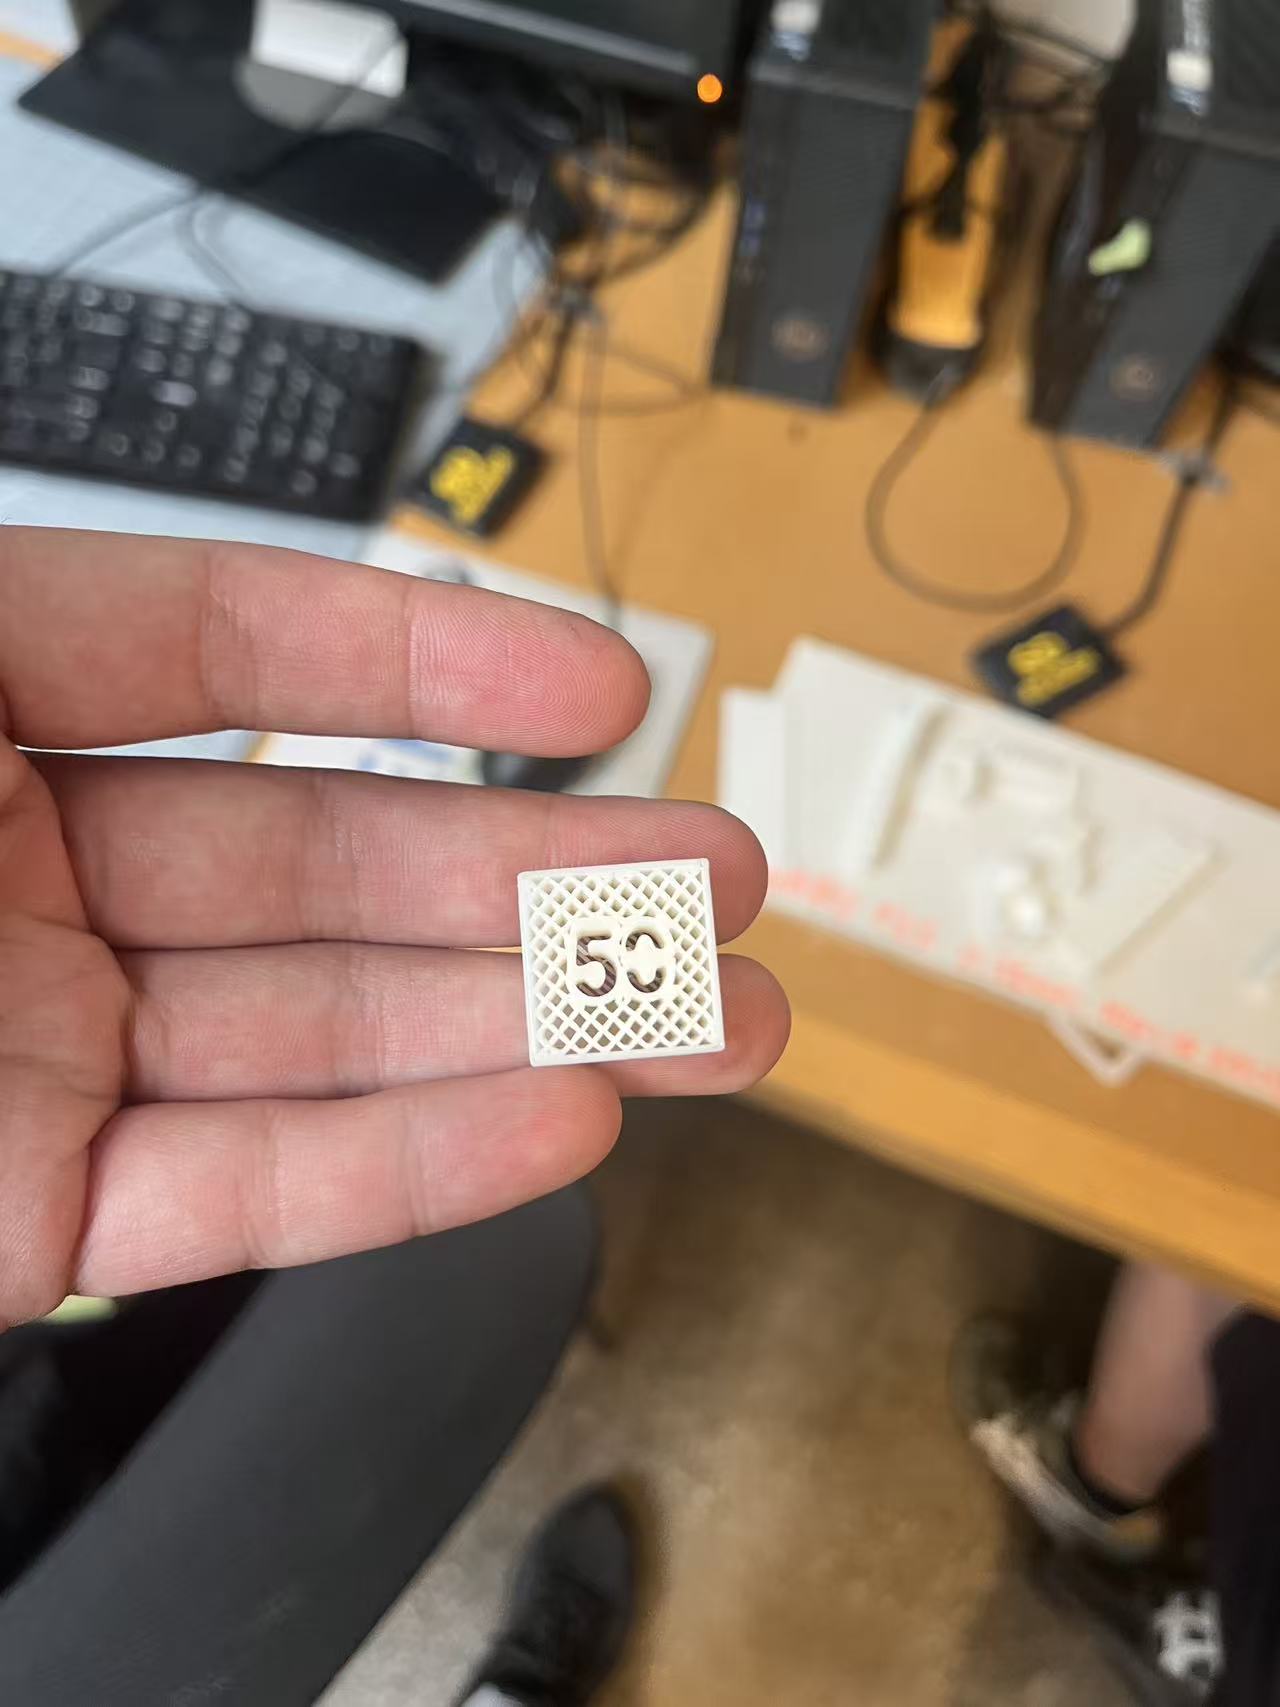
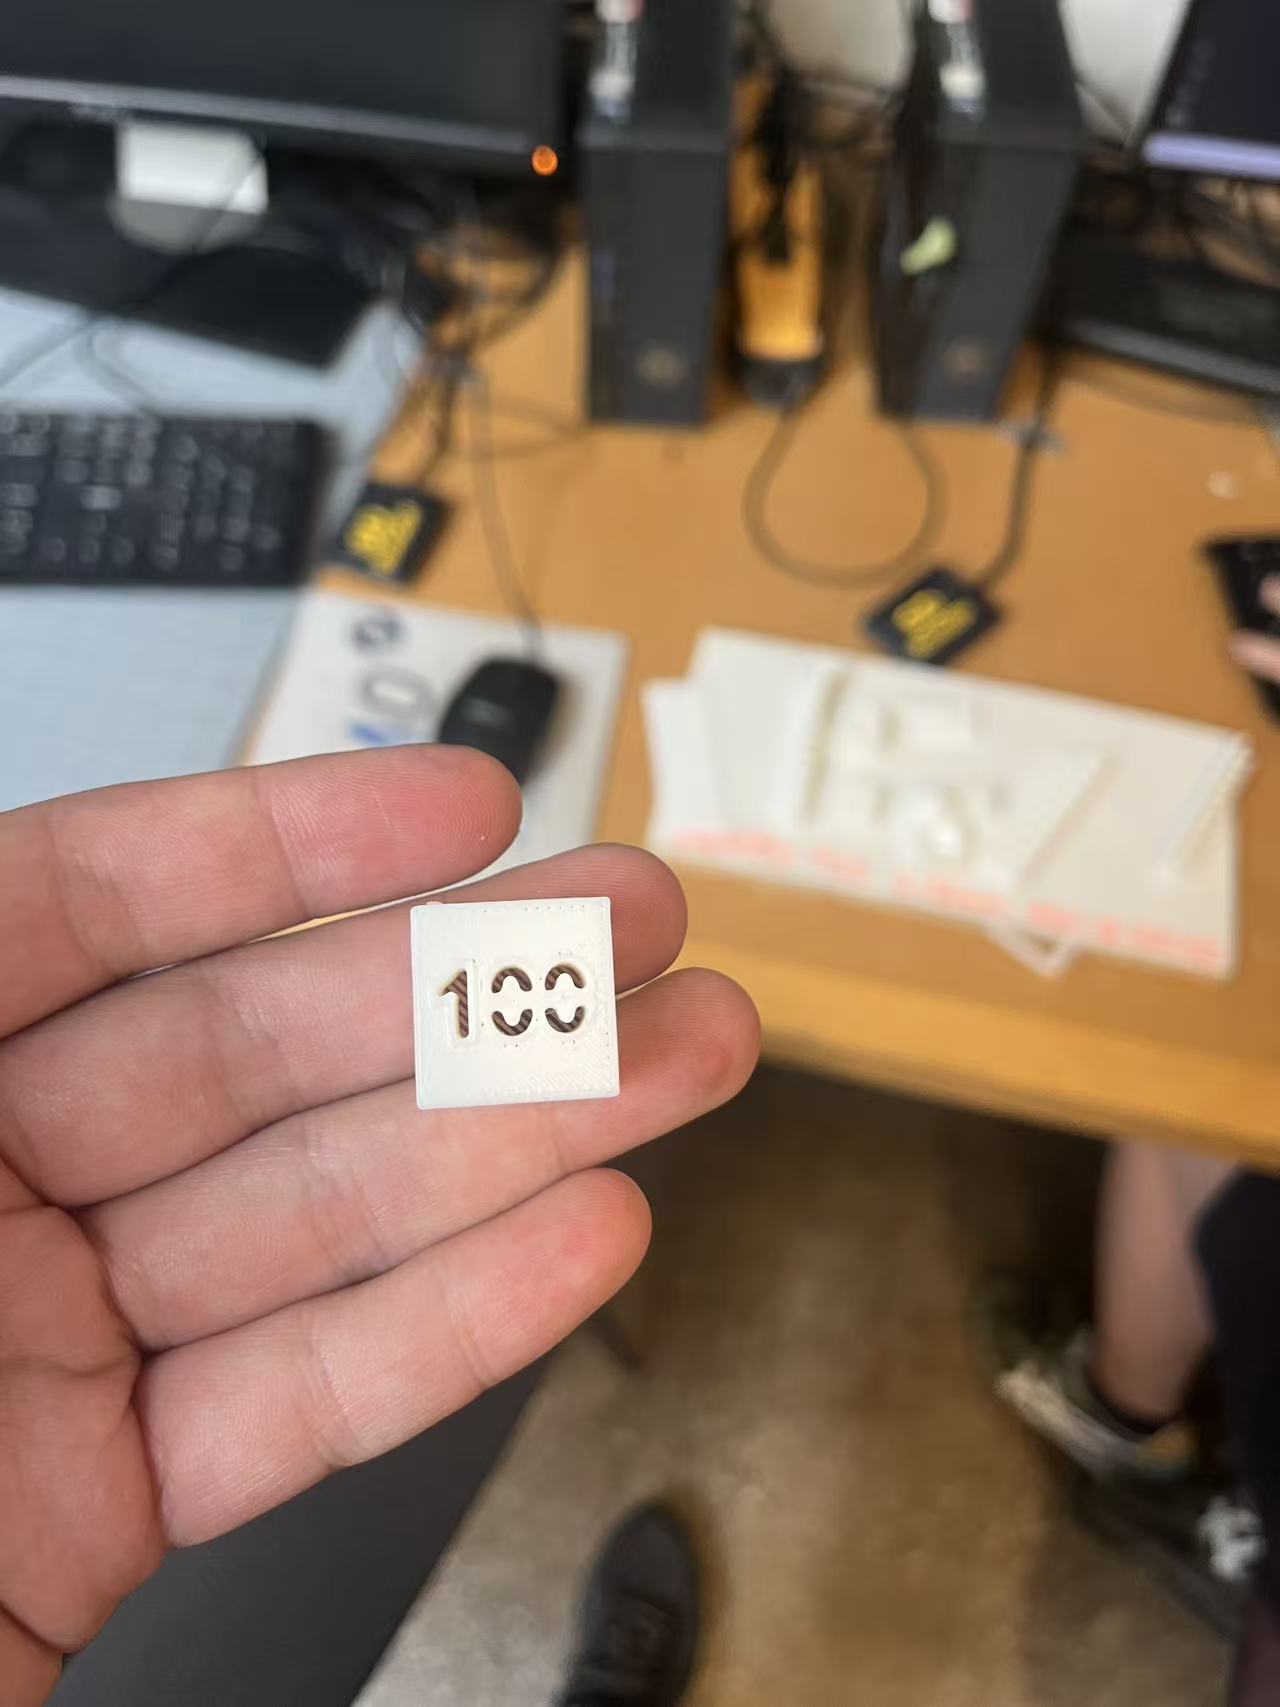
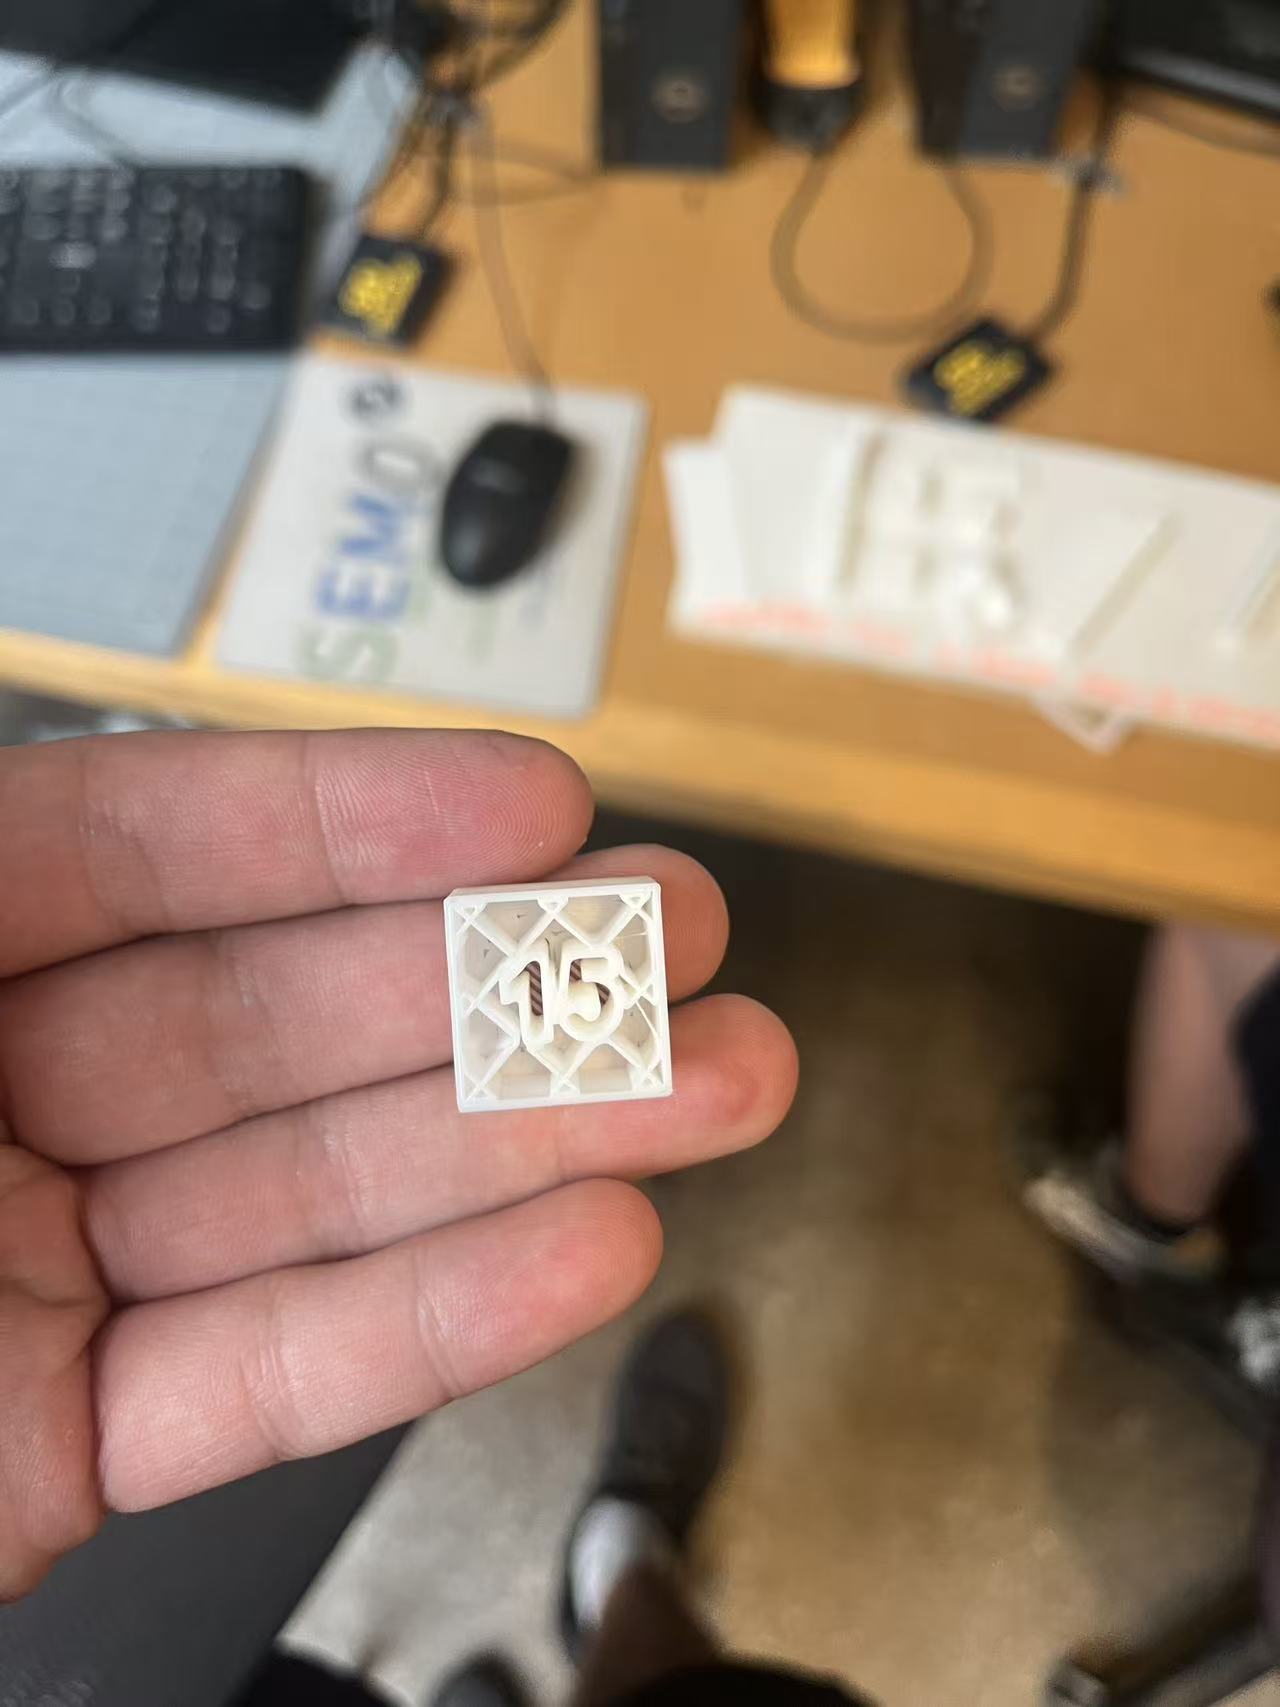
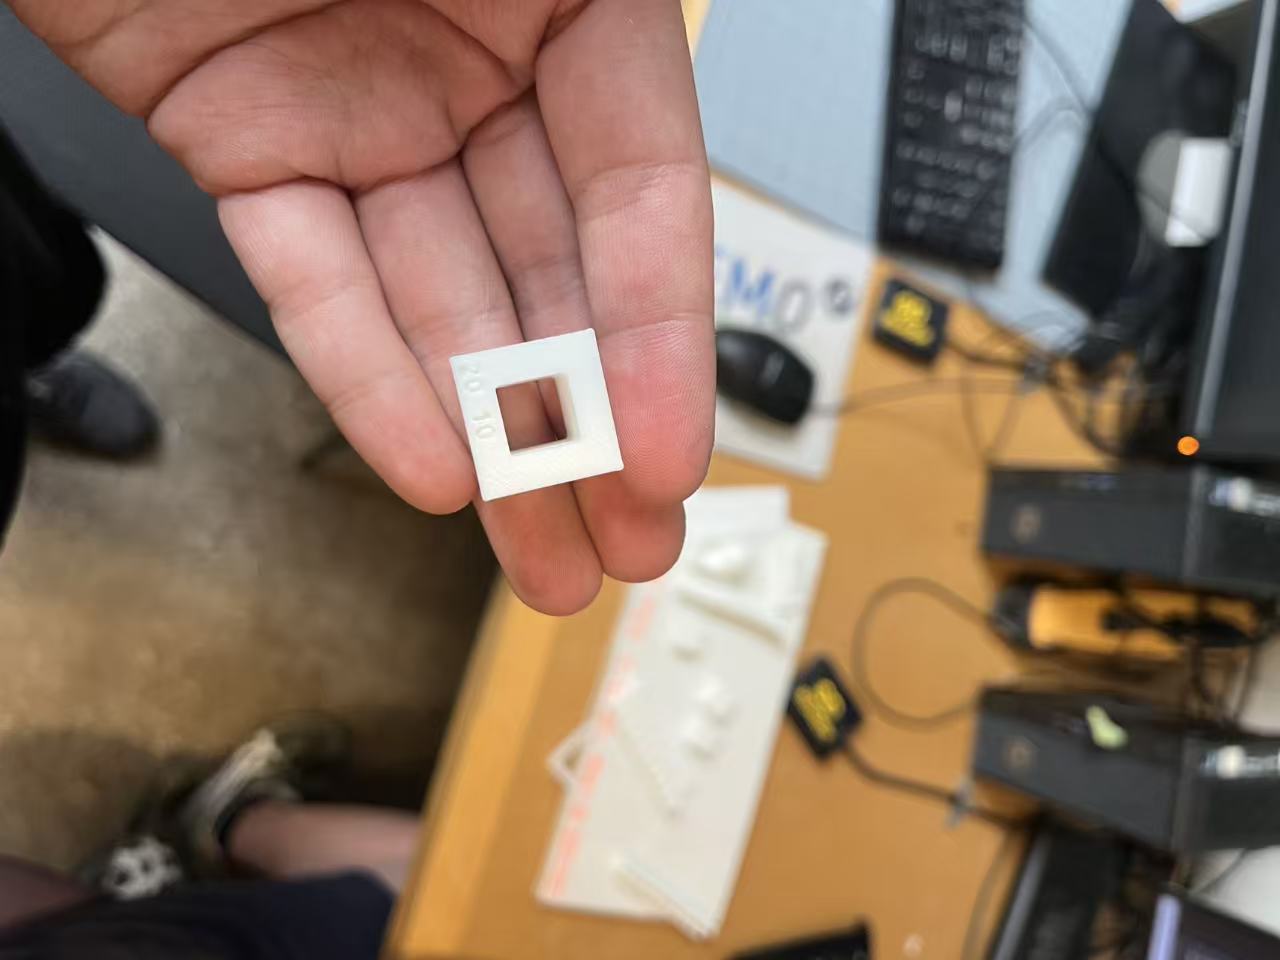
- Fit chips: tiny step gauges helped pick a clearance that “just snaps” without sanding.
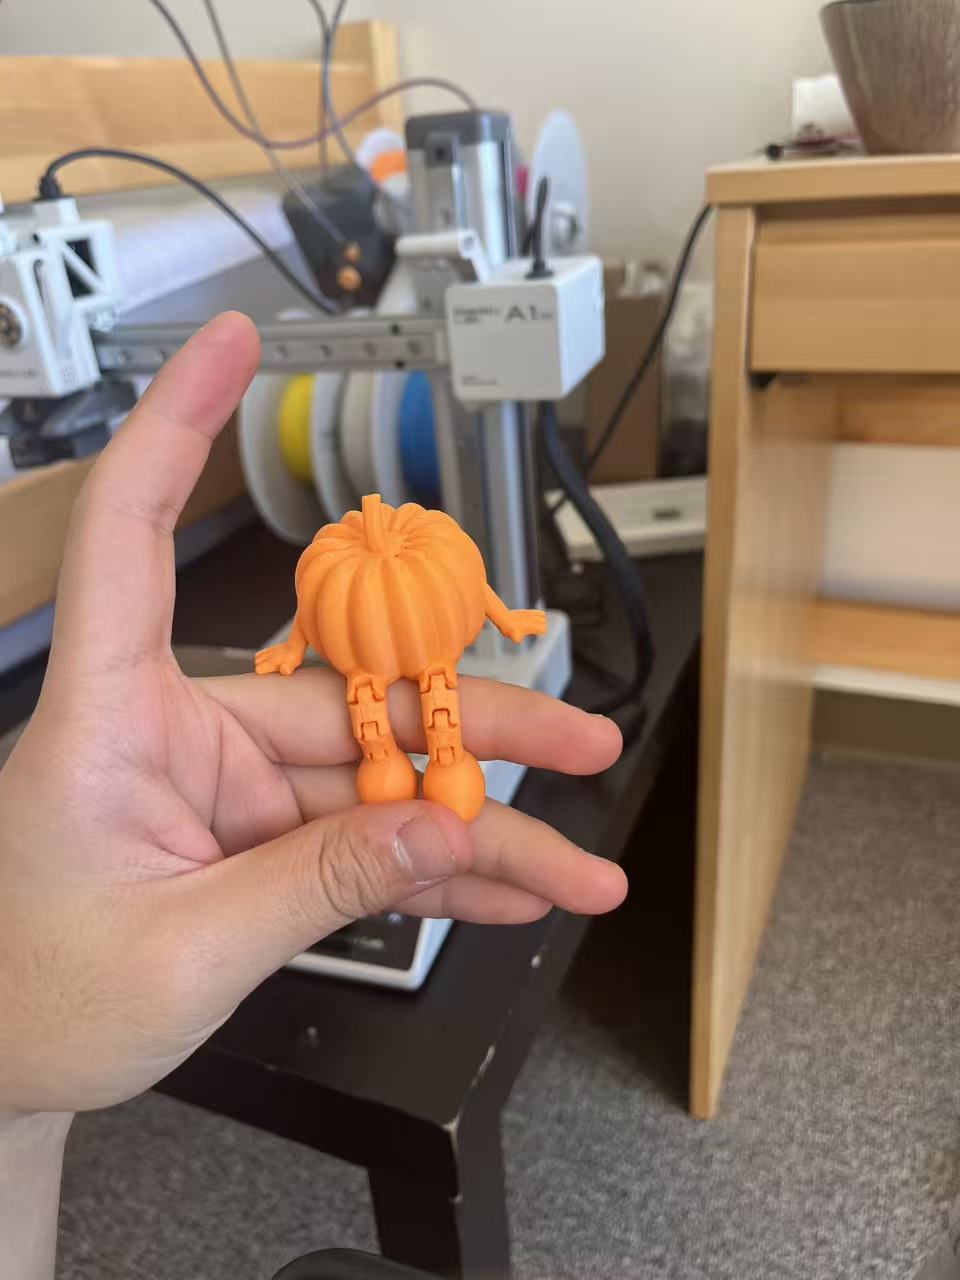
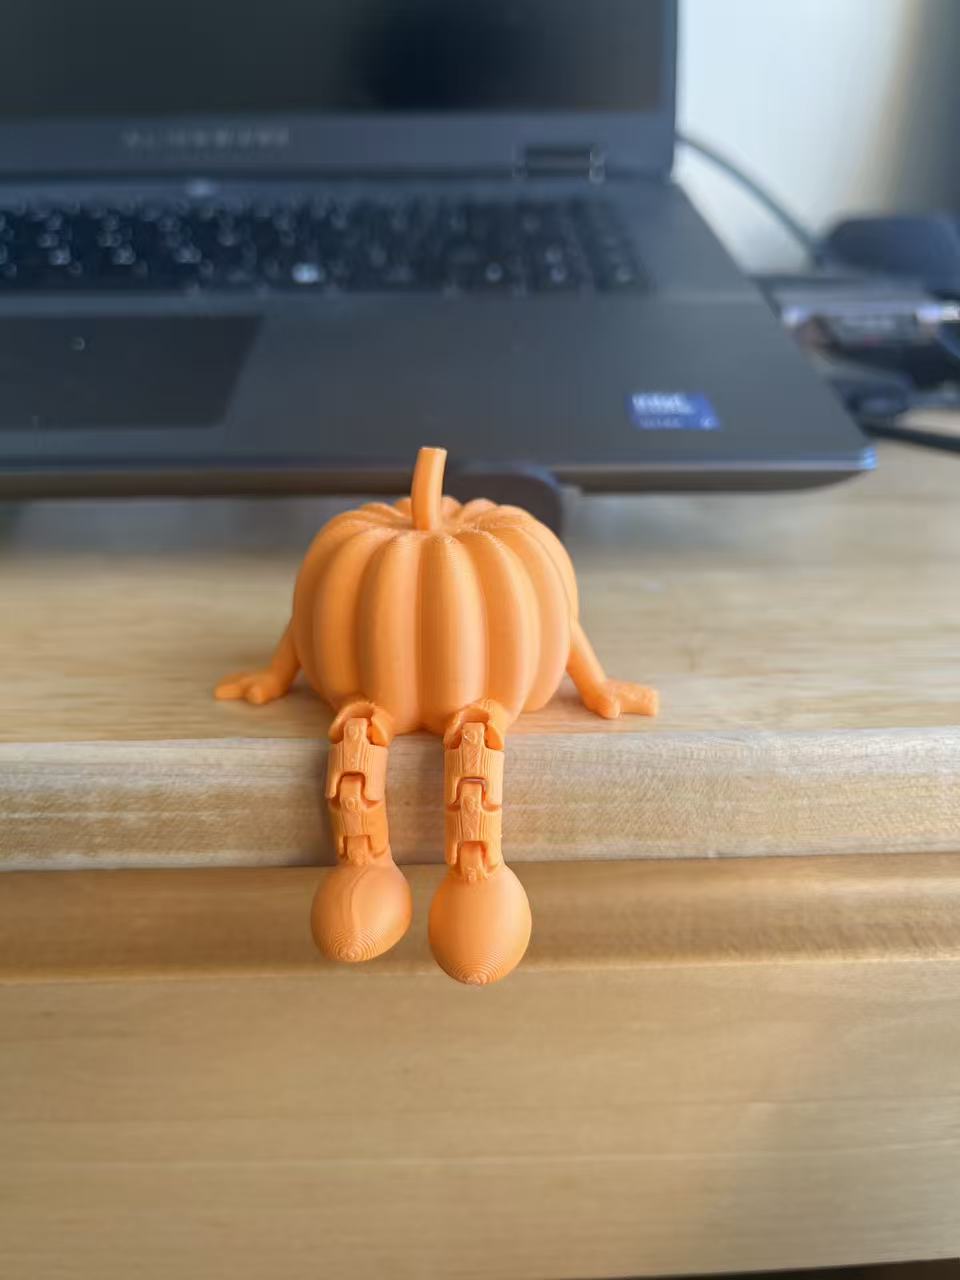
After that warm-up I revived my home printer. I used a tiny pumpkin as the “hello world” to check motion and clearances—low risk, high joy.
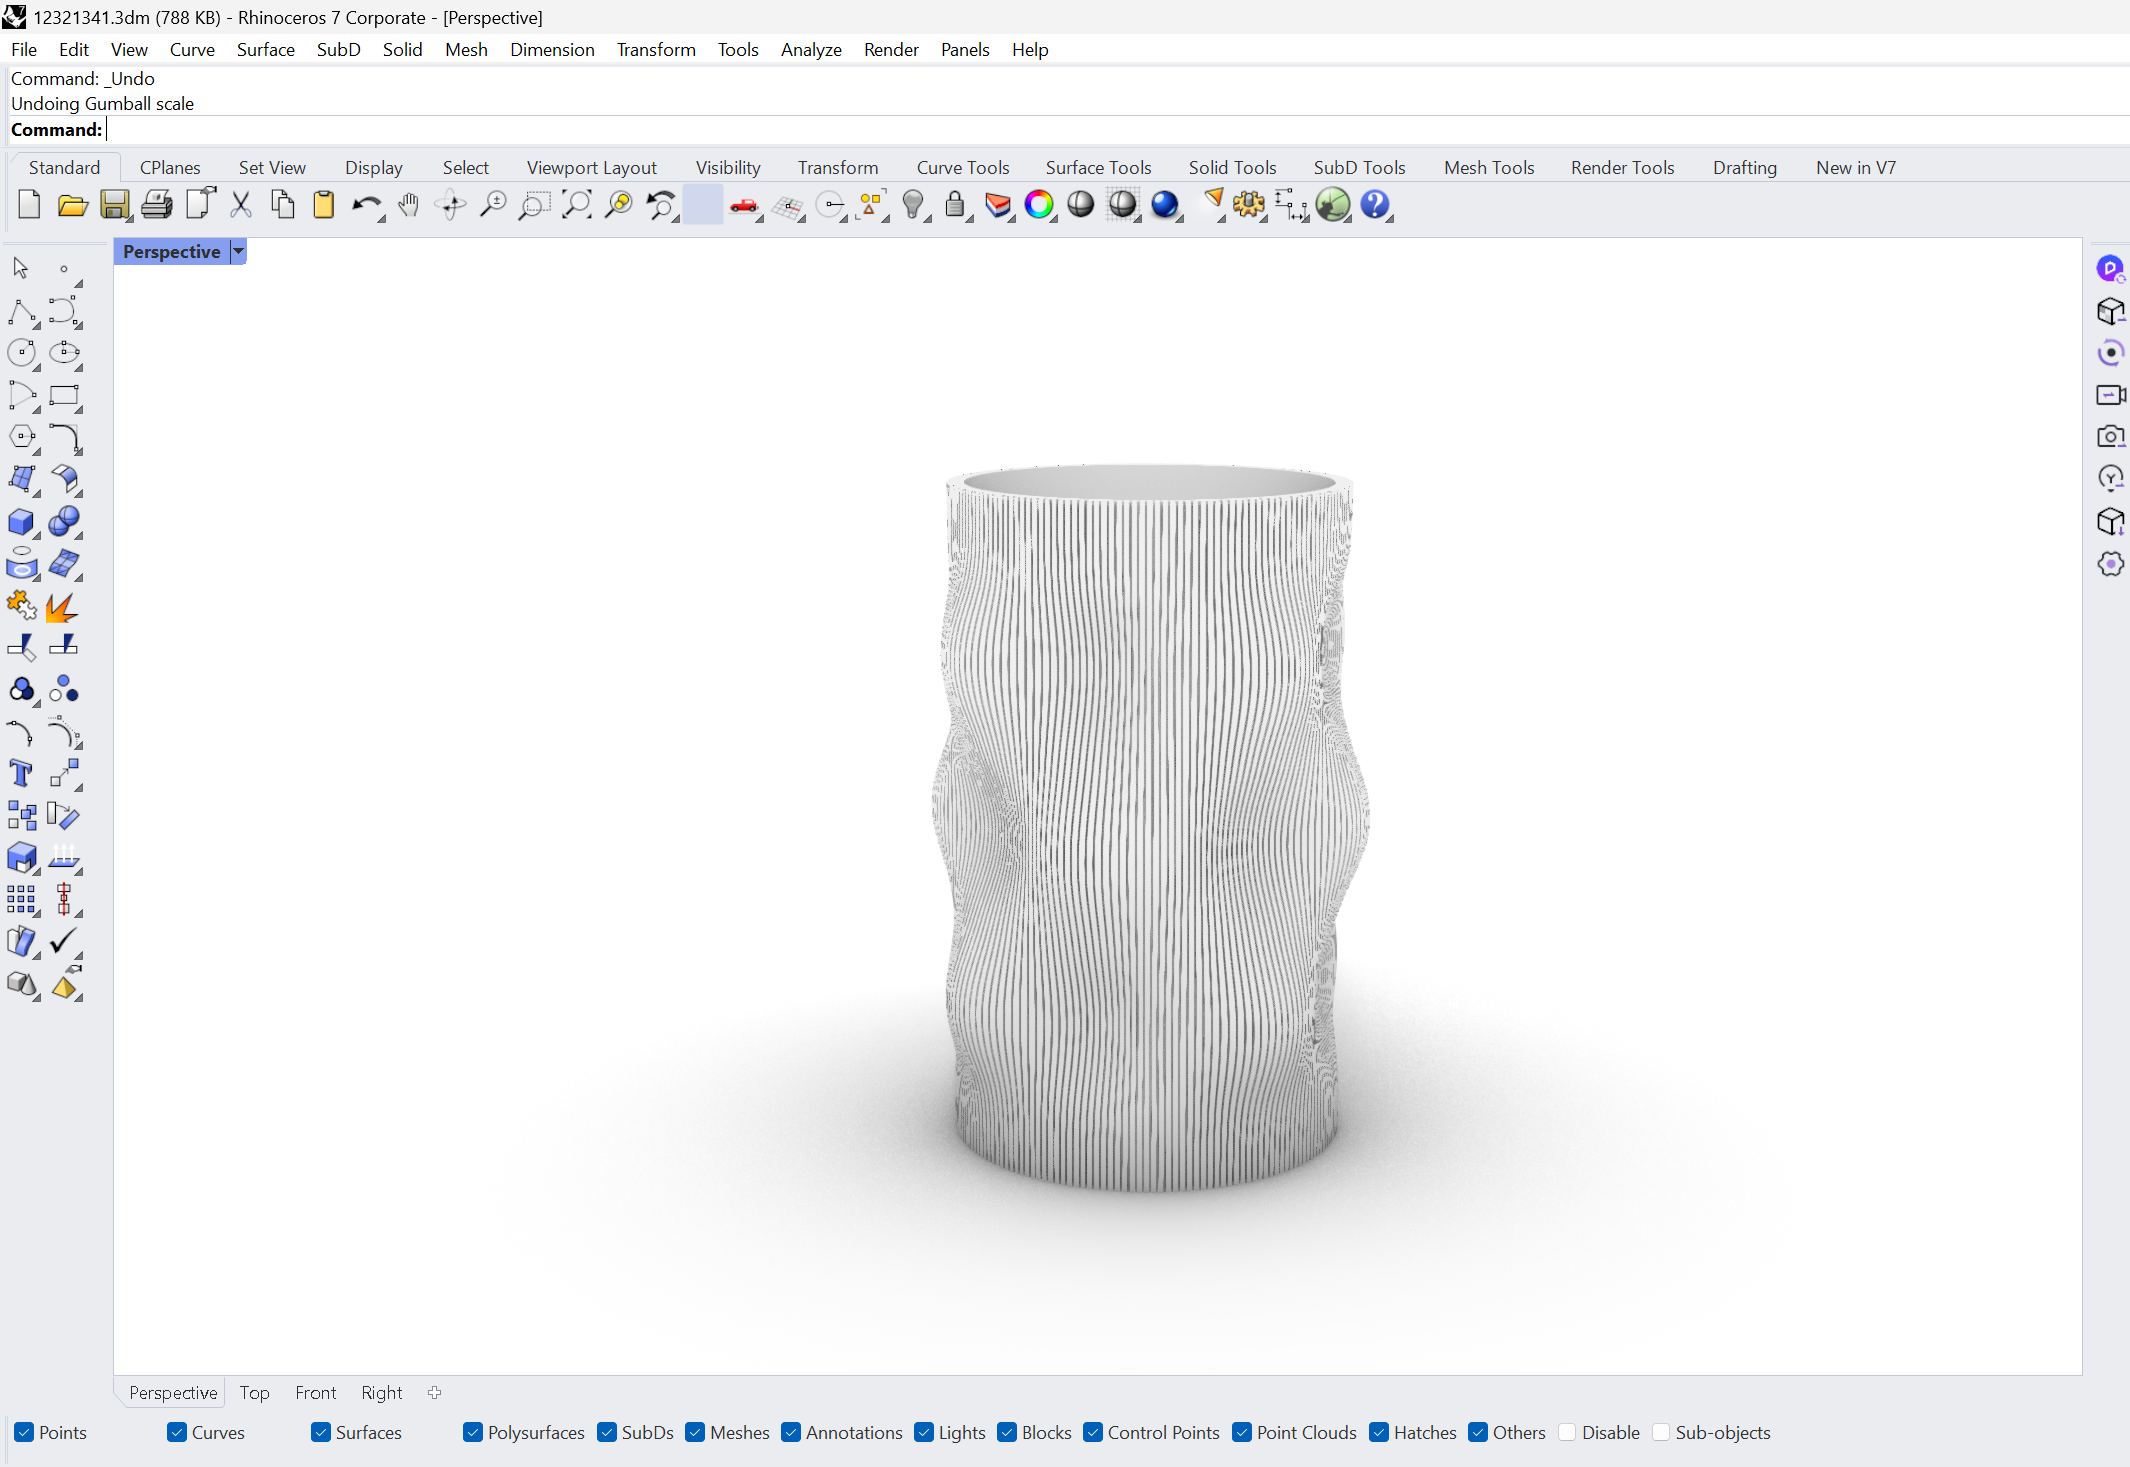
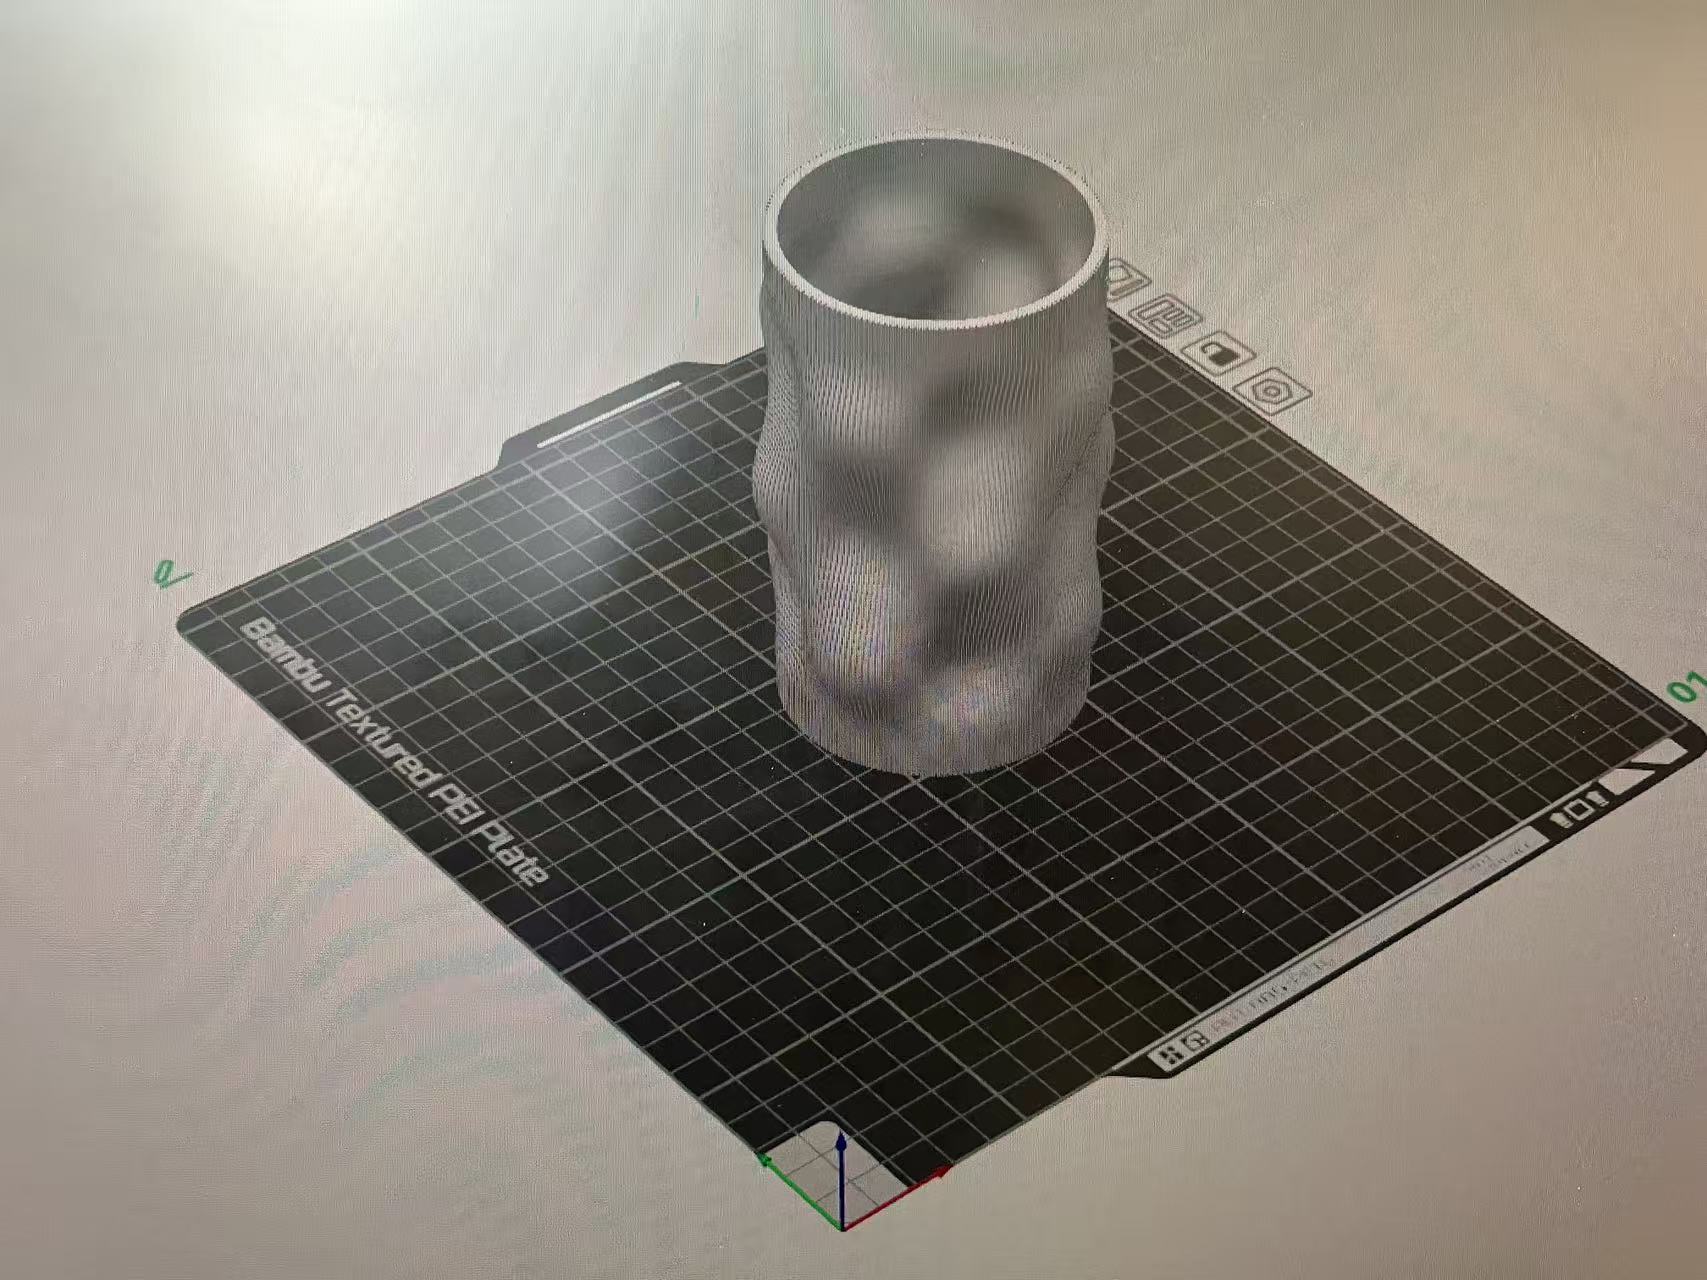
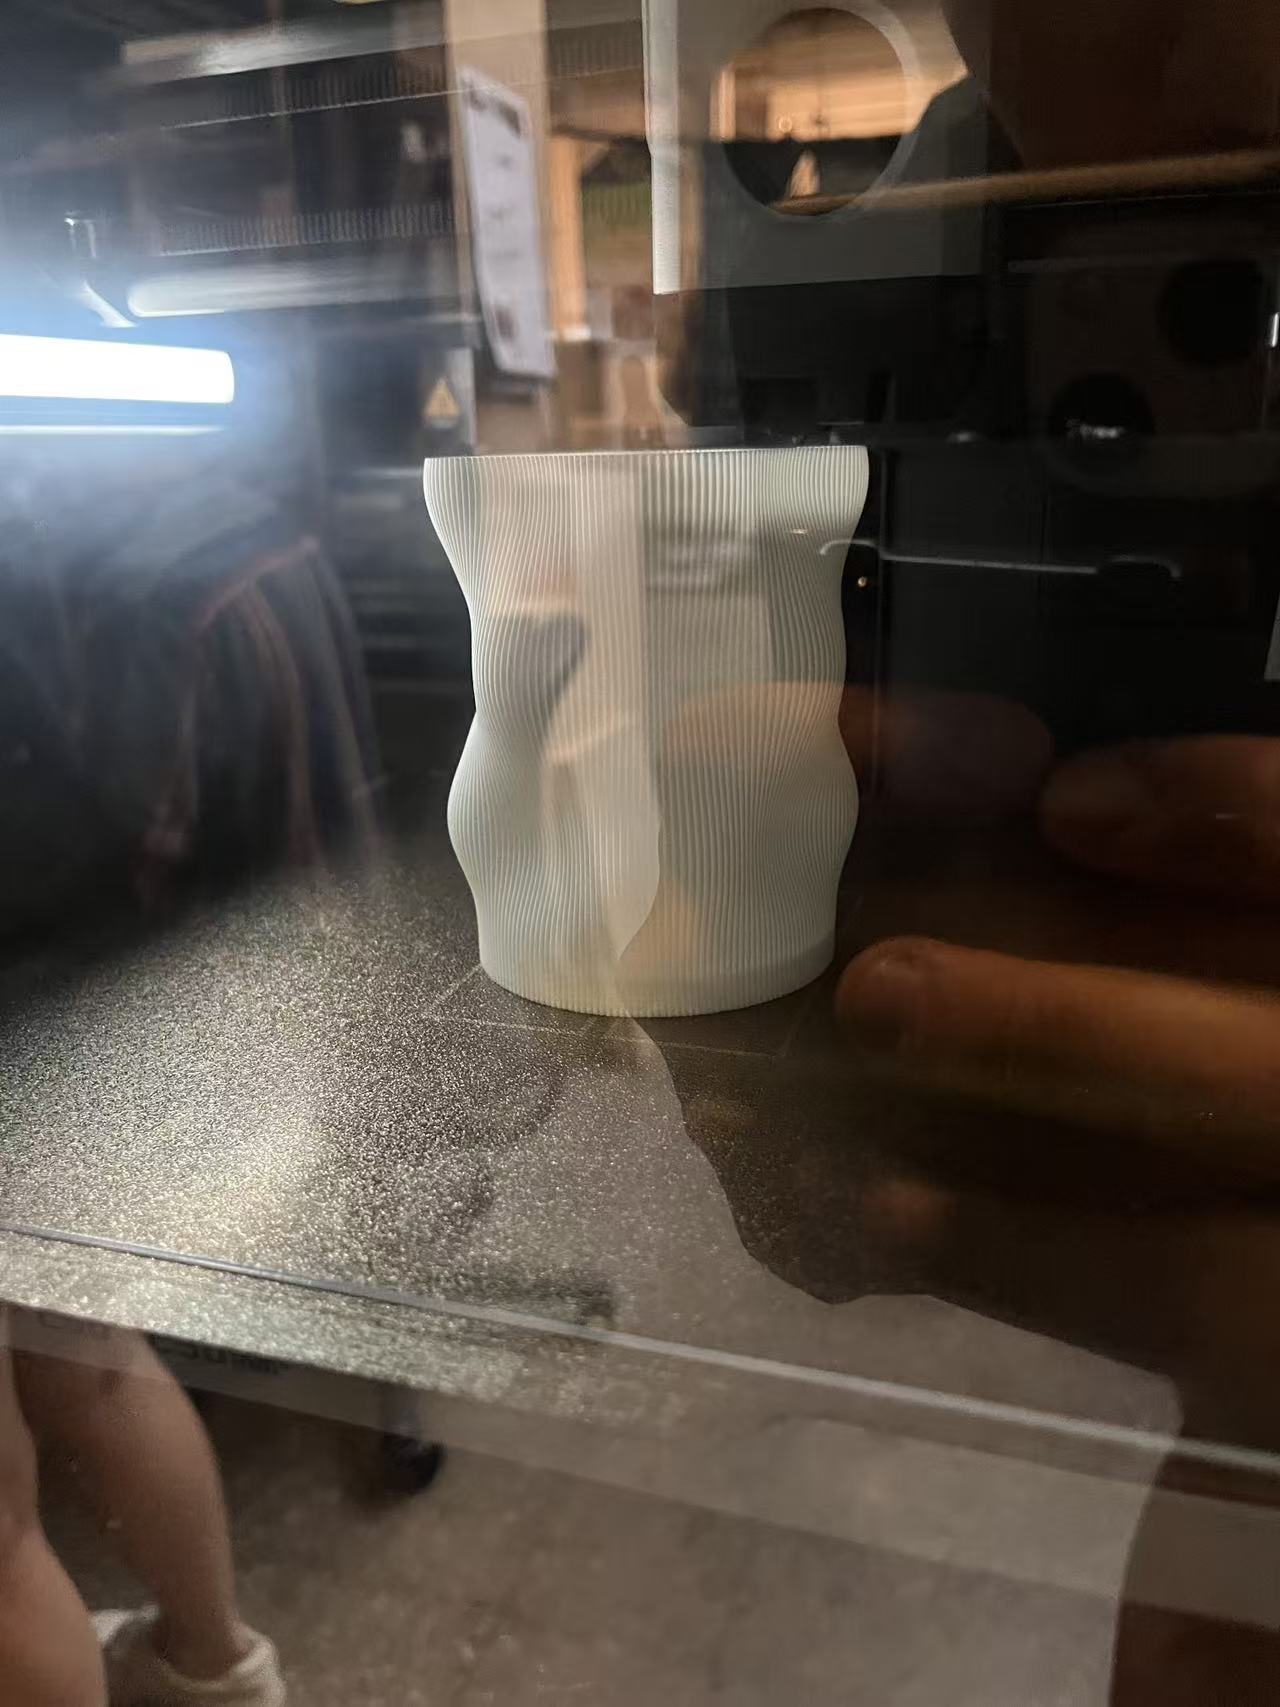
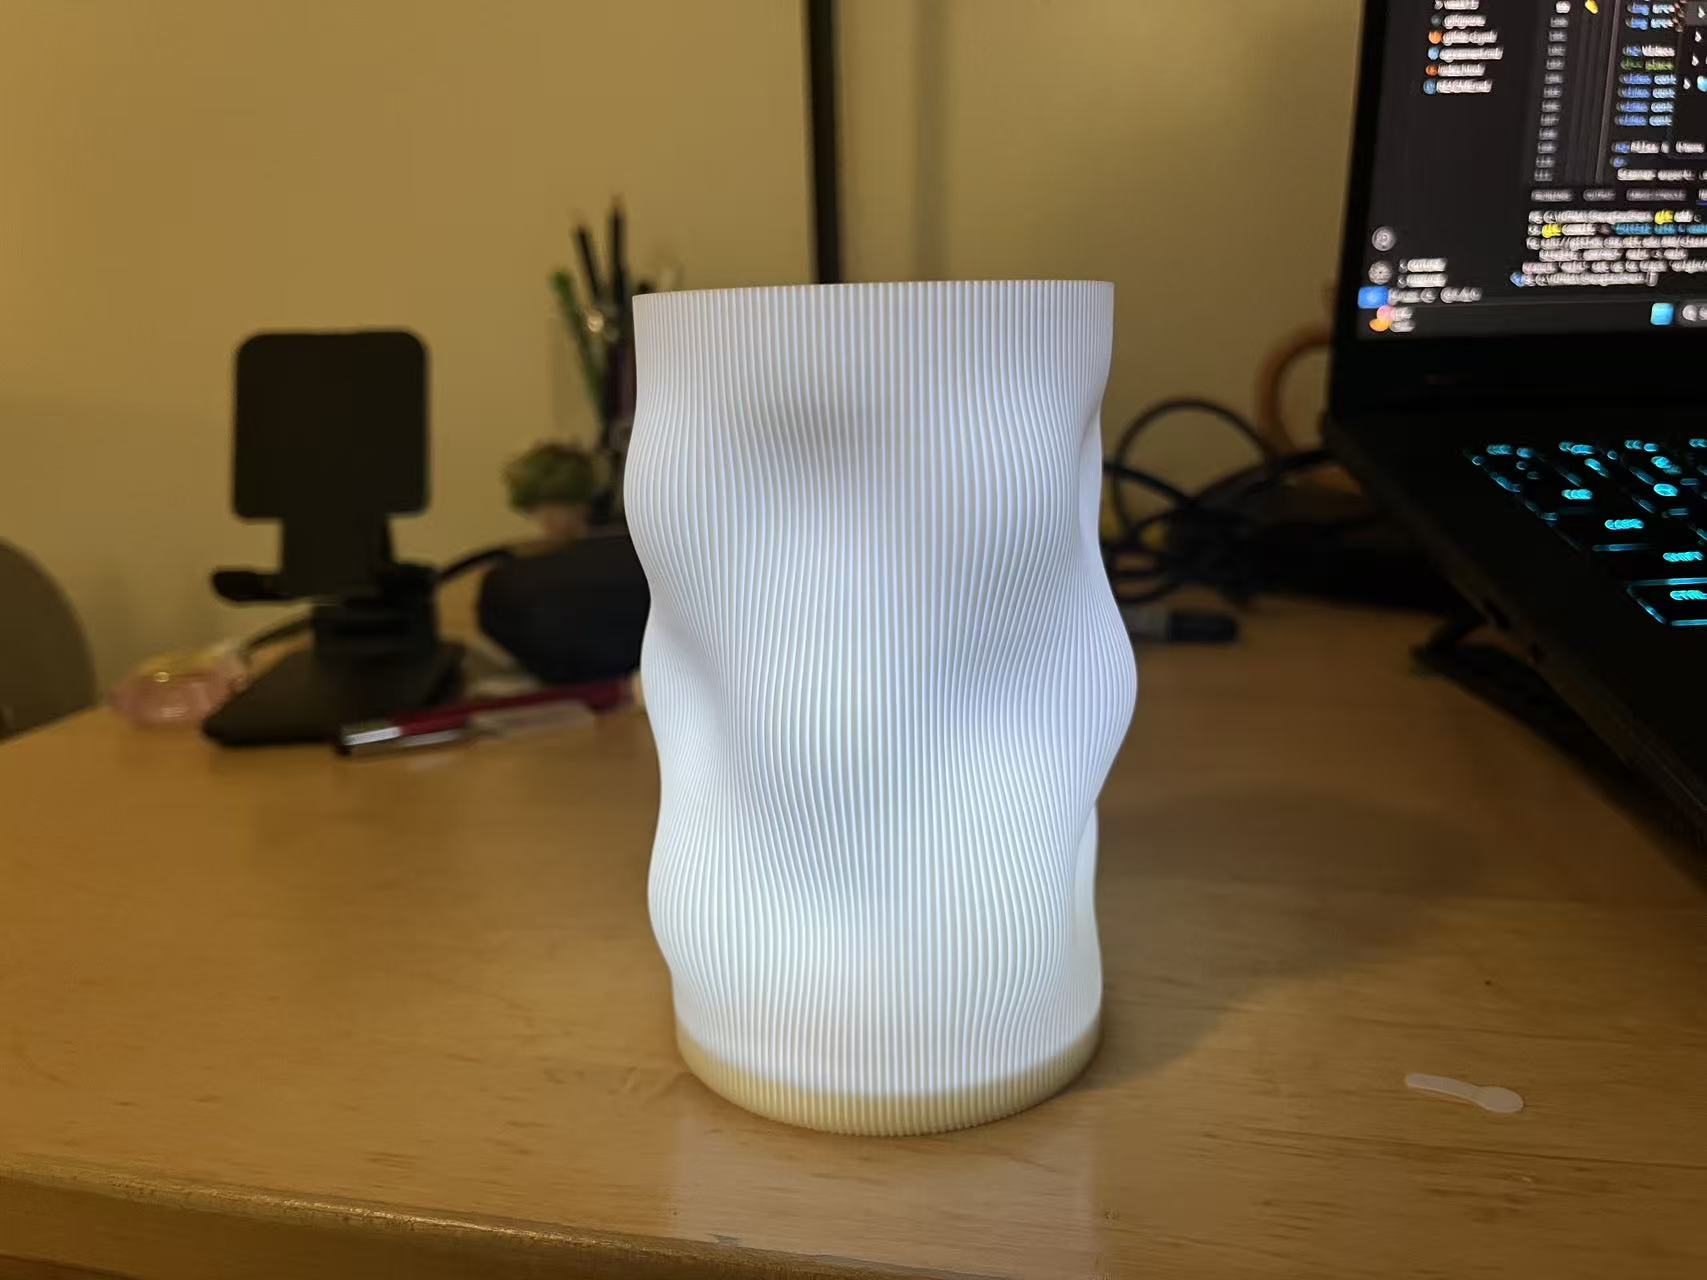
Then a thin-walled lampshade. Goal: let light pass through, not brute strength. I went with 0.2 mm layers, steady fan, and very light infill.
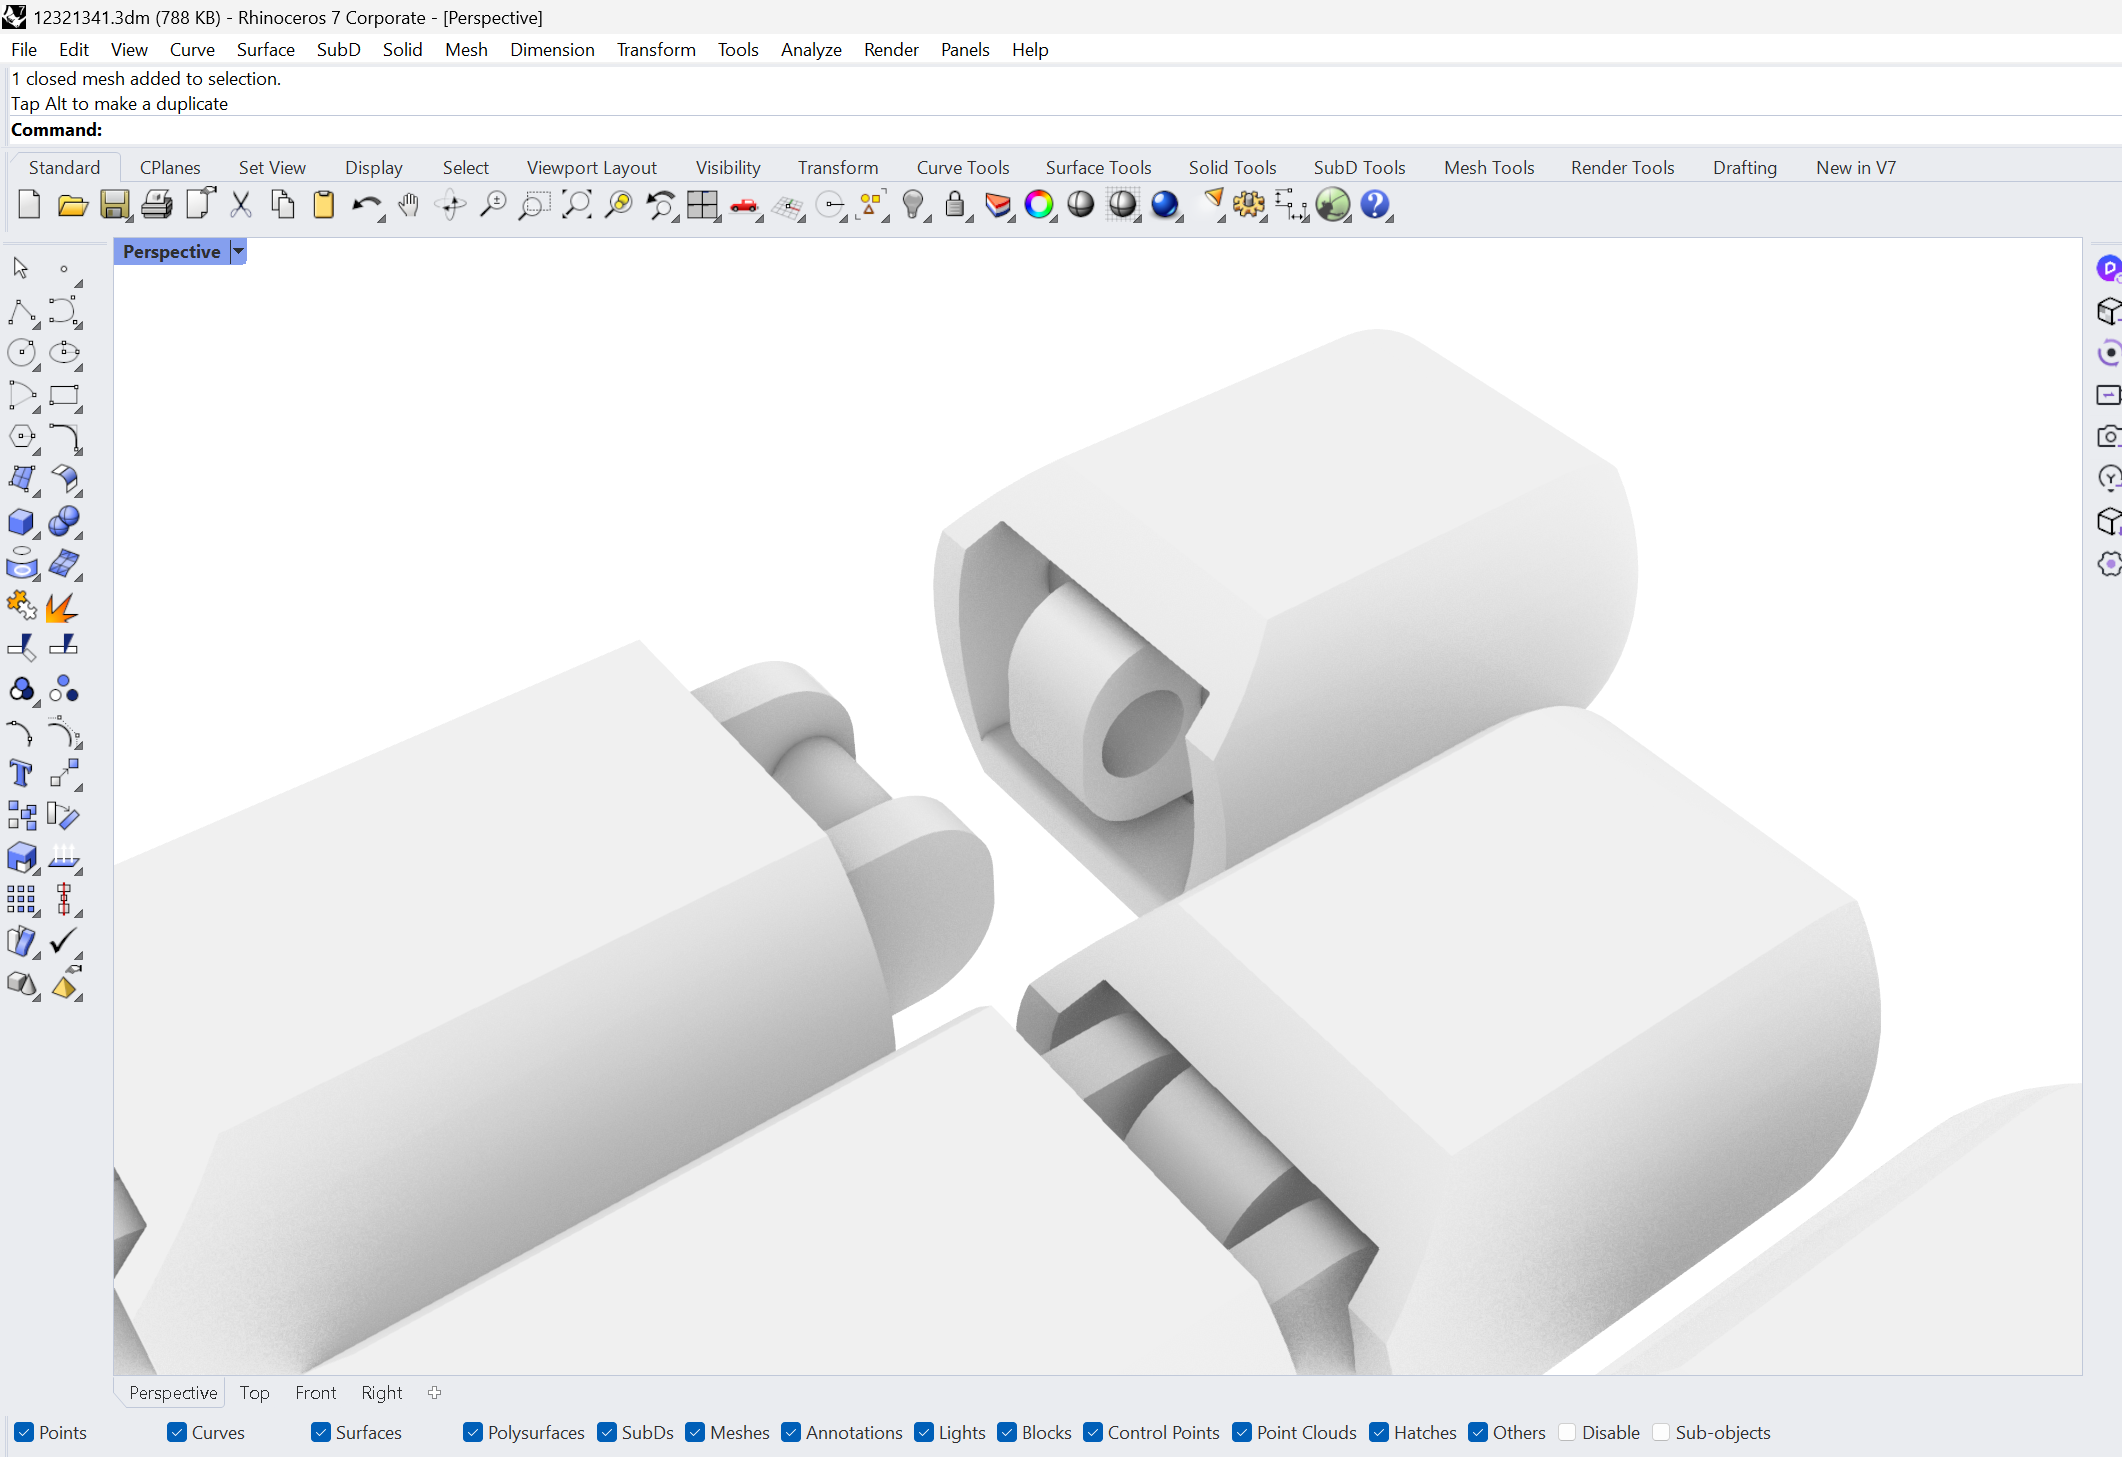
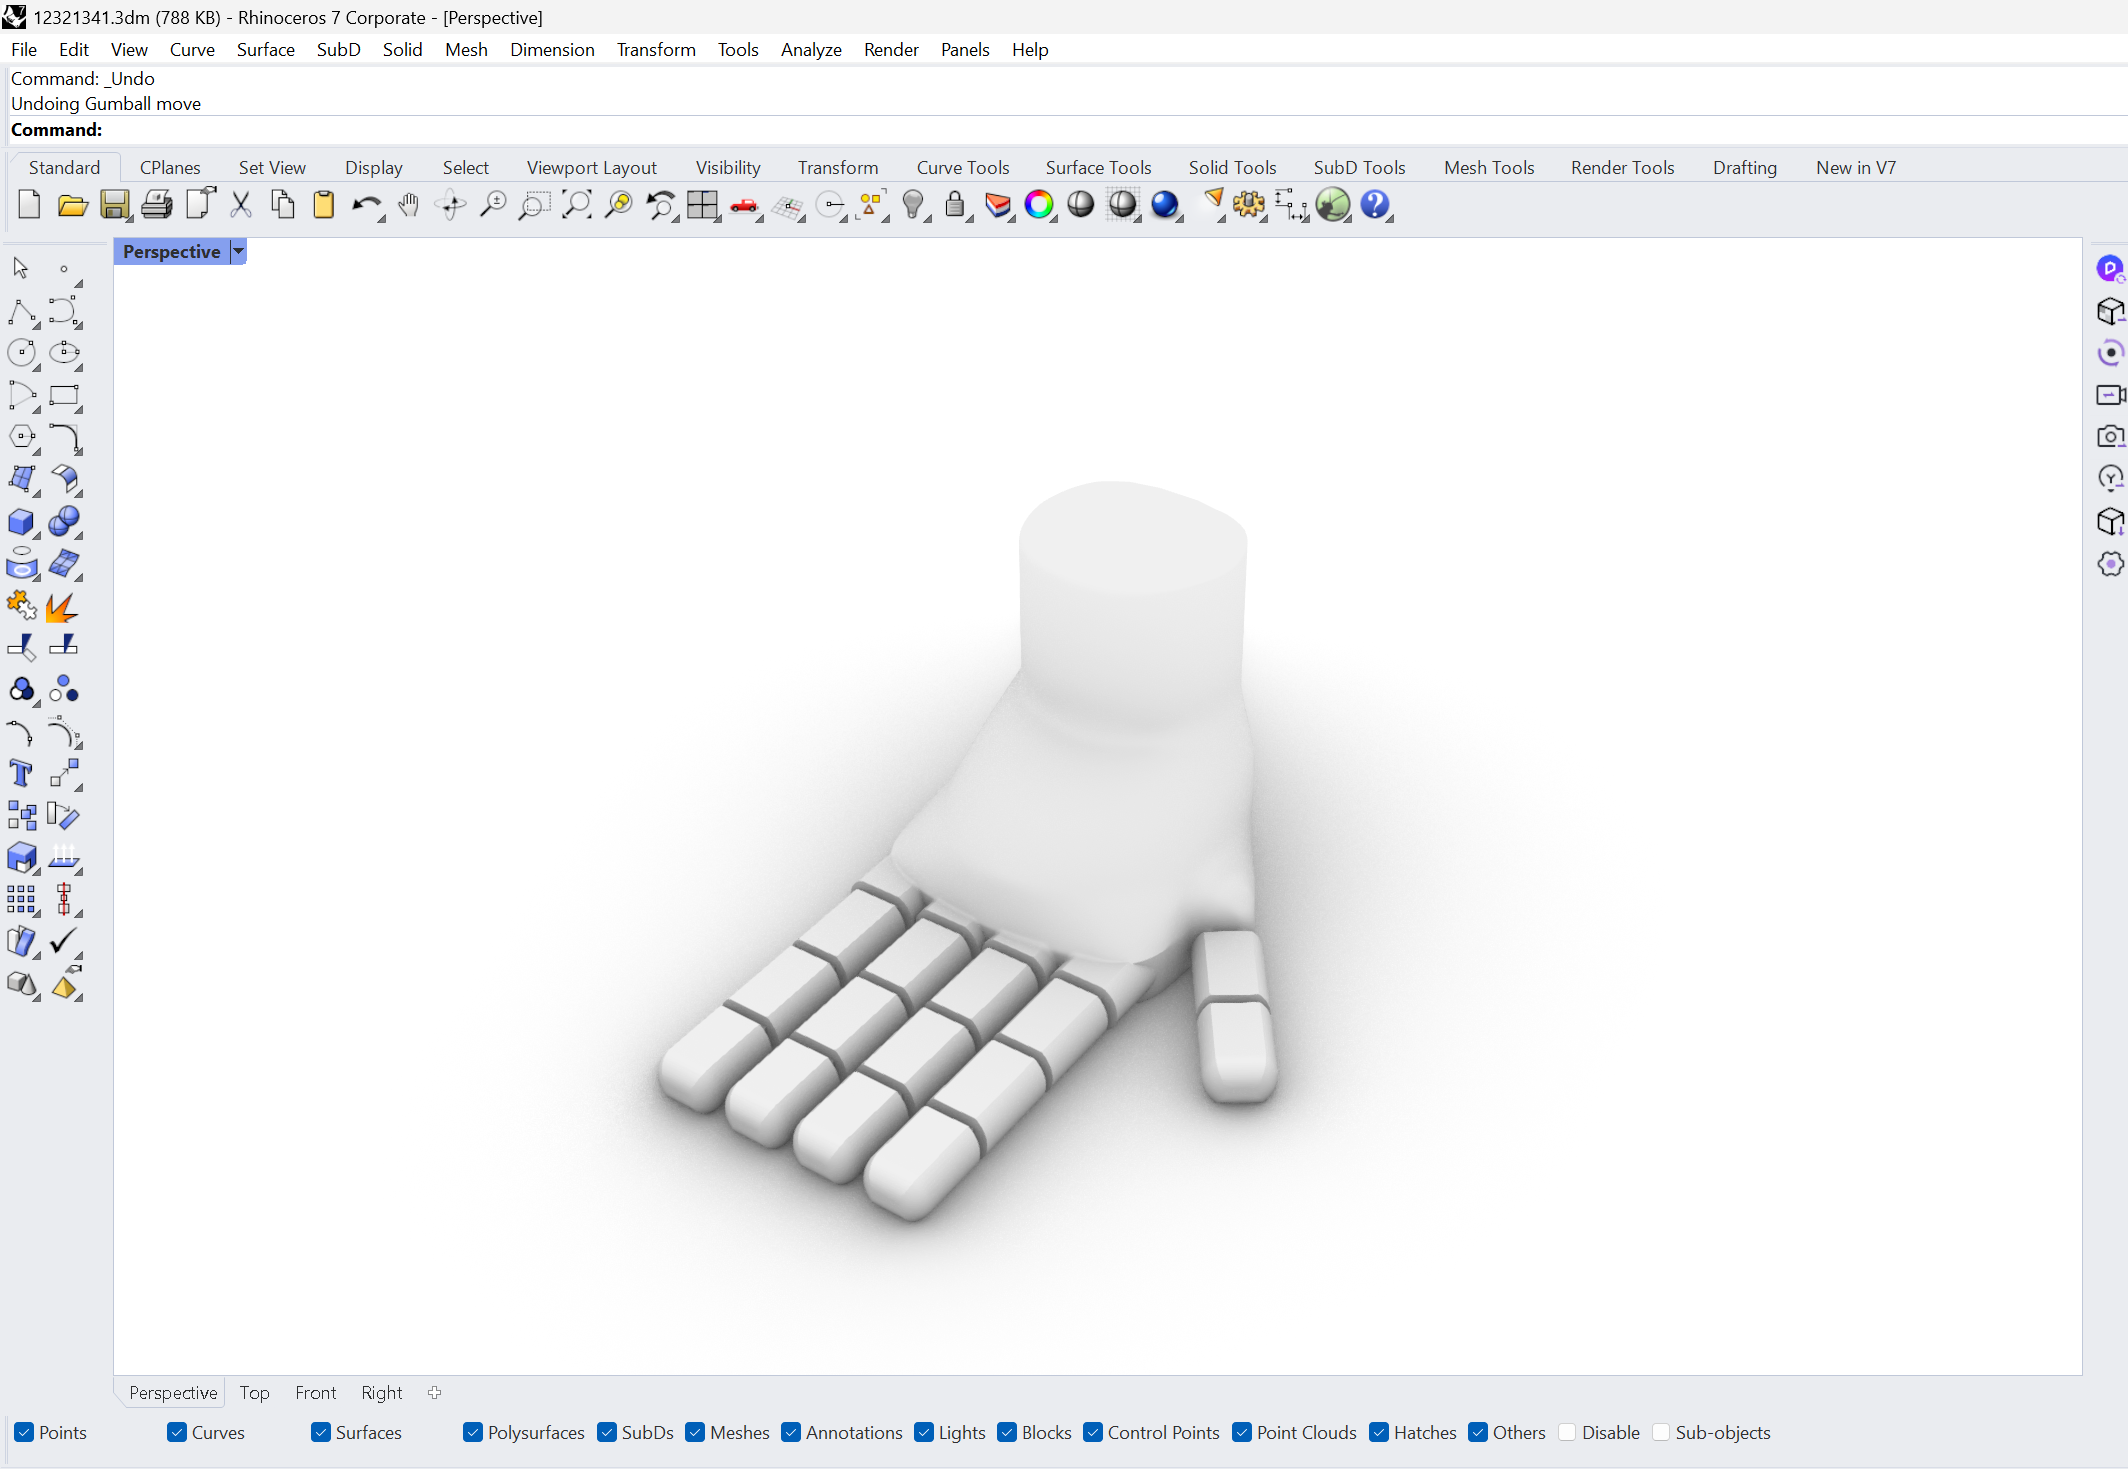
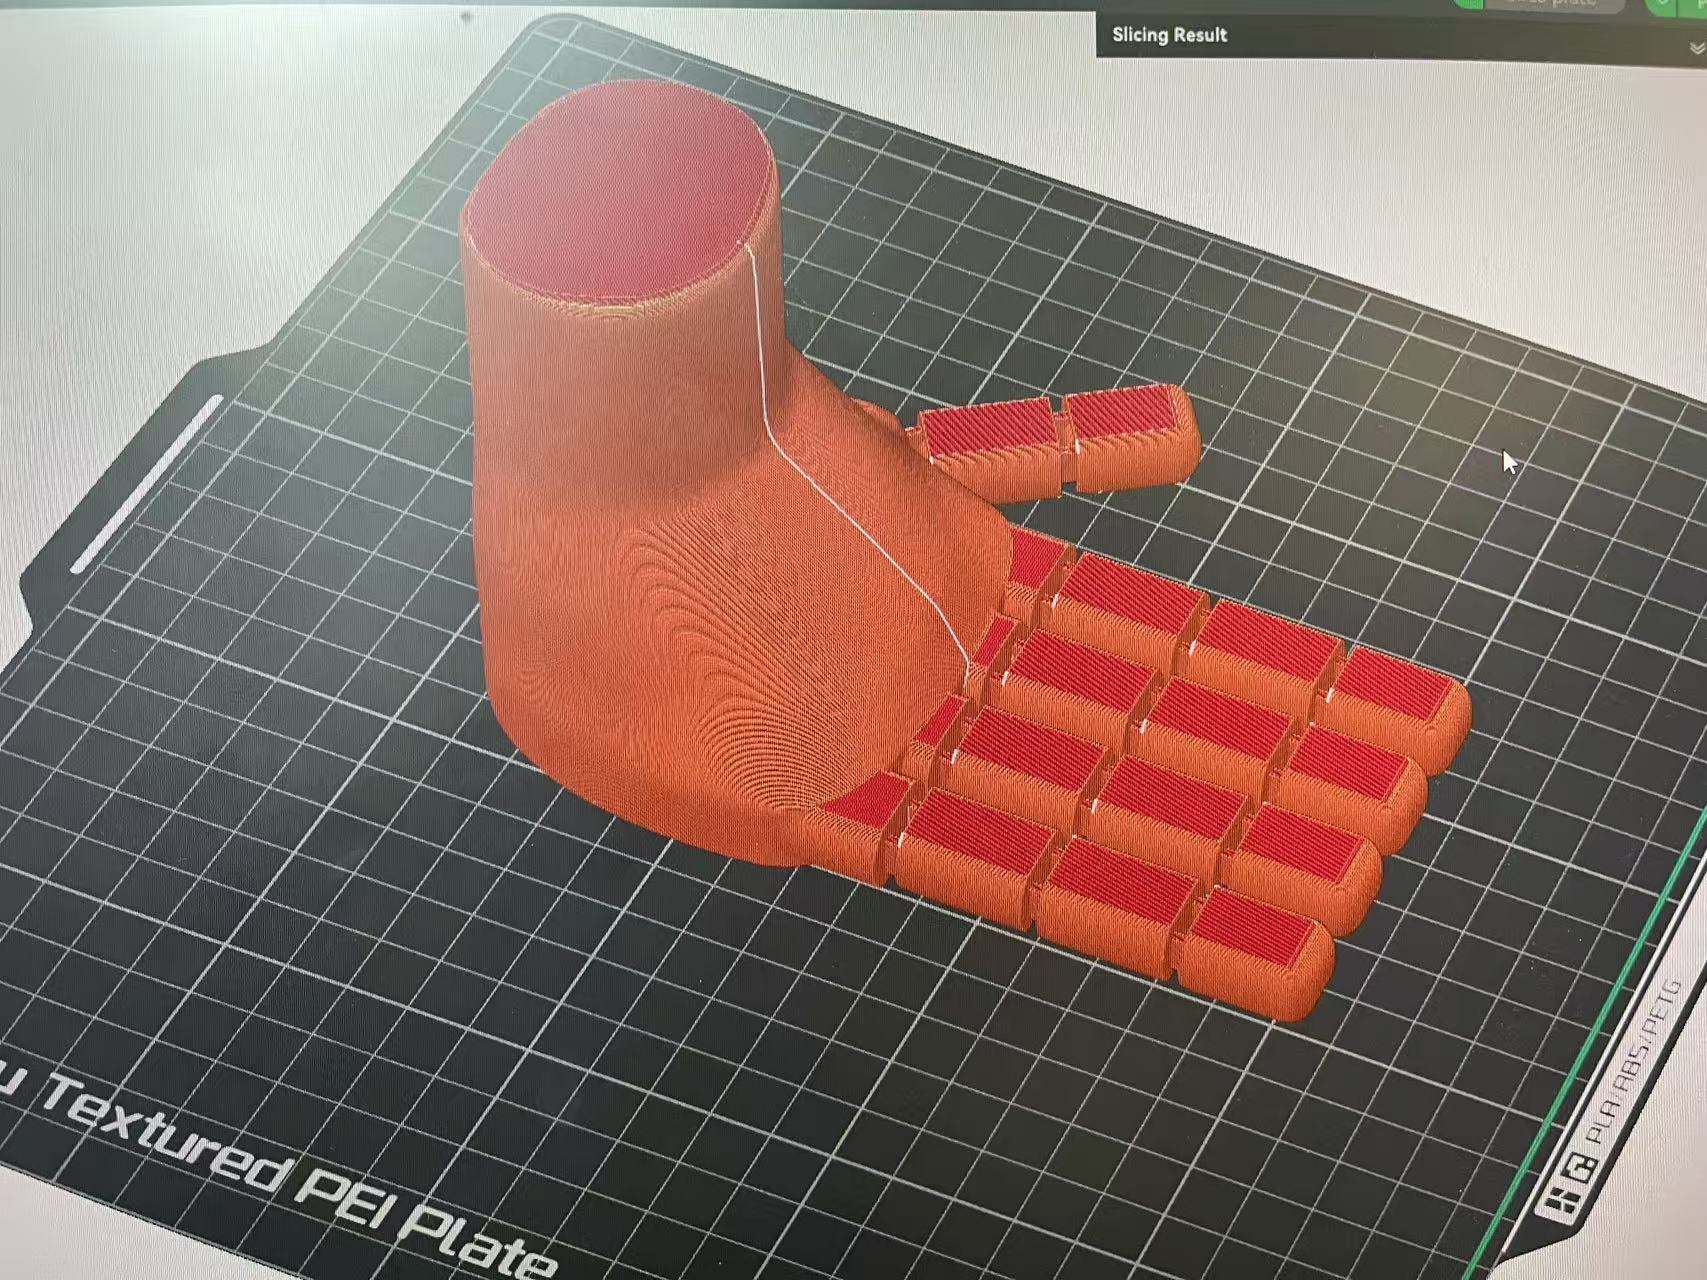
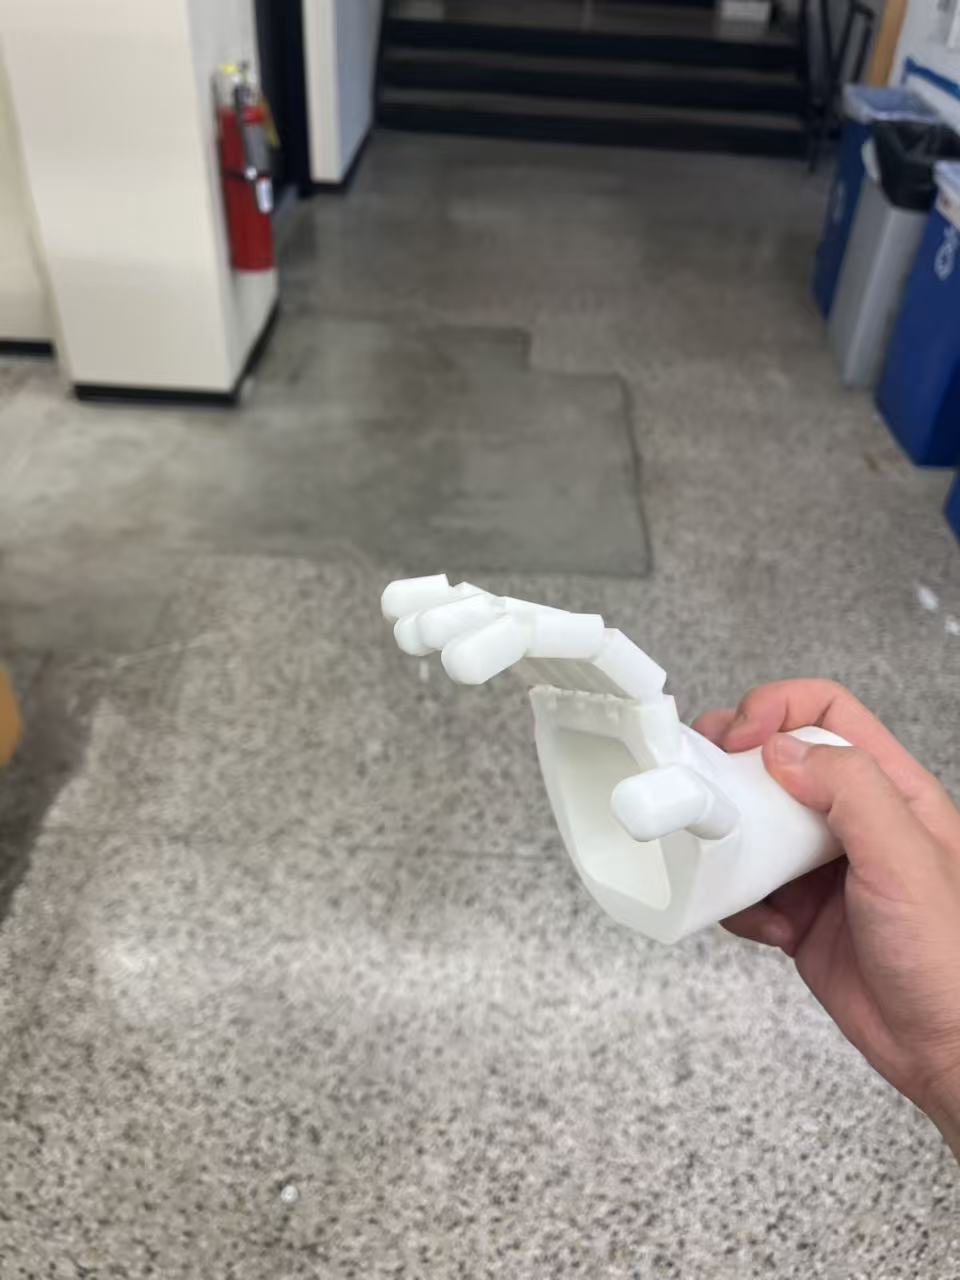
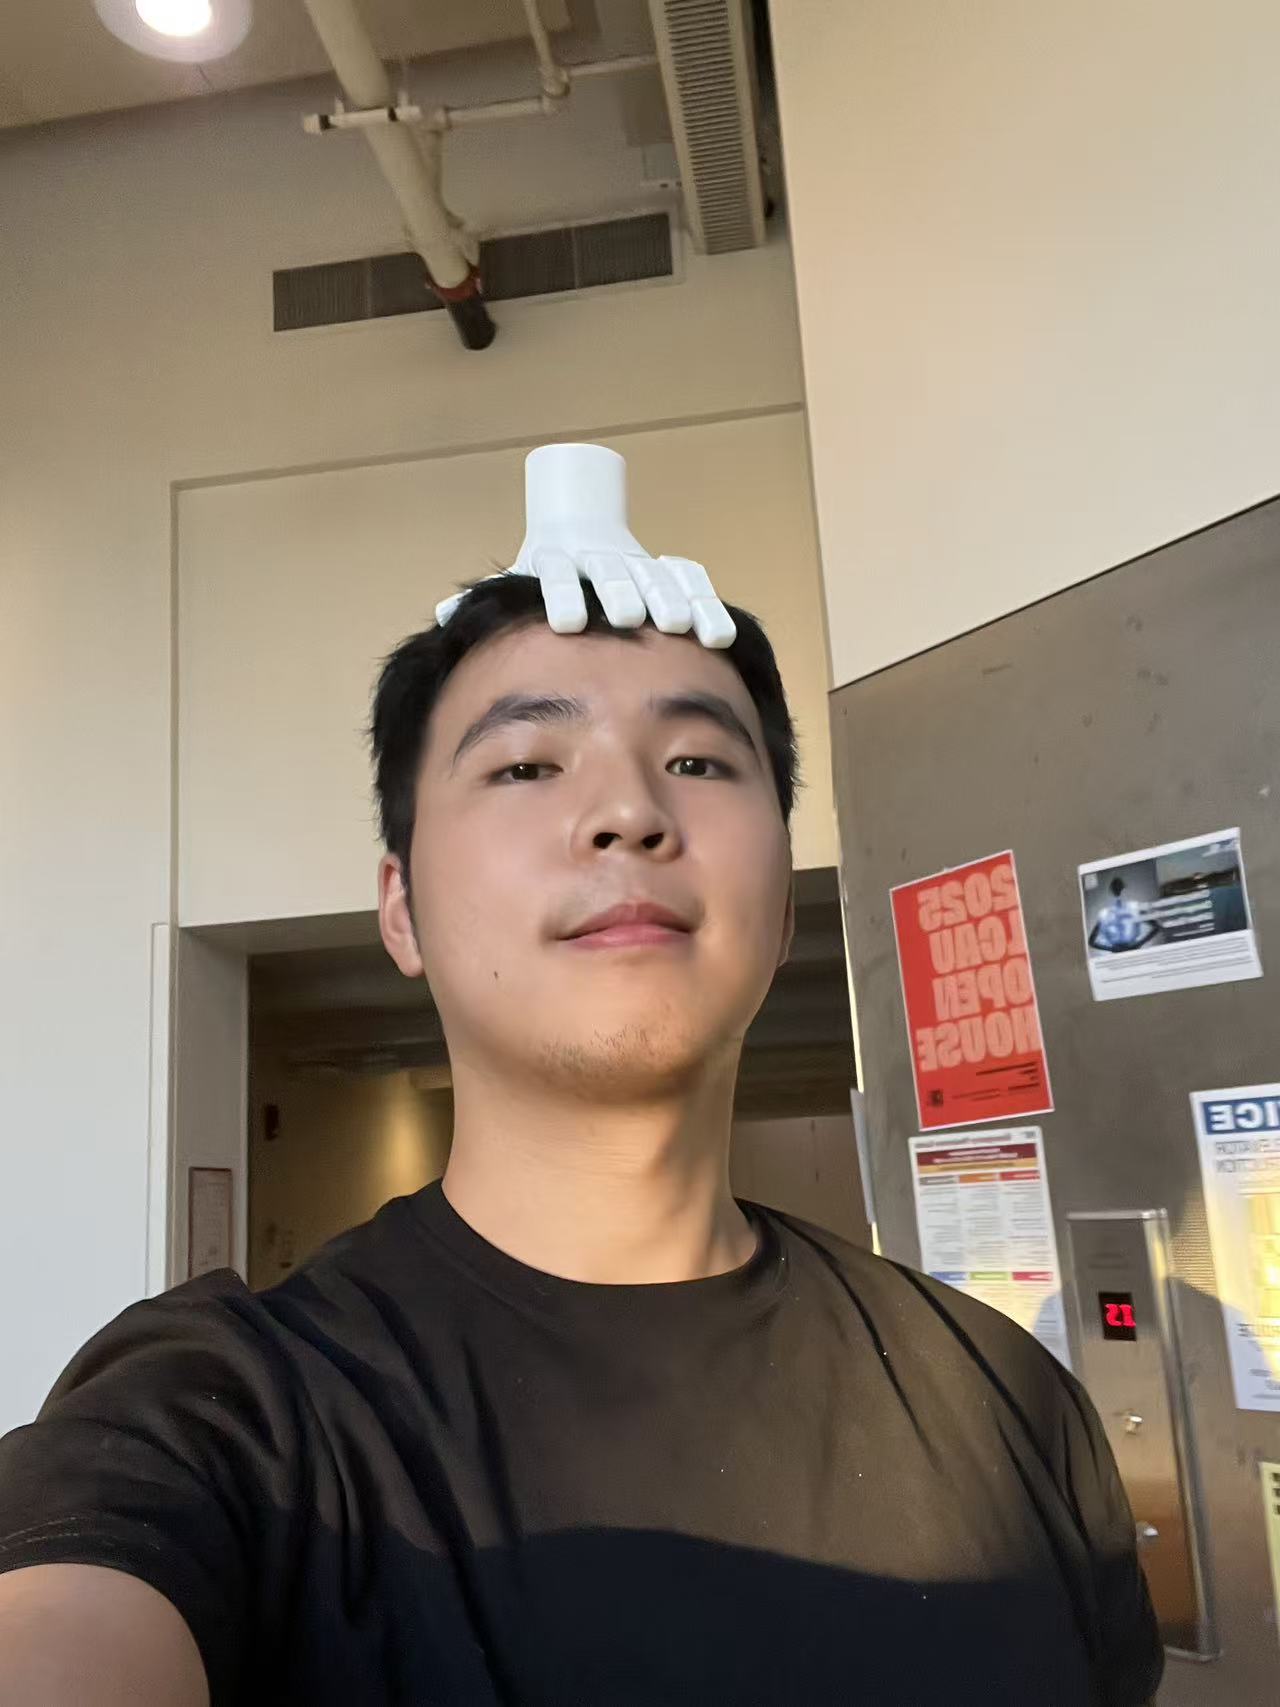
Next I modeled a one-piece articulated finger. Clearances are built into the CAD so it prints in one go and bends right off the bed.
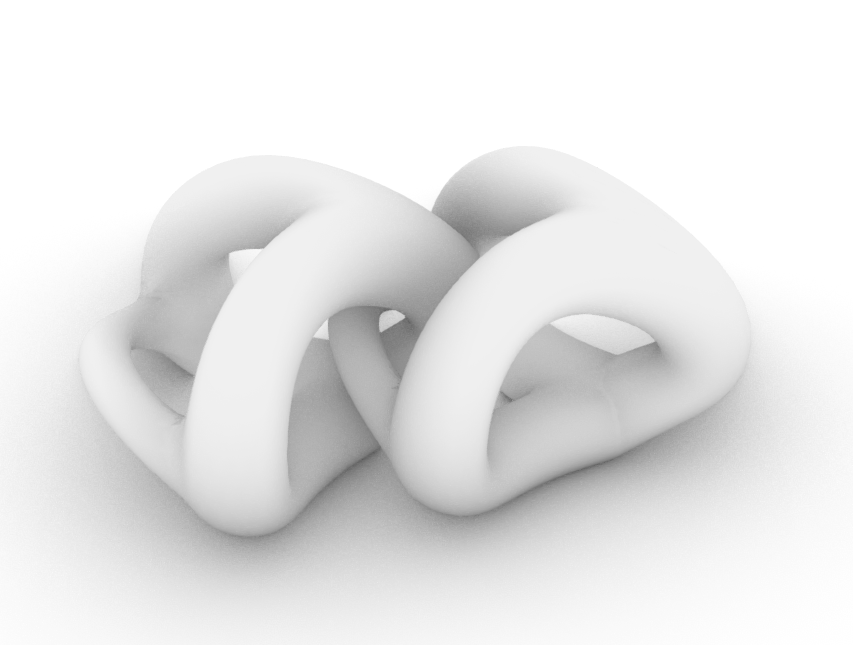
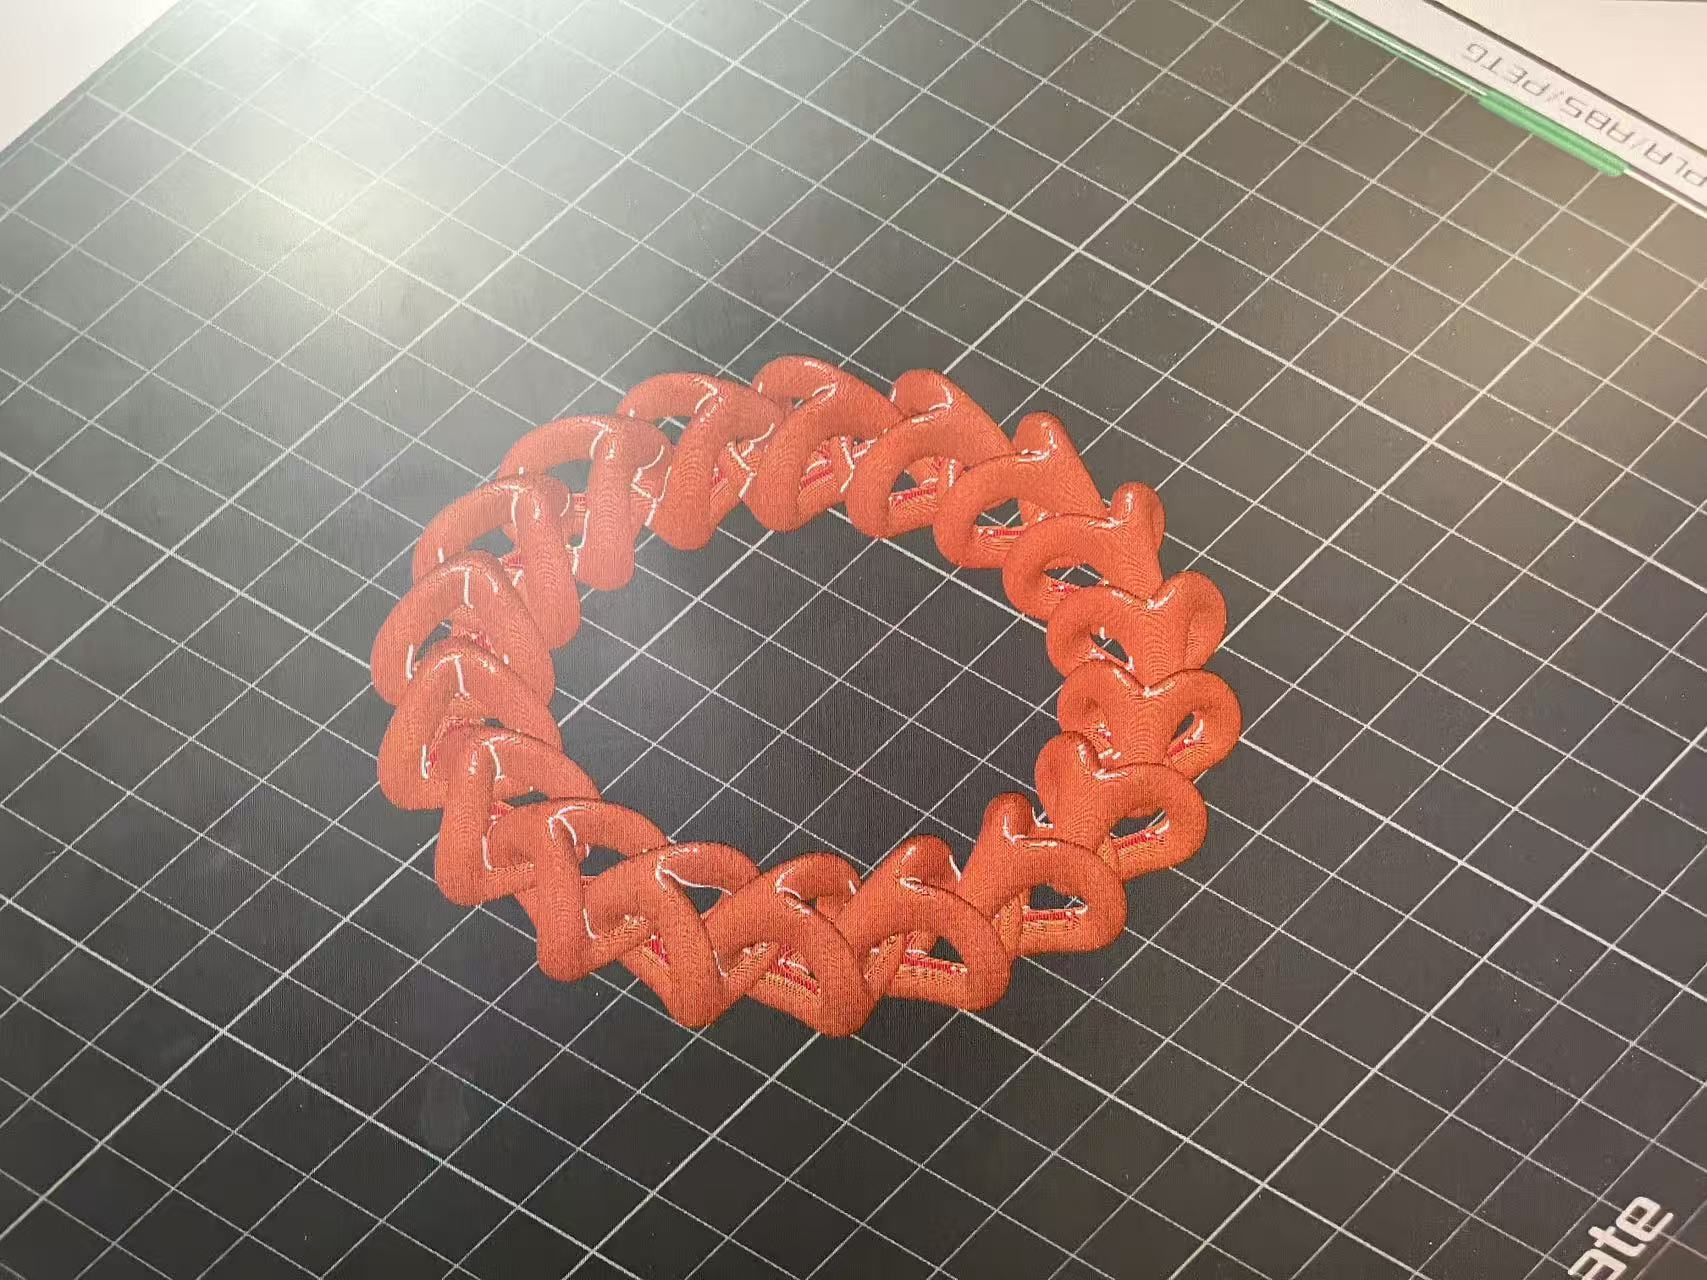
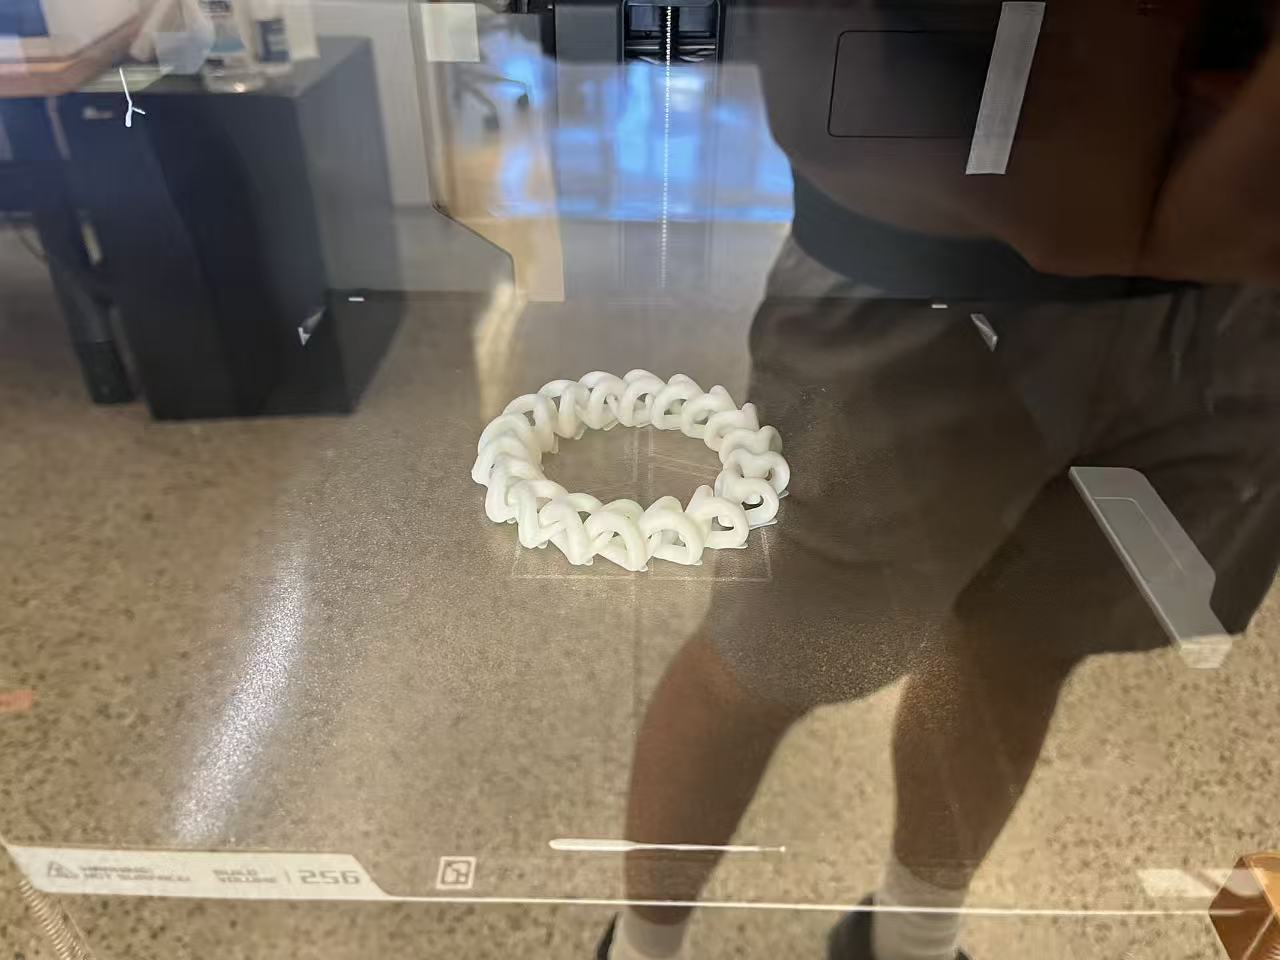
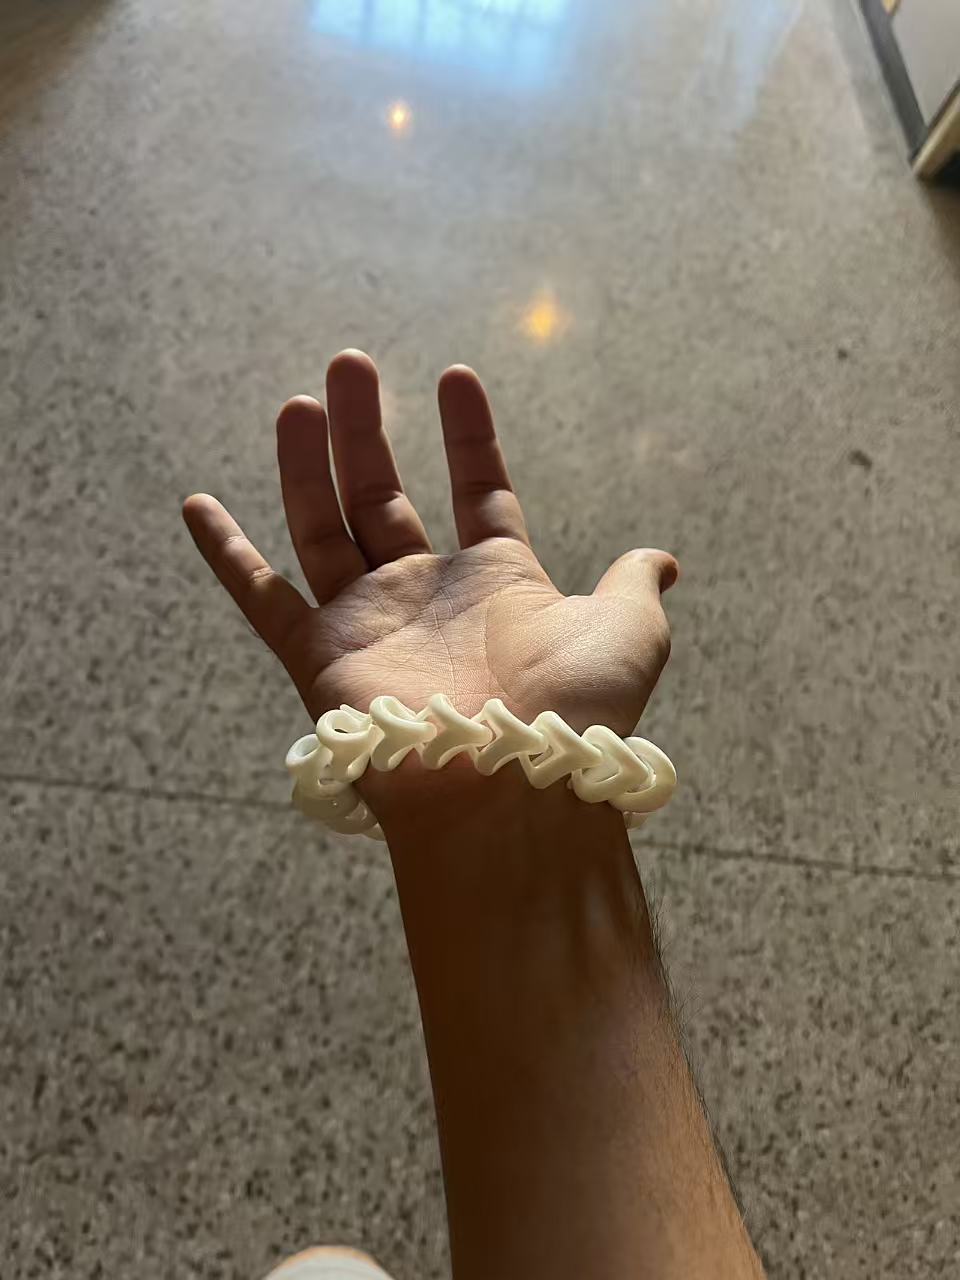
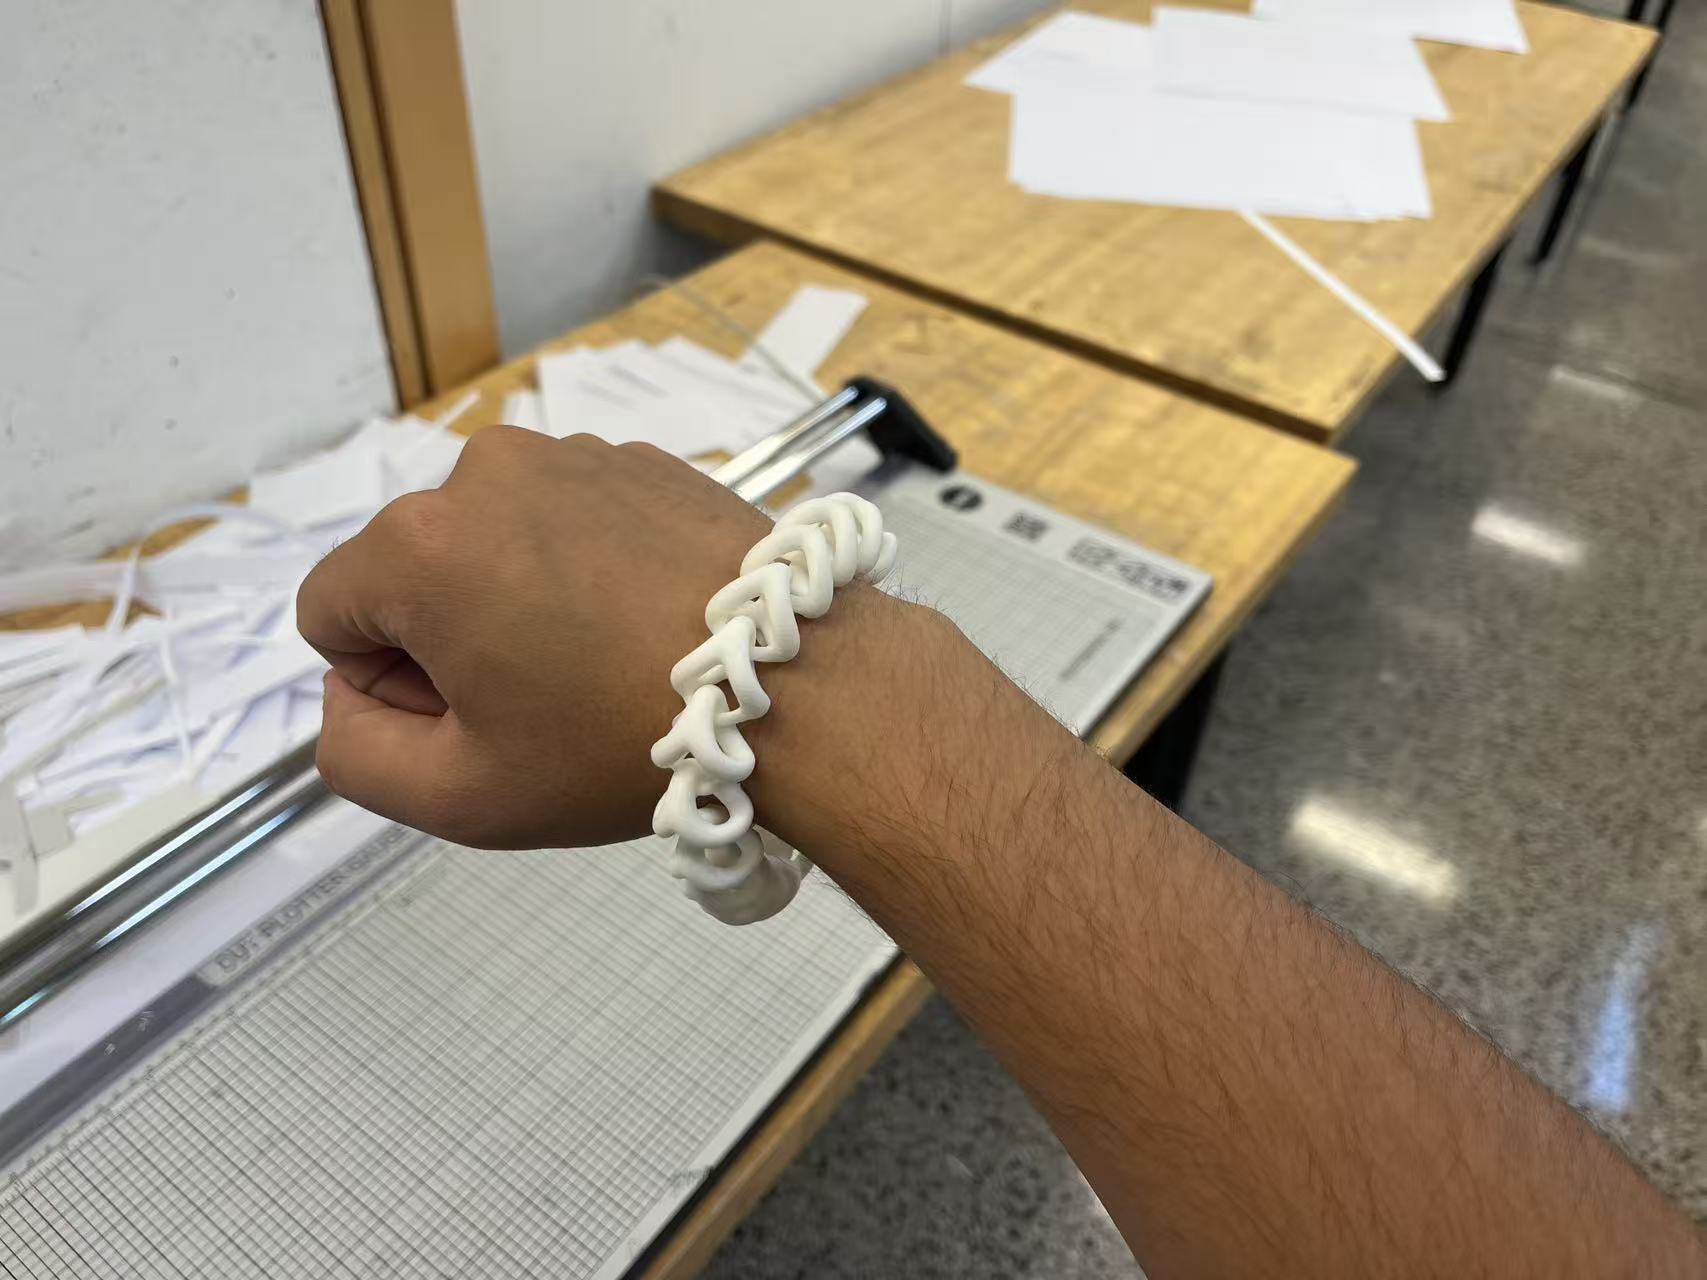
I also played with a self-locking bracelet made from repeating links. Printing in place mostly worked; the first layer drifted a bit but it still clicks together.


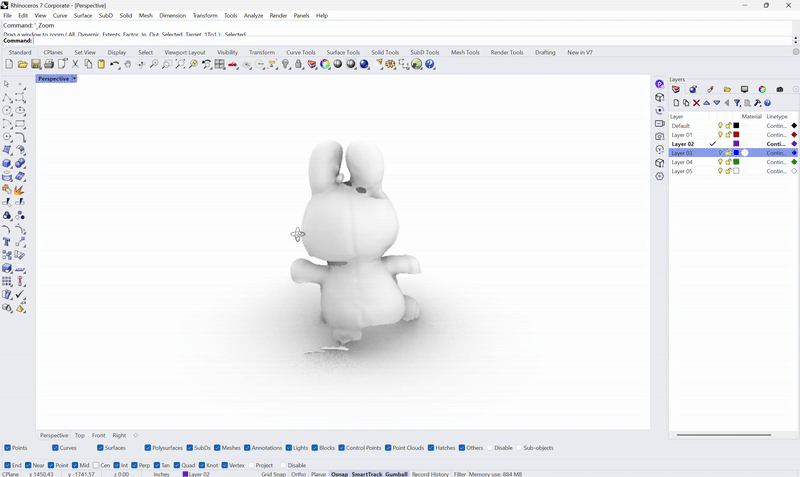
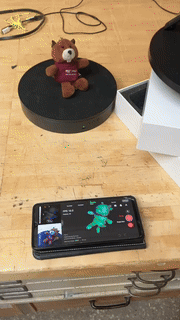
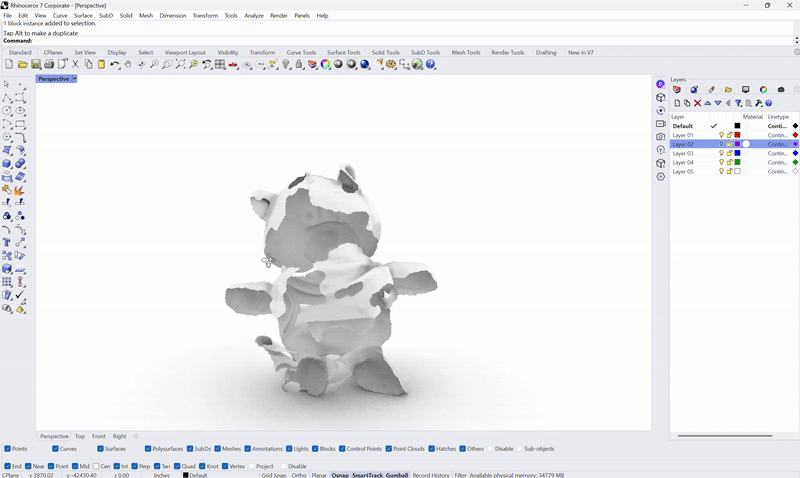
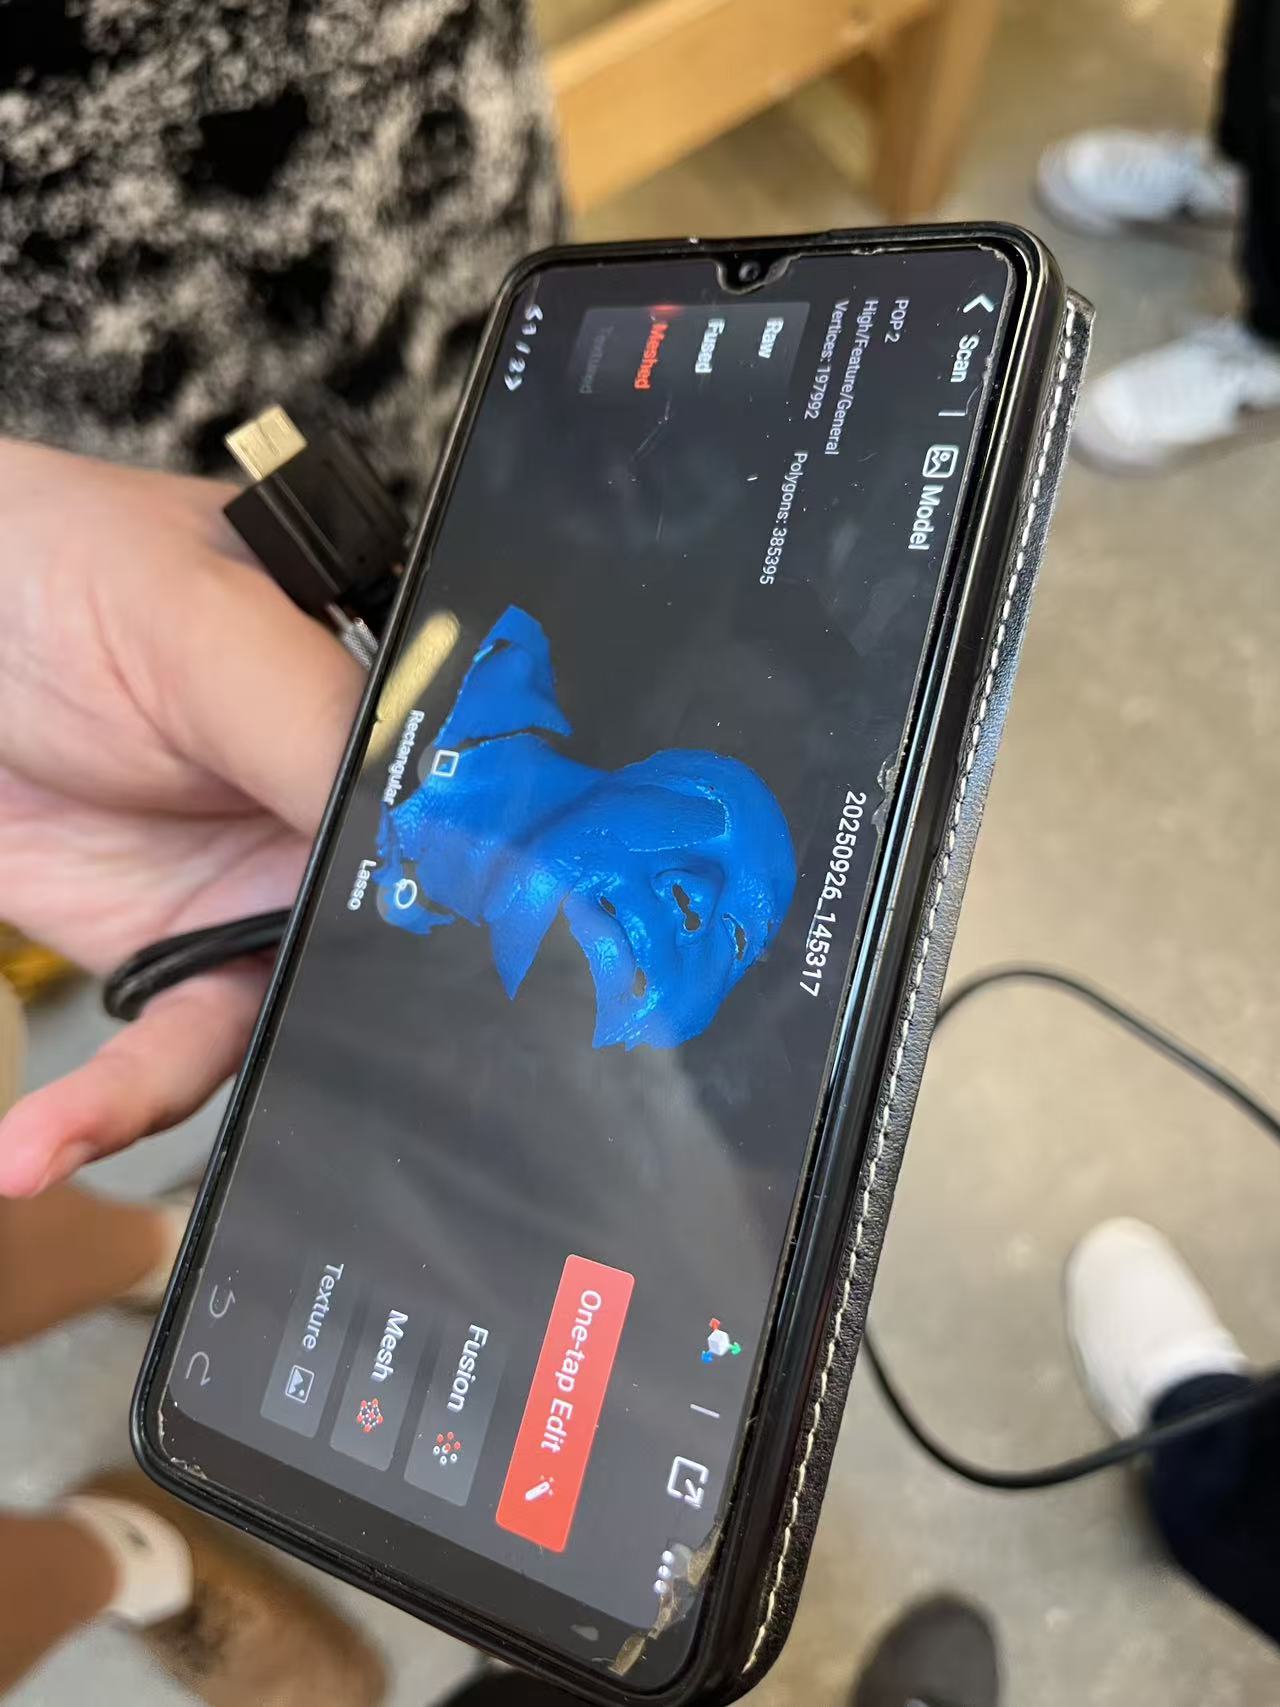
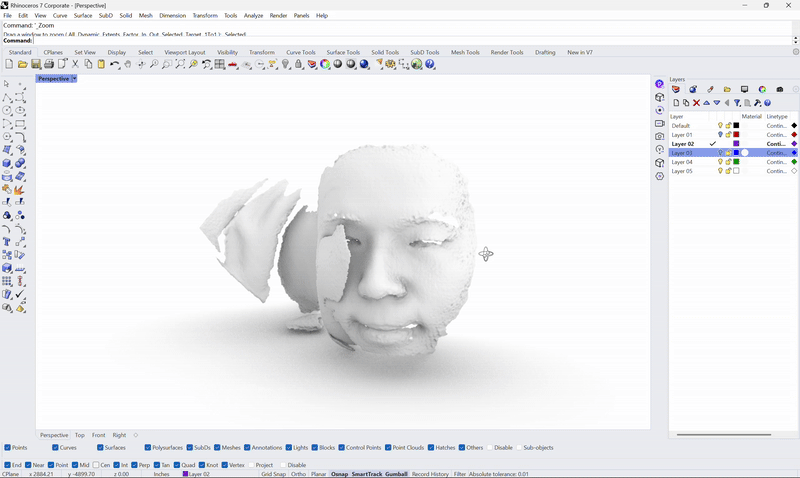
3D Scanning
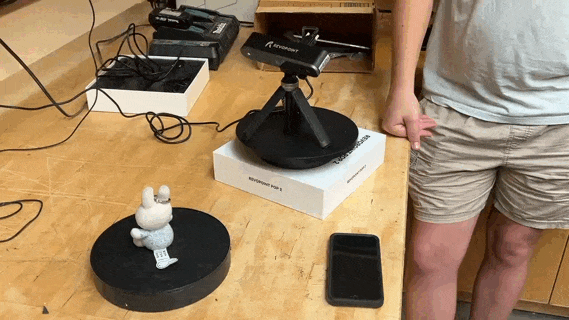
I bounced between a turntable scanner and Polycam on my phone. Turntable looks neat but struggles with plush and the underside; Polycam is forgiving and great for quick context. Not perfect, but fast enough to be fun.


Quick printer settings that worked for me
PLA · 0.4 mm nozzle · 210 °C / 60 °C · 0.20 mm layer · 3 walls · 10–20% gyroid. For overhangs: slow down + more fan; for stiffness: add walls before adding infill.