how to git most basic: 1) edit your html file & save 2) in terminal git add filename 3) git commit -m "write message here" 4) git push
I also learned how to push to git from vscode! It took me ~1 hour of commiting every small change I made to get the hang of git.
- build a personal site in the class archive describing you and your final projectI've never built a website before that wasn't using a framework such as weebly or wordpress. I've decided to attempt to learn to code the html of website myself with html and use existing css. Currently, I'm use this css theme to stylize my page. To learn html I'm using w3schools, Googling, and ChatGPT. In one of my experiments with online image compressors, the file size somehow increased by 11% instead of decreasing. To compress my files I'm currently using gmails built in compression and this website.

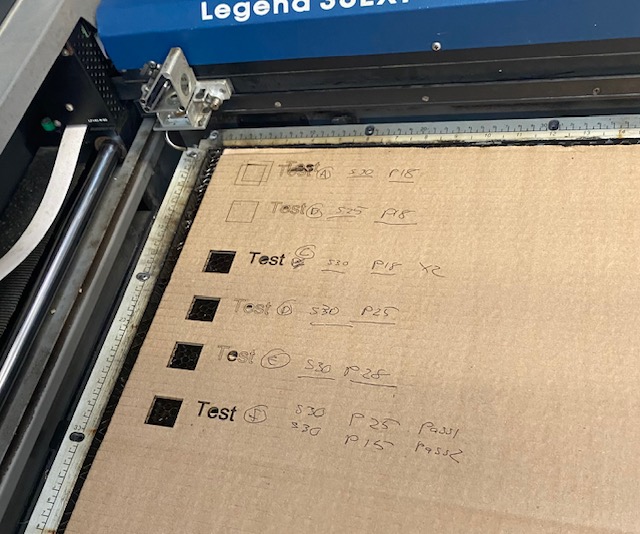
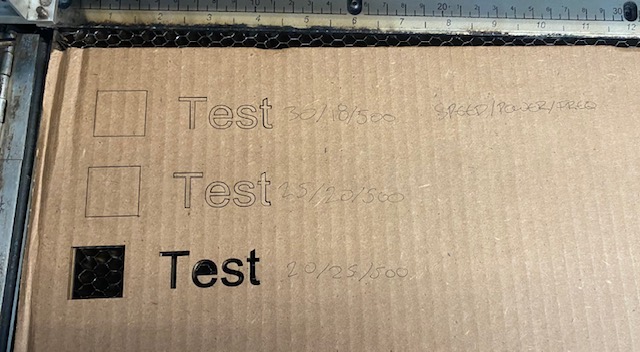
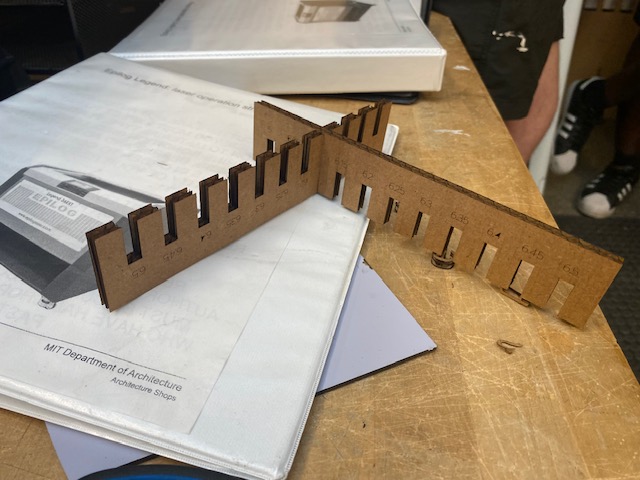
For the group project, We first had Gert train us on the Roland GX-24 vinyl cutter and the Epilog Legend 36ext laser cutter. Using a different type of cardboard, we worked as a group to get the correct cutting settings. Then we set off to characterize the kerf on the cardboard we’d be using for the assignment. Based on the limited intuition we gained from the first cardboard, we decided to do all of our test cuts twice. We found that on the 75 watt laser, the cardboard was cut with two passes of 20 speed, 25 power, and 500 frequency. We then characterized the kerf of the laser. It was difficult to measure the thickness of the cardboard as it is flexible and applying pressure with the calipers caused it to compress. We estimated a thickness of 6.2 mm and decided to check the kerf in both directions. I found a website that automatically generates a kerf check of a previous htmaa website (unfortunately I’ve lost the link to whose website specifically). We used this to create a kerf checker and then we cut out two of them. Then we fit the different slots together and found that 6.15 mm worked best which makes the kerf of the laser .025 mm.
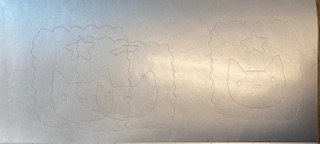
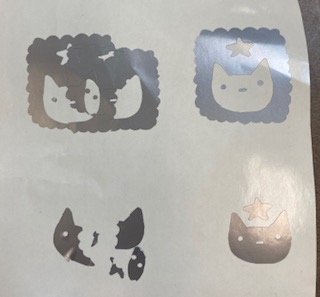
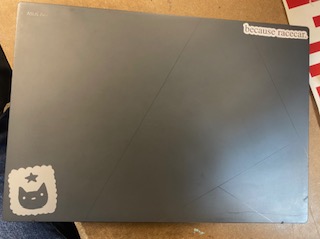
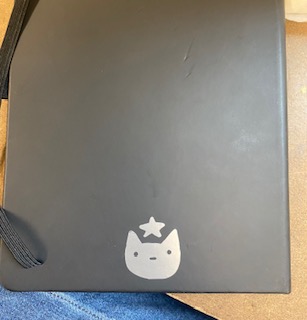
I decided to draw a sticker on my ipad using procreate. I made a silly cat with a star and a ruffle border to look like a stamp. The first attempt on the vinyl cutter, the cut came out weirdly distorted. I think this may possibly be because the roll wasn’t taut and fully rolled up. I took the vinyl out and rolled it tightly. This fixed the issue, but for the second test I set the origin over the first cut as to save a little vinyl. This created what I call the picasso cat sticker. After seeing that the second attempt wasn’t distorted, I moved the origin and created a third cut which created my successful sticker. When I peeled the vinyl off its backing, I made a third sticker which was the insides of the stamp (cat and star). I decided to remove some parts of the picasso sticker to make it look more interesting, though I’m not sure I like it better. In total I made 3 stickers. I used transfer tape to transfer my 3 new stickers to different locations. The intended sticker went on my laptop and the other two went on and into my notebook.

Here are the final results. Also featuring a "because racecar." sticker I made using the sticker maker in MAD last year.

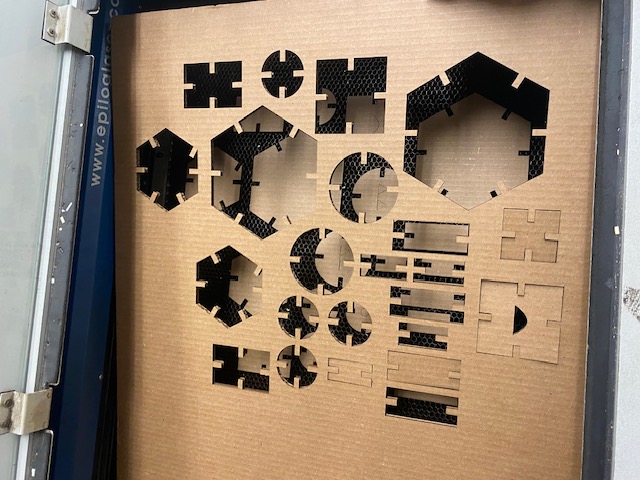
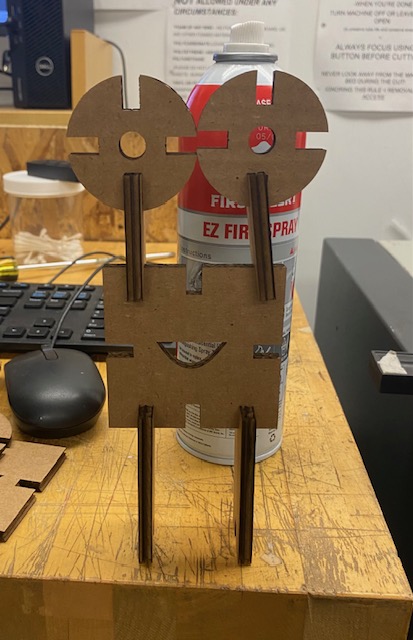
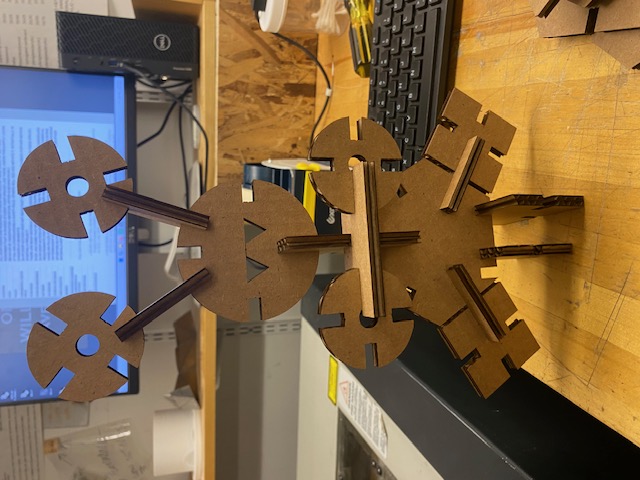
For creating a parametric assembly kit, I decided to create a “build a friend” where the user can make different monsters with eye and mouth components. I made the different components using fusion 360. I made two different mouths and one type of eyes. I also made a rectangle with two slots with the intention to use it to connect the eyes to components so you can see the mouth and eyes from the same view. I also made other shapes to make the body and appendages of your friend. As this was the first project for this class, I was worried about time management and decided to make the kit on Friday night. Due to this, there are a lot of problems in my kit that became obvious to me as I was cutting and assembling it. These include: tiny dots from fusion 360 modeling, one the slots being messed up, the slots being too long so they cover the eyes if you use two slots, and even the whole existence of the mechanism that only one part needs to be slotted. I was planning to remake the kit, but ended up running out of time - so I’m glad that I made it early as I am still learning the time management skills for this class.