From Ideation to Implementation
It's November 5th, and I have roughly a month to bring the HyperCarousel to life. What started as napkin sketches and wild ideas has evolved into a concrete implementation plan. After being stuck at the ideation phase, I've finally broken through with a clear technical roadmap.
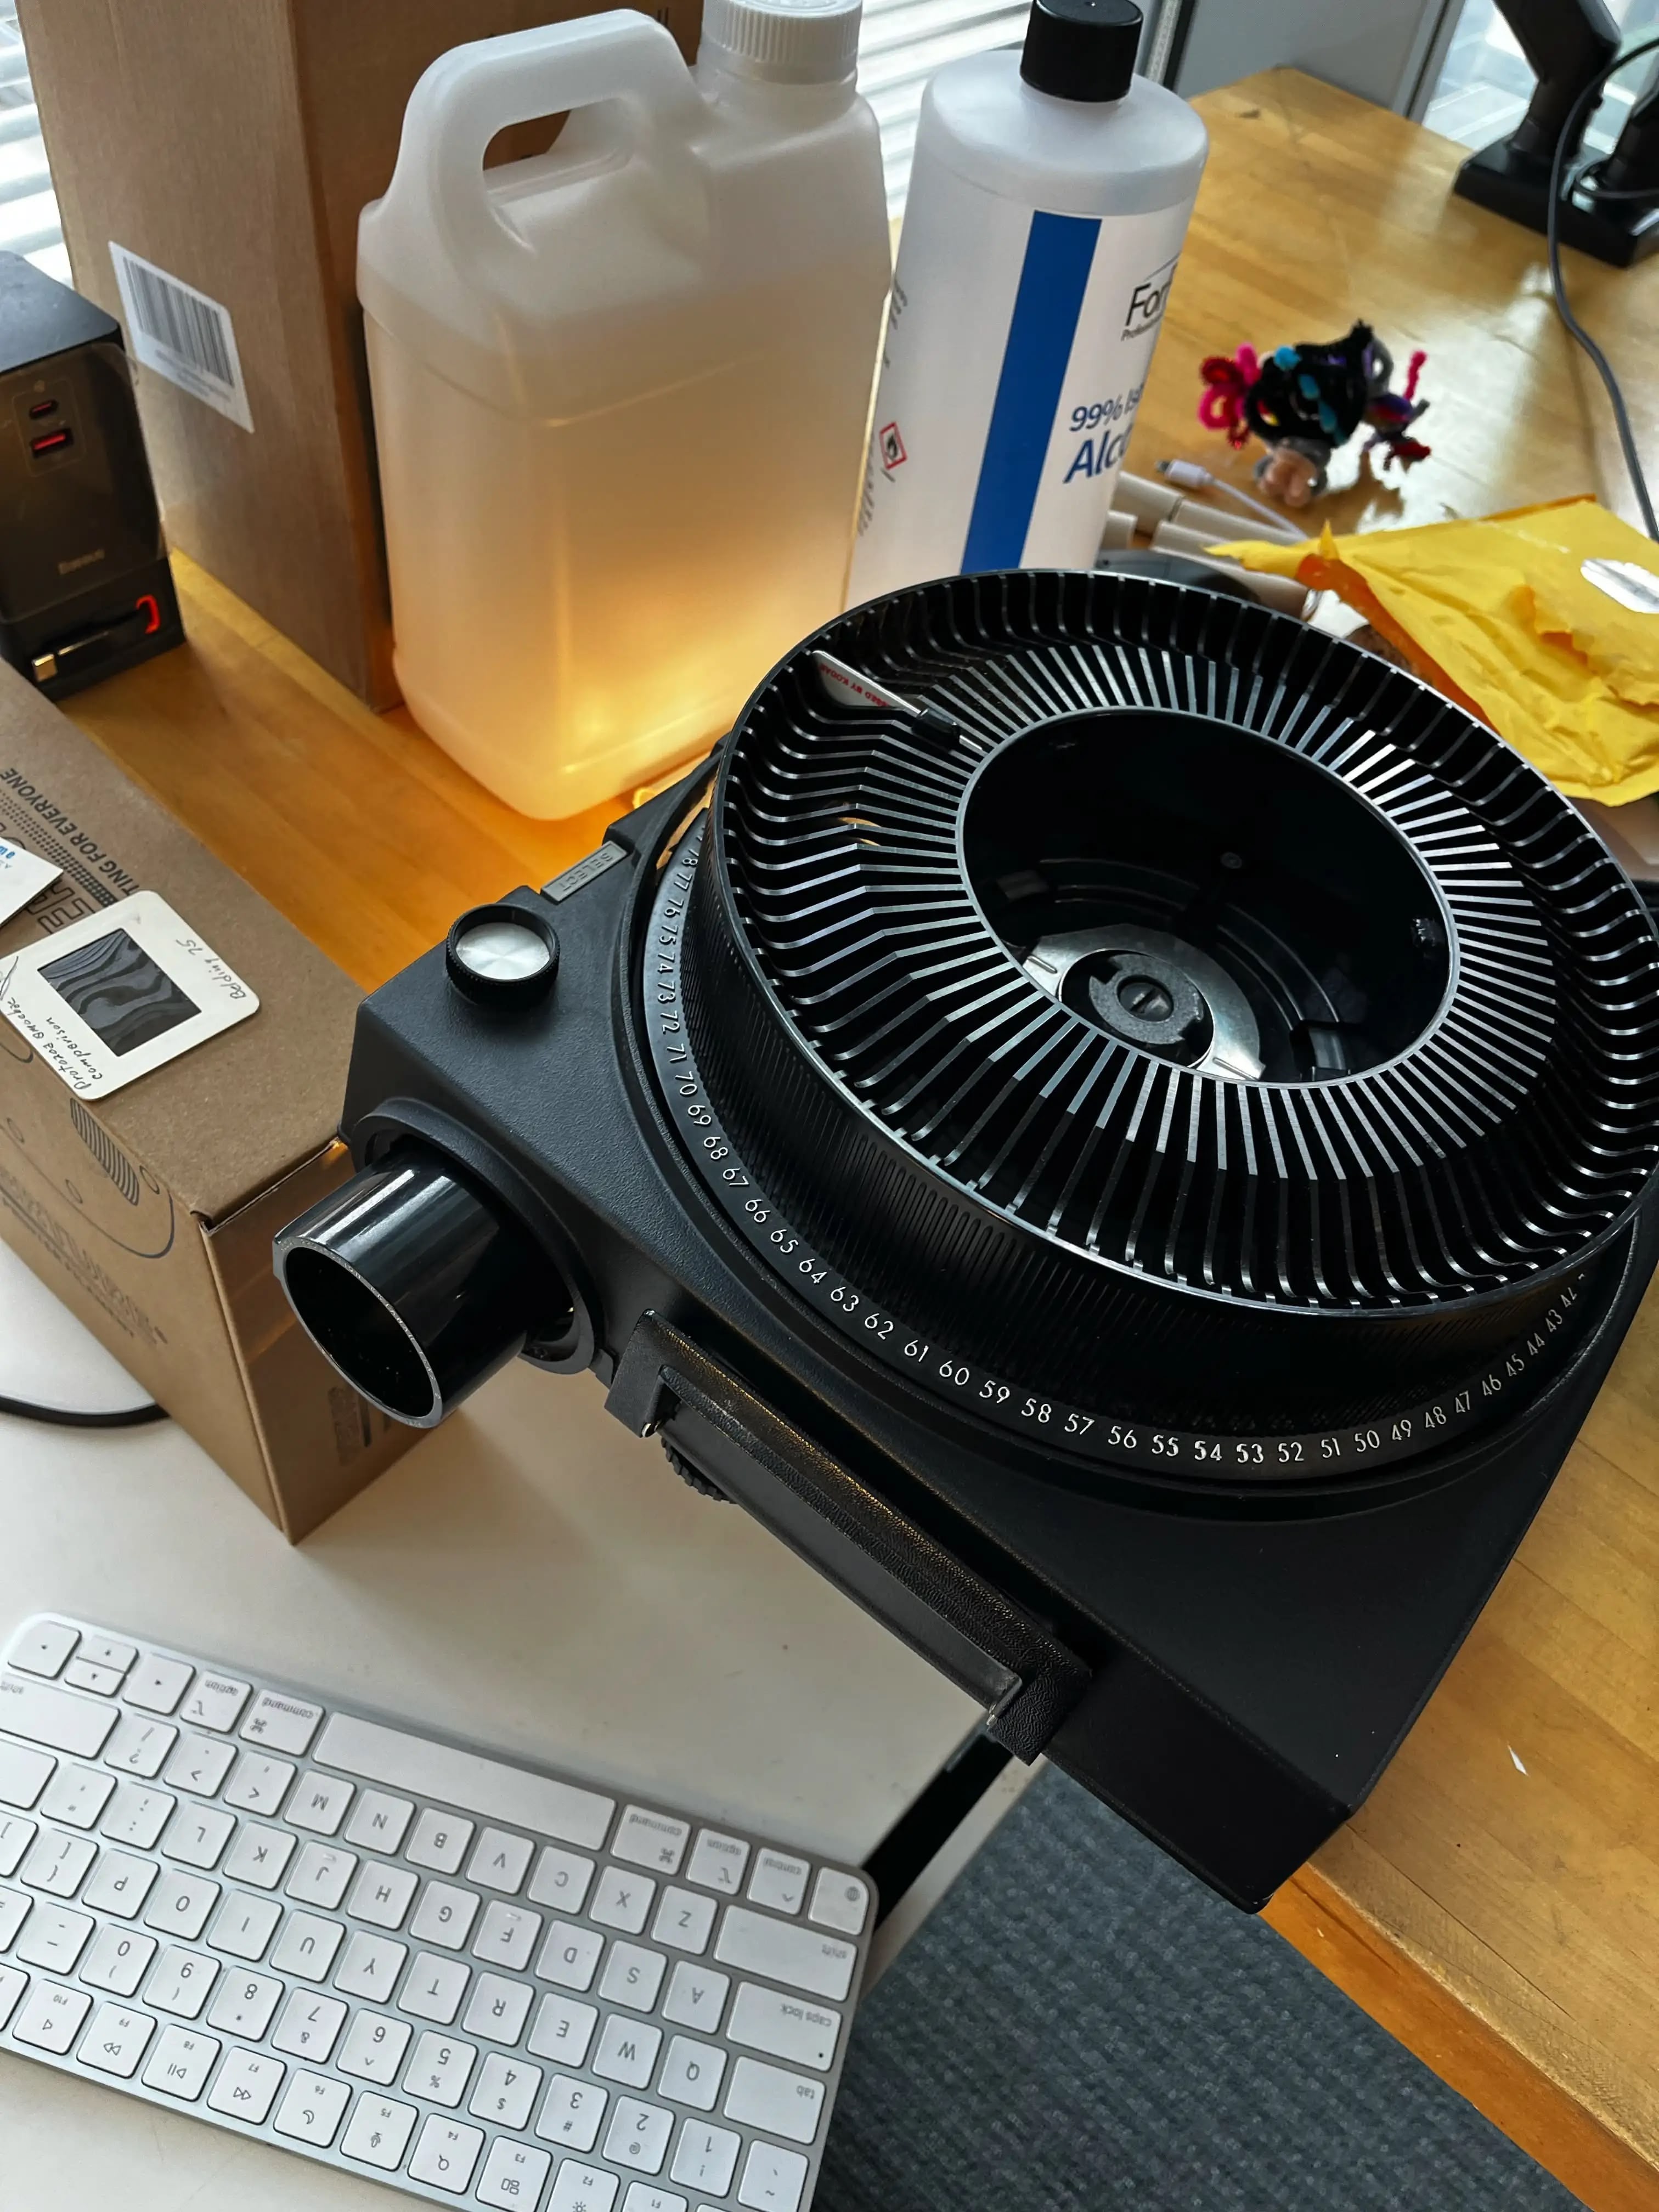
The core concept remains unchanged: a Kodak carousel slide projector, but with cursor support (mouse/trackball movement) and hyperlink capability (click on an element, advance to another slide). Or put another way: a web browser in a world where semiconductors exist, but nobody figured out a better display technology than microfilm.
What is HyperCarousel?
HyperCarousel (a portmanteau of Hypertext and Carousel) is my attempt to create a faithful mechanical implementation of Vannevar Bush's Memex vision. Unlike existing digital recreations, this project maintains the analog, mechanical spirit of the original while solving the hypertext navigation problem that Bush couldn't crack in 1945.
Some interesting finds
Before I dive into HyperCarousel, I want to share some interesting finds that I found during my research.
Existing Memex Prototypes
I found several attempts to bring the Memex to life:
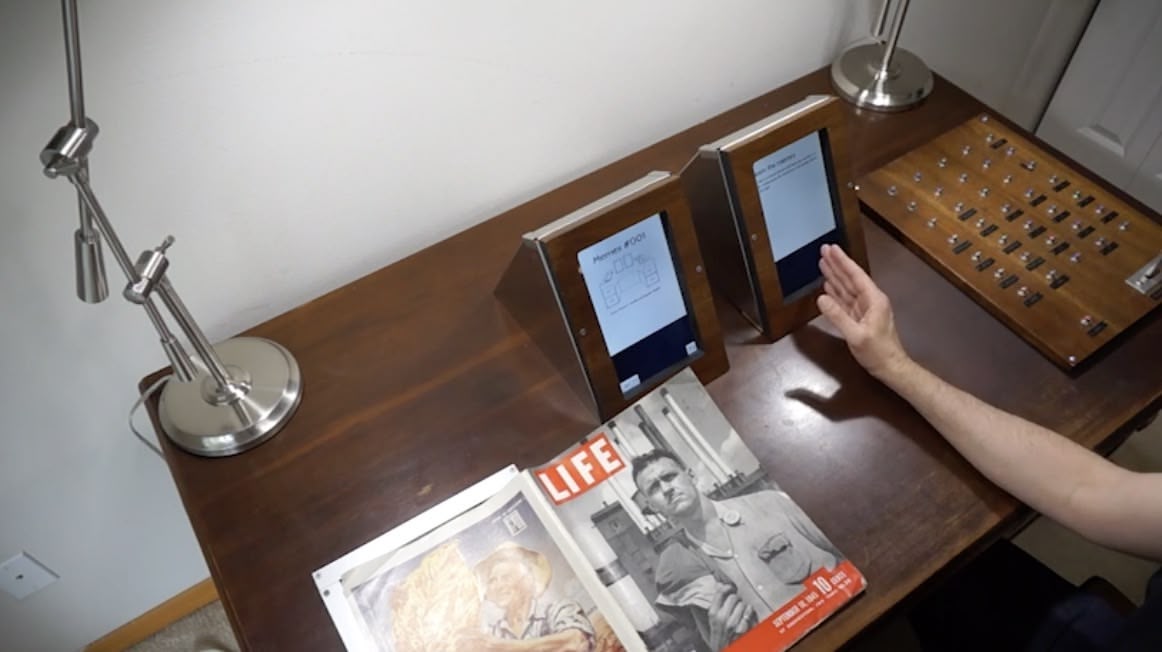
Trevor Flowers' Memex #001 (2014) created a visually faithful wooden desk but used digital tablets instead of microfilm. While beautiful, it missed the mechanical essence I'm after.
Felix Scharstein and Jörg Rädler's MEMEX (2015) at Vintage Computing Festival Berlin came closer, using digital components while maintaining Bush's interaction concepts - search, browse, and create trails.
None of these prototypes are what I'm looking for. I'm more curious about the interaction of hypertext using antique technology.
The Microdot Revelation
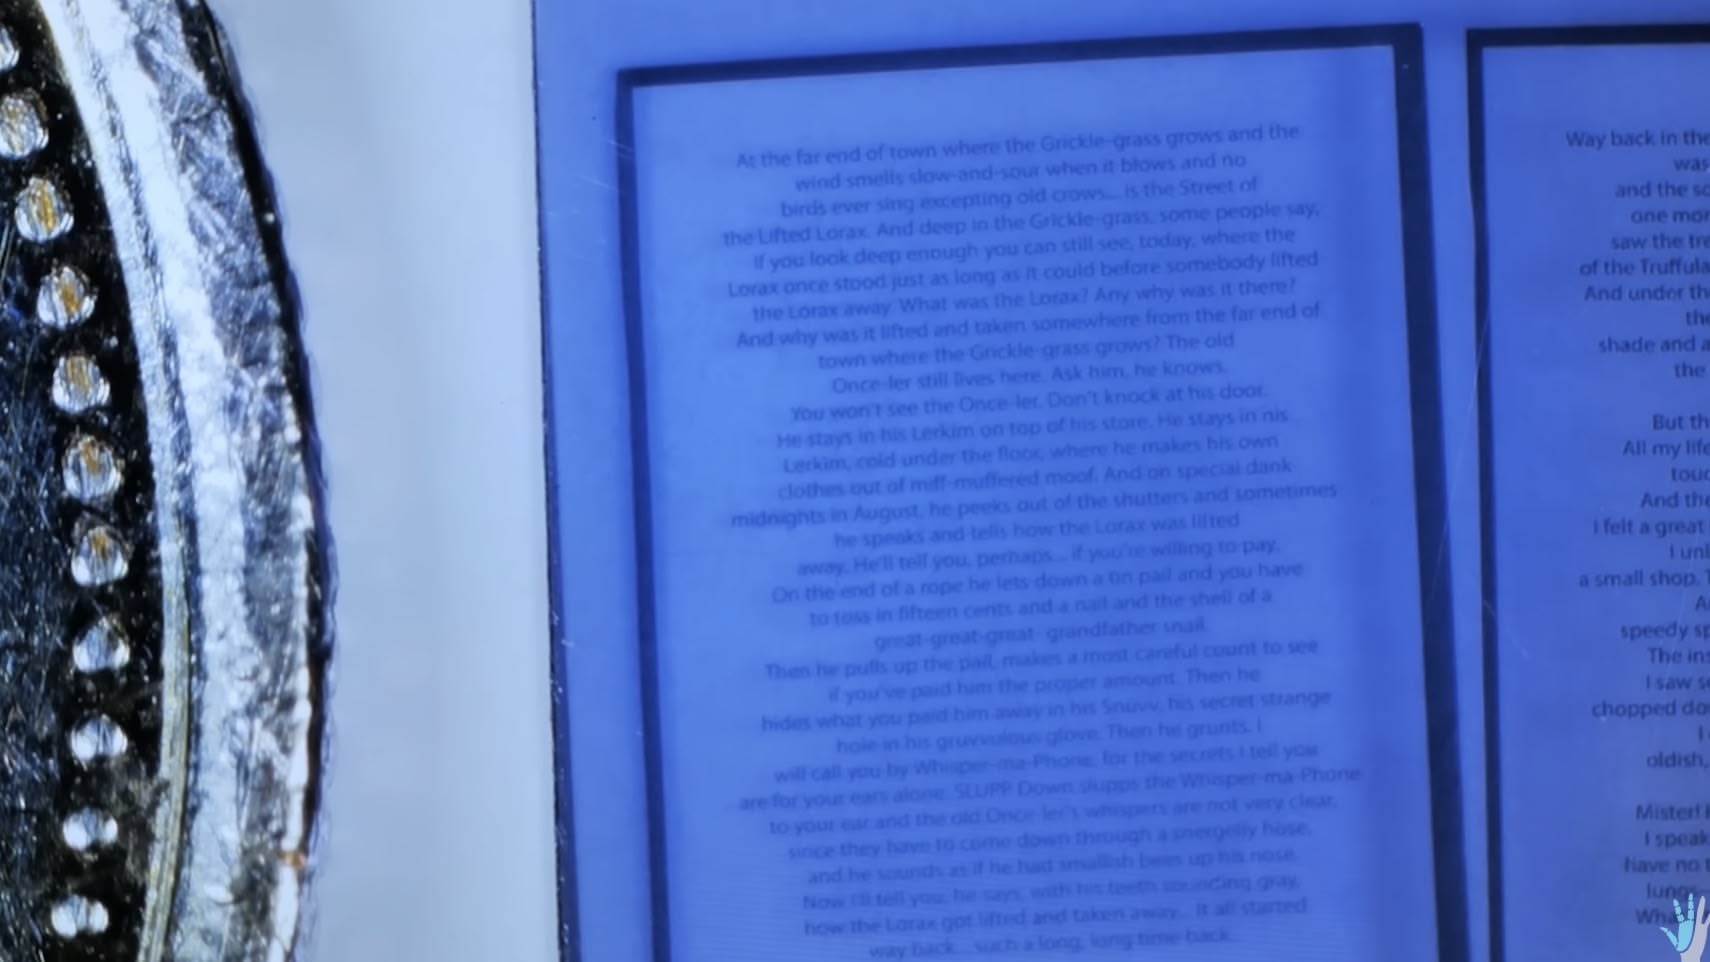
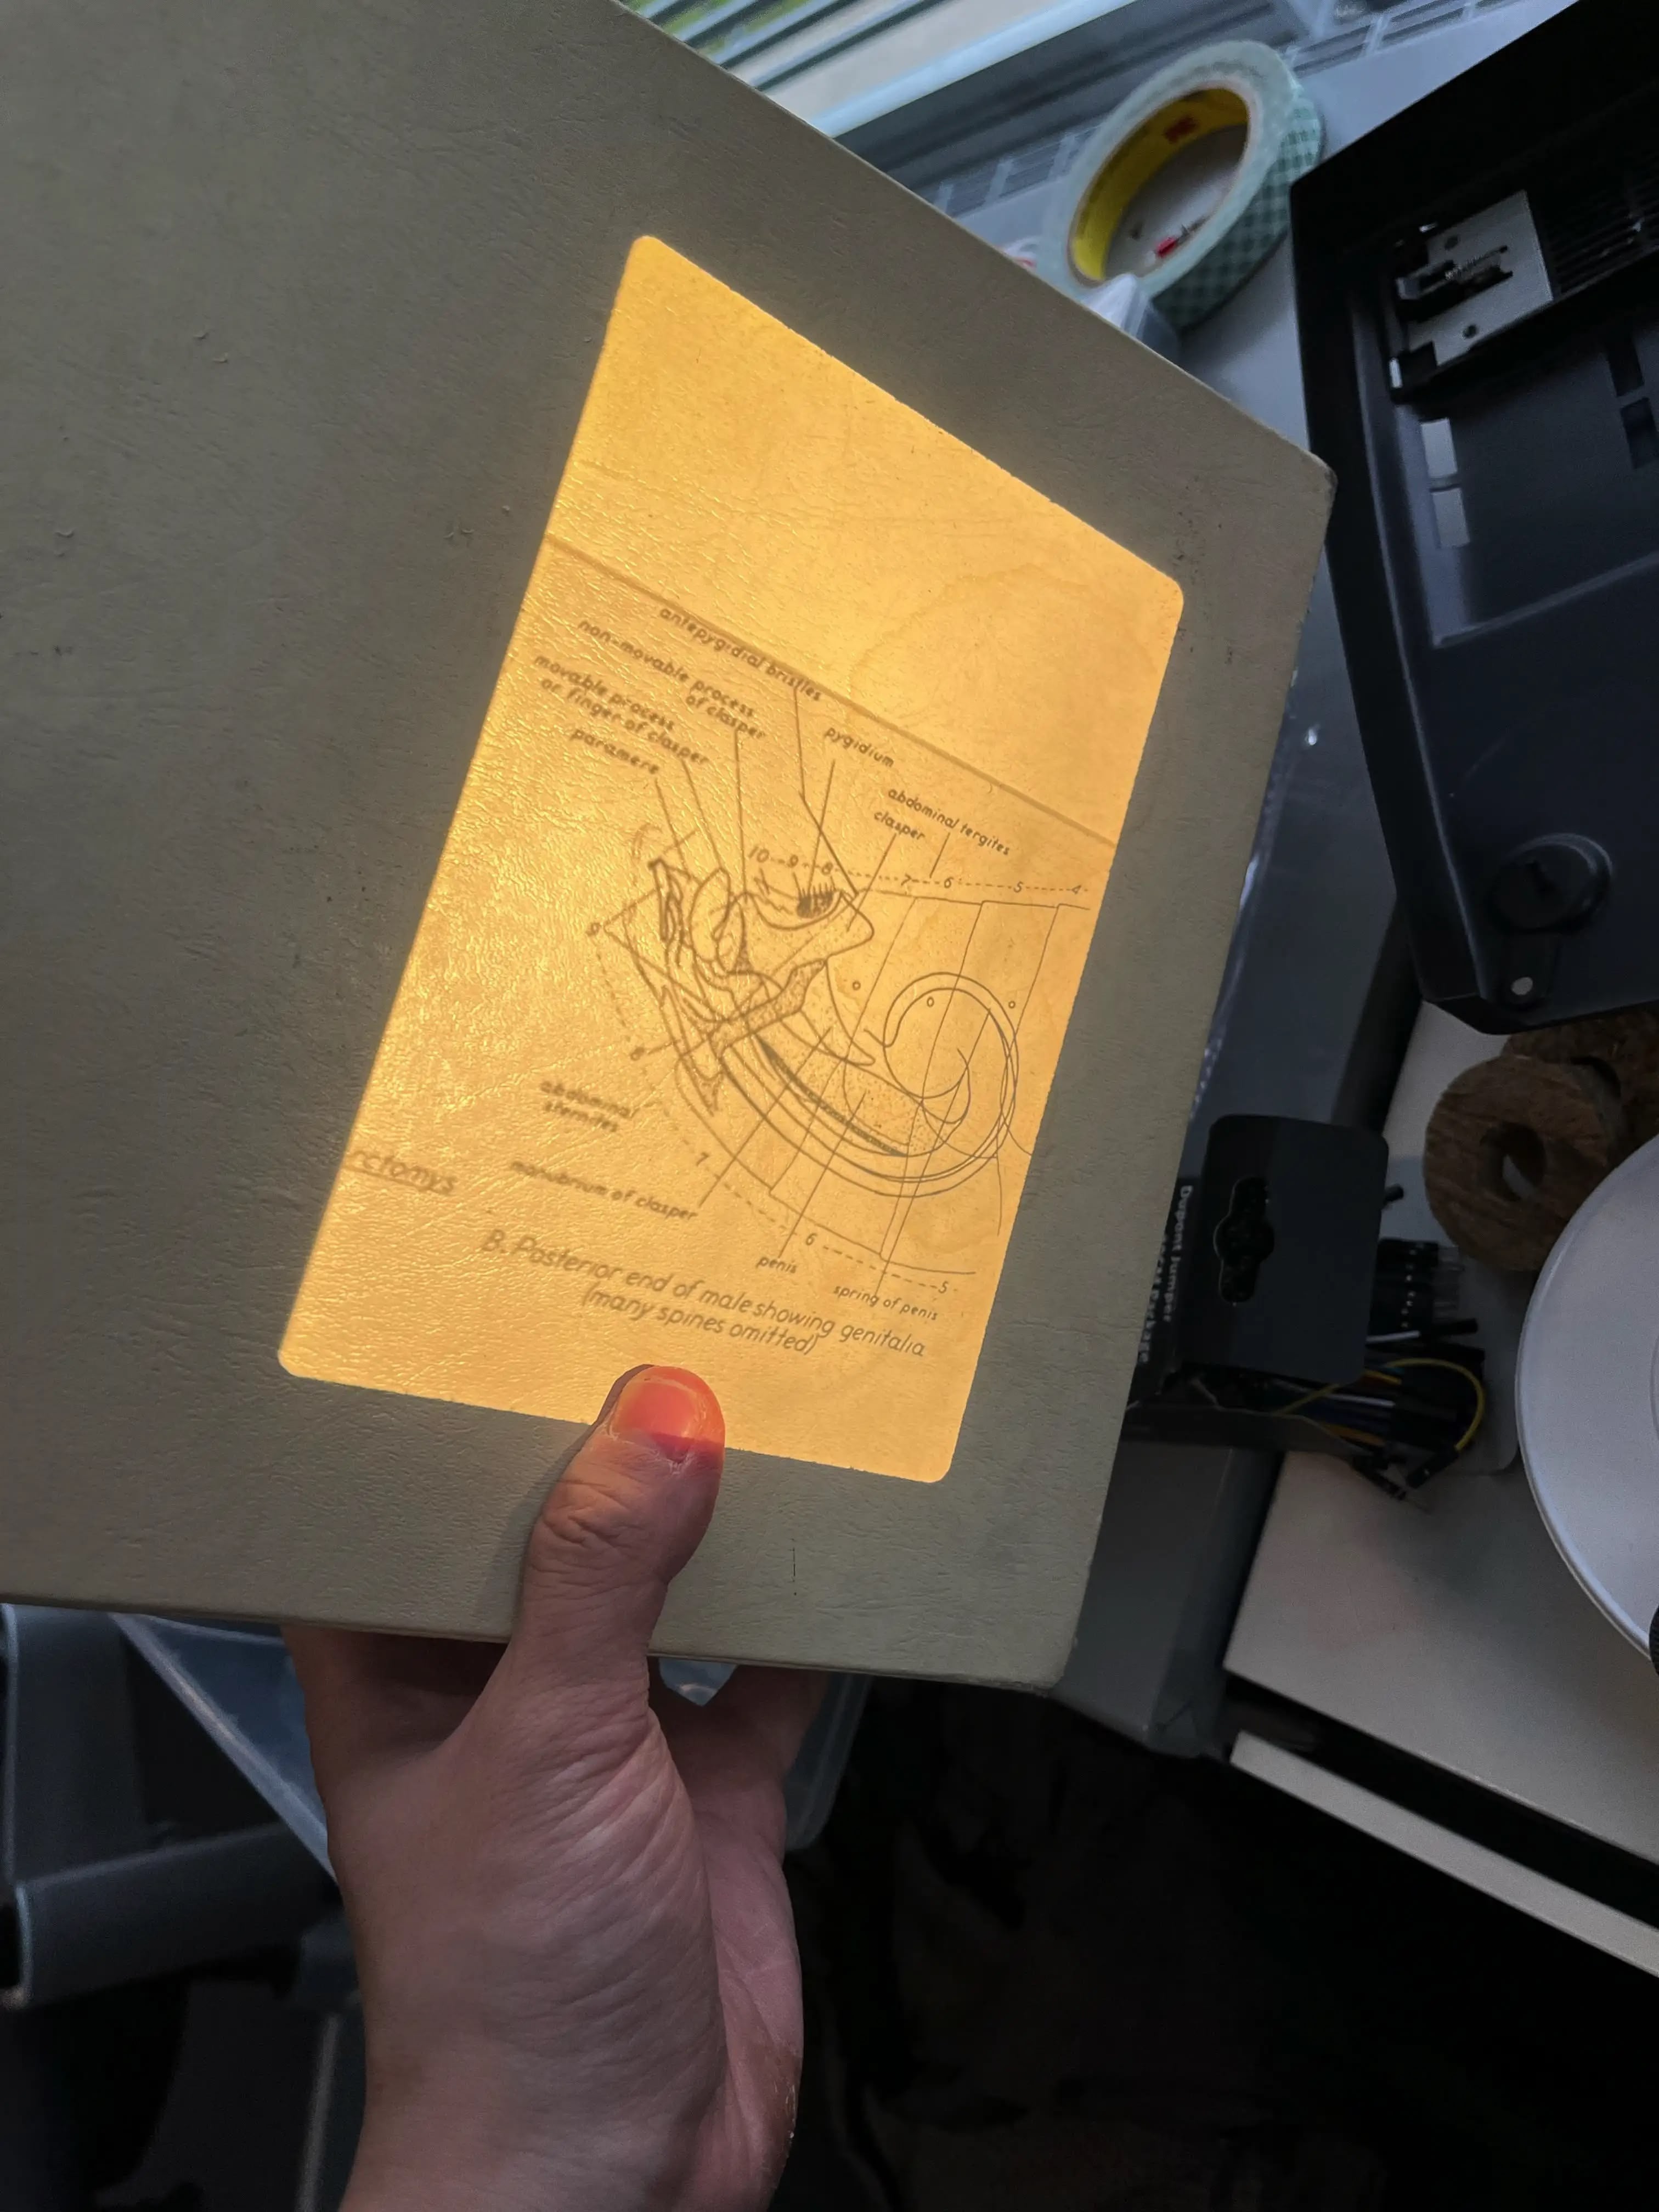
Research into CIA microdot technology revealed that 35mm film has incredible resolution capabilities:
- Standard ISO 50 film: ~125 line pairs/mm (54 megapixels equivalent)
- Special spy films using photosensitive polymers: up to 800 line pairs/mm
- Sufficient resolution to encode multiple hyperlink markers per slide
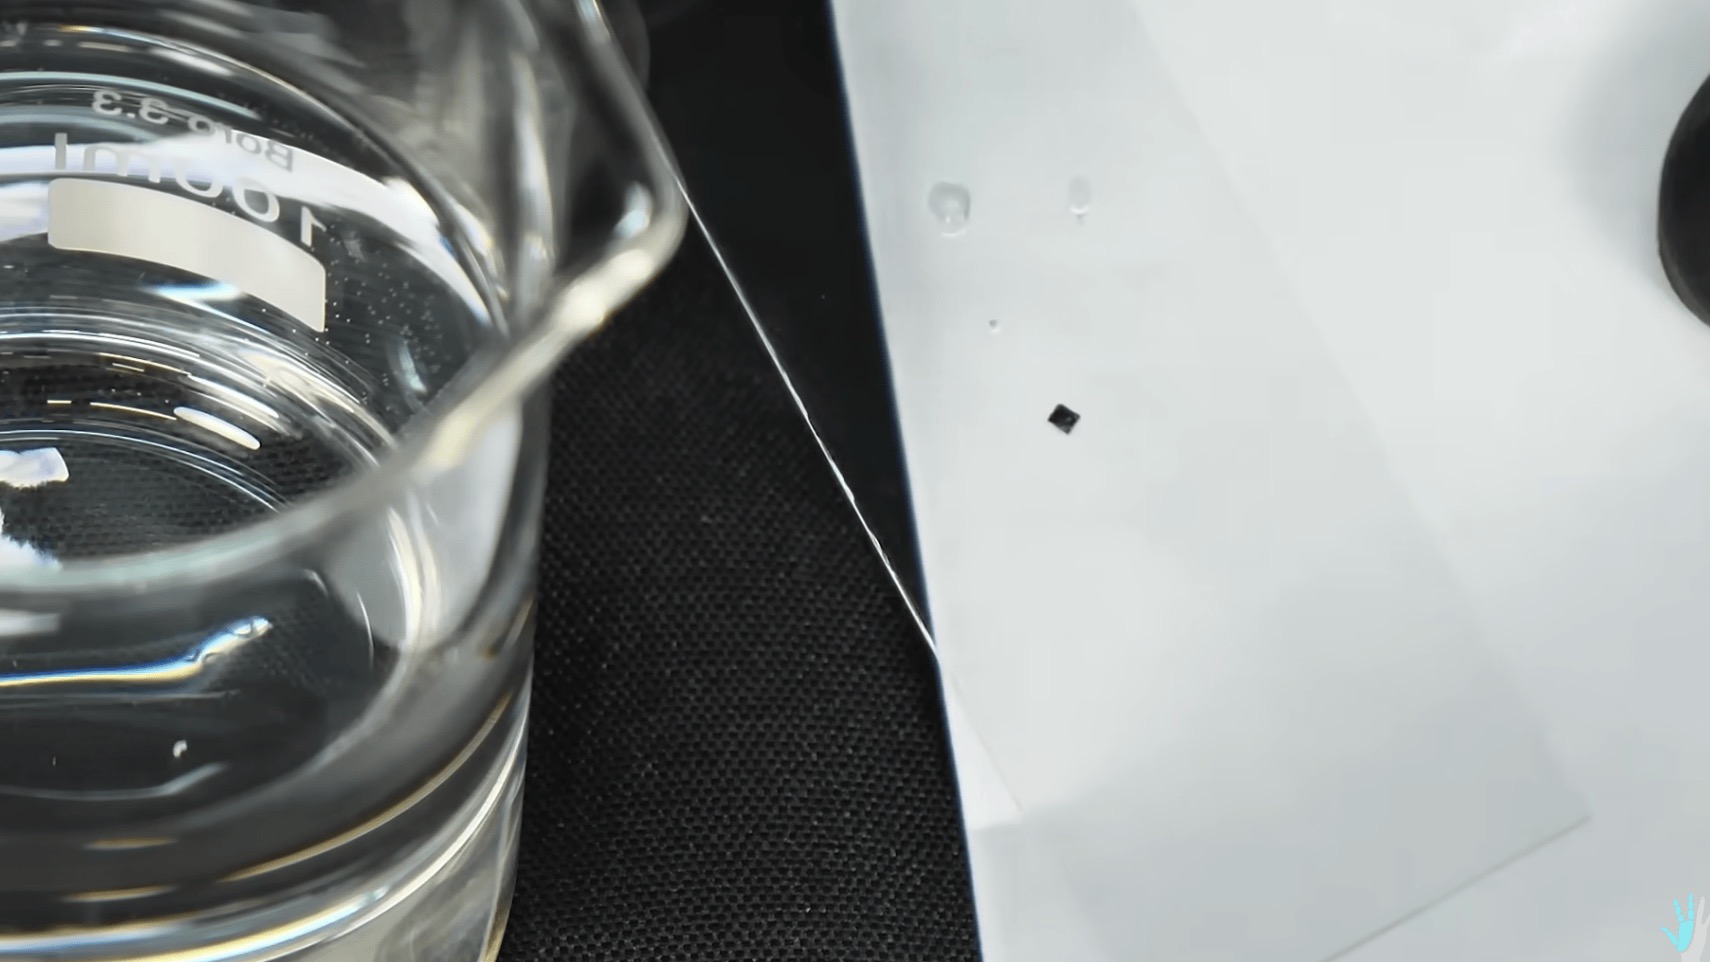
This validates using film as the primary storage medium while adding hypertext capabilities. I also bought some microfilm from eBay to test the resolution capabilities.
Key Design Requirements
The Low-Tech Philosophy
A core principle emerged during development:
No Digital Tools for Creators
As least the user/creator of a HyperCarousel Deck does not need to use a digital device to make the deck. Keeping it low tech (mechanical -> electrical -> electronic) maintains the philosophical integrity of the project.
This constraint shapes every design decision and distinguishes HyperCarousel from purely digital implementations.
The Creator's Workflow
Creating a HyperCarousel deck follows this analog-first process:
1. Prepare Slides on Paper
Creators start with physical documents - handwritten notes, typed pages, or printed materials. No computers required.
2. Photograph with Film
Using a standard 35mm camera with positive film, photograph each page with proper magnification ratios (e.g., from letter-size paper to 35mm frame).
3. Frame and Number
Mount the developed positive film in plastic clips (off-the-shelf components) and number each slide for personal reference.
4. Encode Hyperlinks
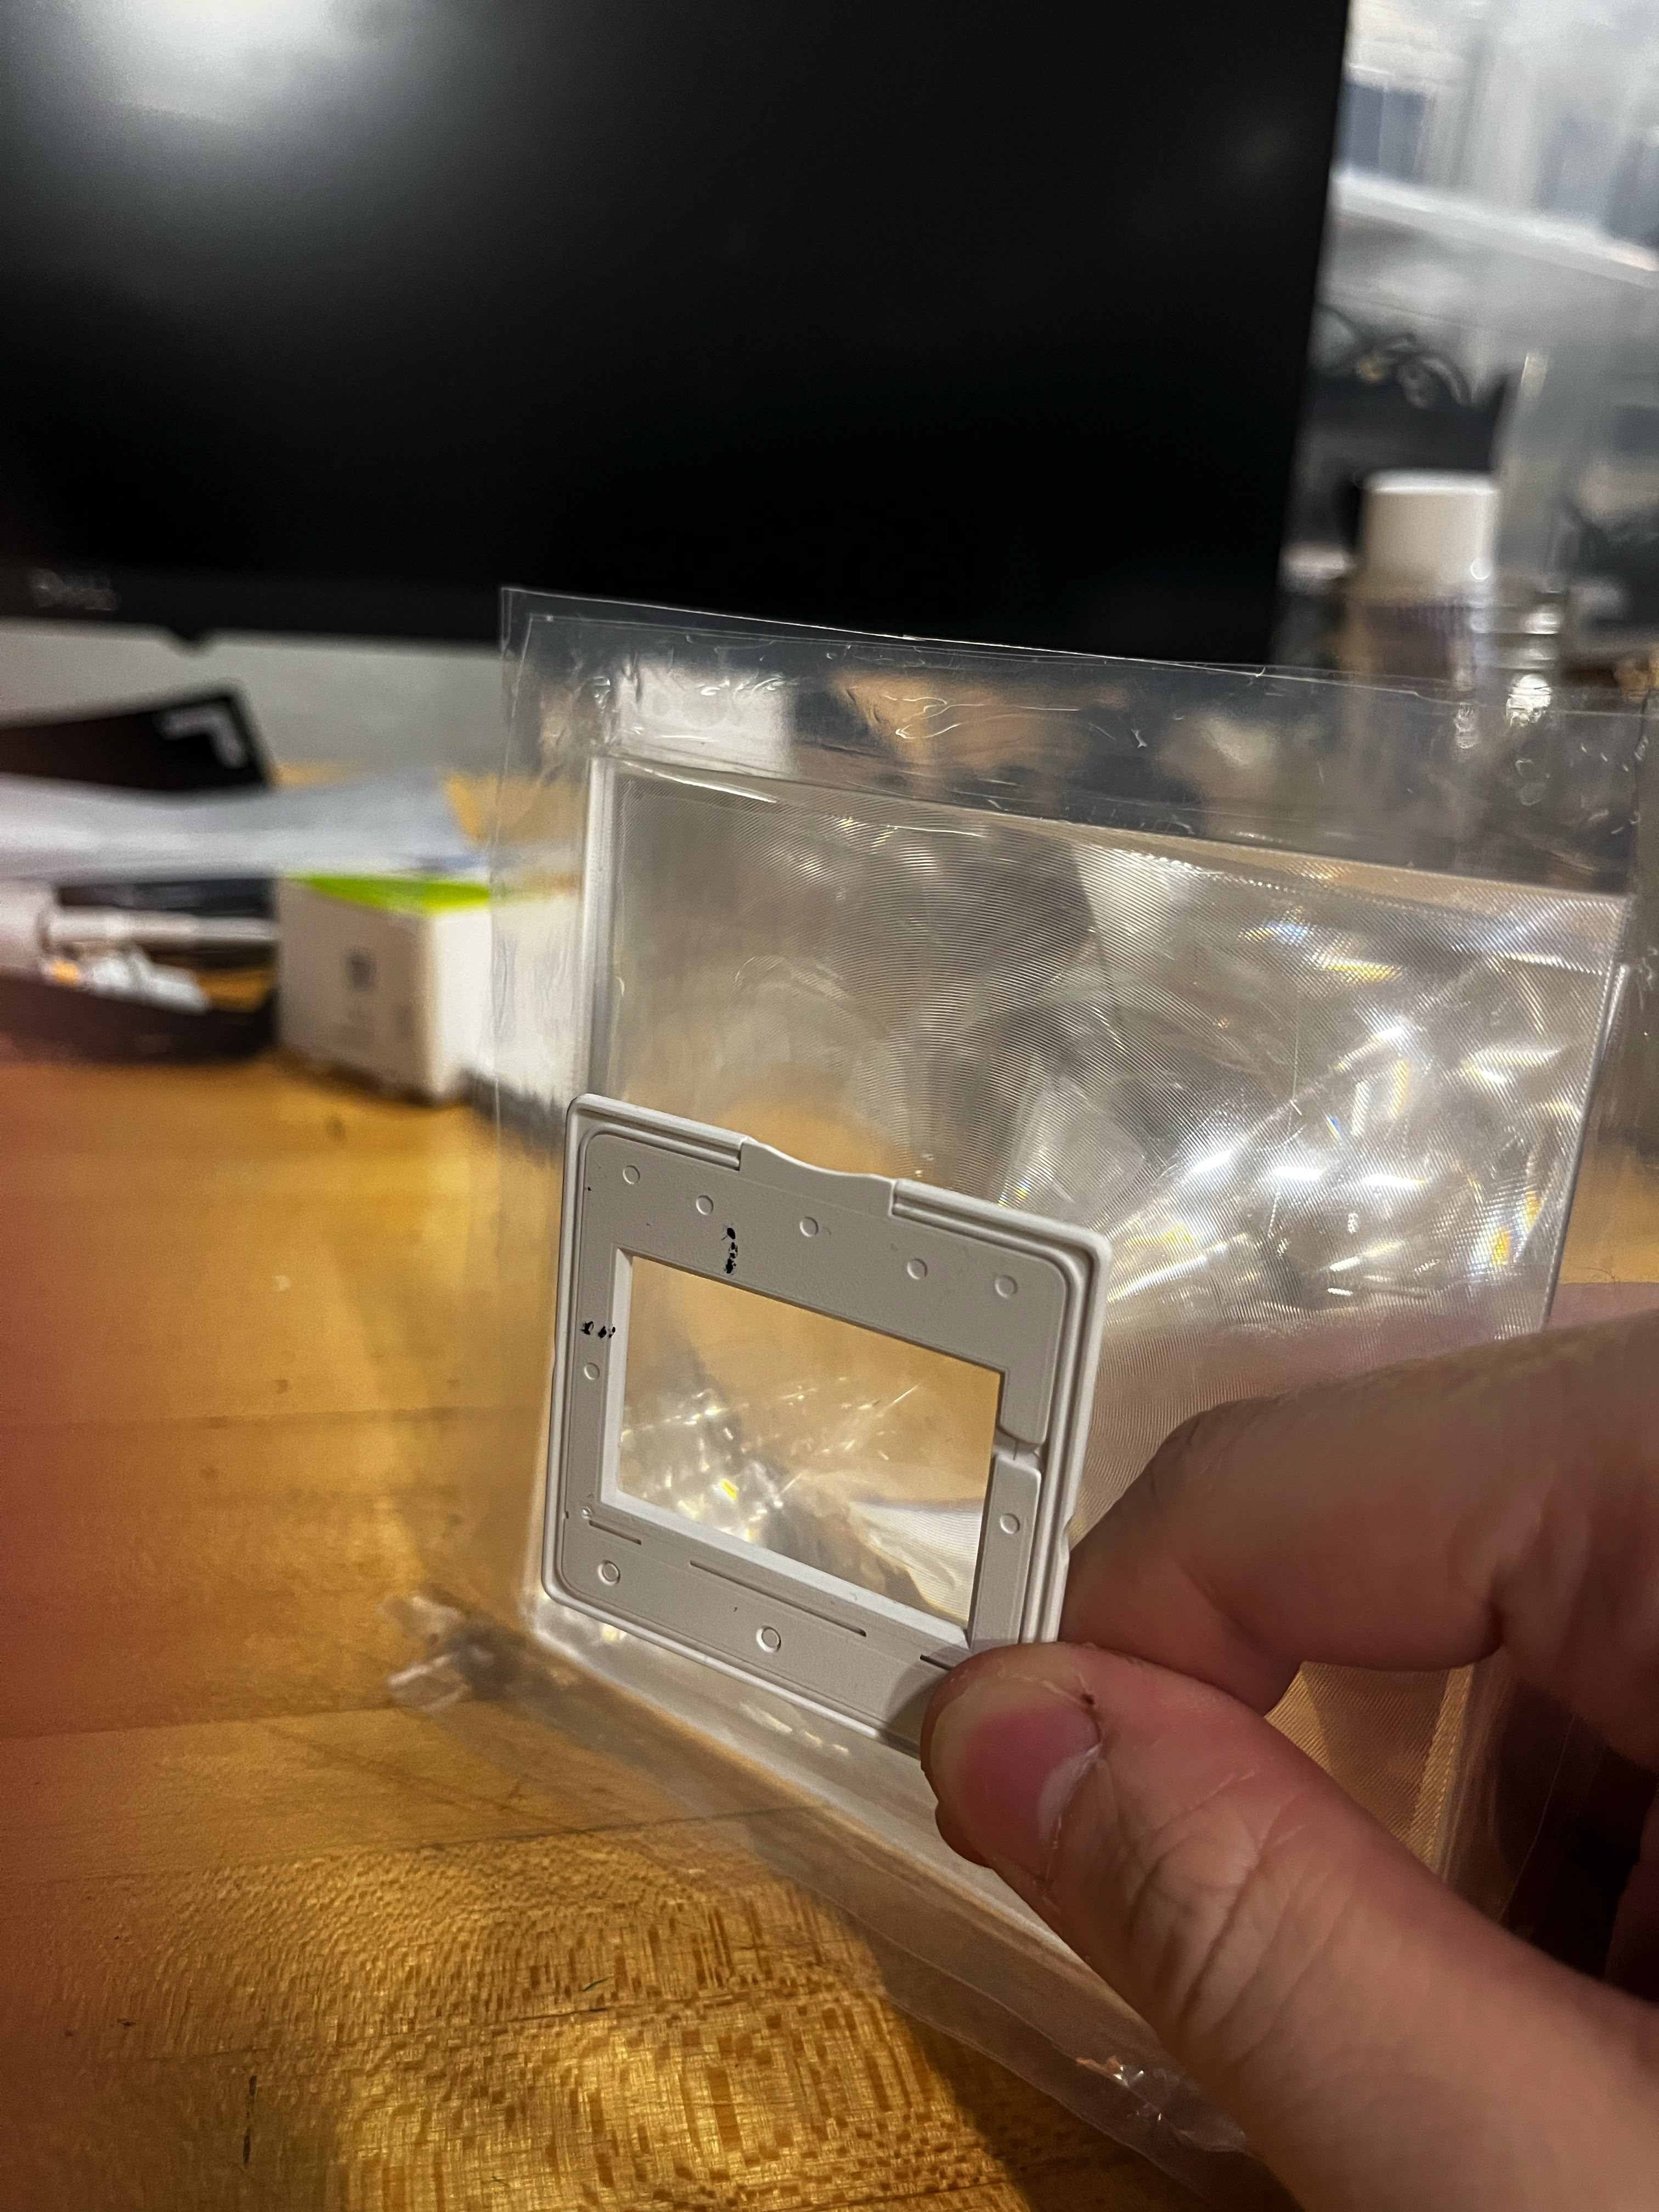
The encoding system works as follows:
- Locate each hyperlink on the film
- Write two digits on the slide clip:
- One digit positioned to the left of the hyperlink
- One digit positioned above the hyperlink
- These marks define the hyperlink's bounding box
- Example: "1" on left + "9" on top = link to slide #19
- With 80 slides per carousel (Kodak standard), we only need 0-9 digits
5. Load the Carousel
Place slides in corresponding index positions on the slide tray, following the numbered sequence.
Hardware Architecture
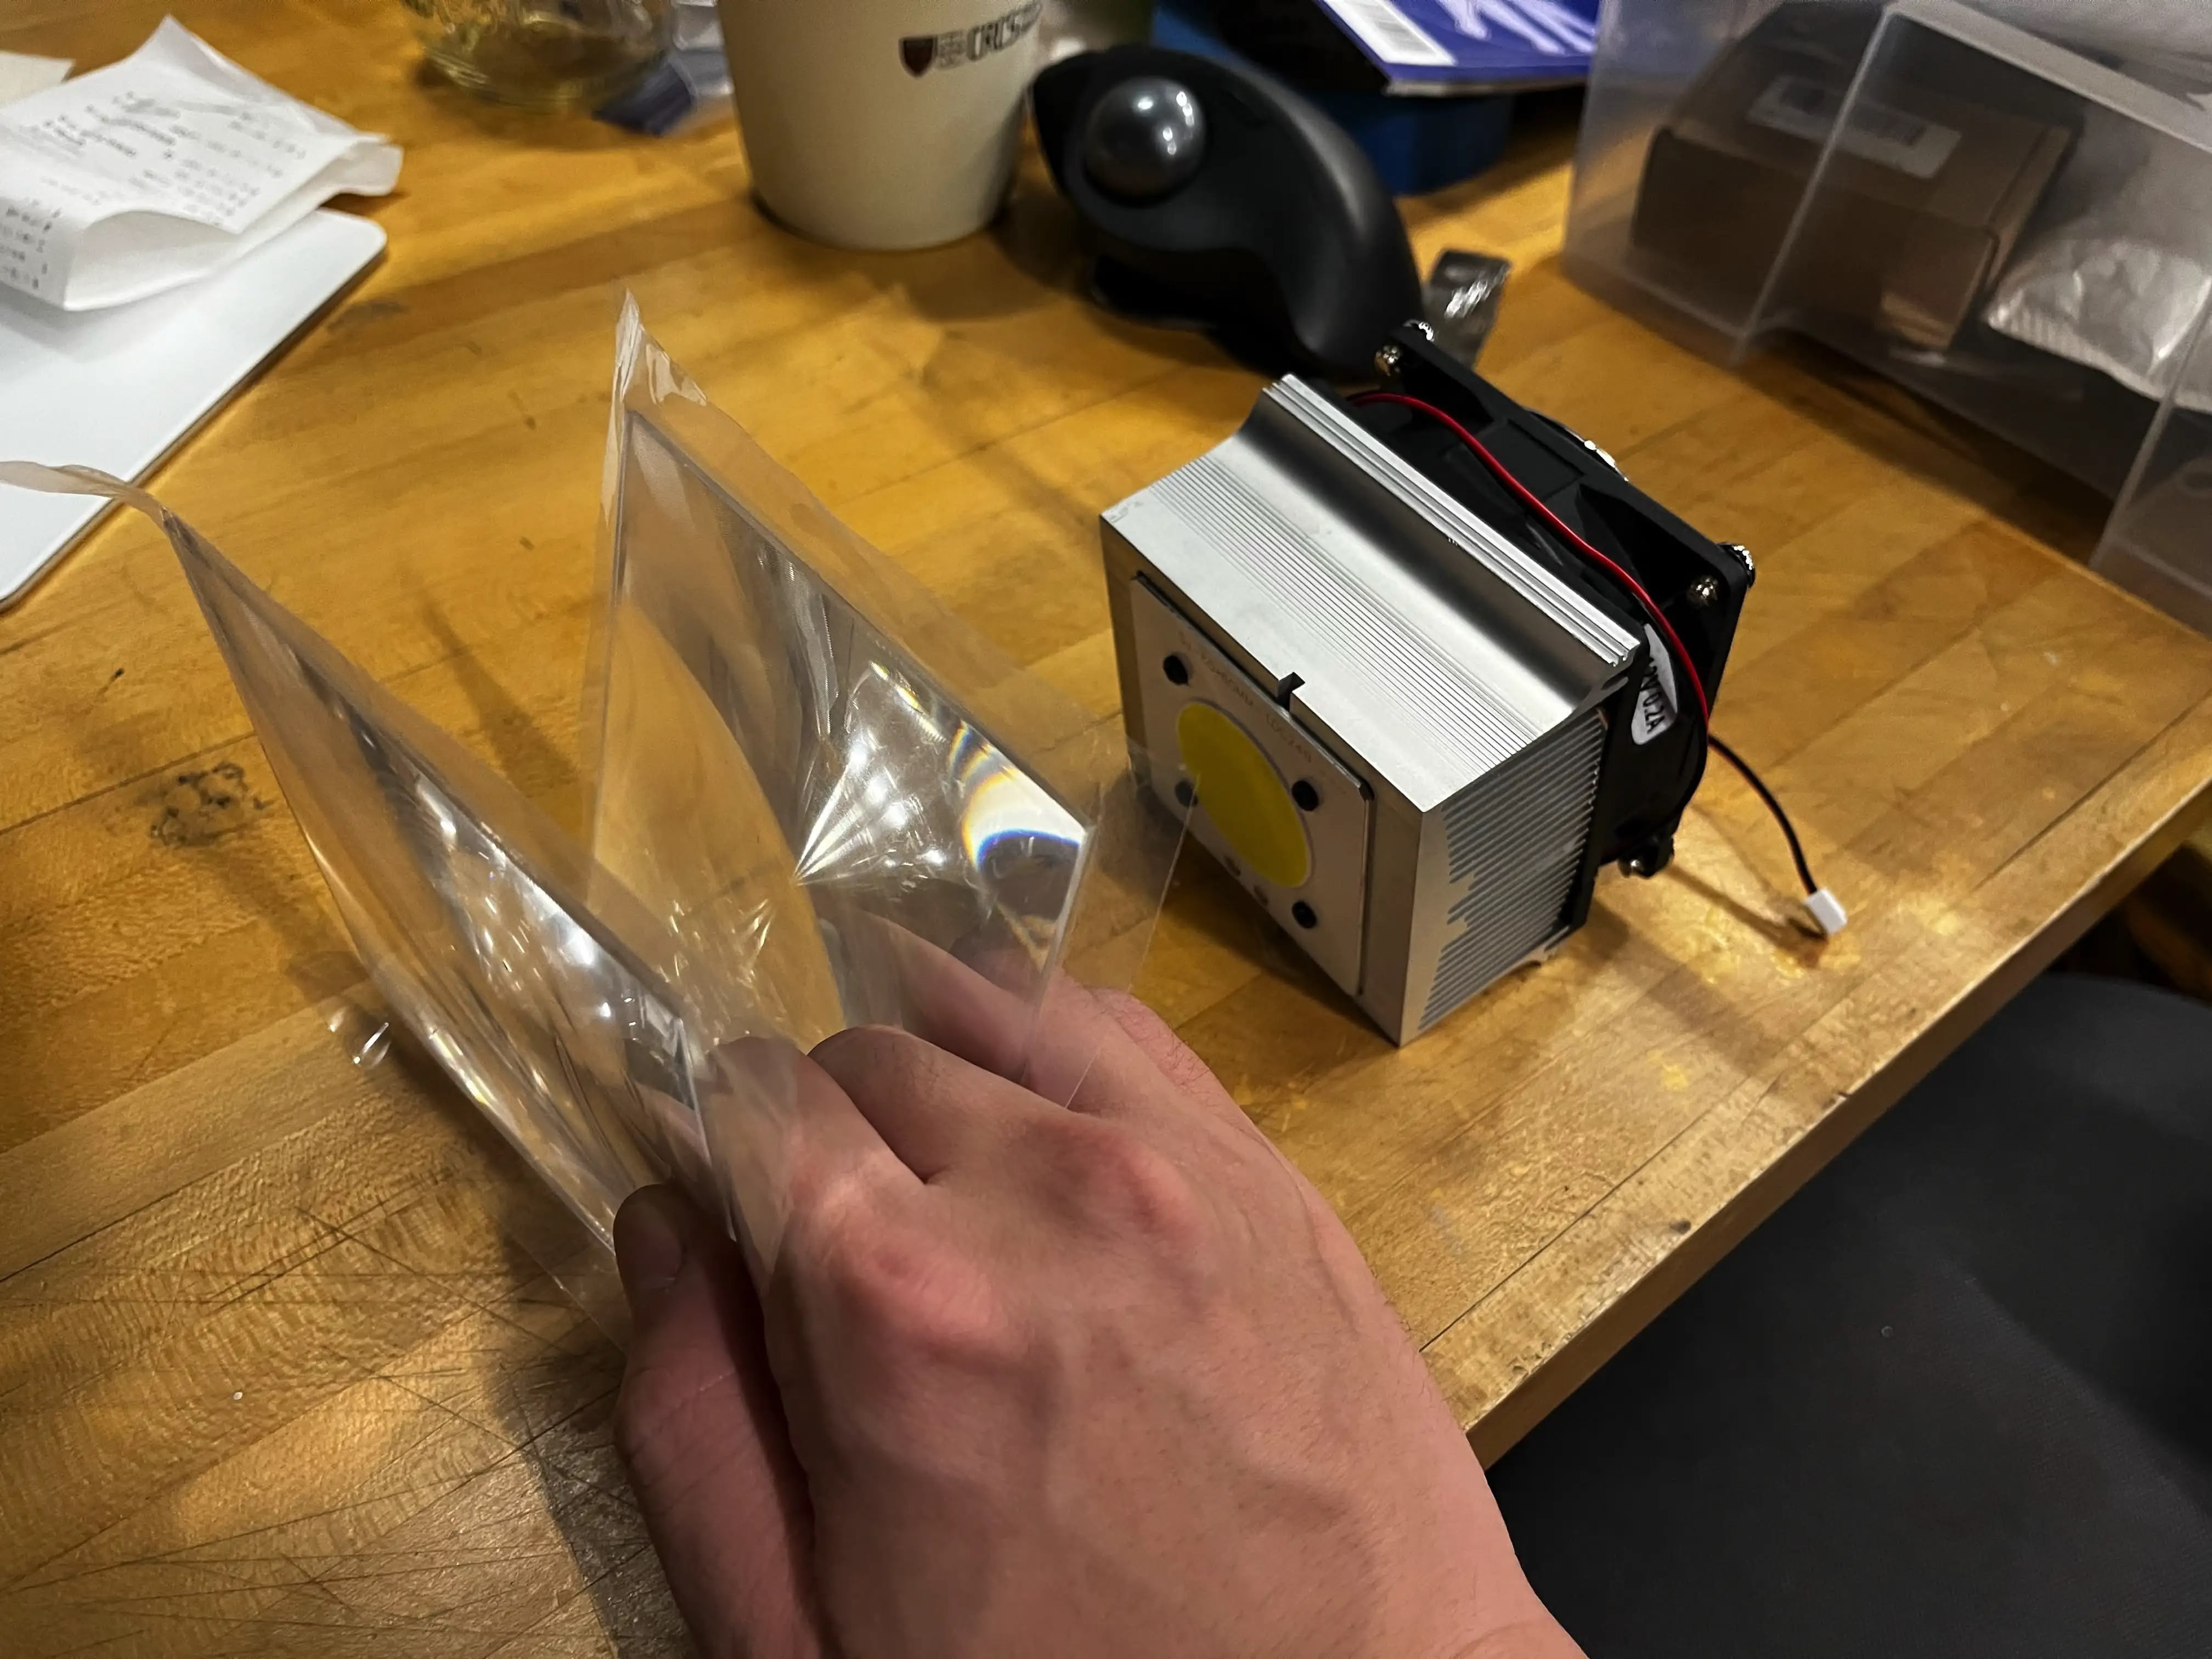
Optical System
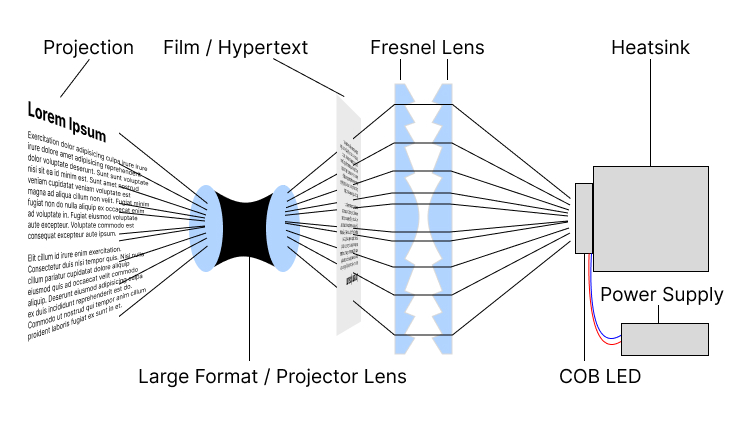
- Light Source: 100W COB LED with stock heatsink
- Condenser: Two 100mm × 100mm Fresnel lenses (100mm focal length)
- Projection Lens: Original Kodak carousel lens (with mechanical gears intact)
- Cooling: Adequate thermal management for sustained operation
Mechanical Components
Film Advancement System
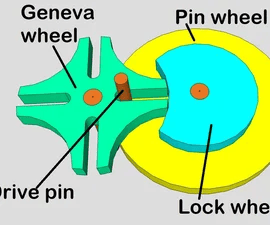

Inspired by Yuhan Wang's roulettective project, I'm implementing a from-scratch carousel mechanism using a Geneva drive. This provides:
- Precise indexing for 80 positions
- Smooth advancement with one stepper motor revolution
- Forward and backward navigation
- Simpler than modding the complex original Kodak mechanism
Cursor Display System
Three-Tier Cursor Implementation
MVP uses LCD without backlight, next iteration uses separate LCD panel, ideal version uses mechanical film with servo positioning.
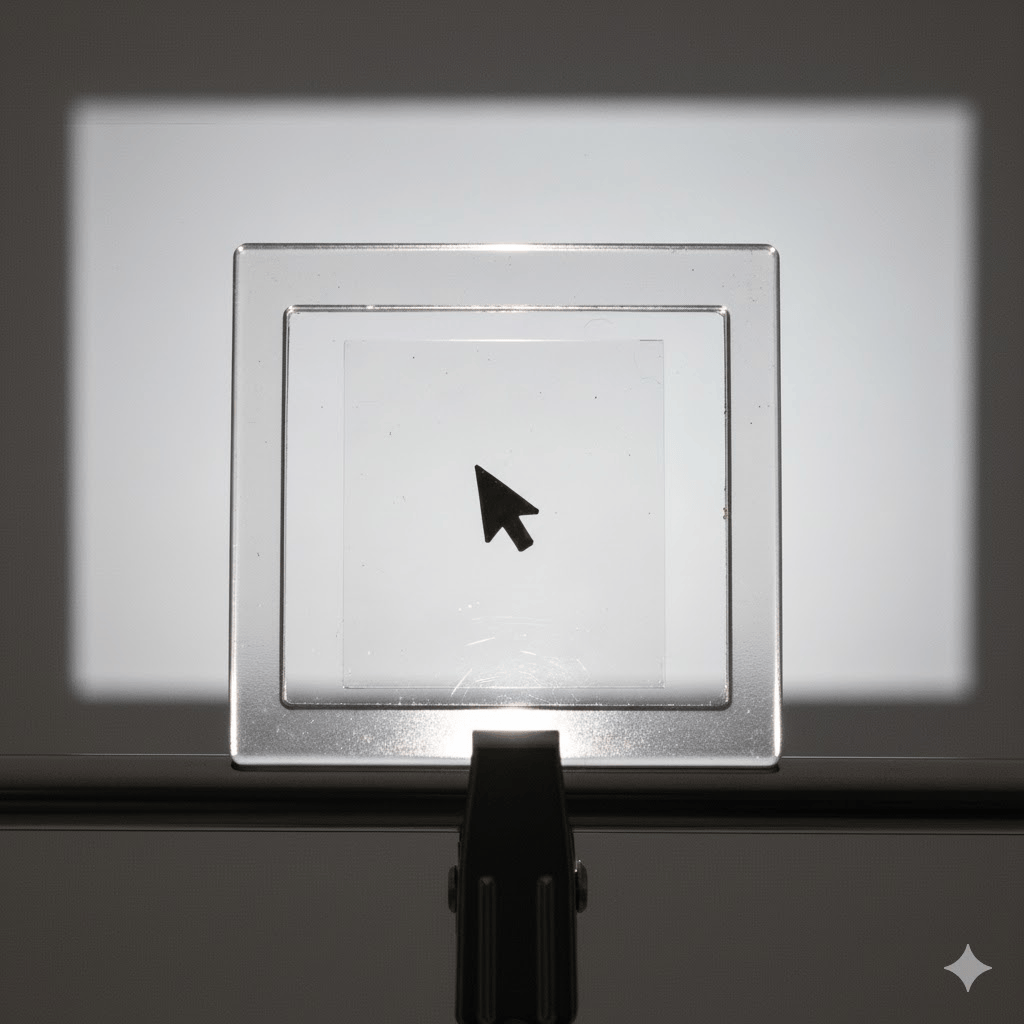
MVP (Digital-Mechanical Hybrid)

- Disassemble cheap projector for LCD panel
- Remove backlight to use as light valve
- Display only cursor image
- Overlay on projected slide
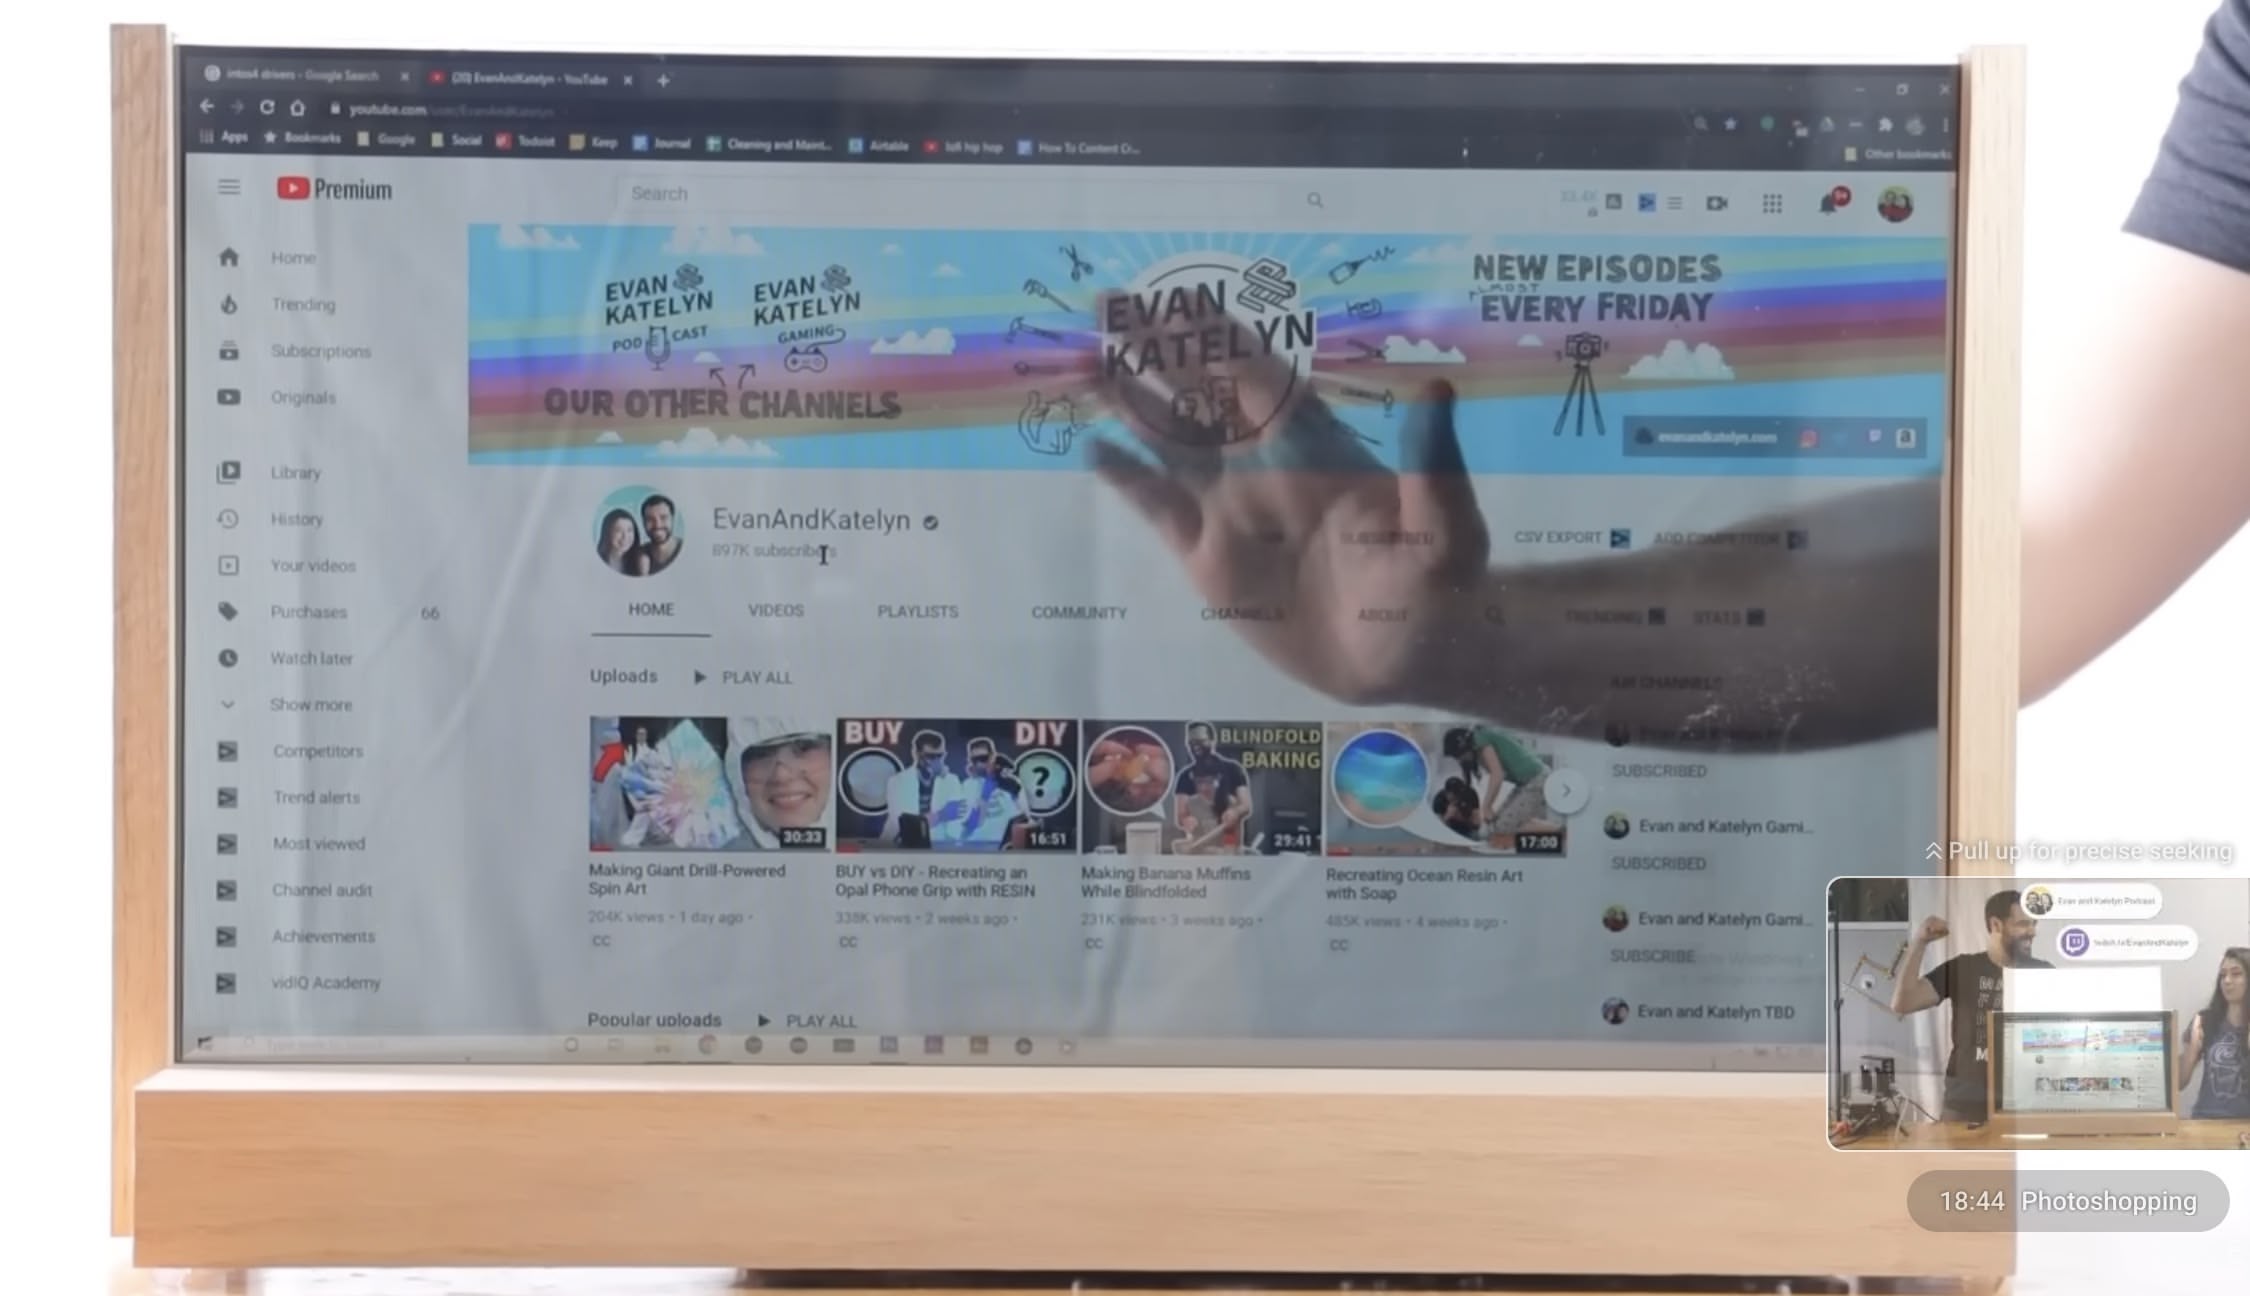
Better (Standalone LCD)
Ideally we would use a standalone LCD panel without backlight of a nice size. Similar to the technics used in DIY Perk's Transparent Screen project.
- Dedicated LCD panel without backlight
- Insert into custom optical path
- More control over positioning
Ideal (Fully Mechanical)
- Physical film with black cursor image
- Two linear servo motors for X-Y positioning
- True mechanical implementation
Input Devices
Mouse/Trackball Control
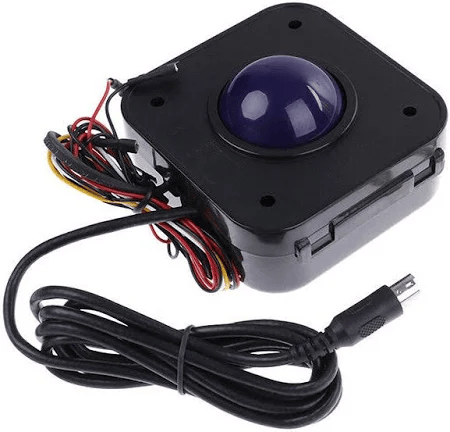
If I have time, I would like to DIY a trackball with a optical sensor like PMW-3360, custom PCB, and a custom casing for the ball.
I already designed a custom PCB for the PMW-3360 sensor and XIAO RP2040 board from a previous class assignment.
- MVP: PS/2 mouse hack for immediate functionality
- Advanced: PMW-3360 optical sensor for precision
- Ideal: Mechanical ABENICS-style ball joint mechanism
Position Sensing
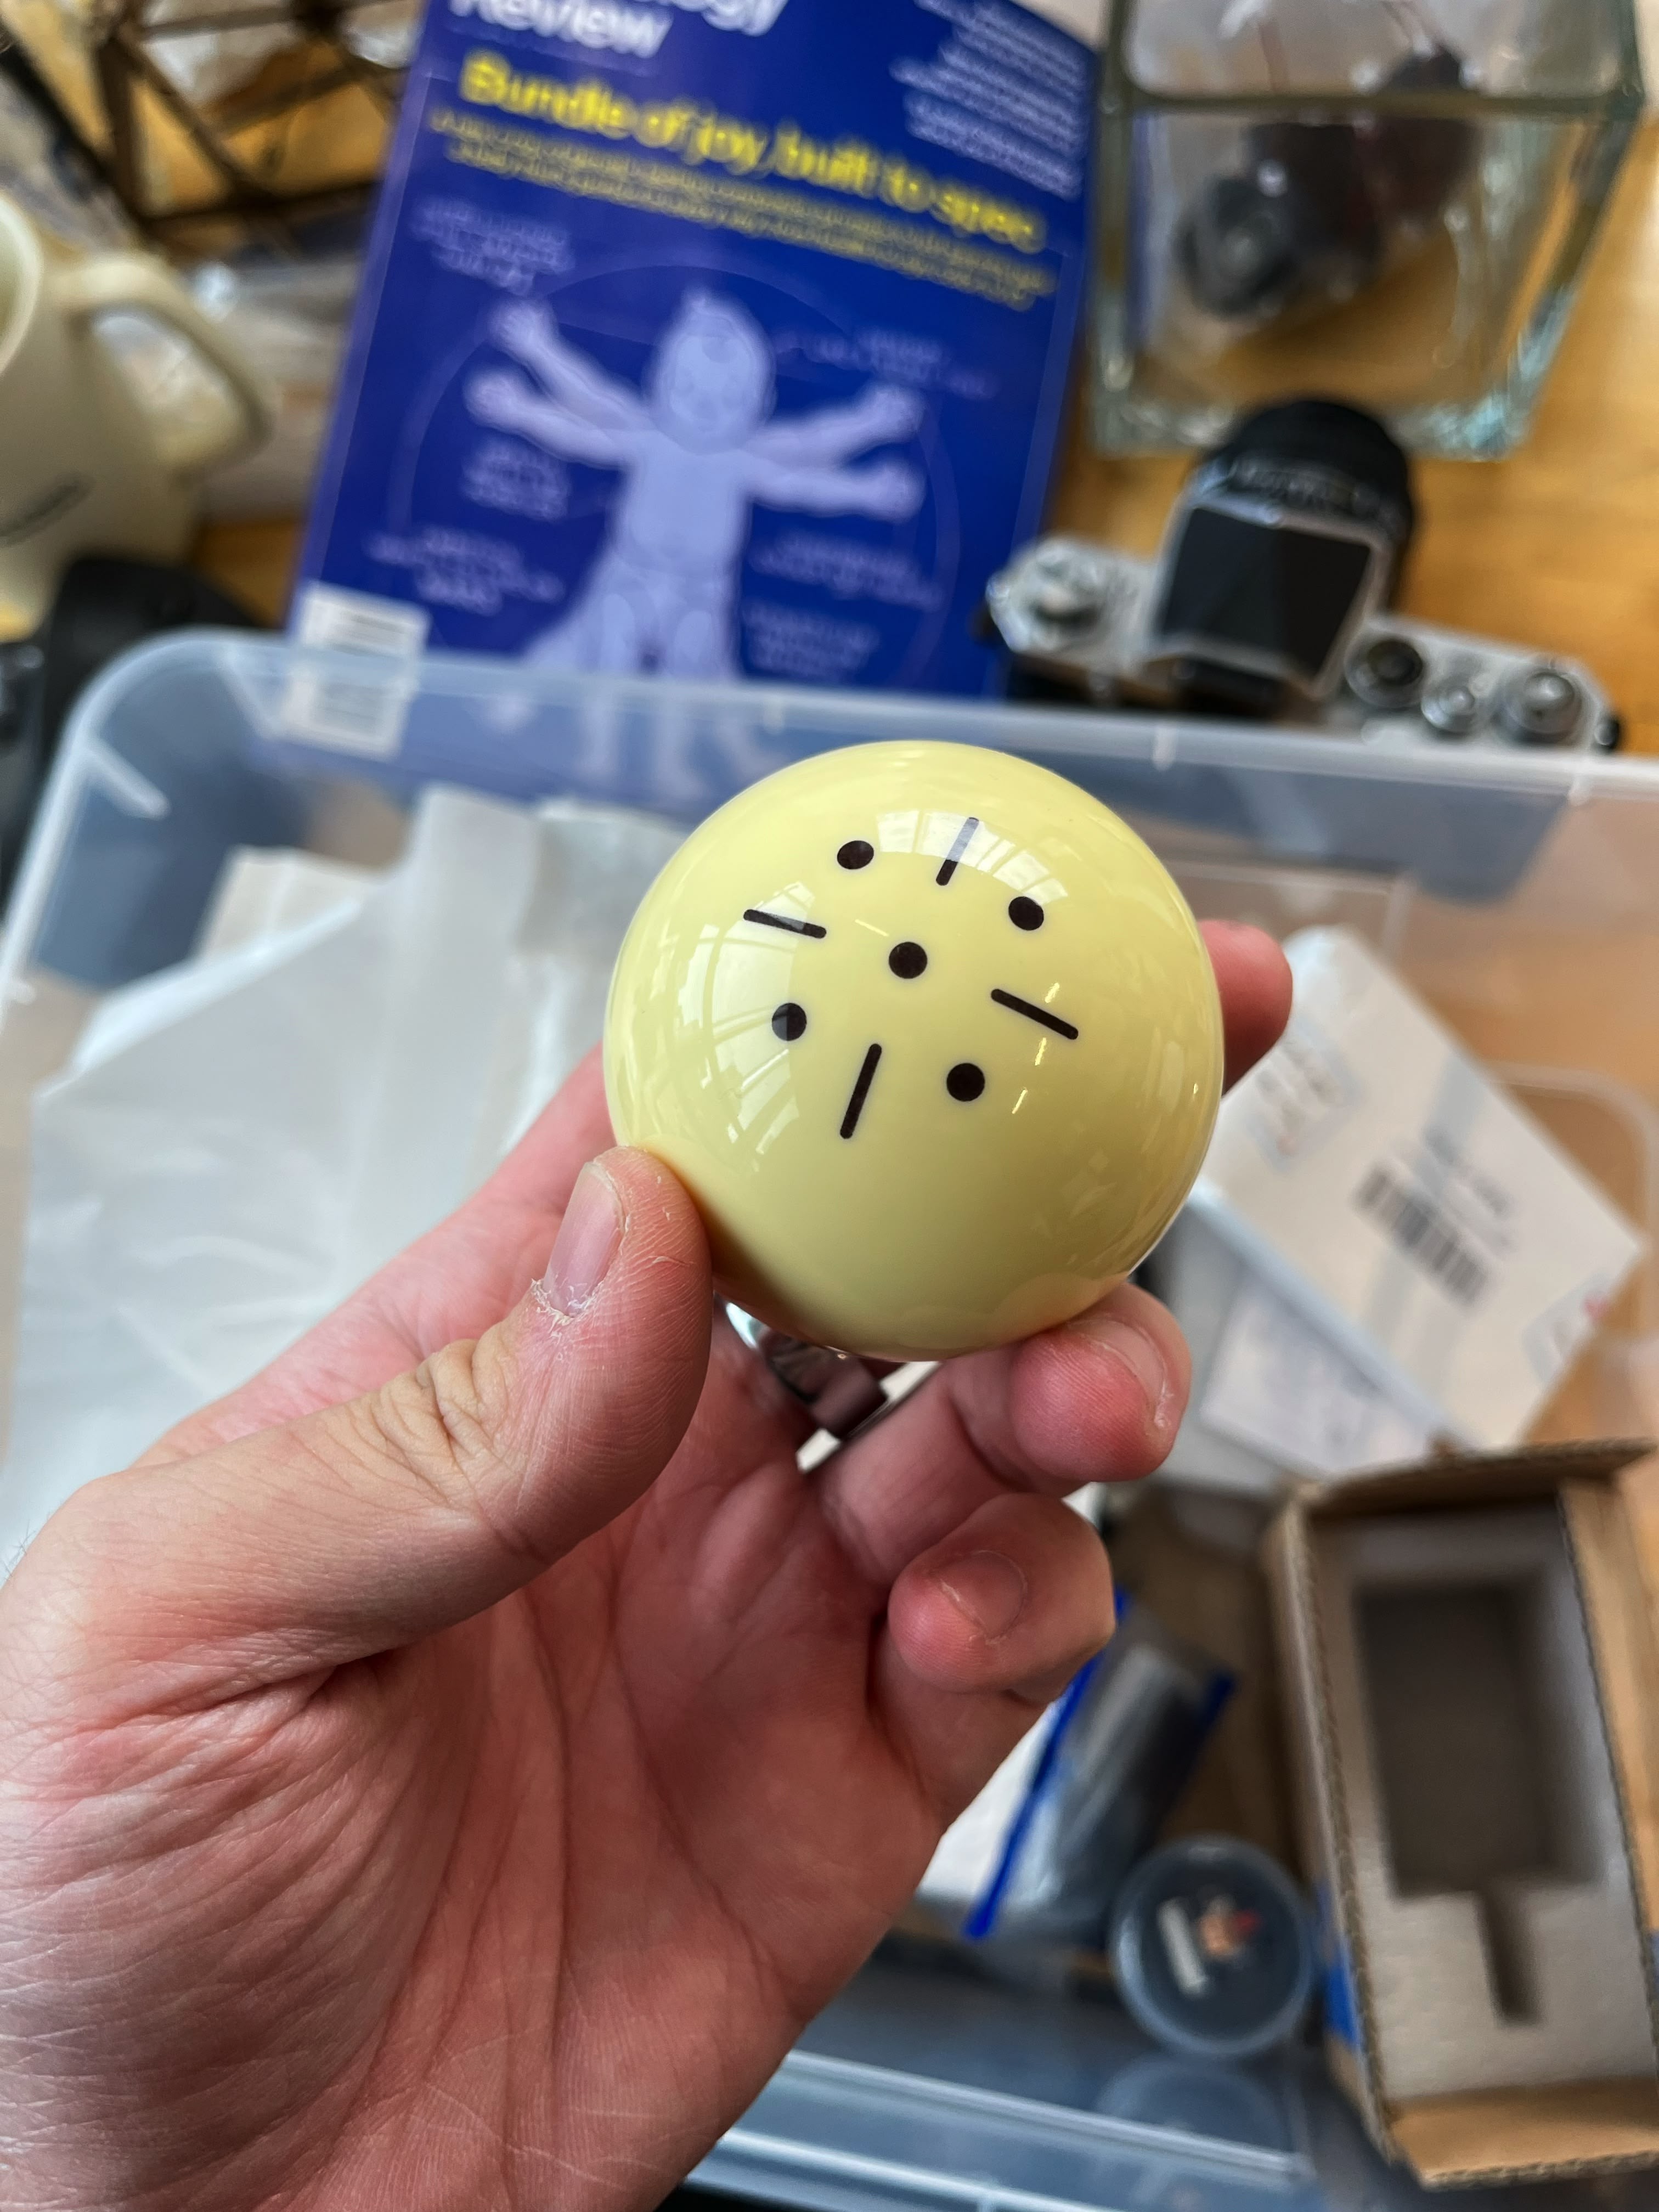
From this video, I learned about Hall Effect Rotary Encoder that sounds just amazing for this project compared to hacking potentiometer to make it free-spinning.
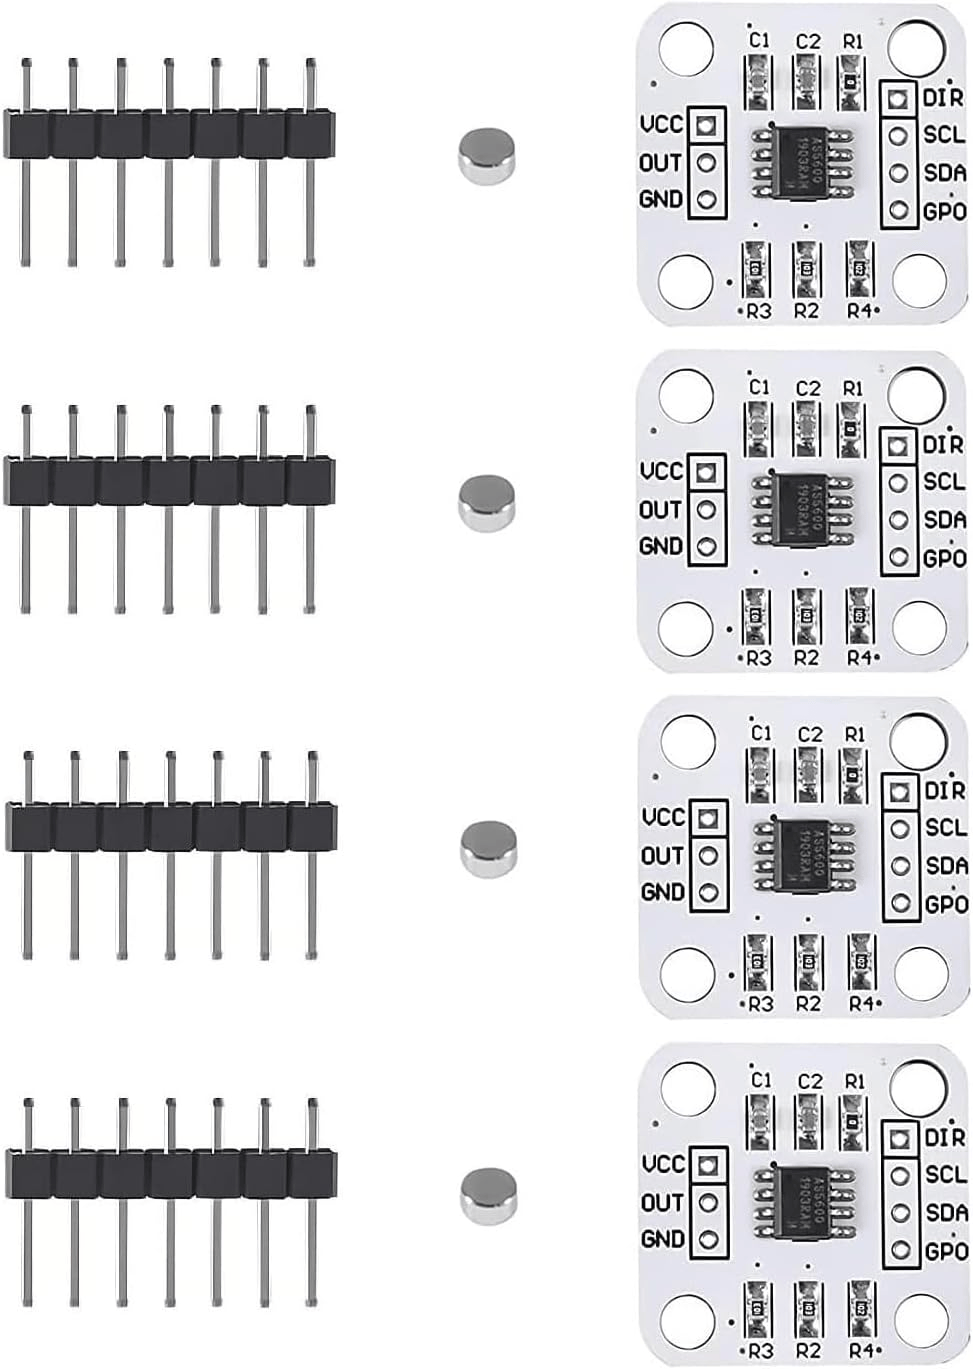
- Hall Effect Rotary Encoder: Magnetic angle detection
- Differentiates 80 carousel positions (~4.5° resolution)
- Free-spinning after 360° for continuous operation
Computer Vision Pipeline
Camera System
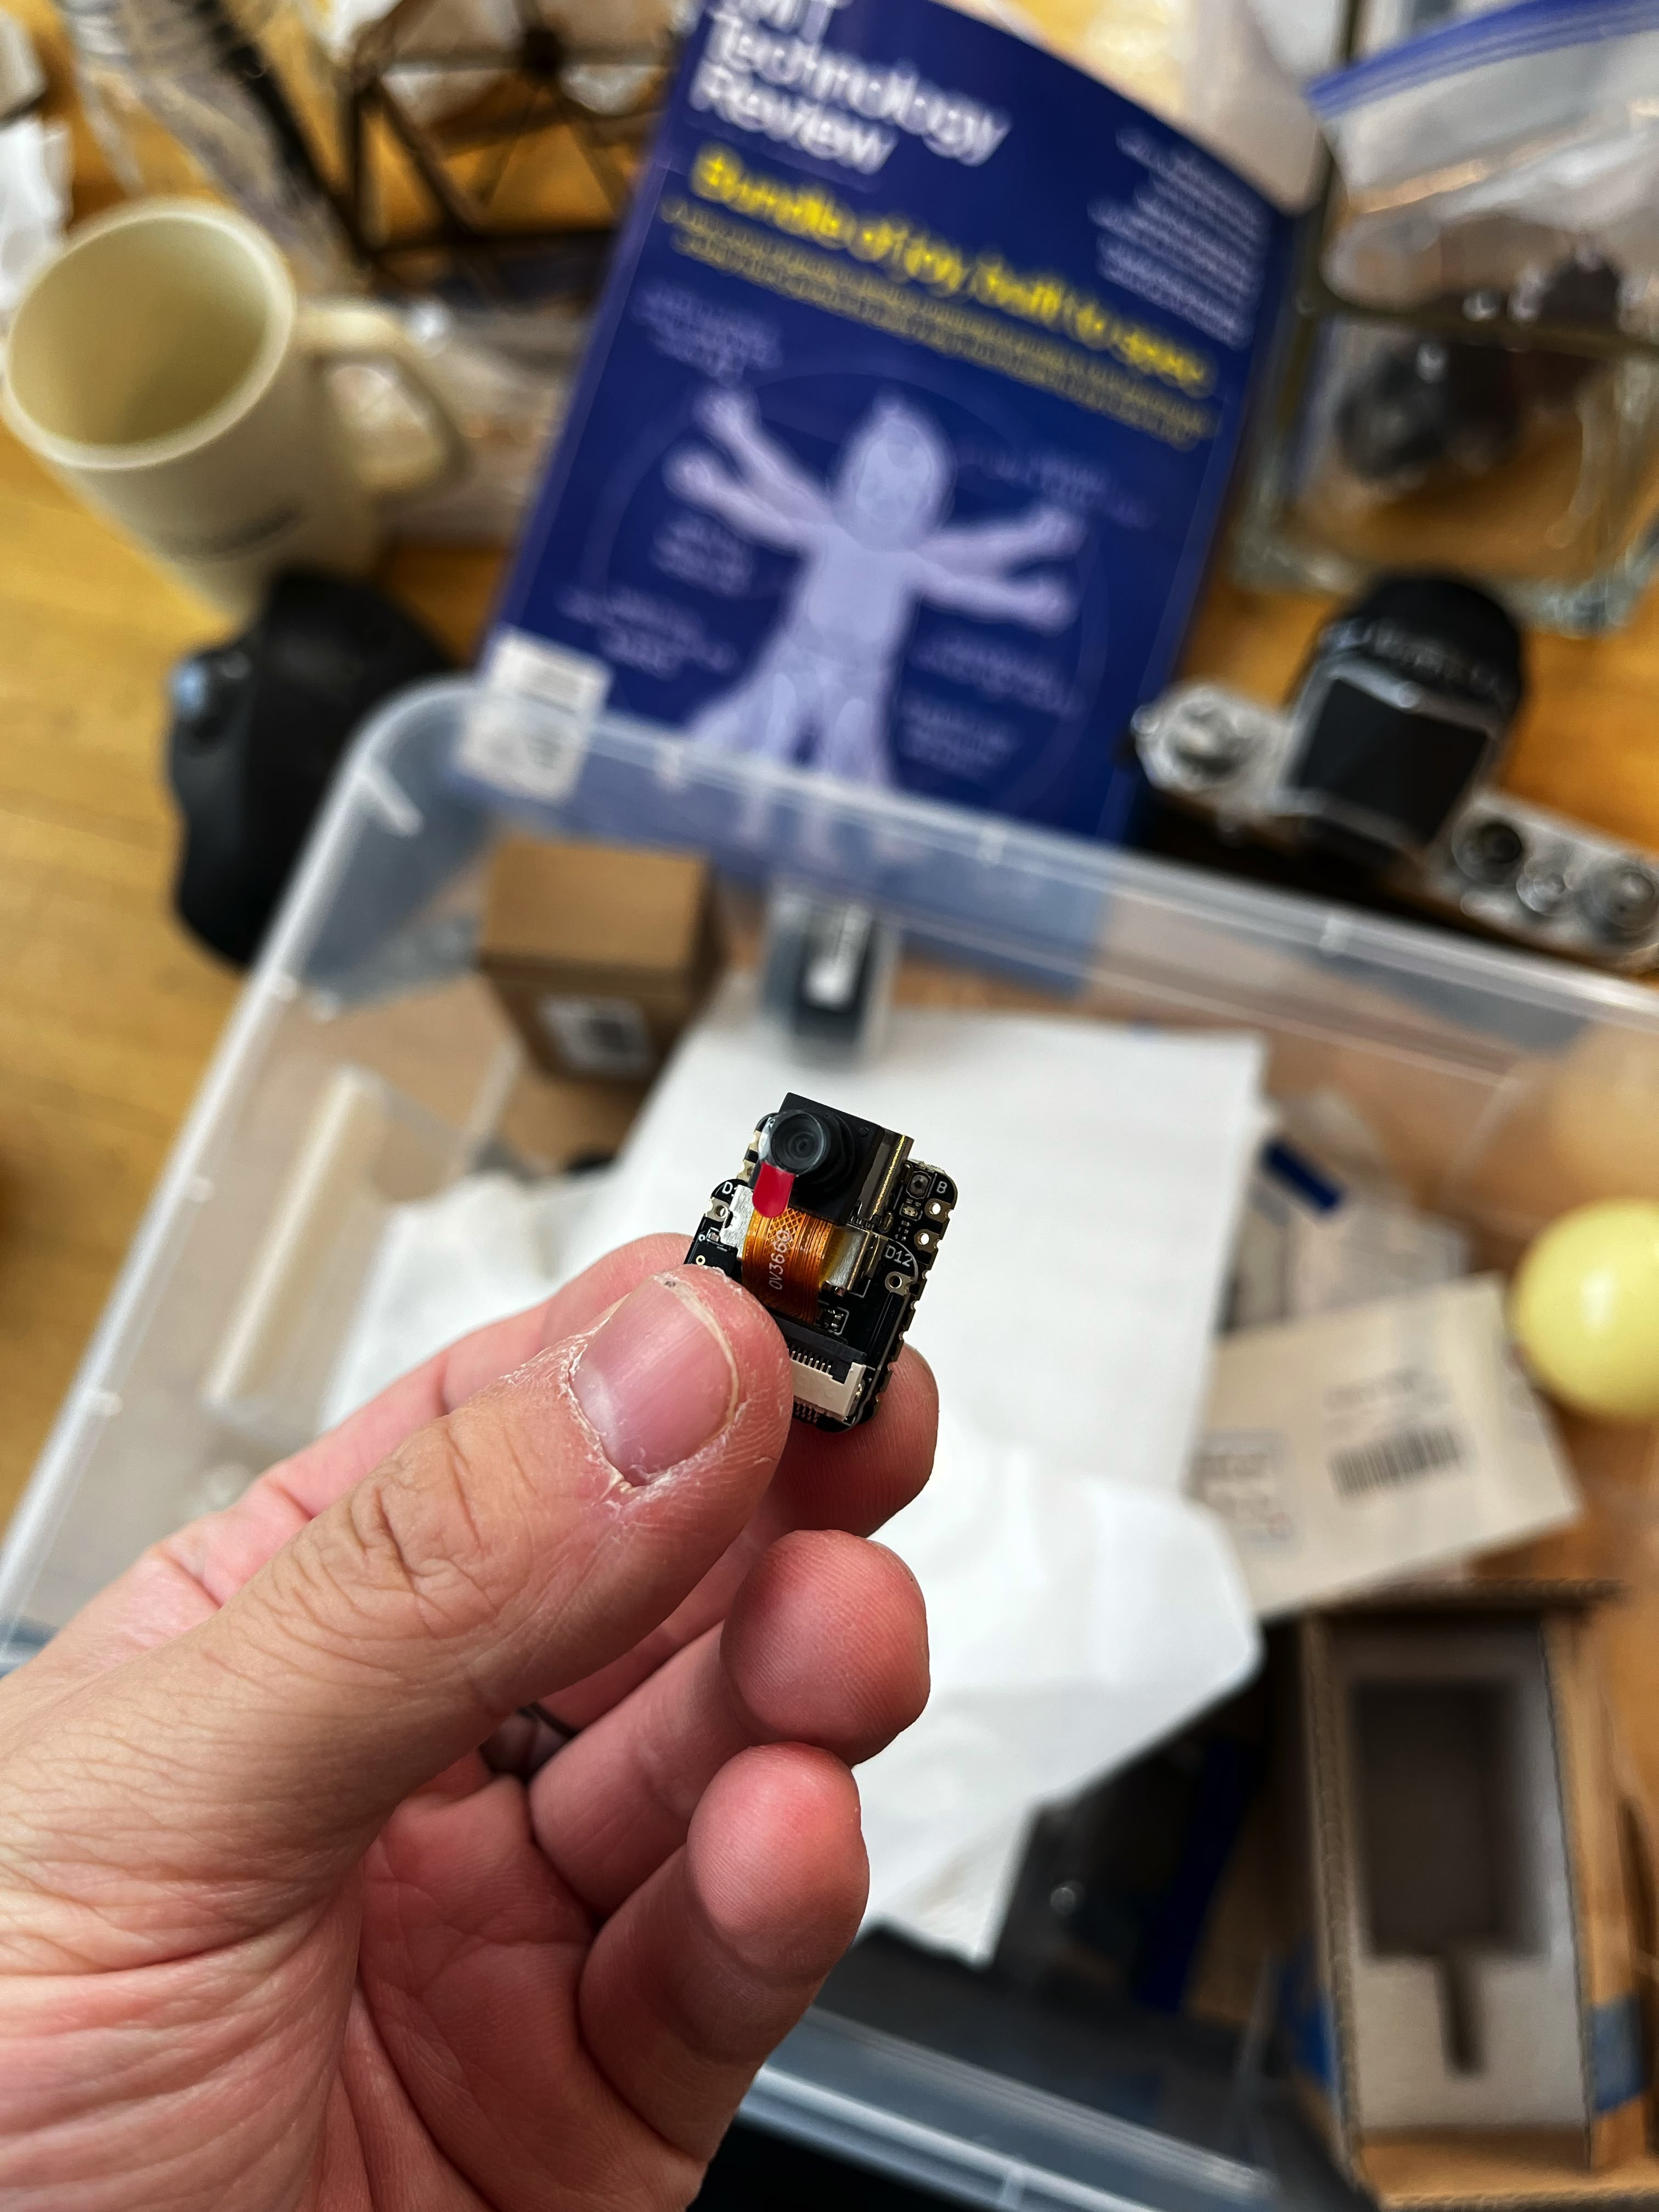
The CV system bridges analog creation with digital control:
Single Fixed Camera
- Overlooks entire slide clip area
- Captures handwritten digit encodings
- Maps physical coordinates to digital space
MNIST-Based Recognition
- Simple, robust digit detection
- Handles handwritten variations
- No need for precise printing or stickers
Coordinate Mapping
- Homography mapping the skewed slide window from the fixed angle
- Mapping the digital cursor position to the physical slide marker location
- Trigger slide advancement on click
Why Computer Vision?
Initially considered resistor-based encoding (different resistance values for different links) but CV offers advantages:
- No special components for creators
- Works with simple handwritten numbers
- More accessible and user-friendly
- Leverages existing MNIST models
Control System Architecture
Electronics Stack
Component | Role/Function | Notes |
|---|---|---|
XIAO RP2350 | Controlling motors / tray position / mouse position sensing | Main controller board |
XIAO ESP32S3 Sense | Lightweight number recognition CV | This is a peripheral board with built-in camera, talk to other microcontroller via serial connection |
Raspberry Pi (Potential) | Driving a of-the-shelf projector | This will connect to the projector via HDMI to show the cursor image on the projected slide, and react to user input |
This separation ensures:
- CV processing doesn't interfere with motor control****
- Real-time response for user input
- Modular debugging and development
Software Components
Vision Module (Python)
- OpenCV for image processing
- MNIST model for digit recognition
- Calibration routine for camera alignment
- Link position database
Control Module (C++)
- Stepper motor control for Geneva mechanism
- Mouse input processing
- Encoder position tracking
- Serial communication handler
Current Progress and MVPs
What's Working
✓ Complete system architecture designed
✓ All components sourced and purchased:
- XIAO RP2350 & ESP32S3 Sense
- 100W COB LED
- Stepper motors and drivers
- Hall effect encoder
- Projector for cursor display
- Optical components
✓ Detailed implementation plan complete
✓ CV approach validated (MNIST for digit recognition)
✓ Mechanical concepts proven through research
Ready to Build
With all the thinking and planning done, I'm ready to start hands-on fabrication:
- First Priority: Slider projector mechanism and tray positioning
- Then: Geneva mechanism assembly and testing
- Next: Camera mounting and CV pipeline
- Finally: System integration
What's In Progress
- Starting physical carousel tray fabrication
- 3D printing the parts
- Setting up development environment for XIAO boards
- Preparing workspace for optical alignment
What's Next
- Test Geneva mechanism with stepper control
- Validate Hall effect encoder positioning
- Build first prototype tray
- Test optical path with actual components