Assignment
- group assignment
- do your lab's safety training
- test runout, alignment, fixturing, speeds, feeds, materials, and toolpaths for your machine
- individual assignment
- make (design+mill+assemble) something big (~meter-scale)
- extra credit: don't use fasteners or glue
- extra credit: include curved surfaces
What to make
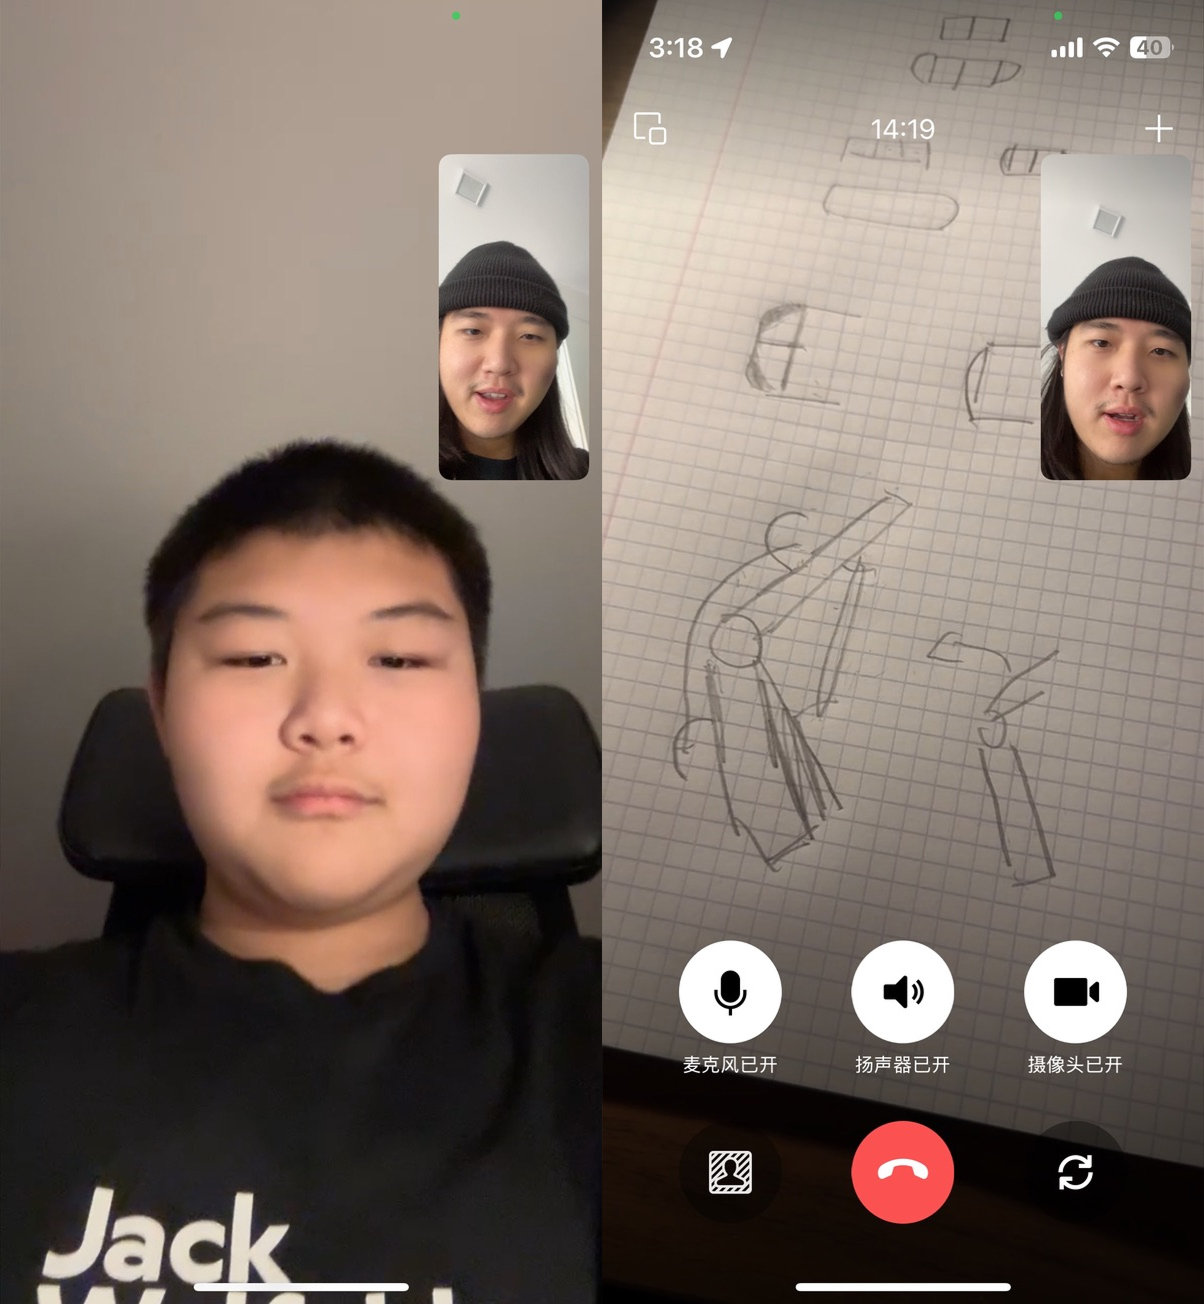
I know we will be using OSB (Oriented Strand Board) for the project. I'm thinking of making something smaller than most furniture, but still big (meter scale) for this assignment. During a call with my 14-year-old cousin, I mentioned this assignment, and the idea of making a lamp with articulated arms. I explained the process of 2.5D CNC milling to him, and he drew a rough sketch of what he imagined. How cute!
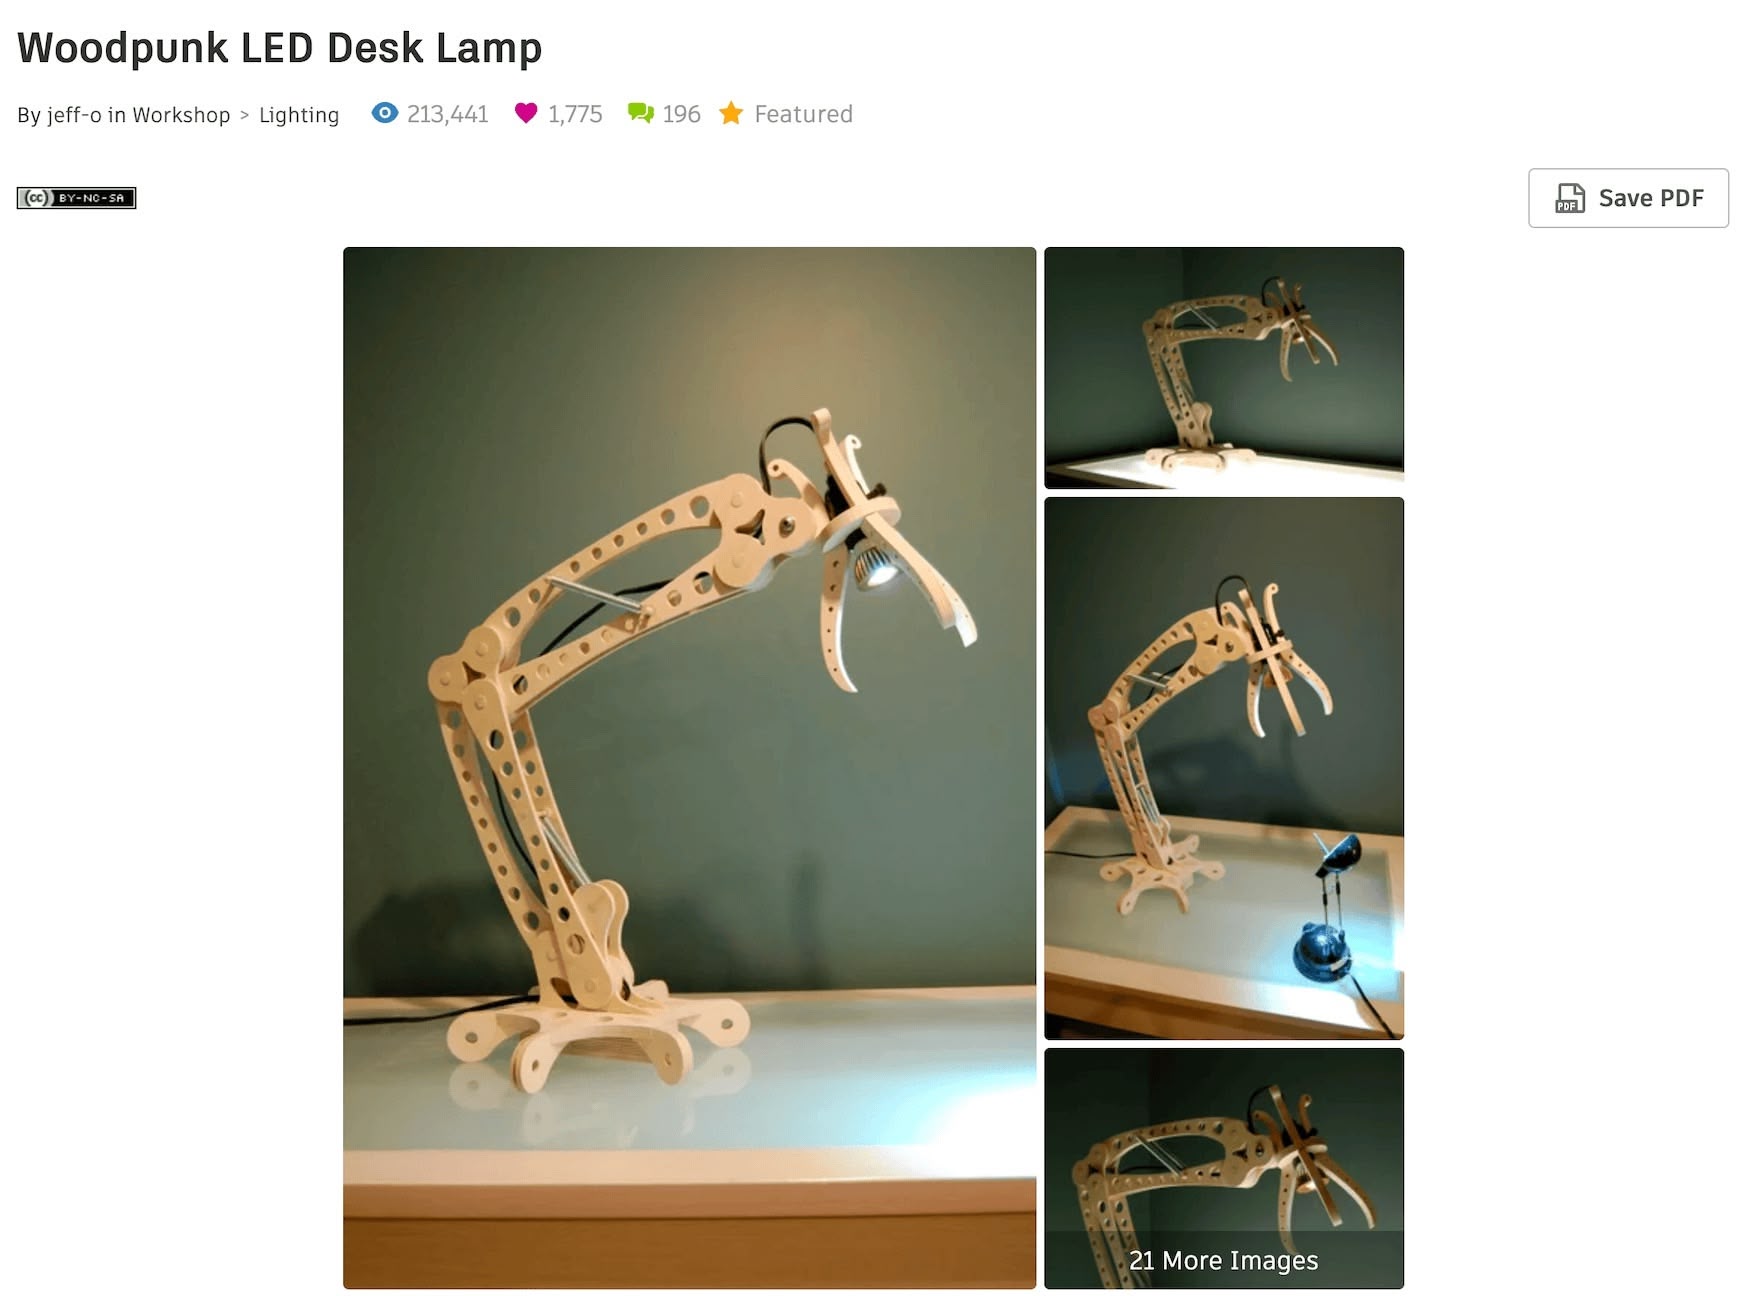
I found a relevant project on Instructables: Woodpunk LED Desk Lamp by jeff-o. The project is produced by hand, but the illustrations are pretty detailed and helpful. I was referencing the part shape, part placement and count. It's a simple desk lamp with a base and a stem, and the stem is articulated with a ball joint. It's a good starting point for me.

My Own Design
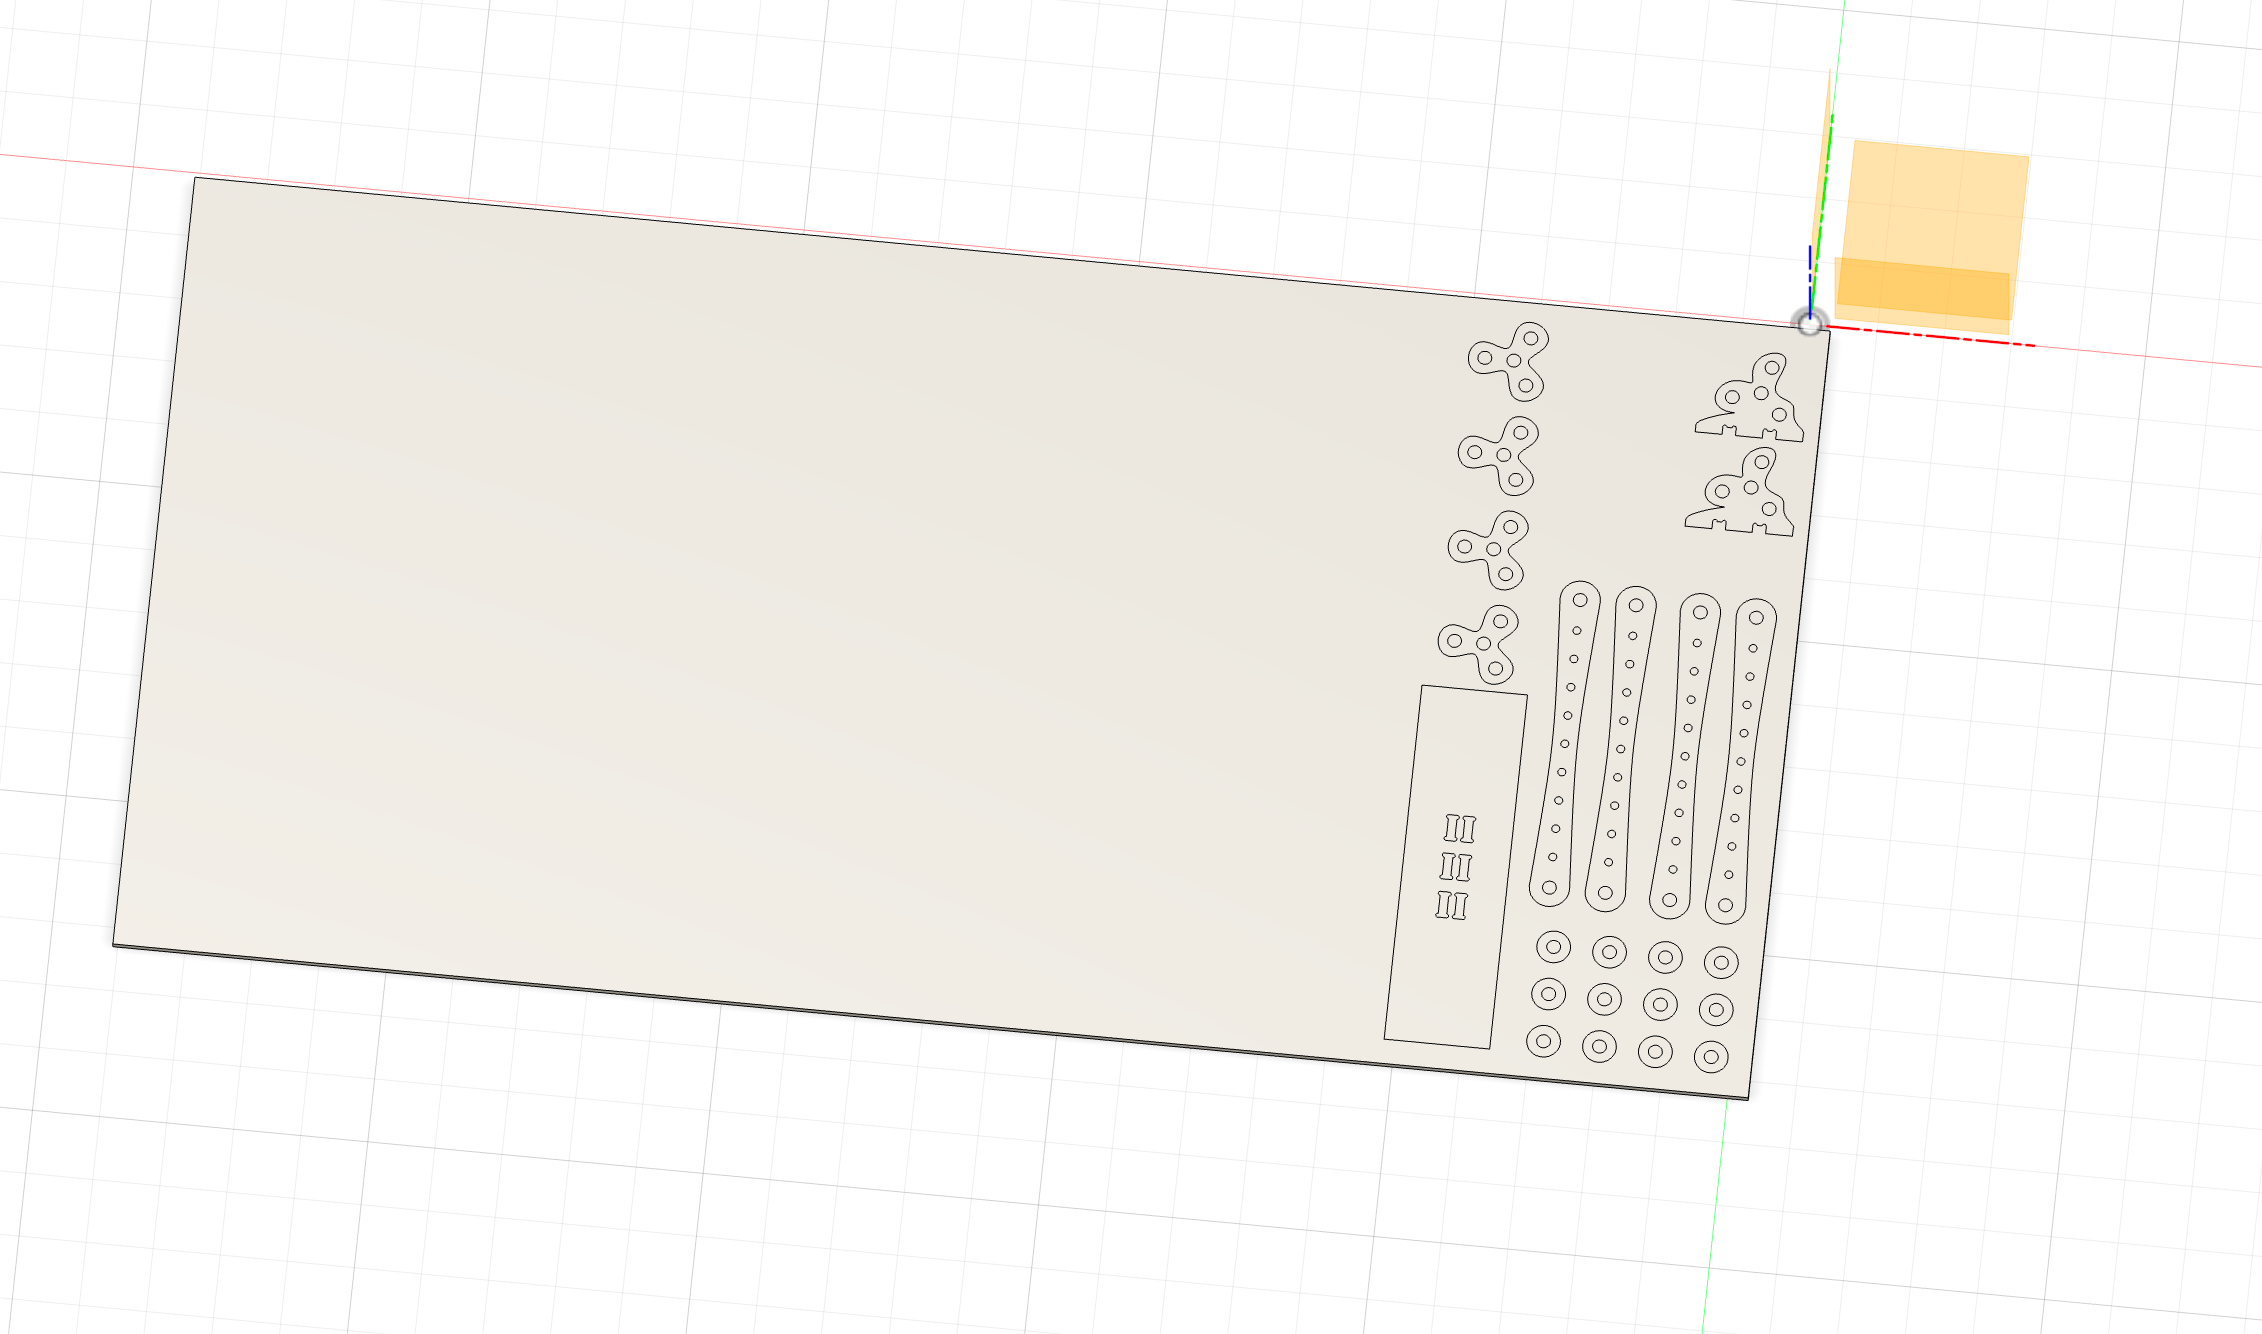
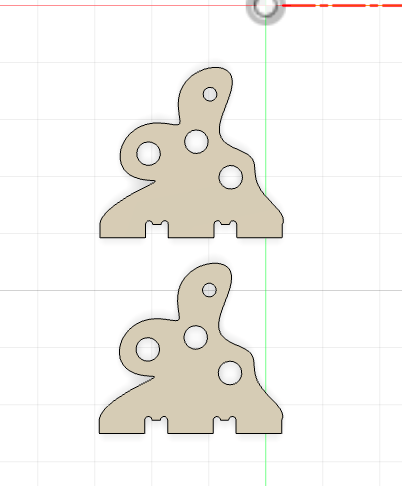
I make my own design in Fusion 360. I sketched out the base, arm, elbow joint, shoulder joint, and some spacers. I fully parameterized the design, so I can easily change the dimensions later. This is important because I don't know the exact dimensions of the OSB I'm using, and the circular dowels required for the joints were yet to be bought from Home Depot.
This is the final parameter table:
Name | Expression |
|---|---|
arm_dowel_distance | 18 in |
arm_hole_gap | 180 mm |
dogbone_radial_offset | -2 mm |
dowel_diameter_big | 19.6 mm |
dowel_diameter_small | 11 mm |
endmill_diameter | 0.25 in |
joint_tolerance | 1 mm |
shoulder_mount_gap | 20 mm |
shoulder_mount_width | 40 mm |
spinner_circle_diameter | 50 mm |
spinner_circle_distance | spinner_circle_diameter * 1.5 |
stock_height | 2438.4 mm |
stock_thickness | 0.464 in |
stock_width | 1219.2 mm |
In the table, the stock_thickness, dowel_diameter_big, dowel_diameter_small, joint_tolerance are determined later during the characterization process.
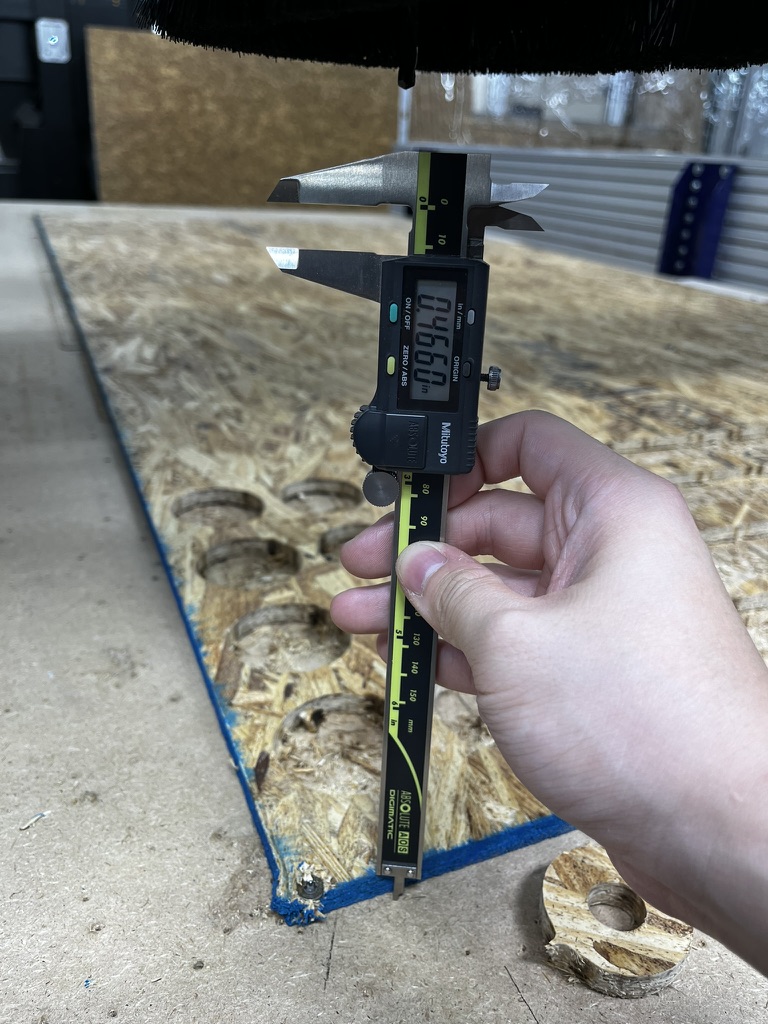
Characterization
Before manufacturing, Ray and I started doing some test fittings to see how joints works. We measured the thickness of the OSB to be 11.11mm and designed a test piece with holes with varying widths at 0.1mm intervals.
We decided that the holes should be 0.1mm wider than the OSB thickness to allow for some wiggle room, hence the joint_tolerance parameter is set to 1mm.
Dowels and Springs
I need to buy the dowels and springs from Home Depot. I bought allegedly 3/4in and 7/16in dowels and two springs (each for one arm) of suitable length. They eneded up measuring 19.6mm and 11mm respectively on the caliper. Fun fact I noticed is that they are thinner around the tips, and thicker in the middle. The measure I ended up using is the middle diameter for better fit.
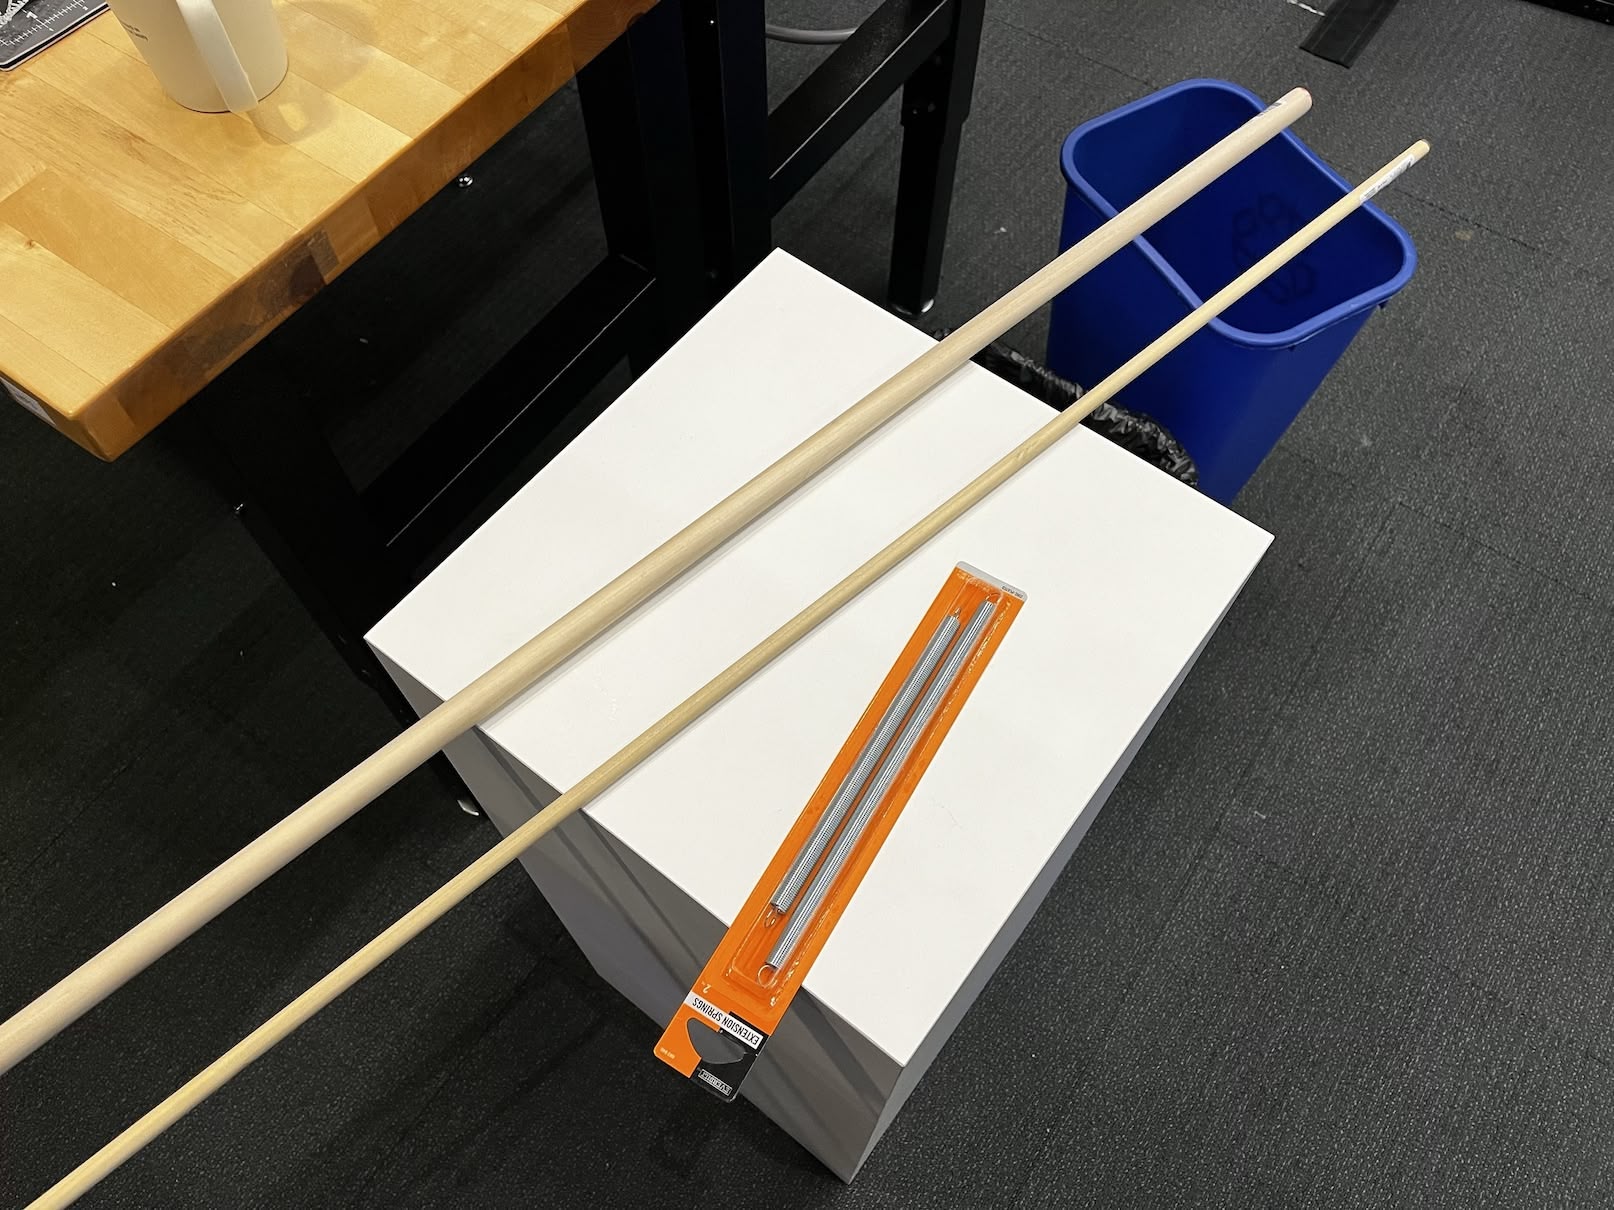
The thinner dowel is used for holding the springs, and the thicker dowel is used for the arm. I used the bandsaw to cut the dowels into the length of 5 times the thickness of the OSB sheet (around 2.5in). Forgot to take a picture of the bandsaw cutting the dowels...
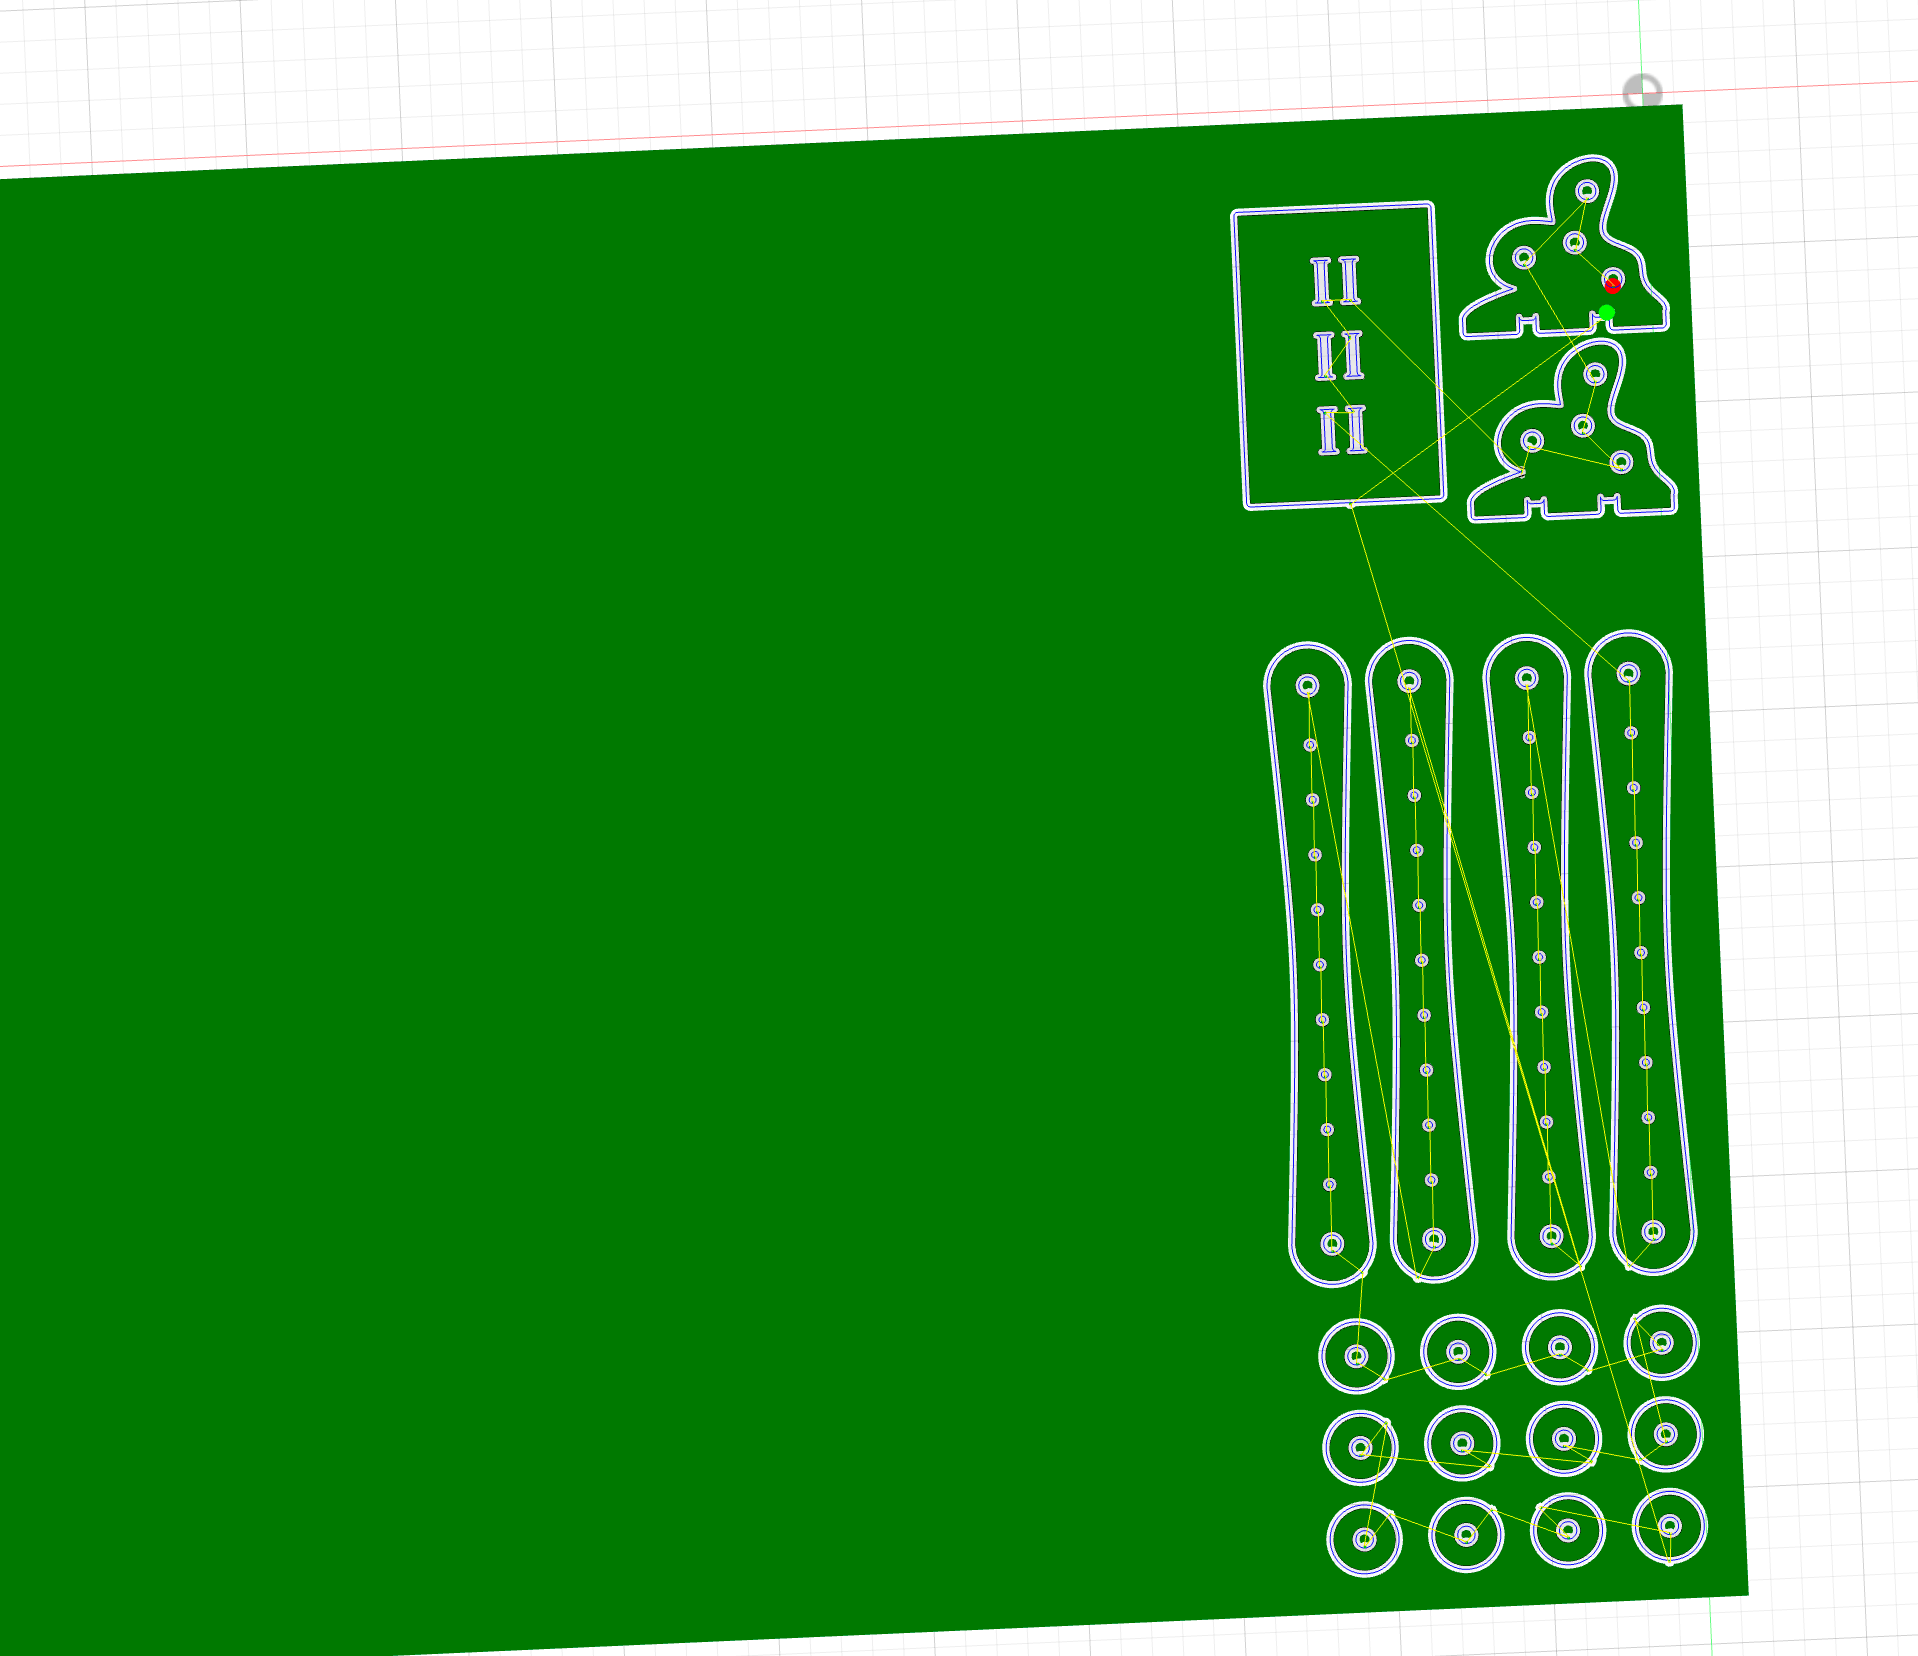
Manufacturing
Following the ShopBot User Guide, I started in the Manufacturing tab in Fusion 360. After selecting the right rool (1/4 inch endmill) and the right thickness (when I started with the real deal, it reads 11.16mm or 0.46in),
Then I started the picking the contours, toolpath generation, simulation, and exporting the GCode file.
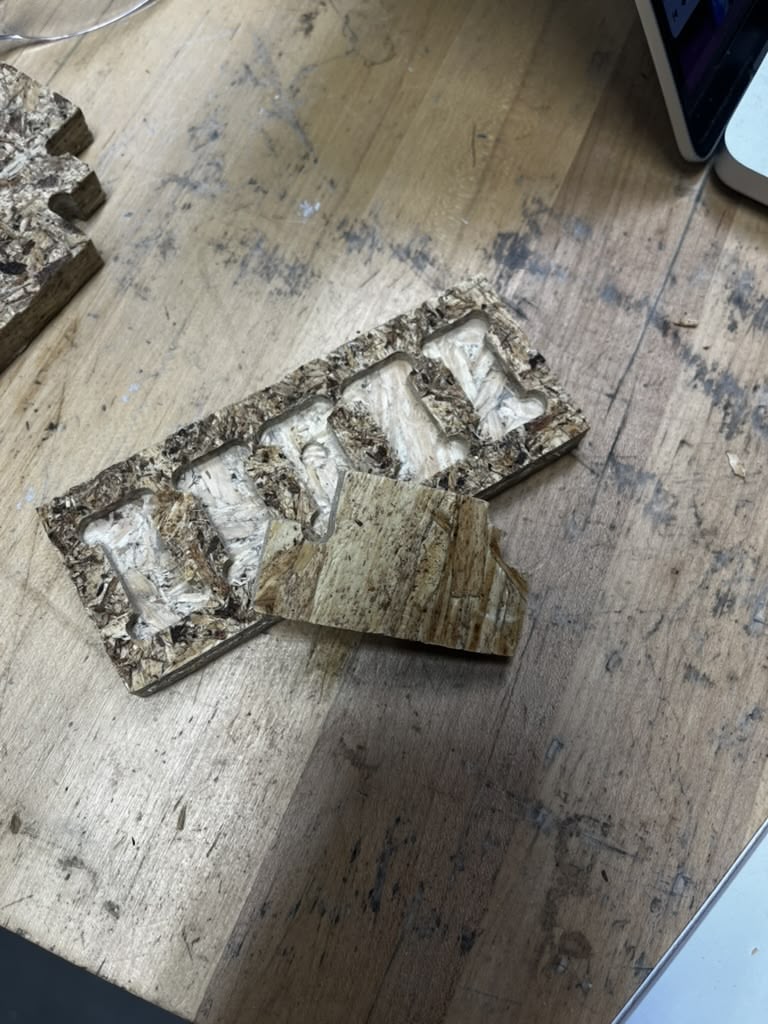
Here are the parts I ended up with
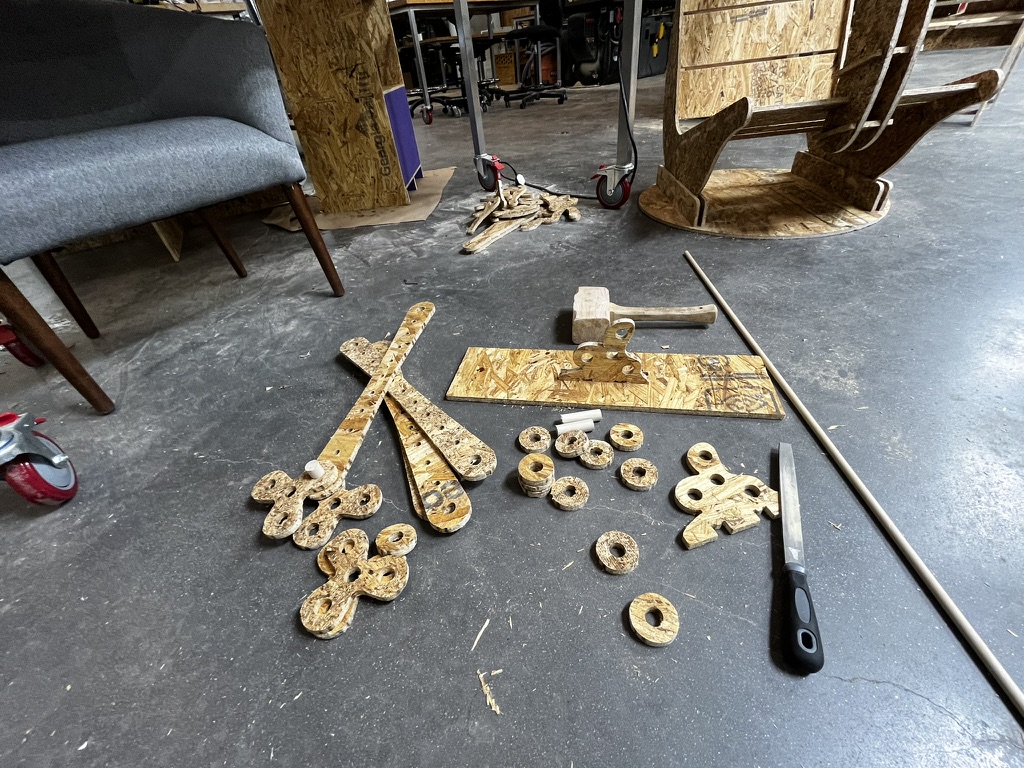
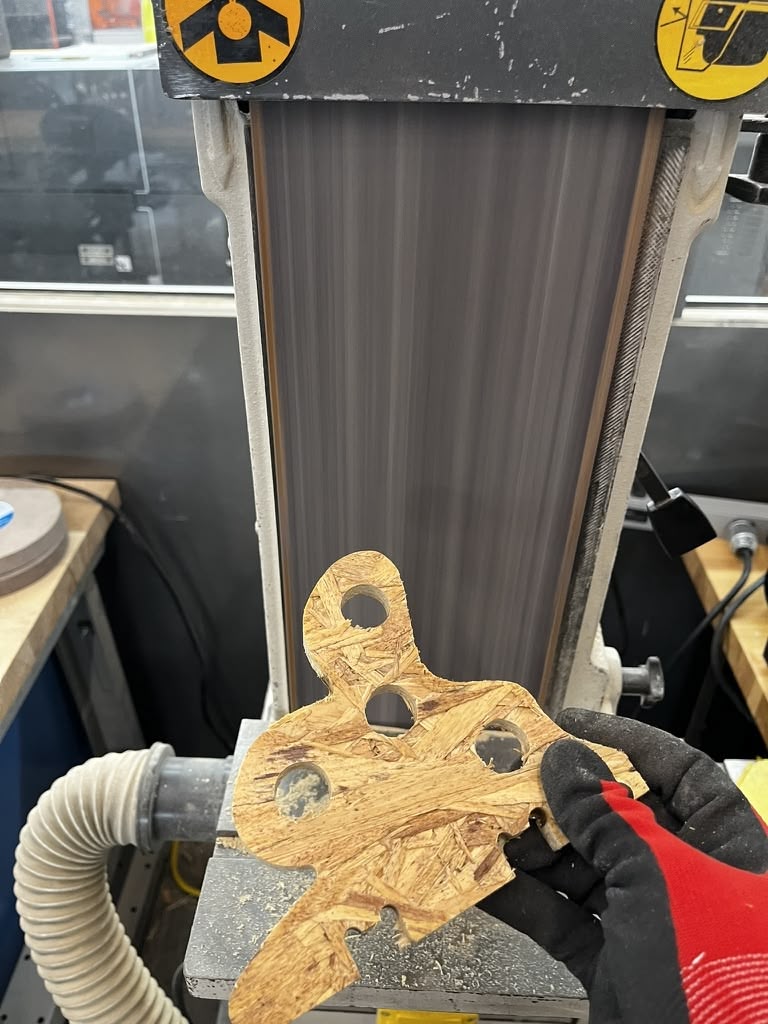
Because of the tabs on the edge of the parts, it's not very smooth. So I went ahead and sanded everything.
Assembly
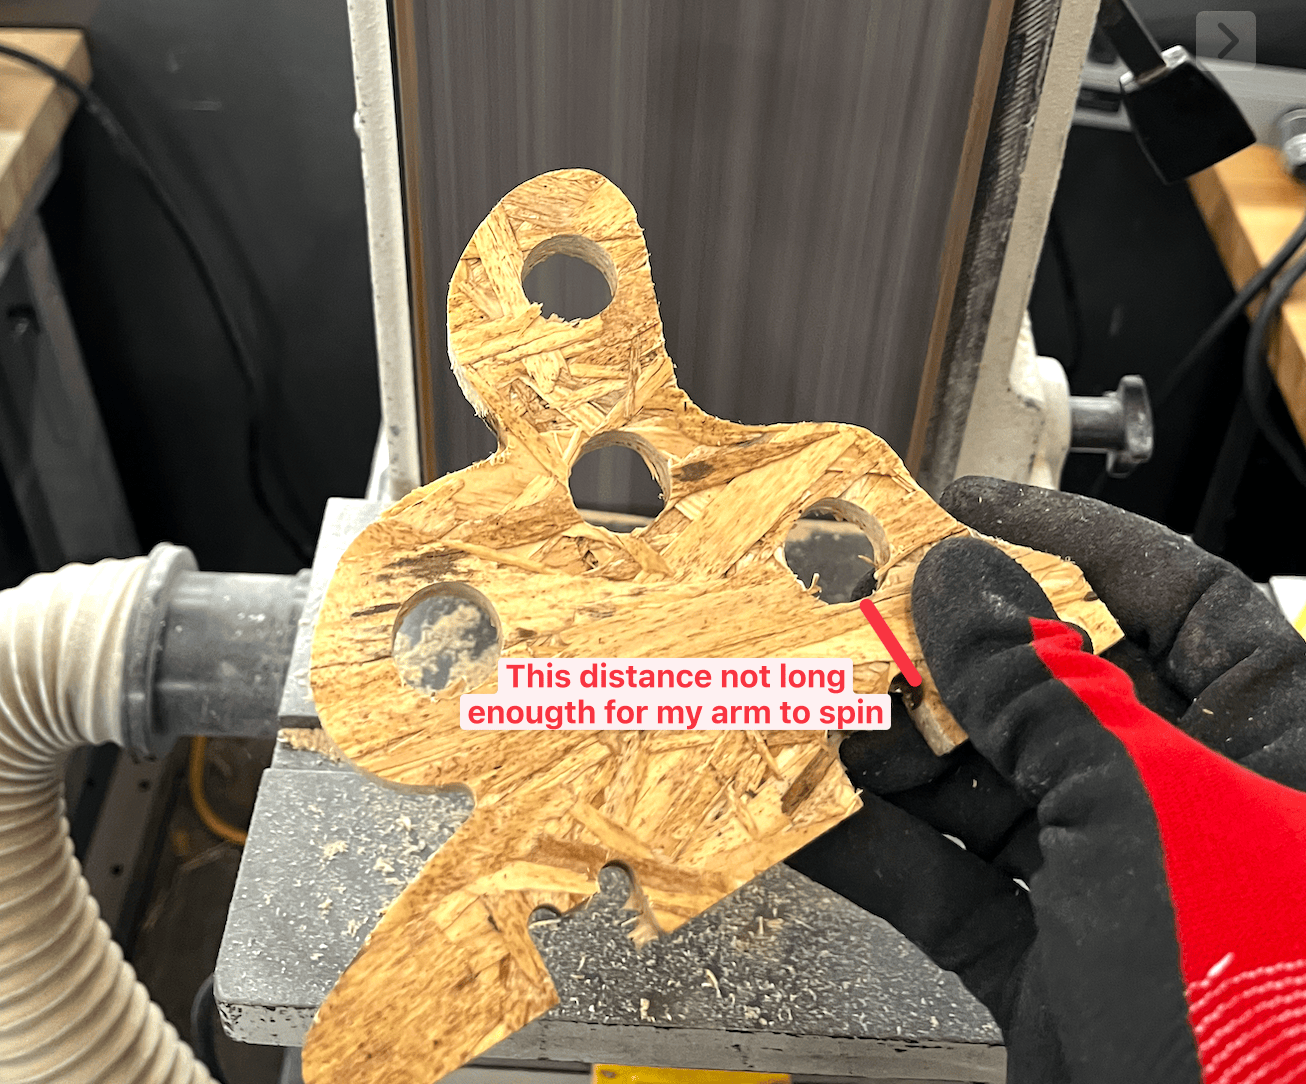
I started by assembling referencing the Woodpunk LED Desk Lamp project. I realized somehting catastrophic happened to my shoulder design - the clearance between the base and the lower hole is too small for the arm to spin.
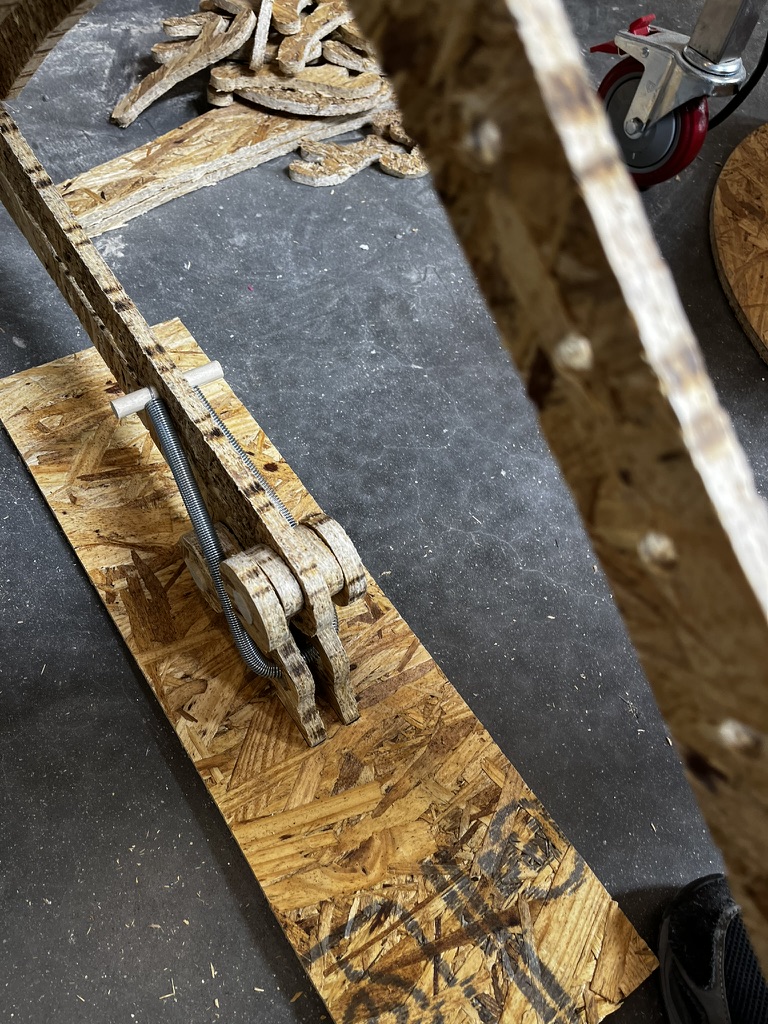
So I installed the bottom arm on the top hole, and the spring at somewhere lower than the arm hole. This results in having the opposite pulling direction for the spring, which does not support the base arm at all.
Here's a demonstration of the problem.
Thankfully, the top arm works fine, because I can place the spring as it's supposed to go.
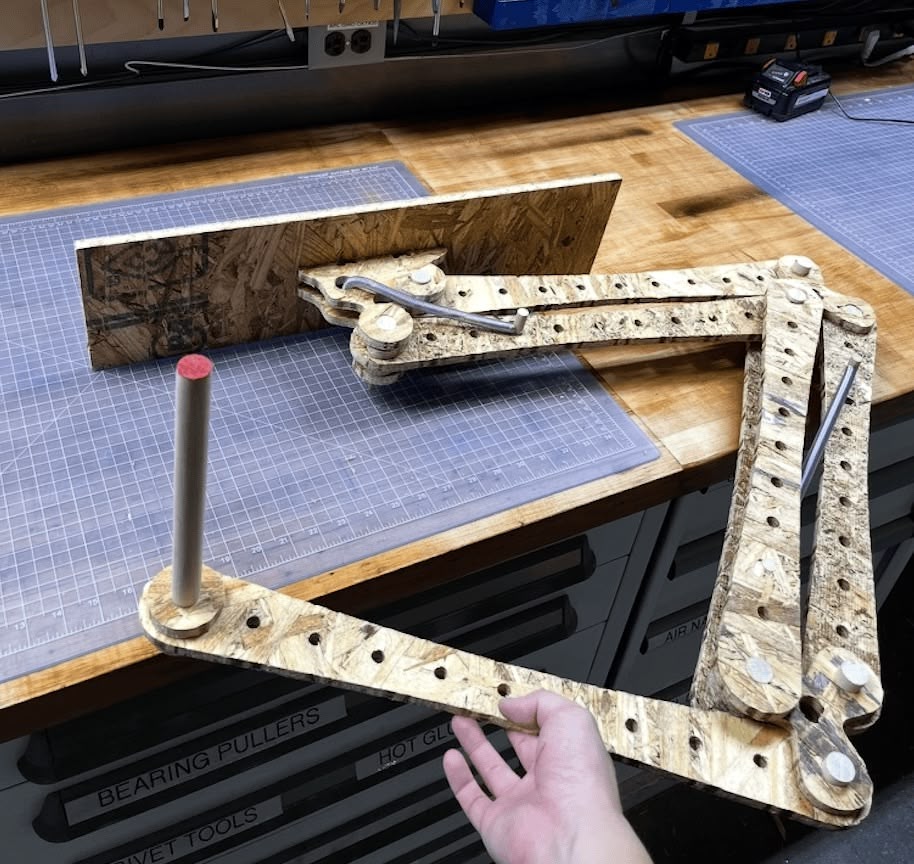
Here's a picture of the assembled "lamp". I wanted to place it sideways as a spring loaded spanking / slapping machine, but I didn't have time to mill a hand... So I put a spare arm part and stick the spare dowel rod into it to make it looks as if it's holding a baton.
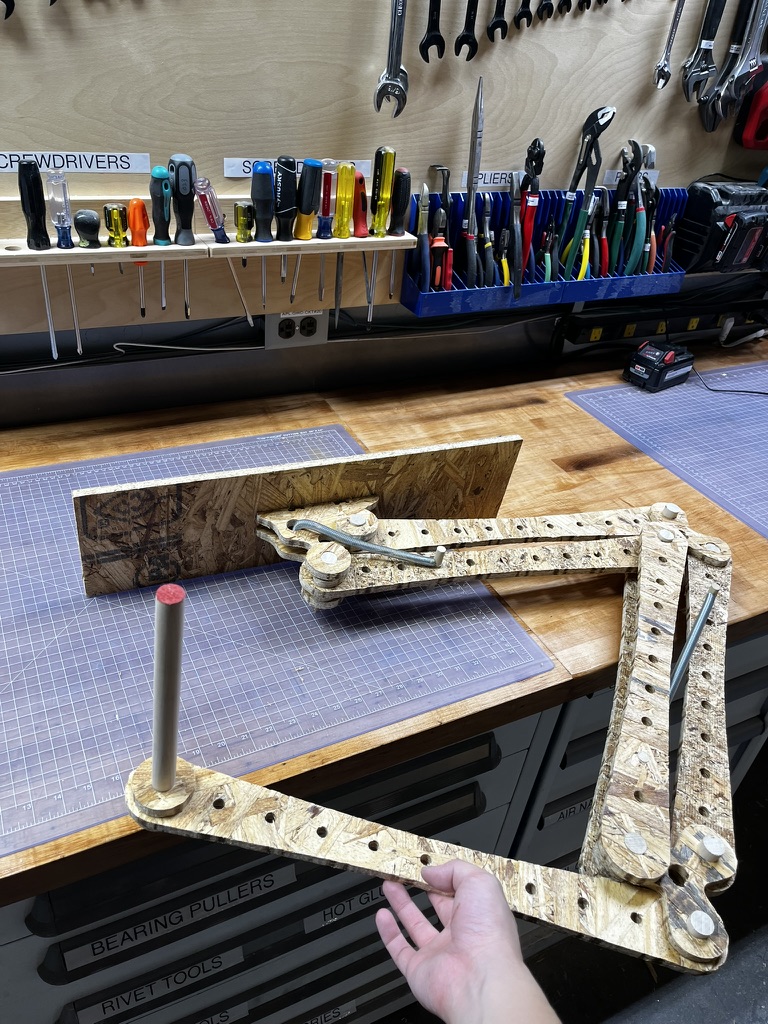
Unfortunately, the spring is installed in reverse direction, and not very strong. So it wouldn't spank really.
Fixed Shoulder Joint
I redesigned my shoulder joint to have the right clearance but it's too late to make a new one for the day. I'll save it for later!
Extra Credit?
The entire assembly was completed without any glue or fasteners - achieving the extra credit requirement through mechanical joints and friction fits alone. The dowel pins, OSB parts, and springs are held together purely through mechanical constraints. The pins will only come out if you push them really hard. Their friction is enough to keep them in place, even when I put things sideways as a spanking / slapping machine.