MakeMIT
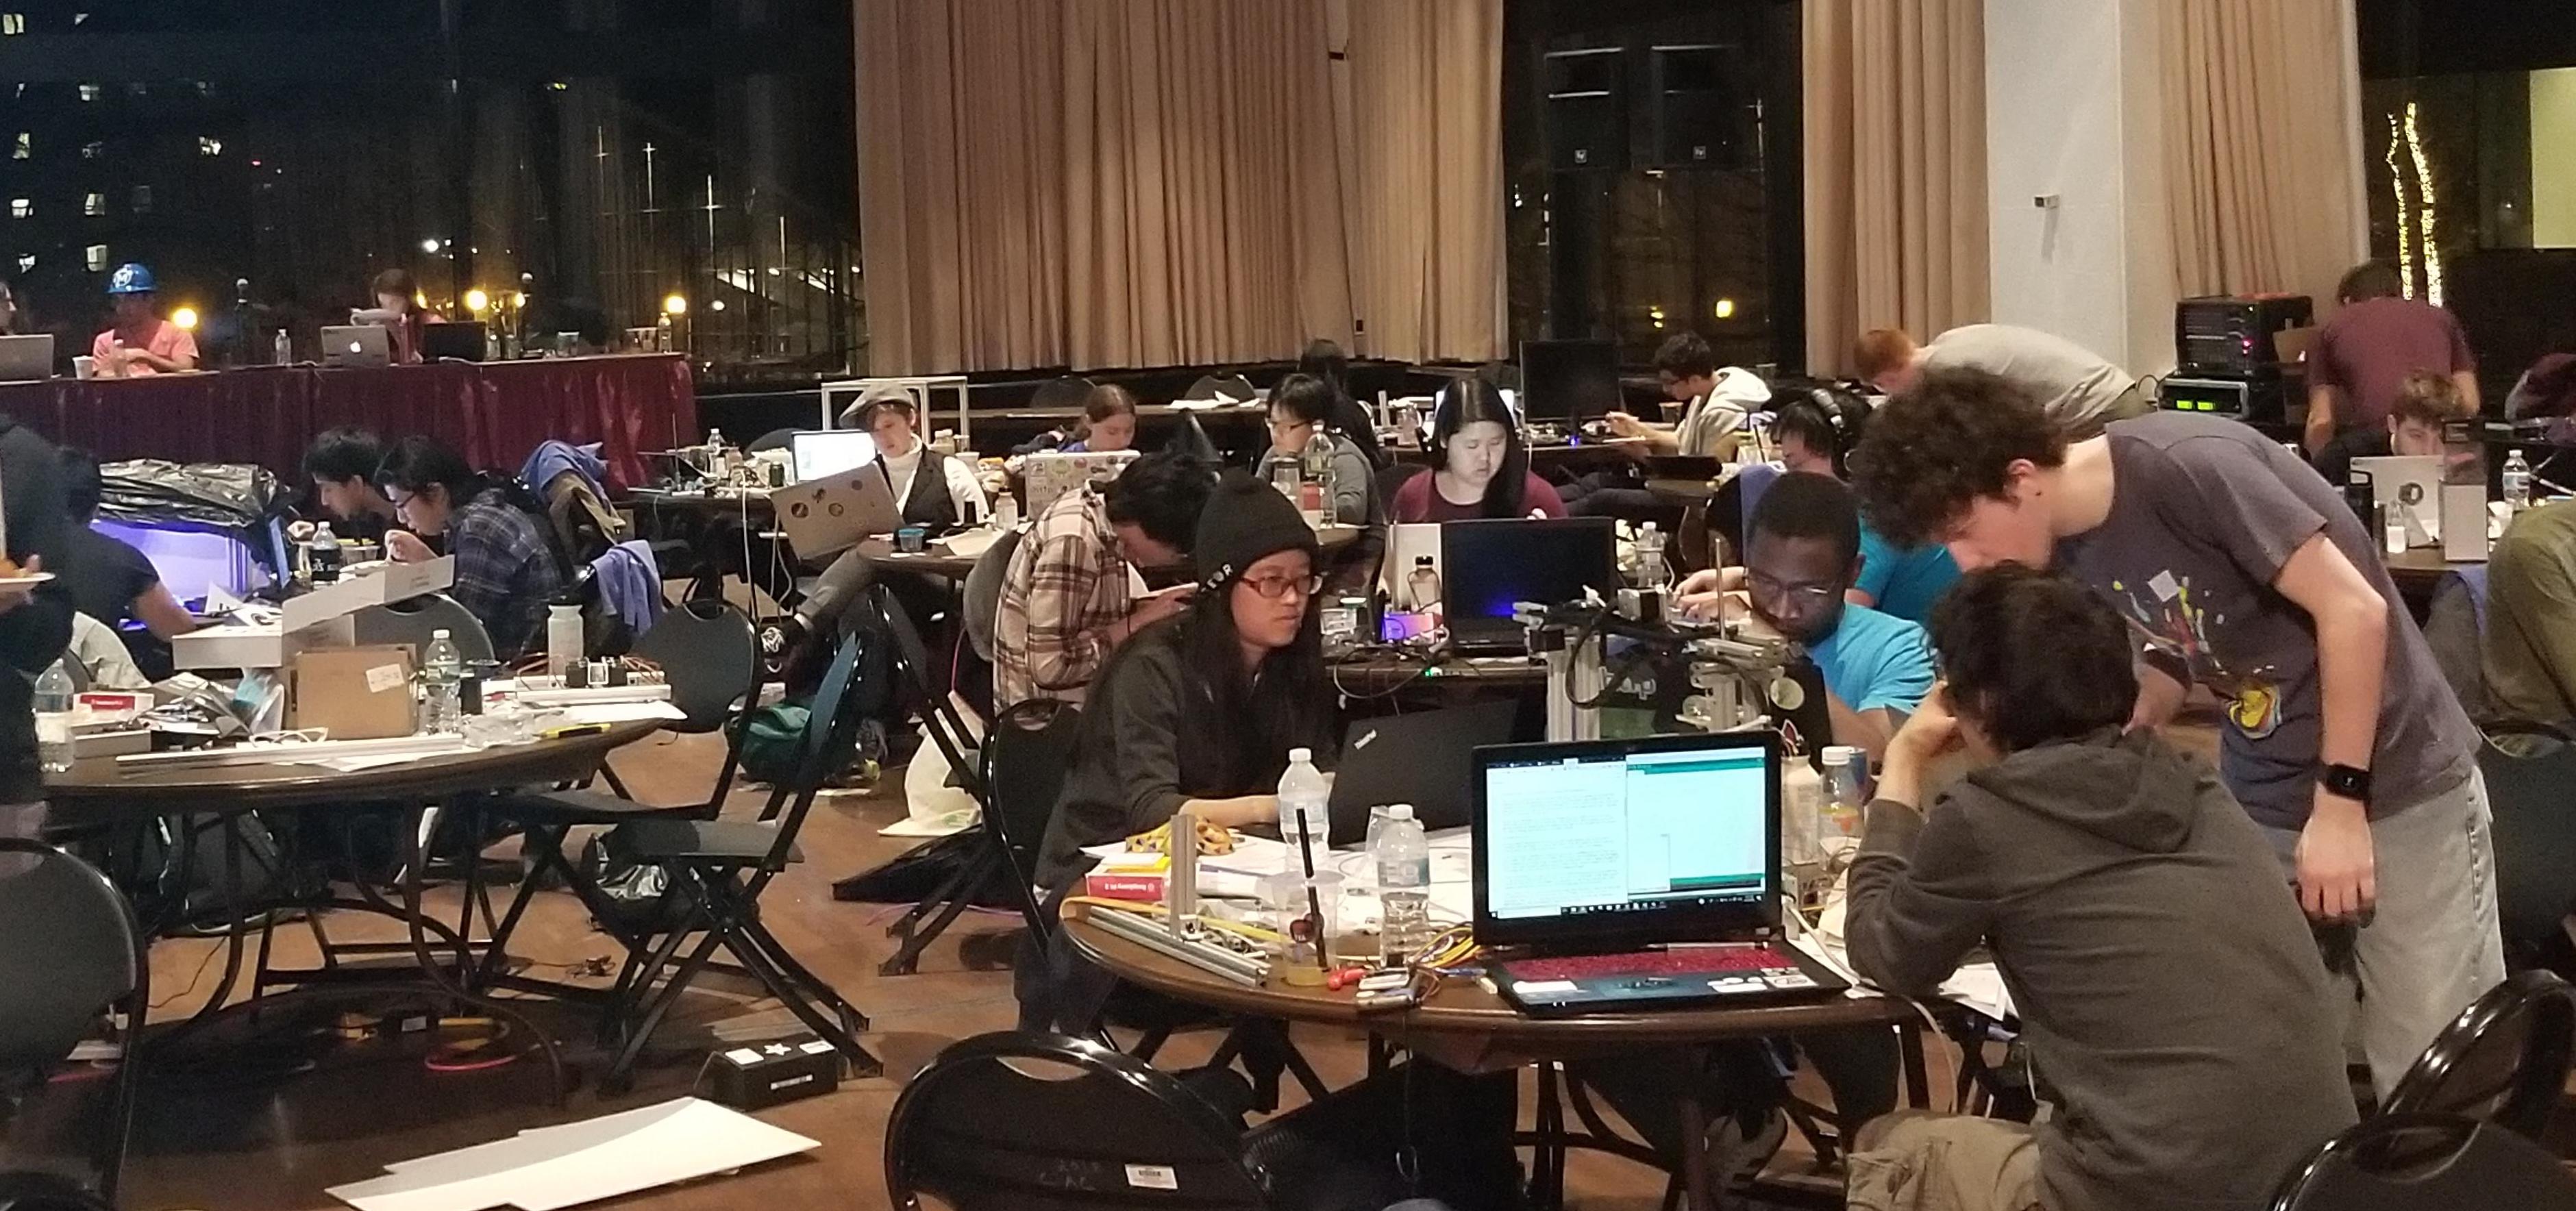
MakeMIT is probably the world's largest hardware hackathon - or a "makeathon". Every year, about 250 hackers gather at MIT's Students Center to build the craziest things in only 16 hours. This year, Ivan and I were the Bonde Interiorano team (or the "countryside block", a joke on both of us being from the countryside of Brazil), and we went to compete for the category of IoT technology.
When we subscribed for it last year , we knew we would most likely be taking Machines that Make together - and we were planning to find the intersection between something that we could make for the class while still making usage of the whole arsenal MakeMIT would provide us. Those hackathons usually have a good presence sponsors (and sponsored prizes) and we decided to focus on Particle as a source of tech for our project.
How to Make, part II
We discussed much about potential projects that would orbit MAS.865 - from trying to use Particle's Mesh boards to make musical devices to trying to build a modular machine within the time constraints. In the end, we decided to try something AR and set up a system that would allow us to program machines with a nice interface. This interface, ideally, would be built in Unity - but none of us could learn it on time. So we had to look back to my final project of How to Make - when I tried to build a table that would recognize "physical mods" and allow interfacing with their corresponding "digital mods" (the table itself worked but was a massive failure from a user point of view, since it was buggy from the very beginning and had a huge latency for connecting mods). For MakeMIT, the plan was to try to hack mods into augmented reality, optimize the system to get low latency, and, given the time, build the machines to show the system. Of course, we didn't have that time :)
AR.js
The key library for our project was AR.js - a terribly documented library that is still being built, as of March 2018, and is still full of bugs (and hence hacks). The library allows AR to be used with very few lines of code and adds DOM elements which we were able to use as masks to manipulate mods. We basically used the following elements for our hack:
  <a-scene style="" id="scene" embedded arjs>
    <a-marker type='pattern' id='' url='patts/name.patt'>
      <!-- here define the content to display on top of the marker -->
    </a-marker>
    <a-entity camera></a-entity>
  </a-scene>
The above code creates a "scene" element, and adds an AR marker that uses pattern `name.patt` as an AR marker. The .patt file can be easily created from the "Marker Trainer" and takes in an image/pattern which triggers an event in the video. Specifically, elements placed under element a-marker are visible over the pattern when the marker is detected. Finally, there's a camera element, `a-entity camera`, which defines a camera and asks the user for a webcam.
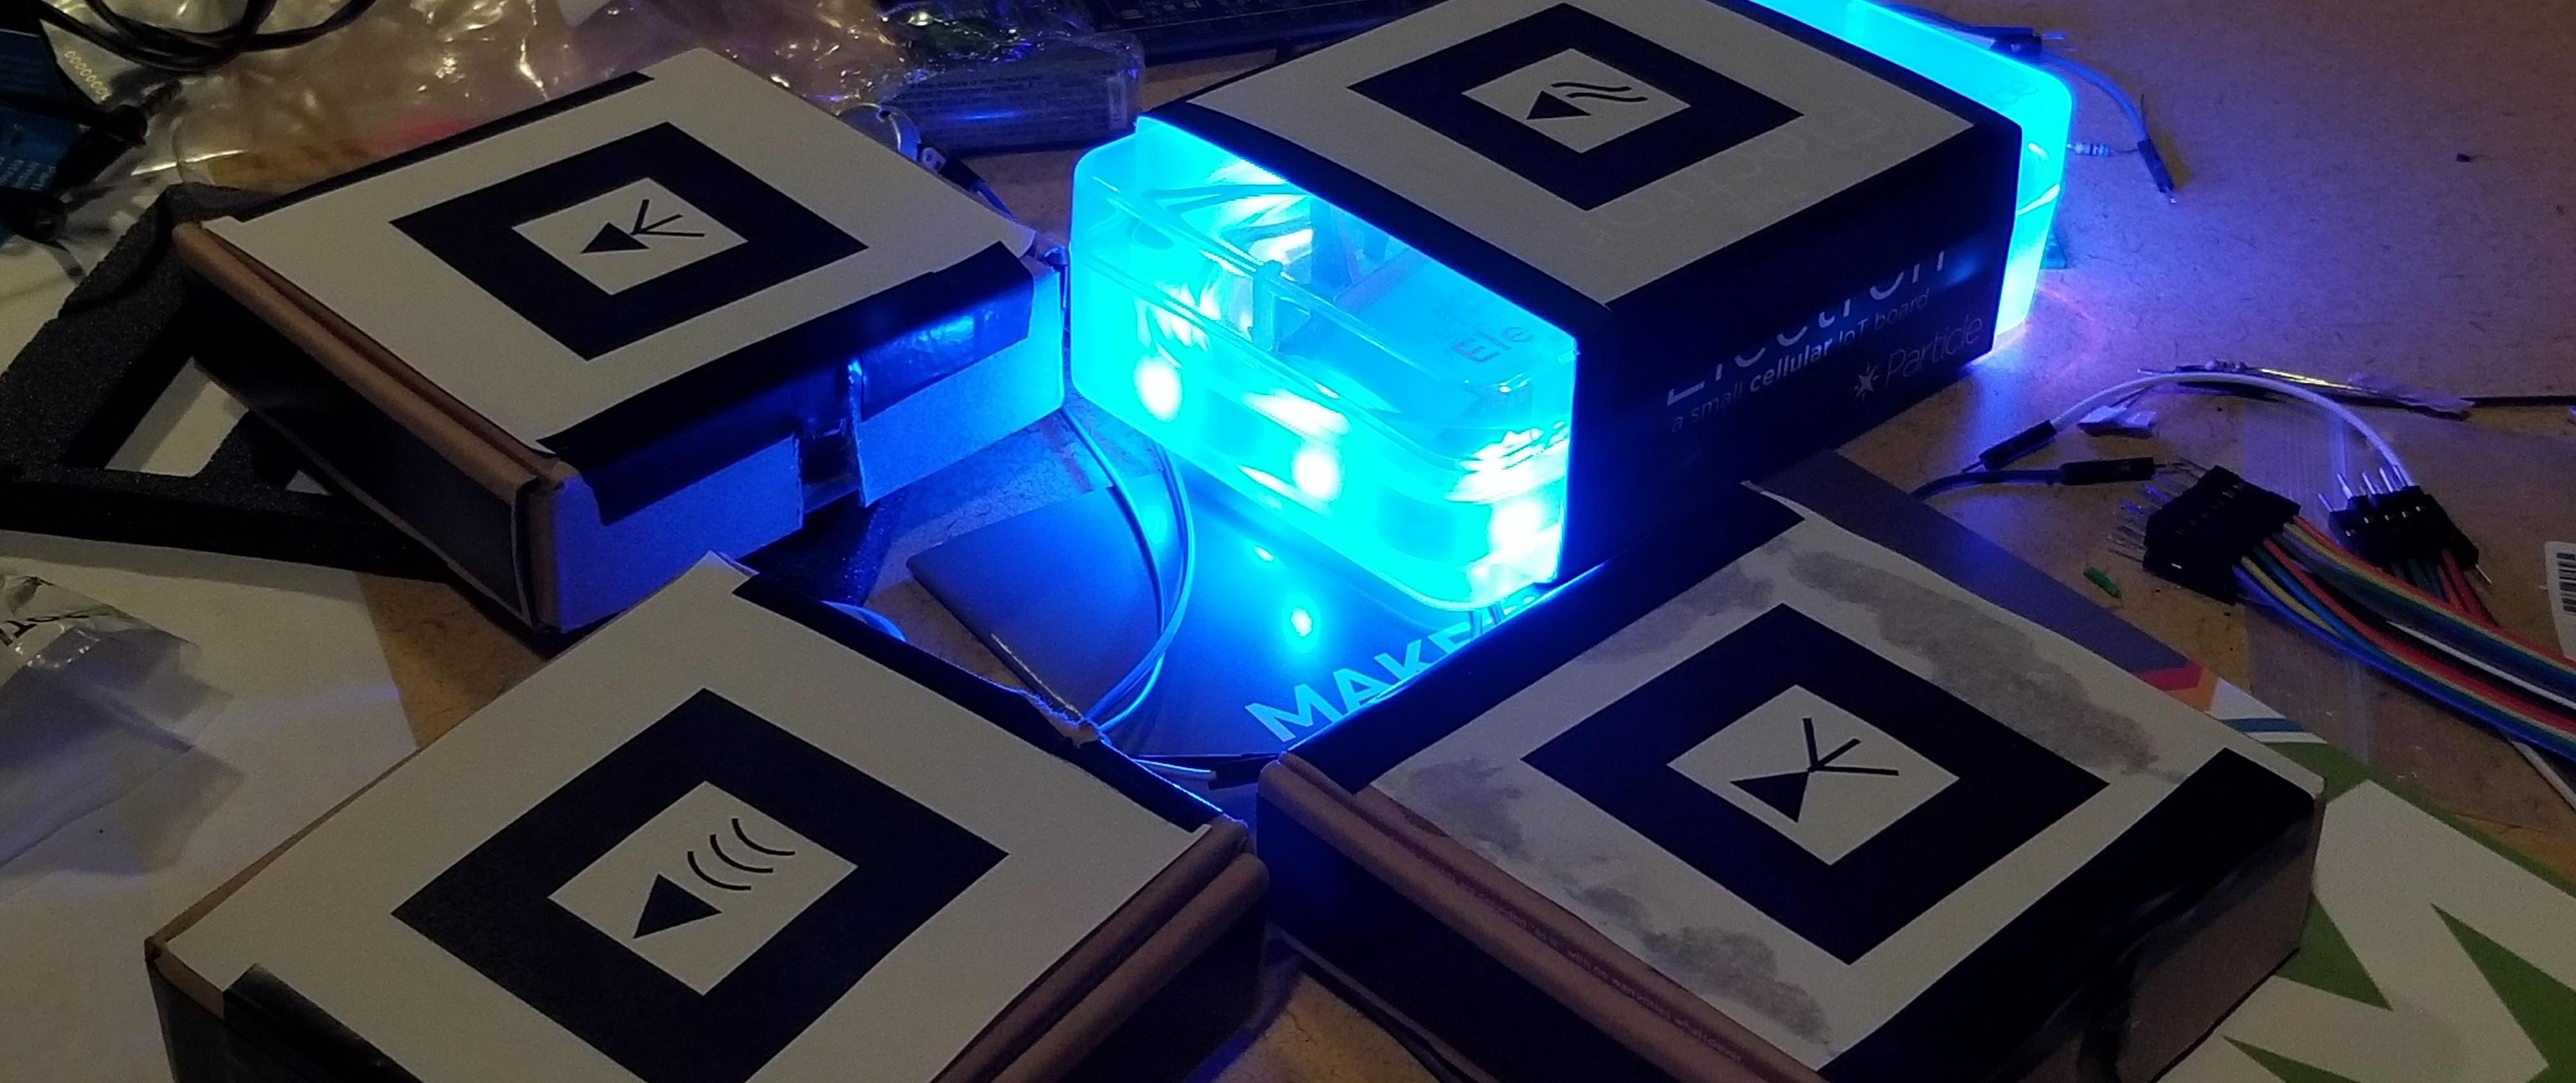
For our IoT devices, we used the same patterns that I had played with at How to Make.


Once converted to `.patt` format, one can project a box over one of those patterns by simply
  <a-scene style="" id="scene" embedded arjs>
    <a-marker type='pattern' id='light-out' url='patts/light-out.patt'>
      <a-box> </a-box>
    </a-marker>
    <a-entity camera></a-entity>
  </a-scene>
And that's all we need from the AR side: a nice way to set up a camera in the background, some form of detector for our markers, and a trigger for events of detection.
(re)Hacking Mods: basic structure
We associated each mod with a pattern by generating a `.patt` file for a set of hardcoded modules (`phys_mods`).
  phys_mods = ["light-in", "light-out", "multi-out", "poten-in", "motor-out"]
  for (let i = 0; i < phys_mods.length; i++) {
    document.getElementById("scene").append(`


    `)
  }
To be able to reach the DOM element for our module, we added a small hack in mods.js:
  function add_module(args) {
     (...)
     // container
     var container = document.createElement('div')
        container.setAttribute("id",idnumber)
        container.setAttribute("class", args.name)
As soon as corresponding modules are populating the DOM, we hide them and keep checking if their markers are detected by the camera; if that's the case, we show the module and move its div to the marker position in the camera. In pseudocode, this is:
    window.setInterval(() => {
      for (let i = 0; i < phys_mods.length; i++) {
        mod = select mod from id phys_mods[i]
        hide mods
        if(document.querySelector(mod_id).object3D.visible) {
          // if a marker for a given mod is being detected
          position = document.querySelector(mod_id).object3D.position
          xpos, ypos = process position
          show mod
          position mod
          draw_links(mod_el.id , mods.ui.link)
        }
      }
    }, 50)
Because we wanted to use a tablet for our demonstration, I had to spend much time trying to hack mods to get it to work with iPads (and specifically, Safari, which seems not to allow the user to `add server modules`). A solution was to remove the enclosure of the mods base function, have an DOM-string array of every module that we wanted to have, and programatically add the modules:
    var modules = [`long long mod DOM-string`, `other long long mod DOM-string`, ...]
    for (let i = 0; i < modules.length; i++) {
      var str = modules[i]
      eval('var args = '+ str)
      args.definition = str
      args.id = String(Math.random()), args.top = 20, args.left = 20
      add_module(args)
    }
with this final hack, we can use the safari browser in iPads to project corresponding modules to the patterns. We completely redesigned the layout of modules by adding some .png layers and having a style.css file.
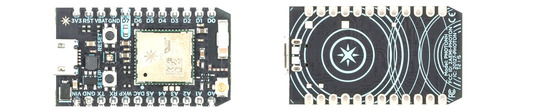
Photons
To make the corresponding board modules, we used Particle's Photons (since they sponsored the Makeathon, we had access to countless Photons + we could run for a sponsored prize :) ).
Our original goal in the makeathon was to have robots, cars and machines built for demonstration - we took much time to set up mods, and ended up running out of time to come up with anything more complex if not simple modules with basic functionality (play music, turn a wheel, measure light etc.):
There's no secret to deal with Photons, and Ivan will have a full description of our code and hardware in his website. From the mods side, we simply needed the Particle library and the lines
  var token="token here"
  var particle = new Particle();
both before mods' script. With this set up, we can easily use the Photon API to set up communication with the microcontrollers; here's an example of GET request:
  var request = window.setInterval(() => {
    particle.getVariable({ deviceId: "lara",
                           name: "pot",
                           auth: token })
    .then((data) => {
      response = data.body.result;
      mod.v = response;
      input.value = response;
      outputs.v.event();
    }, () => {});
  }, 50);
Or POST request
  mod.intensity = evt.detail
  mod.intensity_input.value = mod.intensity
  const str = `intensity=${mod.intensity}`
  particle.callFunction({ deviceId: "silvio",
                          name: "setcolor",
                          argument: str,
                          auth: token })
          .then(() => {}, () => {});
And this is all we need from the Particle side to get our mods to work. Here's an example of mod that reads data from a potentiometer (yes, very very simple example) and puts it in the mods interface:
  (function(){
    // module globals
    var mod = {}
    // name
    var name = 'poten-in'
    // initialization
    var init = function() {
      mod.v = 0;
      mod.receiver = 1;
     }
    // inputs
    var inputs = {}
    // outputs
    var outputs = {
      v: {type:"",
        event: function(evt){
           mods.output(mod, 'v', mod.v)
       }
     }
    }
    // interface
    var interface = function(div){
      // change parameters buttons
      mod.div = div
      // change mod number
      div.appendChild(document.createTextNode('poten: '))
      const input = document.createElement('input')
         input.type = 'text'
         input.size = 6
         div.appendChild(input)
         mod.receiver = input.v

       var request = window.setInterval(function(){

         particle.getVariable({ deviceId: "lara",
                                name: "pot",
                                auth: token })
         .then((data) => {
           response = data.body.result
           mod.v = response;
           input.value = response;
           outputs.v.event();
         }, () => { console.log ("lara deu ruim")});

     }, 100);

    }
    return ({
       name:name,
       init:init,
       inputs:inputs,
       outputs:outputs,
       interface:interface
       })
    }())
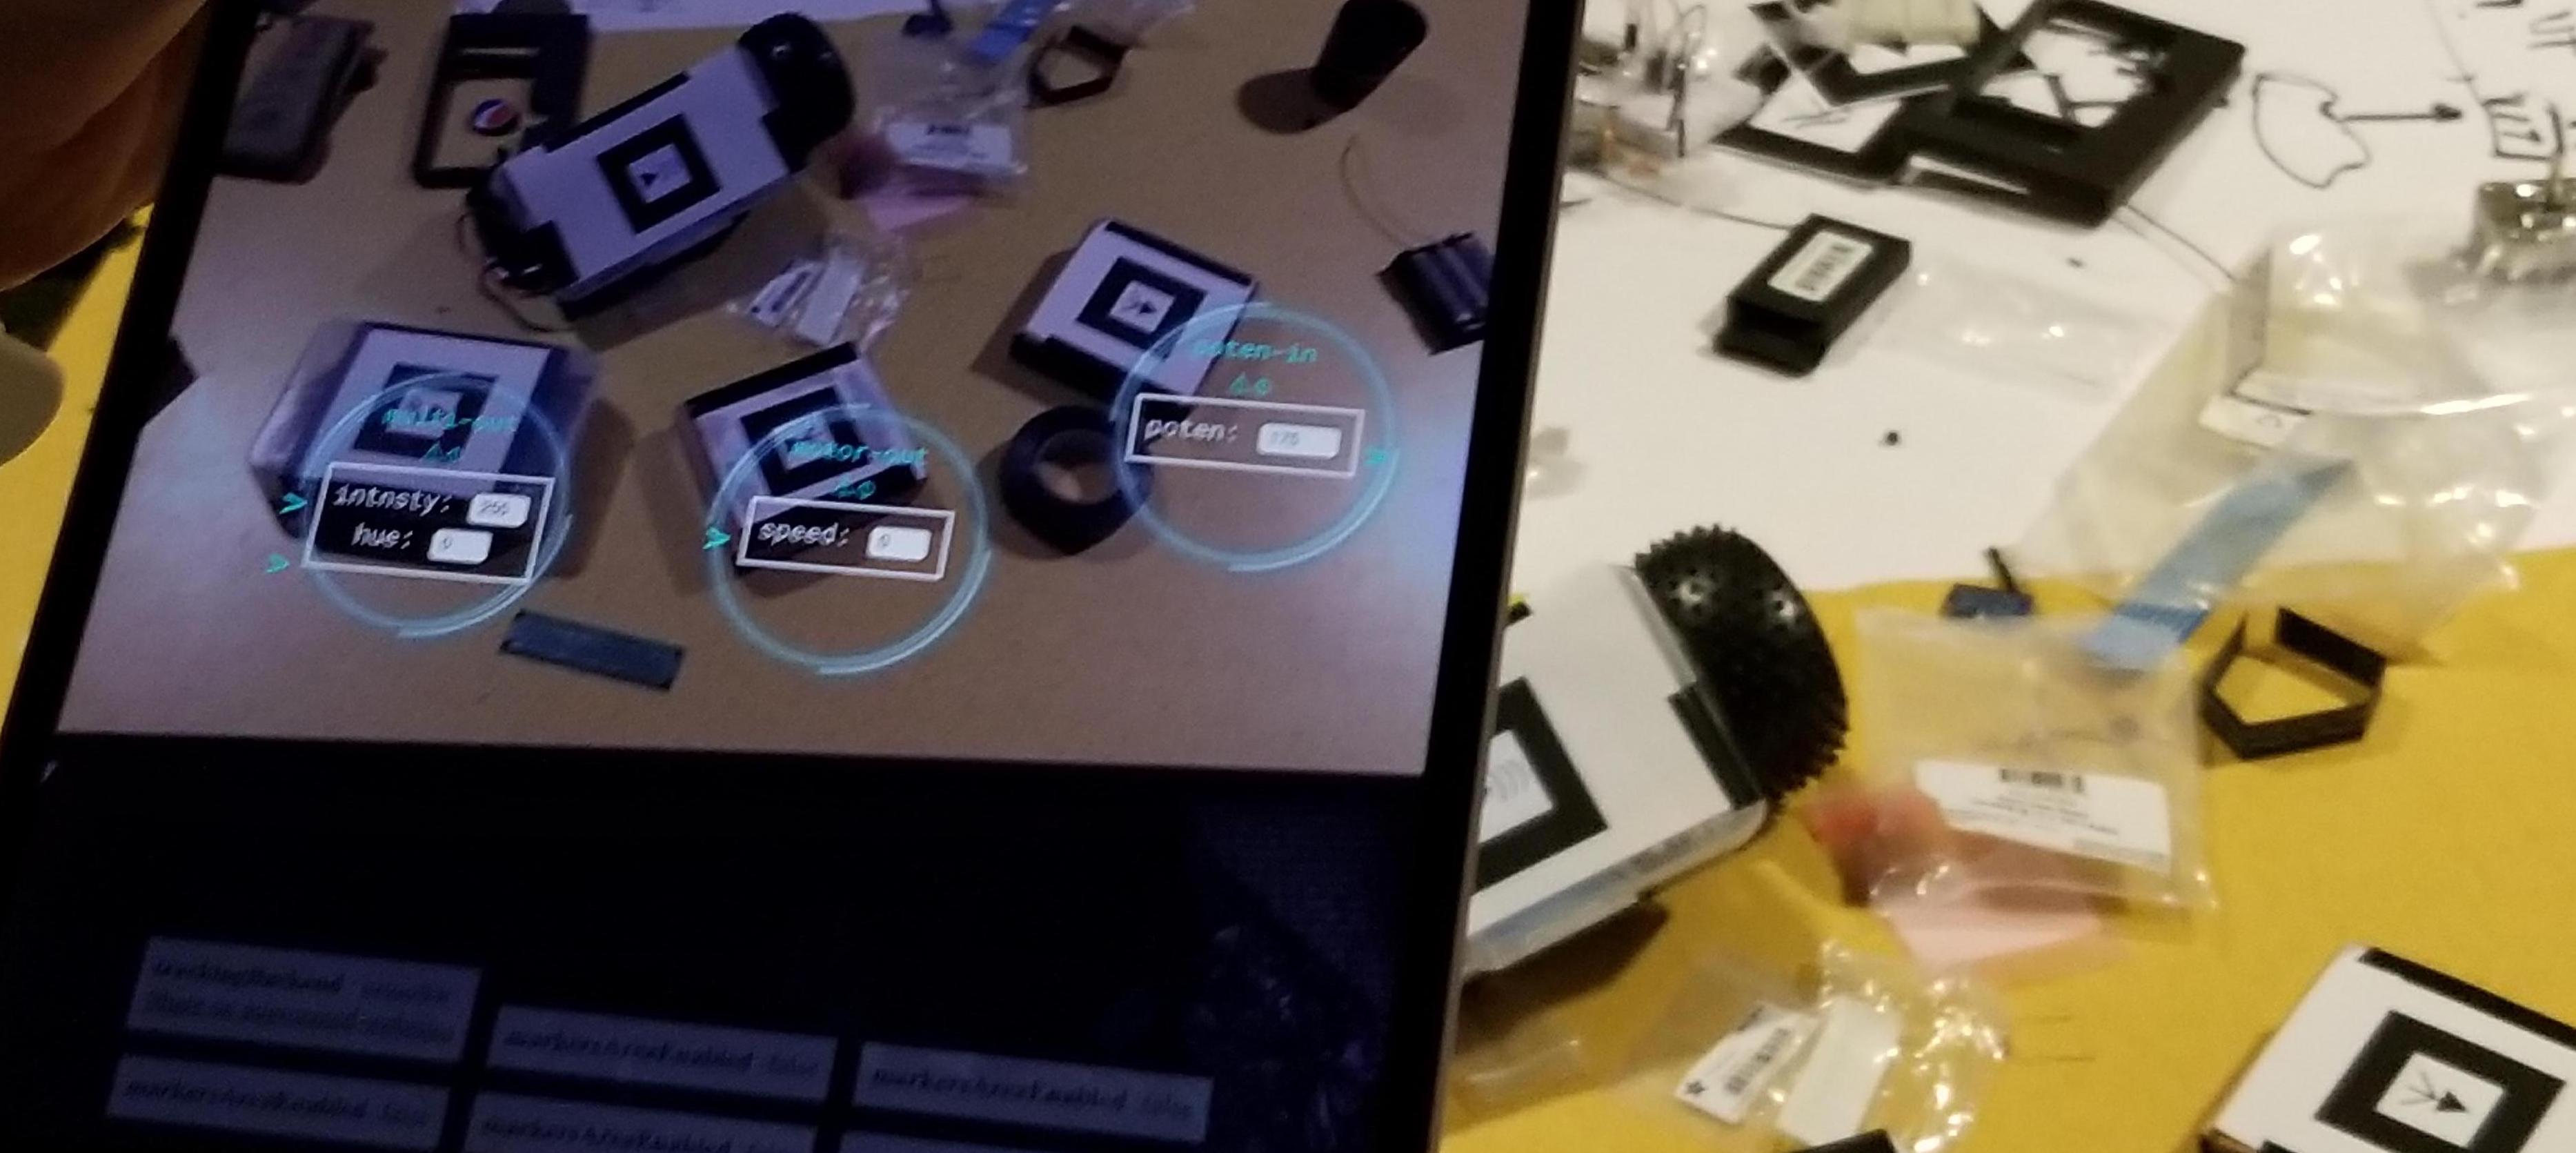
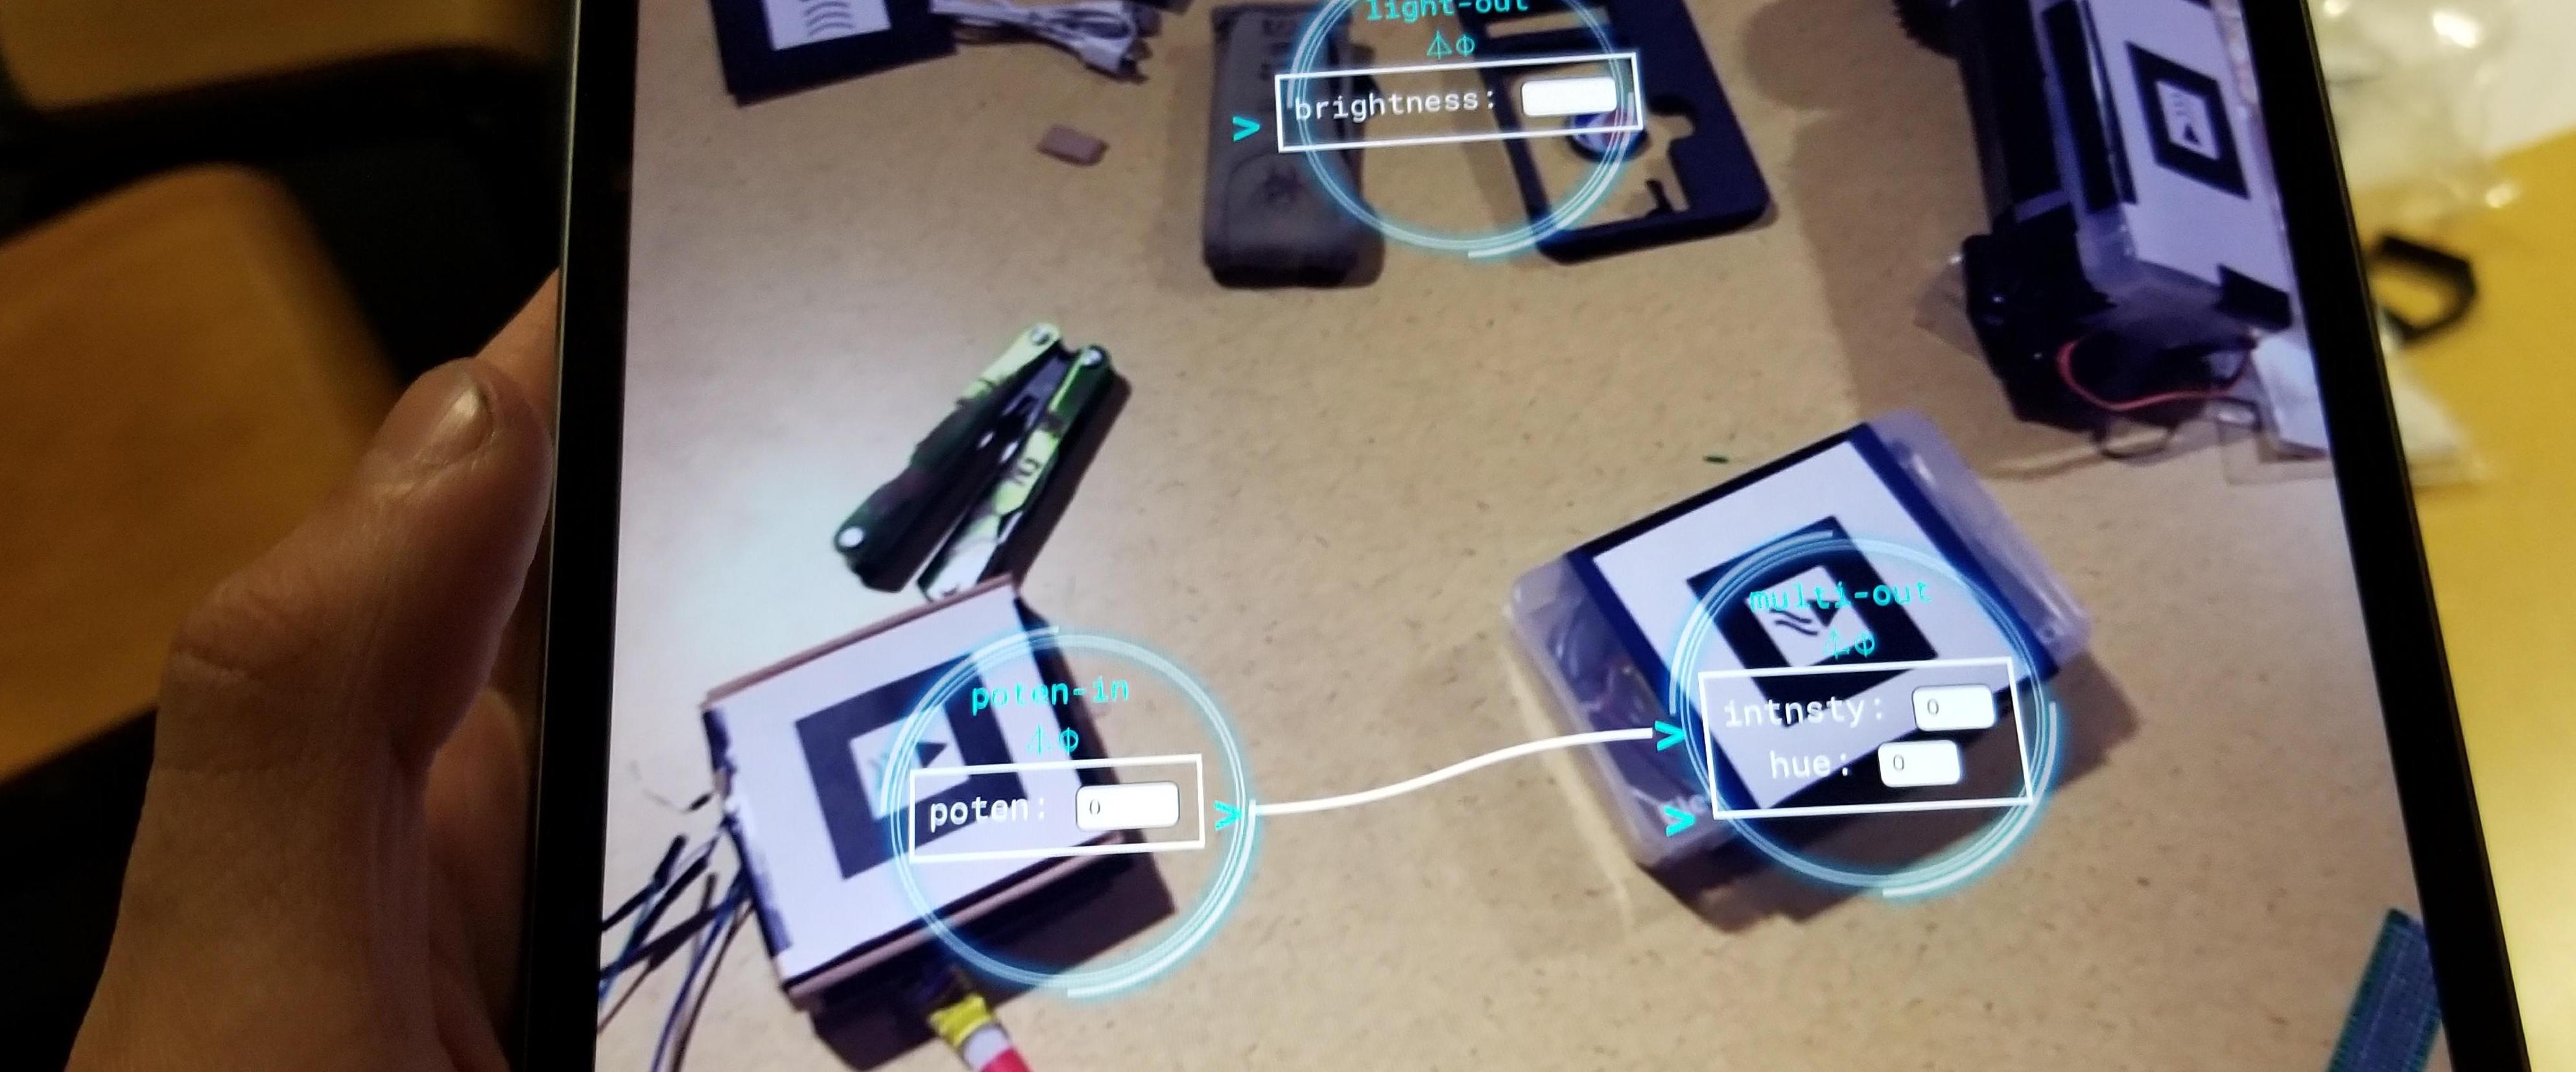
Here's how the final interface result looks like with all the components integrated; in this picture, we're connecting a potentiometer module with a "multi-light-out" (or an LED strip in a box module) so that by turning the potentiometer one directly affects the intensity or hue of the light.
Here's a small video with the potentiometer changing while connected to a stepper motor.