Building Voxels
One of the main projects for this semester is building a small machine that can build voxels. The first few weeks of the project consisted of me- learning to use Rhinos and Fusion
- trying to brainstorm ways to build voxels
- trying to convince myself about those methods
The full system consists of the following components:
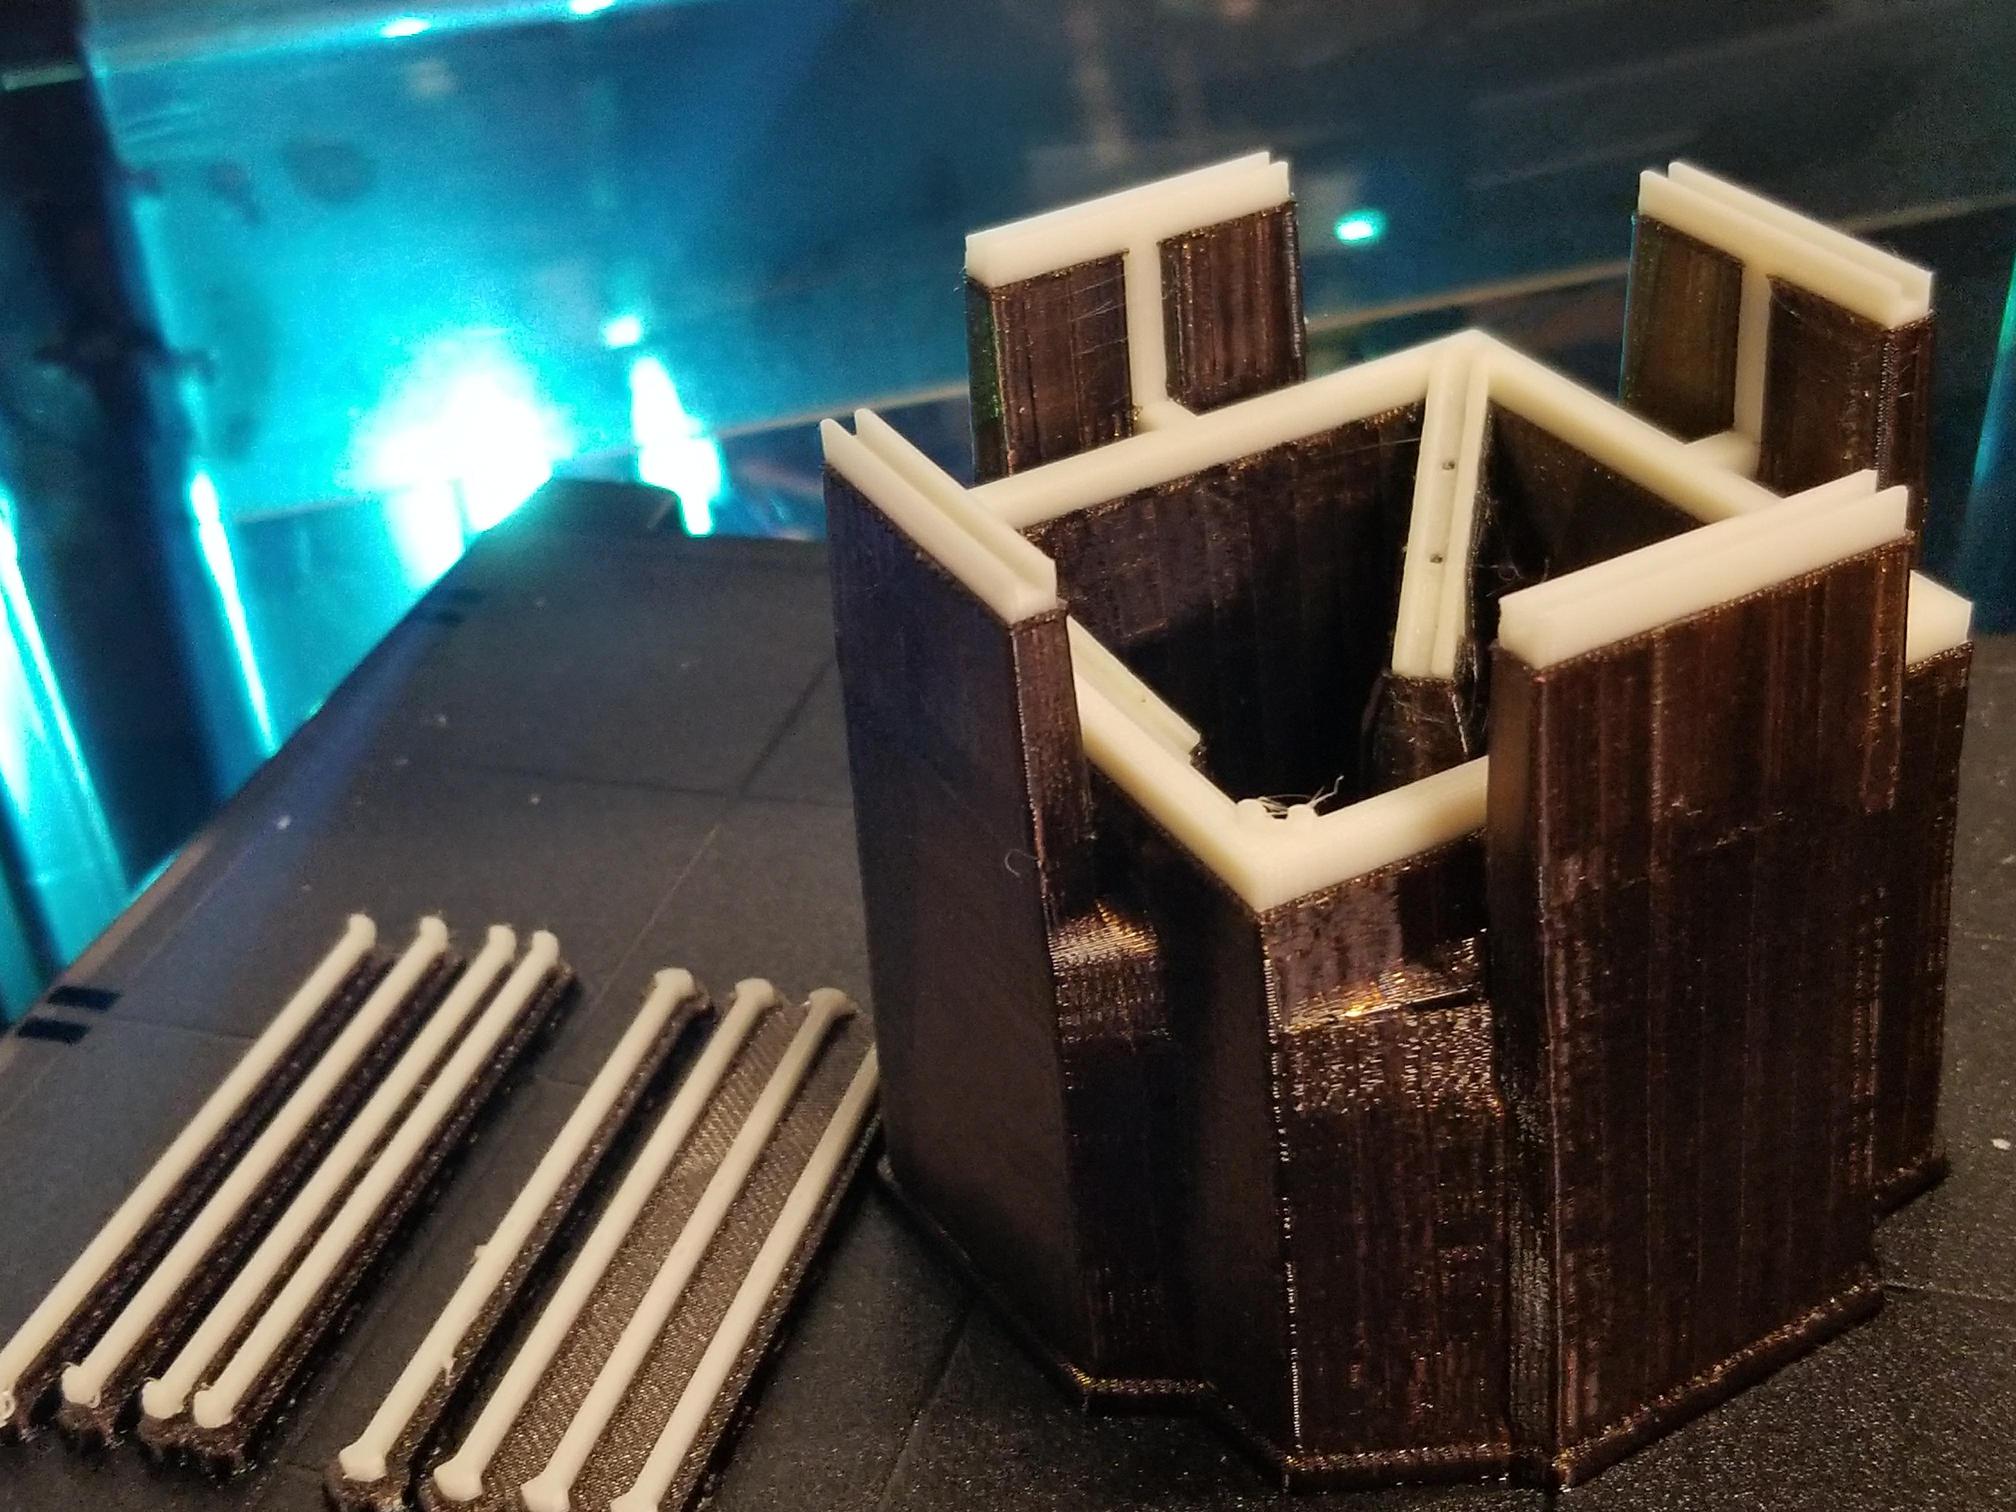
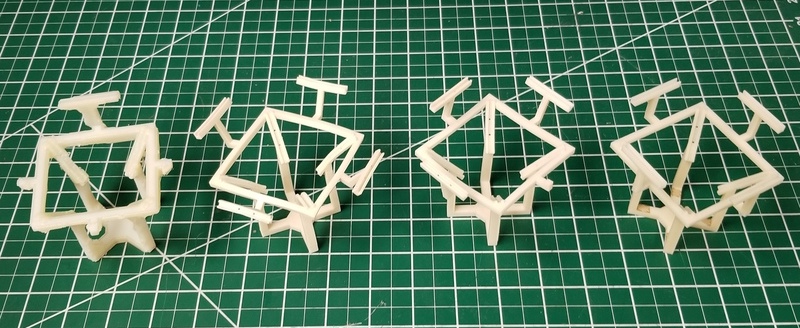
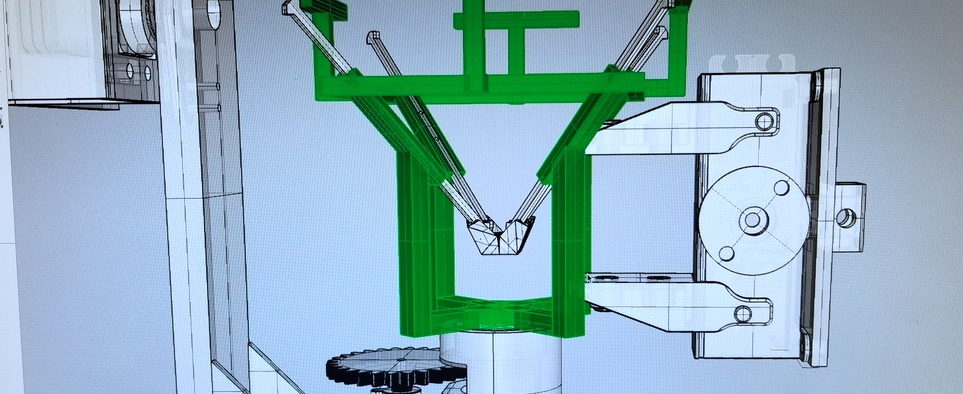
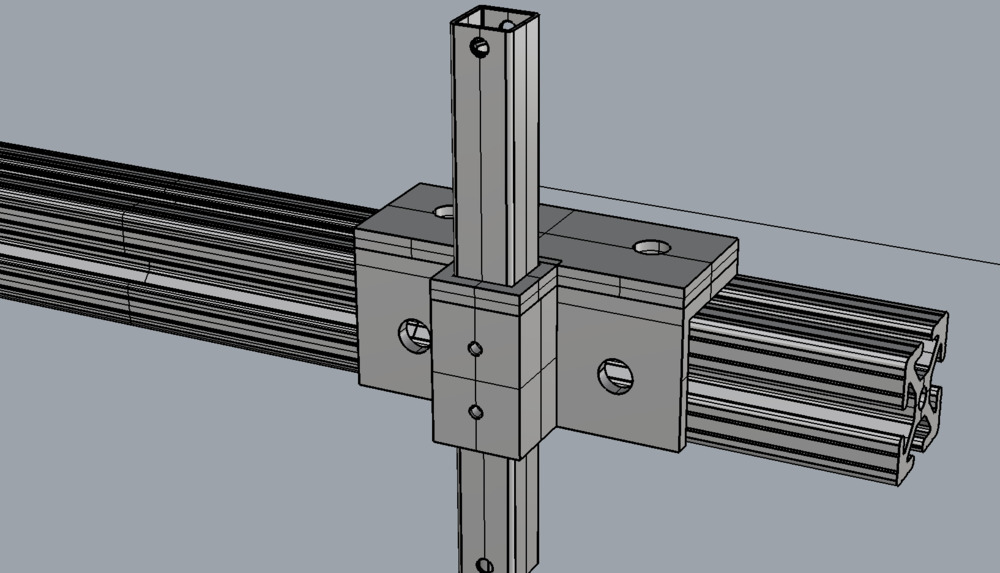
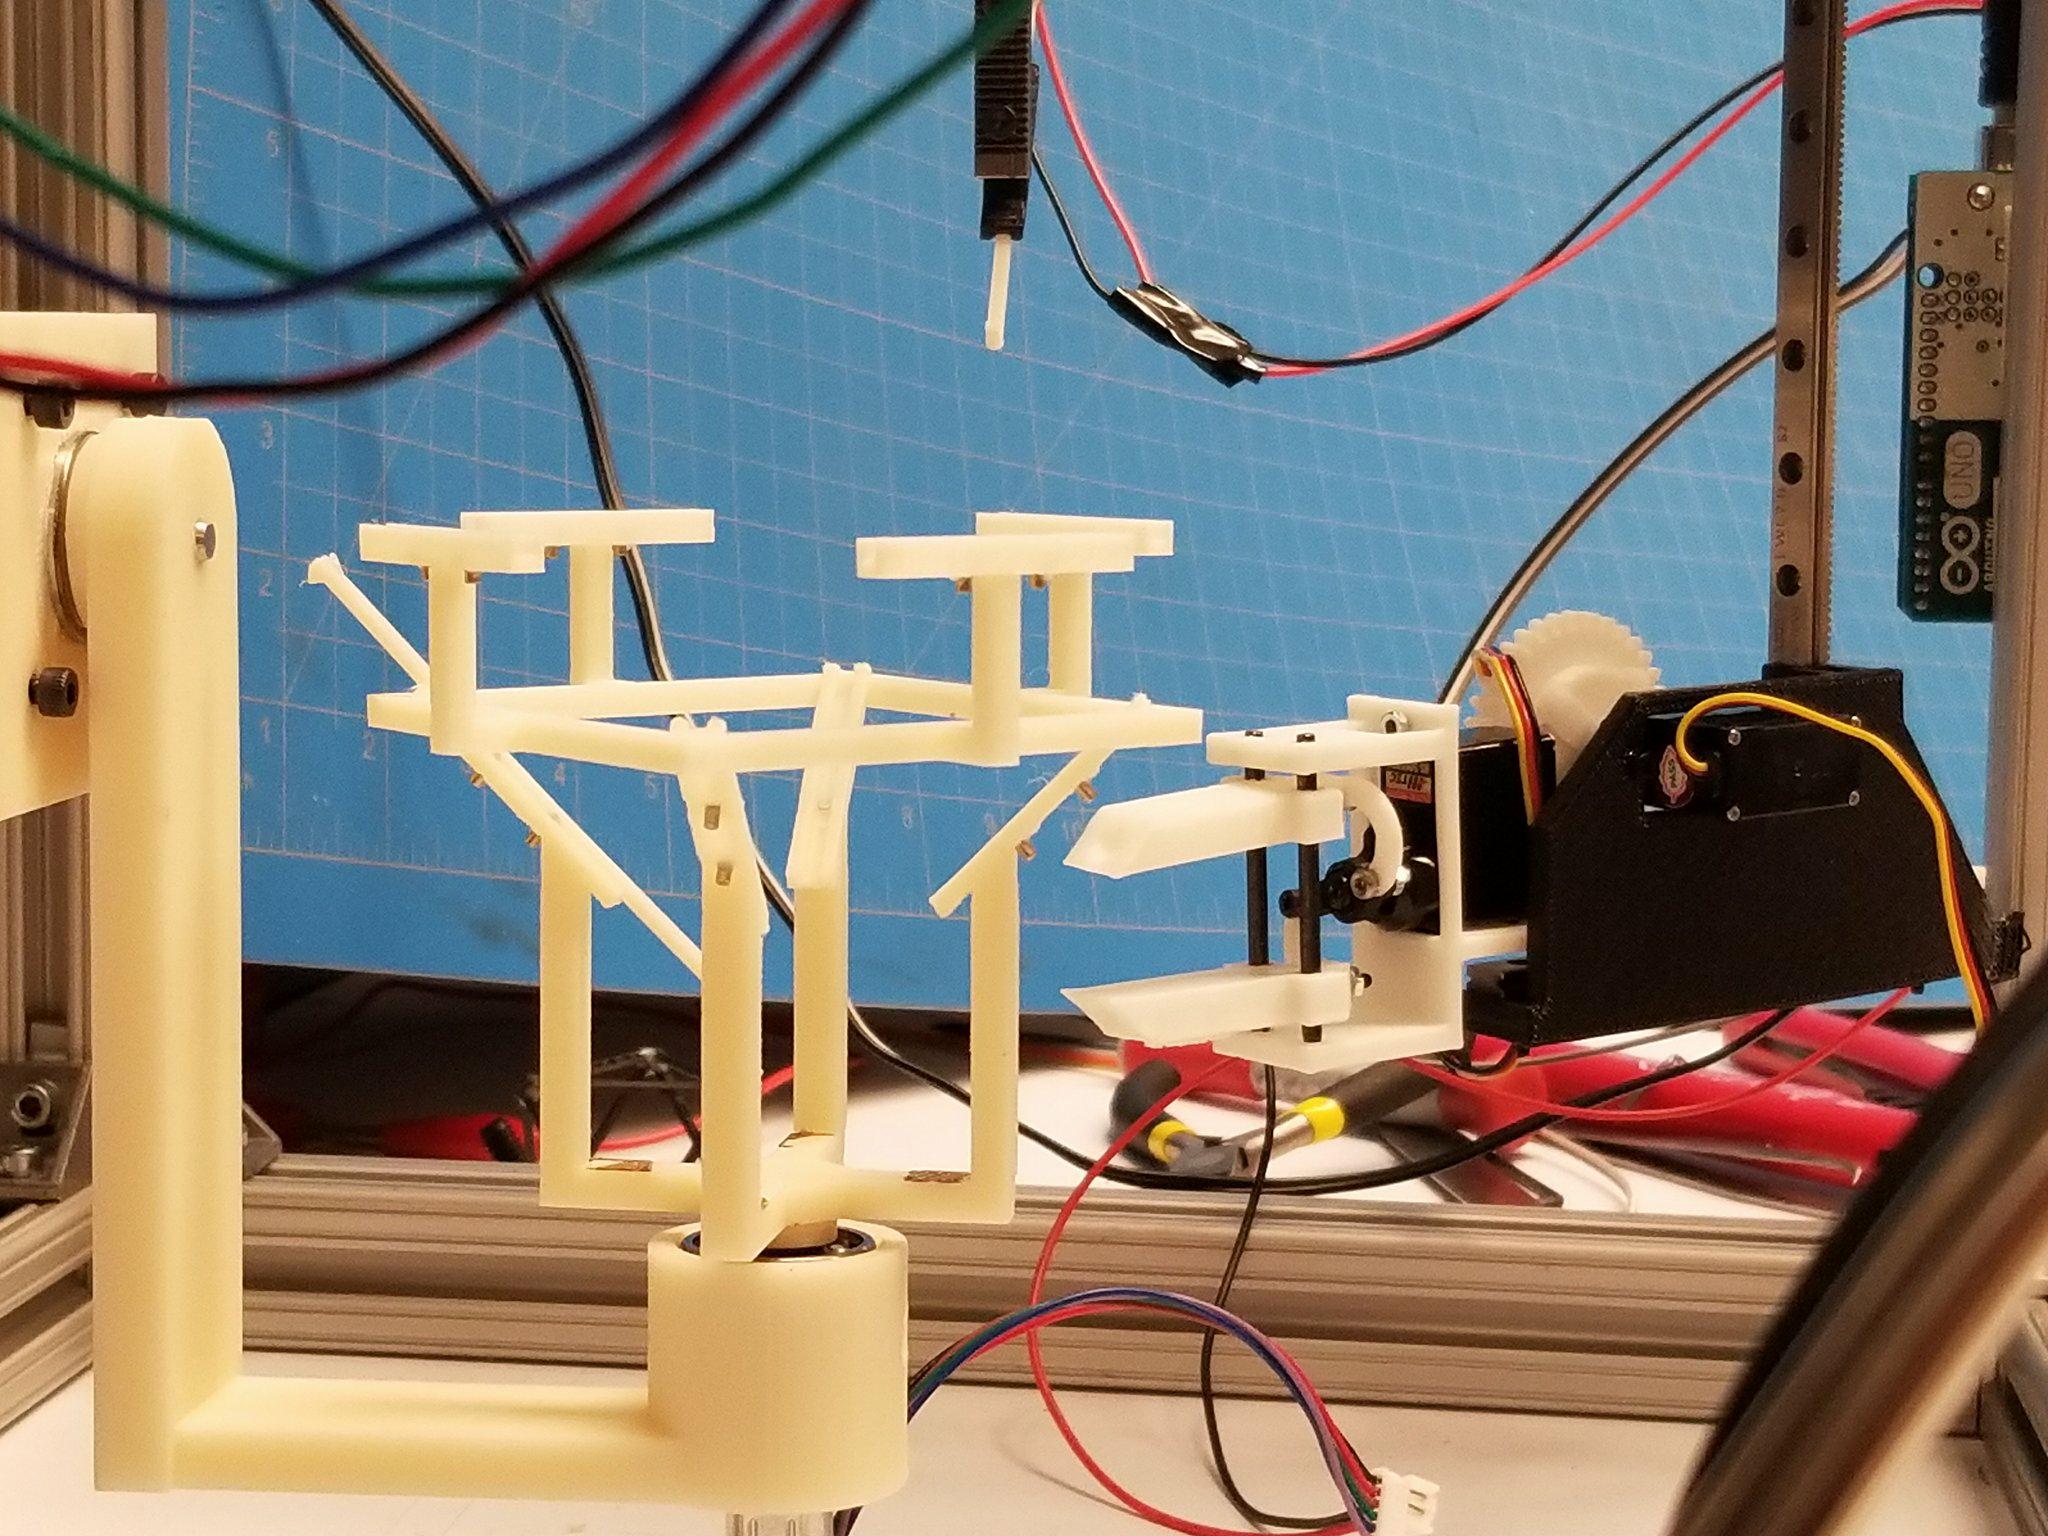
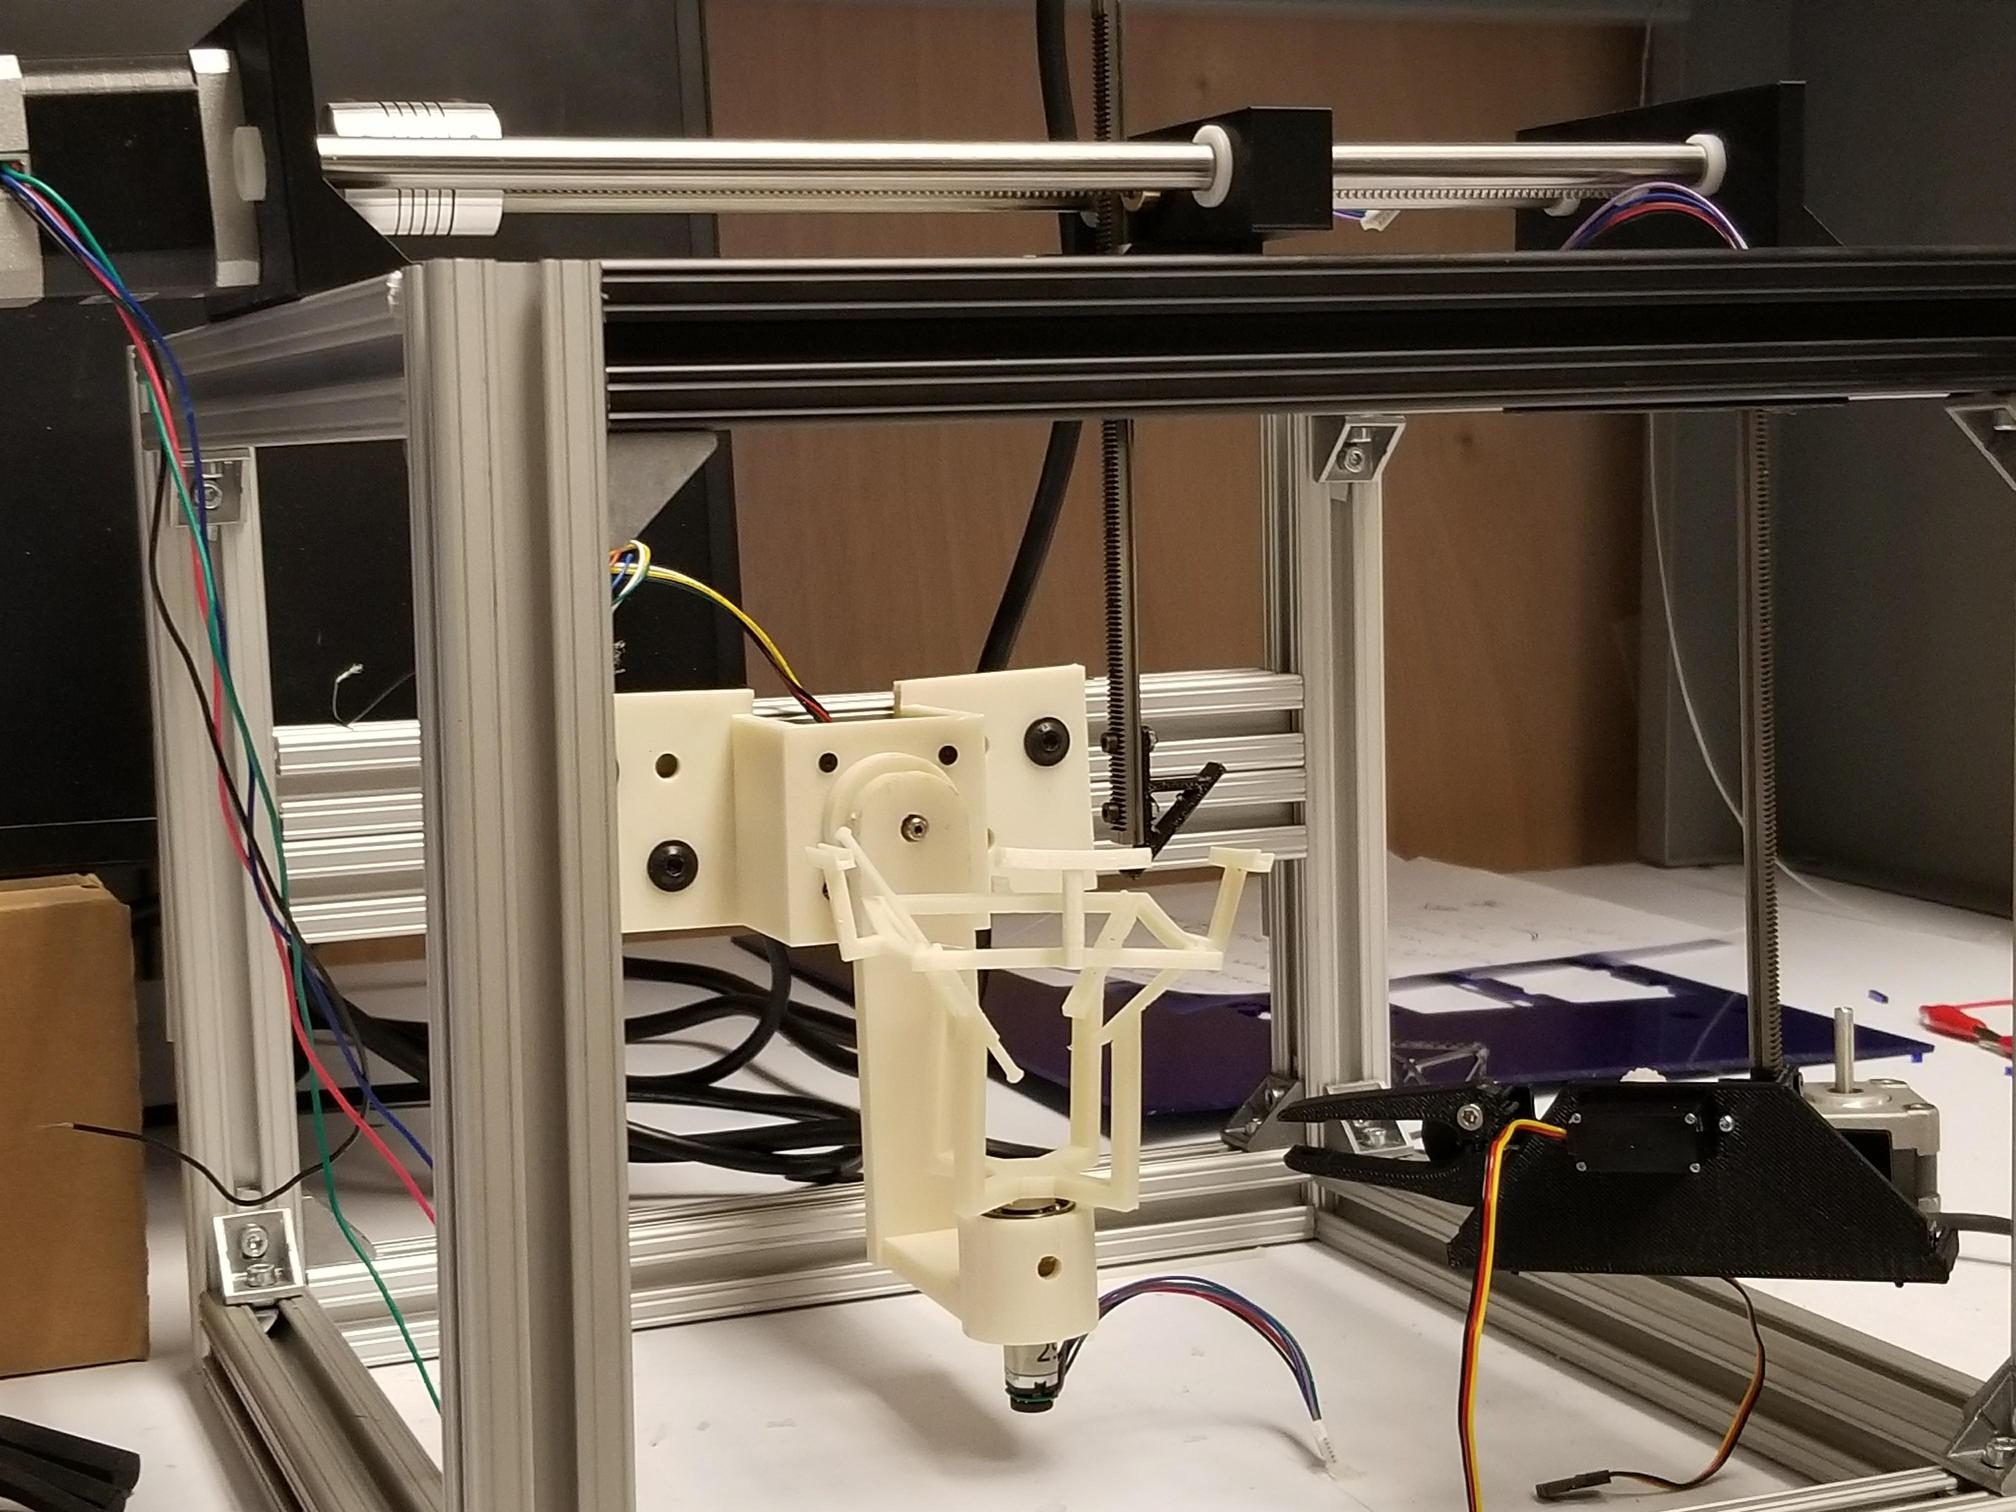
- Voxel Basis: this is the structure which will support the pieces of a voxel as they are asseembled together. The basis itself consists of two main axes of rotation - which I astronomically called Minor and Major axes - that are necessary for all the struts and nodes' orientations to be correct.
- Strut Adder: the strut adder component consists of two pieces - I completely ignored one of them, since the proof-of-concept is the same. It is basically a vertical actuator that must grab a strut and place it in the basis.
- Node Adders: the node adder consists of an arm (movement inside and out of the voxel), a hand (movement to press-fit two pieces - nodes - together) and a vertical component (vertical movement so that the arm can move up and down).
Two main versions were created - the first one consisted of a node clipper (see below) that I designed and redesigned, as well as a number of DC motors. The second version, which I call time to panick , consists of a completely redesigned clipper (including a model bought from Servo city) and a number of linear actuators for which feedback control is considerably easier.
Struts and Nodes
Nodes and struts are the basic components of a voxel. Struts are contiguous, solid edges that are added by the Strut Adder, while nodes are two-piece components (which fit in a single-axis movement) that are added by the Node Adder. A number of assumptions and simplifications were made for these models: I added magnets in all of those pieces, so that high-precision can be avoided and a strong guarantee of positioning is ensured (for struts, I added two small, 1mm-diameter magnets that suffice to ensure one optimal, correct orientation for its placement in the voxel basis). Similarly, two 1.6mm-side magnet cubes were added to the node pieces.Major and Minor Axis
Here's the original model for the major axis: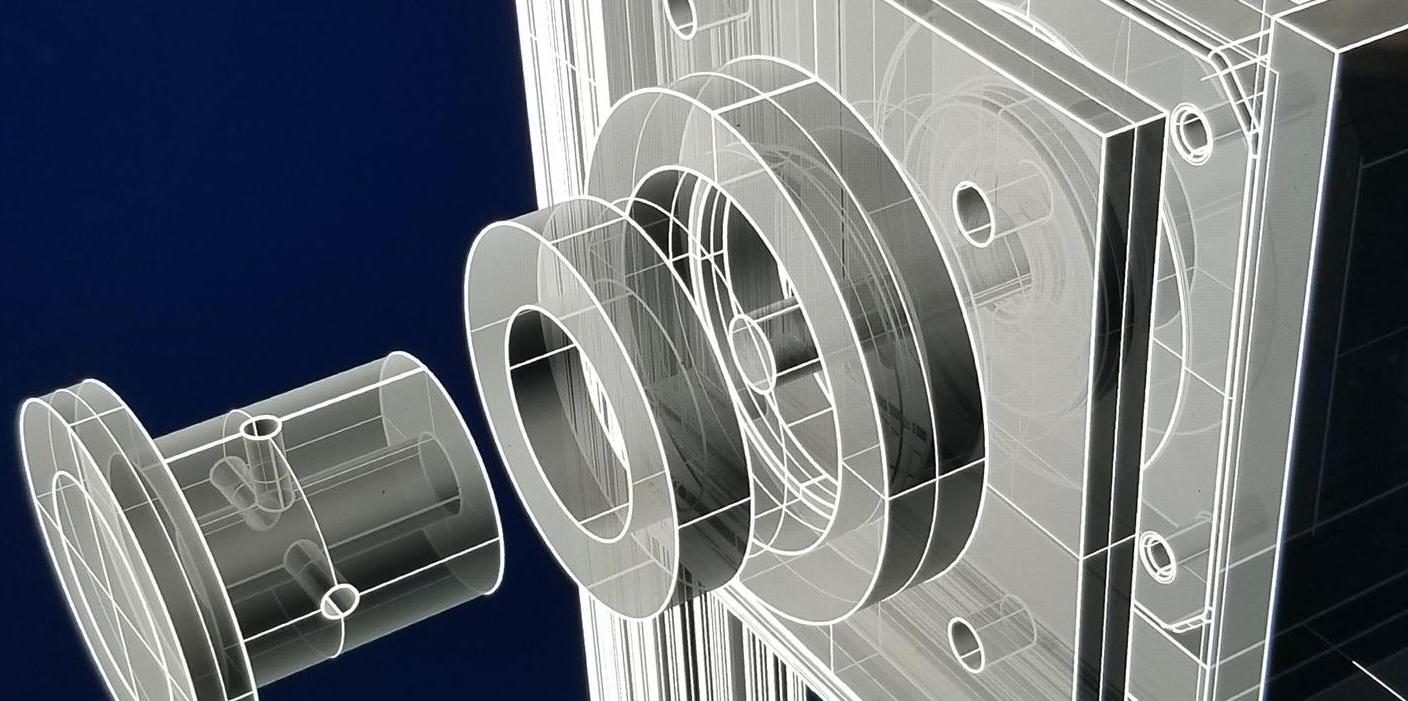 Producing the voxel basis:
 And the second model for the minor axis:
Node Clipper 1.0
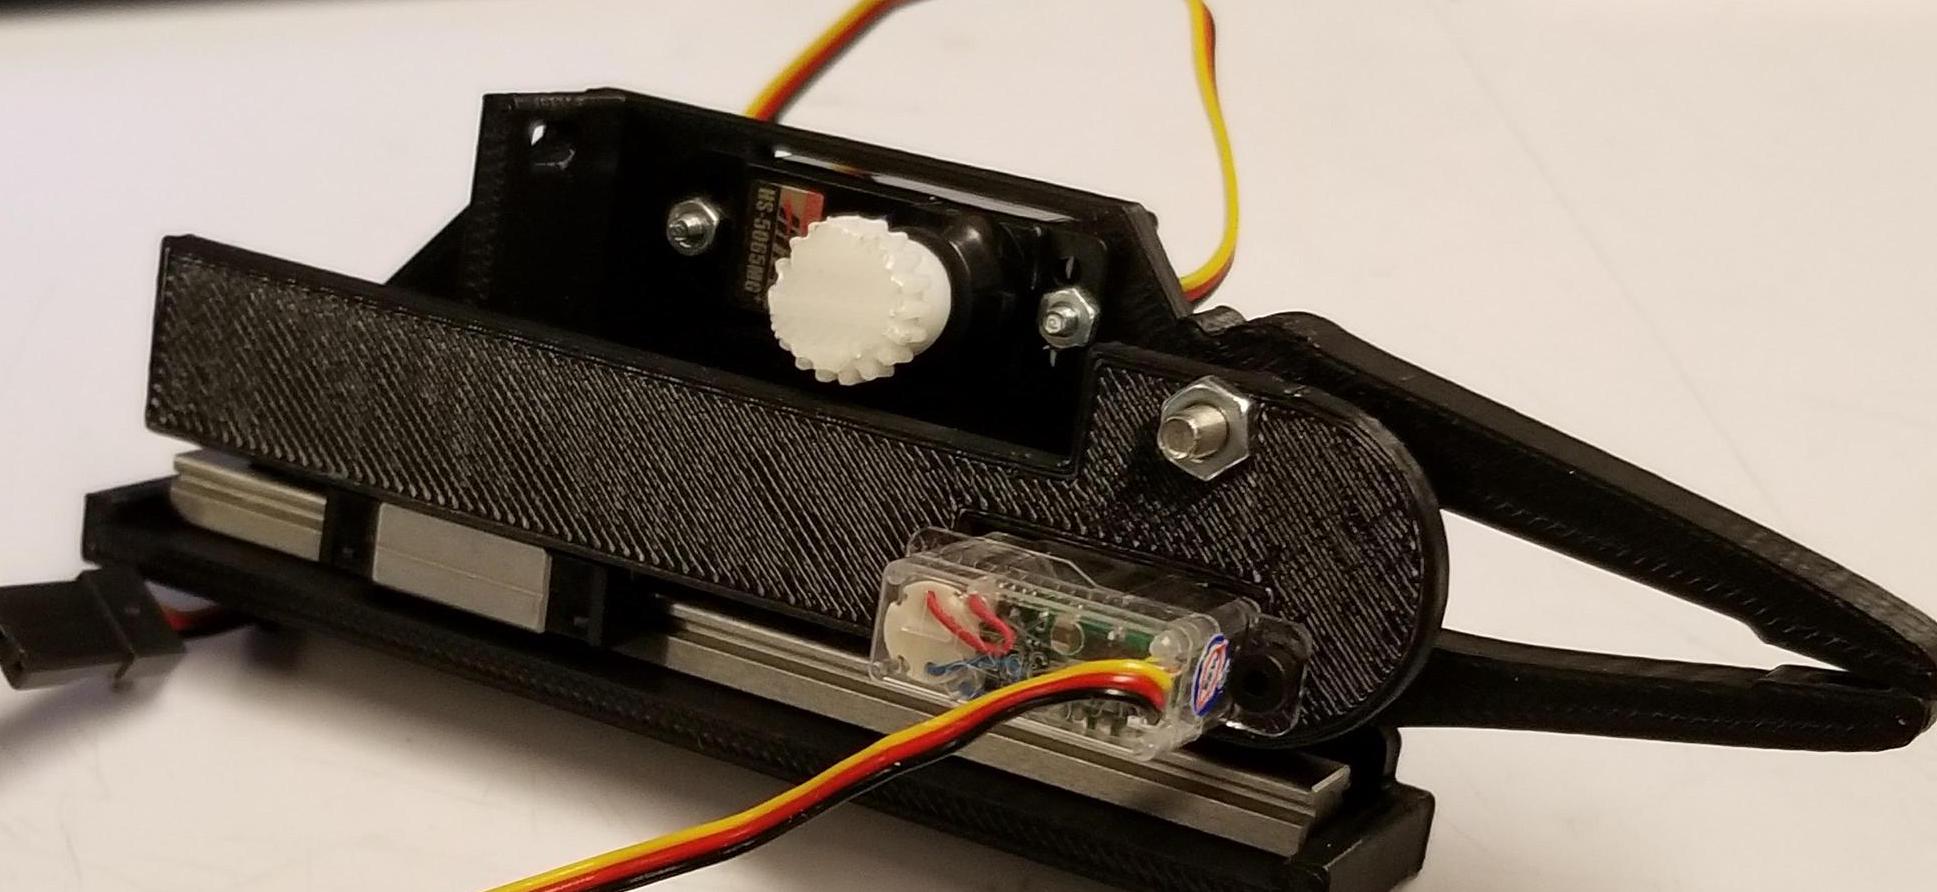
The first version of the clipper consisted of the most basic clipper I could design - at that point (and to be honest up until now) I was getting started with Rhino and I used this project to get used to it. At its basis, the clipper would have a rail for moving, with a geared-hobby servo controlling it. Here's a prototype of this model:
 The non-trivial problem of that clipper, however, is the fact that when it closes it produces an arc instead of simply pushing the two pieces of the node together,
in a linear fashion. Due to the geometry of the problem, an arc would most likely not work for adding nodes, and I decided to redesign how the clipper operated. This time,
I used it as an excuse to get better in Fusion.
The non-trivial problem of that clipper, however, is the fact that when it closes it produces an arc instead of simply pushing the two pieces of the node together,
in a linear fashion. Due to the geometry of the problem, an arc would most likely not work for adding nodes, and I decided to redesign how the clipper operated. This time,
I used it as an excuse to get better in Fusion.
 In this model, movement is linear and vertical:
Or well, not really:
Which we solve by adding a new constraint. Here's the prototype:
 And how it would move:
But this model was also far from good: it had way too much backlash and wasn't stiff at all. So we go to our last option: you let people who know what they are doing do it for you, and buy a gripper model from RobotKits. Here's the CAD version of it
 And its augmented version to add nodes
 And the prototype:
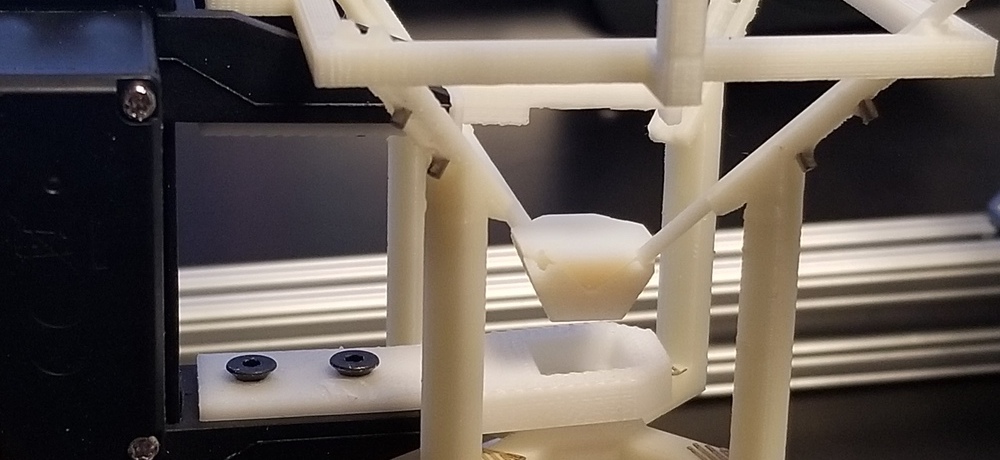 AND HOORAY IT ADDS NODES
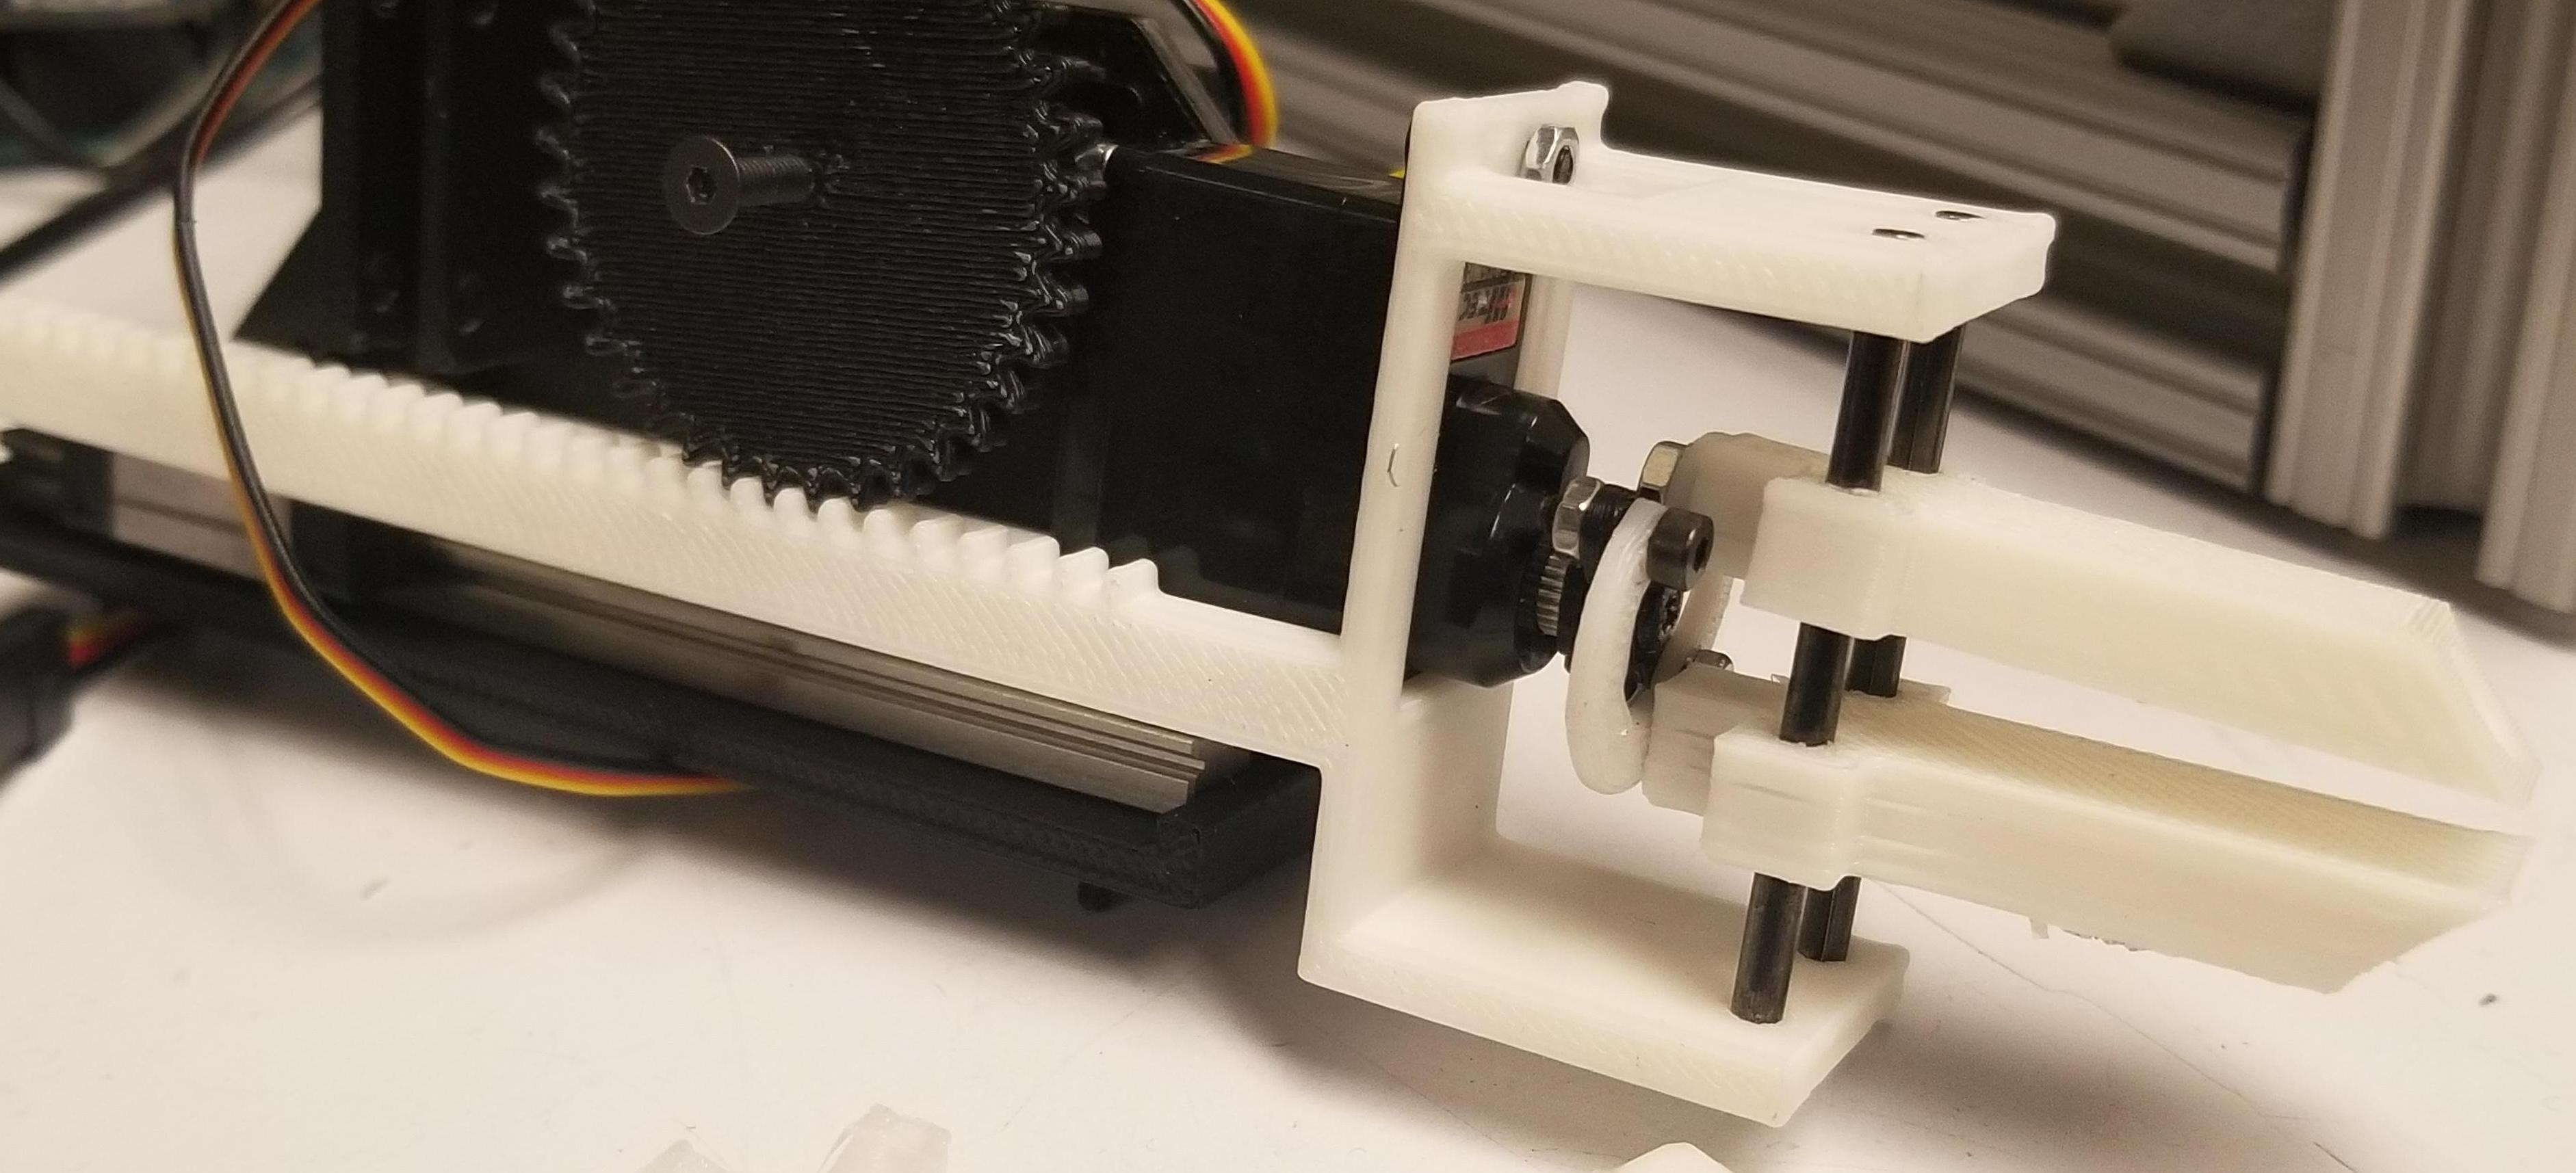
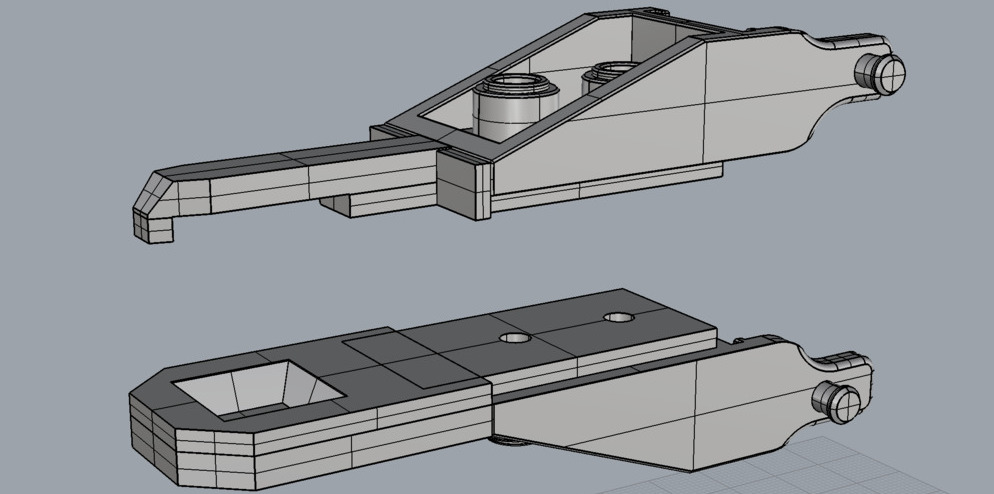
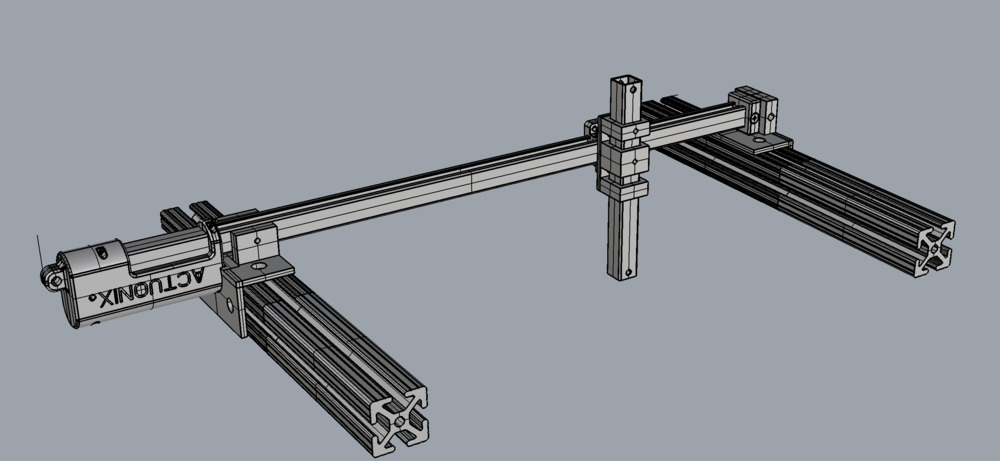
This is a model for the structure that moves the arm in and out. Previously, we used rails for doing so - and it did work pretty well. But with the new hand, using a linear actuator - specifically from Actuonix - seemed to fit better with the whole structure. Unexpectedly, the actuator had a ton of backlash which I couldn't eliminate since time was short by then.
 Now, because it actually needs to move up and down (in order to complete the crystal, it needs to clip a node in the very top of the voxel - see the concept in Grashopper above), we also
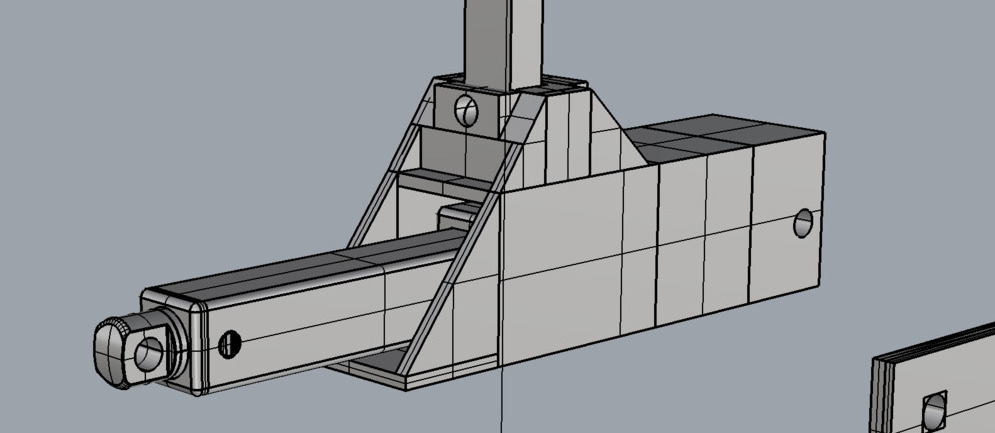
have another linear actuator controlling the height of the hand. The first version is below (a second version has two guiding rails).
Now, because it actually needs to move up and down (in order to complete the crystal, it needs to clip a node in the very top of the voxel - see the concept in Grashopper above), we also
have another linear actuator controlling the height of the hand. The first version is below (a second version has two guiding rails).
Strut Adder
Adding struts could be a considerably complex task. In the future, it will be. But for now, I had to assume two things: that developing a cartridge or storage for struts would ve overwhelmingly complex for the term, and that developing a purely mechanical system for transfering struts from the strut adder to the voxel basis wouldn't work at this point, due to lack of precision + lack of correct, stiff materials and so on. So we look to our old friend Maxwell and use magnets to make the transfer. The first version of the strut adder consists of a moving rail (coupled to DC motors through gears) with a basis for holding struts in its tip - two magnets are then present such that correct positioning is ensured. The magnets are added in the struts in such a way that, when the adder is placing the strut, the magnets are closer to the voxel basis than they are to the adder's magnets. Hence, the struts stick with the voxel basis. It's also important to note that the magnets allow us to be less worried about precision when it comes to adding struts.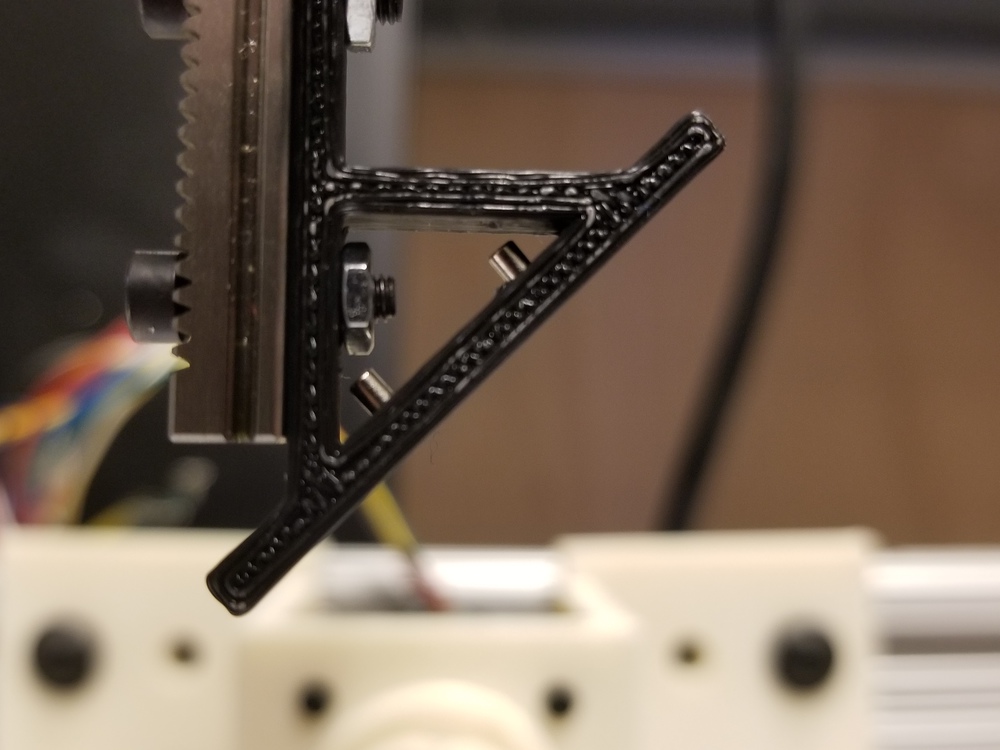
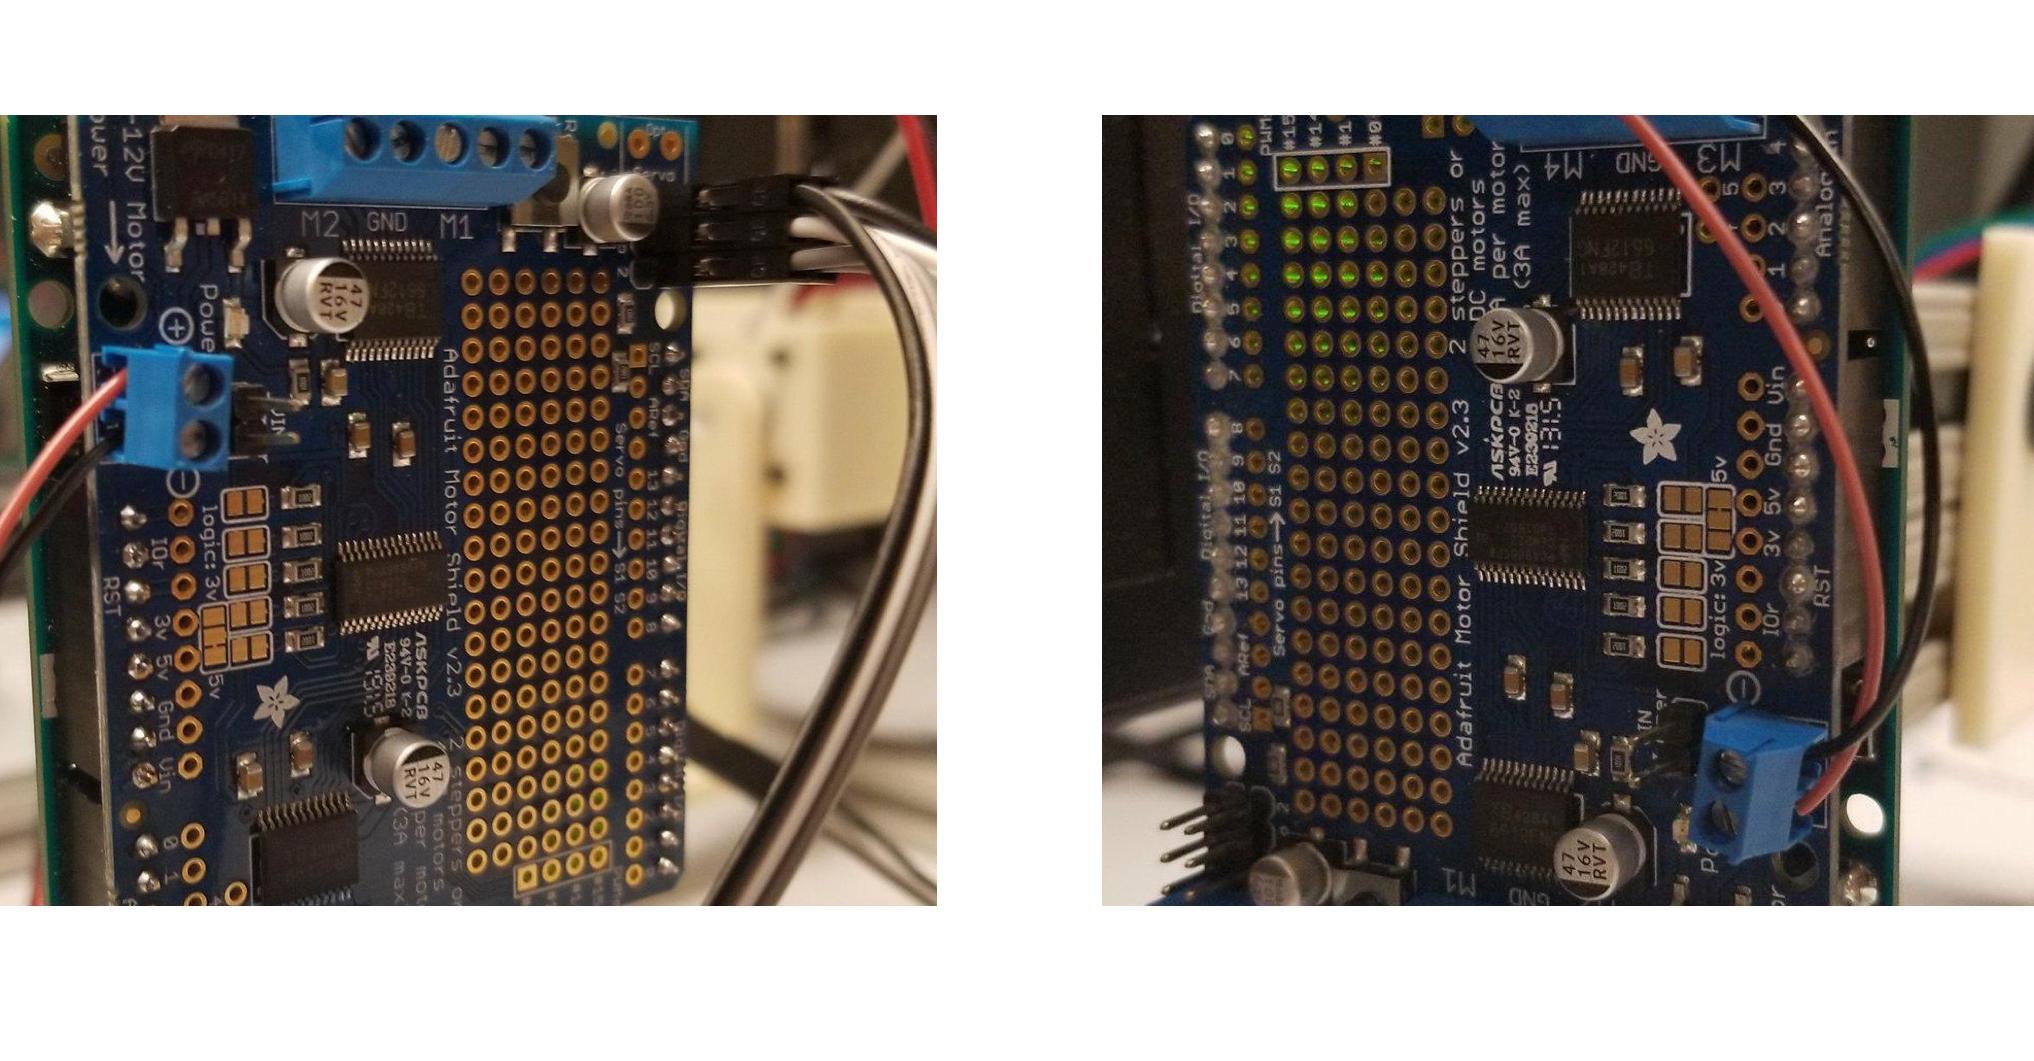
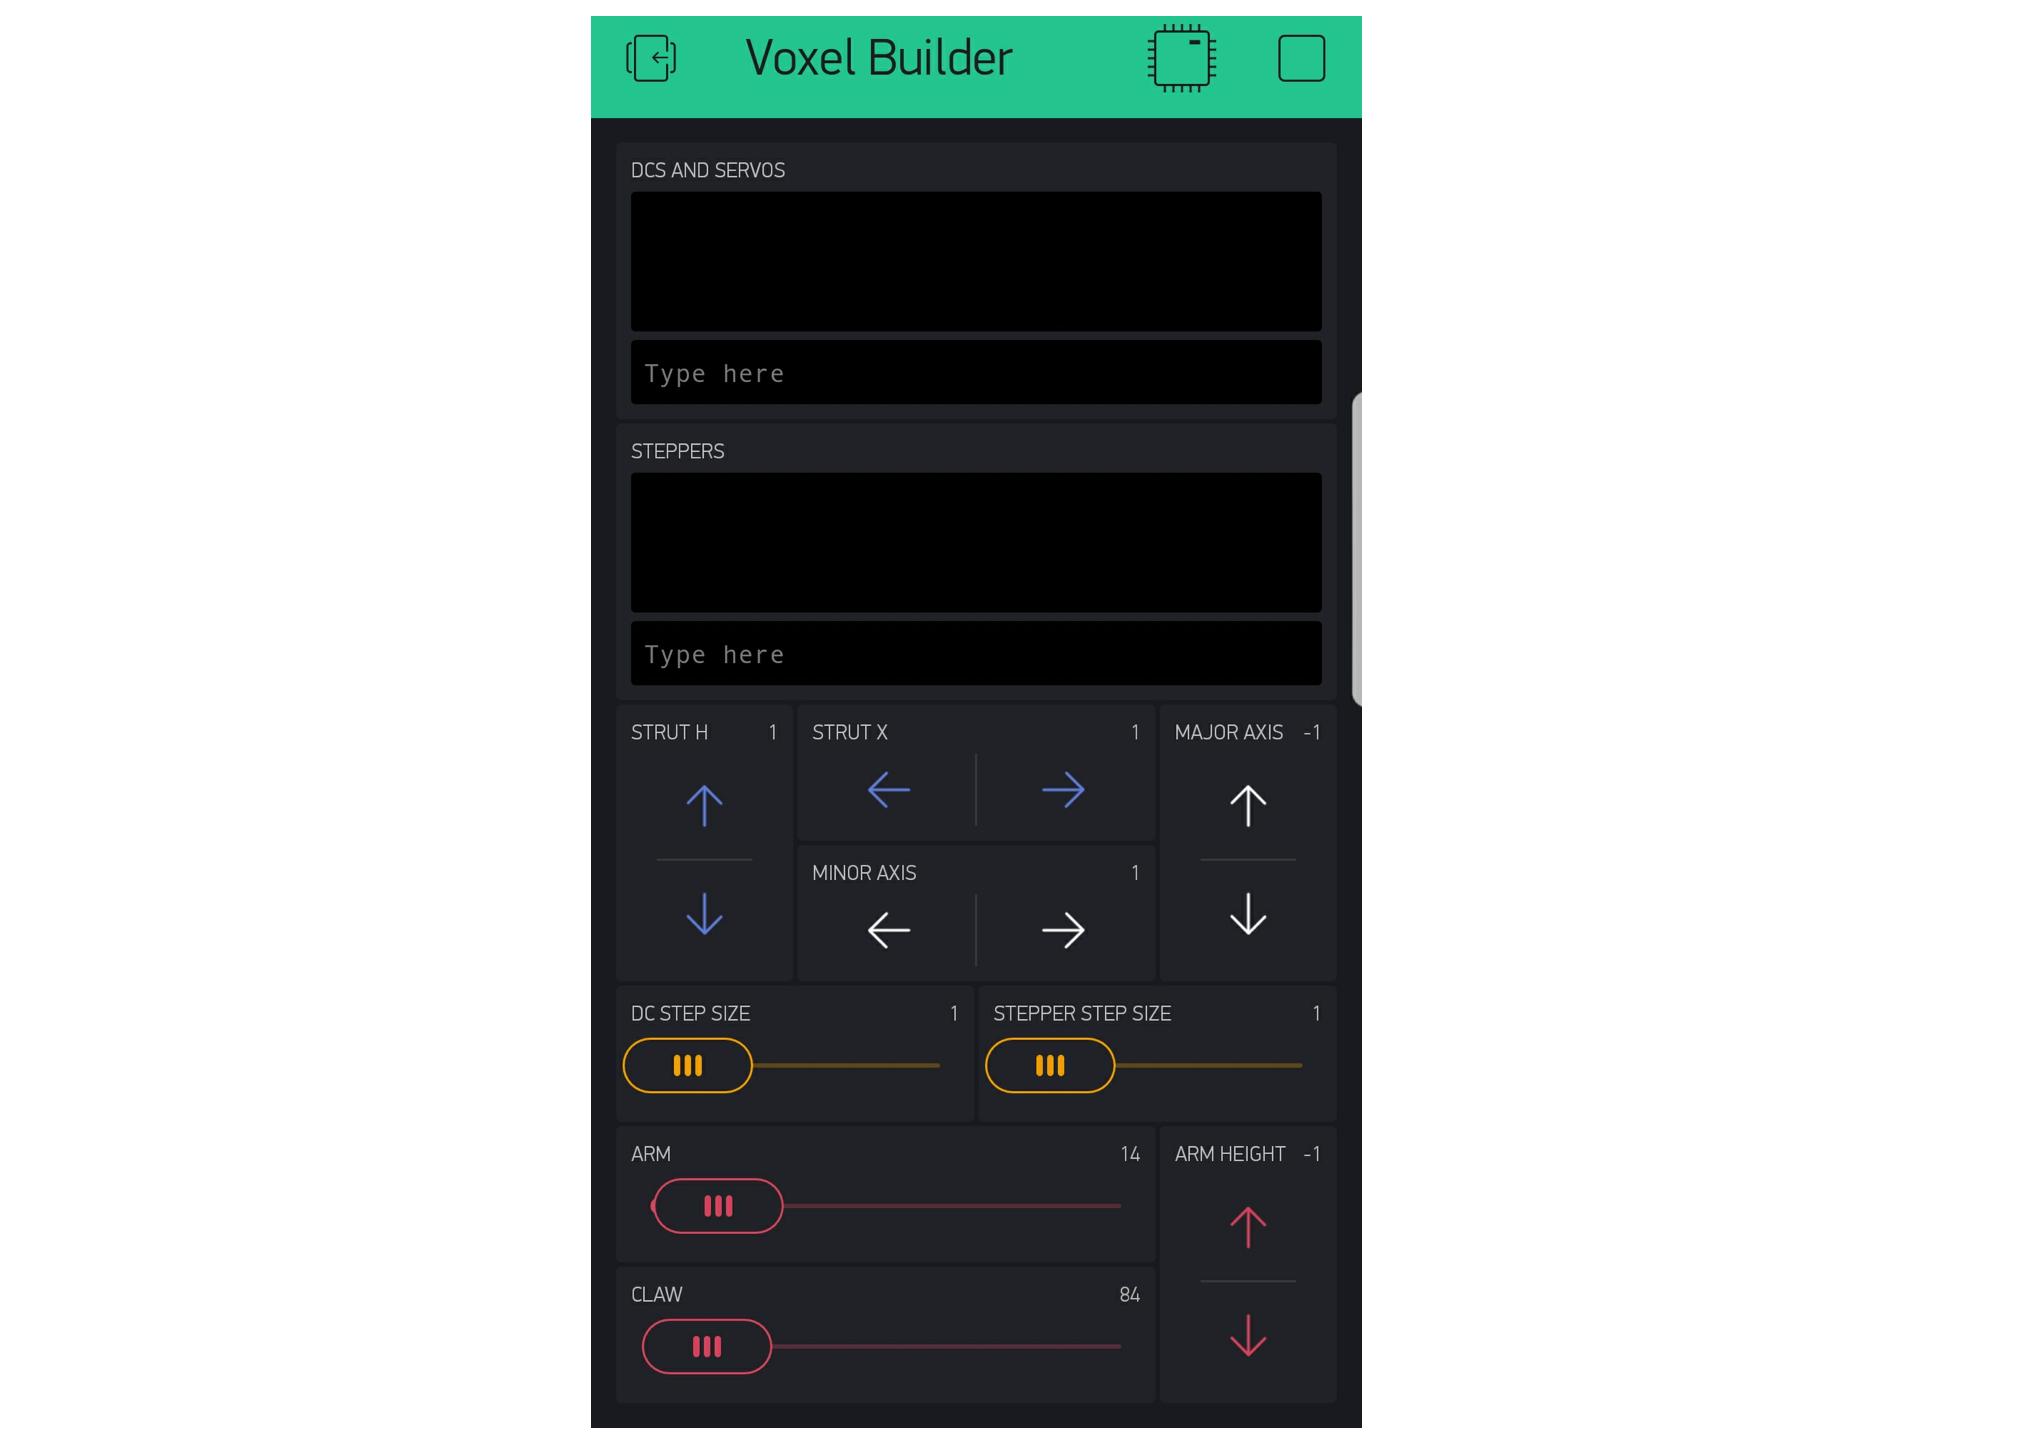
Electronics + Programming, 1.0
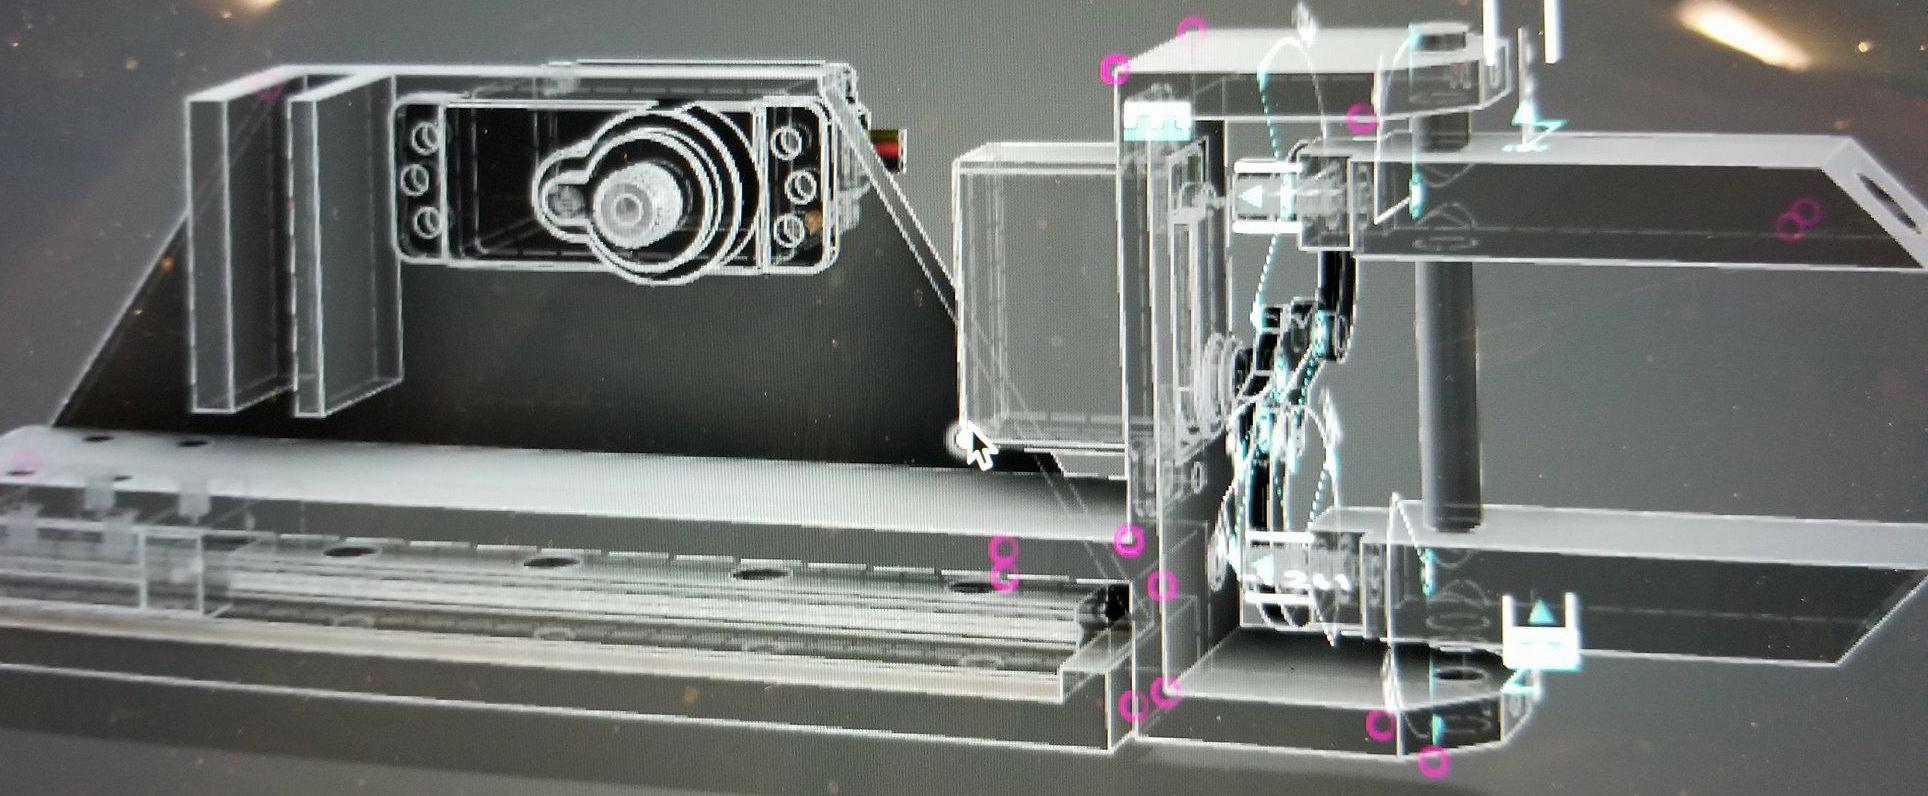
The Big Picture

Future: Cartridge
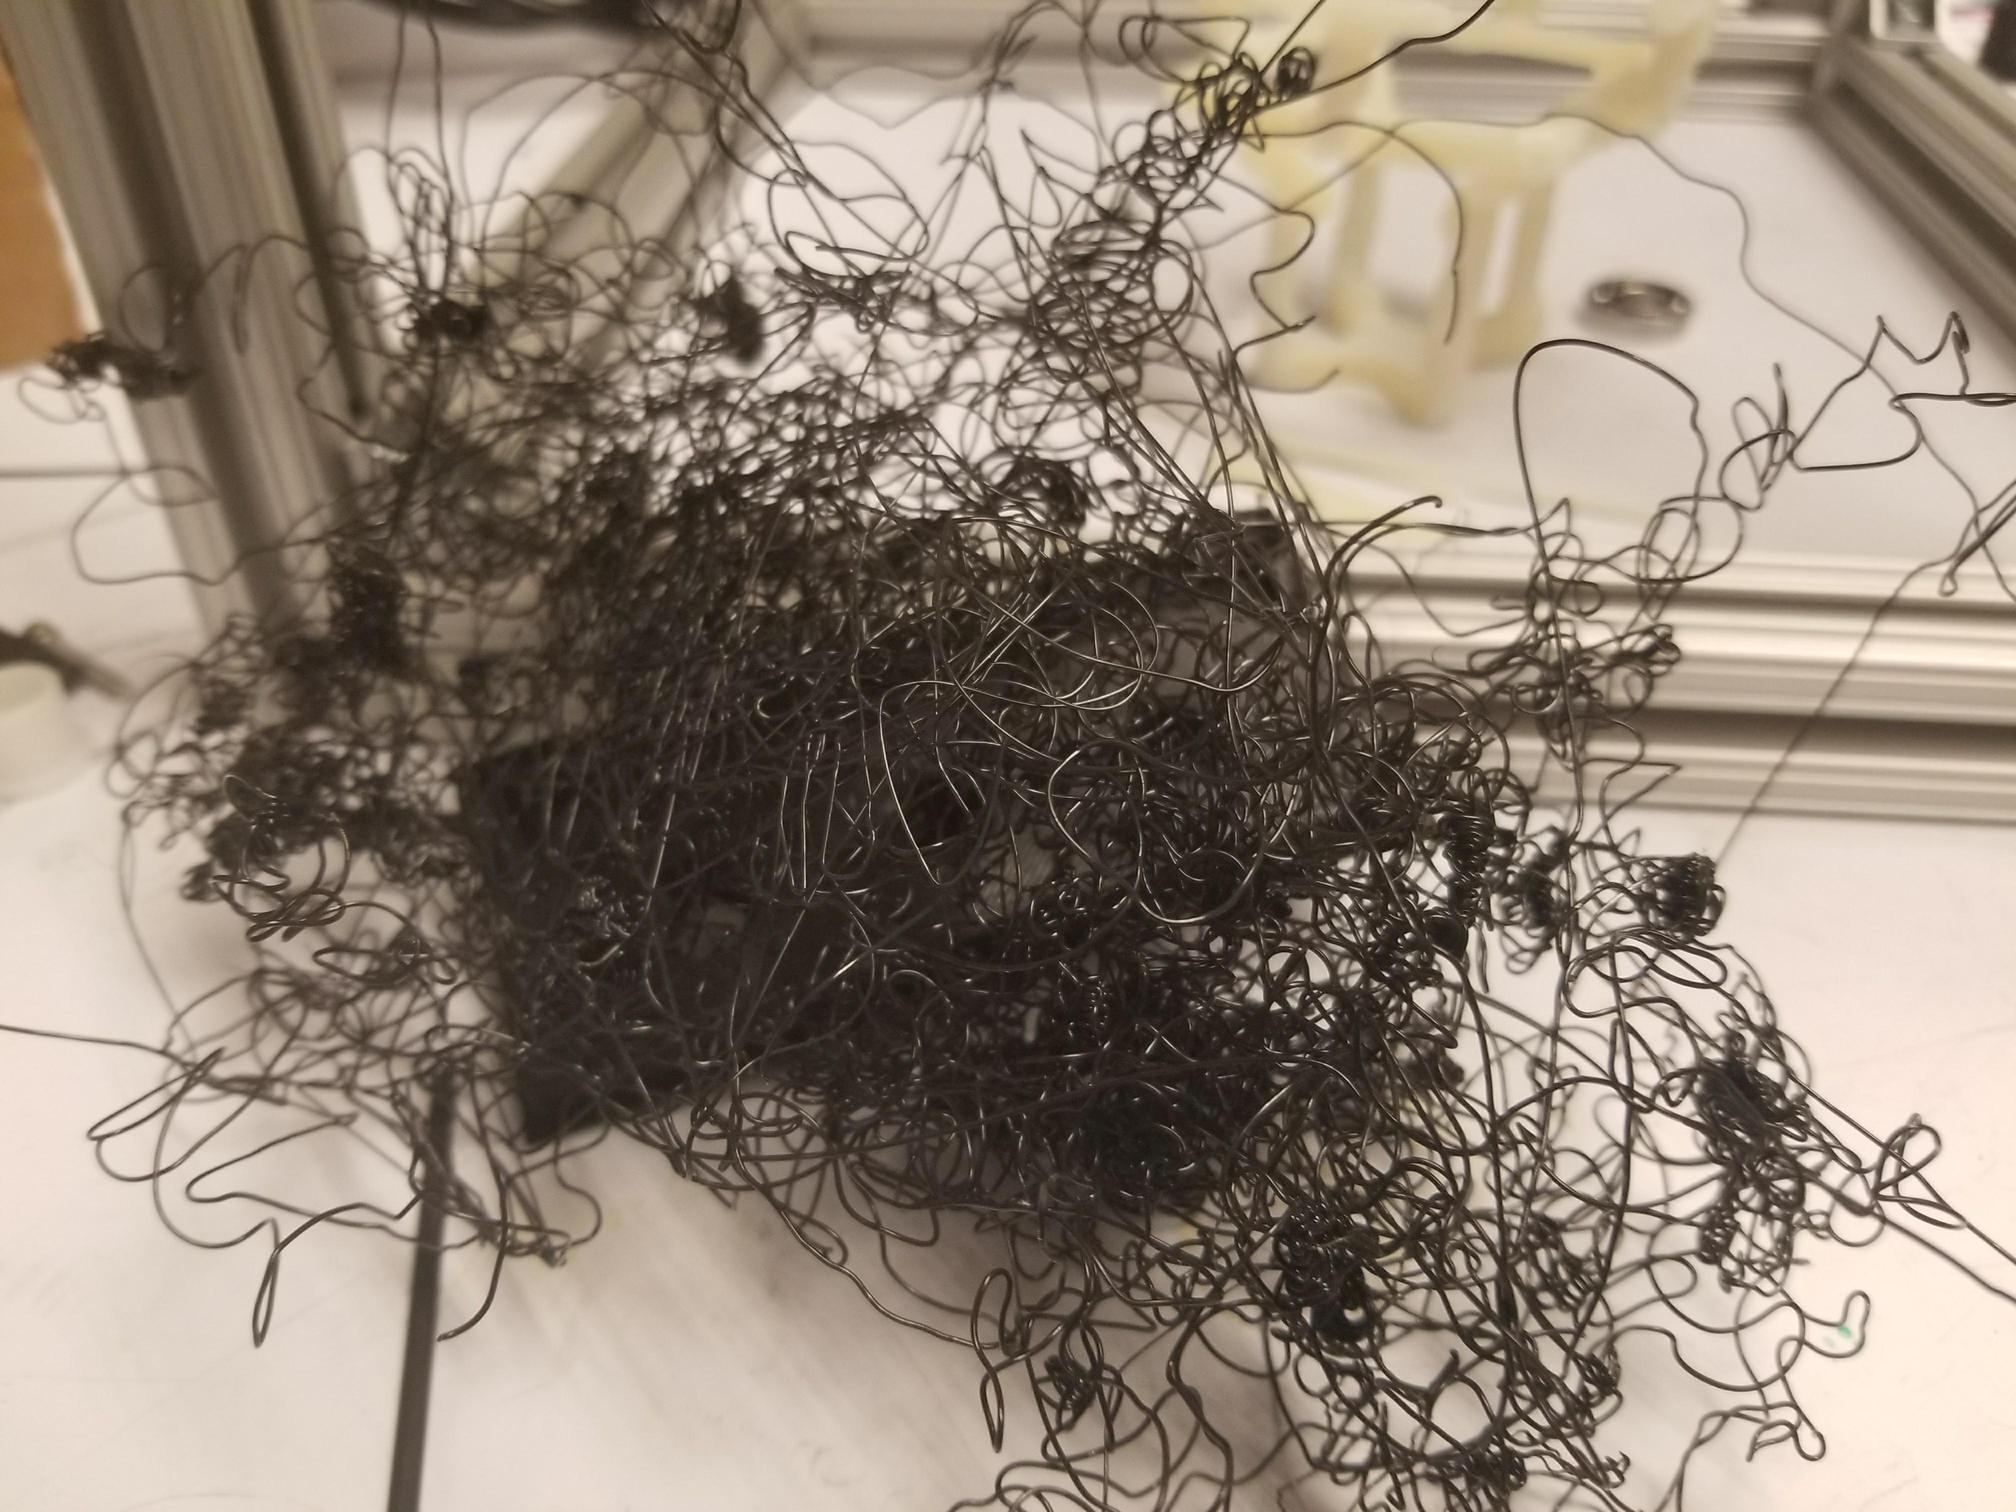
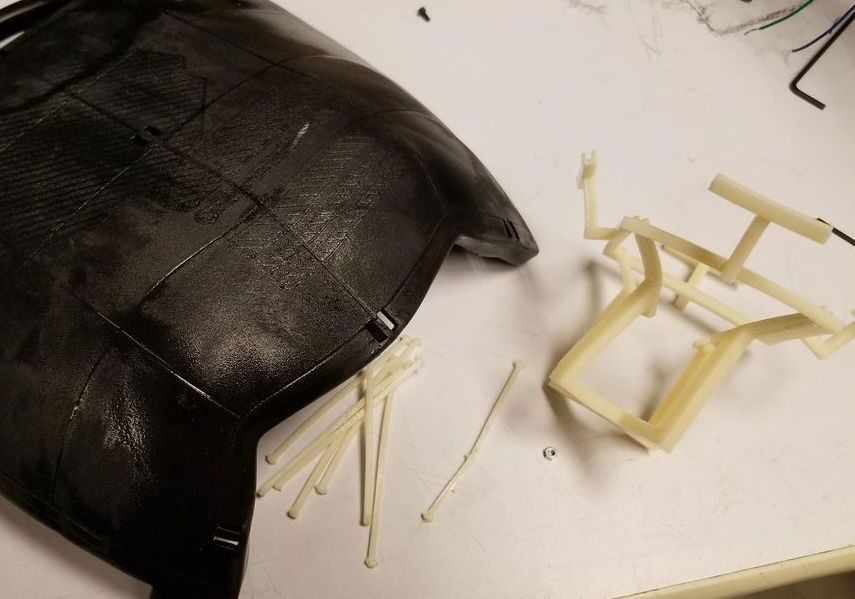
aehooMVP
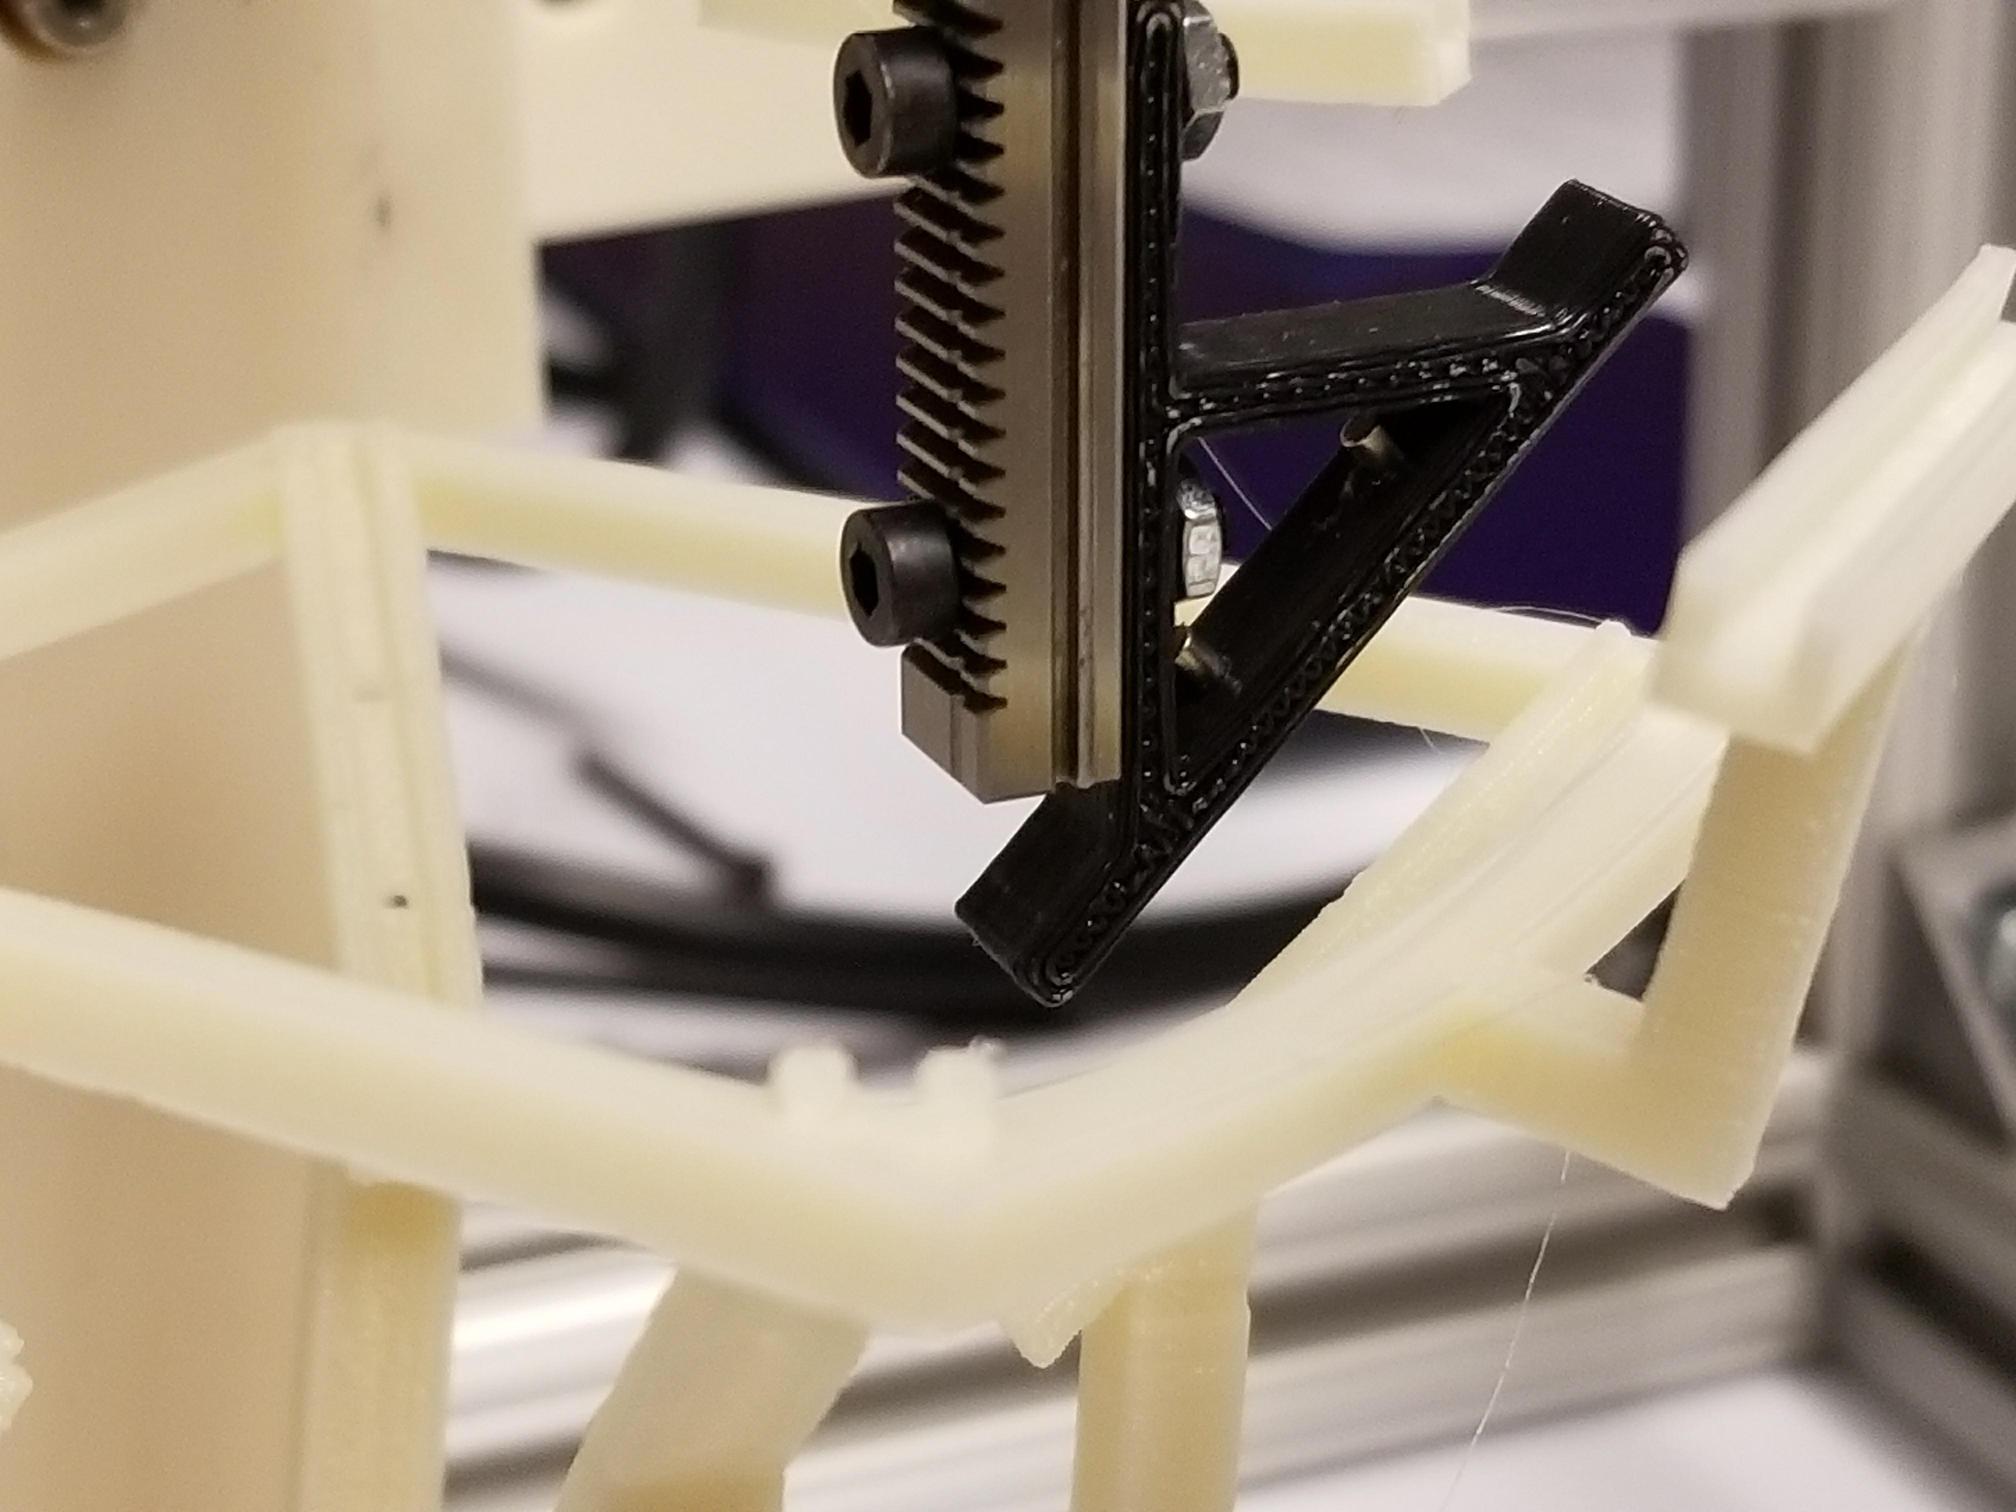
Appendix: epic 3D printer fails