21.04.22 TinyZ + Printhead
Since there was a lot of focus on printhead testing, the TinyZ got a little less love. However, we were really excited to add the working printhead to the TinyZ. We got our TinyG CNC controller wired to our power source, but for these tests we actually just continued to use the A4988 stepper motor driver we already had to control the different axis.

This is how the TinyG CNC controller works on the TinyZ. A 3D printed part attaches to the aluminum framing and holds the power sorce, the switch, and the controller.

To connect the switch and the power source we used a 14 gauge wire and spade connectors. The back of the switch is labeled witn N, L, and ground symbol so that is can be correctly hooked up to the power source. The switch also has a fuse that pops in on the front side.
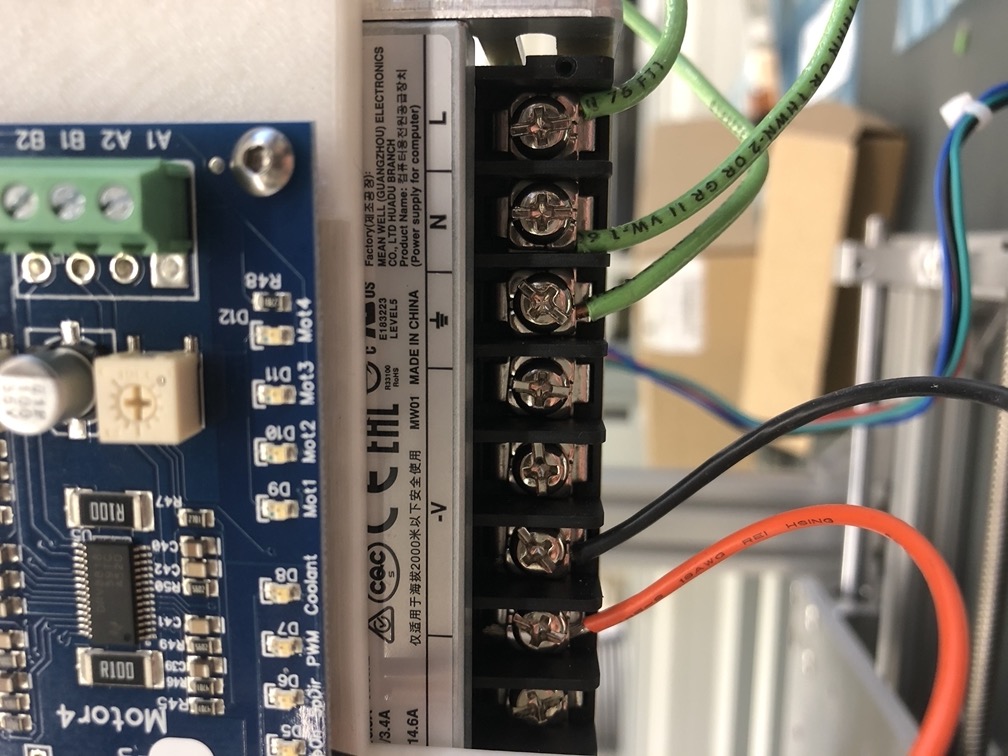
On the front side of the PSU it is clearly labeled where to connect the wires from the switch, and then we also connected these two cables on the left to the TinyG CNC controller. We used 18 gauge wire here.

On the top of the TinyG CNC controller board is where those two wires then connect to power the board. We have not connected all 3 Nema motors to the CNC controller board yet.

However, assembly aside, this is what were truly excited about. Simply moving the printhead along the x-axis. Just for simple testing, we are currently running the printhead and the motion of TinyZ asynchronously with two different microcontrollers. At some point, this will take much more configuration for us to try and figure out how we should run a program for printing with a program for motion.

Our very first, very poorly printed, rectangle!

We also started to test the limits of printing from different Z heights on the TinyZ. The lowest we can take the printhead is about 7mm. In hindsight, the carriage we made for the print head is probably not very ideal, because it adds more space in between the printhead and the bed.

These four dots were printed at different heights to see how the print quality is affected. From left to right, the heights are about .7cm, 1.5cm, 3cm, and 5cm. Therefore, under 1cm is definitely desirable if avoiding the ink overspray.

That being said, we were more than happy to incorrectly use our machine to test what happened. This is moving in the Z-axis while printing from one jet. It makes a very satisfying uncontrolled spray.

Here are the results of the uncontrolled spray. We are also wondering how purposefully manipulating z heights while printing could produce various effects. We look forward to wasting more ink!