21.04.22 Printhead Testing
Continuing to work on understanding the mysteries of inkjet head were some of the main priorities this week. It was a frustrating week last week with the inkjet, but after getting a handle on some of the programming for the inkjet head, things went much smoother. However, again while there are some similar sources out there such as Ink Jet Applications by Matt Gilliland, this took lots, and lots, and lots, of guessing and testing.

The first thing that was done to help throughout the process of testing code was to just make a quick LED set up to visualize what we were actually sending to our printhead. Here, since the printhead has 12 inkjet nozzles, an LED directly represents 1 nozzle. The timing on the LED bread board has been slowed down considerably so that we can actually perceive the light flashes considering the pulses sent to the inkjet nozzles only last 5 microseconds. The timing of all code you will see following has been multiplied by x50,000 for all LED examples.
We were originally trying to get all 12 nozzles to print at once by using shorthand functions, which was a bad idea for us rookies. We were unsuccessful in getting the printhead to print through all twelve nozzles trying to be fancy, so as per what seems to be our MO, we simplified the strategy. We know from Ink Jet Applications and testing, that the nozzles cannot be fired all at the same time to print with all of them. Therefore, the first basic strategy was to consecutively send a pulse to each nozzle down the line. I still have a delay between pulsing to each nozzle even though I do not think it is required, but I am still just paranoid about burning out a nozzle.
See code below for ths first strategy to get all nozzles to fire, we are currently still just using an Arduino and Arduino IDE for these tests. On the Arduino we are using the digital pins 2-13:

And with this...great success! Our first fat line. As you can see, one pin is still not firing in this gif. Lots of brainstorming happened around why this could be happening, and the programming was blamed because of our novice status. I was worried it was maybe something like the Arduino libraries not being able to keep up with how fast the pulses are, or maybe even I burned out a nozzle. However, in a major amateur hour moment, after trying so many things, it was just simply that one of my jumper cables to the FCC connector had come loose. Sigh.
That being said, there was still more testing that needed to be done (and will continue to be done) around the best way to fire all 12 nozzles. As can be seen in the gif, while moving slowly, the individual lines can still be perceived because the individual ink dots are not collecting and covering enough surface area fast enough. So, there are a few more ideas around how this could be done more efficiently.

The leading idea at the moment is that there could be a better way to pattern the firing of the inkjets as the cycling happens between the jets. If the nozzles fired in different pairs or sets, would it work better? First, an example working down the 12 nozzles in pairs:

This is another example of the same principle, but cycling through patterns of 3 nozzles:
Here is an image of some of those tests with the printhead. These have the missing pin because I had not yet fixed the loose cable (duh).
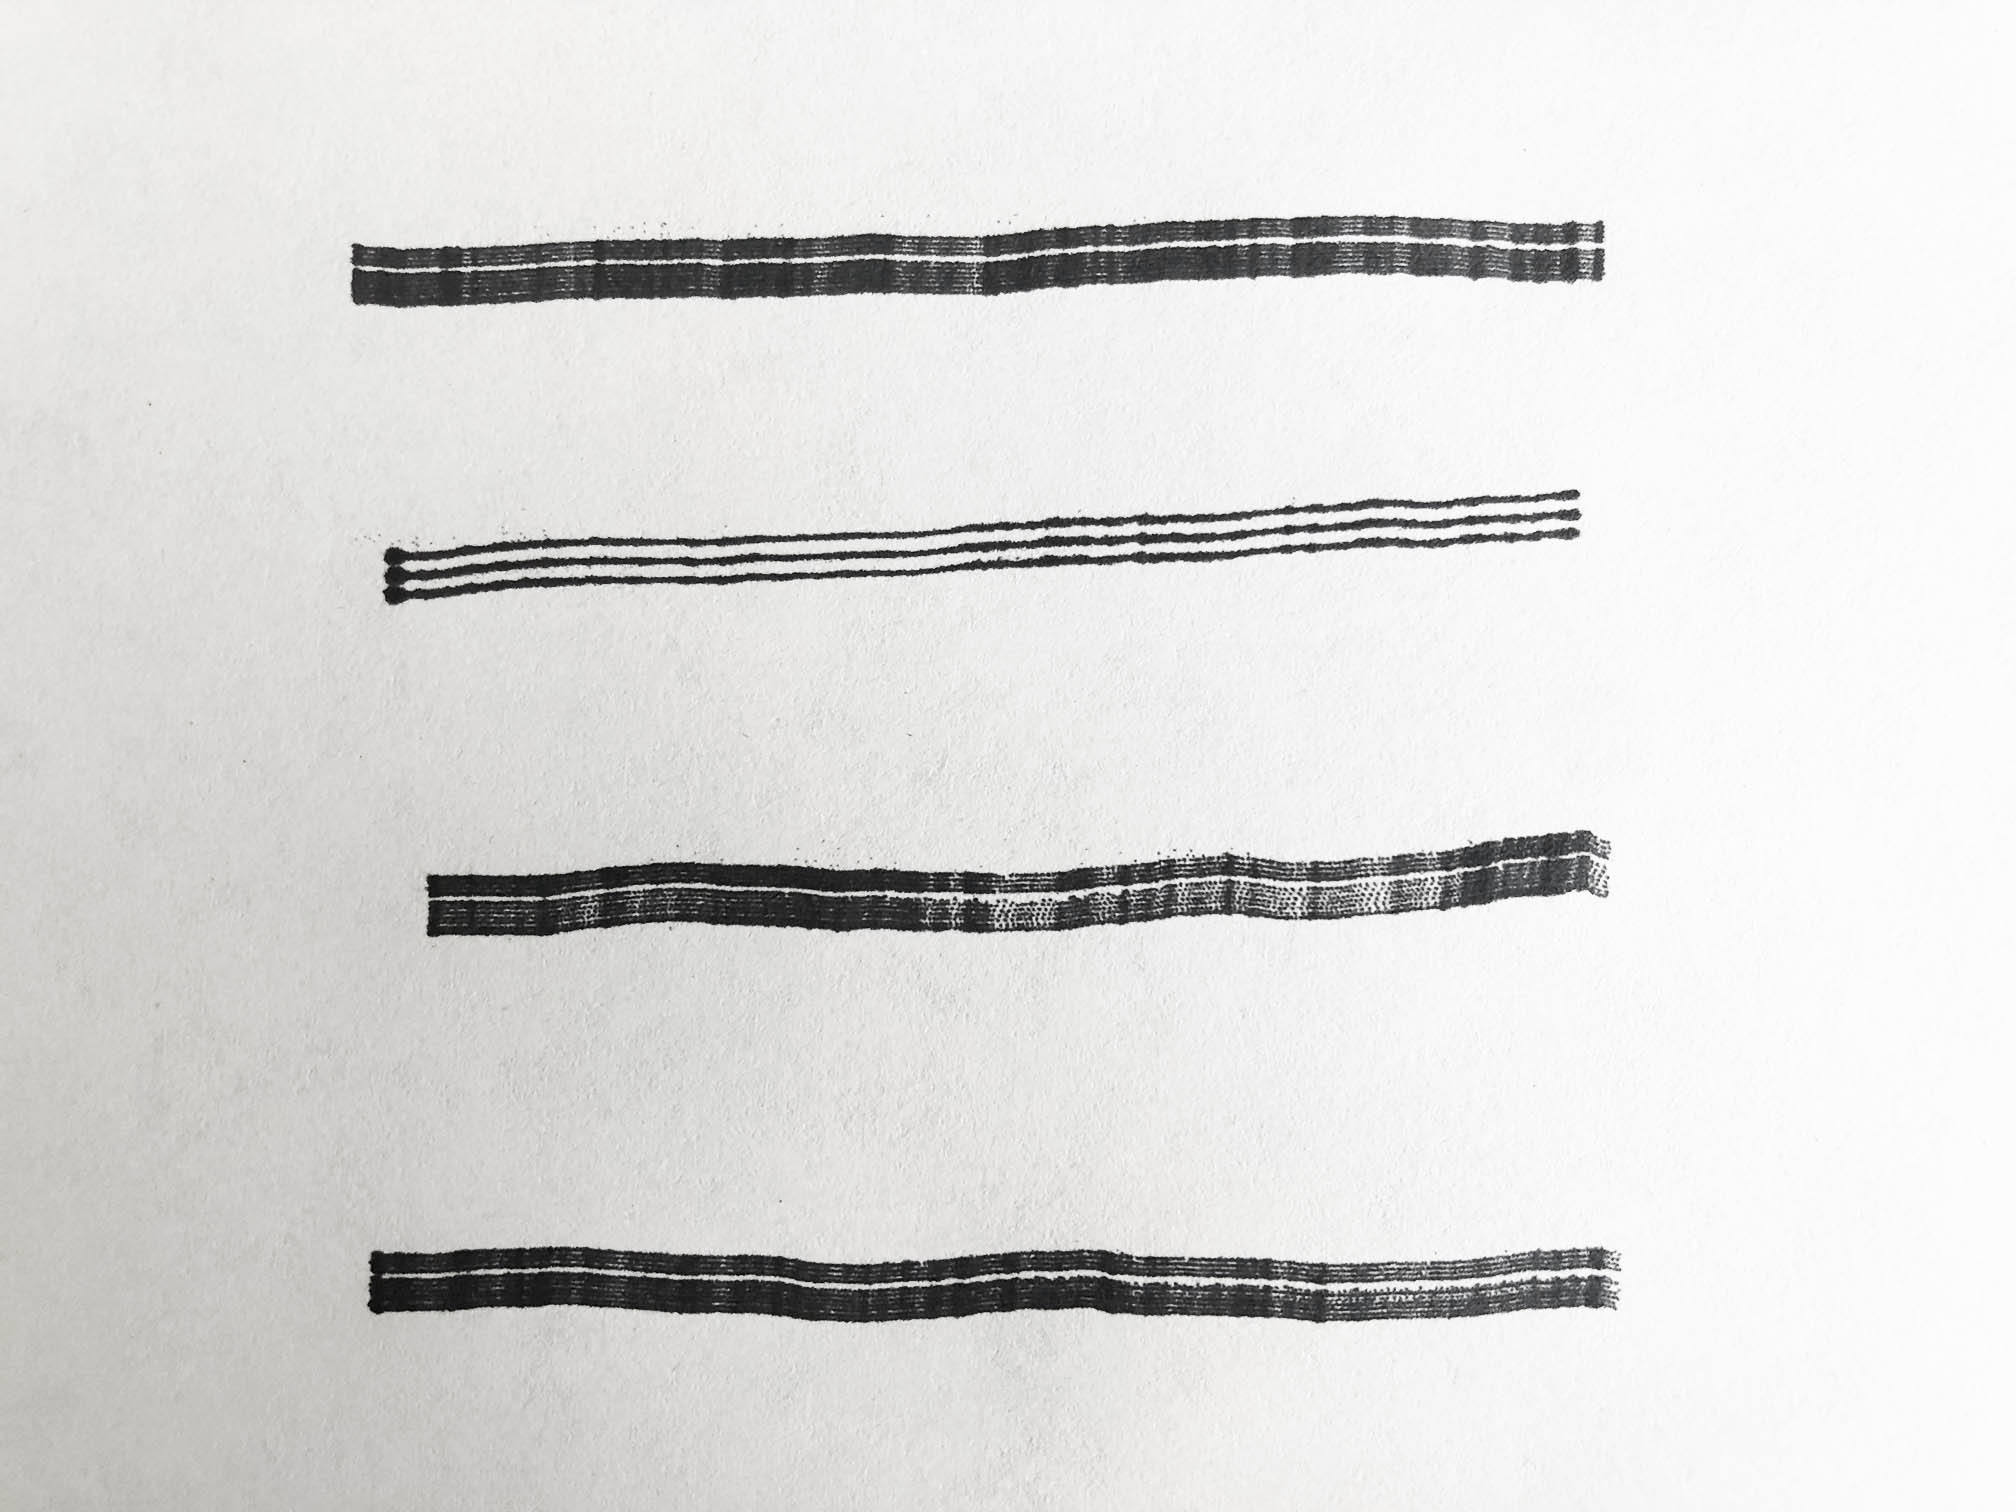
Line 1 = Consecutive Strategy
Line 2 = Just 3 Pins
Line 3 = Cycling Through 2 Pins at a time
Line 4 = Cycling Through 3 Pins at a time
The main take away here is that the experiments in different nozzle firing orders probably did nothing. However, if we switch to direct port control on the Arduino and send pulses to multiple nozzles at once, I assume it will make a difference, and the pairs then would make sense because they are spaced apart getting around adjacent nozzles not being able to be used at once. This will be tested later.
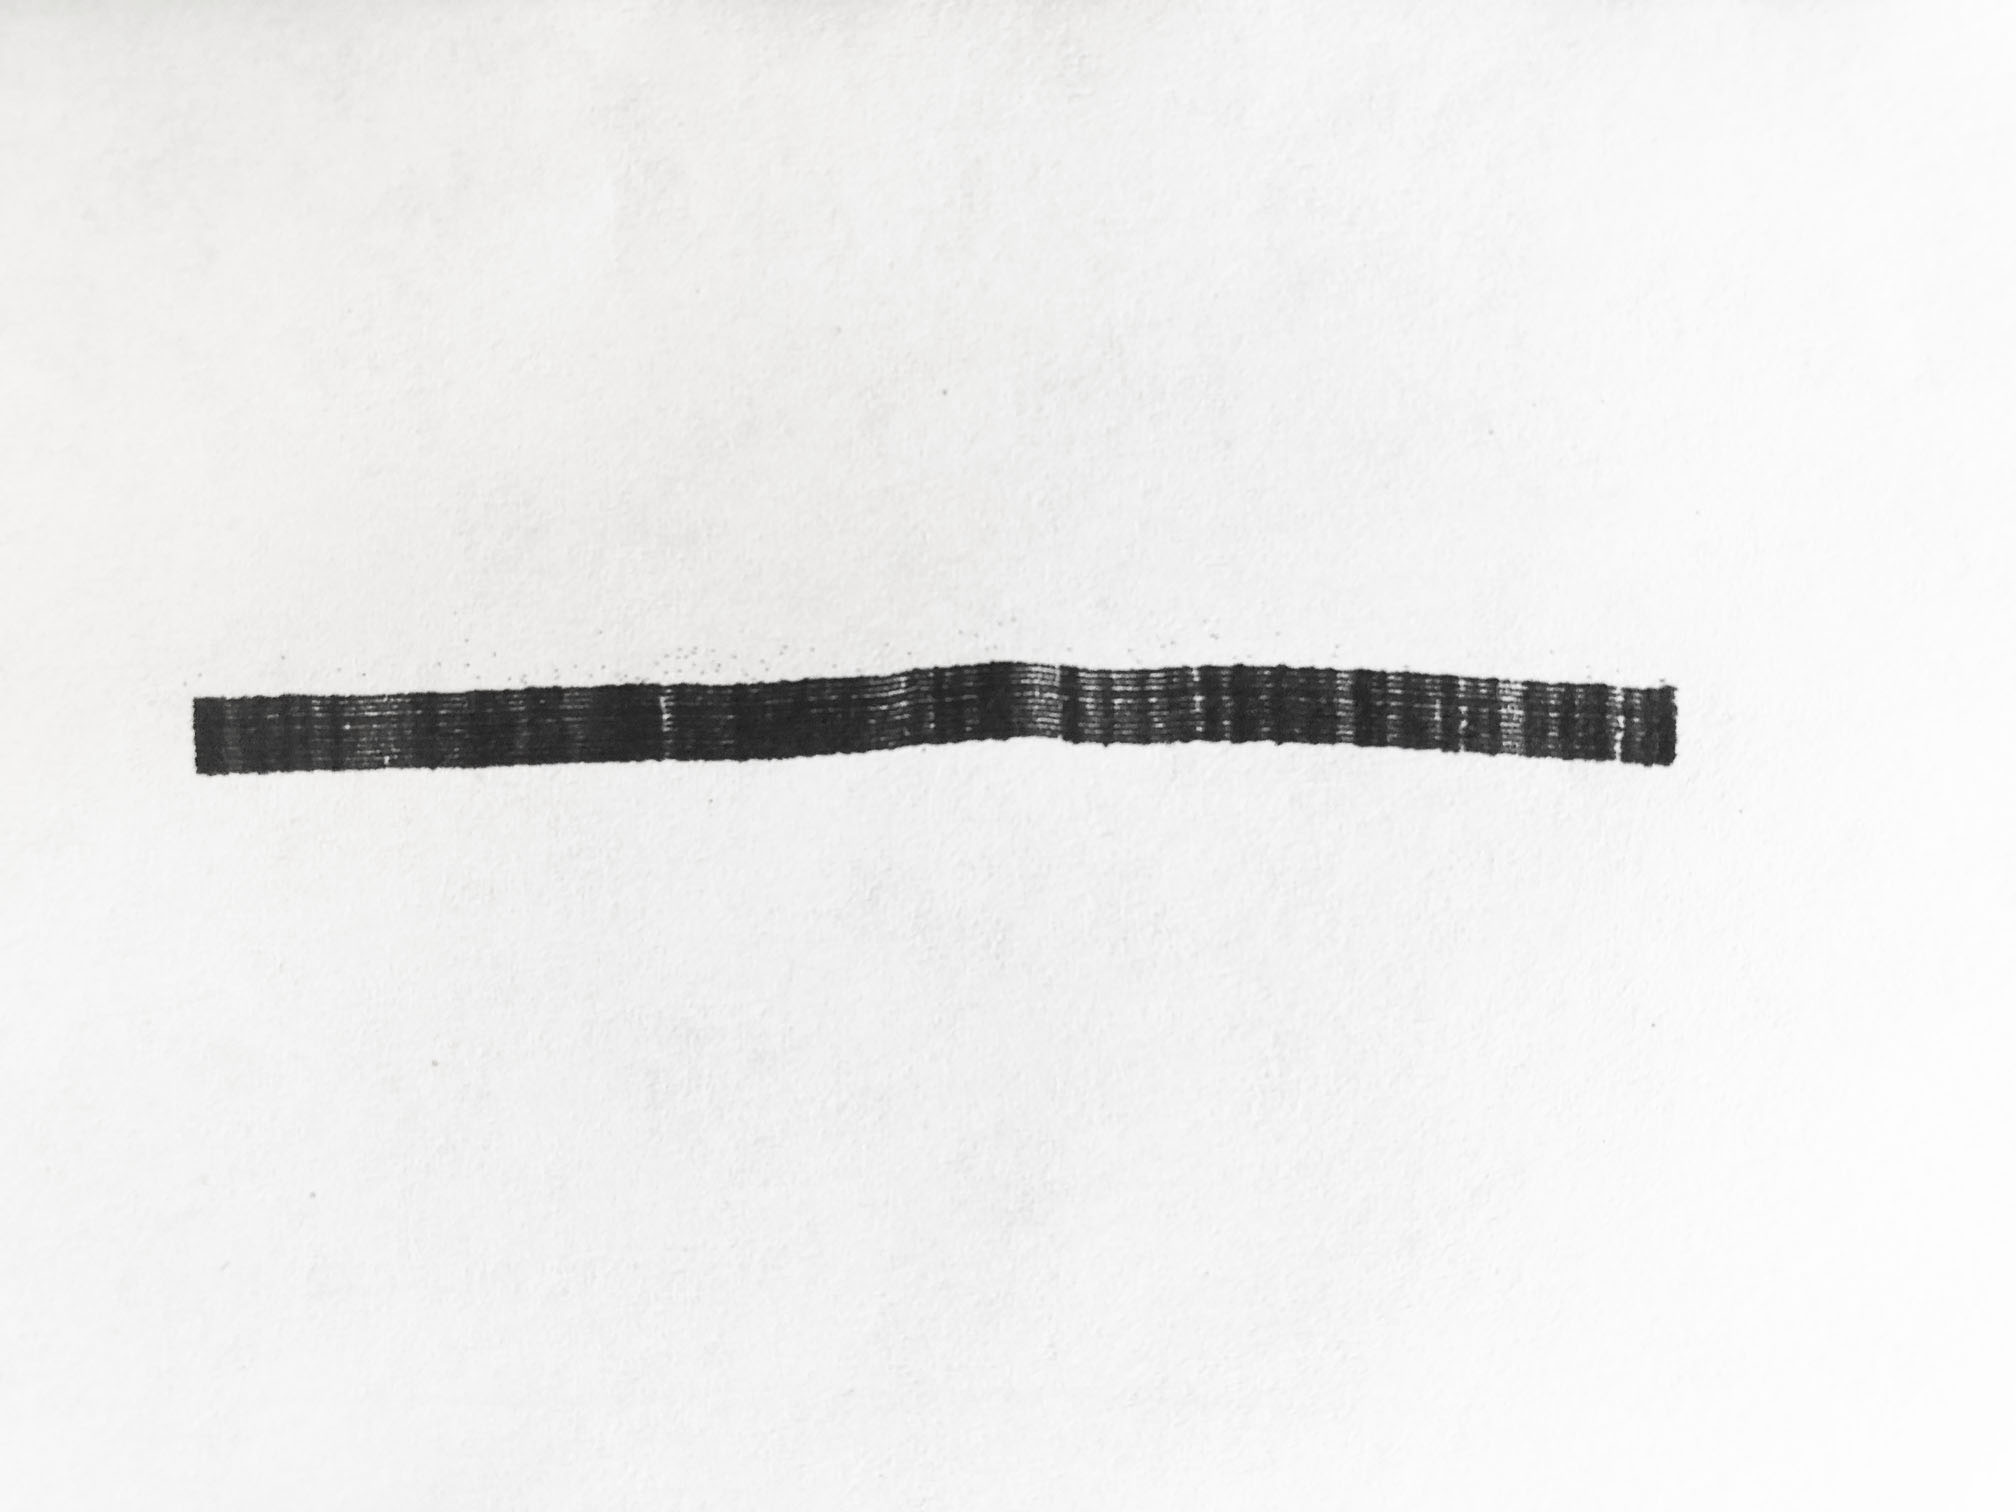
A solid print using all 12 nozzles after fixing the loose jumper cable.
Because we now have control over all 12 nozzles, it reminded me of essentially drawing with different line weights. I drew a quick sketch to demonstrate, but it might be in the application to TinyZ to make something more like drawing with a machine when in use.
The next thing was to actually try and write something with the printhead now that we had gained a little control over all 12 nozzles. For now, this meant essentially trying to write letters and characters with straight lines in different orientations.

To achieve this, it meant literally writing letters line by line in code according to the orientation of the nozzles. For example for "H" it was a quick pulse to all 12 nozzles for a straight vertical line, then repeated pulses to a singular nozzle for a horizontal line, and then another pulse to all 12 again for another straight vertical line. See above for the quick example of what "HELLO" look like in the LED light version. Below is the whole program for "HELLO WORLD" which was eventually sent to the printhead.
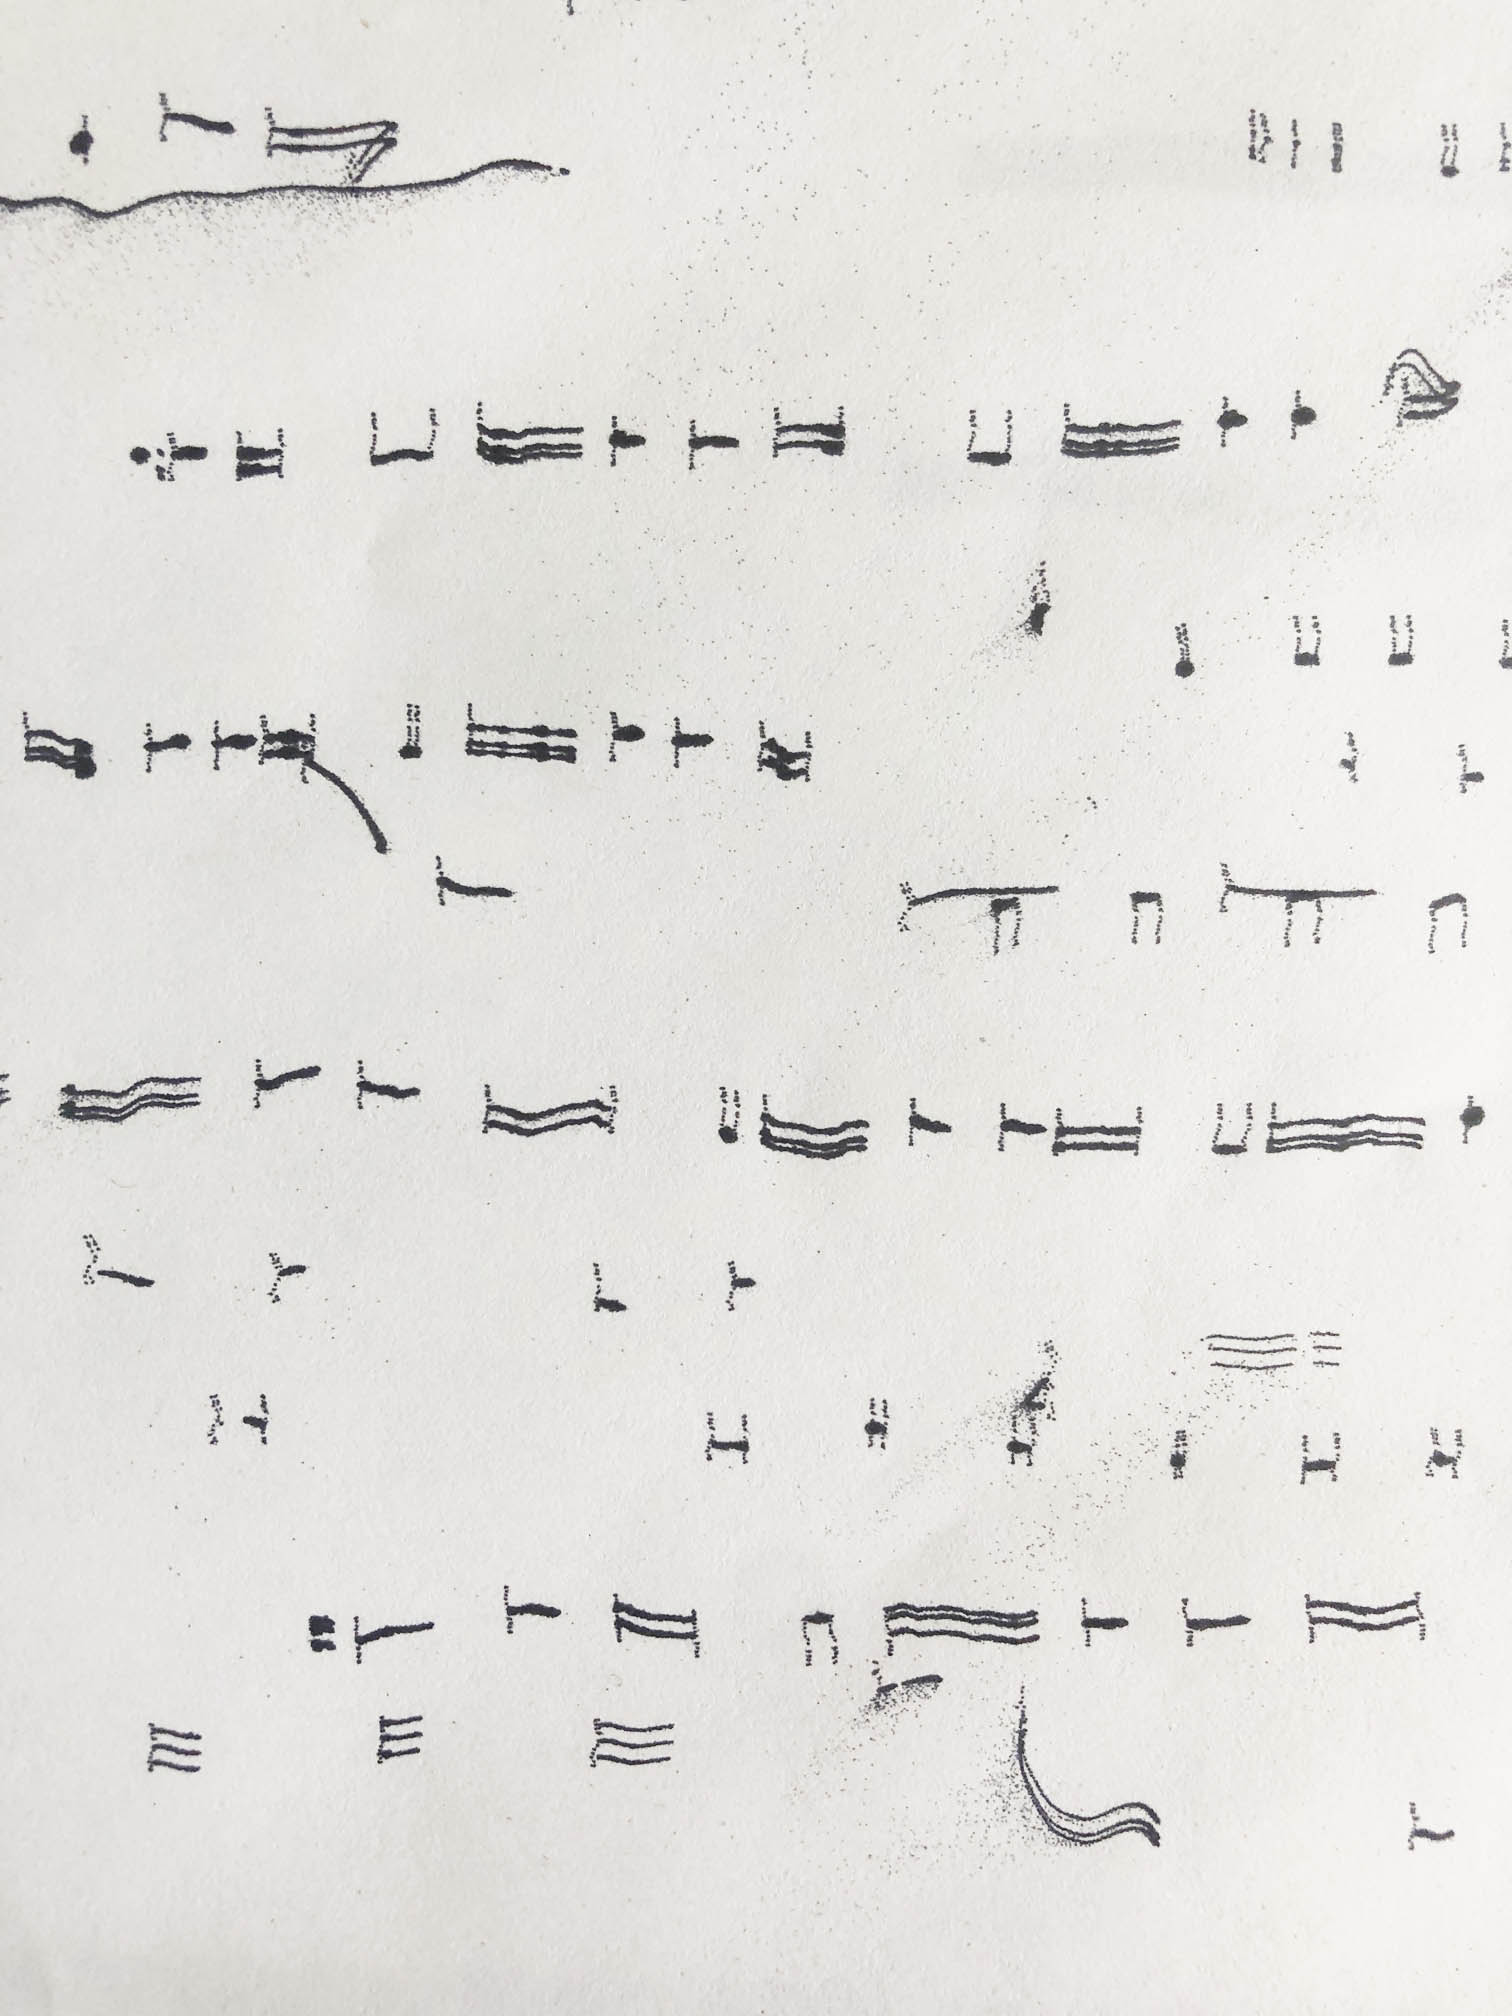
Lots of testing was done to guess the right timing for letters and what they would look like-

This GIF above shows printing a couple lines of "HELLO WORLD."

Here is the entire setup again of connecting the Arduino board to all of the 12 pins now with our new FCC connector board.
It will be great to see what this looks like when we run it on the TinyZ with a much more constant speed and stableness that I cannot provide by hand.