21.04.29 DTS Printer Progress
This week we moved on to getting all three axis working with our TinyG controller and wrapped up some of the last mysteries of the printhead.

Back to the TinyG board that we are using to control the three axis of our machine. The board is pretty simple to set up, with the screw terminals on the right side of the board. Here is where we are connecting our Nema 17s. Motor 1 is set to the X axis, Motor 2 is set to the Y axis, and lastly Motor 3 is set to the Z axis (this is by default). The TinyG also has another driver for connecting to a 4th motor, but this might be something we look into at a later date.
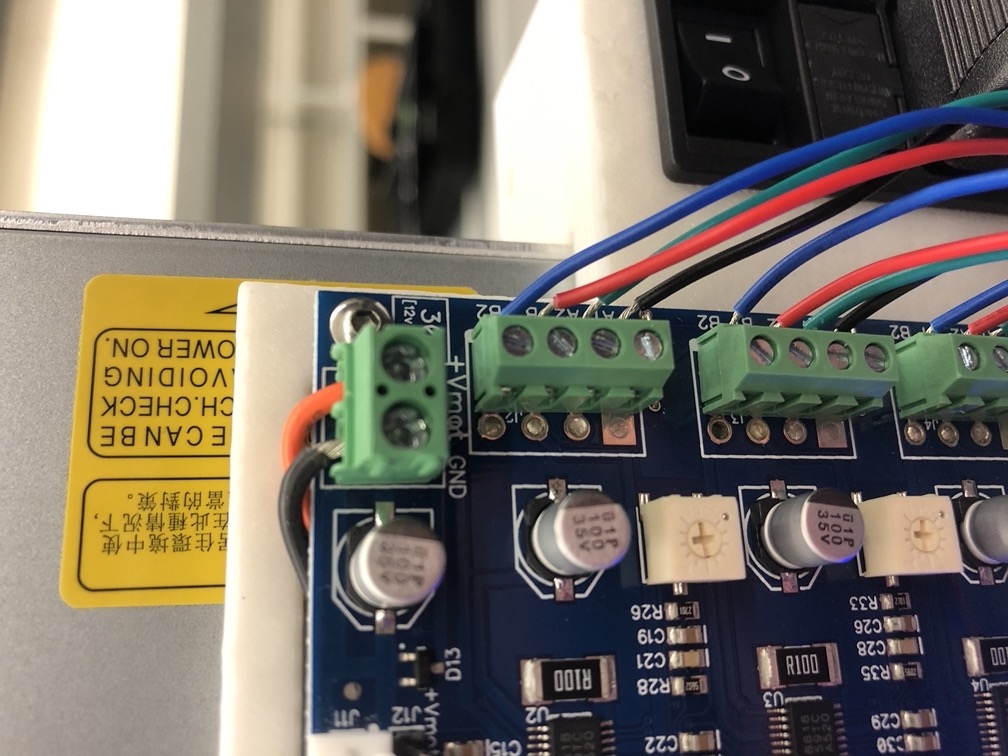
The terminals are labeled for connecting the stepper motors to the board. TinyG has github where information, setup, and questions can be posted as well. See here for setup information about the TinyG.
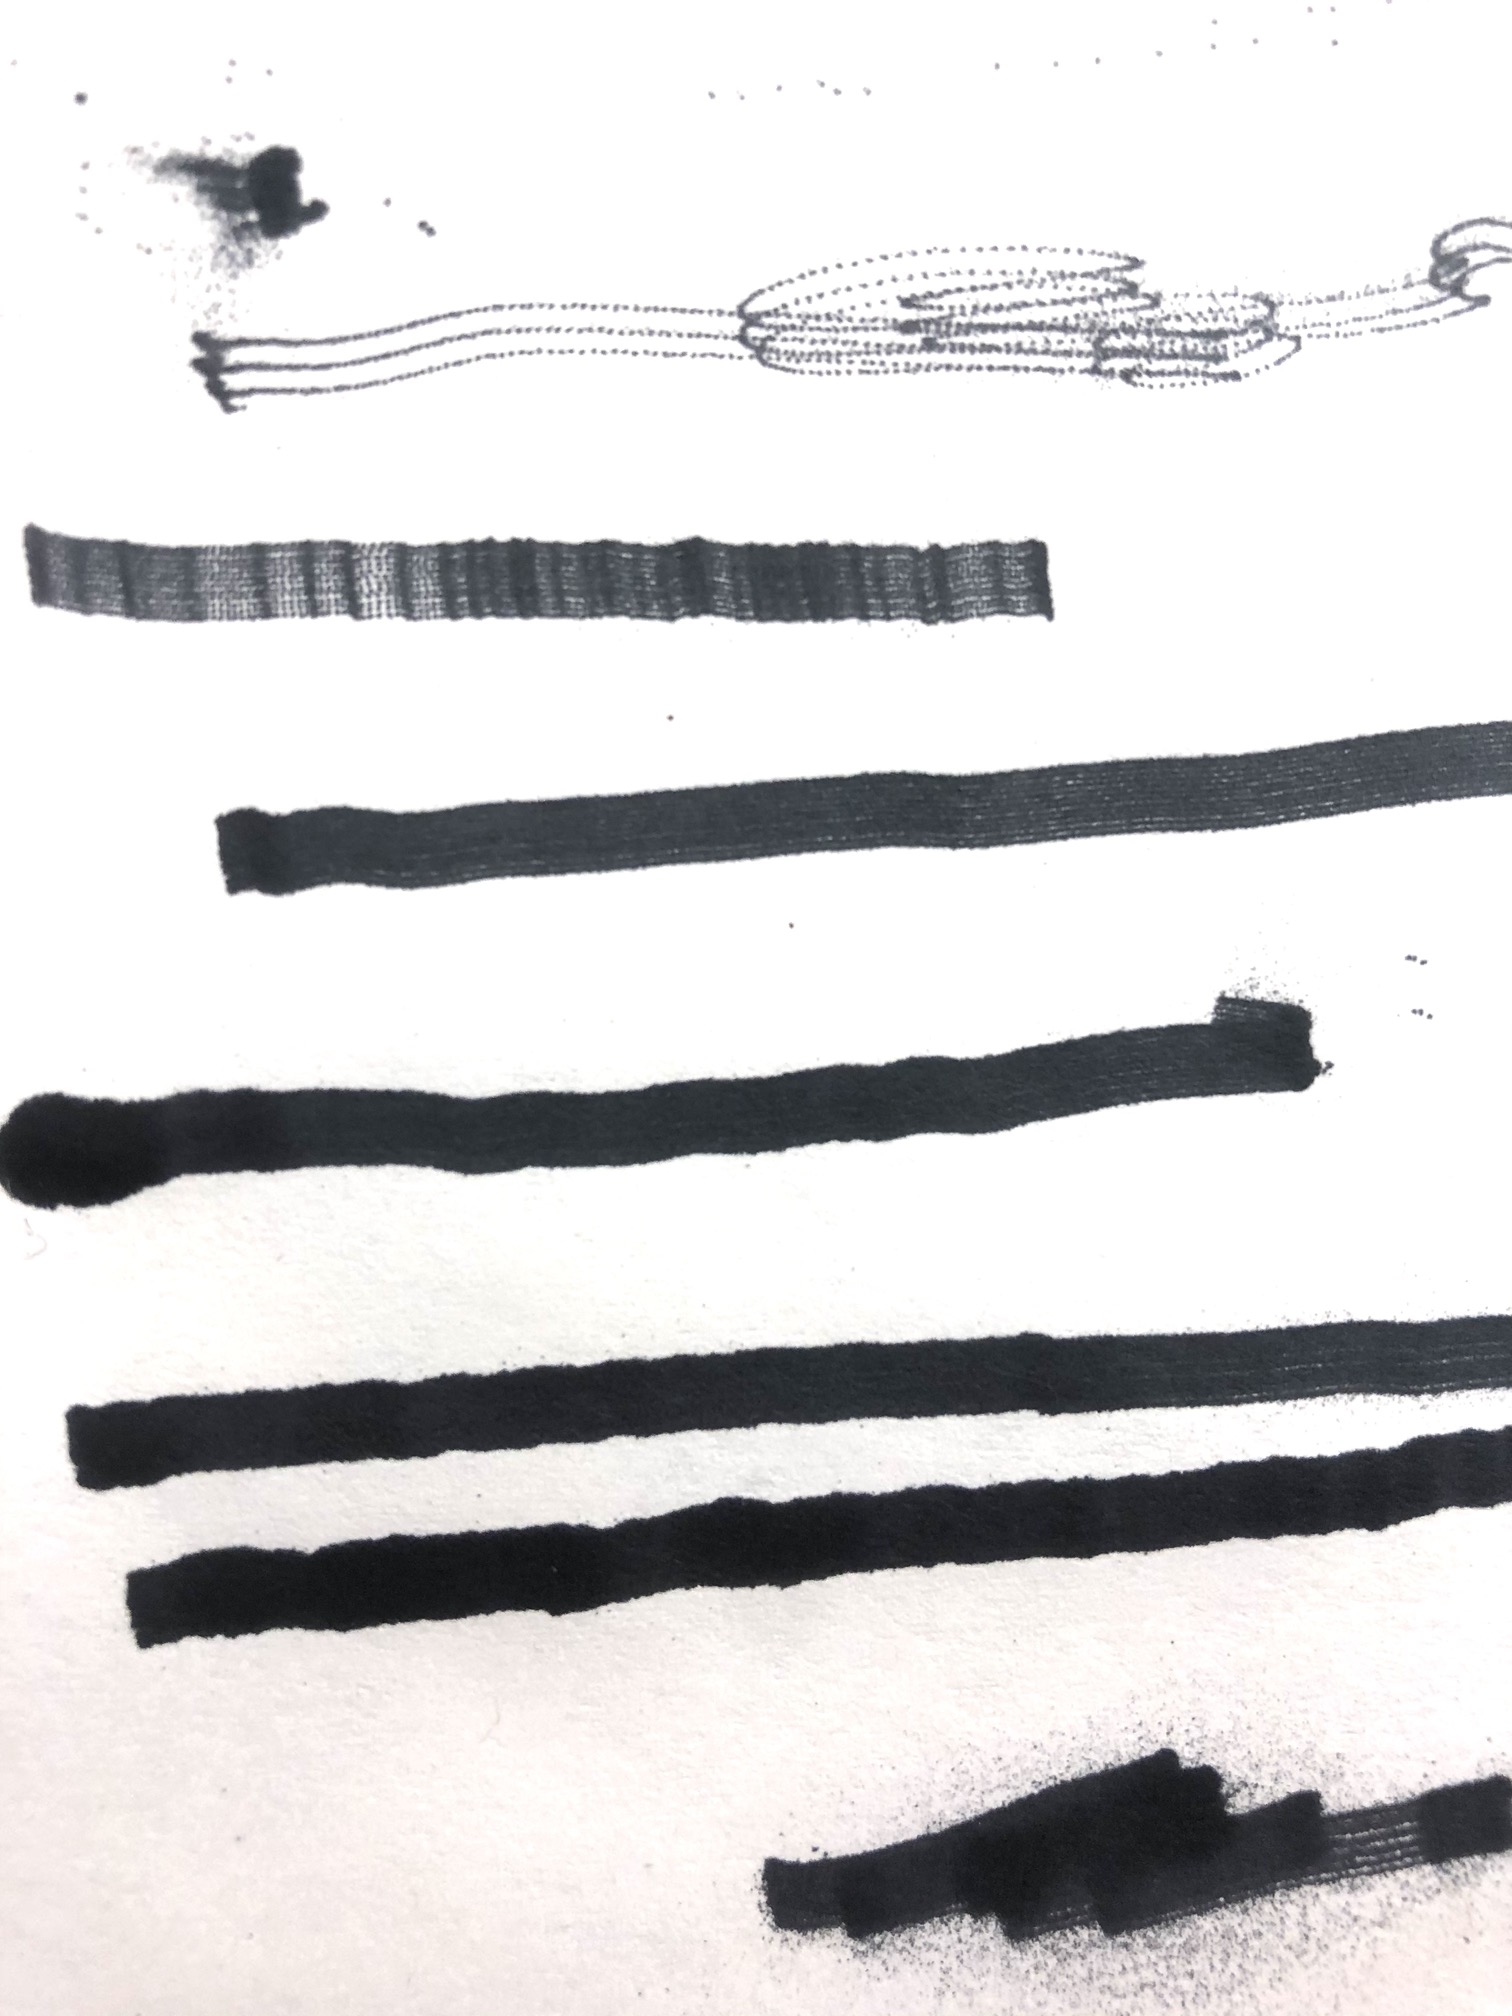
Before getting into running a few more prints, we also successfully got the printhead to put down A LOT of ink through all 12 pins. See photo above for the difference between last weeks code using all 12 pins vs. this week's new code. In the prints at the top, you can see the streaks of the 12 pins, and the bottom 4 prints are us getting a much more opaque and faster print with our new code. This was done by simply switching the code we were running through Arduino IDE to binary and using direct port manipulation. At first when we had tried this originally, we were getting very little ink to come out and it was inconsistent. Through more testing and guessing, it was changing the delay on the pulse to the jet that fixed this. I think because the write speed to the Arduino port is so much faster using the direct port manipulation, that it changes the length of delay that is needed between switching each pin off and on to the jets. See the new code below.

It was also nice to print "Hello World" with the motion of TinyZ. While we were moving the printhead at a pretty slow speed, it also presented some interesting issues with adding the printhead to the machine while printing text.
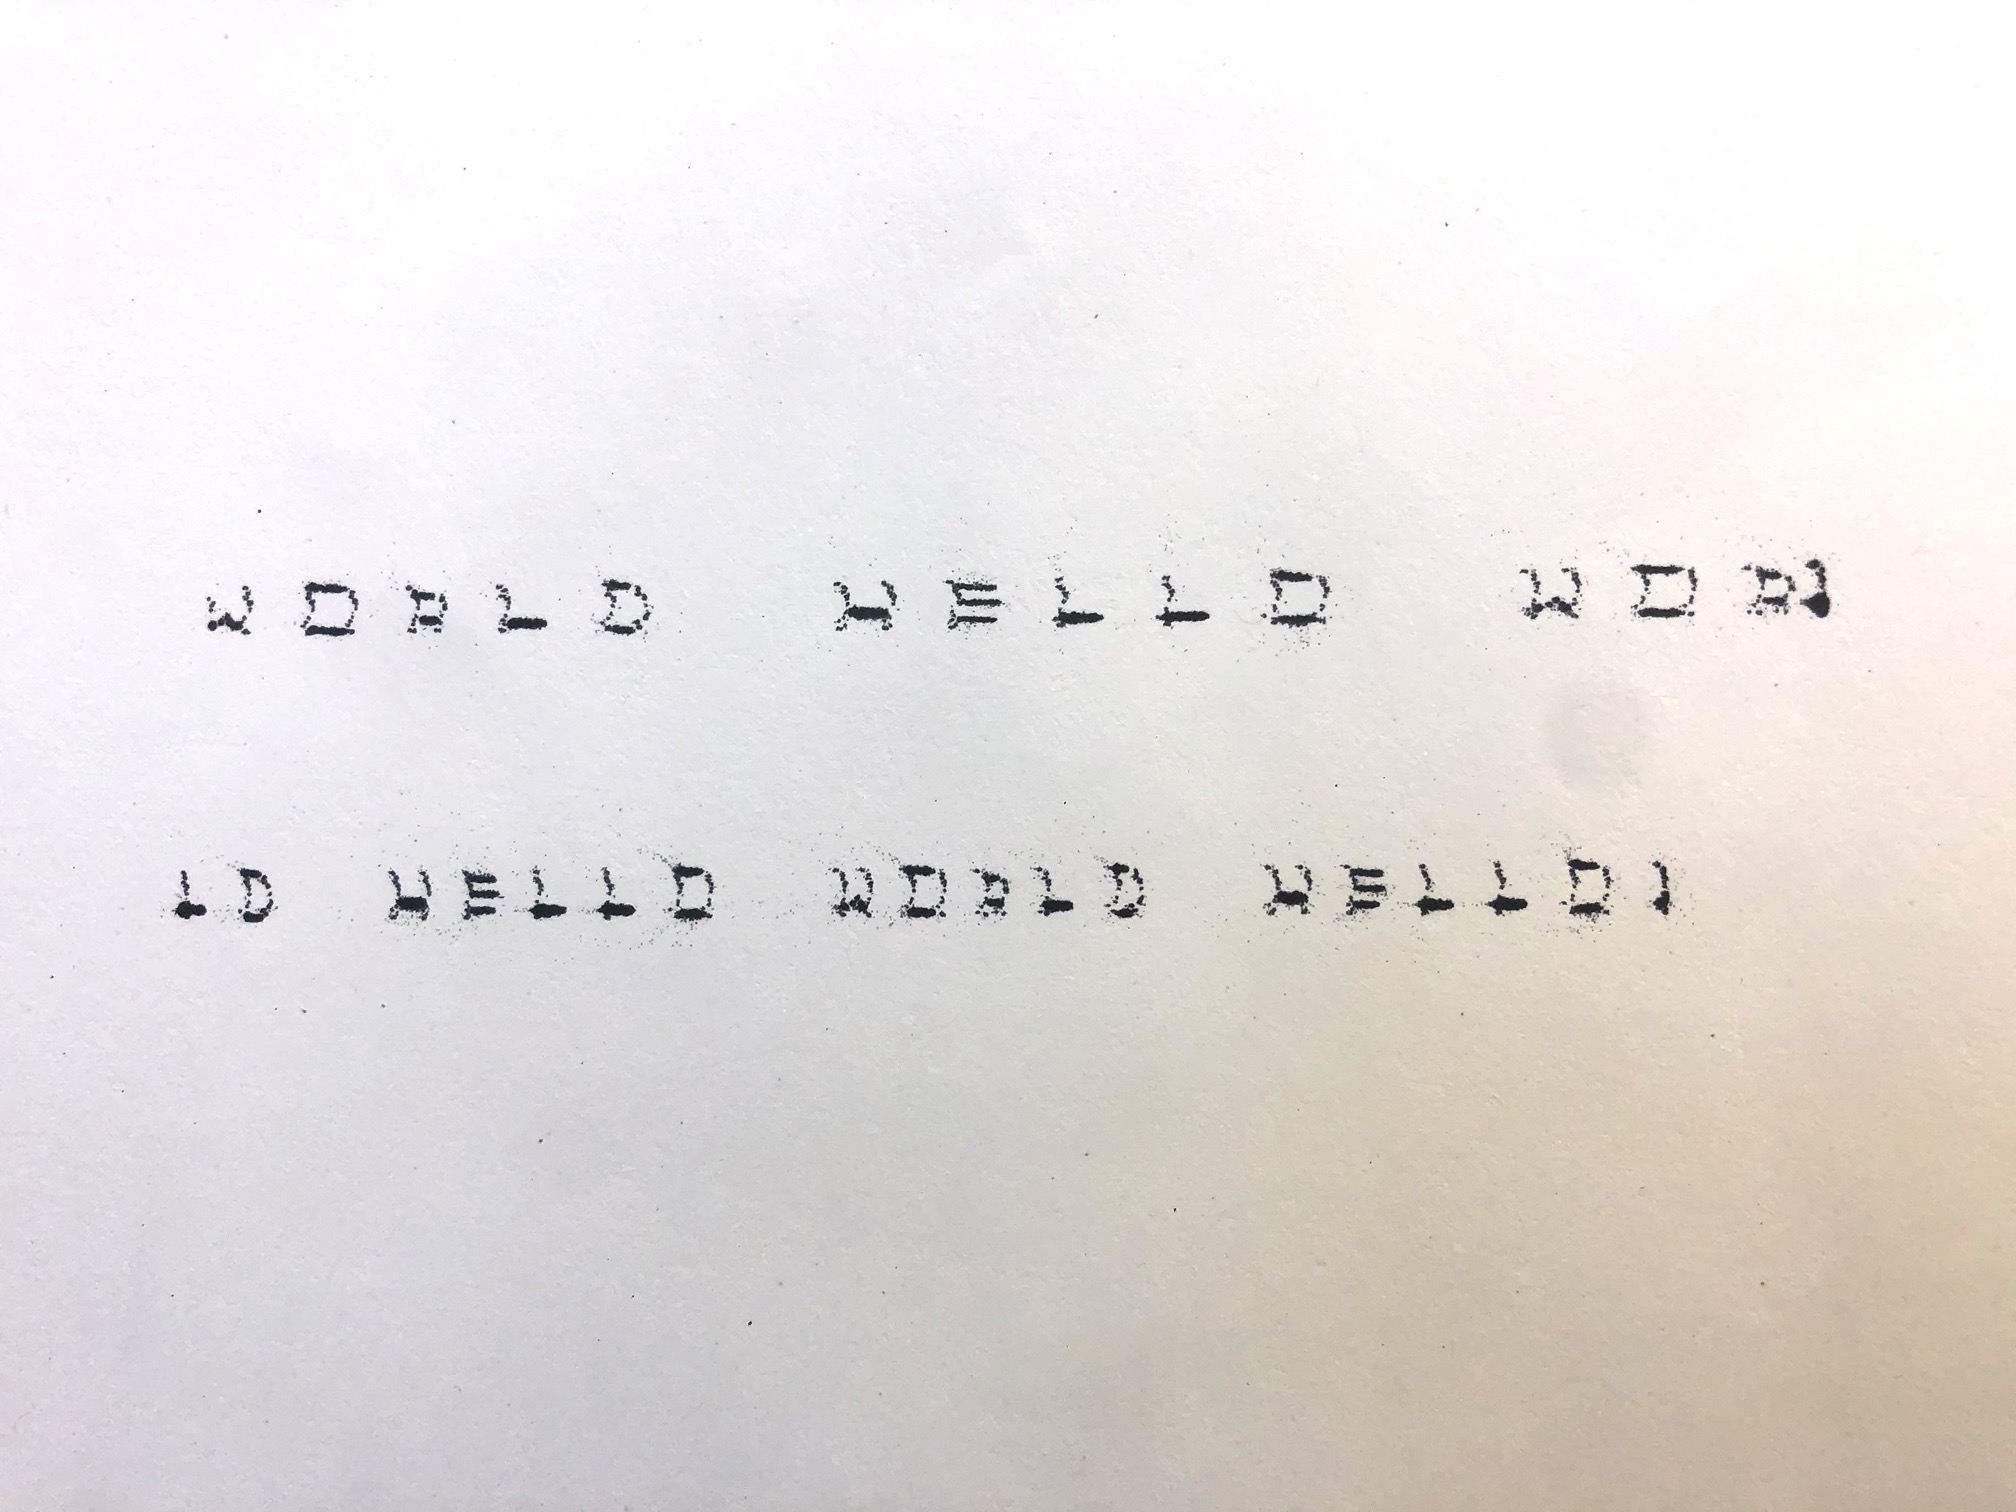
Adding a consistent speed to the print really reveals how each individual pin is firing to print this. This comes through in the distortion of the text where it looks like been stretched in the middle of the letters. We might adjust the speed of TinyZ to adjust to this, but we can now also adjust our original code with the direct port manipulation to make a faster print.

Besides printing text, we are also printing cleaner shapes with the use of our TinyG board to control the motion. We are still running the printhead asynchronously, but things are starting to feel a little more official.
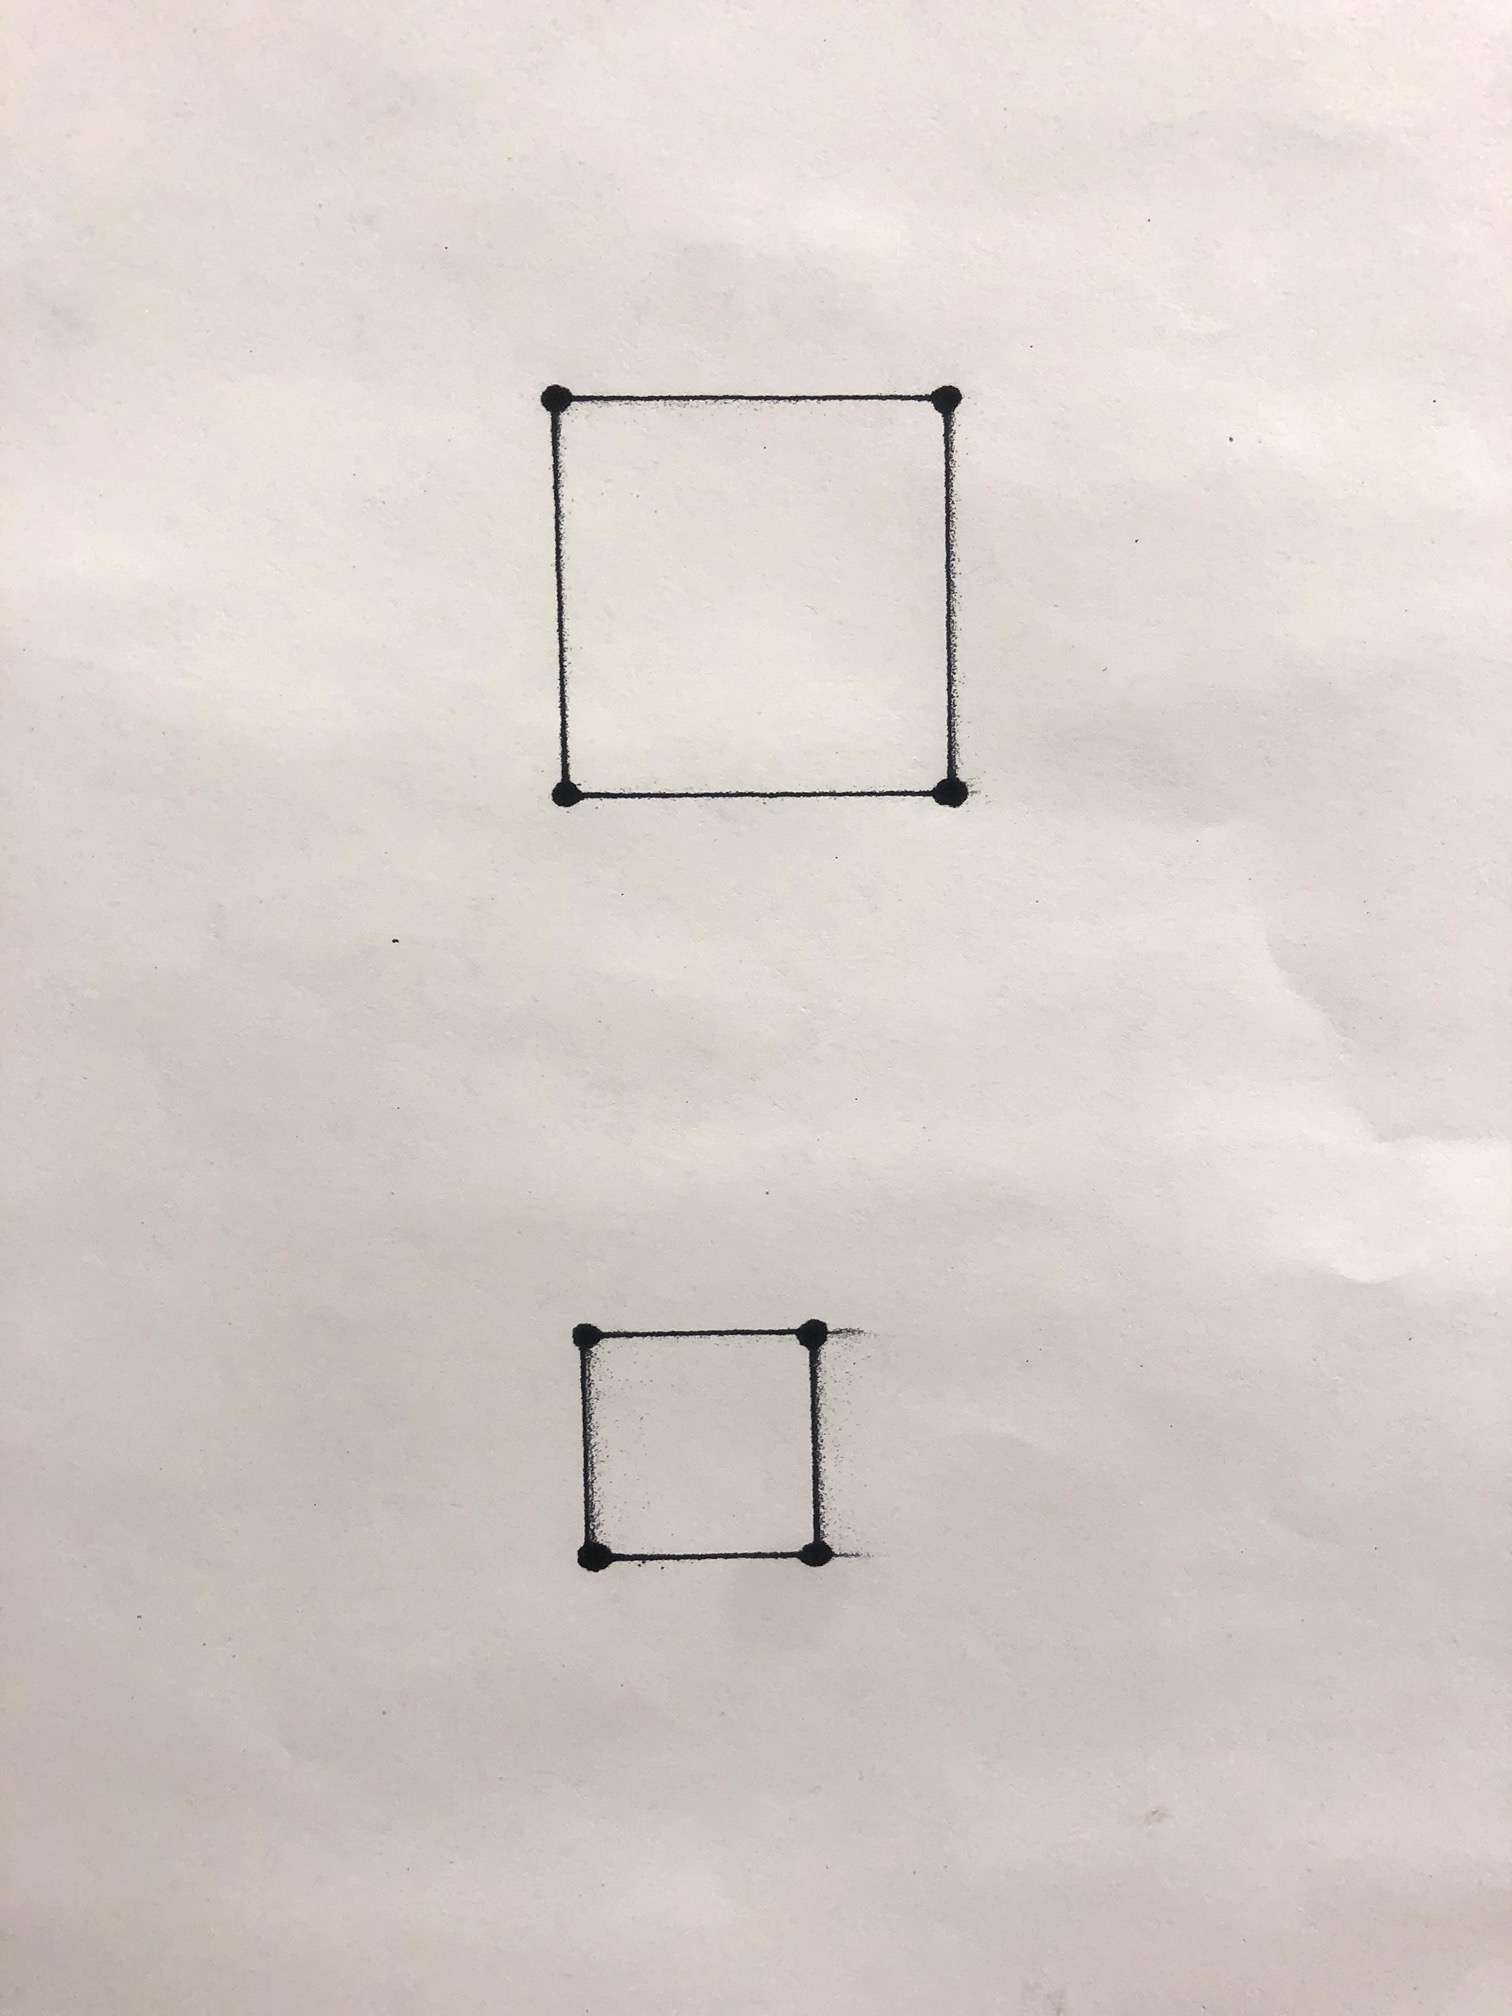
While printing a clean square feels nice, its also import to note that we did not consider that the changing acceleration of the motors would of course effect the lines that are printed. Hence, the corners of our squares have the heavier depositions of ink. We will see how we consider how to adjust this...