Special session: HTDAASP (How To Dispense (Almost) Any Solder Paste)
I did a lot of solder paste dispensing in my projects and got some small tricks that might be helpful for others (e.g. Neil).
1. Make sure your stencil is clean
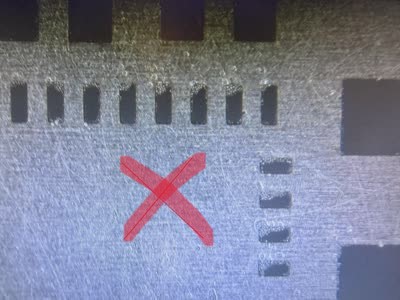
Before dispensing solder paste, make sure your stencil is clean. Especially the small holes, they should be free of any solder paste. Sometimes you didn't clean the stencil after the usage last time and some solder paste might be left in the holes, which might cause some problems.
2. Make a simple jig for your PCB
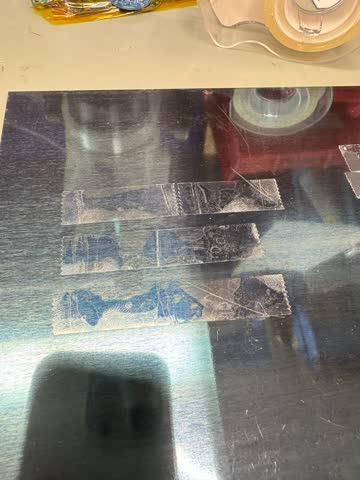
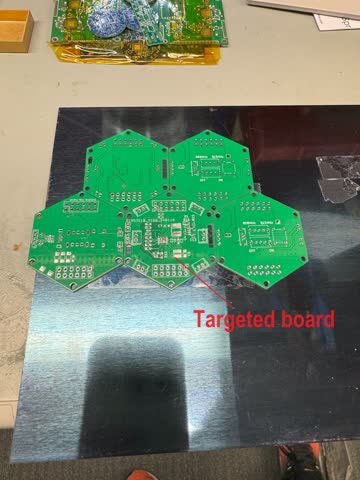
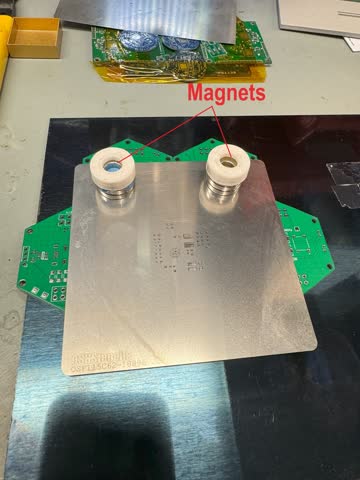
Another thing that might cause bad solder paste dispensing result is the PCB or the stencil are not secured well. My resolution to this problem is a simple jig. All you need are some spare PCBs with the same thickness as the PCB you are going to solder, double side tape, an iron board, some magnets.
The spare PCBs boards are used to fix the position of the targeted PCB, the double side tape is used to fix all the PCBs, and the iron board and magnets are used to fix the stencil.
3. Align stencil
Now you can do some fine tweak to the stencil position to make sure it aligns with the PCB pads.
4. Dispense solder paste
I normally dispense the solder paste with two steps:
5. Remove stencil
Remove the stencil carefully and clean it with IPA:
5. Results
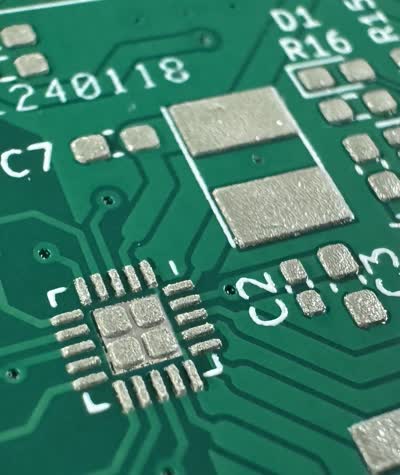
The result of this approach is always good. This is a solar energy harvester board with BQ25570 (20-lead 3.5-mm x 3.5-mm QFN package). I also tried a board with a BNO055/BNO085 (24-lead 3.8-mm x 5.2-mm LGA package), the one Neil is using, and it also works well.
Some little tips