Wax Milling
As an architecture student and potter, I’ve done a good bit of casting from concrete to slip casting ceramic to mycelium bricks. However, I haven't used the intelitek machine in the architecture shops or milled wax before so I had something new to learn and to look forward to this week. I took inspiration from woodworking, and perhaps a form that’s beyond my woodworking skills that could be digitally fabricated.
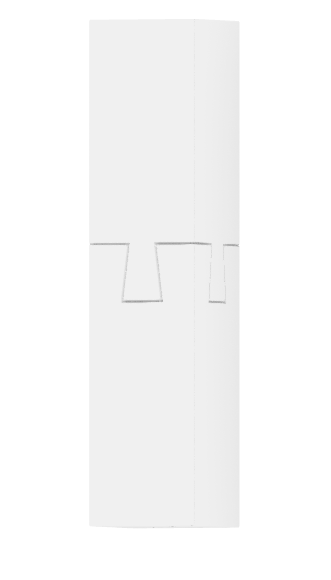
I decided to fabricate a 4 sided dovetail, a shape that requires a good bit of woodworking skill and at first is a bit of an illusion.
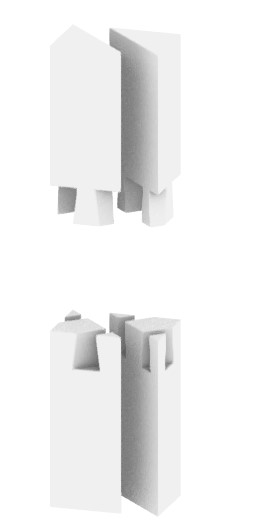
Due to the geometry this required to split each side into two pieces diagonally, so this meant that I’d have to model, mill, and mold 4 components. Additionally I had to leave a quarter in on the side and have the geometry be an eight inch away from the walls so there would be enough thickness for the negative.
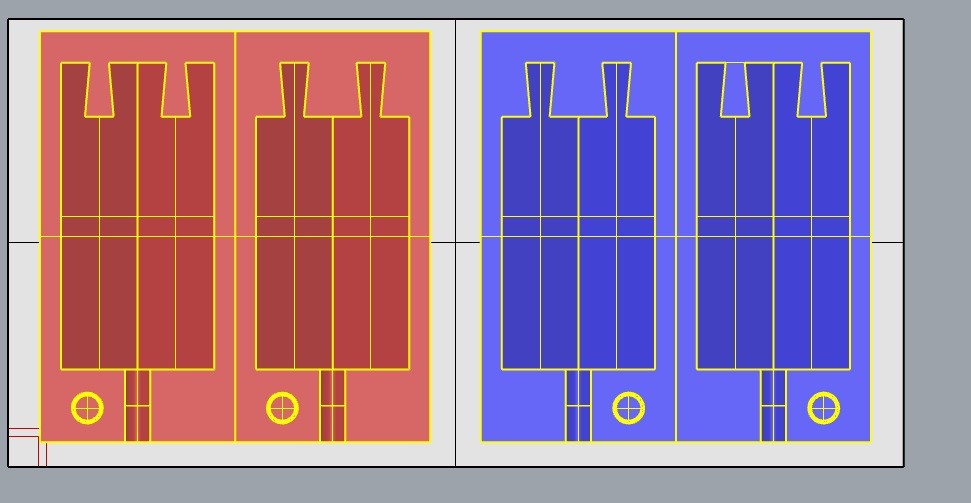
The wax we have in the architecture shop is about 7” x 3.5” x 1.5” so to fit all of the geometry onto one block requires them being a bit small. I know that the constraints of the end mill sizes (⅛” min) there will be some interior pocket issues that I’ll run into. Perhaps its not faithful to the nature of digital fabrication, but my plan is to manually take the extra material off at the corners so the cast is true to the model and not rounded.
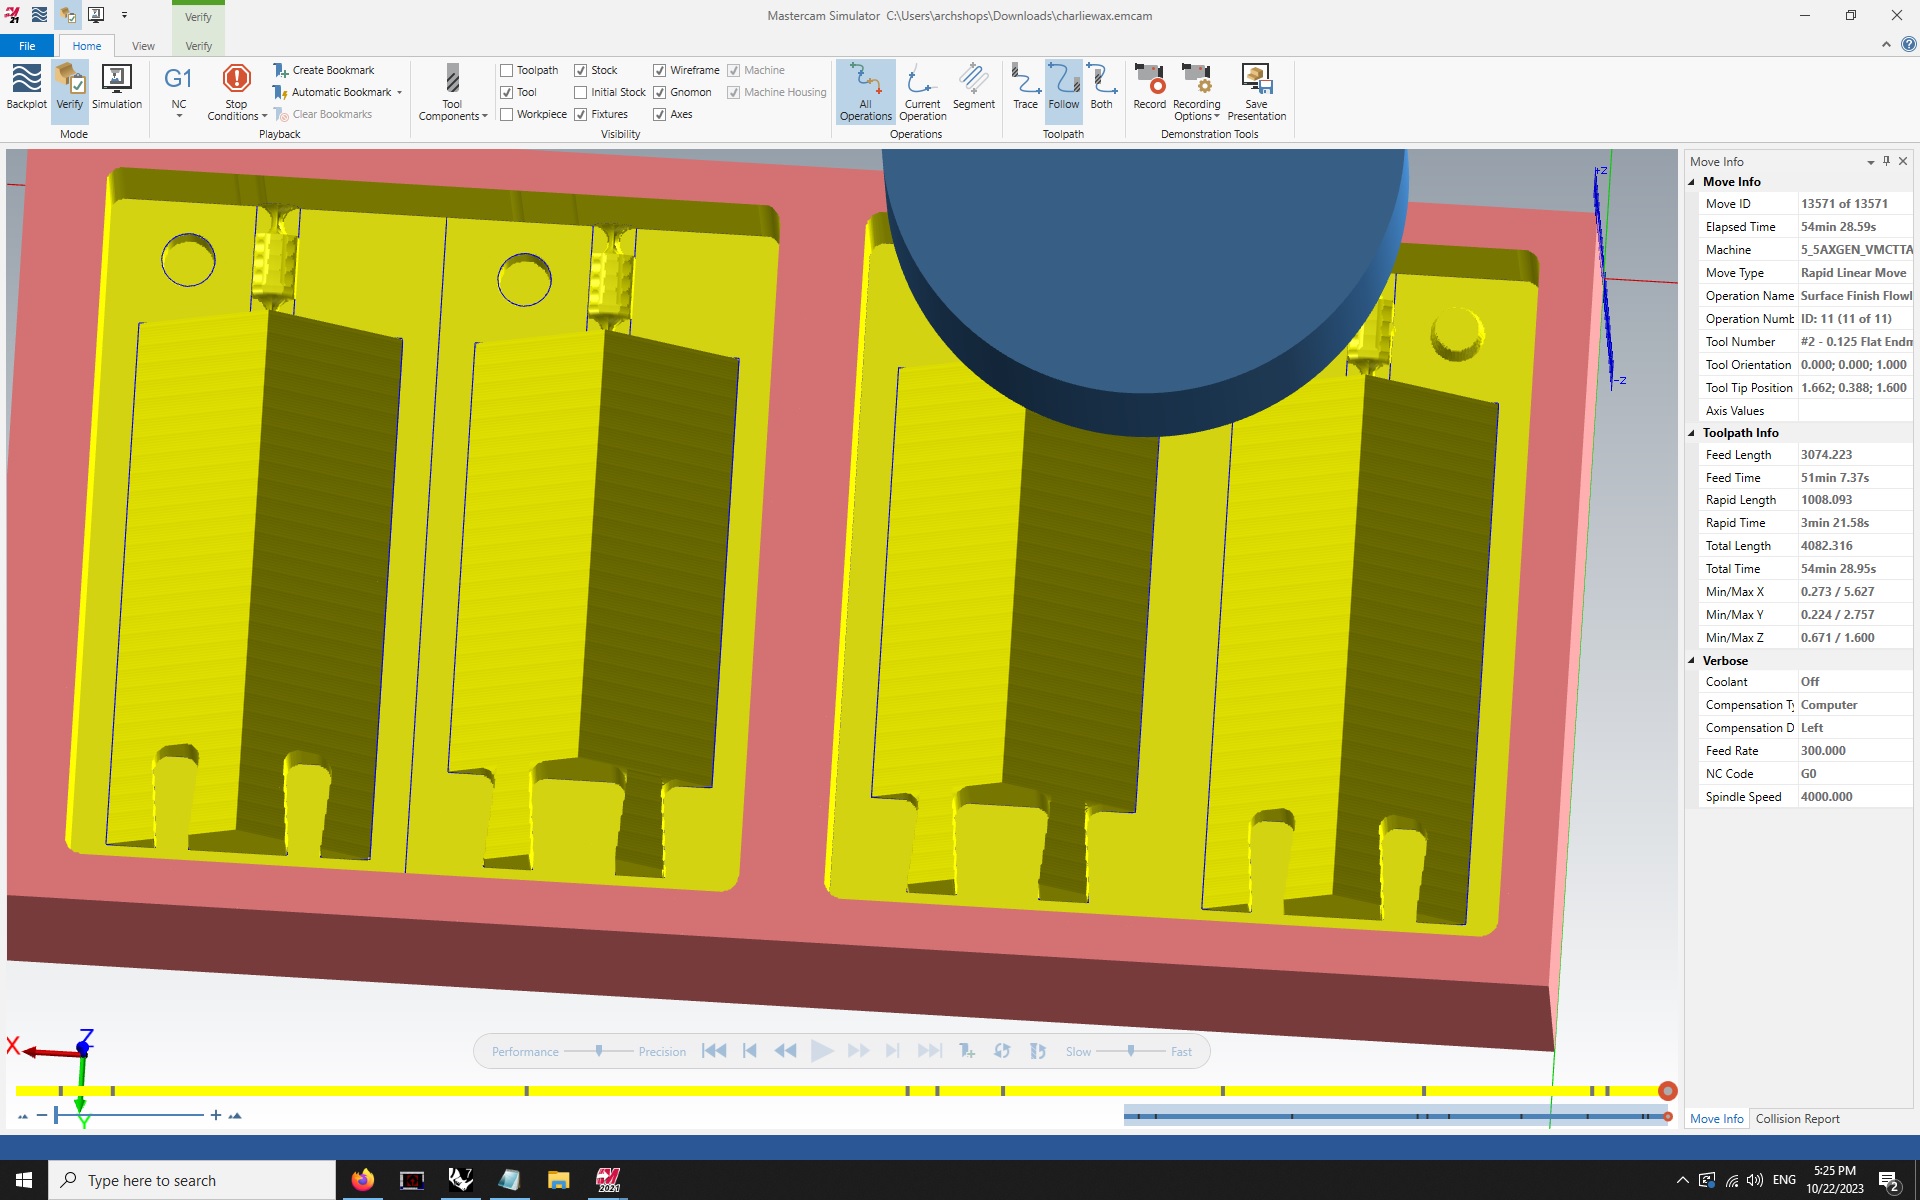
I’ve used CAM (mastercam) before so I’m generally comfortable setting it up on the onsrud machine but since we're using intelitek I wasn't sure about some specifics so Jen kindly created the toolpaths for me. Next time, however, I'd like to set the file up and have someone double check it so I can expand my capabilities.
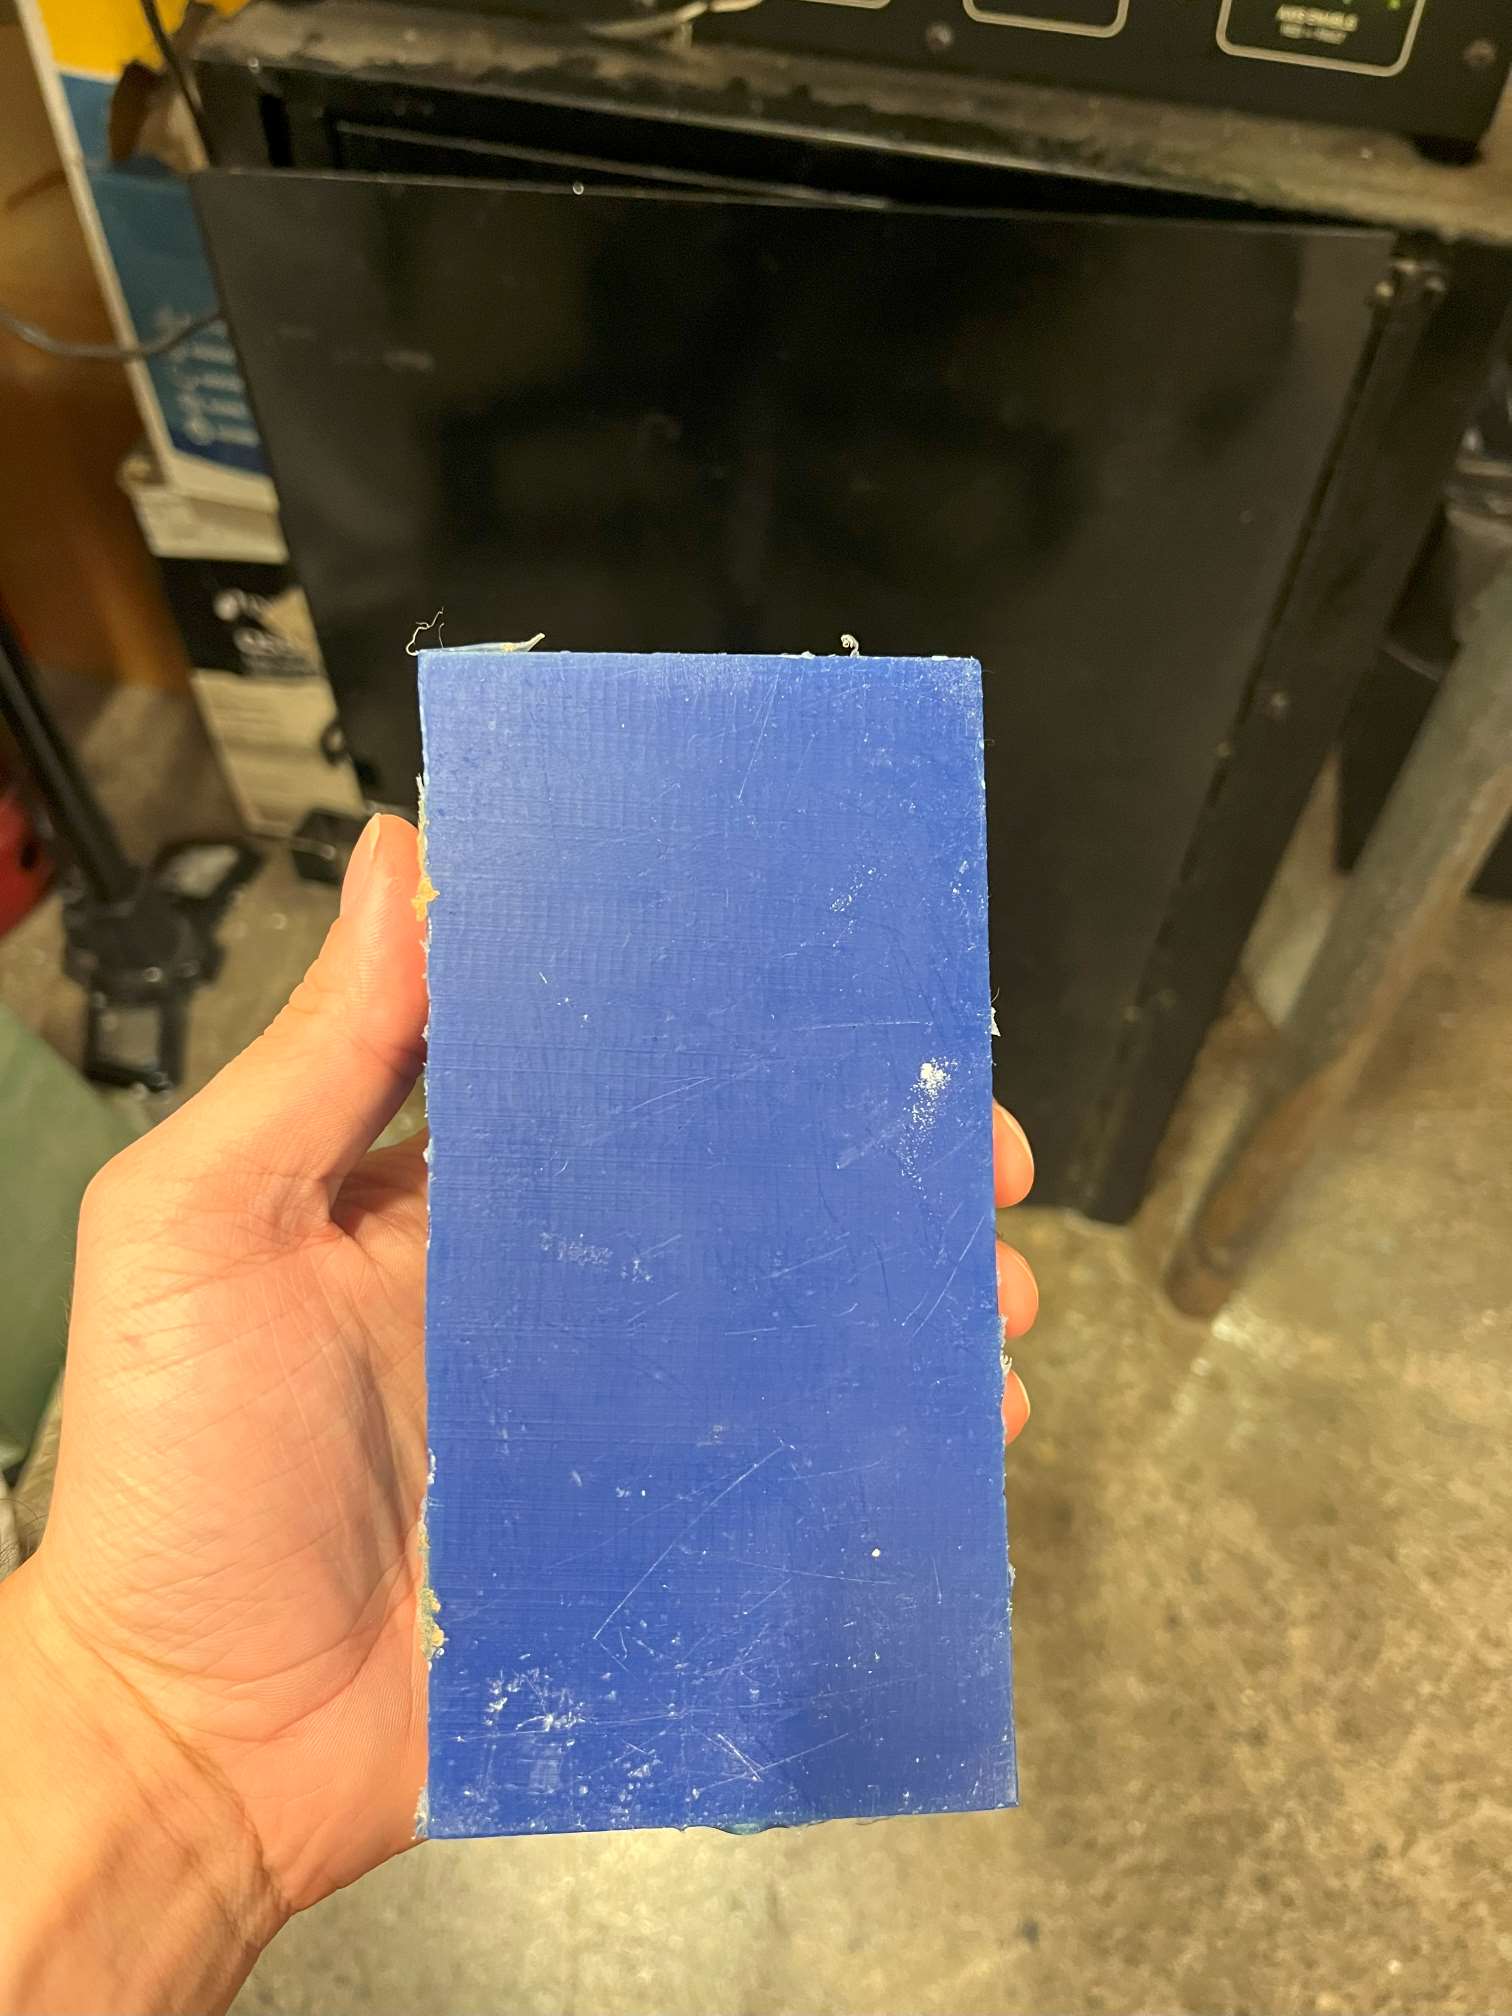
Here’s a photo of the wax I used, I used some calipers to take measurements to cross check the info we were given and it looks pretty spot on and planar. I used the hot glue gun to secure it to the spoilboard and to my surprise it was super easy and sturdy.
I had to export each toolpath one by one with the exception of the first two which I was able to export together as one path. This resulted in 10 total files to flip through for each job. Some with an expected time longer than others.
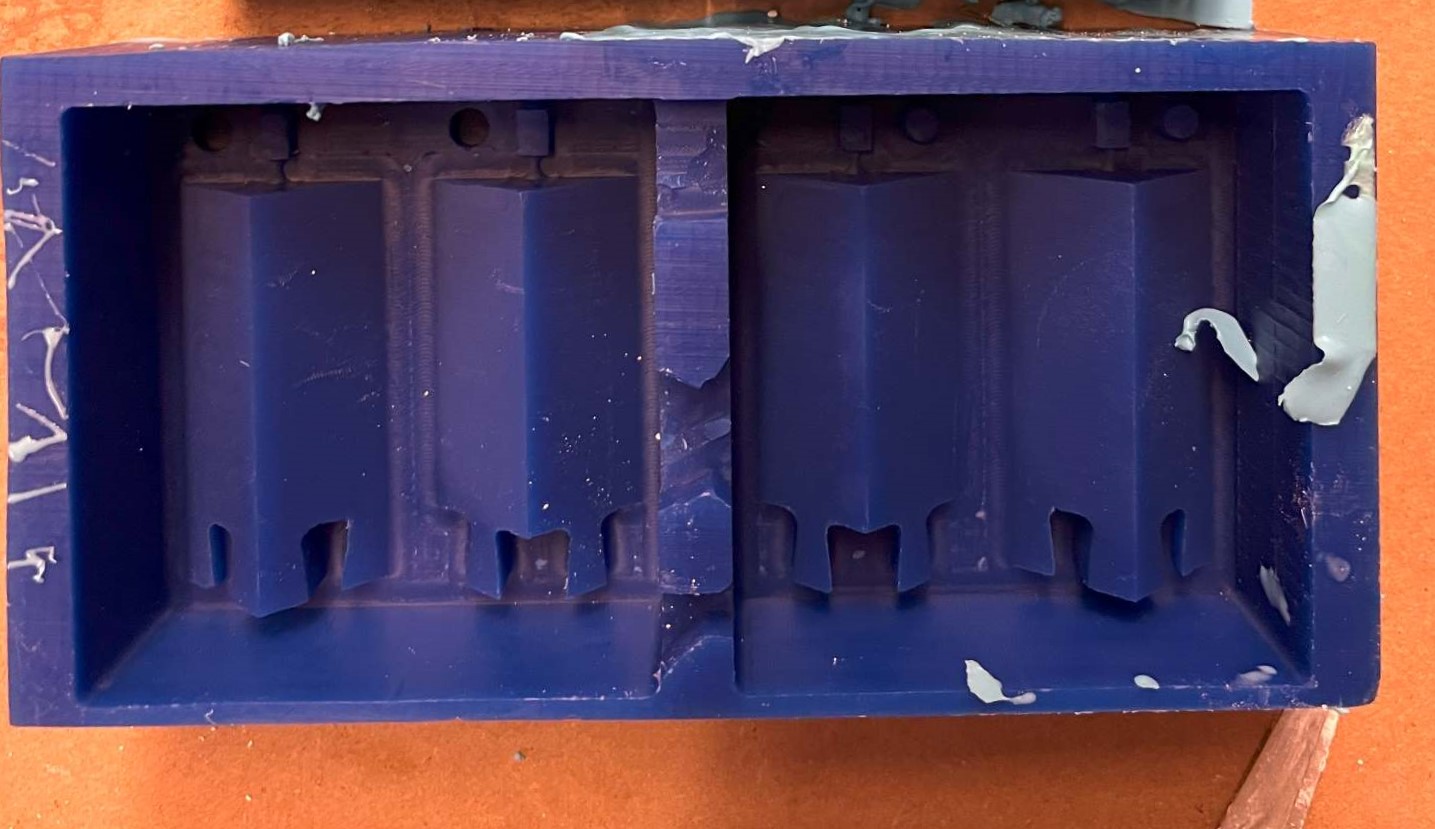
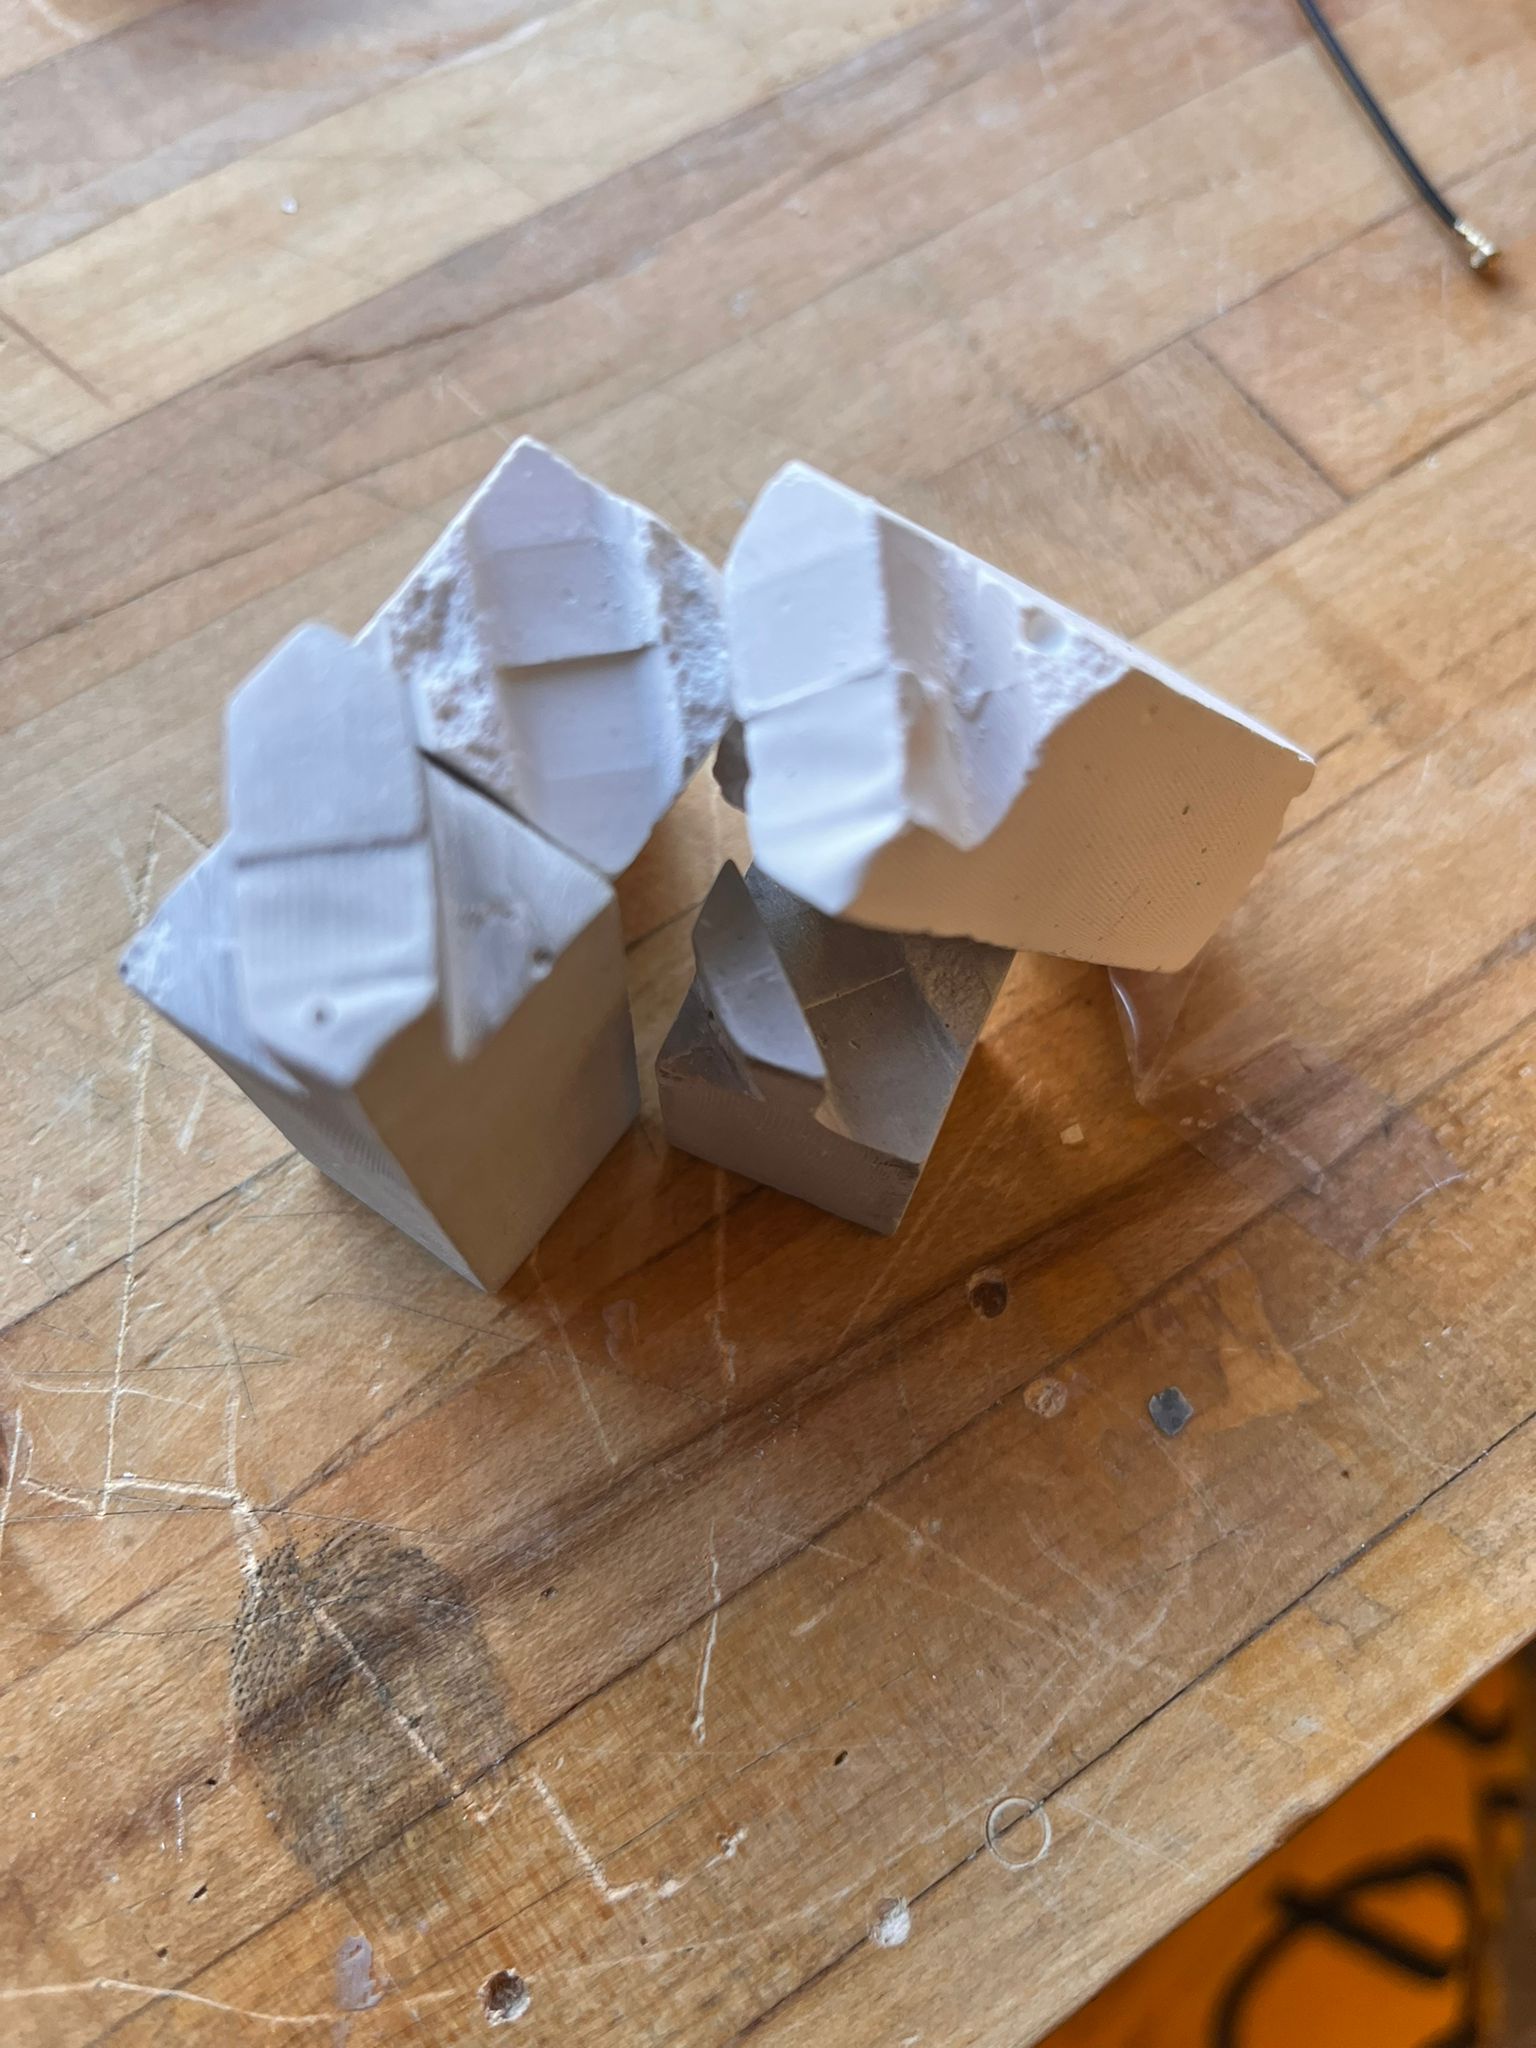
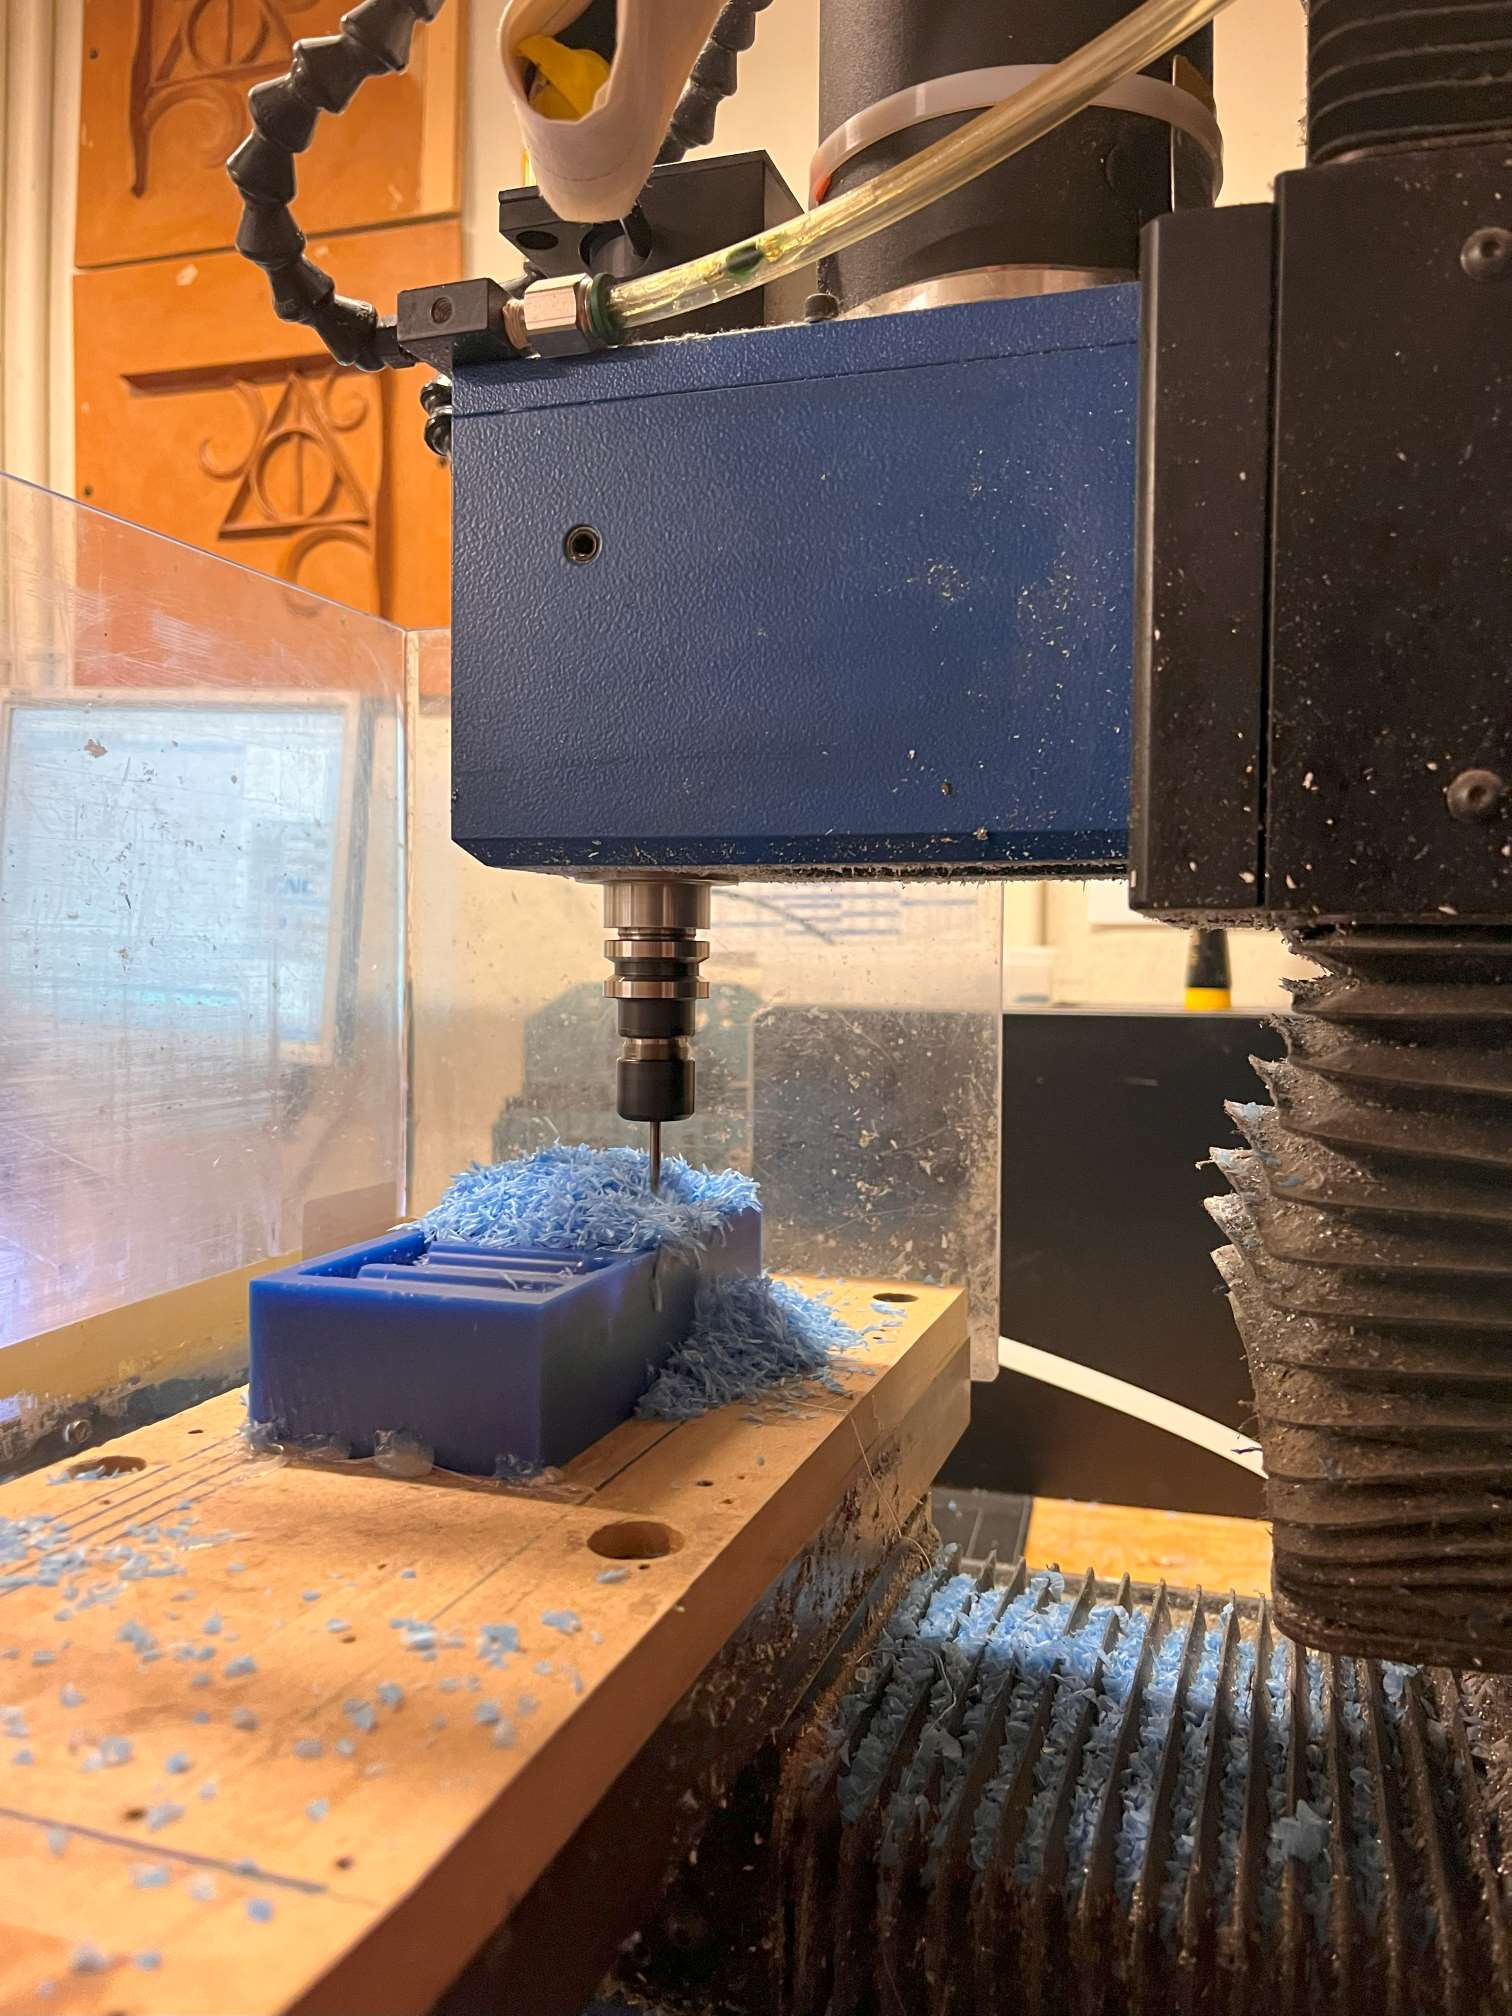
The wax positive came out surprisingly well with the exception of a couple places where the mill cut through the center. It almost looks like I might now have to do much refining manually to make the pieces fit.
Casting
I poured the omoo in and let it cure for an hour and a half. It required about .6 of a container to fill it up completely.
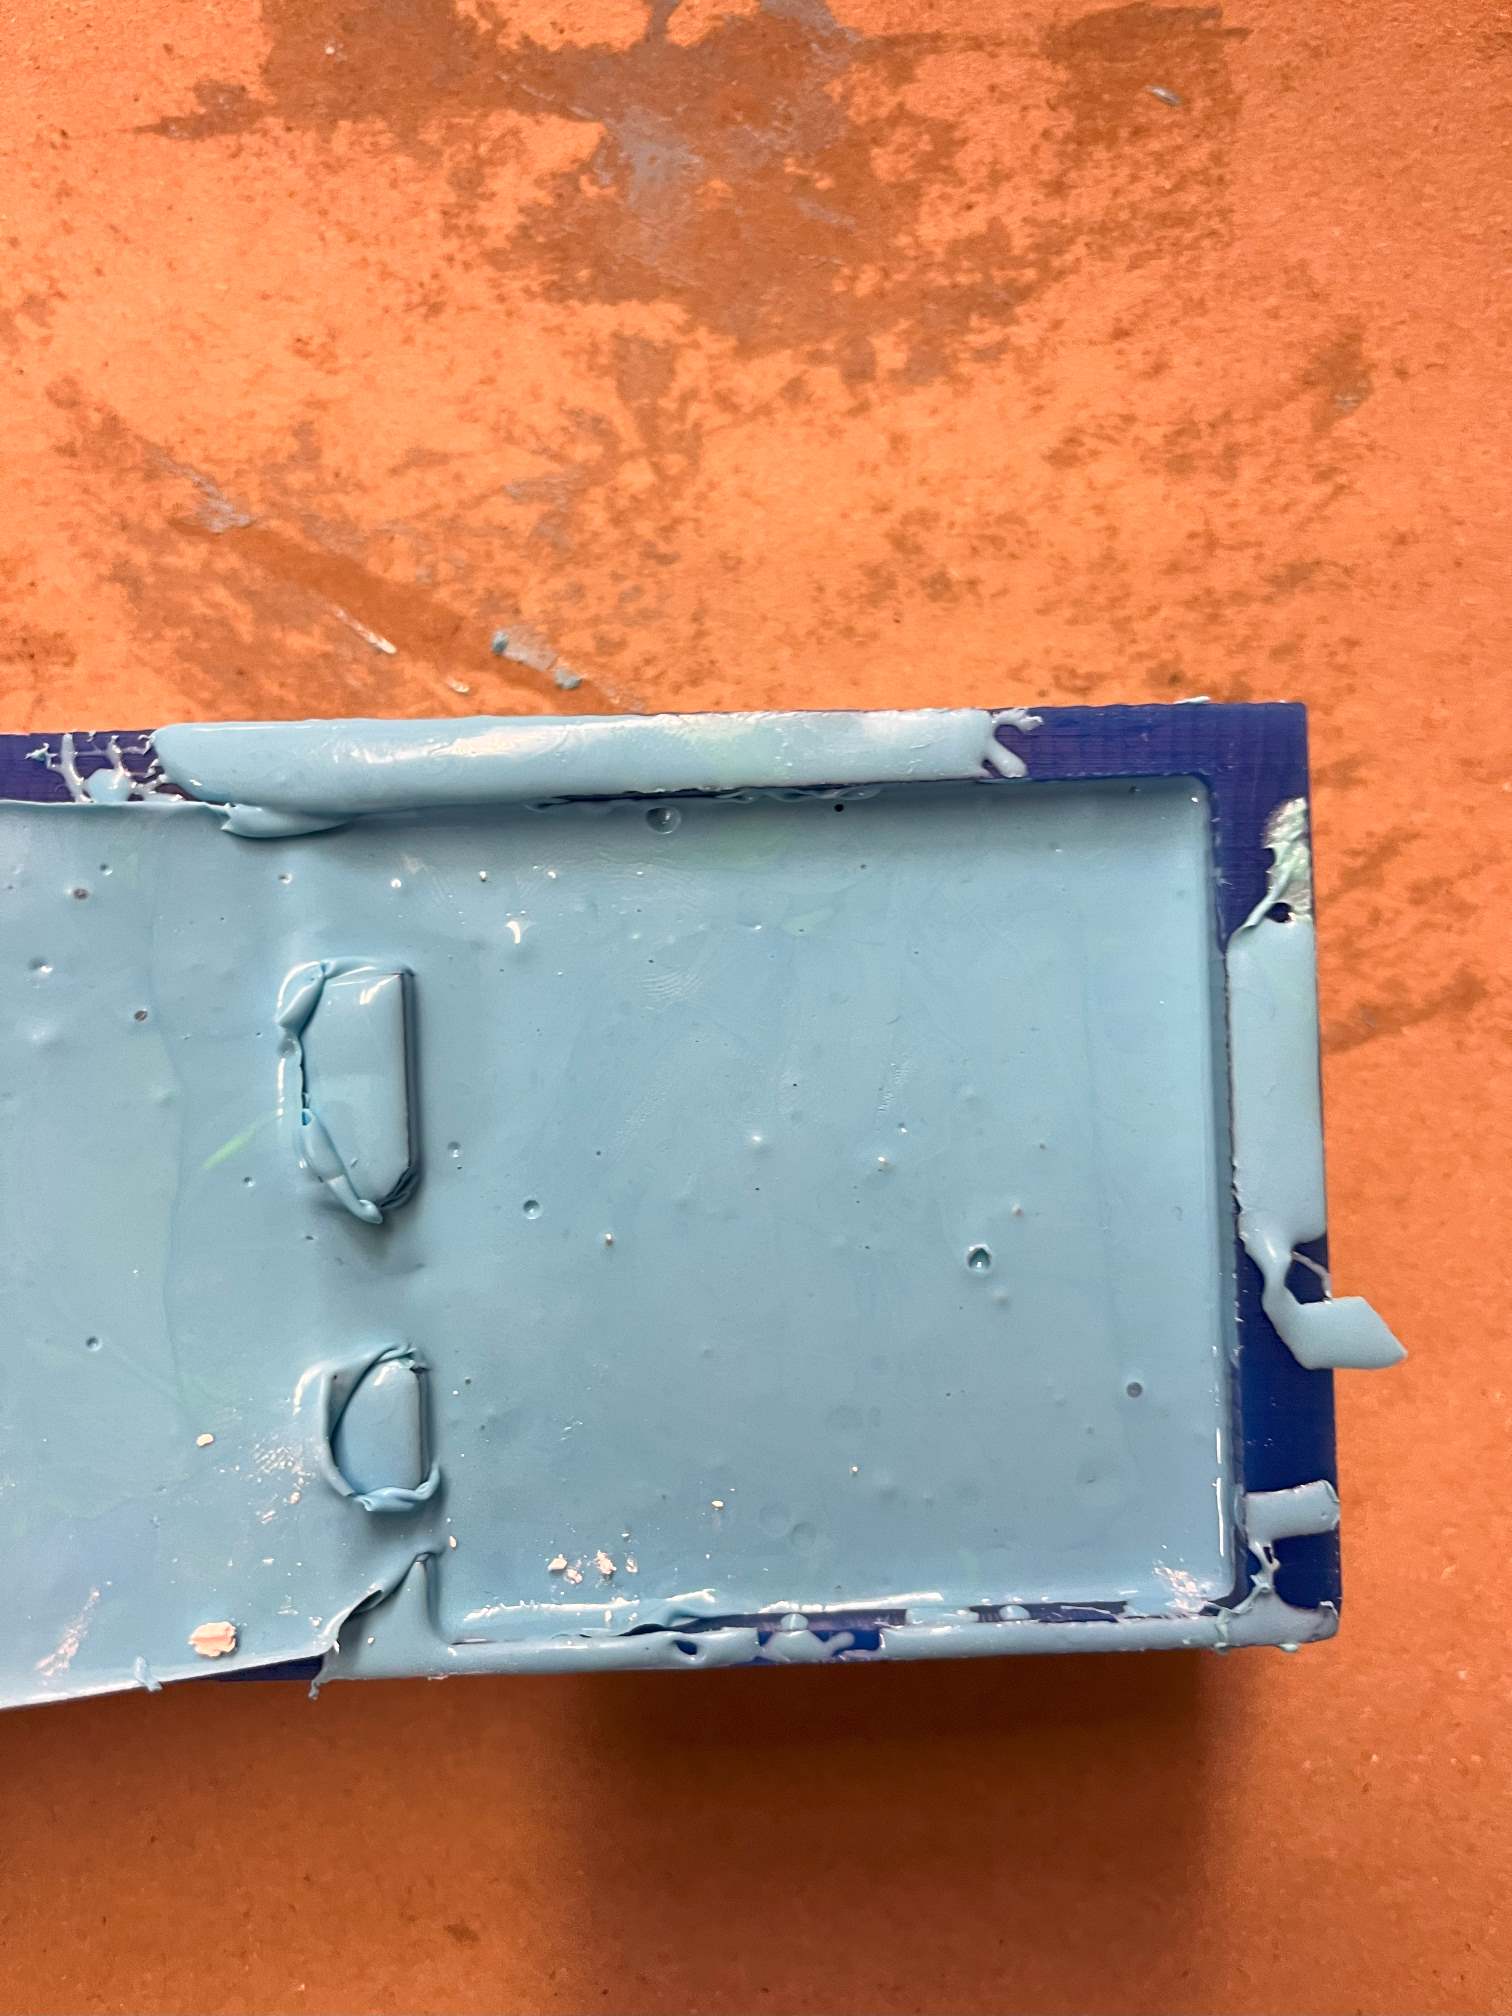
I’ve cast a bunch of concrete and plaster before so this part was familiar territory but I cant say I’ve ever cast into a mold this small before. I’ve had issues with plaster taking a while to dry so I left it to cure overnight.
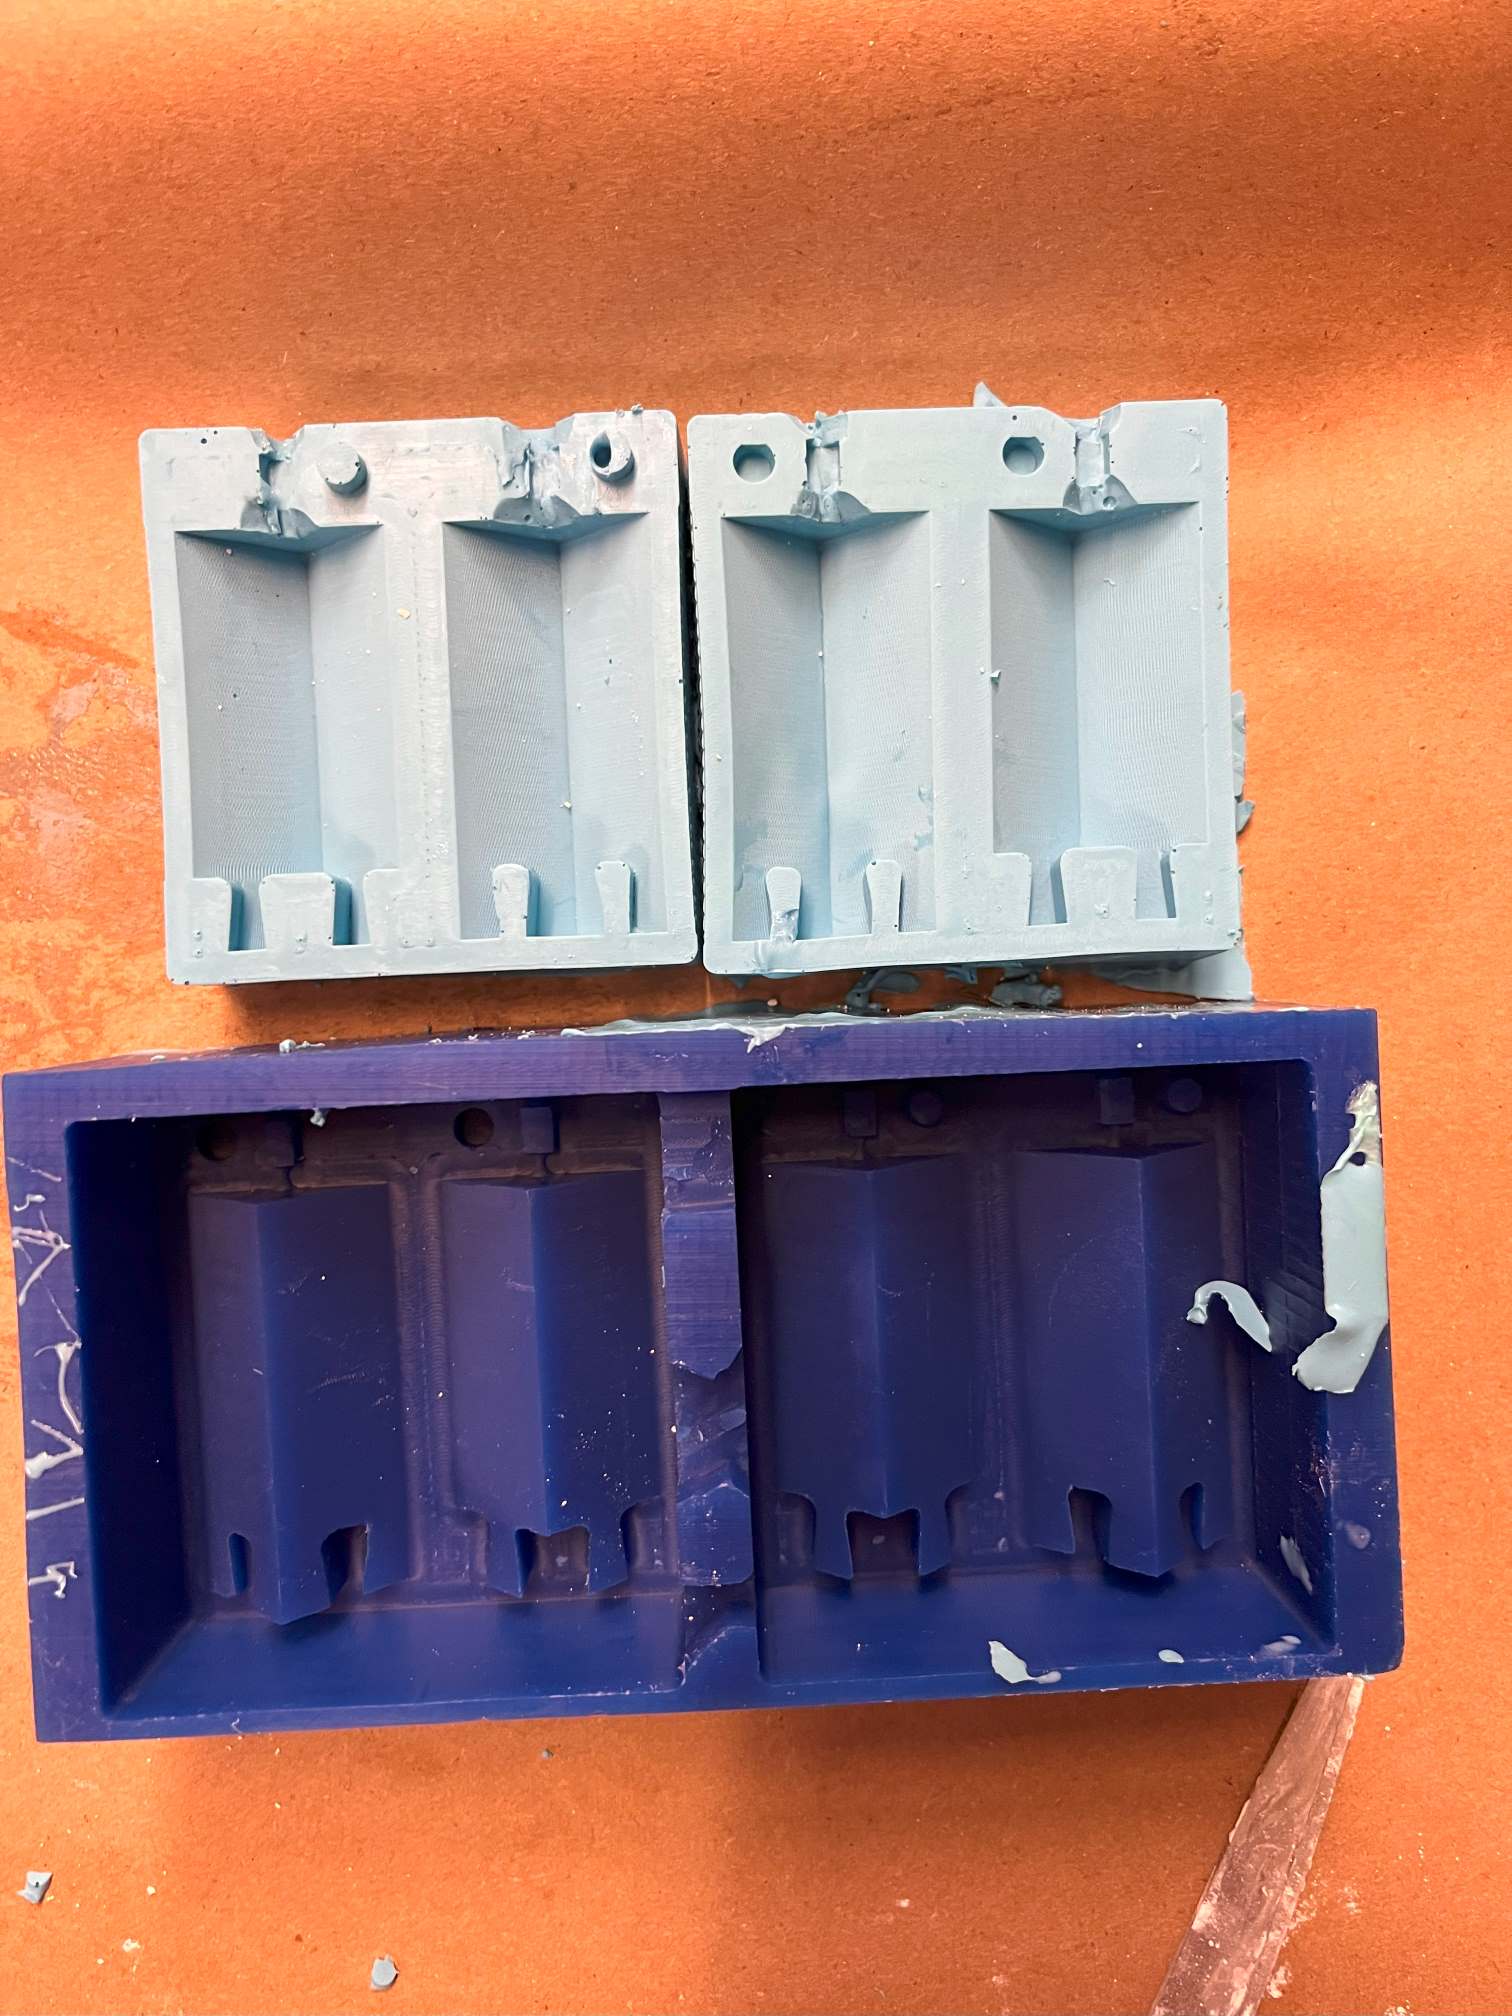
The final product came out as expected from the mold. There were no air bubbles and the seam lined up pretty well.
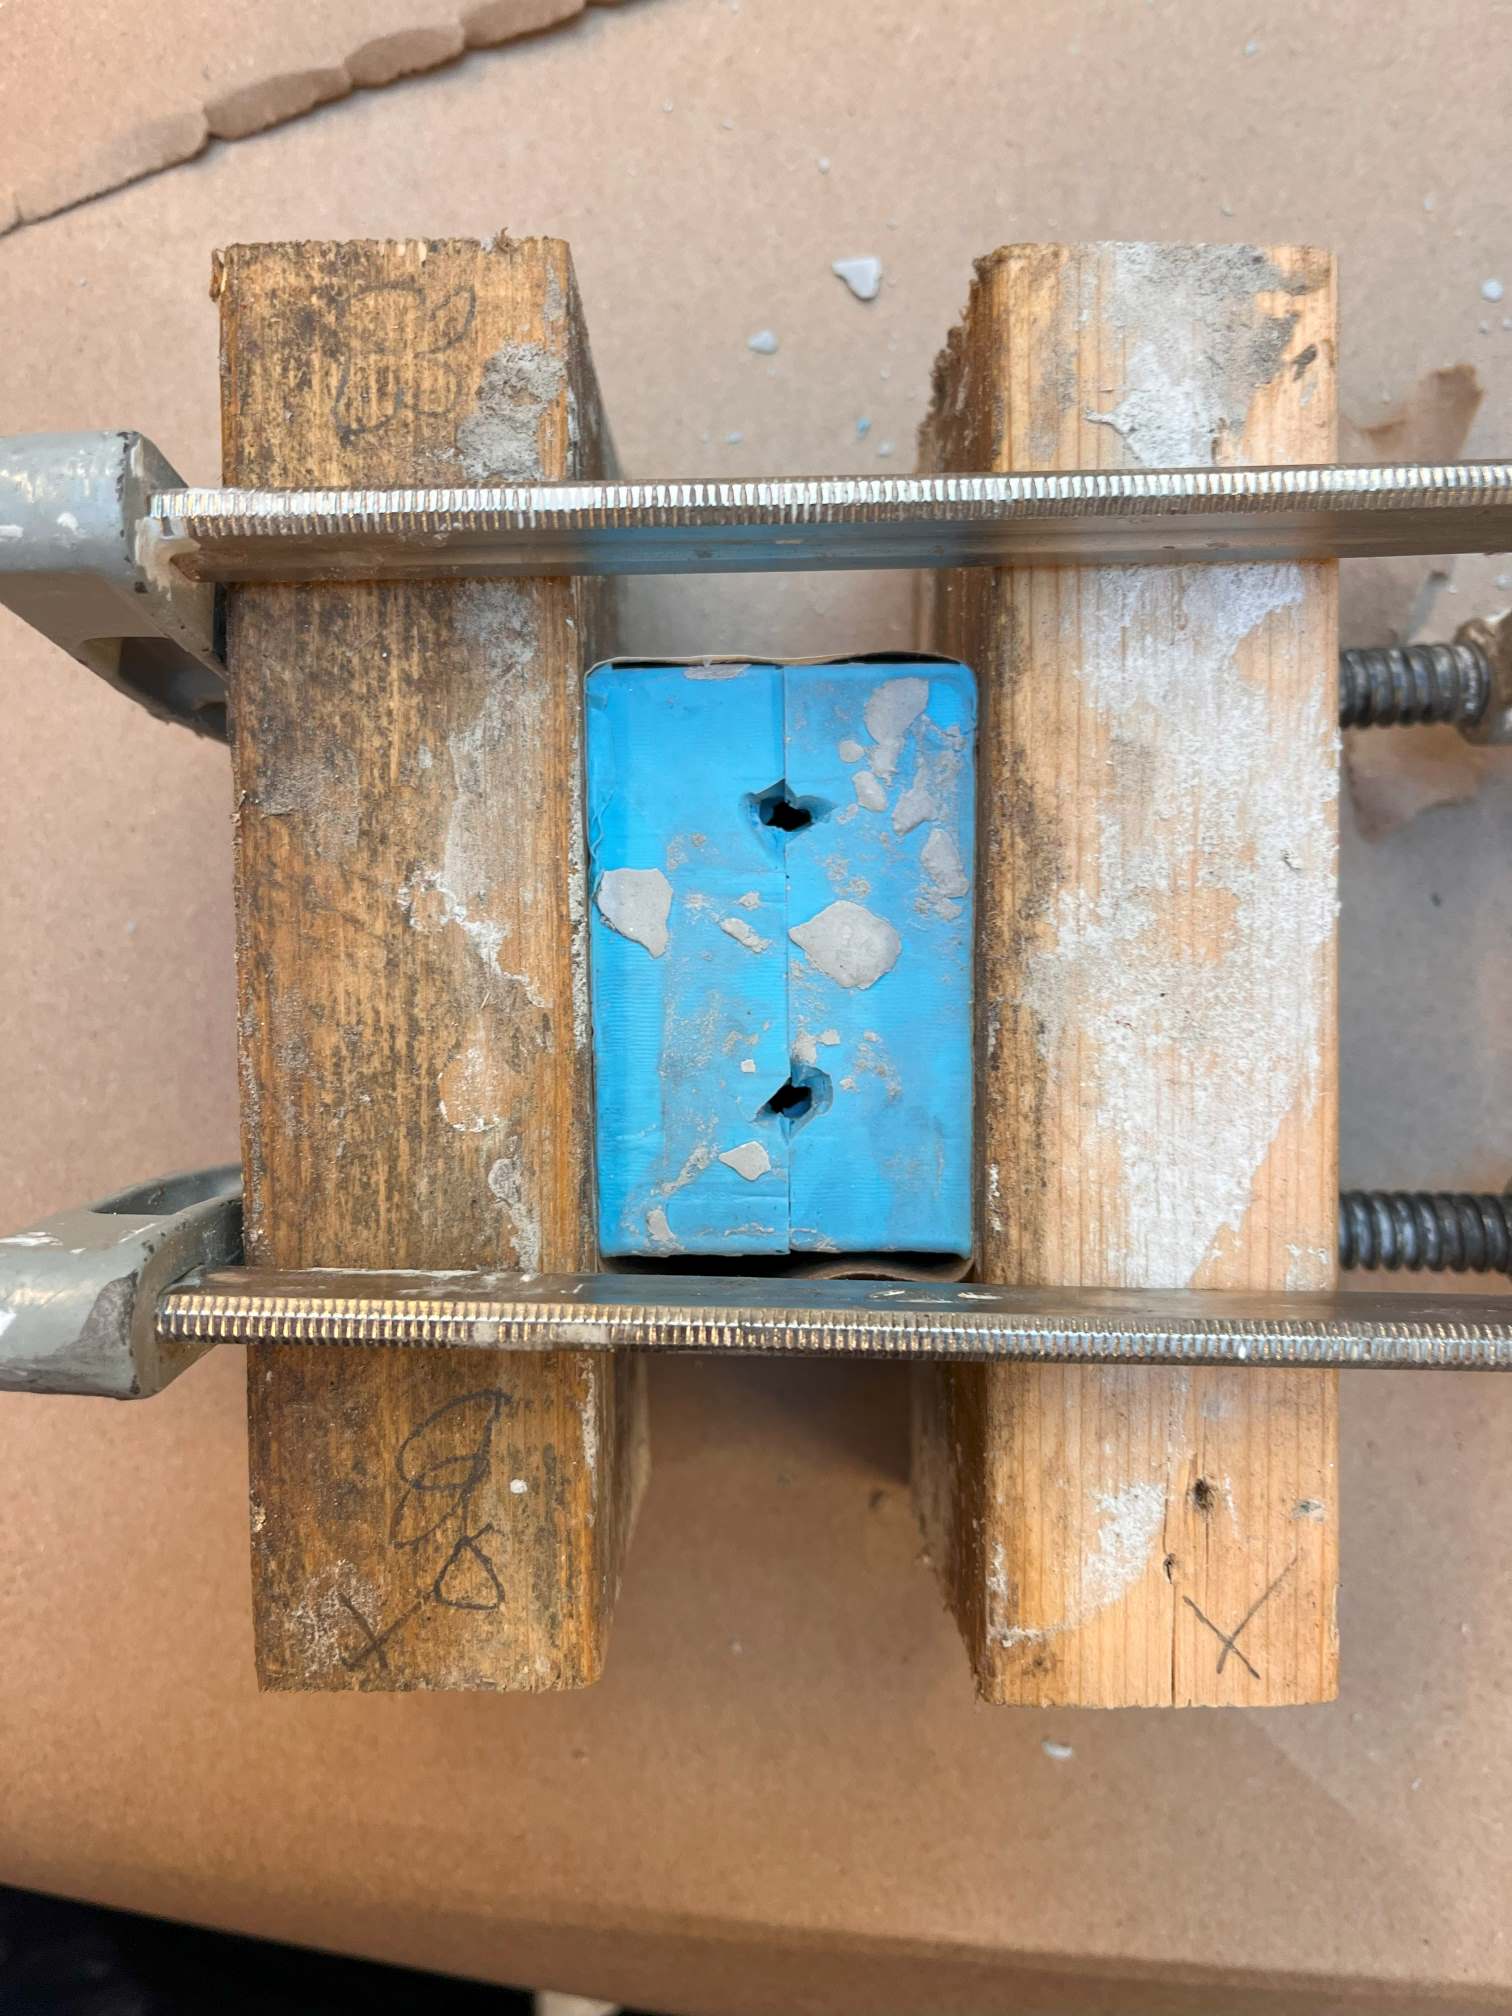
Unfortunately the corner pocket radii didnt allow for the pieces together, and since thats pretty integral to the concept I'll keep doing some trouble shooting and post the final results here once I've come up with a solution.