OSB Milling
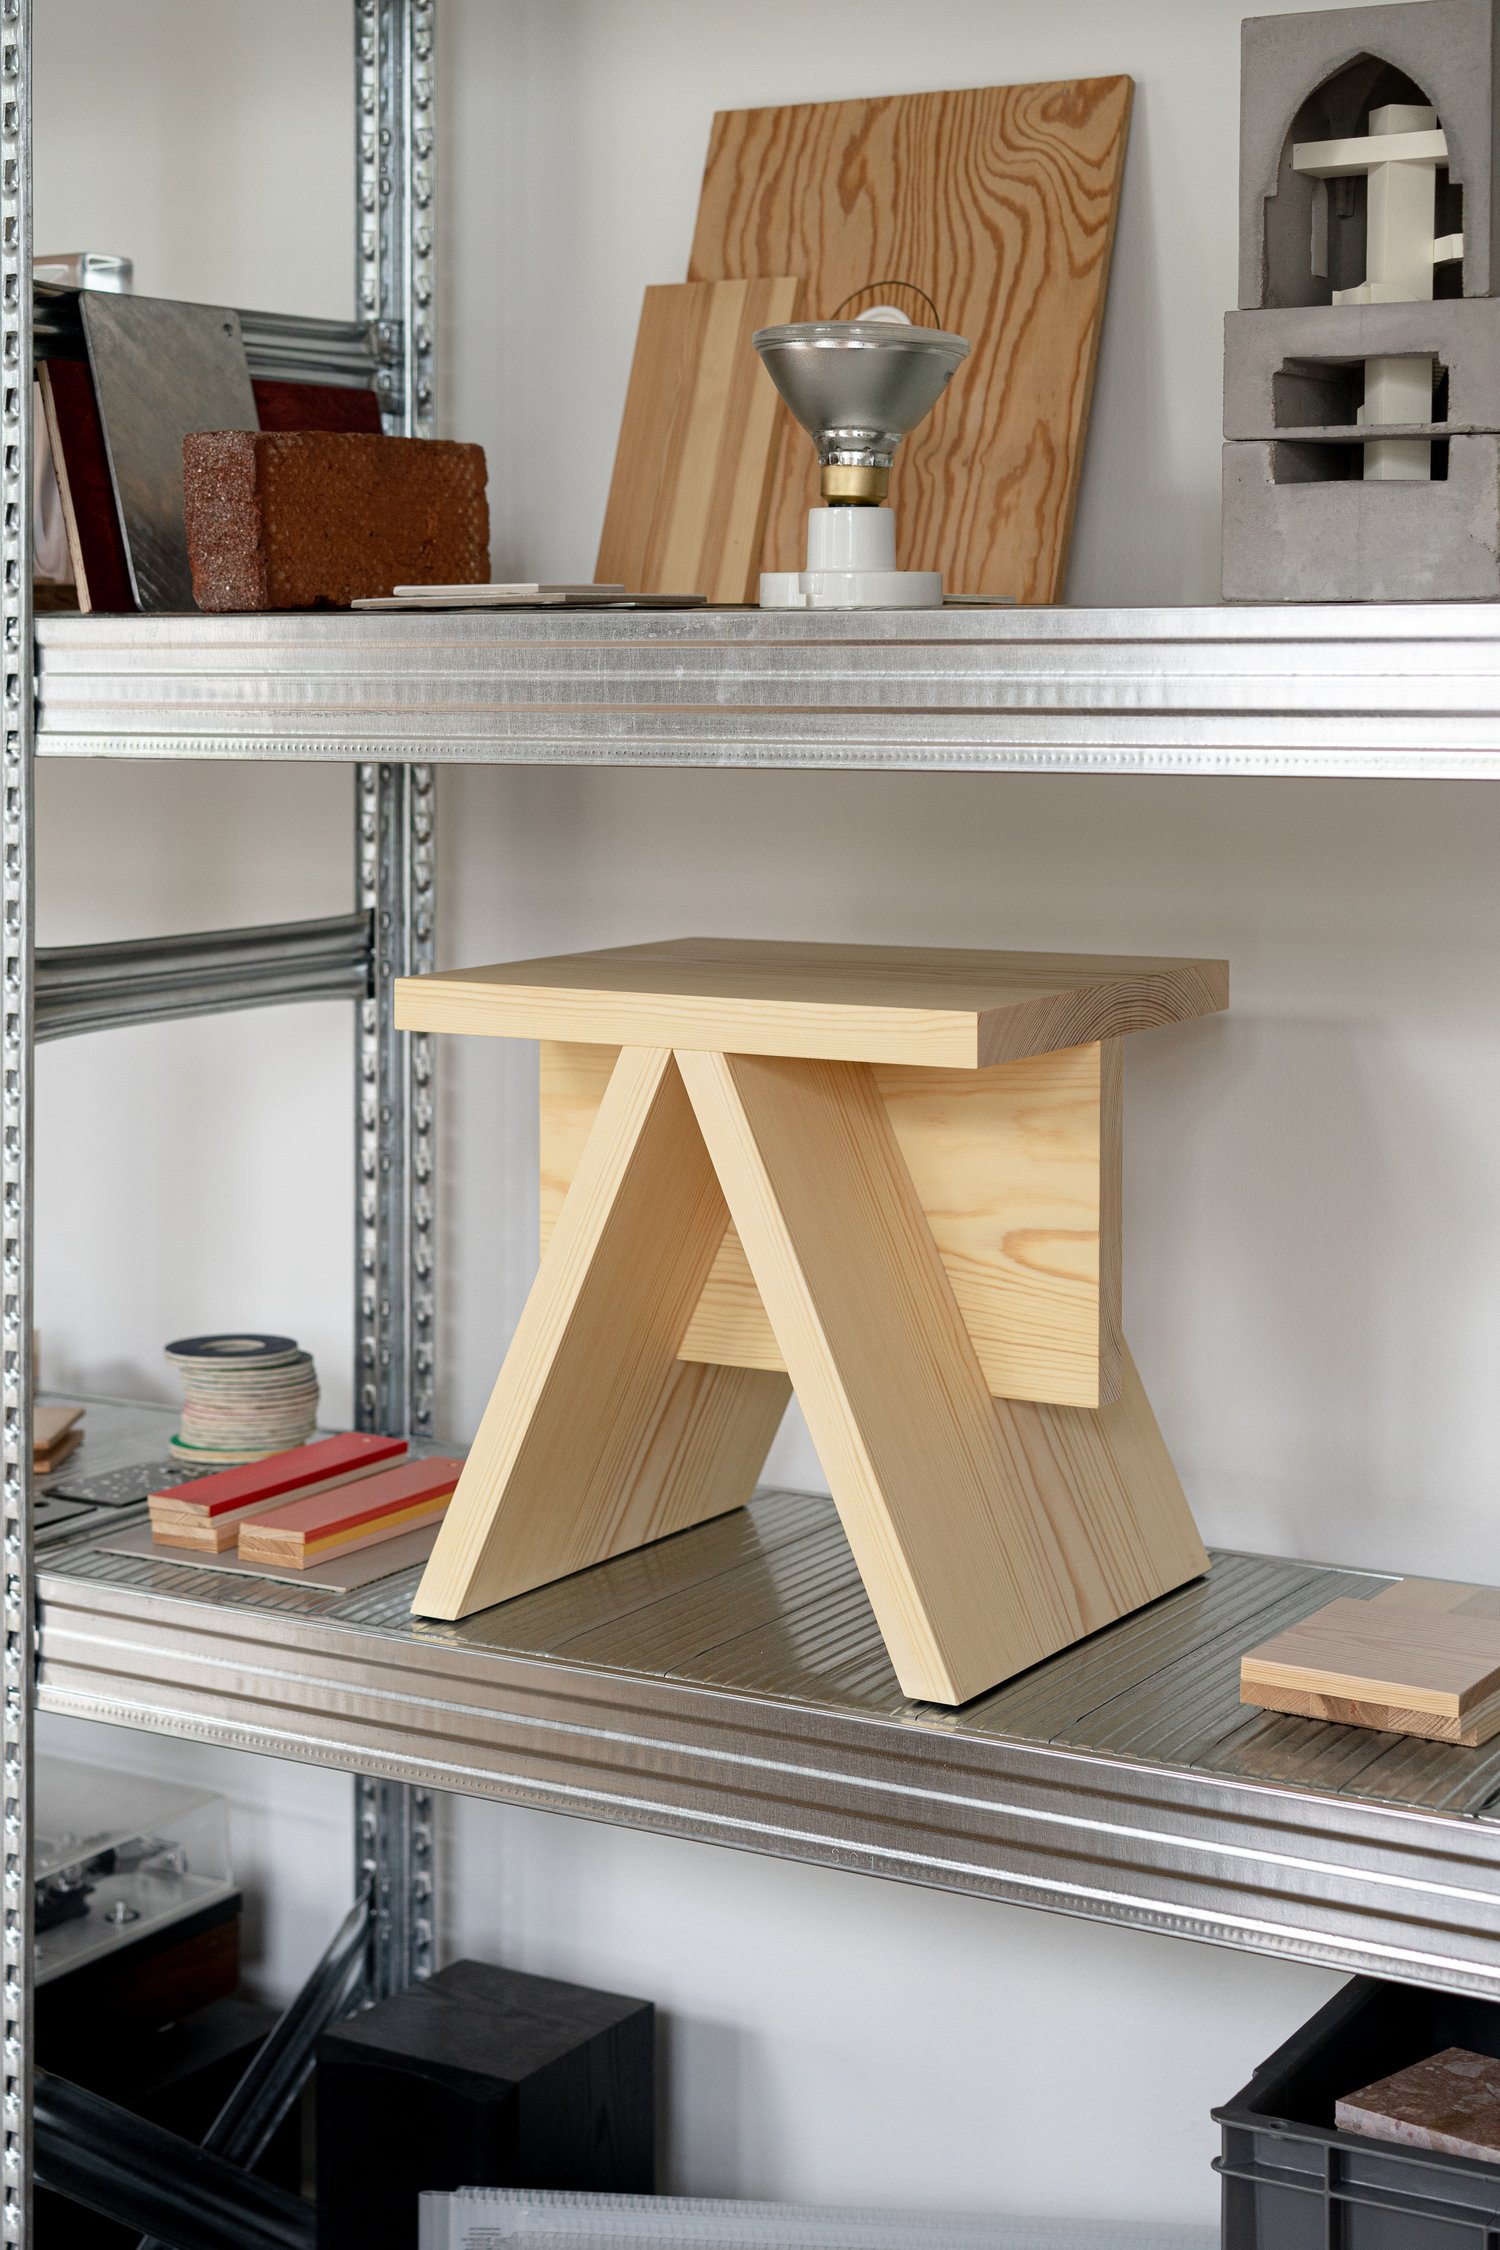
I wanted to take advantage of the task this week to make a stool i’ve been wanting to make for a while. OSB wasn't necessarily my first material of choice but its good and cheap to test out the design. The design is based off this stool by forstberg ling - a architecture studio in Denmark: https://www.forstbergling.com/work/very-good-stool-ps4zr-w2dx9-np35l-crtmw
I gathered that their stool is secured via glue or some other traditional kind of joinery so I wanted to see if I could make something that worked with minimal gluing and mostly press fitting.
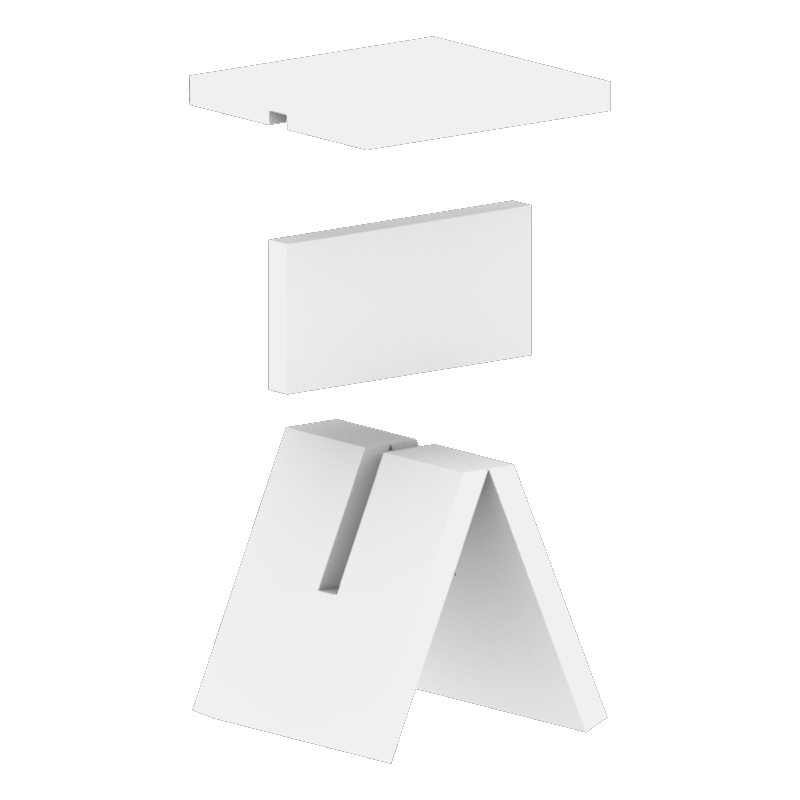

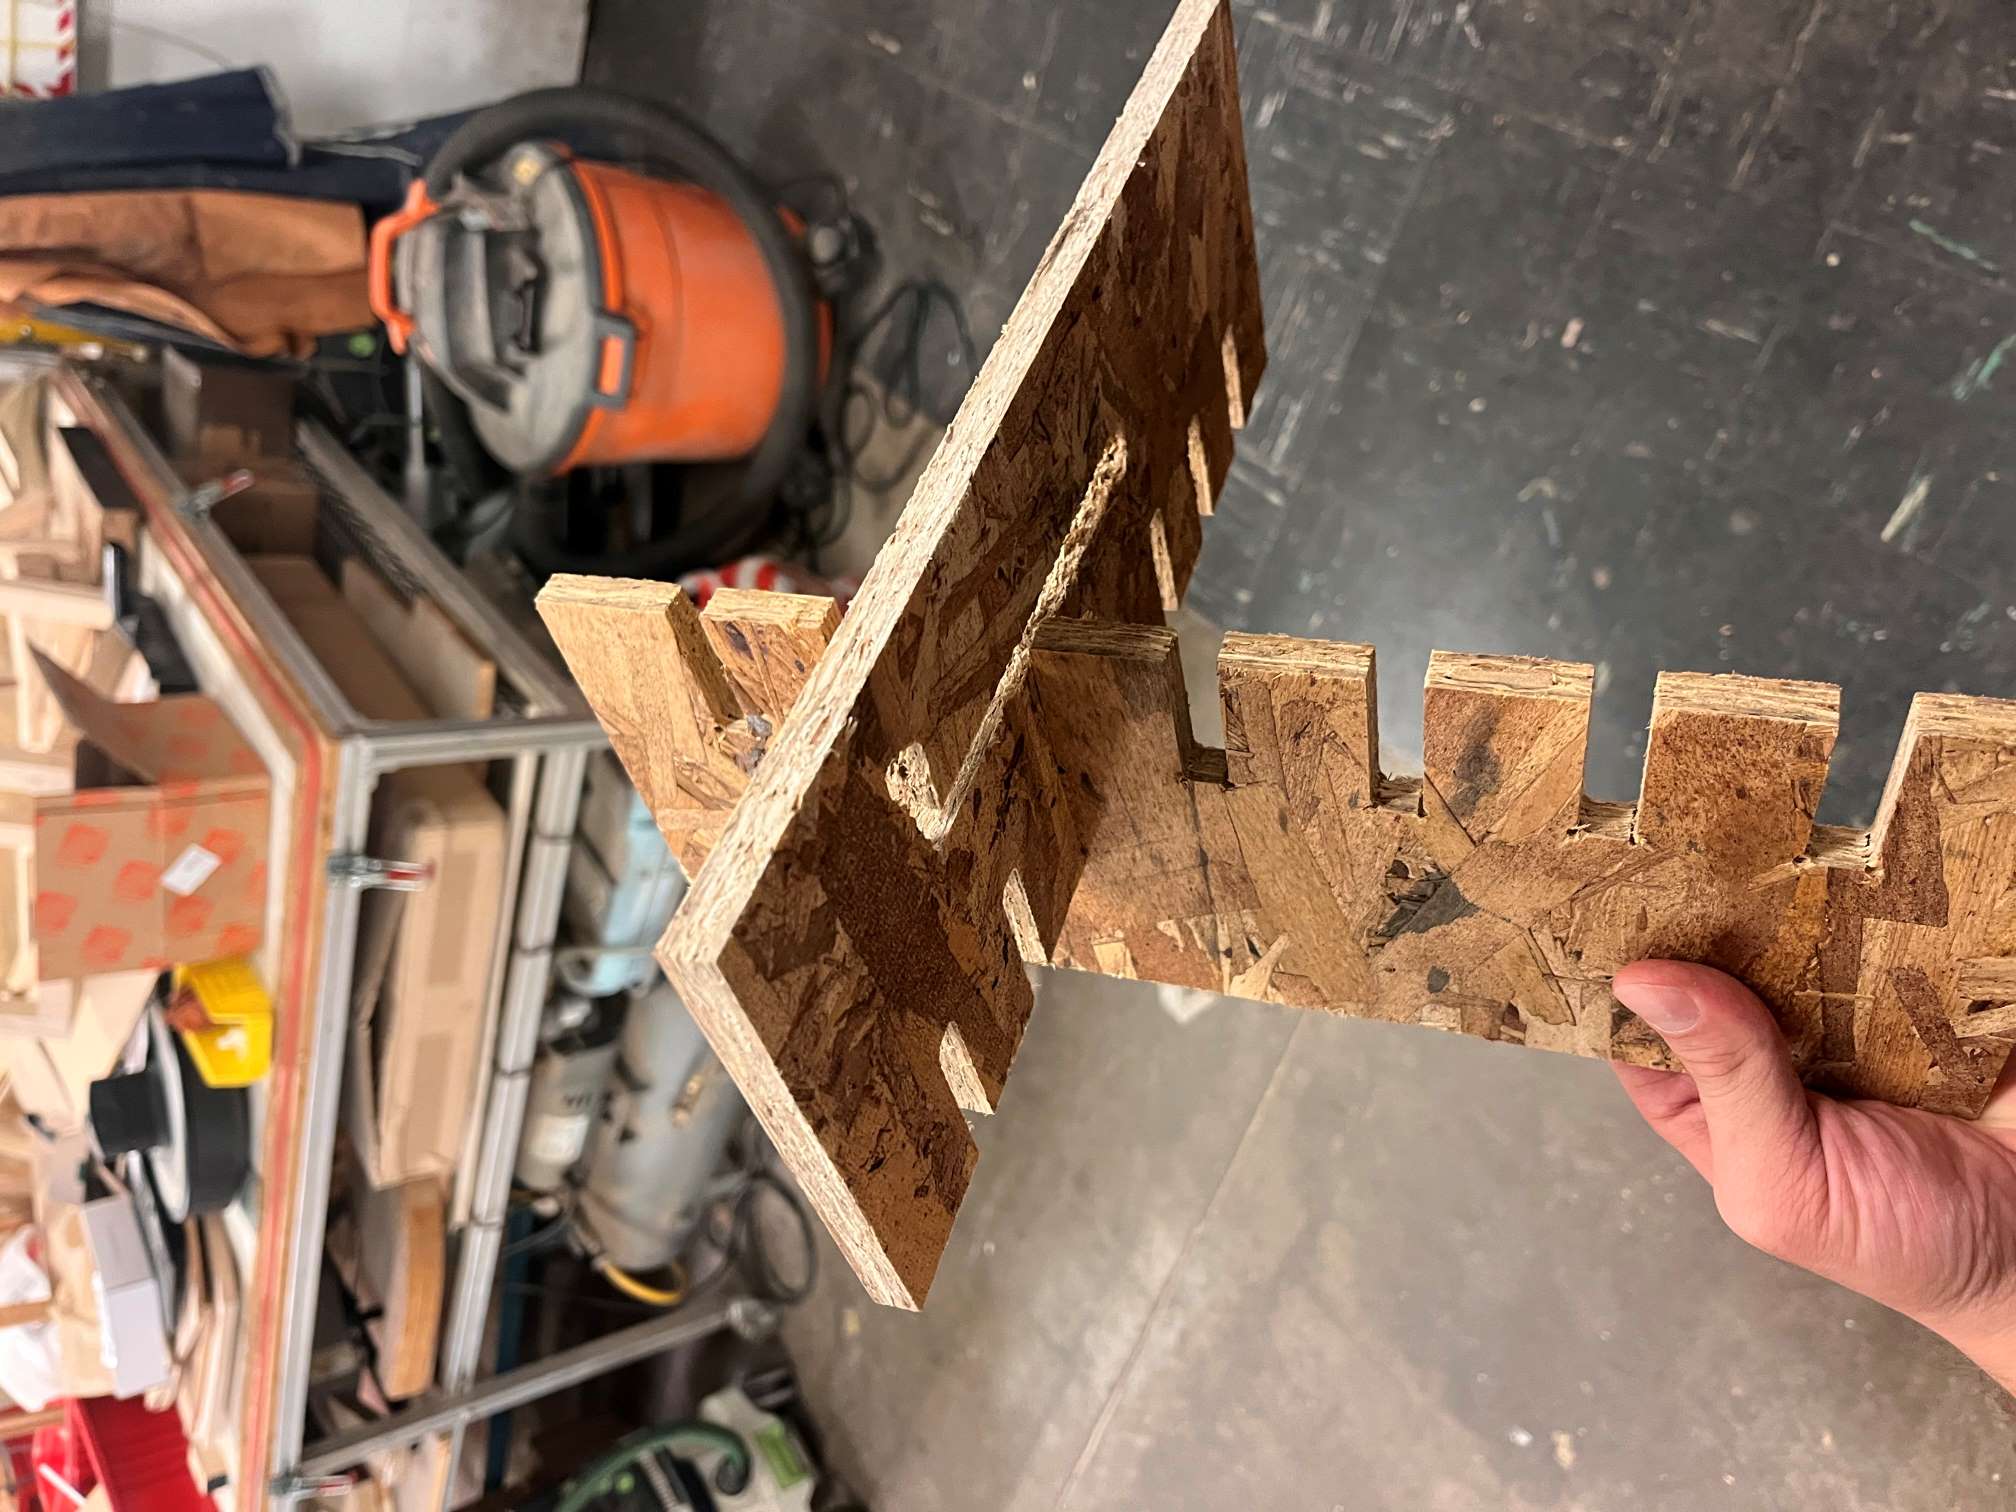
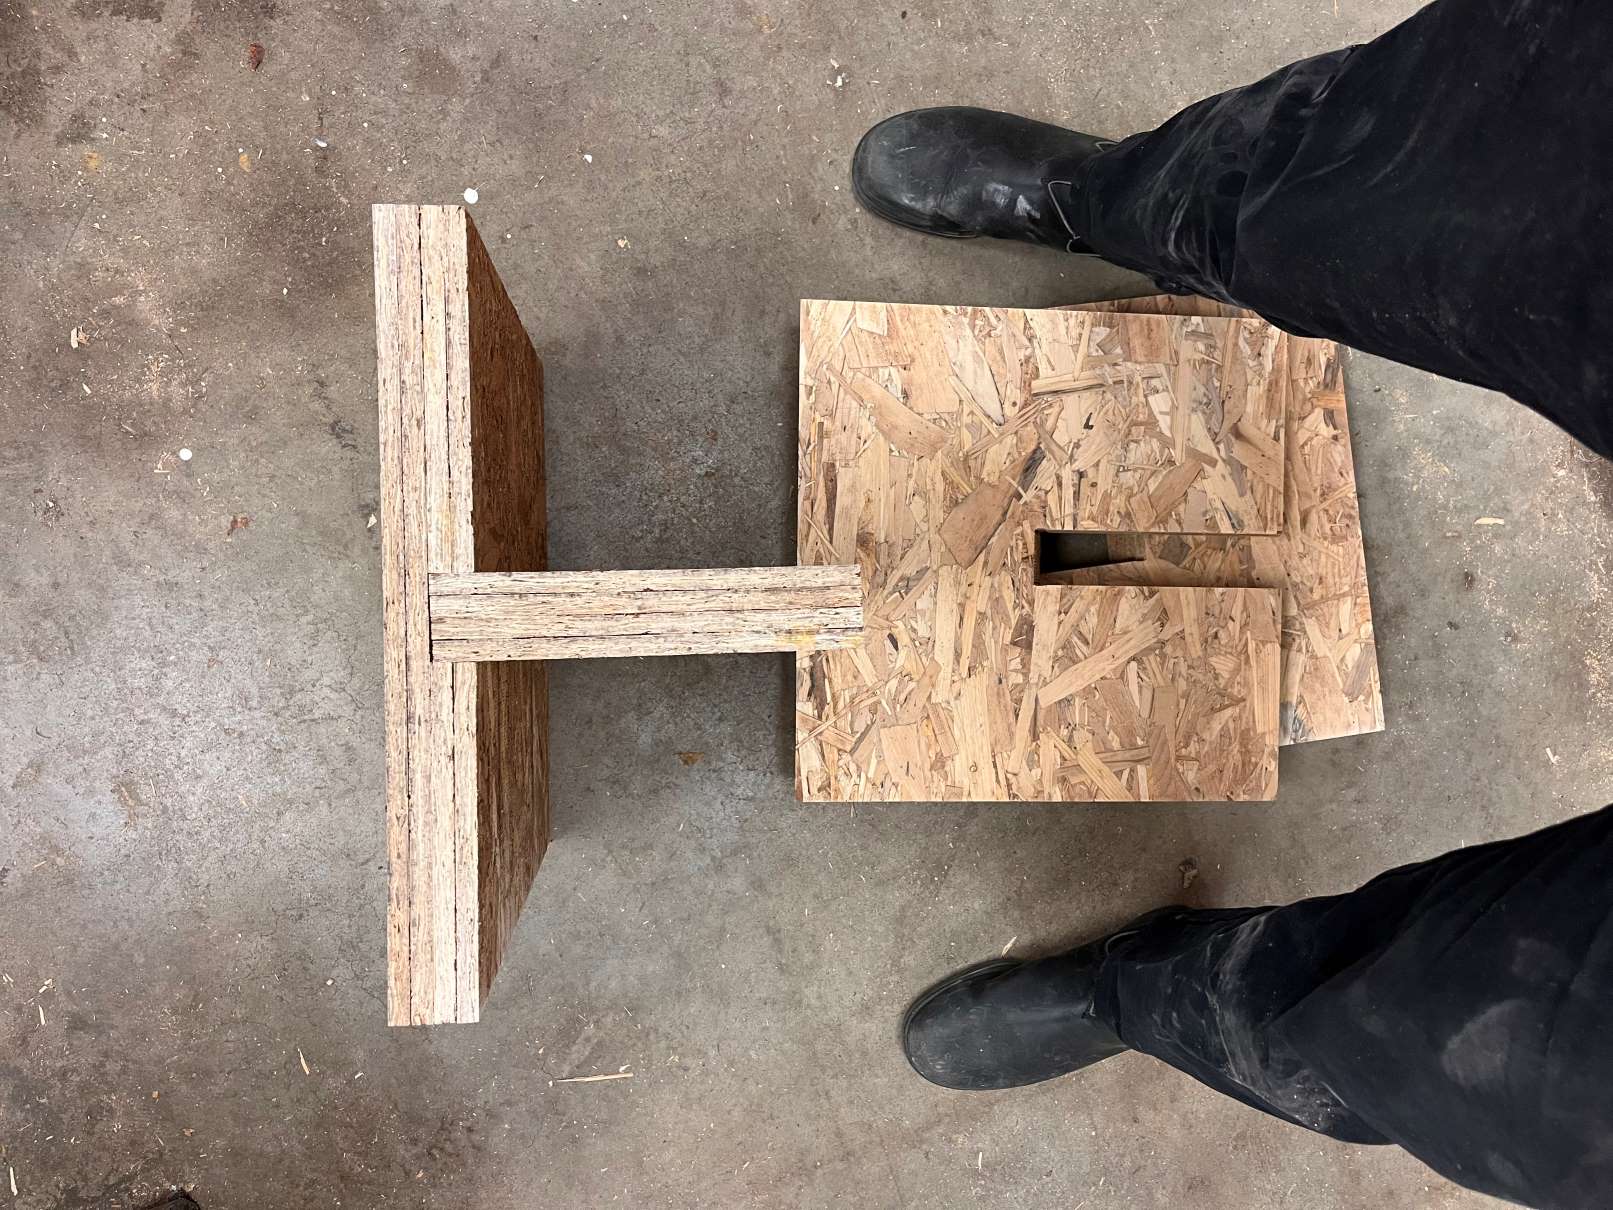
OSB isn't the strongest material in tension and the chair has some unsupported areas so I stacked a couple of osb boards up in the design to account for that and achieve the chunkier look that the original design had.

The OSB measured at .43 inches using a caliper and the group assignment so to achieve the thickness I wanted I’d have to stack up 4 pieces. I laid out the pieces in model space on a 8 by 4 foot sheet at the correct z height.All of the geometry and toolpaths were pretty straight forward with the exception of the slopes that needed to happen at the top of the legs and in the crevice that the seat would slip into. A shop monitor and I decided to use the same ¼ compression mill that we used for the contours. This, however, made the job take about twice as long as it would’ve without the surface.

Based on the group assignment, I modeled the gaps on each portion of OSB as .43 which was a bit too loose for the single sheet to fit in but since I was gluing them up I accounted for a bit of room for the glue between the sheets.
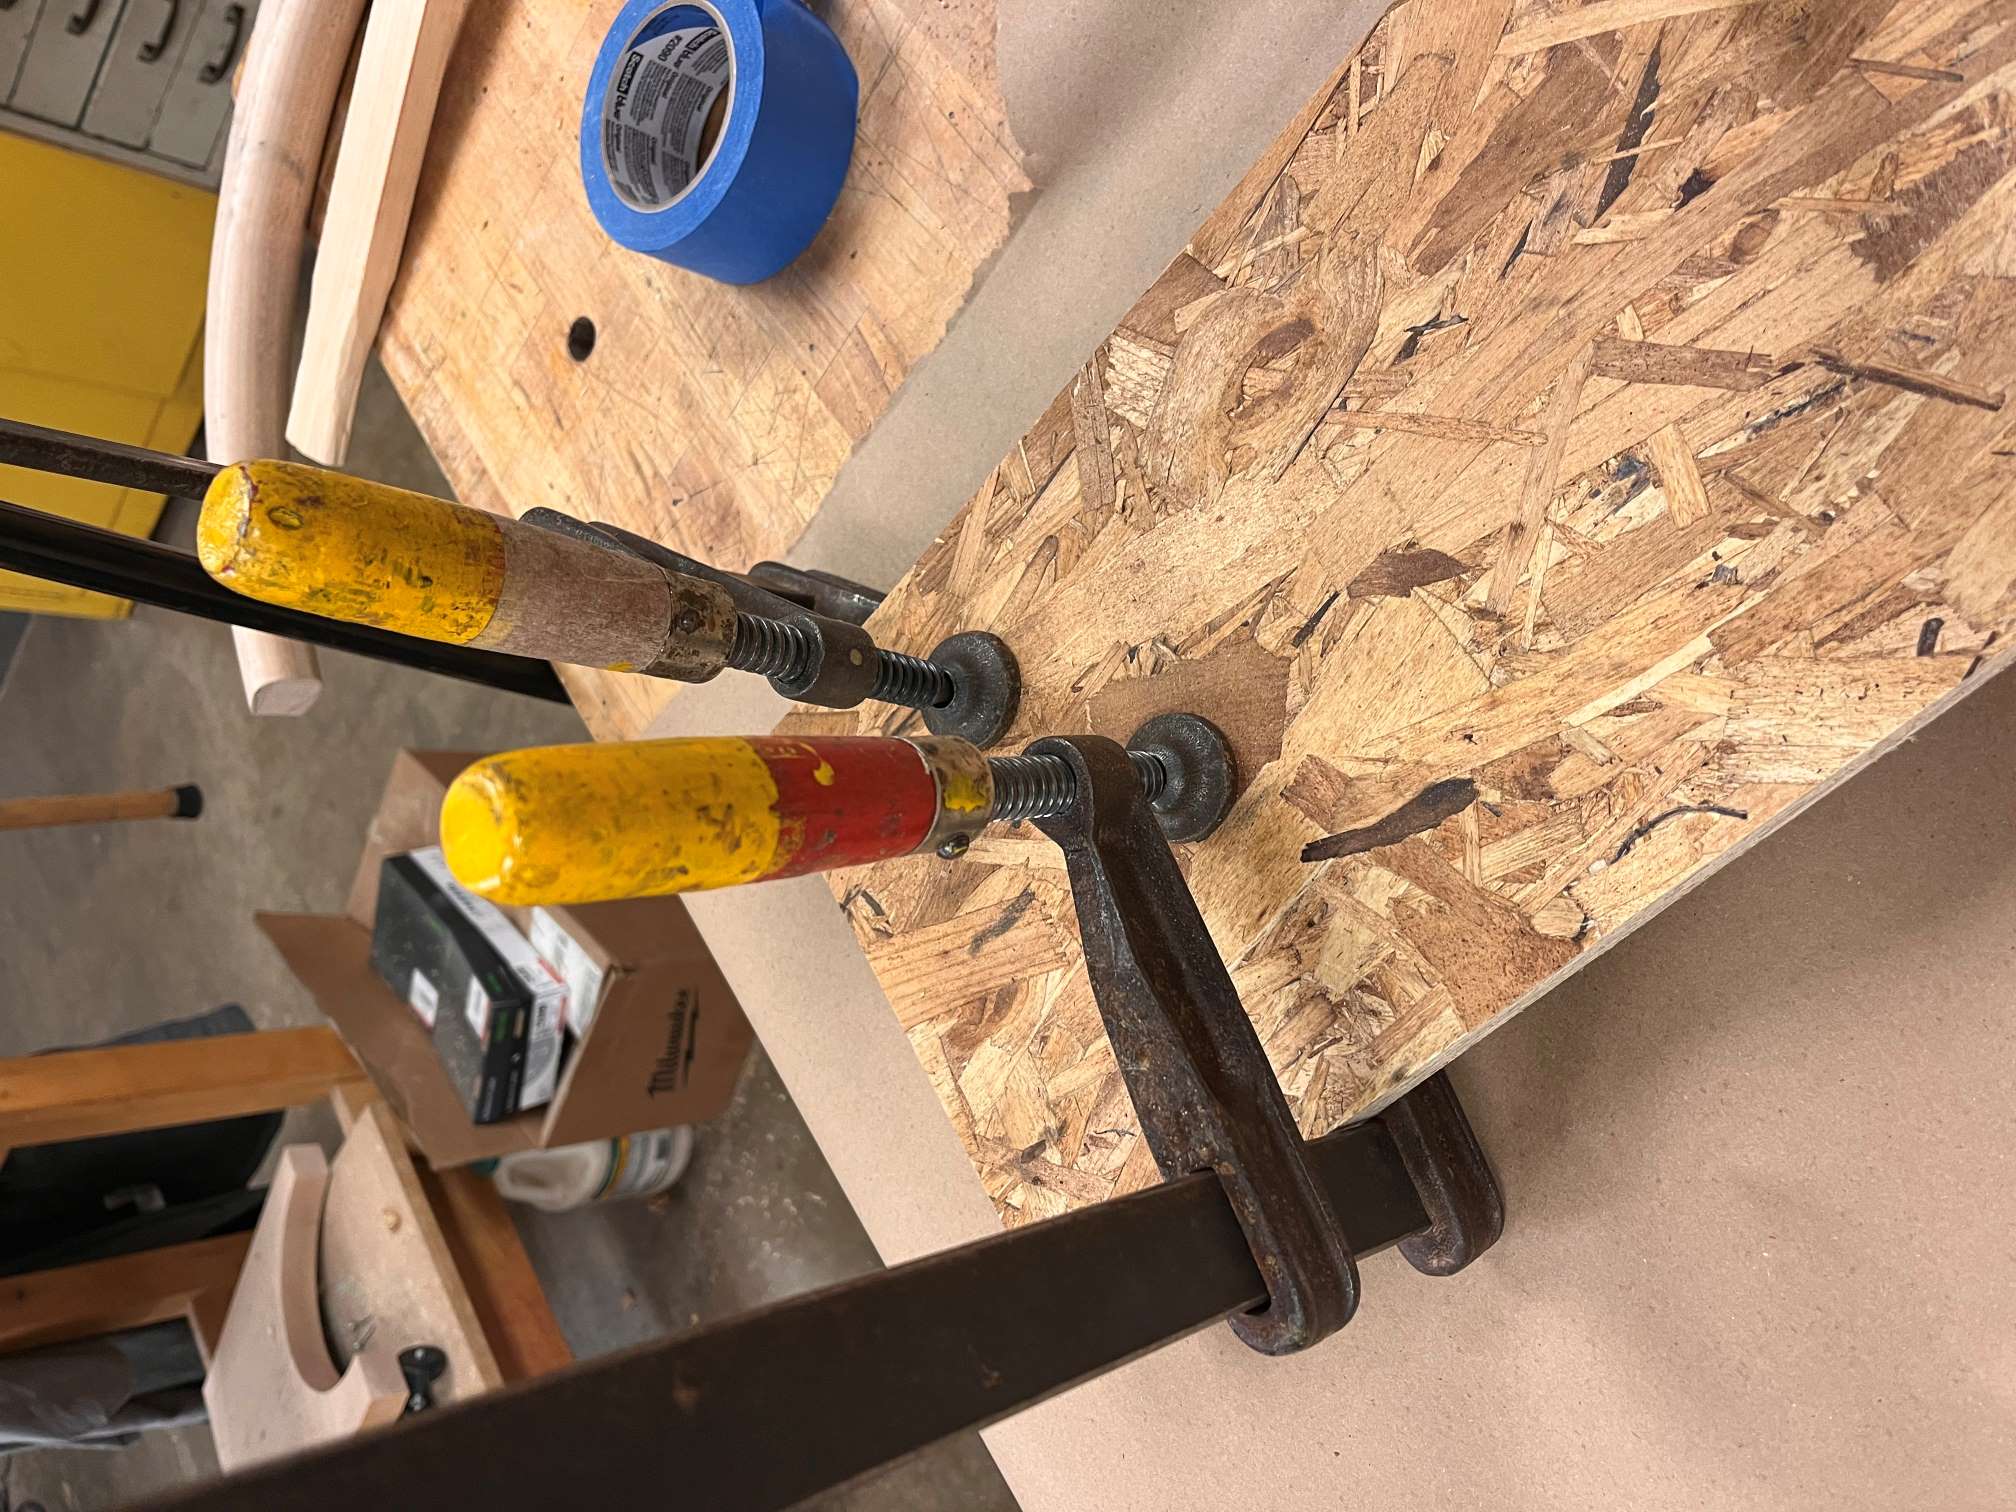
The job took about 75 minutes to run which was way longer than mastercam predicted but it seems like the estimate is generally on the low side for the onsrud. I was lucky to have no issues with parts flying off or the board moving around because most of my parts were large enough to remain vacuumed. I added some screws though after locating and presinking some holes to ensure no parts flew off. My phone died during the job so I wasn't able to take photos of the finished parts but moving on to the next part, I glued up the pieces in sets of two then doubled those to get the 4 stack. I used wood glue but in retrospect I think gorilla glue would have worked better.
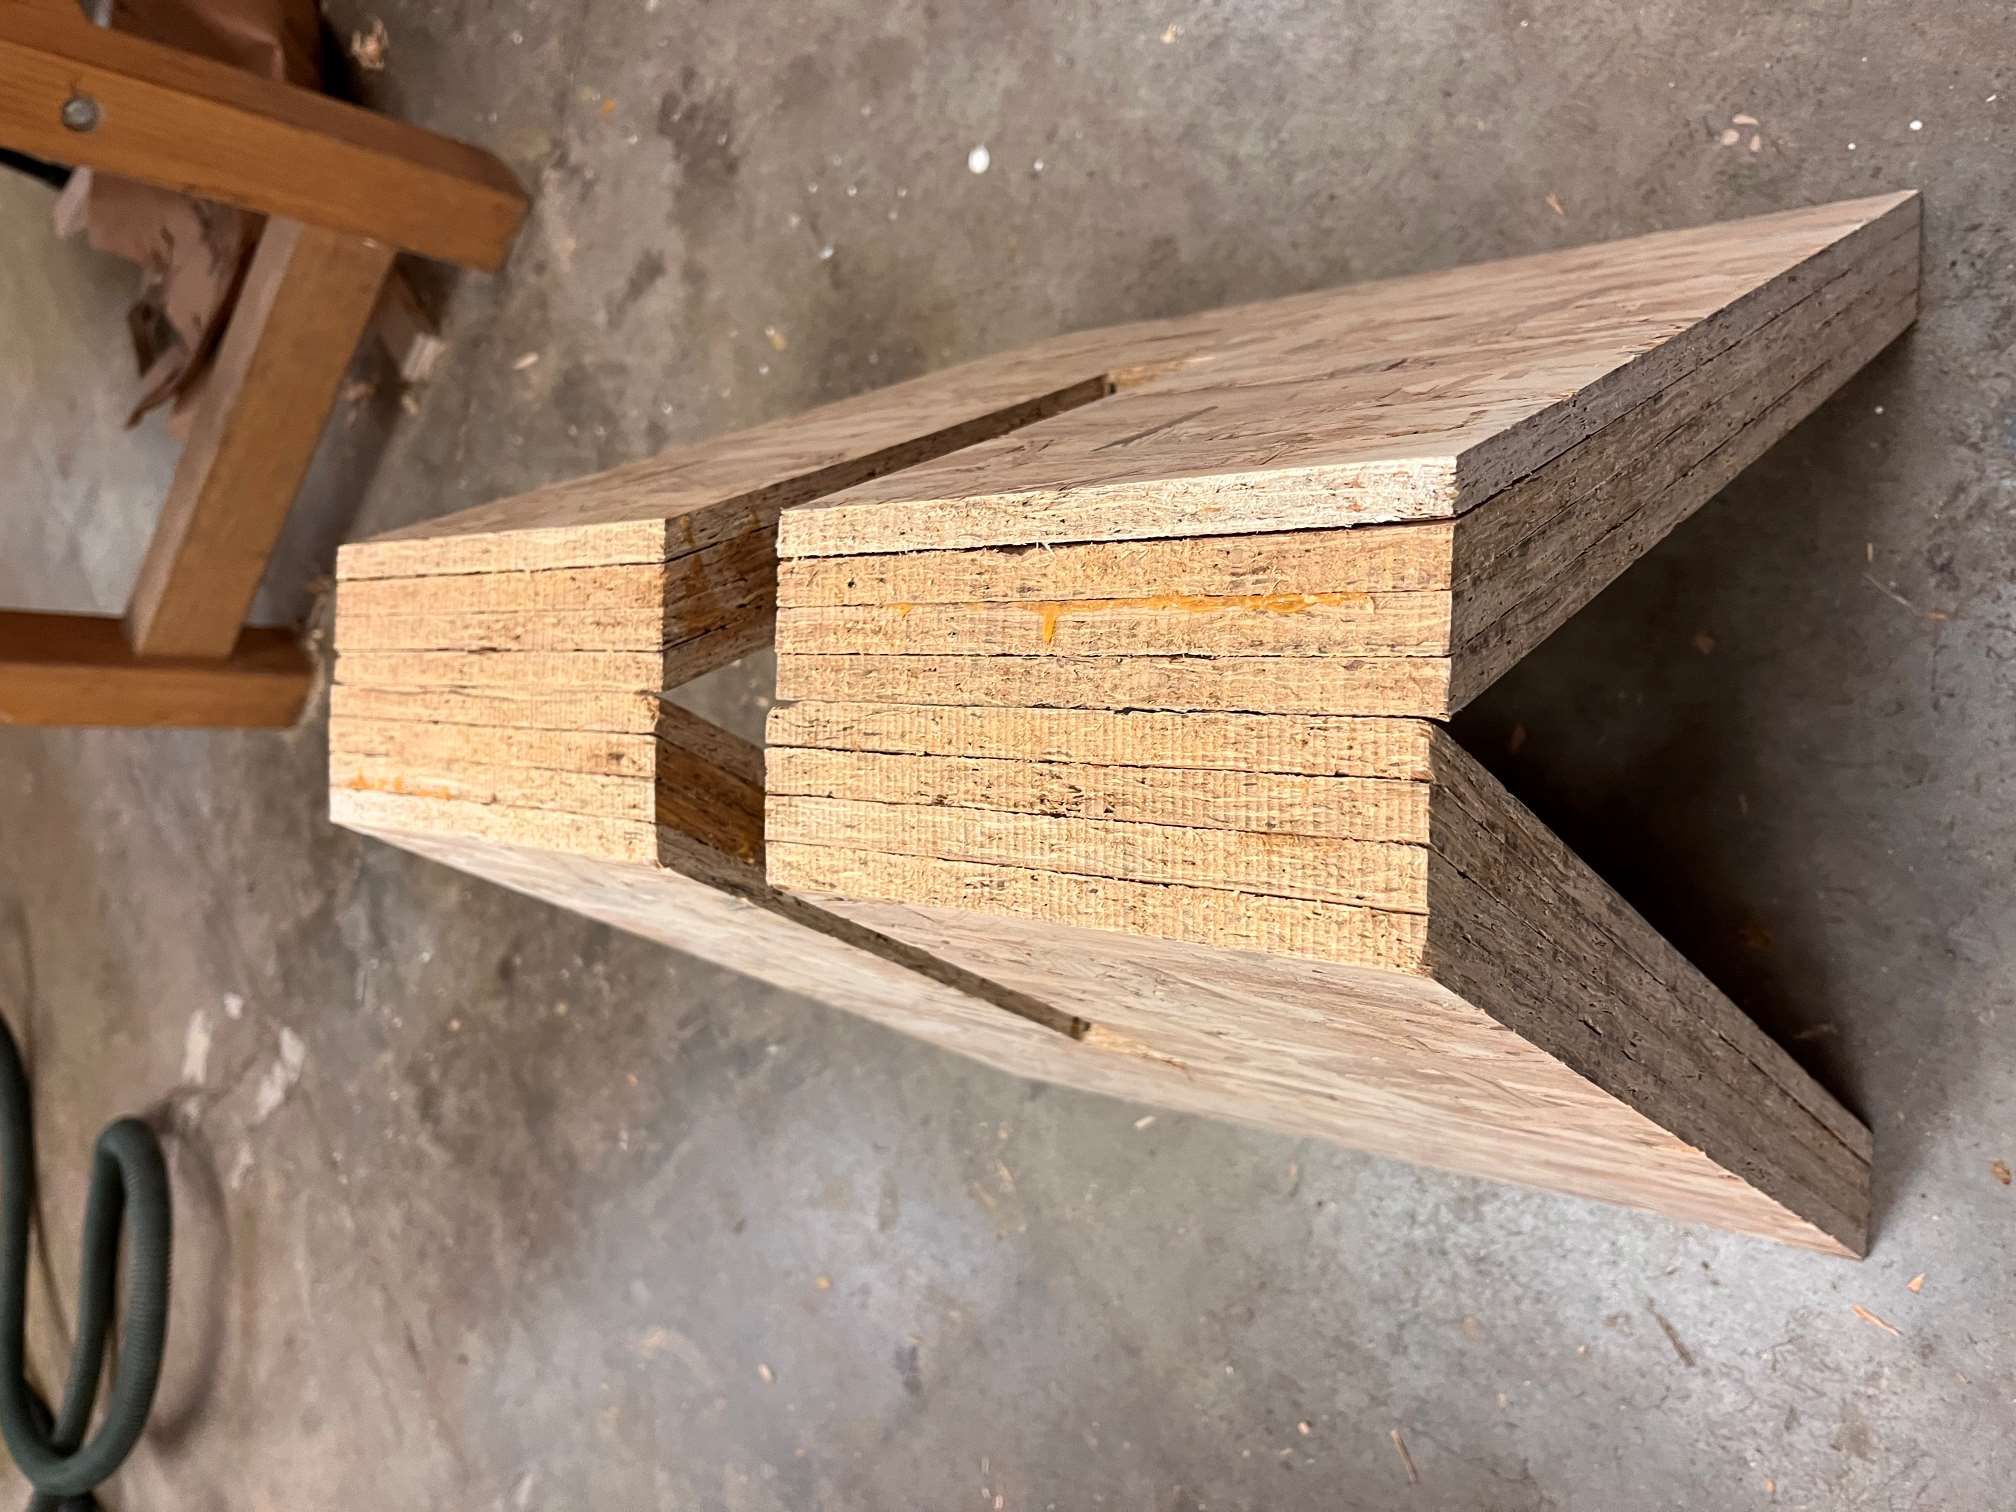
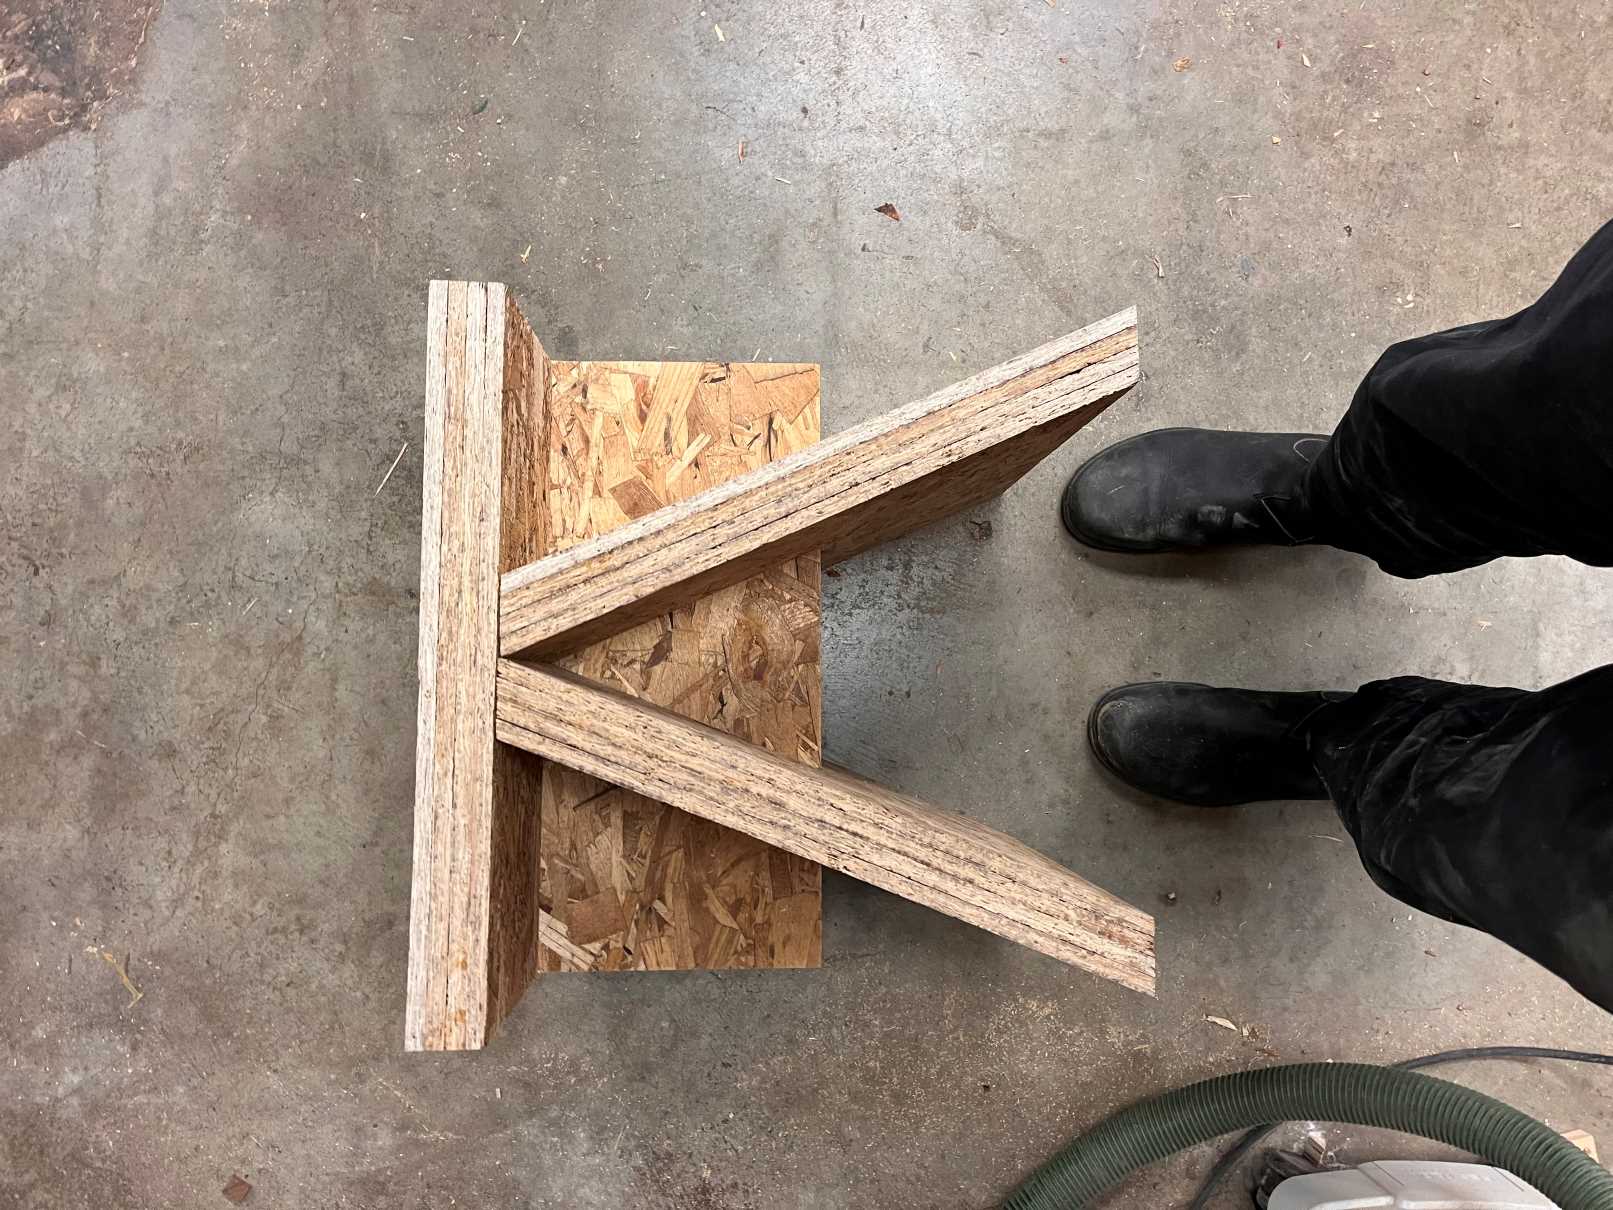
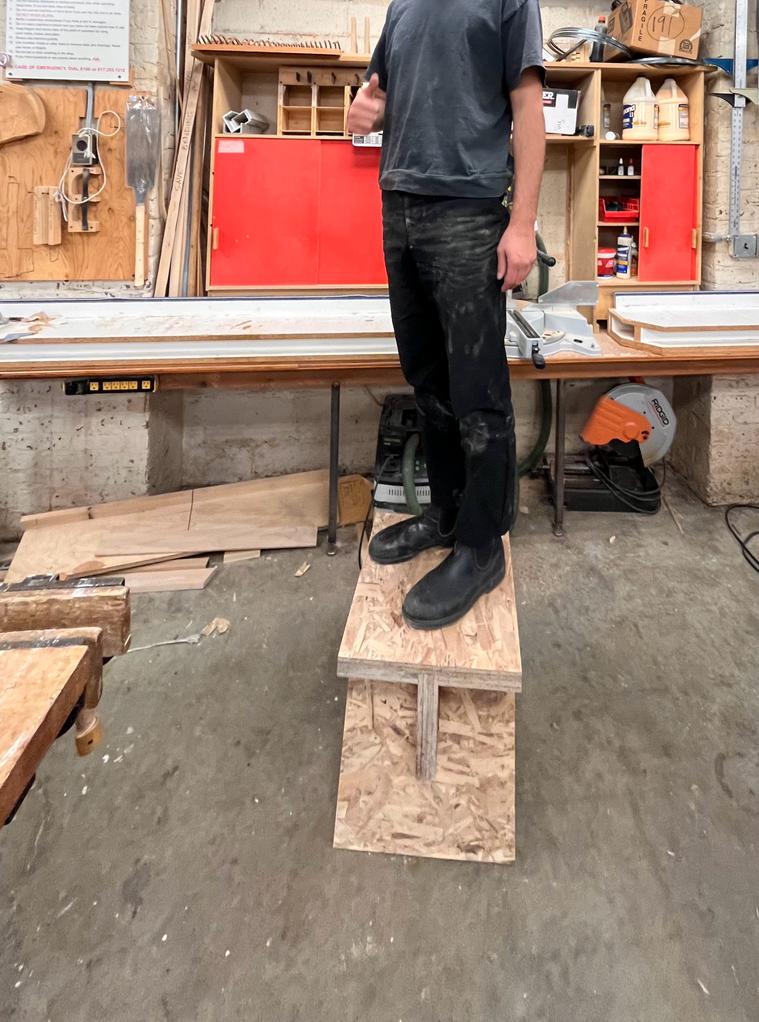
And finally here’s the finished product. The legs provide counter weight for each other to hold up very well without any additional fastening. I was even able to stand up and jump a bit on it without any worry of it collapsing. The downside though is that it’s pretty heavy and I had estimated some of the dimensions to be a bit too large.