Week 2
Embedded Programming
This is my first time working with microcontrollers, and I couldn't be more excited.
After the lecture, we were instructed to review the class materials and go through the datasheets to choose our microcontroller. I decided to go with the XIAO-RP2040, and you can find the link here (http://academy.cba.mit.edu/classes/embedded_programming/RP2040/RP2040.pdf) It was my first time navigating through datasheets, and someone jokingly remarked that datasheets aren't designed for humans. However, there's a neat trick you can use – employ a trained AI model that allows you to interact with your PDF and swiftly extract the specific information you need in seconds! You can access this tool via the following link: https://chatpdf.com
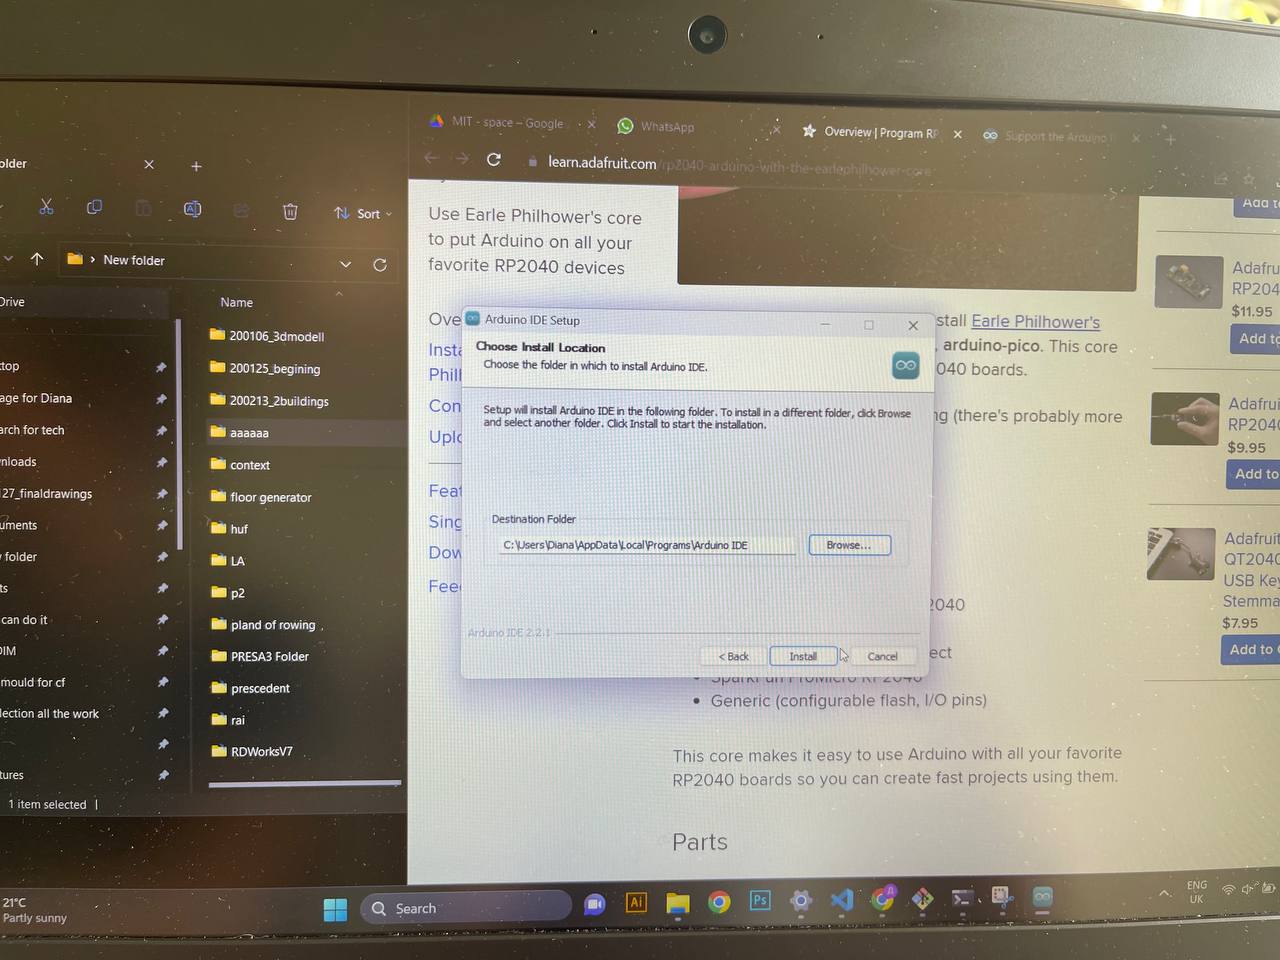
Now, let's dive into it. The first task on my list was to download the Arduino IDE.
For my initial programming endeavor, I chose to start with a basic example I found on the Arduino forum called "NeoPixel."It controls a single RGB LED using the Adafruit NeoPixel library. Let me break it down for you:
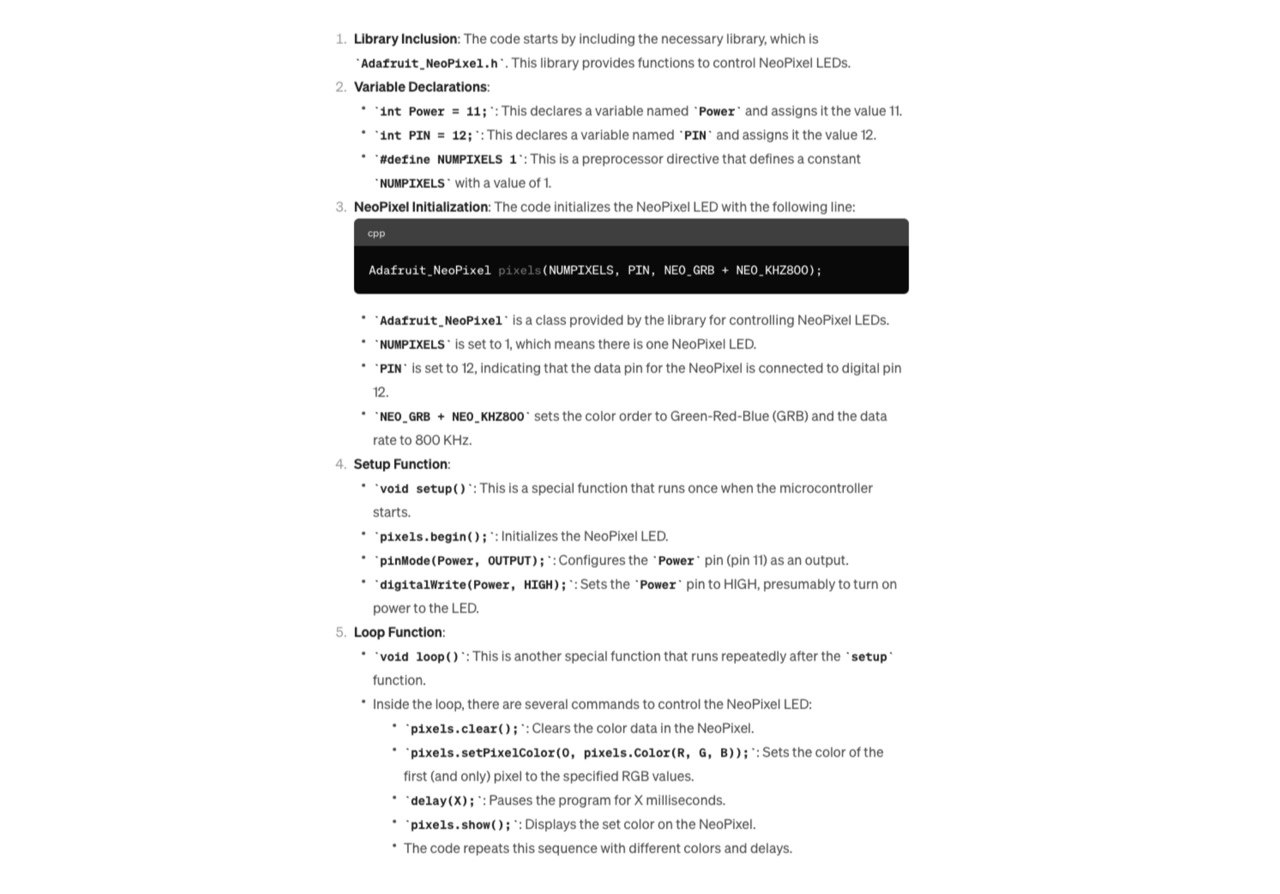
In summary, this code is for controlling a single NeoPixel RGB LED connected to an Arduino or similar microcontroller. It cycles through a sequence of colors with specified delays, effectively creating a simple color-changing LED effect. It's a basic example of using the Adafruit NeoPixel library to control RGB LEDs.
Next, I delved a bit deeper into programming. In contrast to the initial code I used, this program serves as a straightforward showcase of fundamental Arduino programming concepts. It involves digital I/O to control an LED, utilizing a loop to execute code repeatedly, and employing serial communication to display data on a computer. The initial code, on the other hand, was focused on controlling an RGB LED using a NeoPixel LED library, which entails more intricate control over color and timing.
It's one of the built-in examples provided by the Arduino platform, commonly known as the "Blink" example. This example teaches the basics of controlling an LED using an Arduino board and the Arduino IDE.
Here's an explanation of the code and the key components:

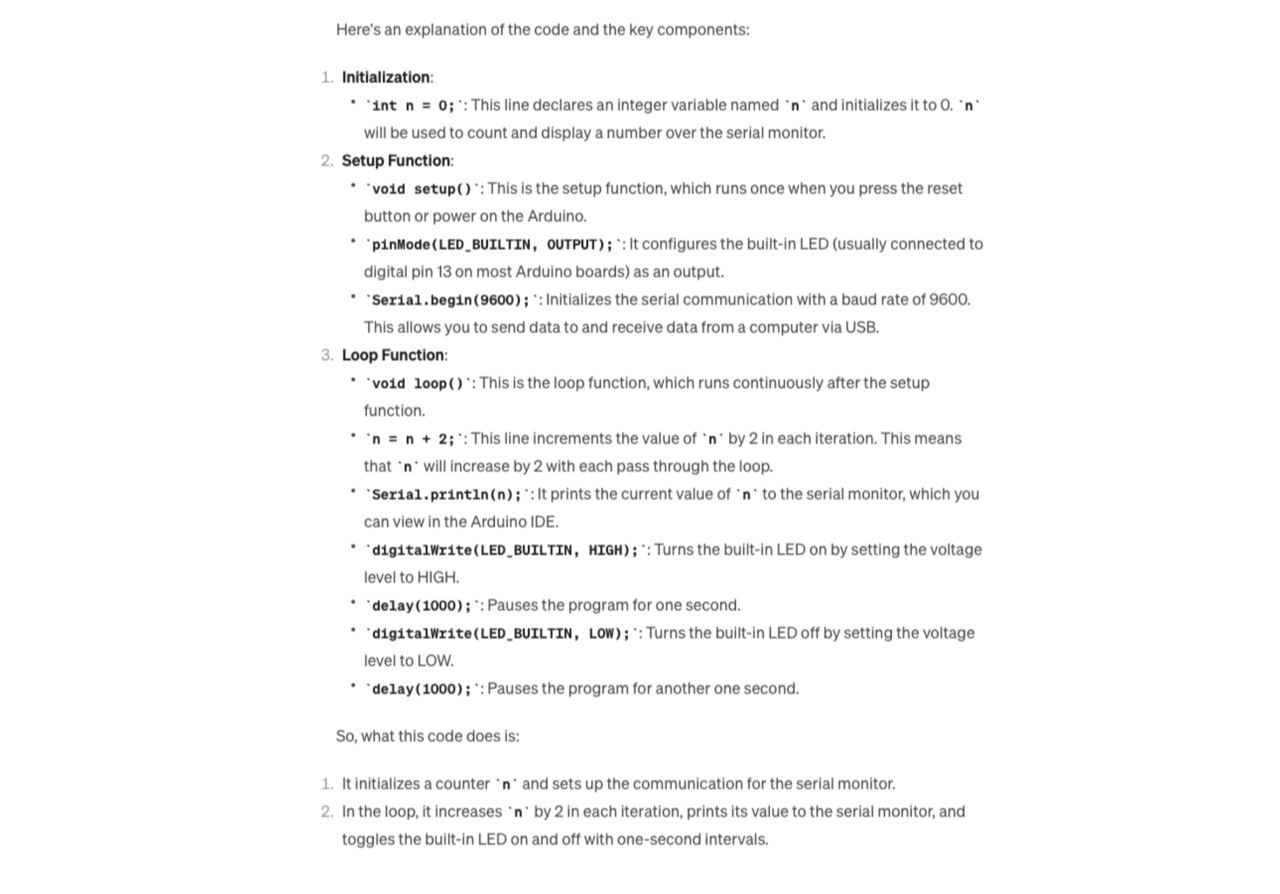
So, what this code does is:
1. It initializes a counter n and sets up the communication for the serial monitor.
2. In the loop, it increases n by 2 in each iteration, prints its value to the serial monitor, and toggles the built-in LED on and off with one-second intervals.
**After this, I had to step up my game and learn abour serial communication.**
Serial communication is a method for transferring data between devices one bit at a time over a single wire or two wires (one for transmission and one for reception). It involves sending and receiving data sequentially, typically using a fixed baud rate (data transfer speed). Serial communication is commonly used for connecting microcontrollers to sensors, displays, GPS modules, and other peripherals, as well as for inter-device communication between computers and microcontrollers.
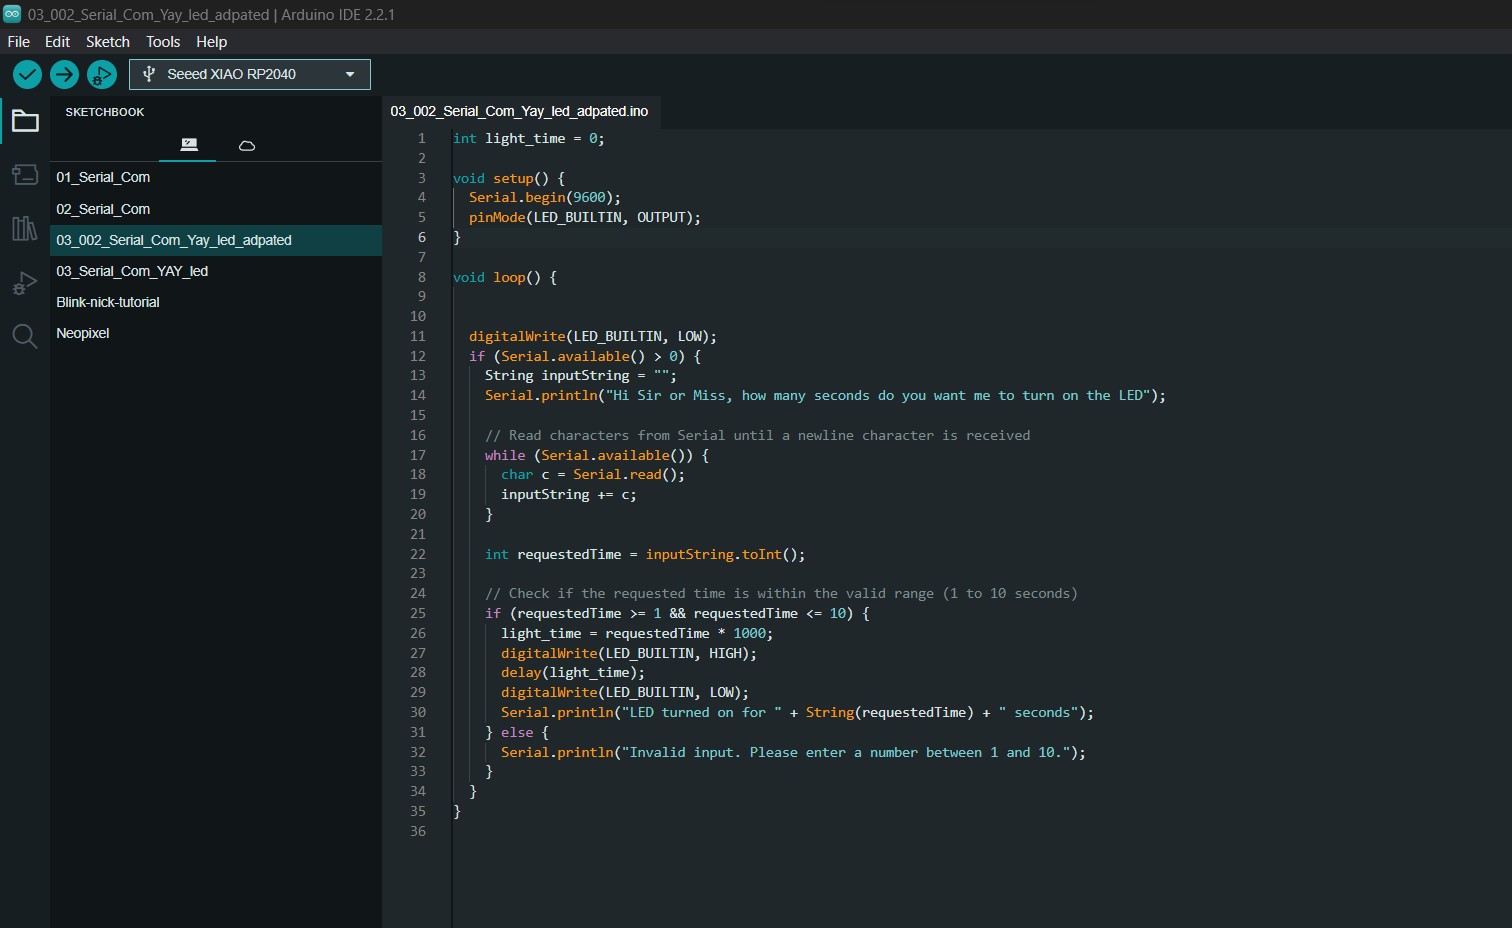
The key difference between the next code I am about to show you and the previous example is the interaction with the serial monitor. In this code, the Arduino waits for input from the user through the serial monitor and then uses that input to control how long the LED stays on. This code demonstrates how to read and process data from the serial monitor, making it interactive, whereas the previous code simply incremented a counter and displayed it on the serial monitor without user interaction.


I was happy - but not very happy! I decided to improve my script, so I could control the amount of seconds that the LED will light up
This code is similar to the previous code in that it also uses an Arduino to control an LED and interacts with the serial monitor. However, there are some notable differences and improvements:
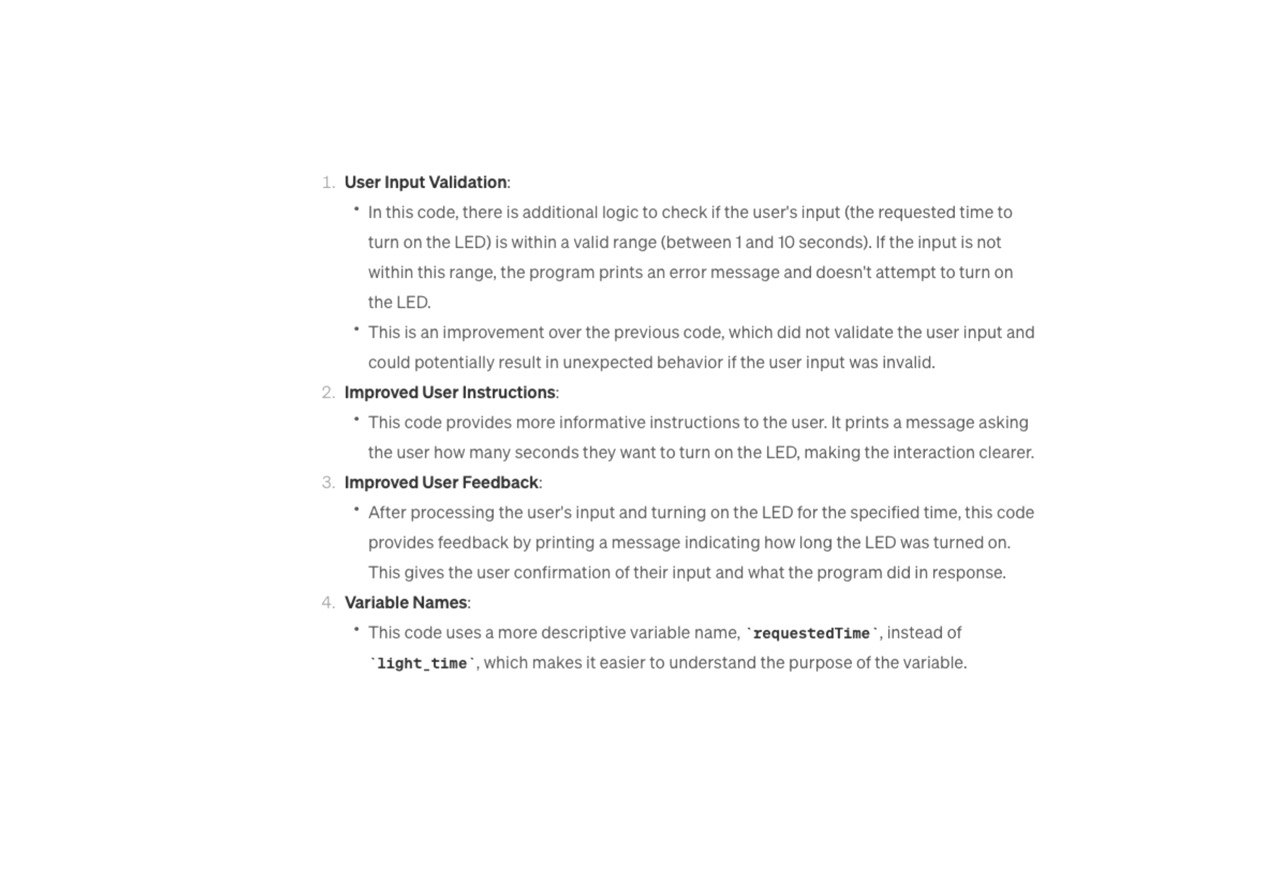
Overall, this code is an improvement over the previous one in terms of user interaction and feedback. It demonstrates how to validate user input, provide clear instructions, and offer feedback based on user actions. These are important concepts when developing interactive applications with Arduino or any programming platform.
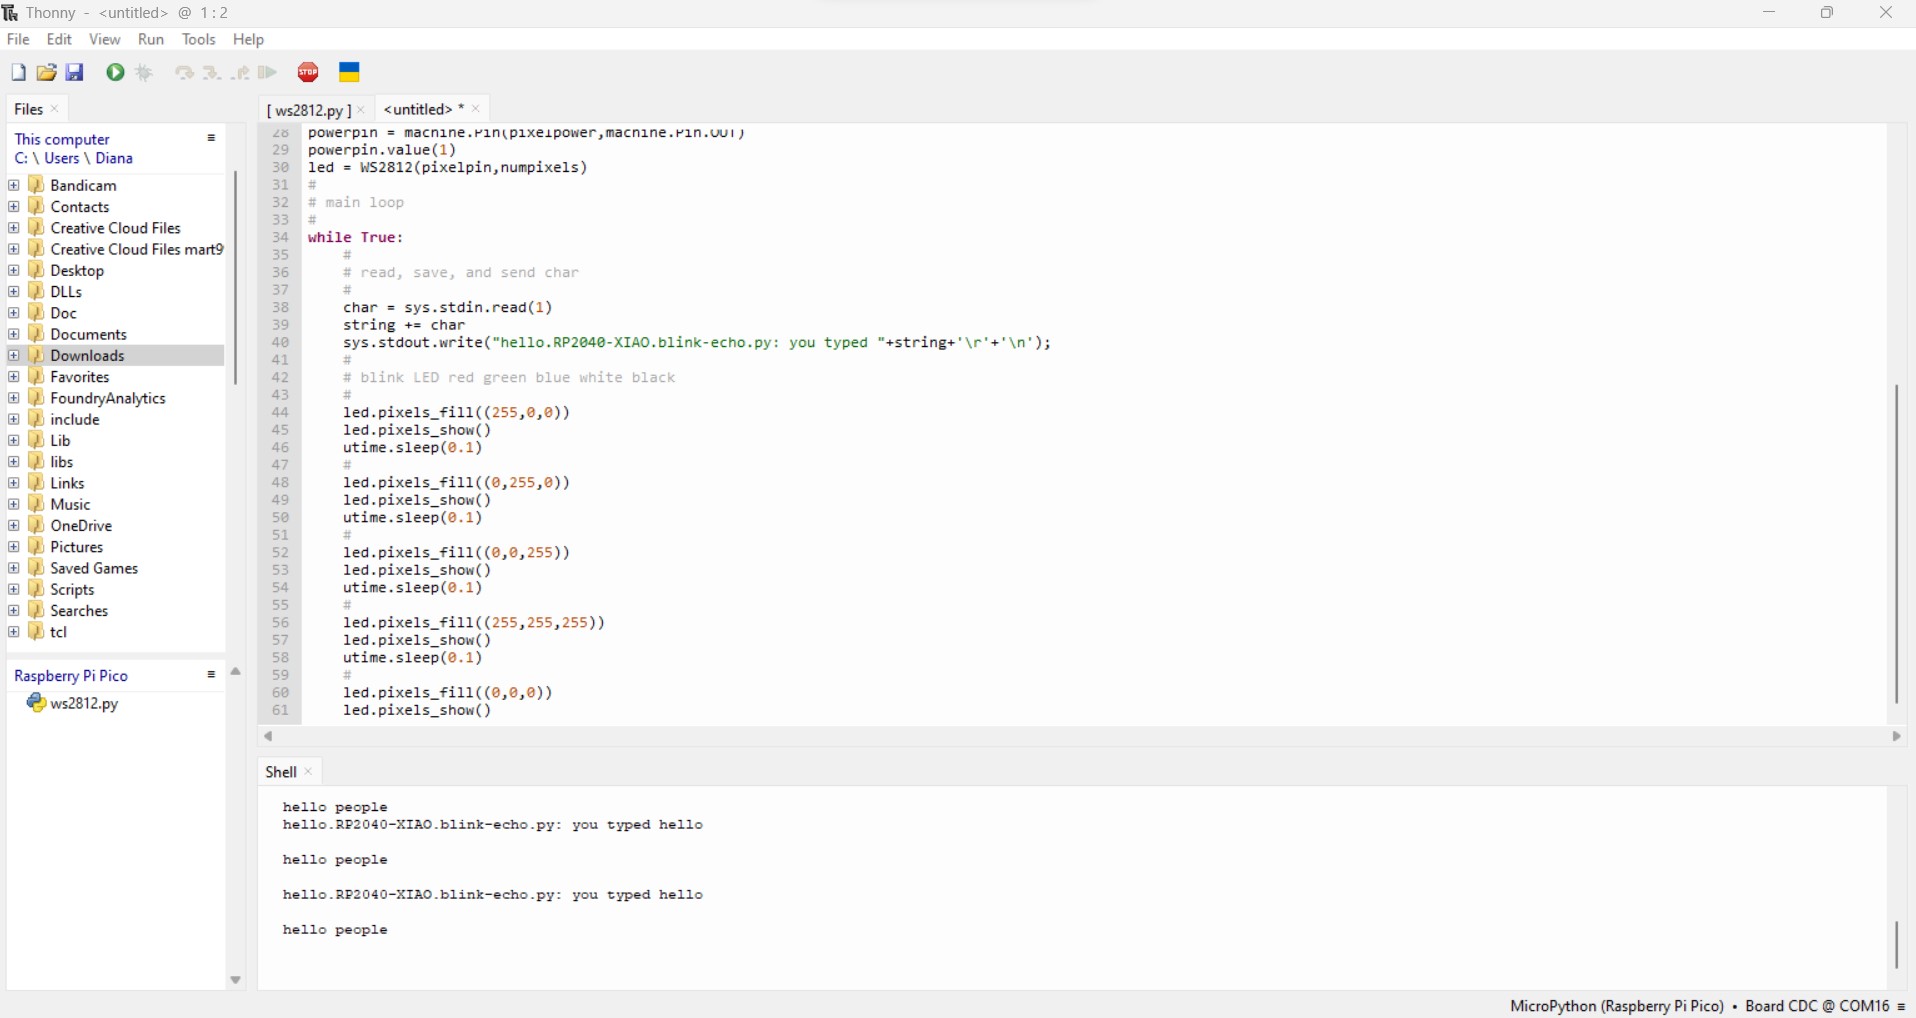
After this, I decided to explore next uknown area - micropython (Thonny). So firstly - download.

I decided to follow Niels first script on flashing LED - lets look deeper into it.