For one of my other classes, one of the projects was to make an interpretation of a clock. This led to me thinking that it would be nice if my final project for this class could incorporate a clock, so I could always have a clock in my room and could check the time even if my electronics were dead.
Getting the Time Data
As I learned how to use OLED displays last week, I figured I could try to use the display to display the clock. This led to the question of how could I ensure that the clock was getting accurate time data. As I realized that this was probably not a completely new idea, I did a google search and found that using WiFi the ESP32 can get the time from an NTP server. As such I decided to tranistion from using the rp2040 to using the esp32, as I realized it would make my work a lot simpler. This website was particularly helpful in figuring out how to do this. As the website explains, in order to get the time from the NTP server, the esp32 acts as a client. These servers are normally used for clock synchronization between devices, so they are regularly used for getting a time. It also uses WiFi to connect with the server, so I used my phone's hotspot in order to connect to the microcontroller. This worked to medium avail, as sometimes I would have to restart my phone in order to get the hotspot working. Working off the sample code provided, I first changed the WiFi information, and then the display method of the information to match the clock that I wanted to make (hh:mm, where the clock shows military time). After making these changes, I checked whether it was working by printing the time to the Serial Monitor, and it worked.
This shows the clock working in the serial monitor
Printing to the OLED Screen
For some reason that I am still unsure of, using display.print() would always compile but cause the microcontroller to switch out of the correct mode. The serial monitor would print an error message that pointed to "core 0" as being the problem, but upon a google search I still could not determine what was the exact issue and why it was being triggered by the use of display.print(). My hypothesis is that it had something to do with the strapping pins, but I am not sure. I did a lot of googling to see if I could find some direct example code for using display.print that would work, and I could not really find anything. So then, I turned back to the example code, where I found that it had a test function for printing text to the serial monitor that would work and not ruin the microcontroller. As such, I began editing the function to see if I could get it to input integers for the amount of hours and the amount of minutes and have it print them in a hh:mm format.
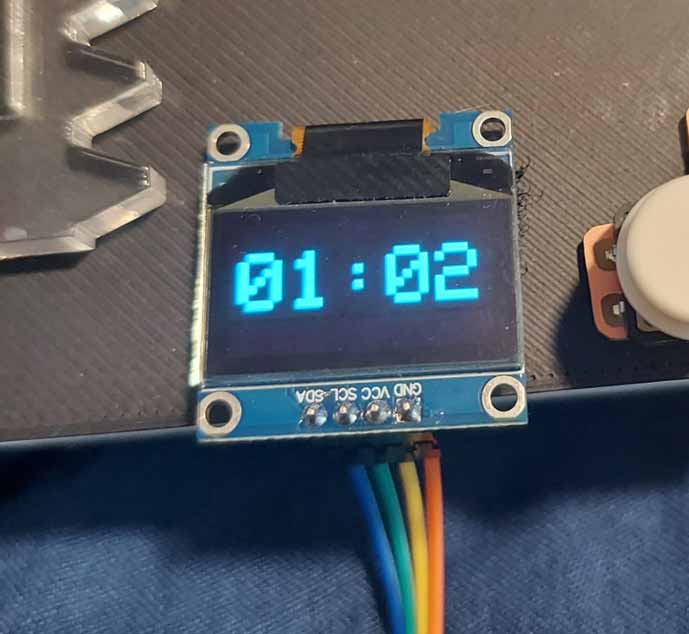
Working OLED Screen
This worked like a charm, and I was able to keep editing the code from there in order to center the text by changing the starting point and text size. Another small addition/change I needed to make was to add a couple of if statements so that the clock would add a 0 in front of the amount of hours and the amount of minutes if they were a single digit integer, so that it would not print 6:3 instead of 6:03.
Finishing the clock
From there, I was finally in a position to finish the clock by putting all of the code together. After combining them I still had to do a little bit of debugging and rewriting code, but ultimately using these priniciples I was able to get the clock to work, as seen below.
Working clock - I put this on 2x speed to see it update the screen to show the time