Week 3
3D Scanning and Printing

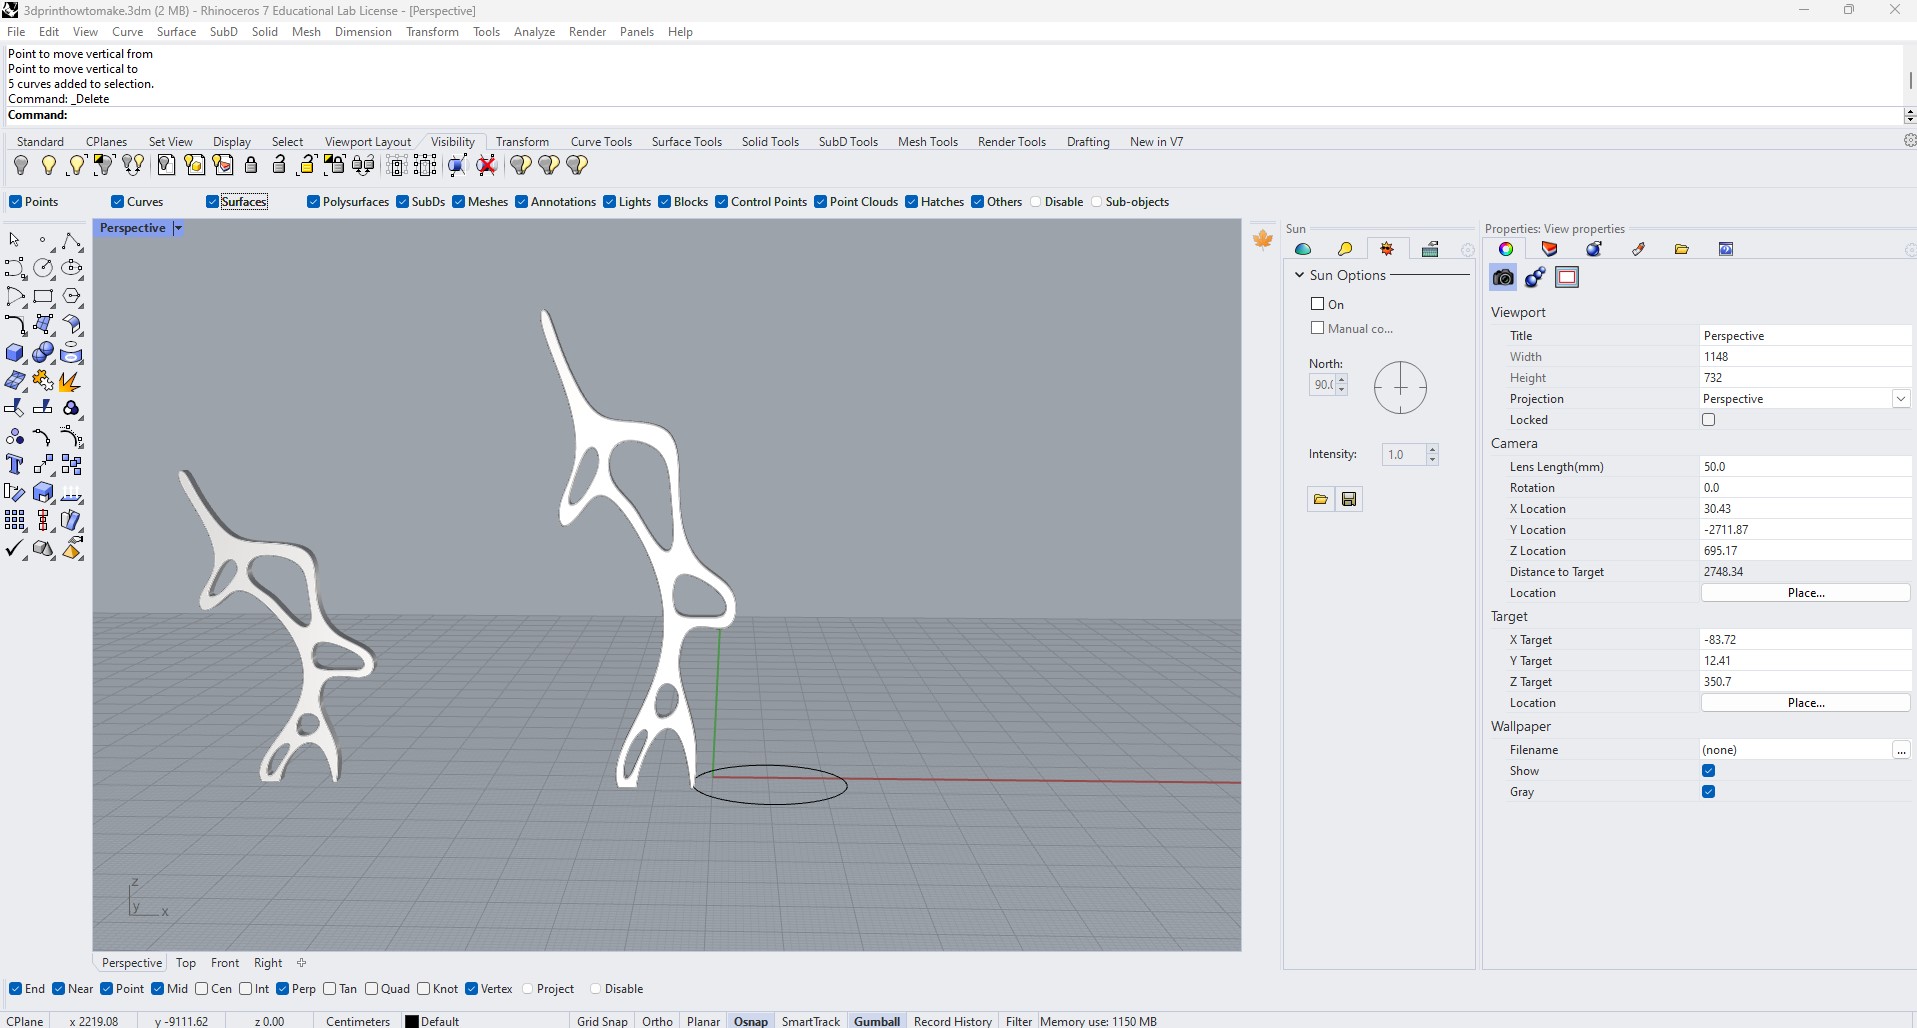
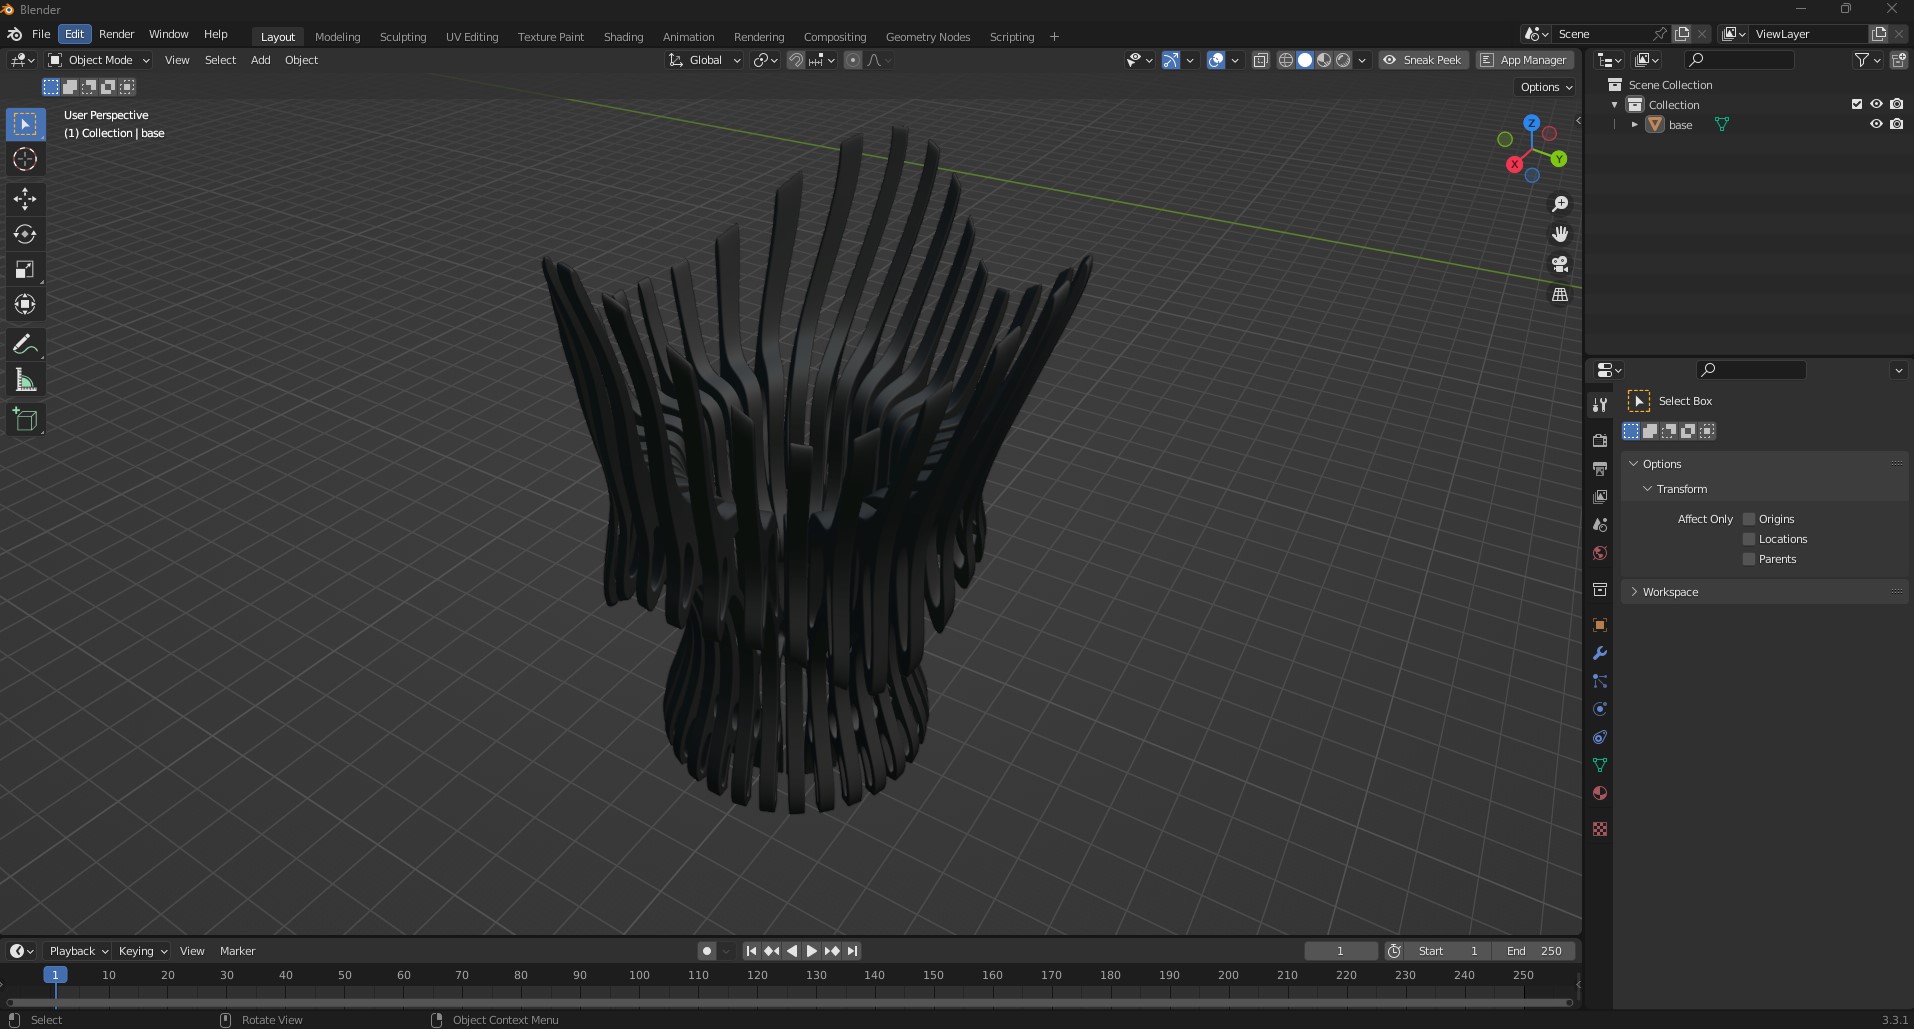
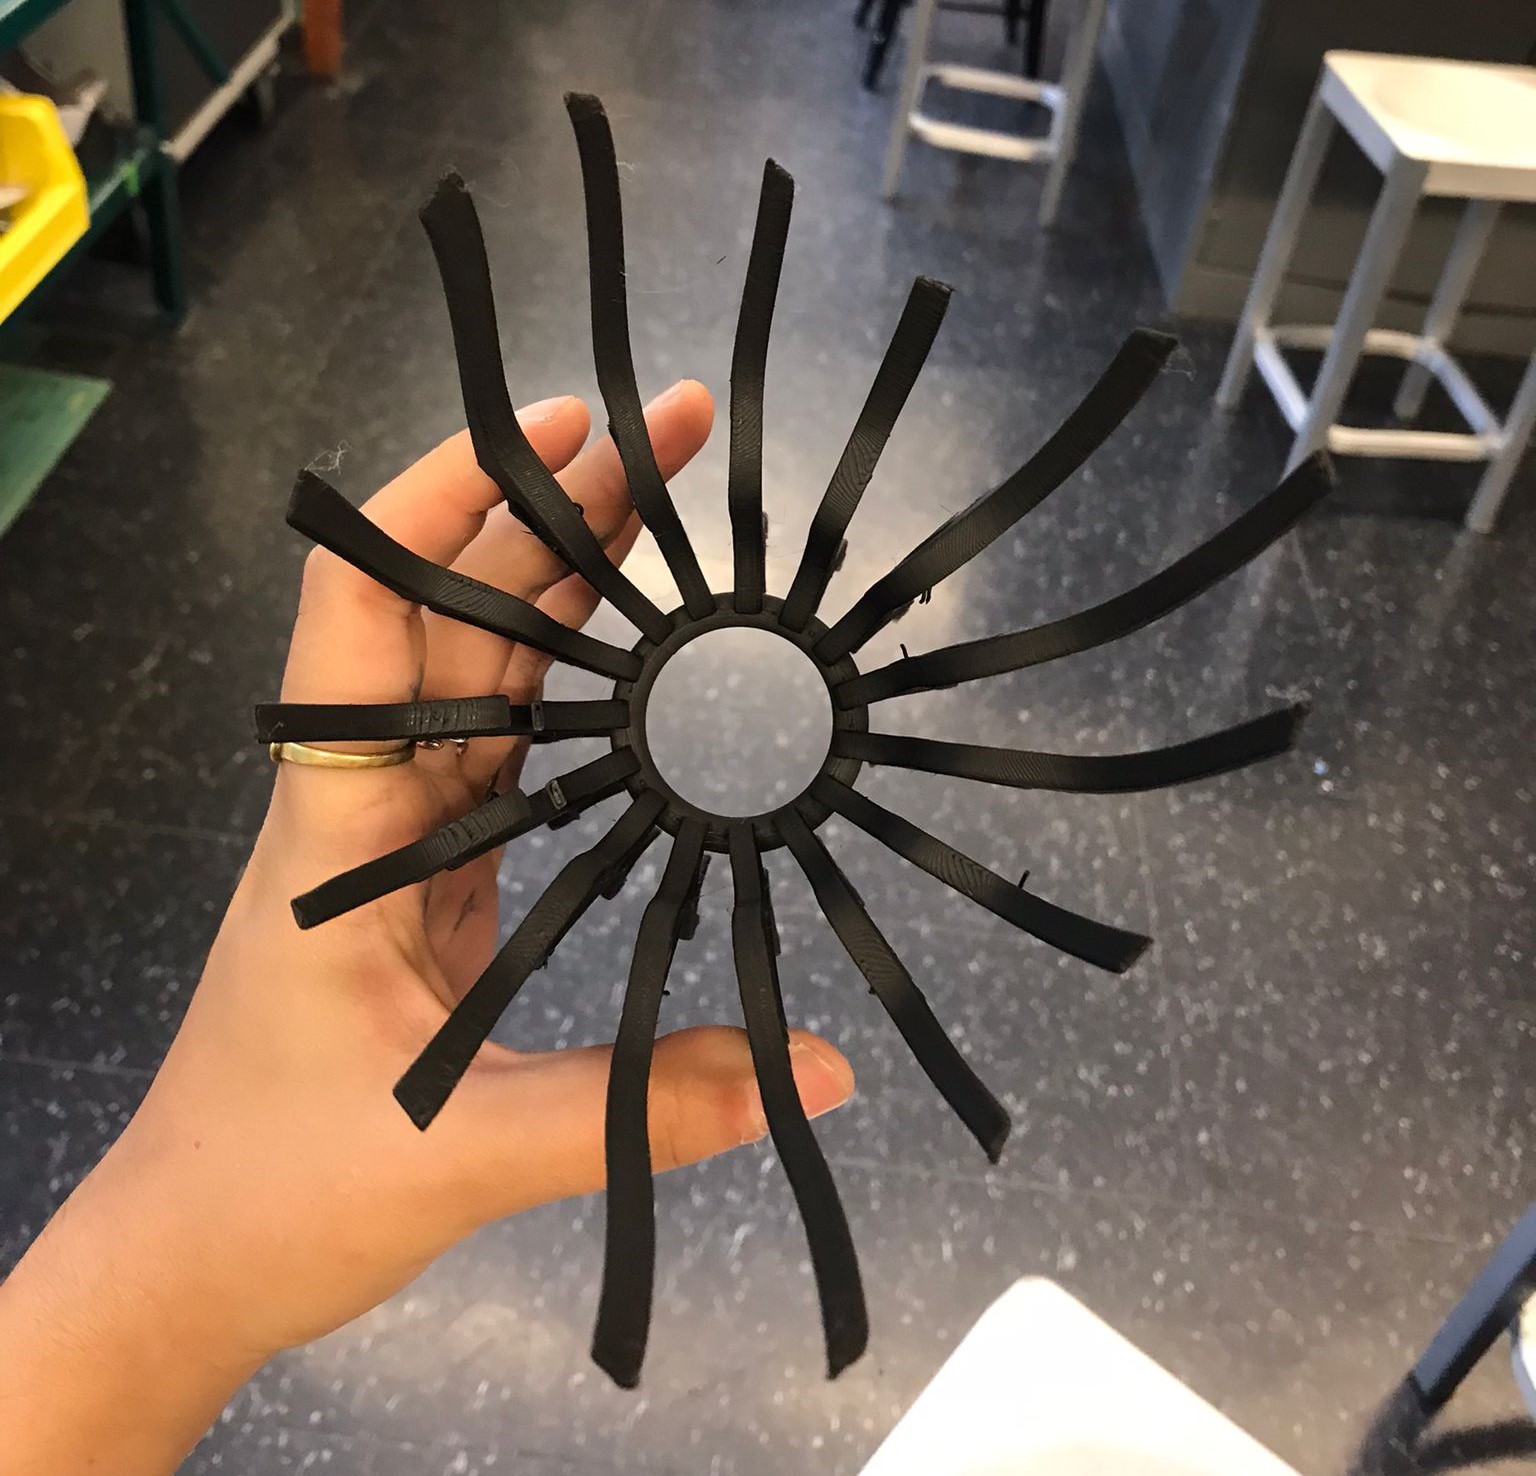
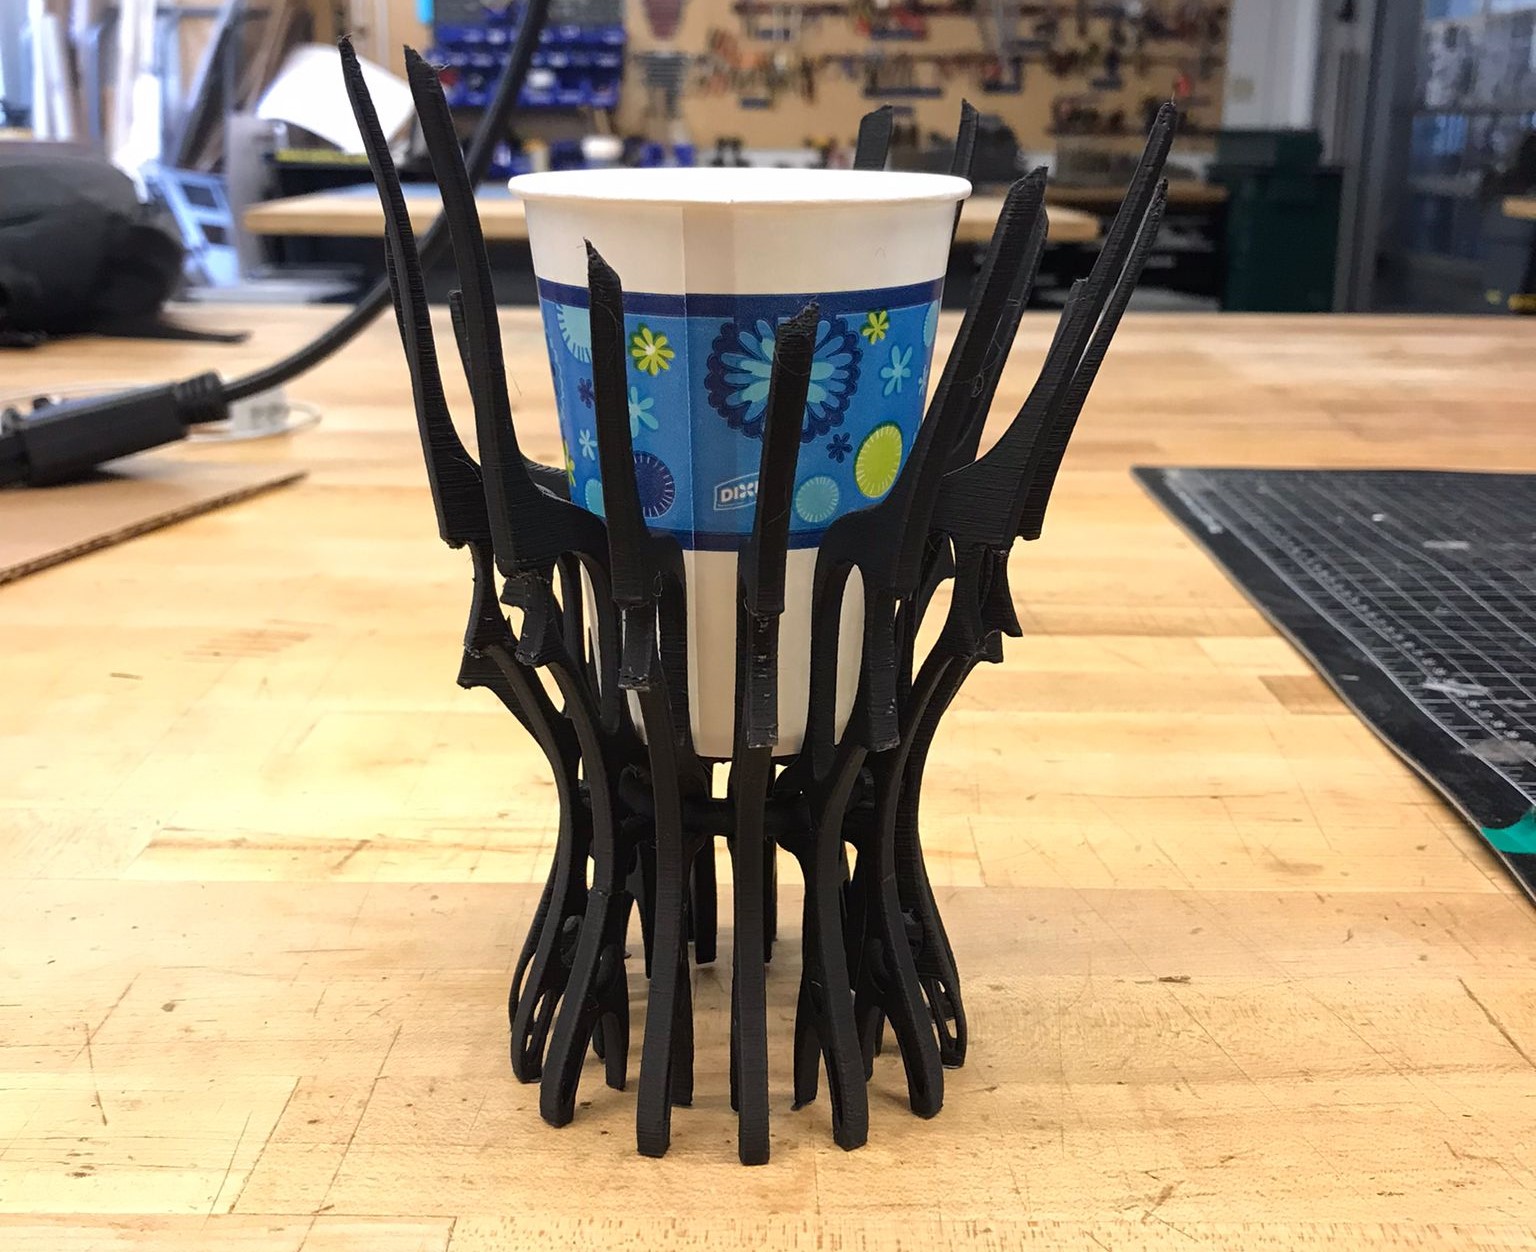
This week has been fun! I decided to push the boundaries of 3D printing by experimenting with various types of supports and tackling a complex design to explore a new support system called PrusaSlicer-2.6 Organic Supports. My process began with creating a section drawing of the object I intended to model. From this section, I generated a repetitive pattern by using an array. Subsequently, I turned to Blender's sculpting mode to refine and sculpt the entire structure, giving it a more organic and natural appearance.

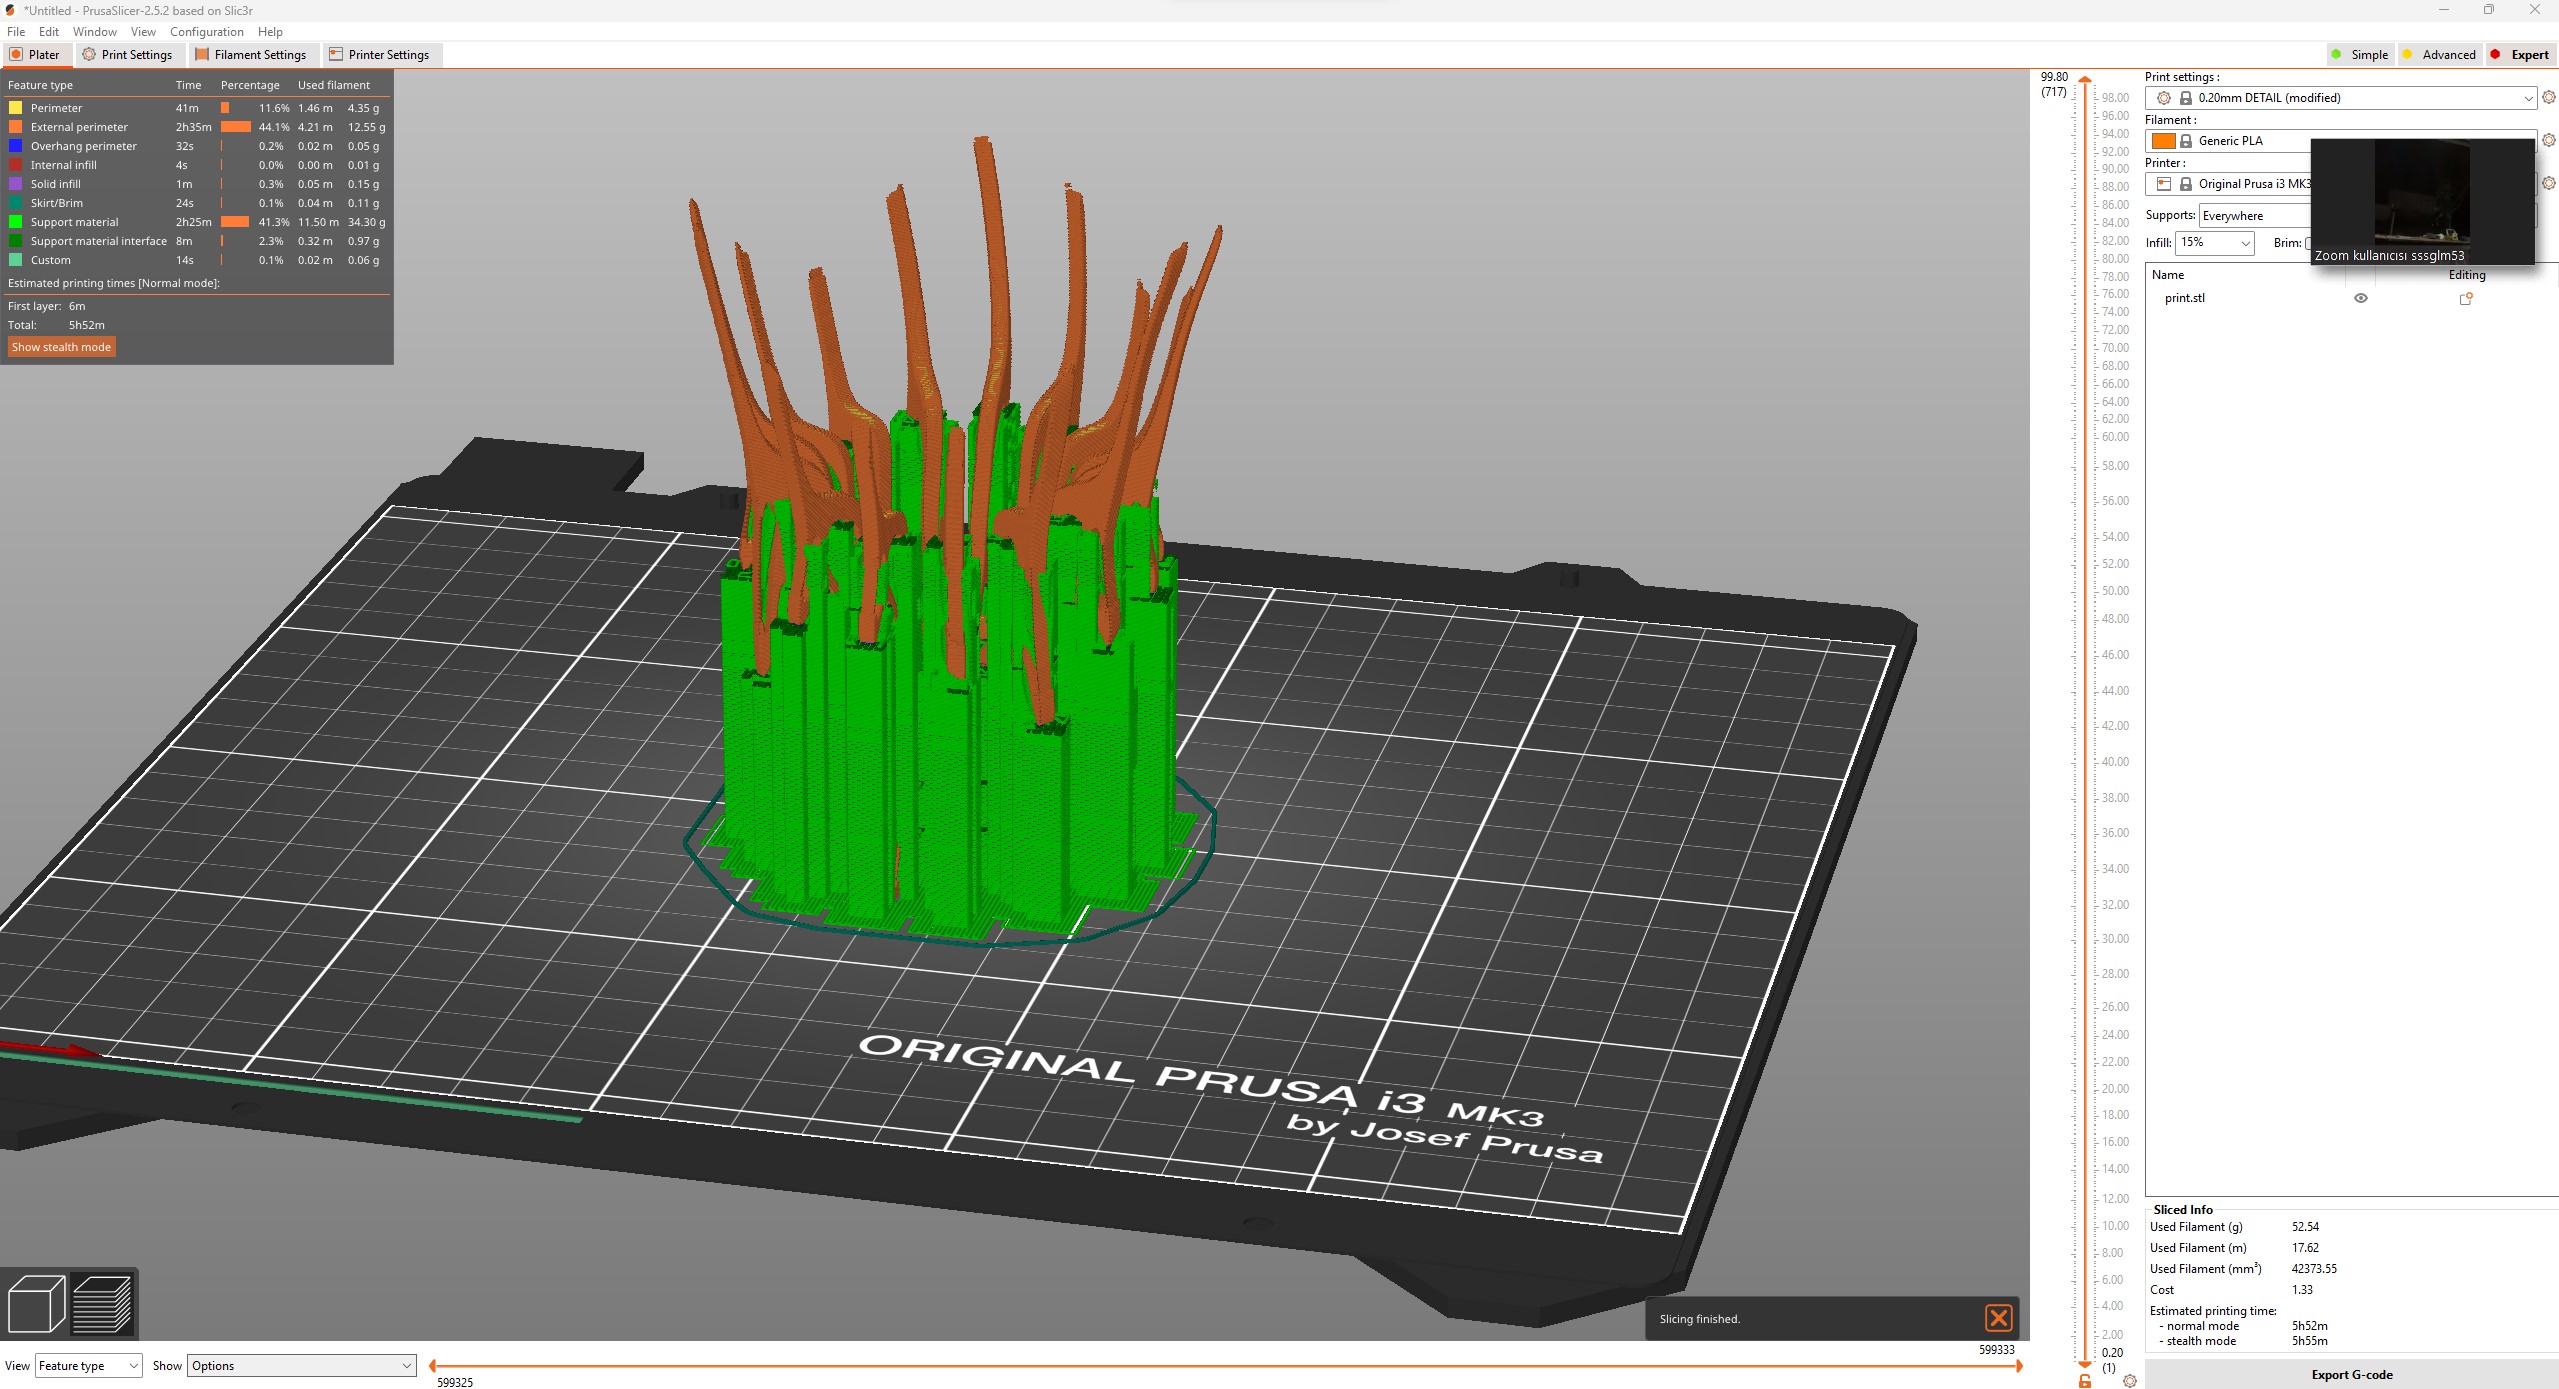
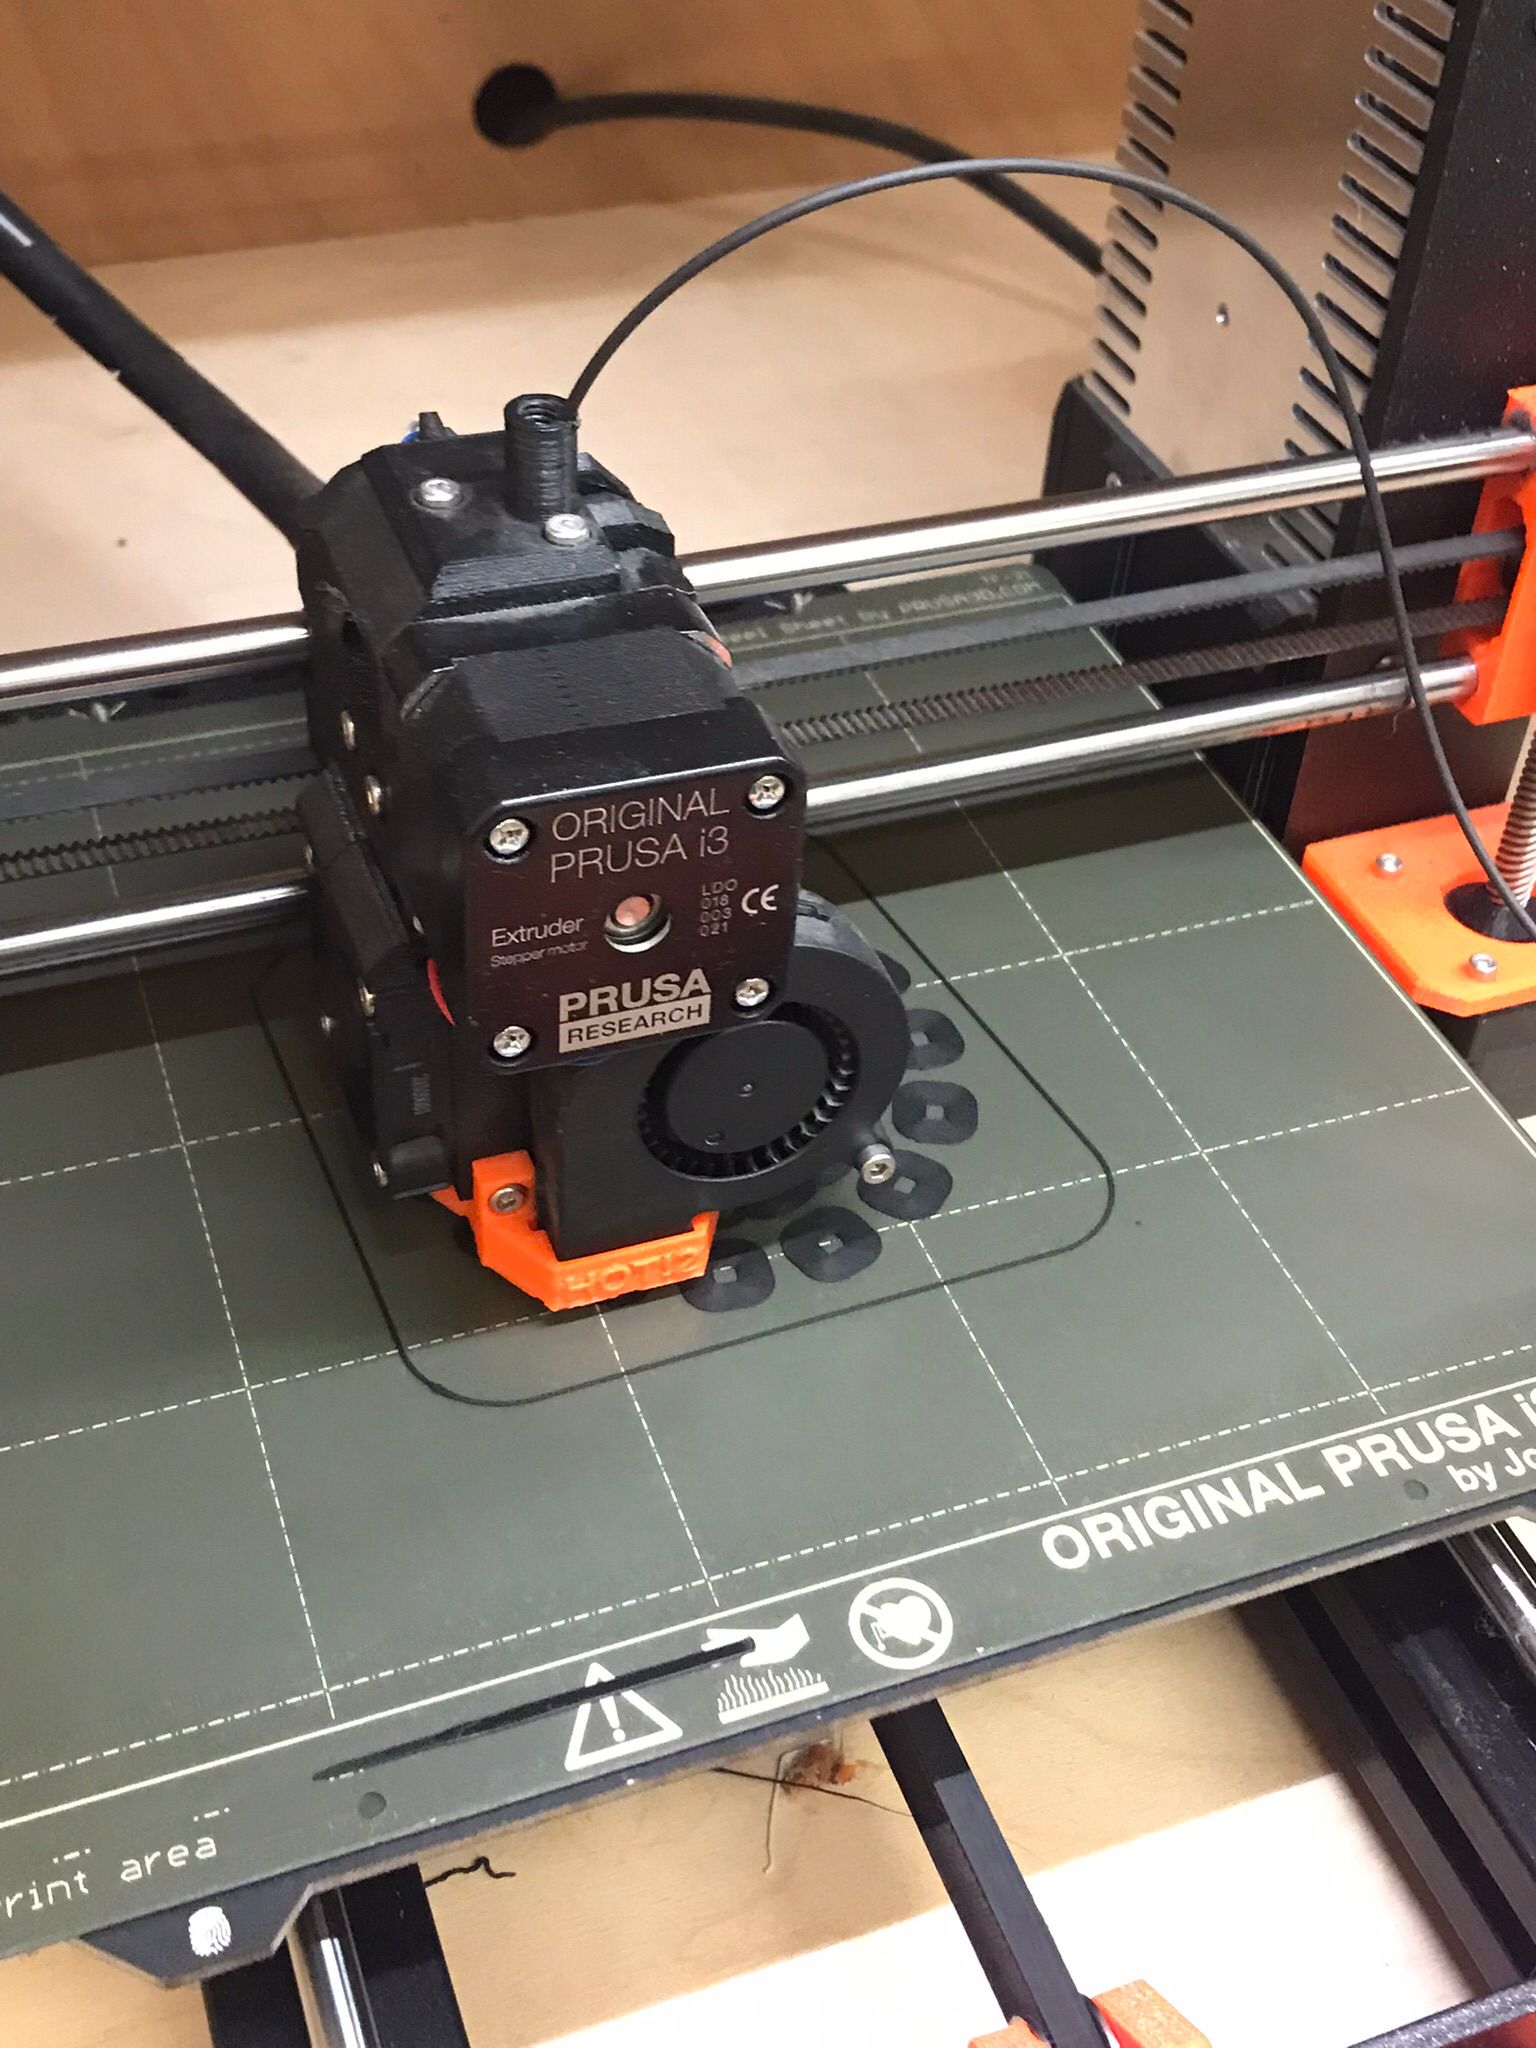
After finishing modelling I tested the support system on Prusa Slicer software, the version I am using is 2.6.1. First I tried regular grid support system but it was a lot of supports seemed like impossible to remove.
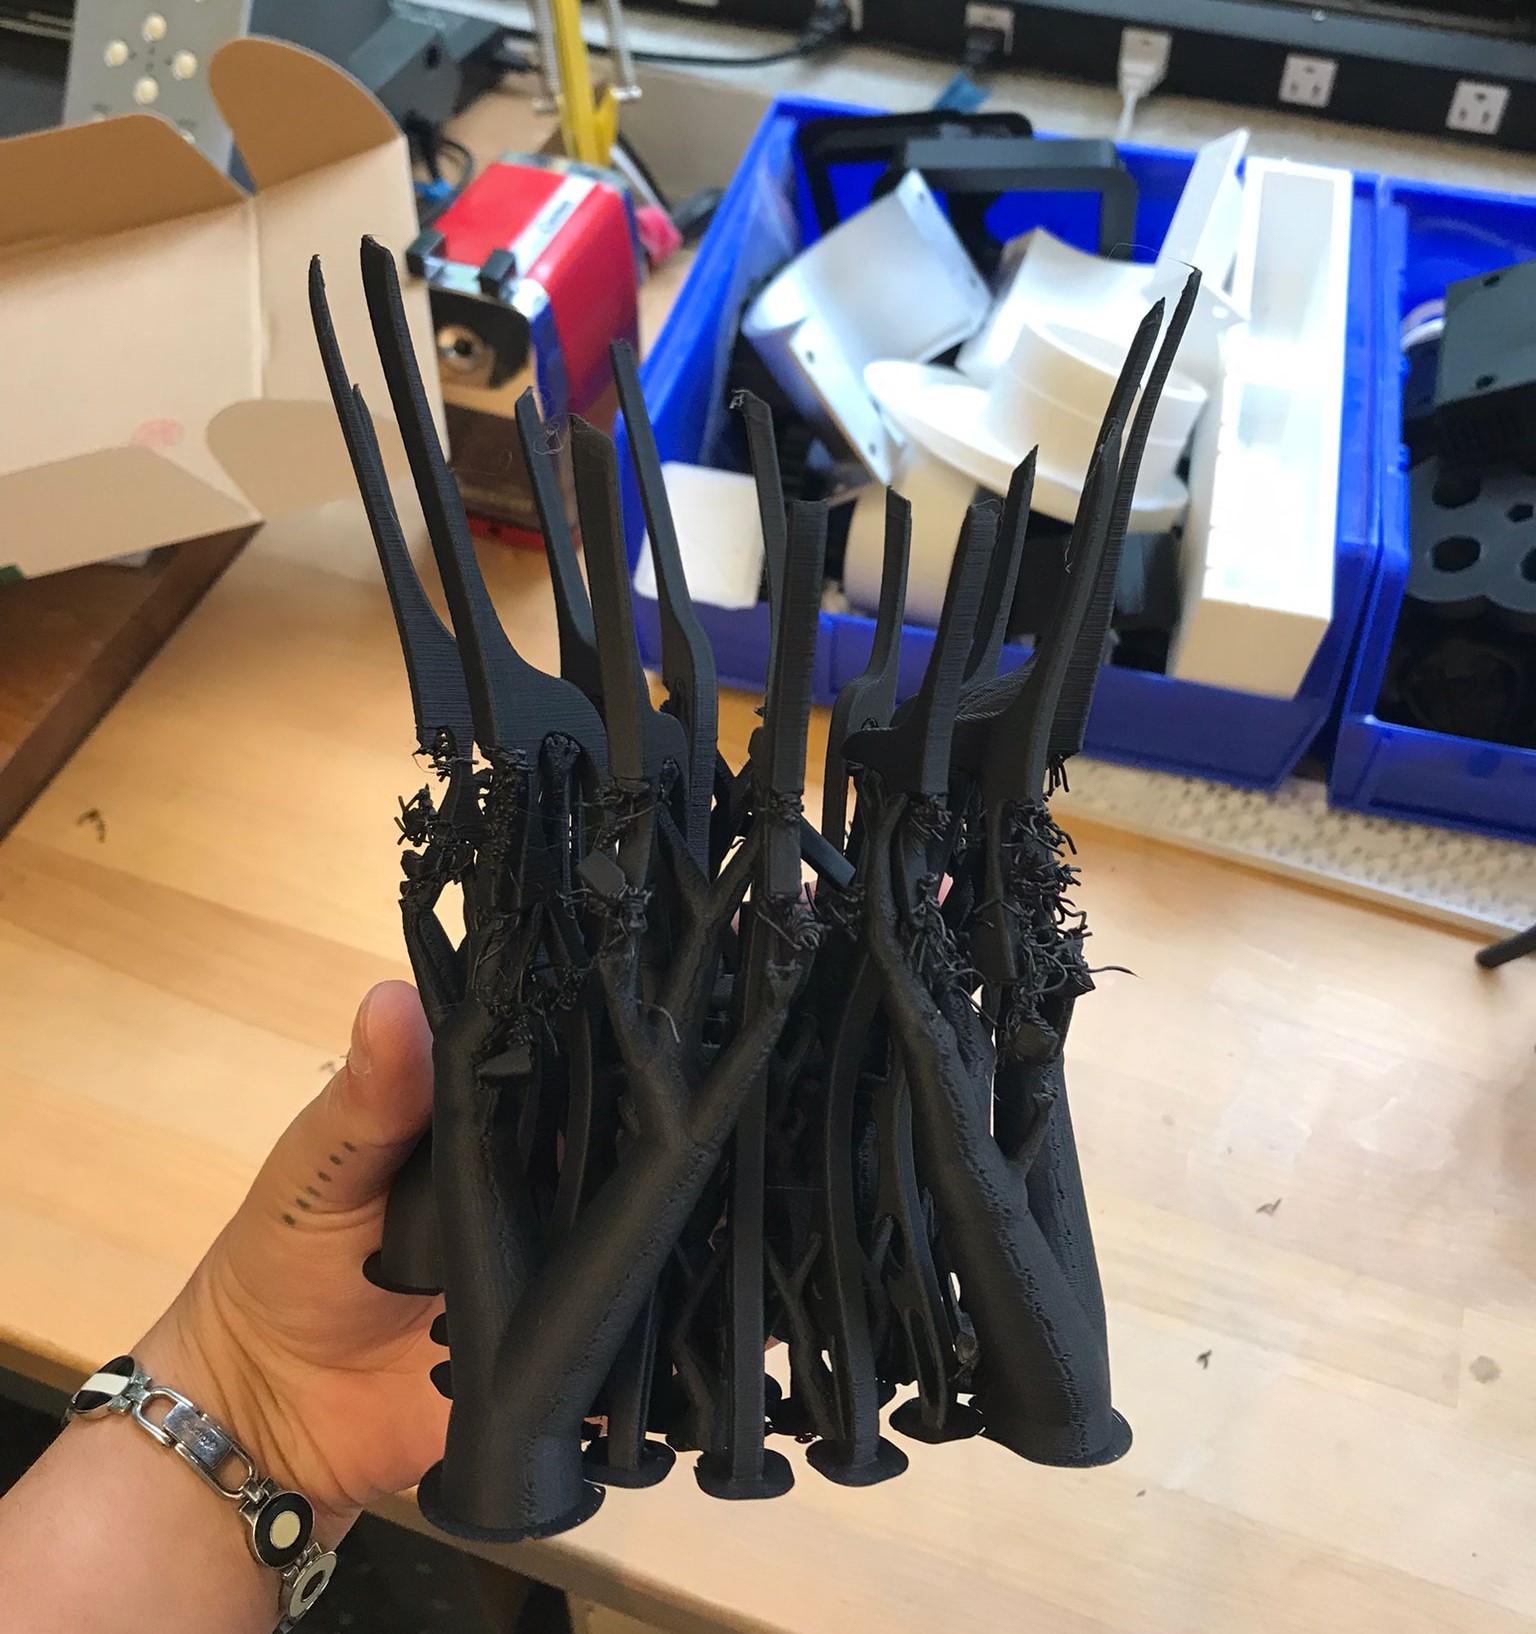
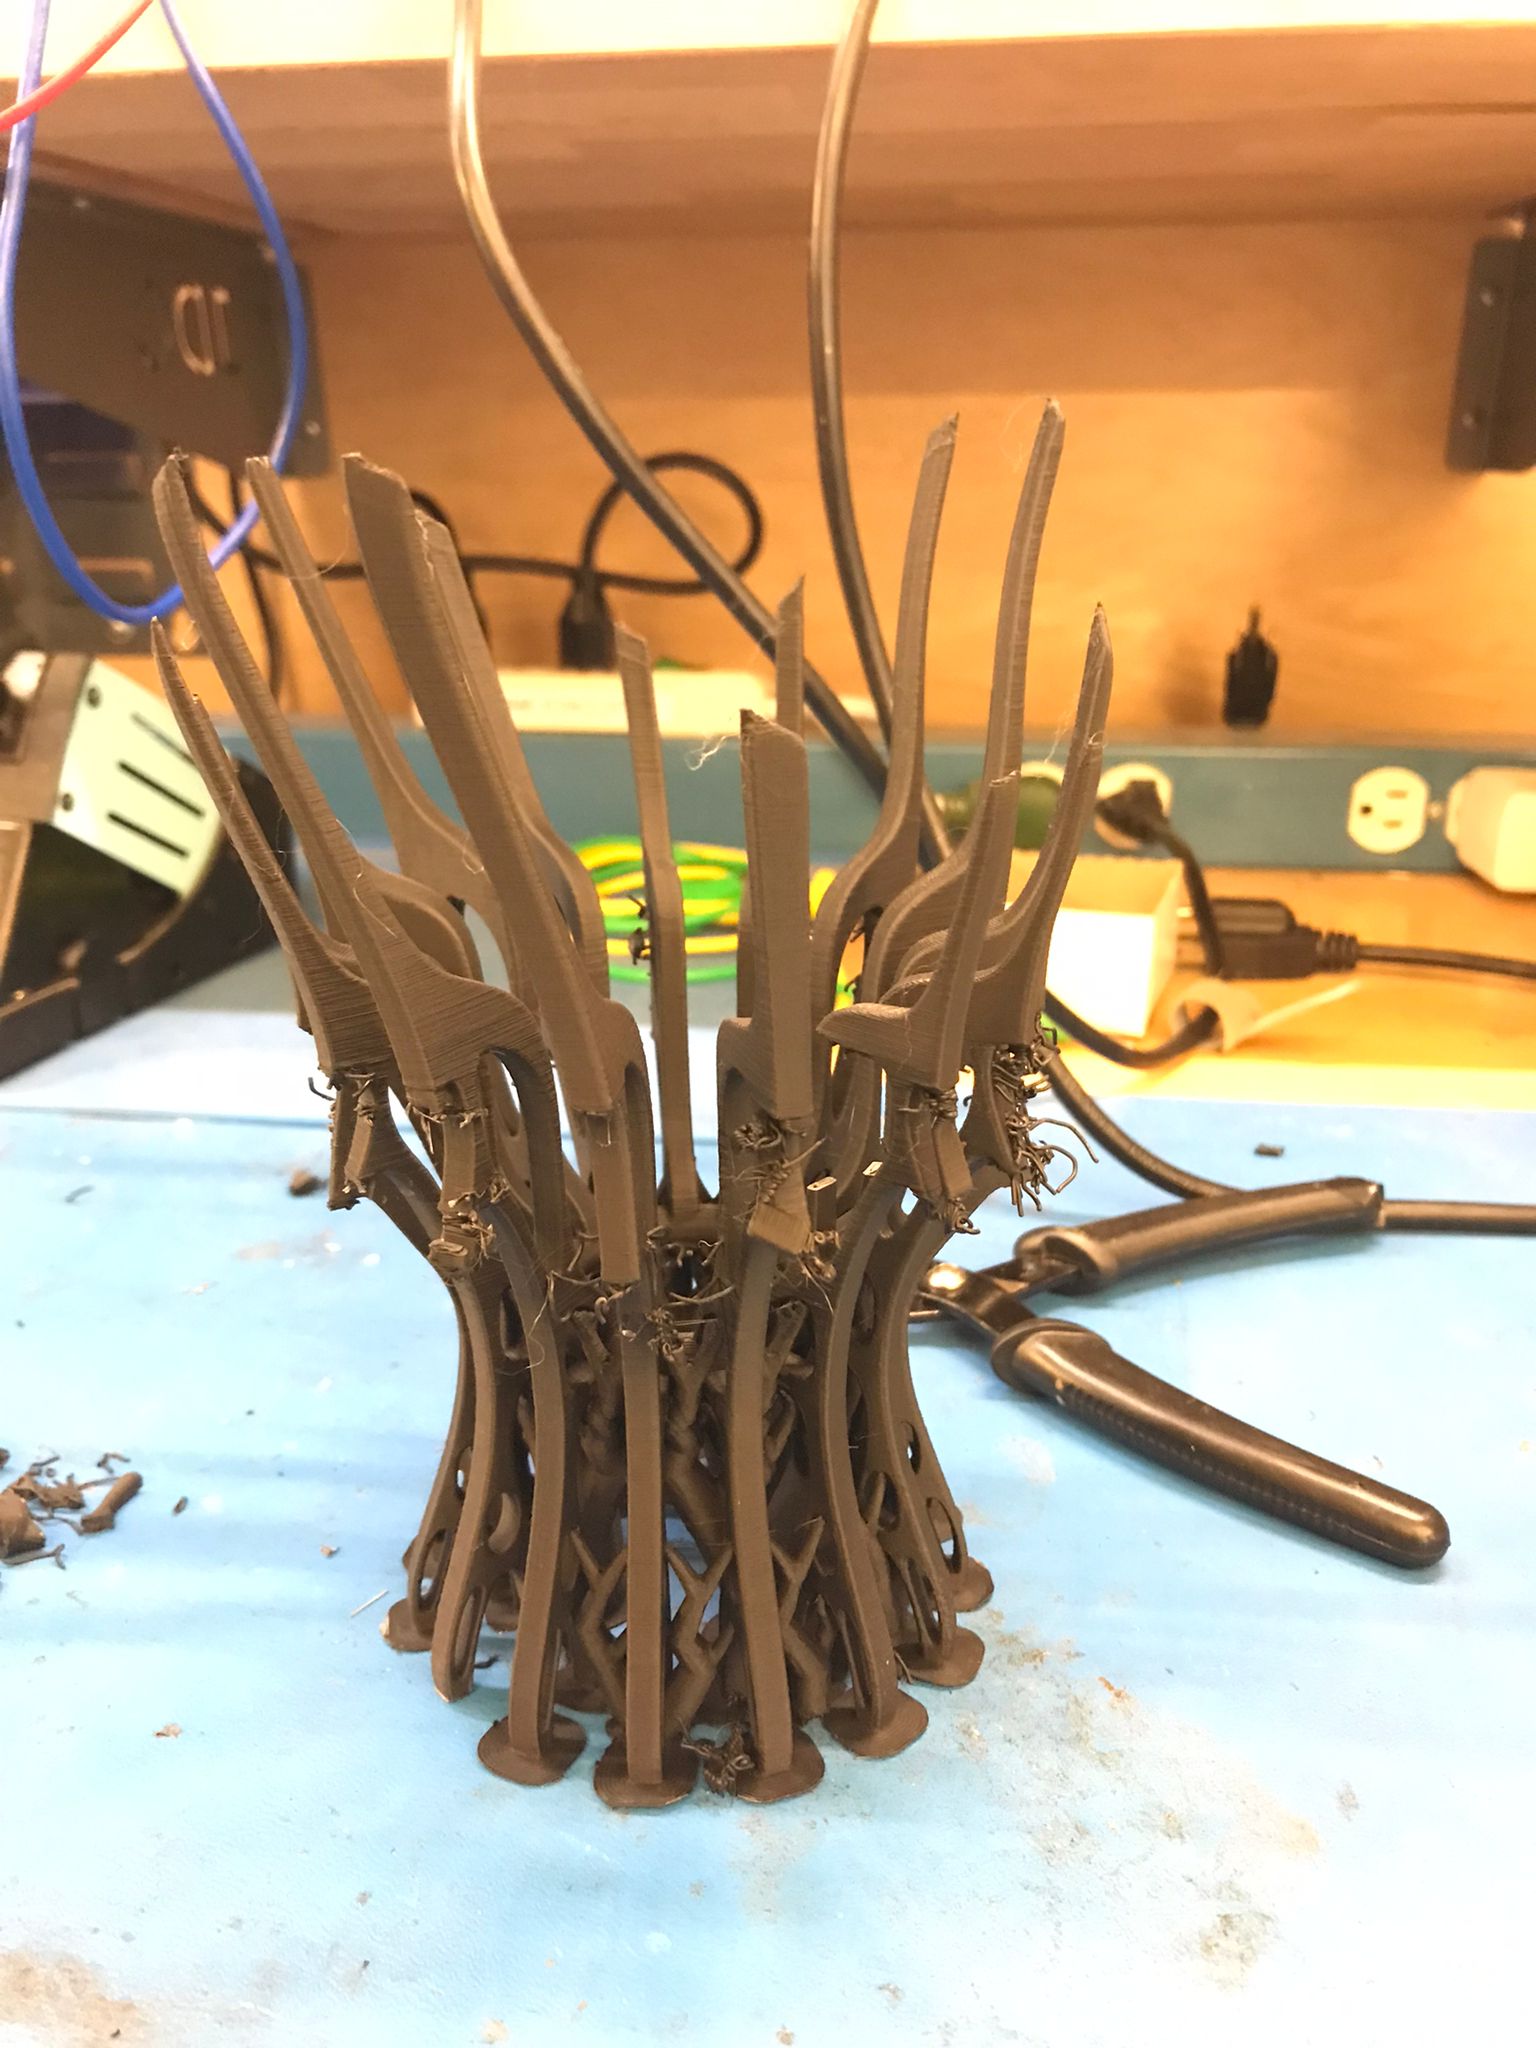
Then, I found out organic supports option which is new for Prusa 2.6.1
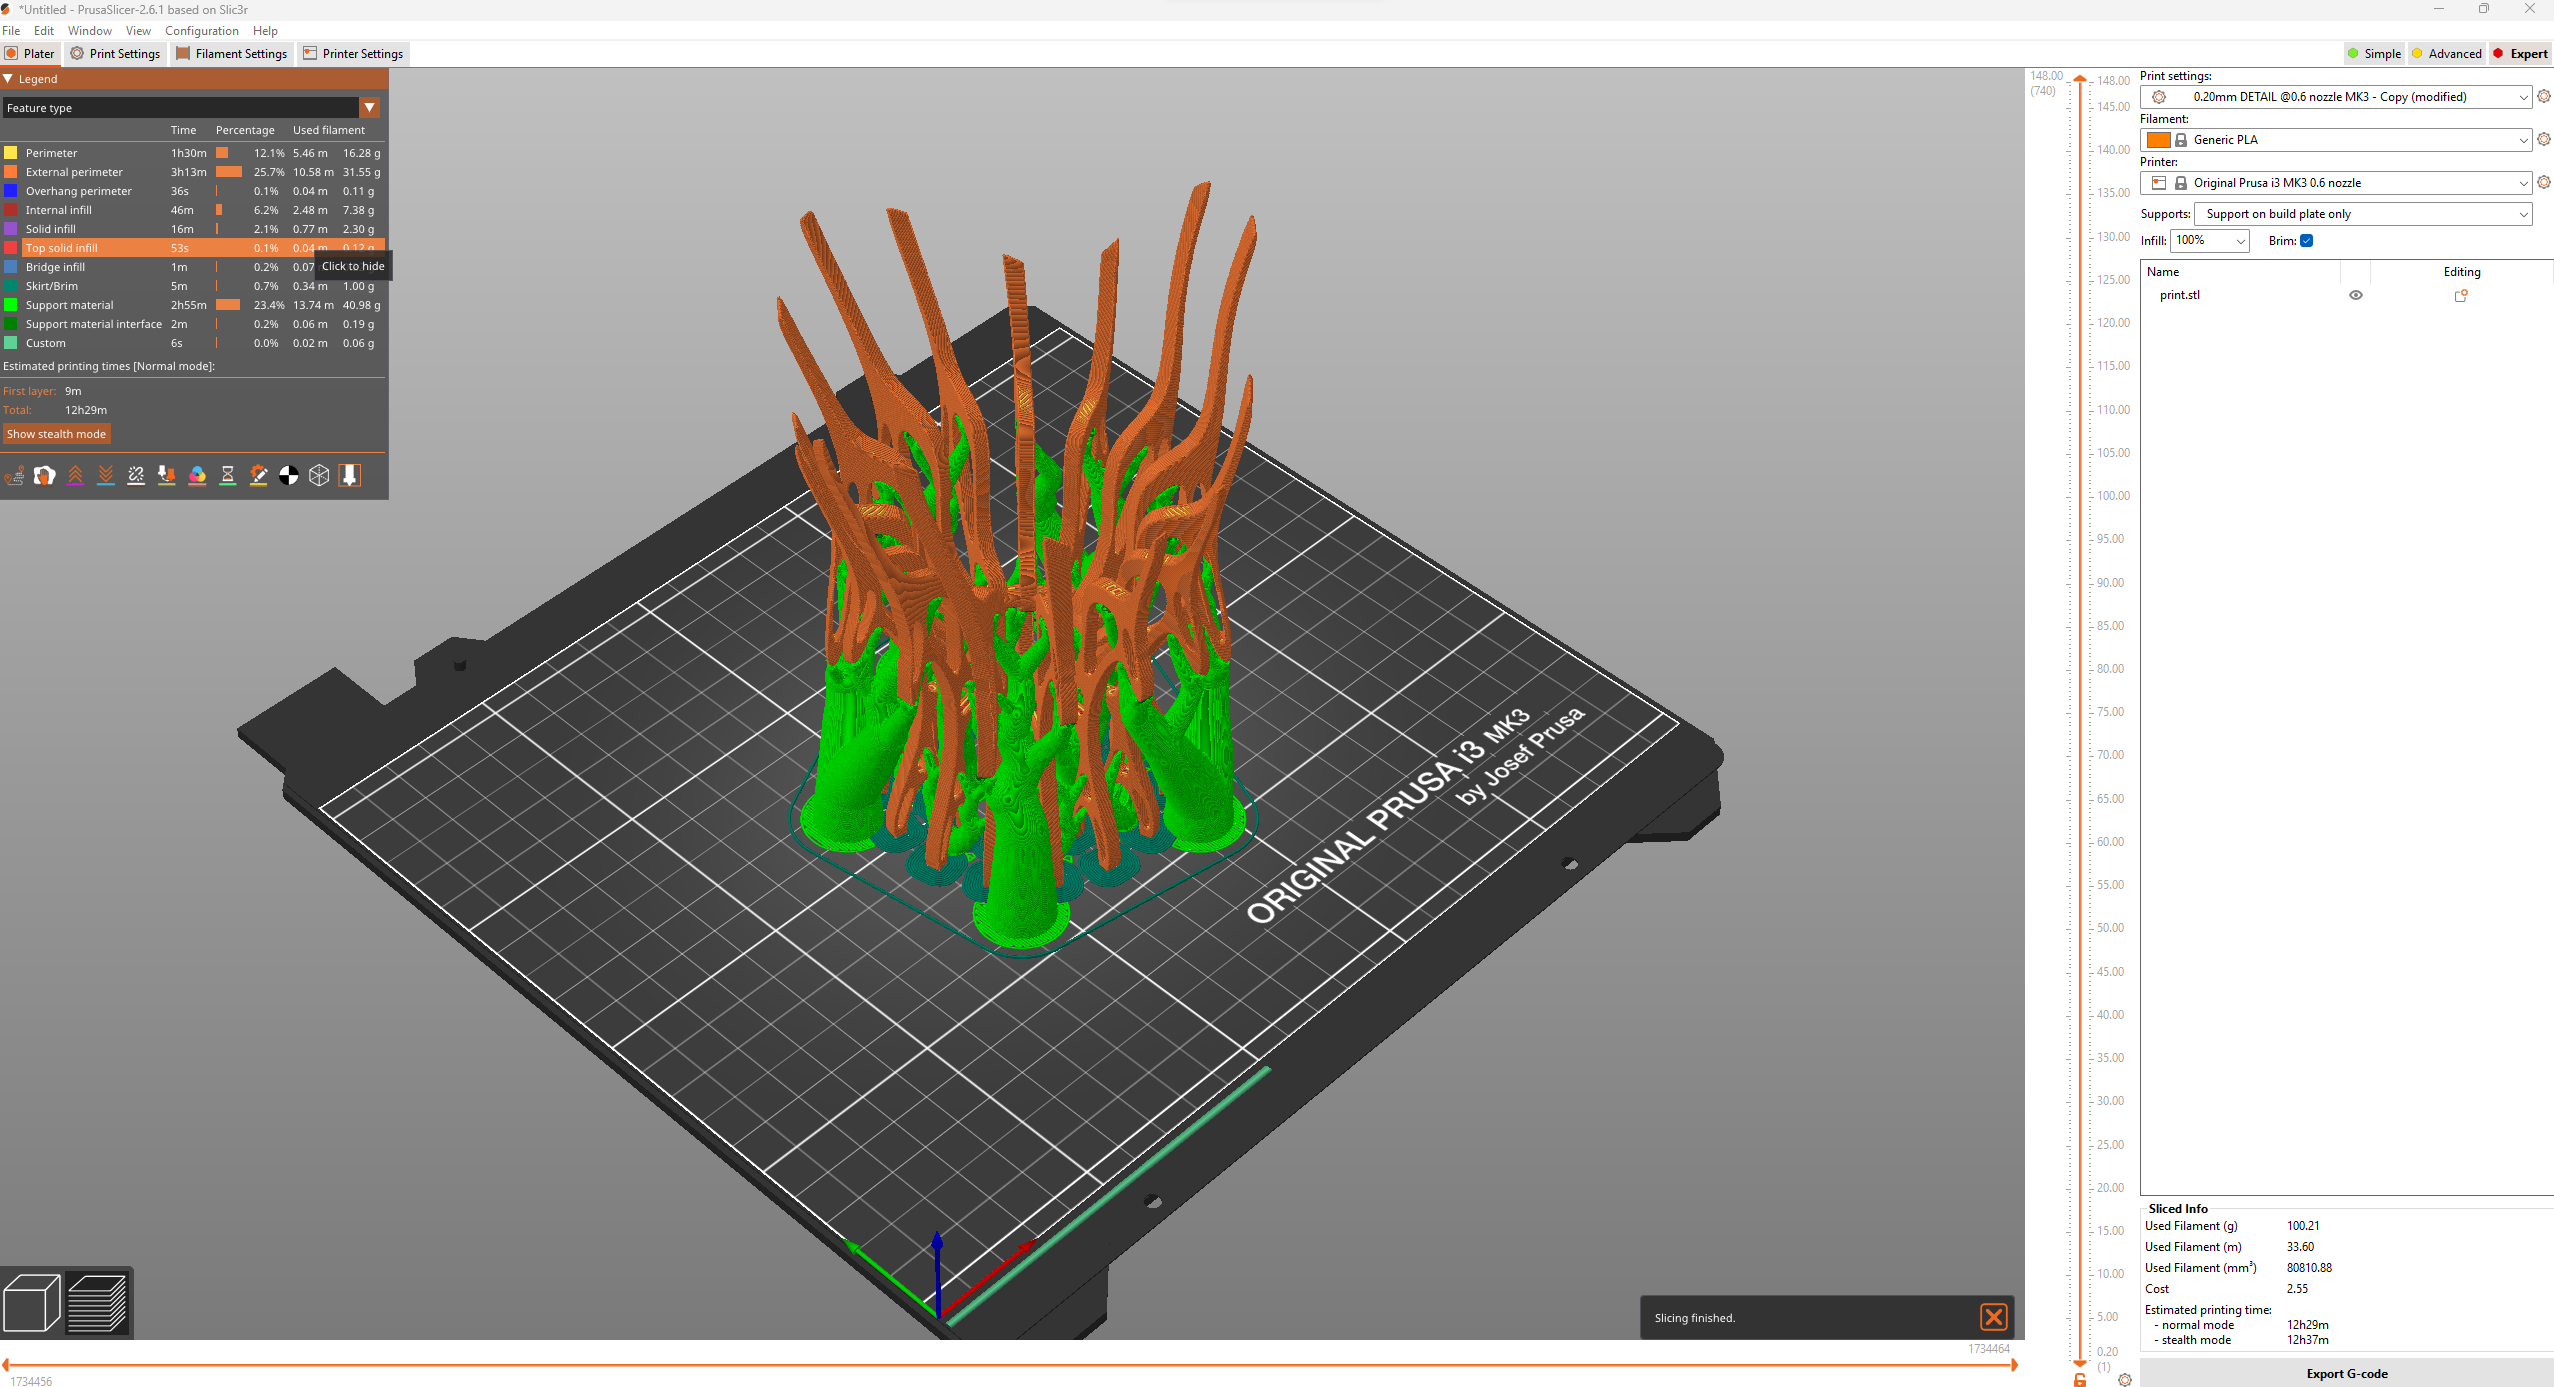
It turned out well but some complex shapes around the supports were kind of broken.

Group Assignment
We put two design rule examples from the website into the Sindoh printer and tested it with Niklas. The wall thickness test was fairly successful, but the bridges failed the print. We talked about it, and we believe there was an issue with the printer's temperature. All of the other printers were using the same material at 200C, the slicer showed the correct temperature, but the printer itself was showing 249C. We believe the issue is one of temperature.

3D Scanning
For 3D scanning part, I wanted to try Neural Graphics Primitives which is an AI model that helps to convert video into a 3D model, the same principles apply with 3D scanning but this time with AI magic.
As a tattoo artist, I've always aspired to build a 3D model archive of the tattoos I made. Unfortunately, due to limited technical resources, I never had the chance to do that. For this week, I decided to take an action and started creating 3D models of the tattoos I've made, utilizing a technique known as Neural Radiance Fields (NERFs).
For the first test, I used the video below:
There are already instructions on how to do it on the page.
Github Repo hereBut to briefly explain, first download the package from repo, then go to terminal run these codes
									pip install ffmpeg
									pip install opencv
									pip install colmap
After that, to create a custom dataset, inside the data folder, create a new folder with the name as you wish, then put the video file and colmap2nerf script from the package here.
Inside script folder, there needs to be another colmap2nerf.py file, get the file path of that file and on the terminal run:
python "C:\Users\Merve\Desktop\Instant-NGP-for-RTX-3000-and-4000\scripts\colmap2nerf.py" --video_in video.MOV --video_fps 2 --run_colmap --aabb_scale 16
Don't forget to change the link with your file path.
You can change how many images per second will be saved for your image quantity.
After that, open instant-ngp.exe file, and create a folder with your "Images" folder and "transforms.json" file. Drag the folder inside the application and you are done!
Here is how my 3D model looks like: