Week 8
We were given the responsibility of measuring something this week, which involved putting a sensor to a microcontroller board we designed. I started this week to finish my development board and create something usable, as my previous try at constructing it did not turn out well. In order to have a board that is sufficiently adaptable to test various sensors with, I created a whole new design and had the board manufactured again with all the soldering components.


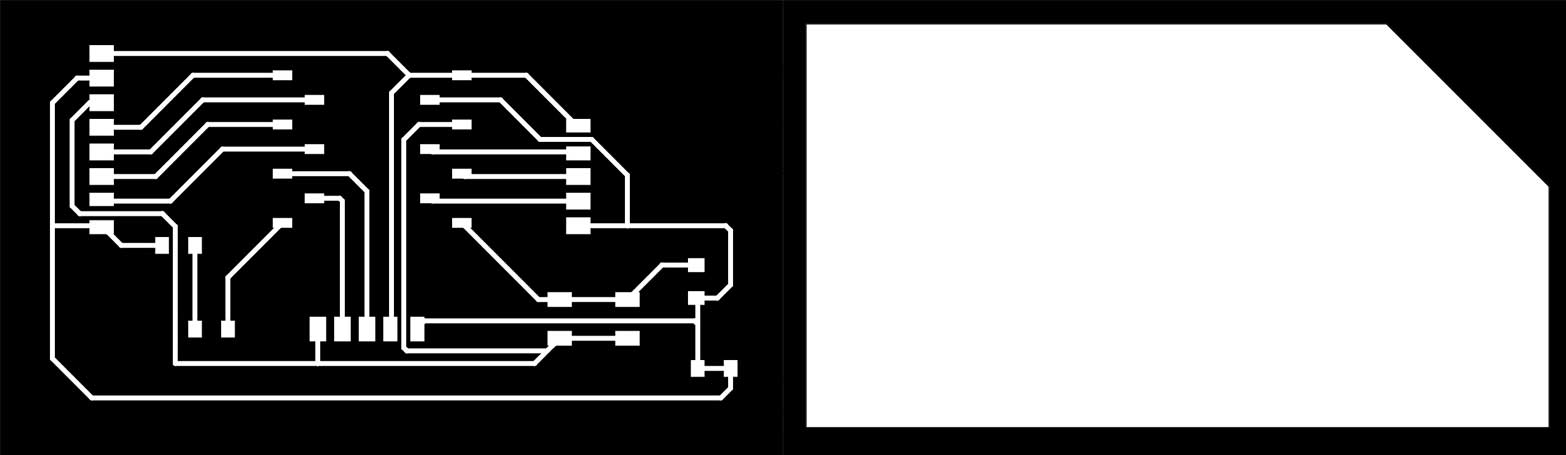
Here is my board working this time! And my first input... a button!
With my new board, I wanted to experiment with a photoresistor and read the values from my Arduino IDE. To do this, I used a breadboard, some jumper wires, and a resistor. Next week, when I combine it with an output, I hope to build a PCB. This is the code and light operation.
Here is the code:
						//Constants
						const int pResistor = A0; // Photoresistor at Arduino analog pin A0
						const int ledPin=0;       // Led at 0

						//Variables
						int value;                // Store value from photoresistor (0-1023)

						void setup(){
						 pinMode(ledPin, OUTPUT);  // Set lepPin - 0 pin as an output
						 pinMode(pResistor, INPUT);// Set pResistor - A0 pin as an input (optional)

						 Serial.begin(9600);      // Begin serial communication at 9600 baud
						}

						void loop(){
						  value = analogRead(pResistor);

						  // Print the analog value
						  Serial.print("Analog reading from photoresistor: ");
						  Serial.println(value);

						  //You can change value "50"
						  if (value > 10){
							digitalWrite(ledPin, LOW);  //Turn led off
						  }
						  else{
							digitalWrite(ledPin, HIGH); //Turn led on
						  }

						  delay(500); //Small delay
						}