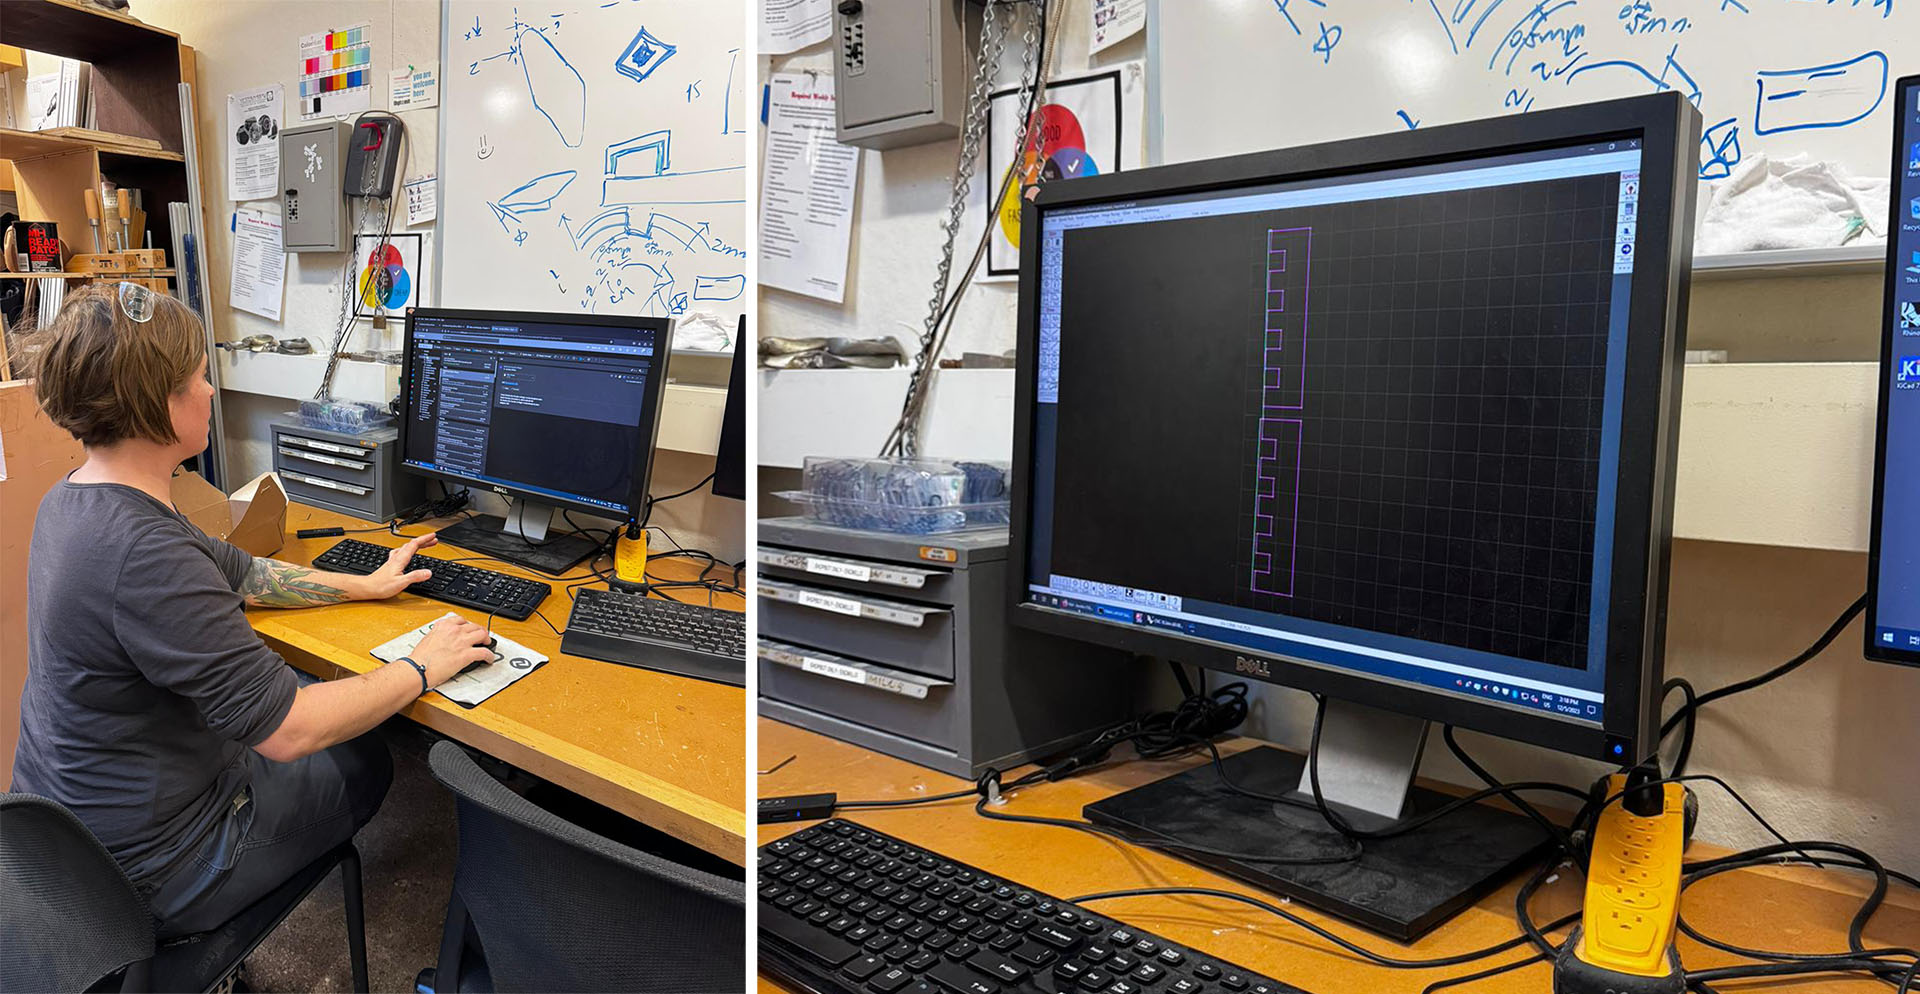
Initial Meetings, CNC CAD
We began the week with our first group meeting. After deciding on the overall design approach, we split into main groups. I joined the mechanical design group. Instead of designing, my tasks, along with Merve's, involved preparing CAD files, handling CNC cutting and 3D printing of the designs, and finally assembling all the parts.

Material Source
However, we faced a tight deadline. The mechanical design was only completed on the last day, and unfortunately, the CNC machines at N51 were fully booked. We couldn't do the cutting there but managed to transport the materials to the architecture workshop.
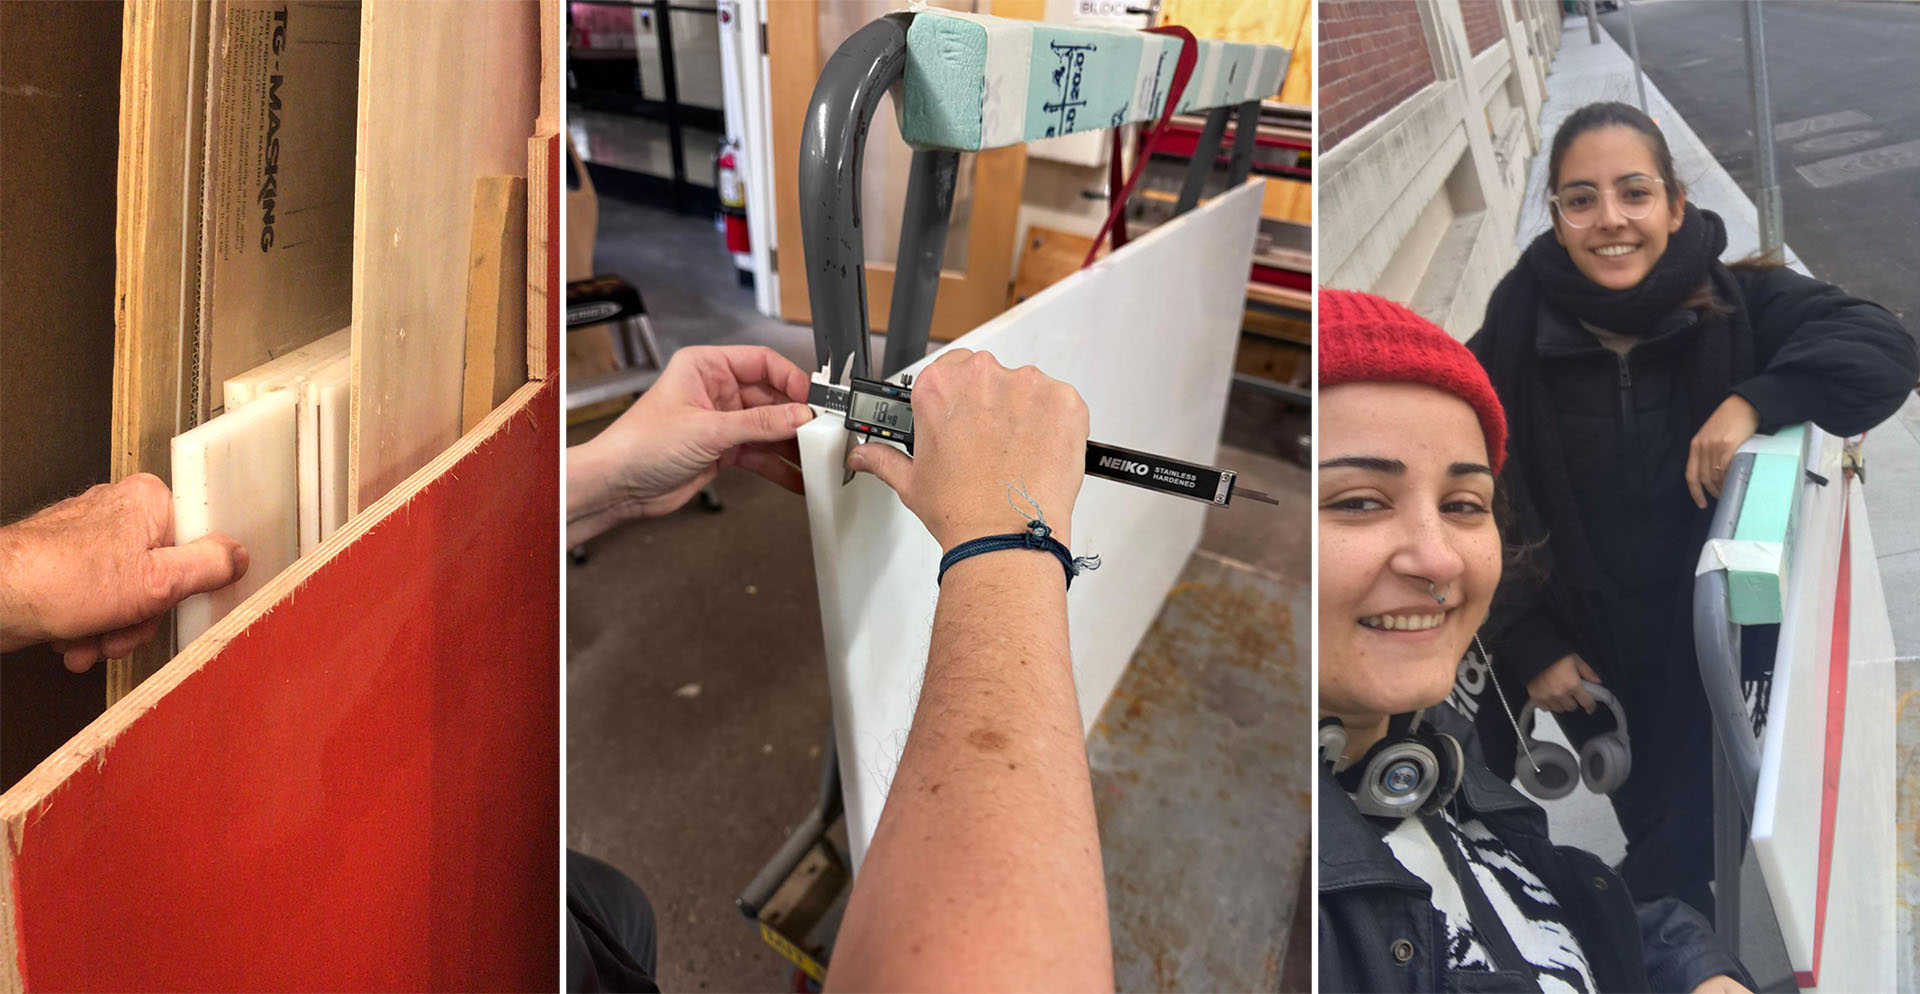
Water Jet
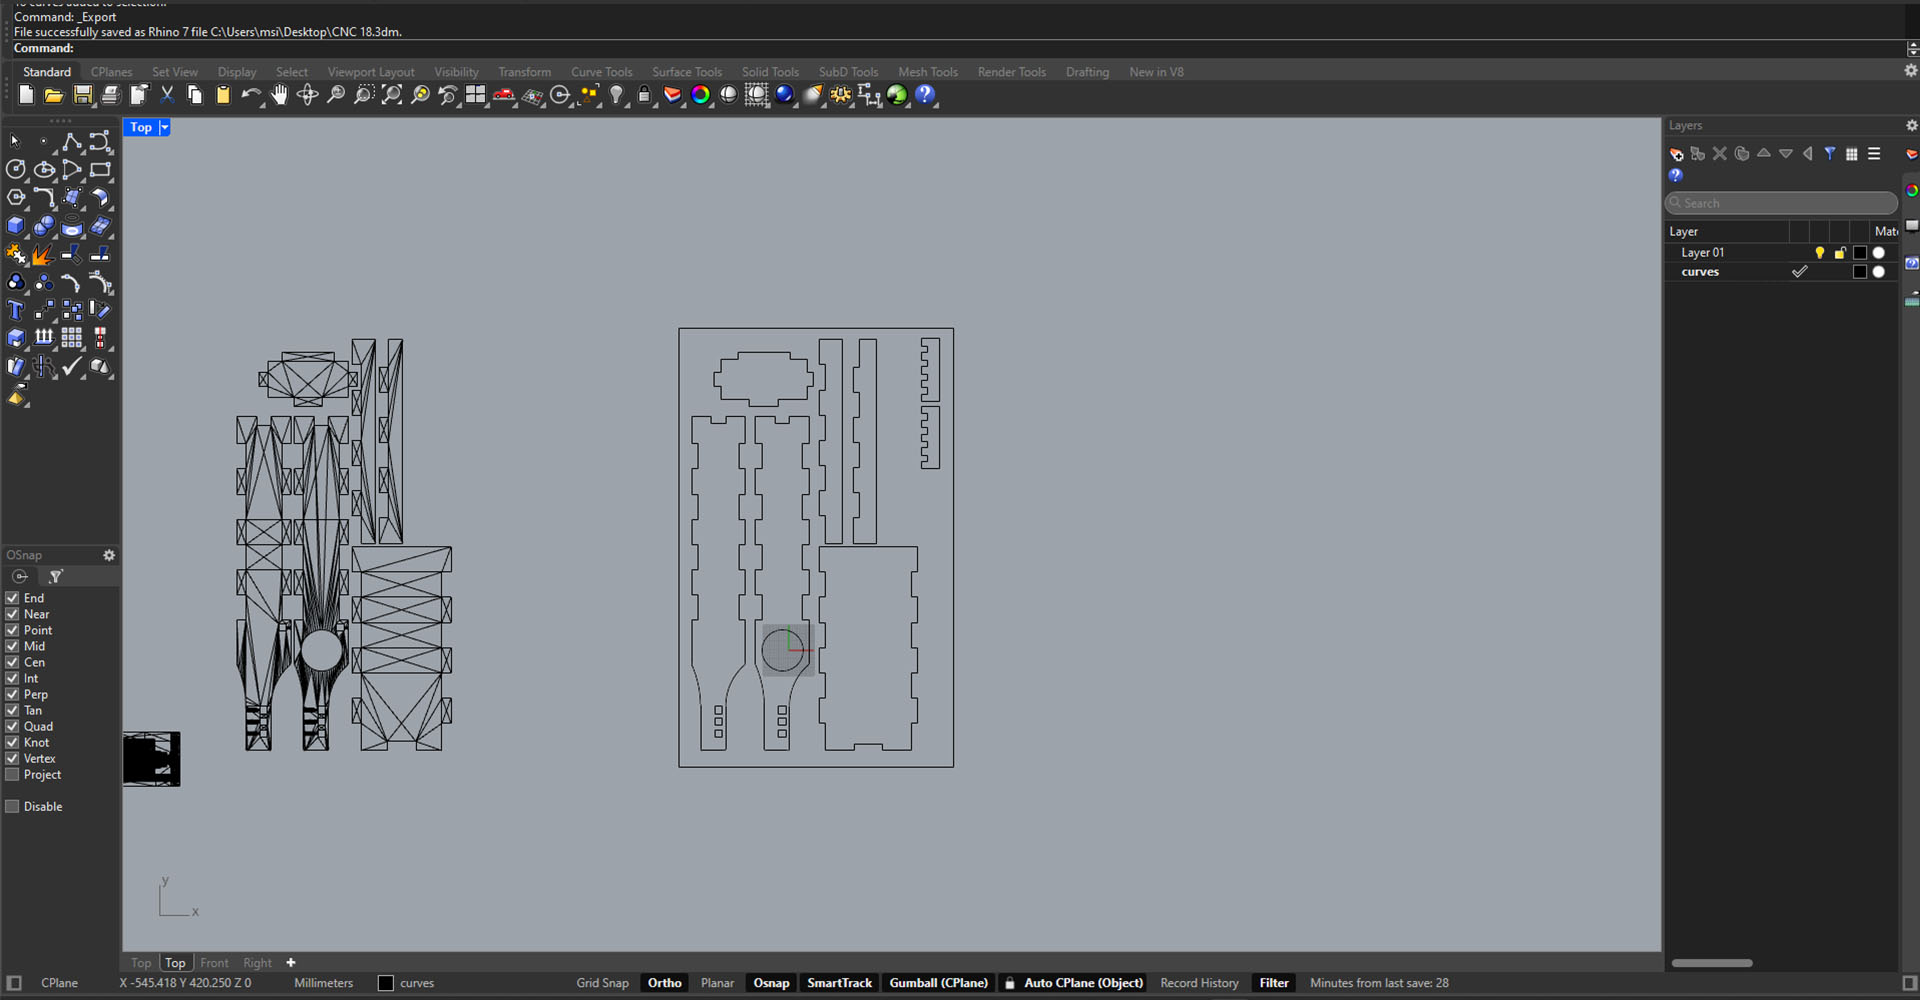
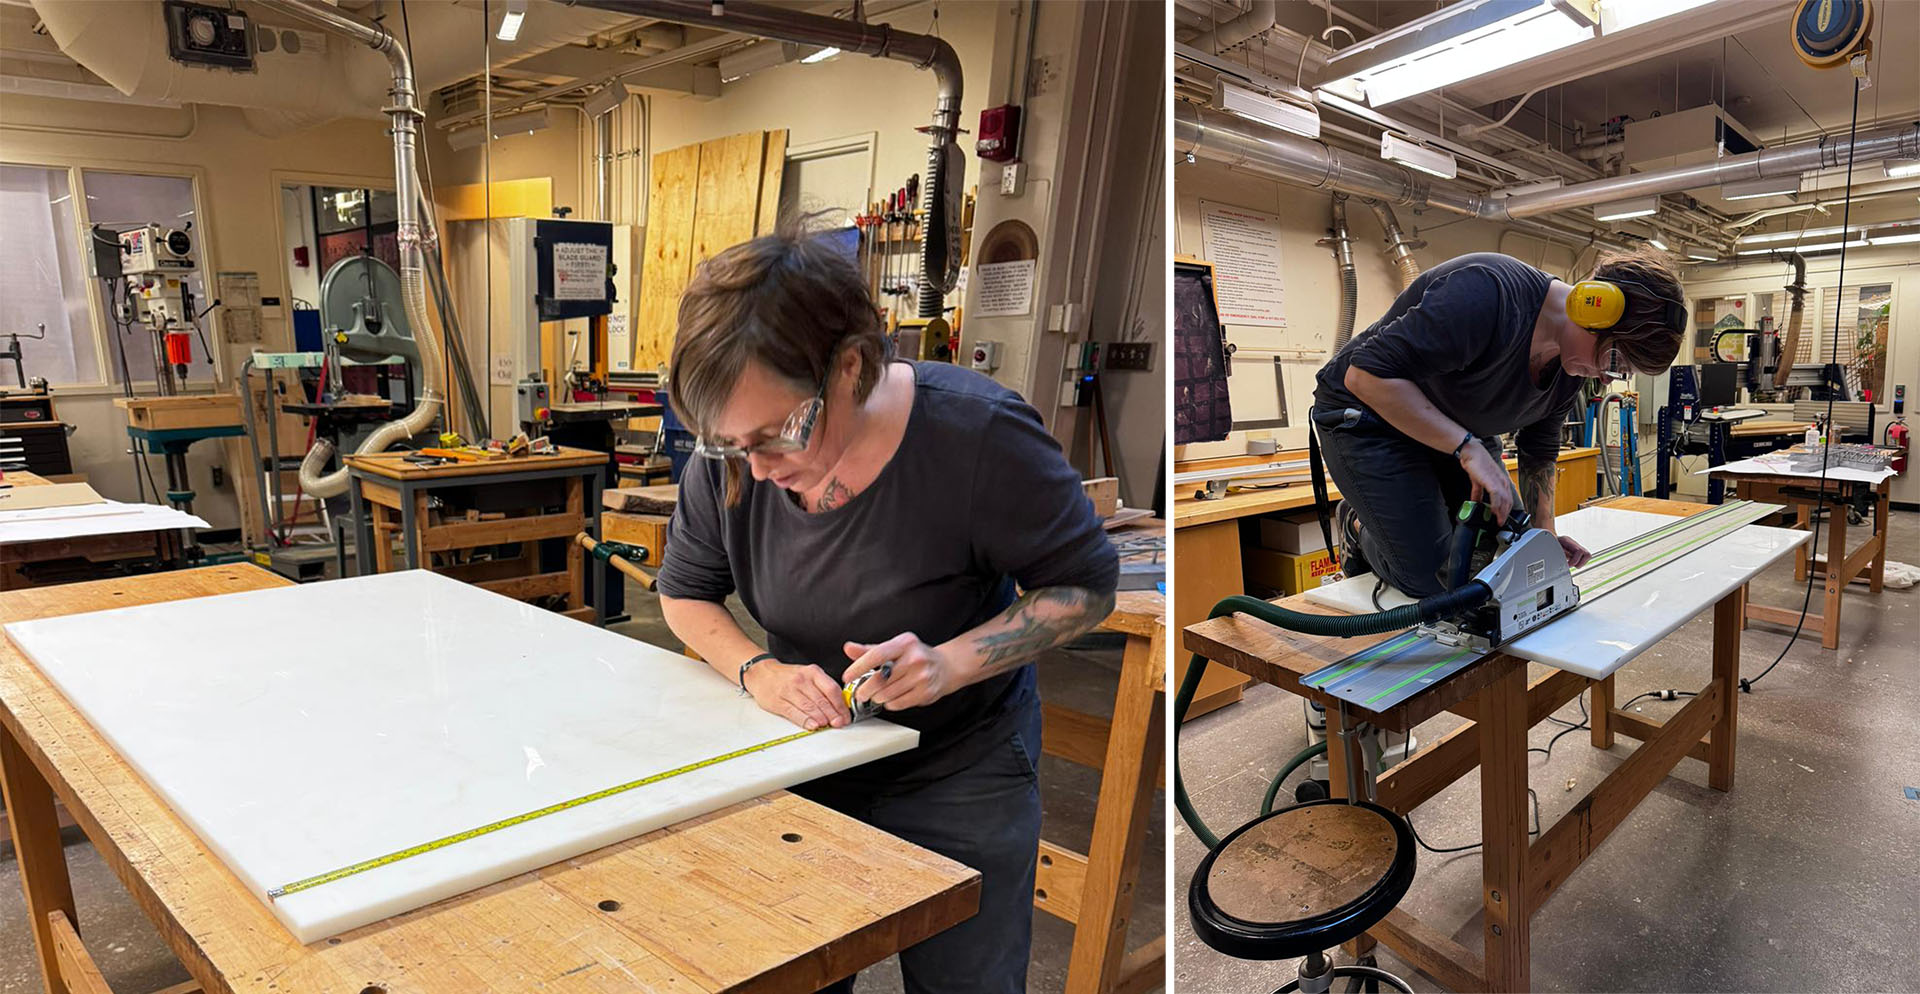
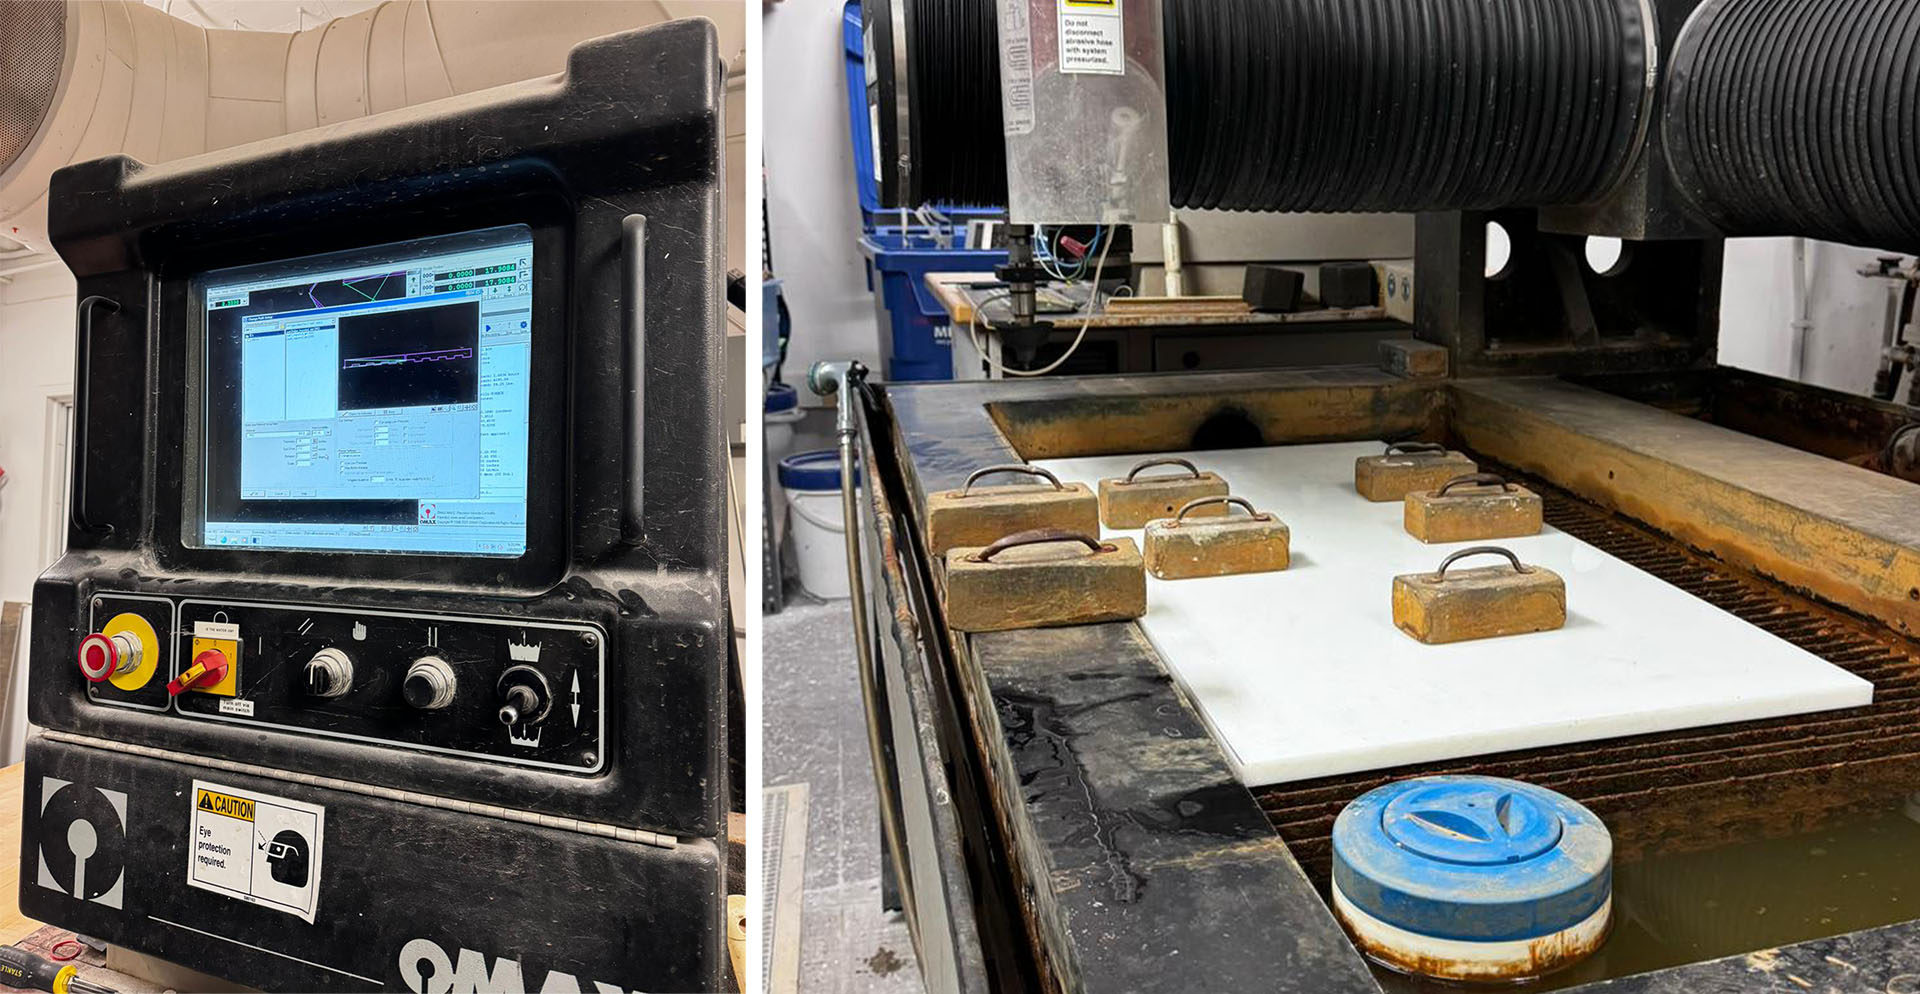
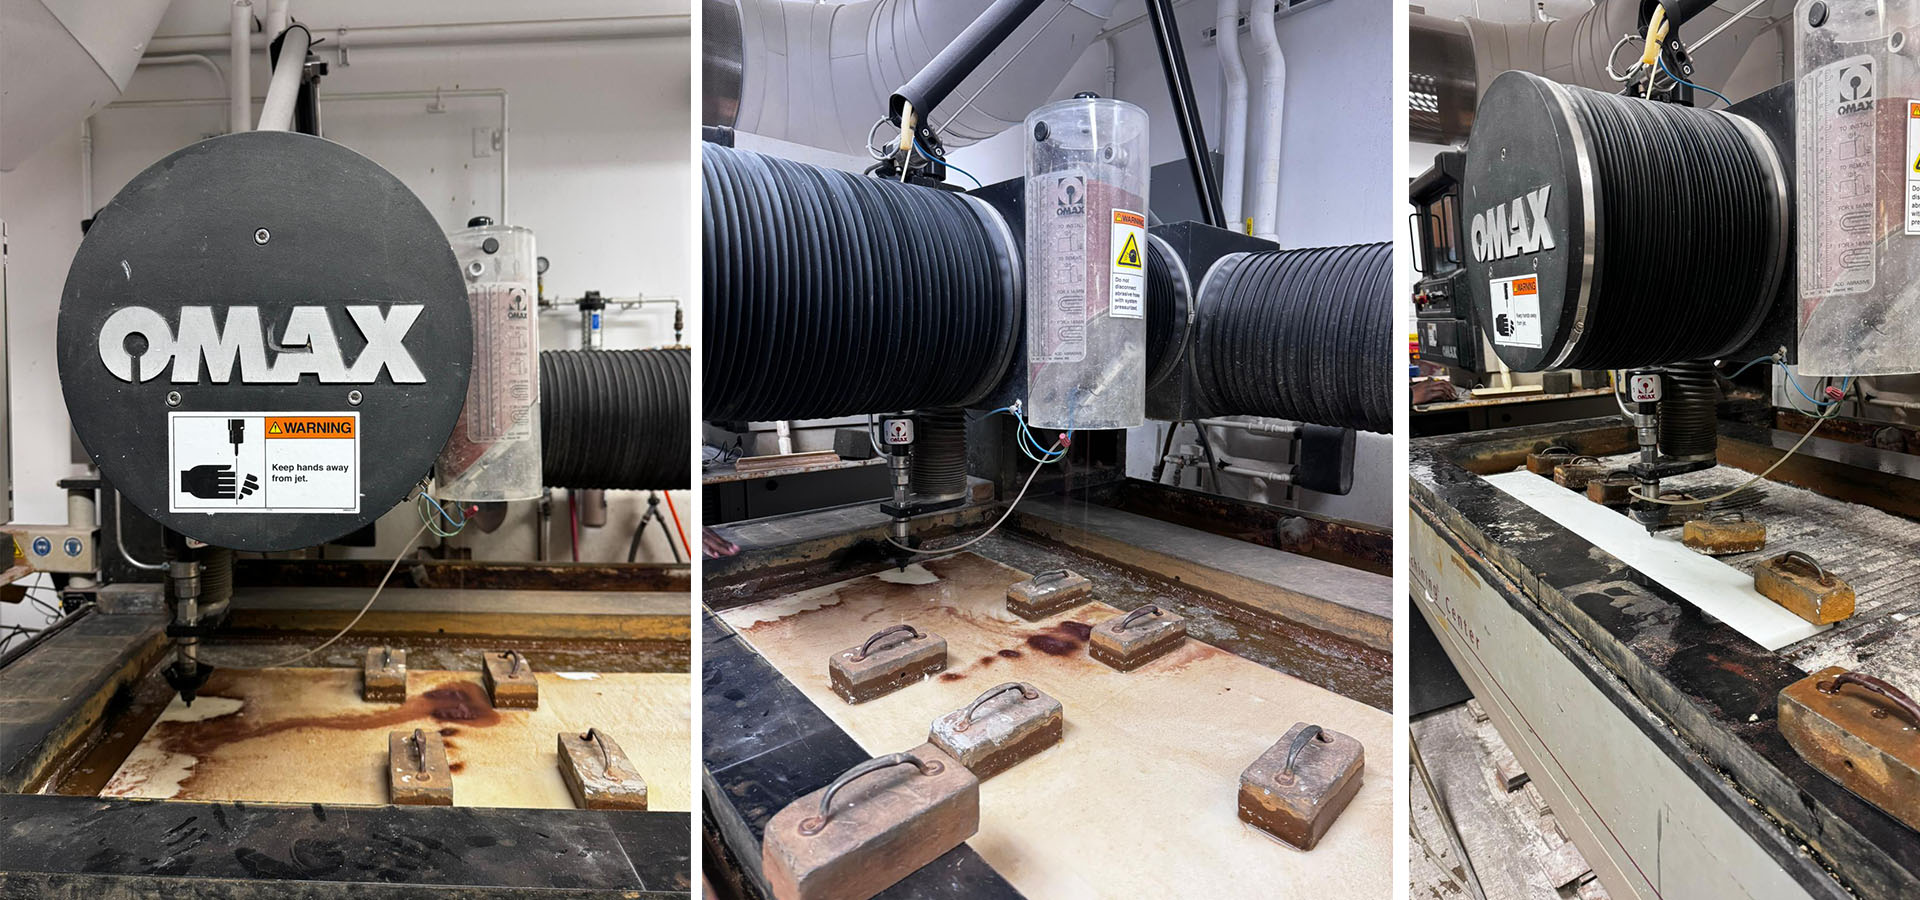
Initially, we considered wood for the machine's enclosure, but after Chris at N51 showed us a plastic piece, we opted for polycarbonate for its durability and better fit with the concept. We then moved it to the arch shop. Jenny initially planned to use the CNC machine for cutting, but due to its slow speed, we decided on waterjet cutting instead. To fit the material on the waterjet bed, we first shortened it with a table saw. I revised the 2D drawing for repositioning the shortened pieces. As plastic doesn't compress like wood, we conducted a test cut to ensure the correct thickness. Jen found the cut too tight and suggested increasing the machine's cutting offset from 0.12 to 0.15. However, this setting made the parts too large, so we reverted the offset back to 0.12 for subsequent pieces.
One challenge with the waterjet is that the cut pieces tend to float, so they need to be weighed down. Before cutting, we checked the path of the sand mill and placed weights accordingly, ensuring they wouldn't interfere. This was easier for the larger piece, but placing weights on the long, thin piece we cut was challenging. Shah managed this by positioning all weights along the edges, and then moving some directly onto the material after one side was cut. The cutting process took about 1.5 hours and cost roughly 150 dollars. The result was a smooth, perfect cut. I cleaned the pieces from the water and assembled them together.
Assembly
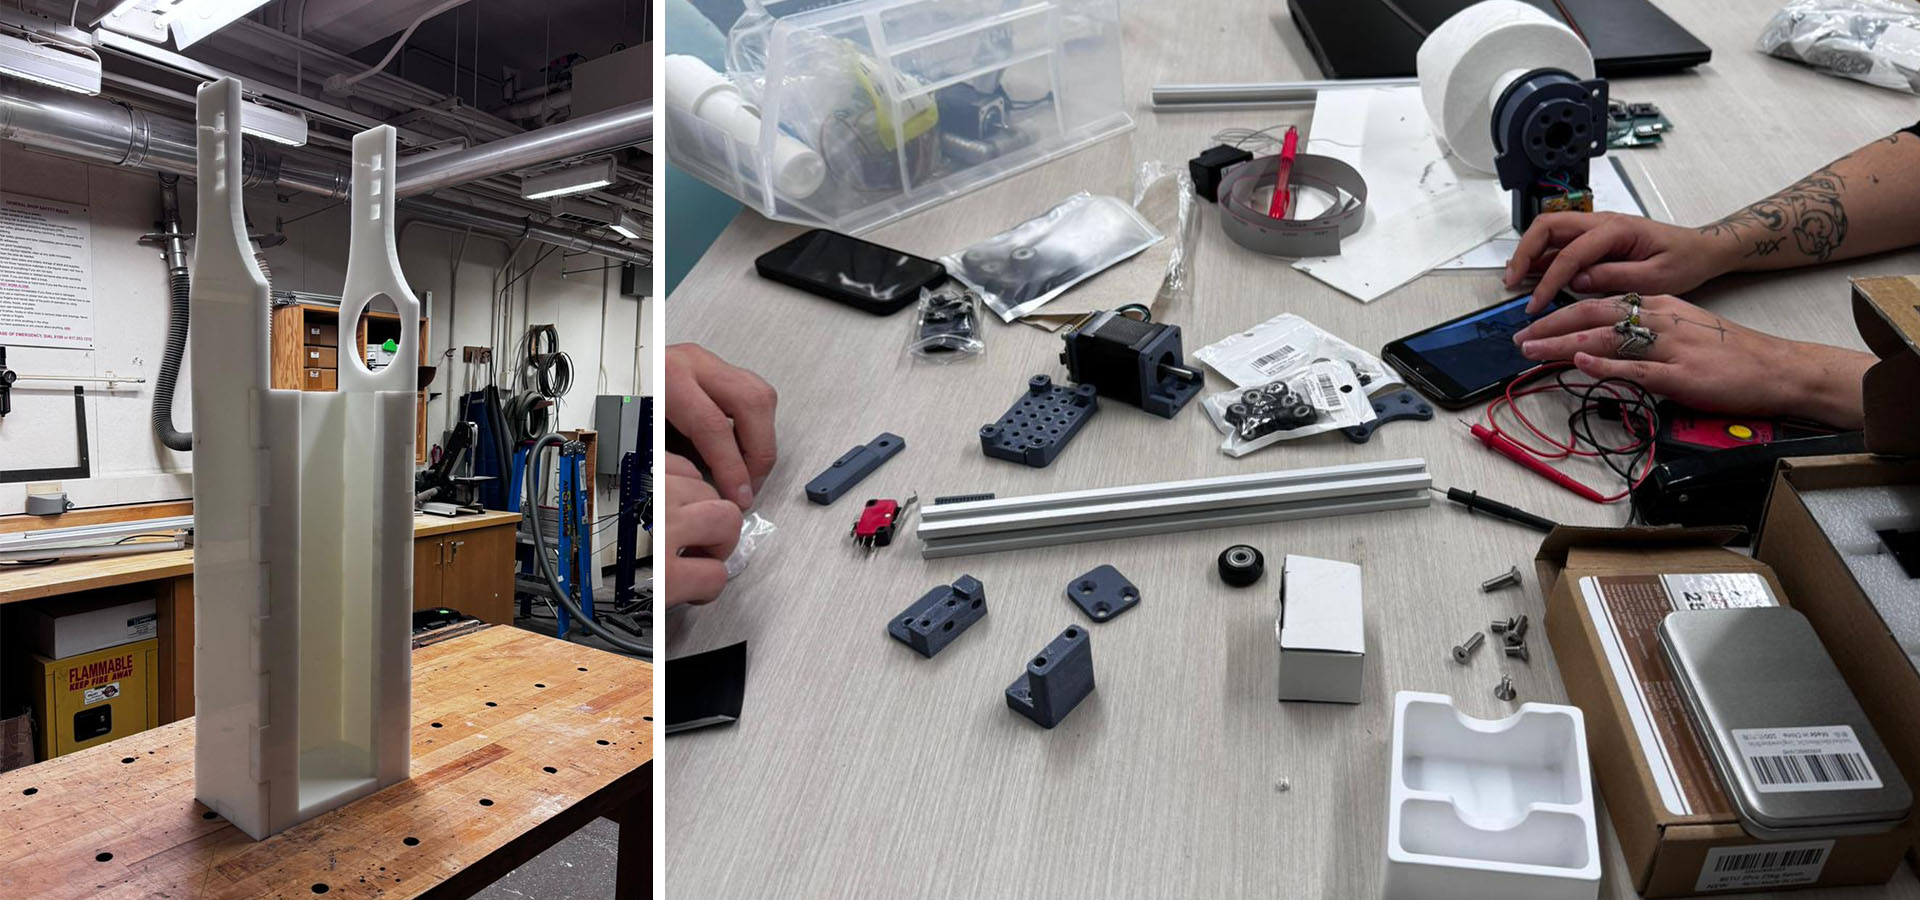
After removing the materials from the waterjet, they needed to be dried and thoroughly cleaned, which I did before assembling all the parts. The plastic's perfectly smooth texture not only reduced friction but also, being non-compressible and heavier than wood, led to weaker joint details, making the structure less sturdy compared to wood. However, visually, it looked much cleaner and more appealing.
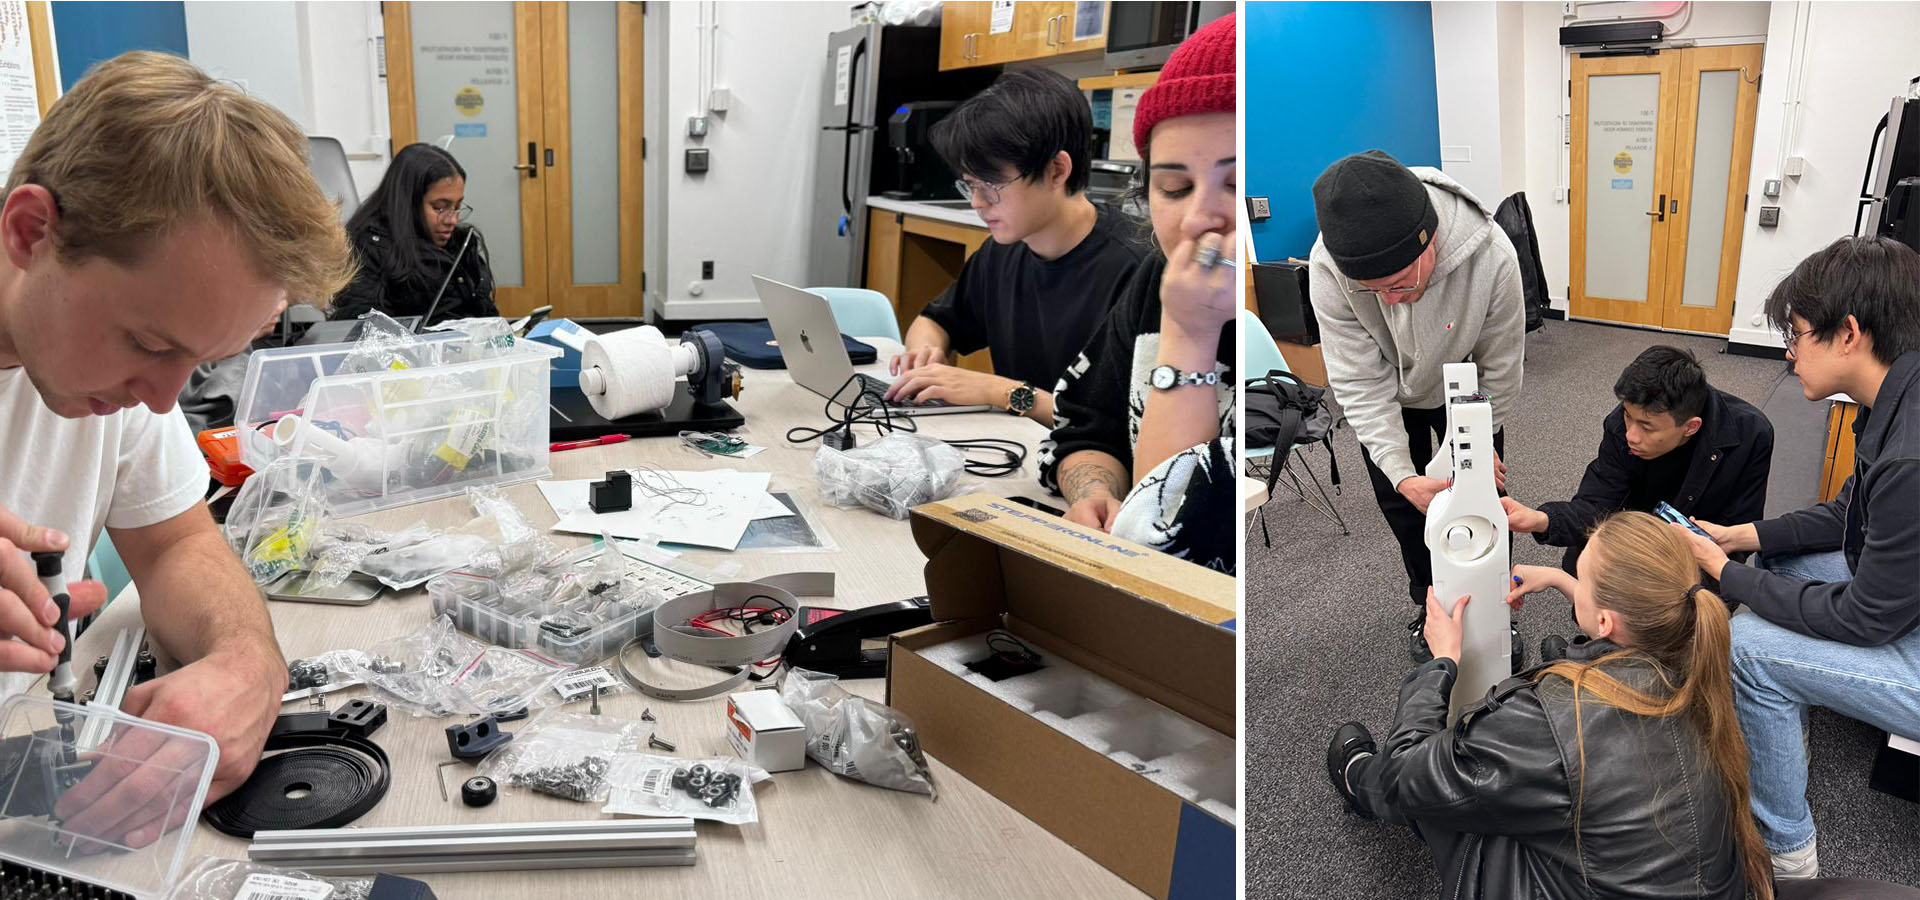
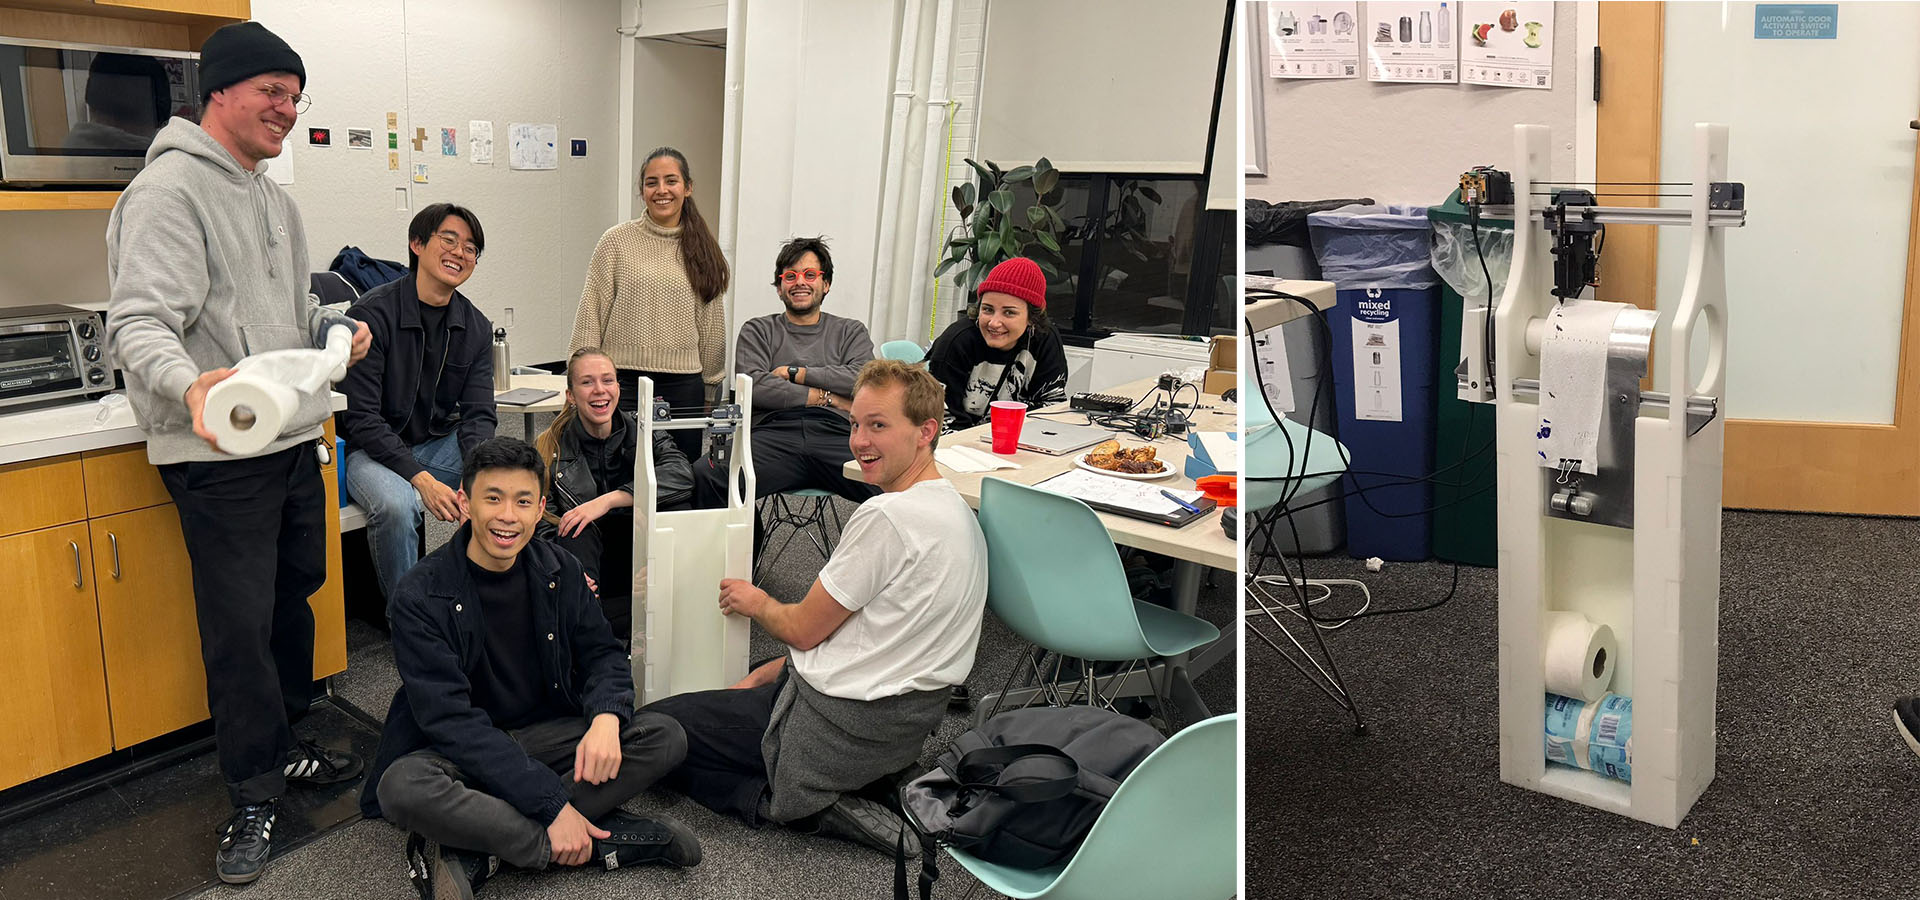
Once we assembled the cut pieces, we went downstairs to combine the motors and extrusions. Merve, Charlie, and I started the assembly process. During this, we realized we had forgotten to open a gap in the cut file, which we had to rectify. We cut the extrusions with a dust saw, supported them with triangular supports, and attached them to the structure. This reinforcement made the structure stronger and helped it stay intact. After everything was assembled and the software was finalized, you can find the final look of the machine below.
- Donec nulla non metus auctor fringilla.
- Lorem ipsum dolor sit amet.
- Lorem ipsum dolor sit amet.
- Lorem ipsum dolor sit amet.
- Donec nulla non metus auctor fringilla.
- Donec nulla non metus auctor fringilla.