
Our primary task for this week is to delve deep into the safety protocols. Once we're familiar with the precautions, the next step is to make test casts. Individually,after the design phase, the milling process awaits for a mold will serve as the foundation for casting parts.
Group Work
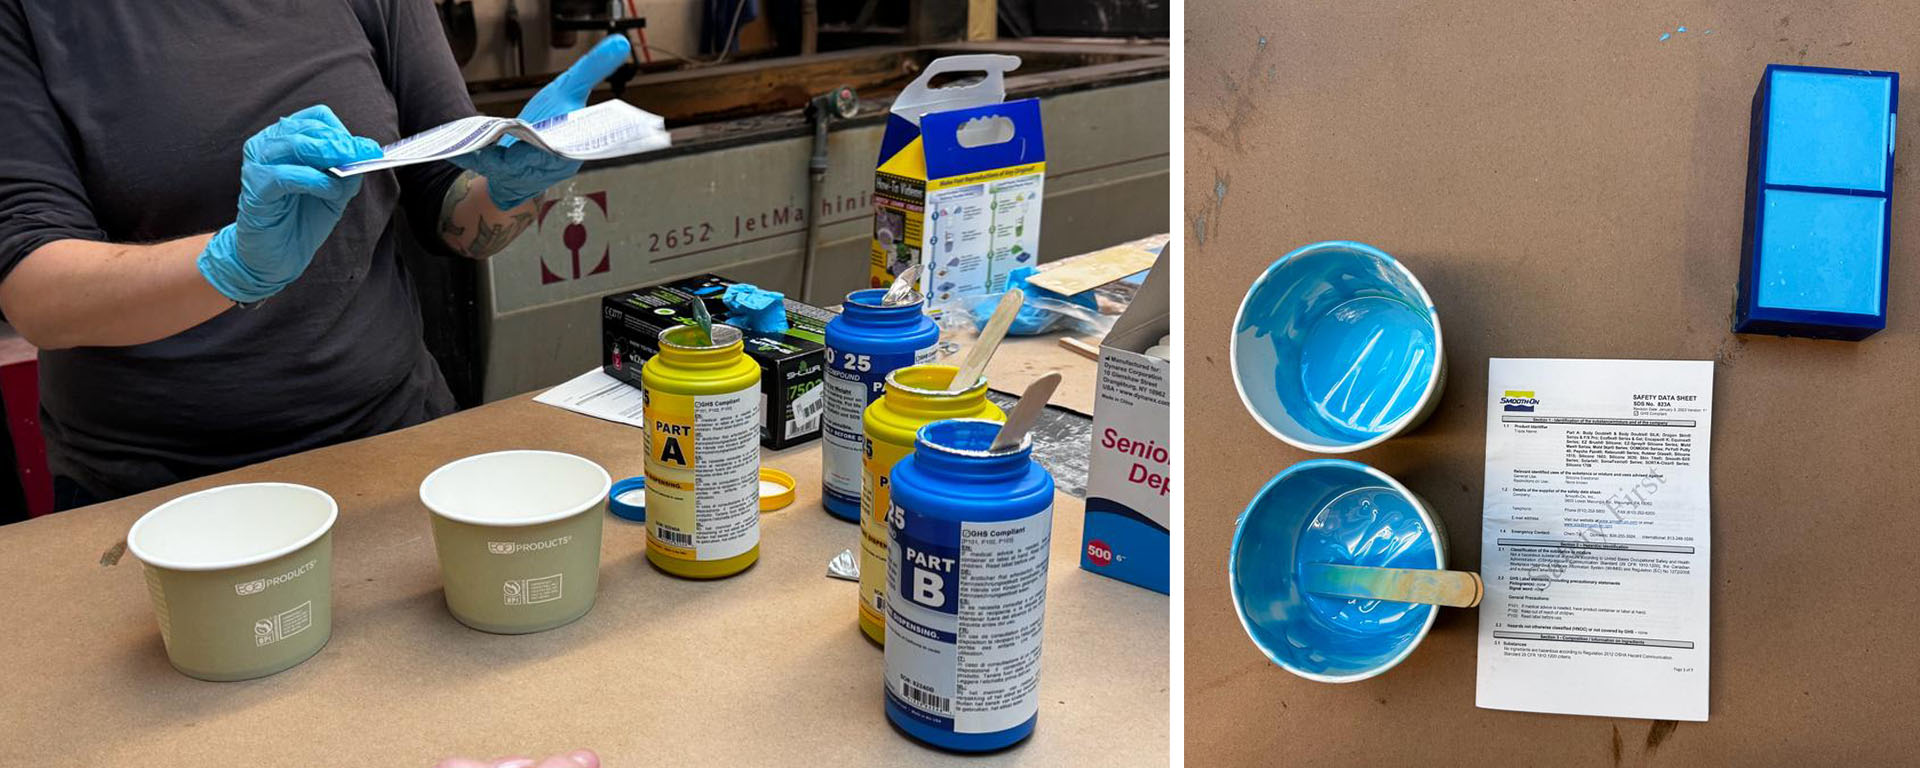
In this week's group project under Jes's leadership, we experimented with the oomoo material, pouring it into molds we had previously prepared. We began by reviewing the material's safety sheet. Before using the oomoo, we whisked its contents in the bottles. We then poured it into two fresh cups in the designated ratio. After combining them, we whisked the mixture thoroughly until well-blended. As a final step, we filled the pre-milled molds, and to remove any trapped air bubbles, we tapped the molds on the table for about 5 minutes. This action greatly reduced the bubble count to nearly none. Finally, we allowed the material to set and dry.
Design of the Mold
I have a passion for cooking, particularly pastas and desserts. For this week's casting project, I aimed to create a textured sphere to enhance the presentation of my dishes. The idea was for this sphere to imprint its unique texture onto broad pastry surfaces as it's rolled over them.
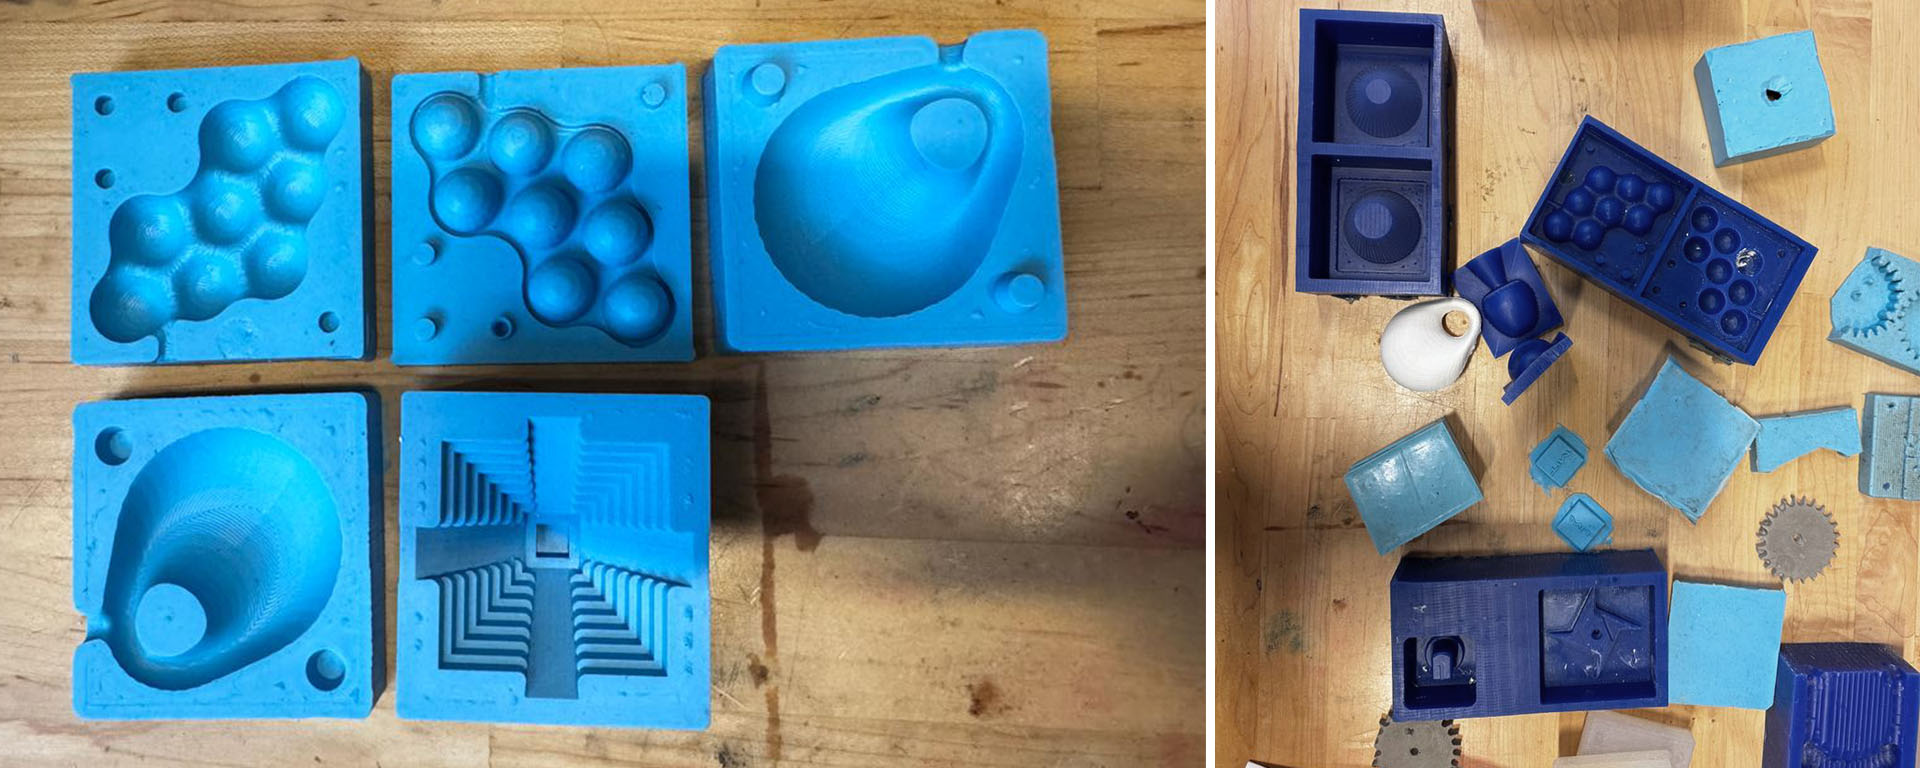
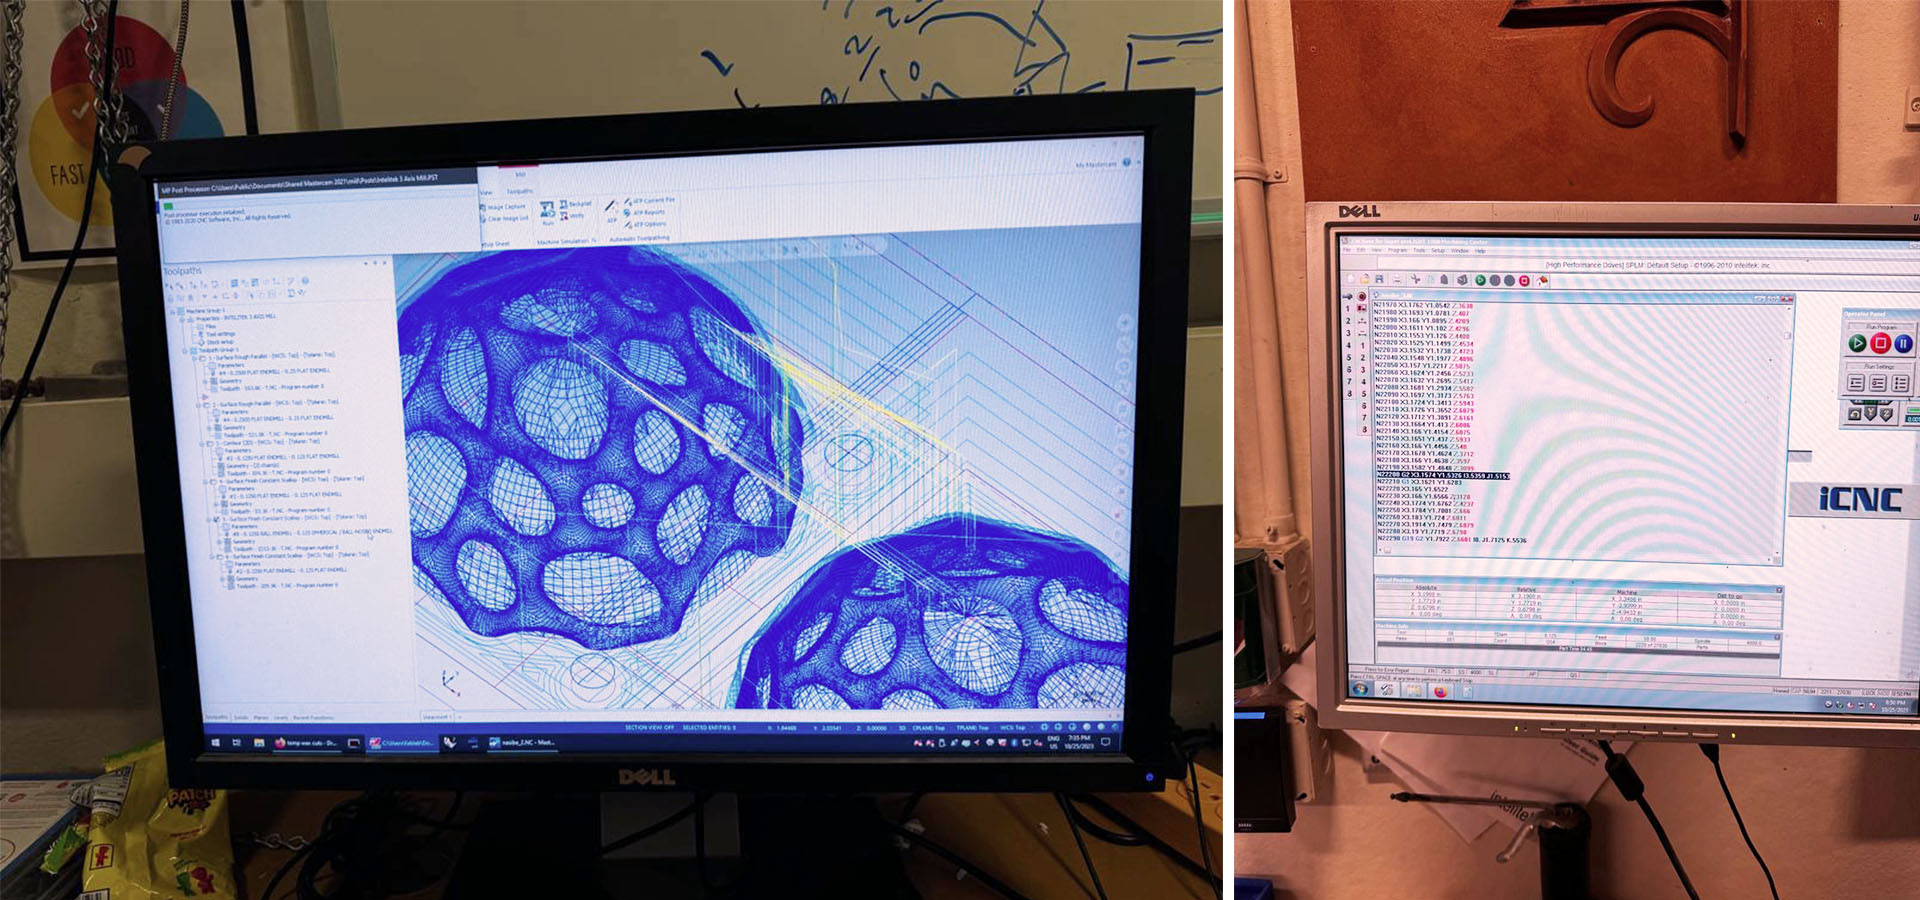
I designed a Voronoi-patterned sphere and filled its center with another sphere to ensure that the textures, or the 'bumps and dips,' wouldn't exceed 3 mm on the pastry. I placed the textured sphere on a 3-inch by 6-inch by 1.5-inch quadrangle, offsetting the side by 1/4 inch. I then halved the sphere, positioning both halves within the quadrangle and added four cylindrical structures that were recessed on one side and protruding on the opposite.
After finalizing the design, I forwarded the model to Jen. Since she's responsible for overseeing the machine operations and my model would take around three hours to cut, she proposed we schedule the task for this upcoming Thursday.

Milling
The milling process took approximately 2.5 hours. It went smoothly. We did two rough cuts, one with a 1/4 in endmill and the second with an 1/8 in. Between each cut, we vacuumed up the wax accumulated inside and continued.

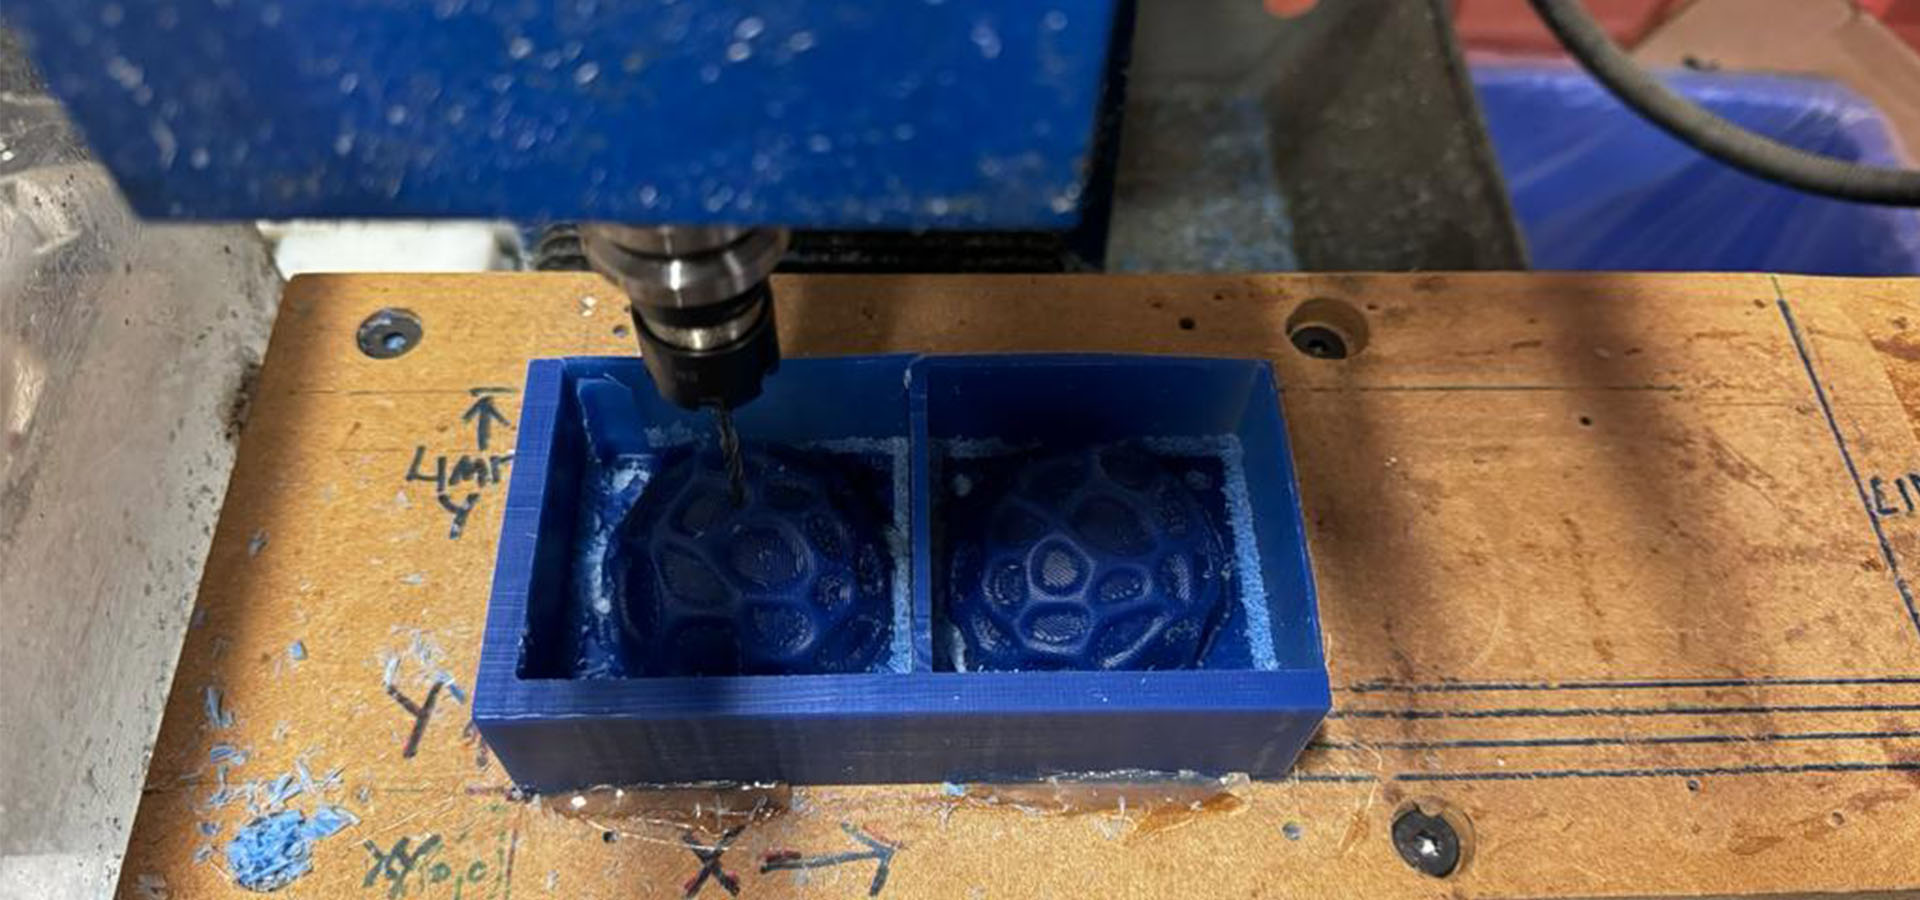
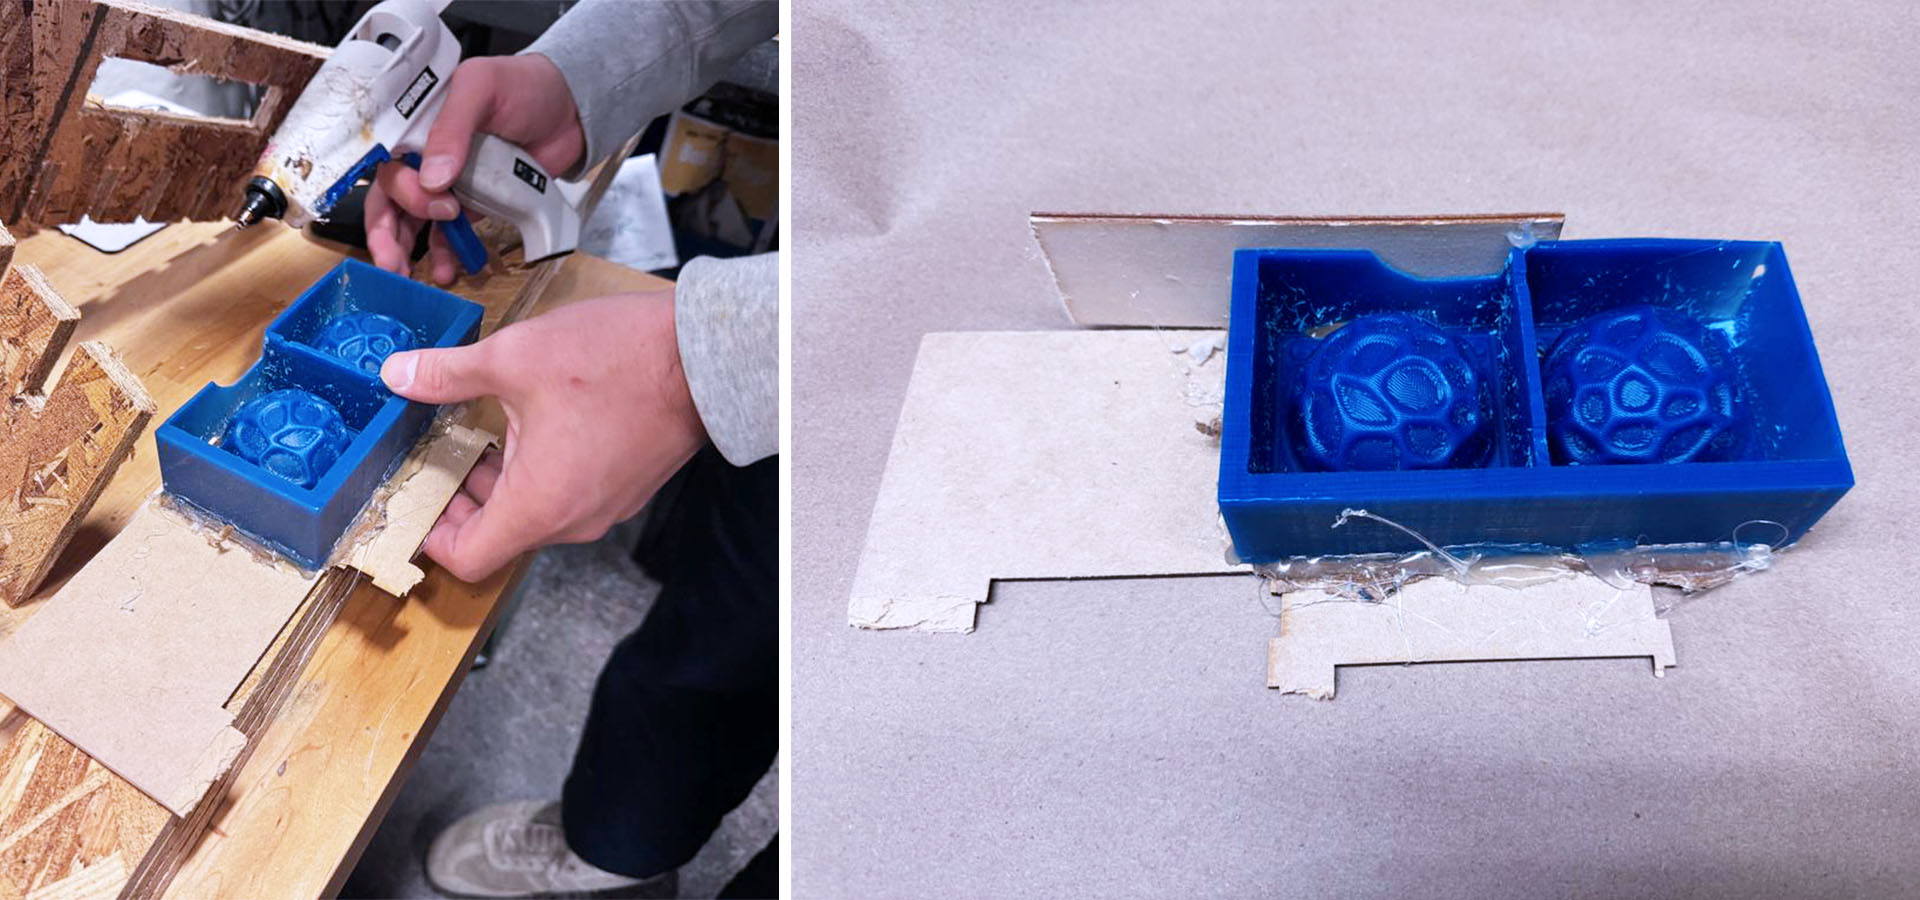
When we completed the last cut and swept it with a broom, I saw that the edge of the wax we used was very thin and broke. Then I had to patch it up to complete it. I fixed the flat pieces I found with silicone.
Oomoo Casting
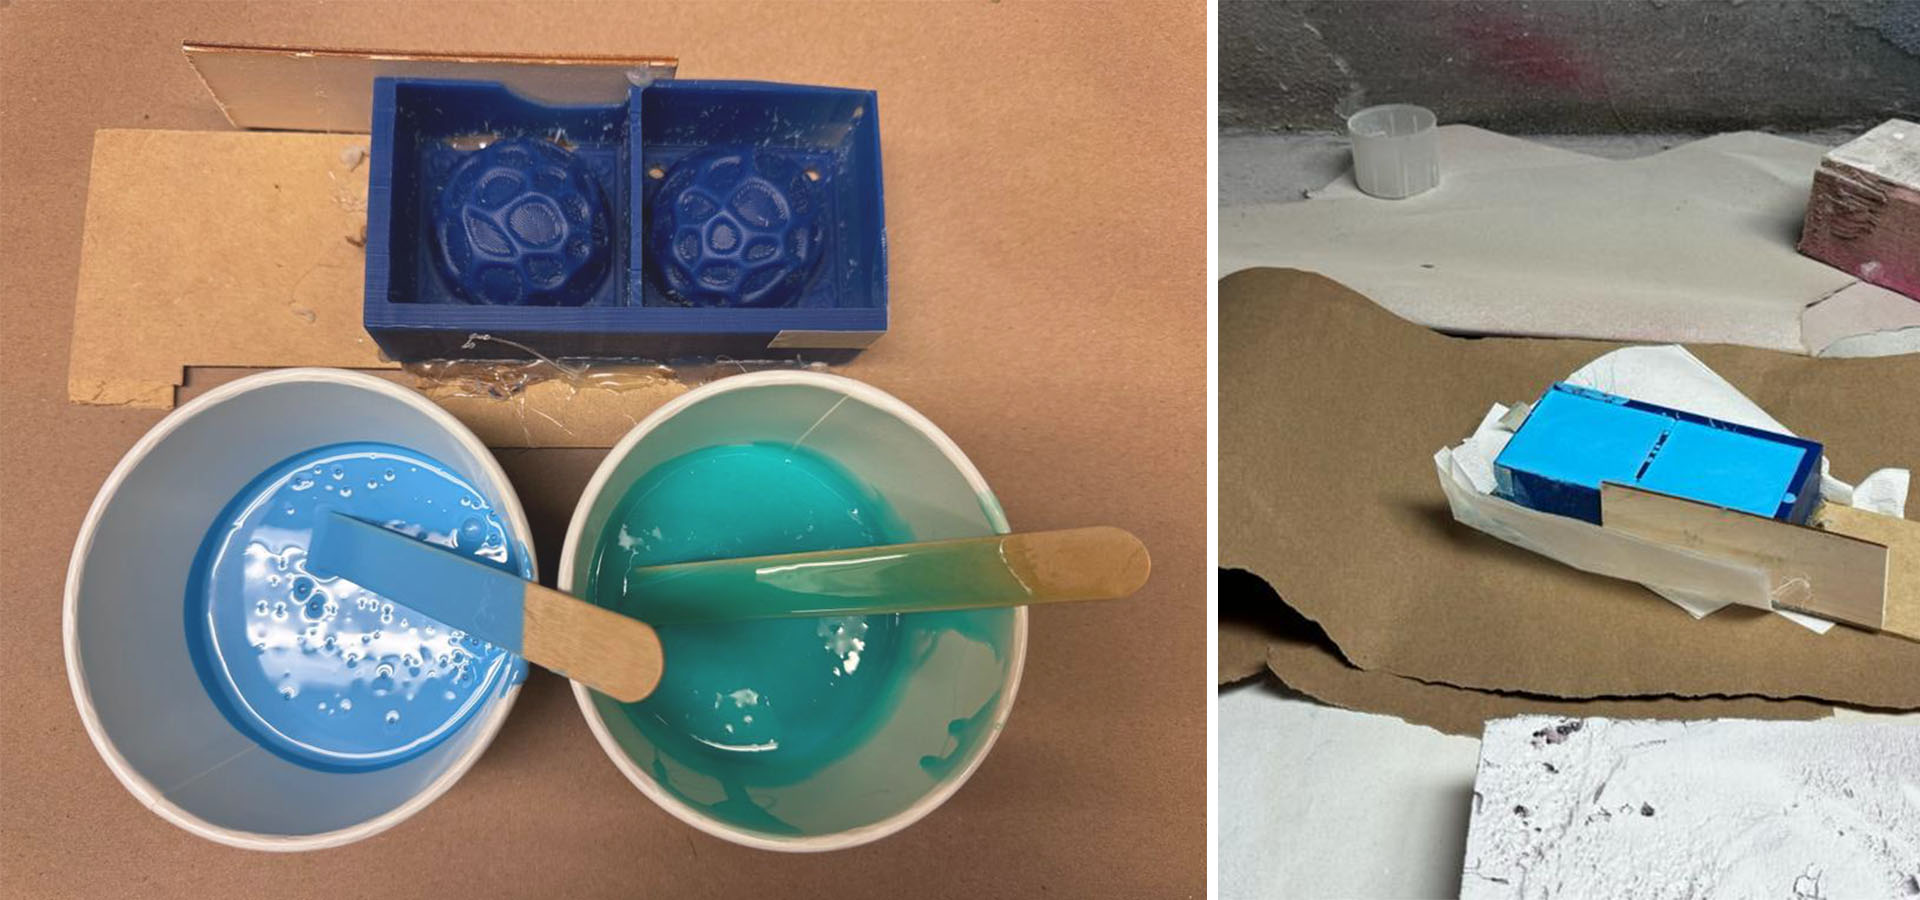
Preparing for casting involved ensuring a spotless work area, laying down brown paper, and setting out paper cups and wooden stir sticks. The two components of the casting mix were measured, combined with careful horizontal stirring to avoid air bubbles, and poured in a thin stream. To remove air bubbles, the mold was tapped against the work surface, then placed under a spray booth to solidify.

After the Oomoo silicone rubber set, I trimmed off excess material with a utility knife. This step was crucial for ensuring a smooth join between the mold halves.

Casting with Epoxy
While buying epoxy, I looked at the ingredients of several brands that stated that it was food safe. Even though it says it is food safe, I have completely steered clear of the idea of touching my food with anything made with epoxy. For this reason, I will not use the mold I will make as a pastery texture sphere.
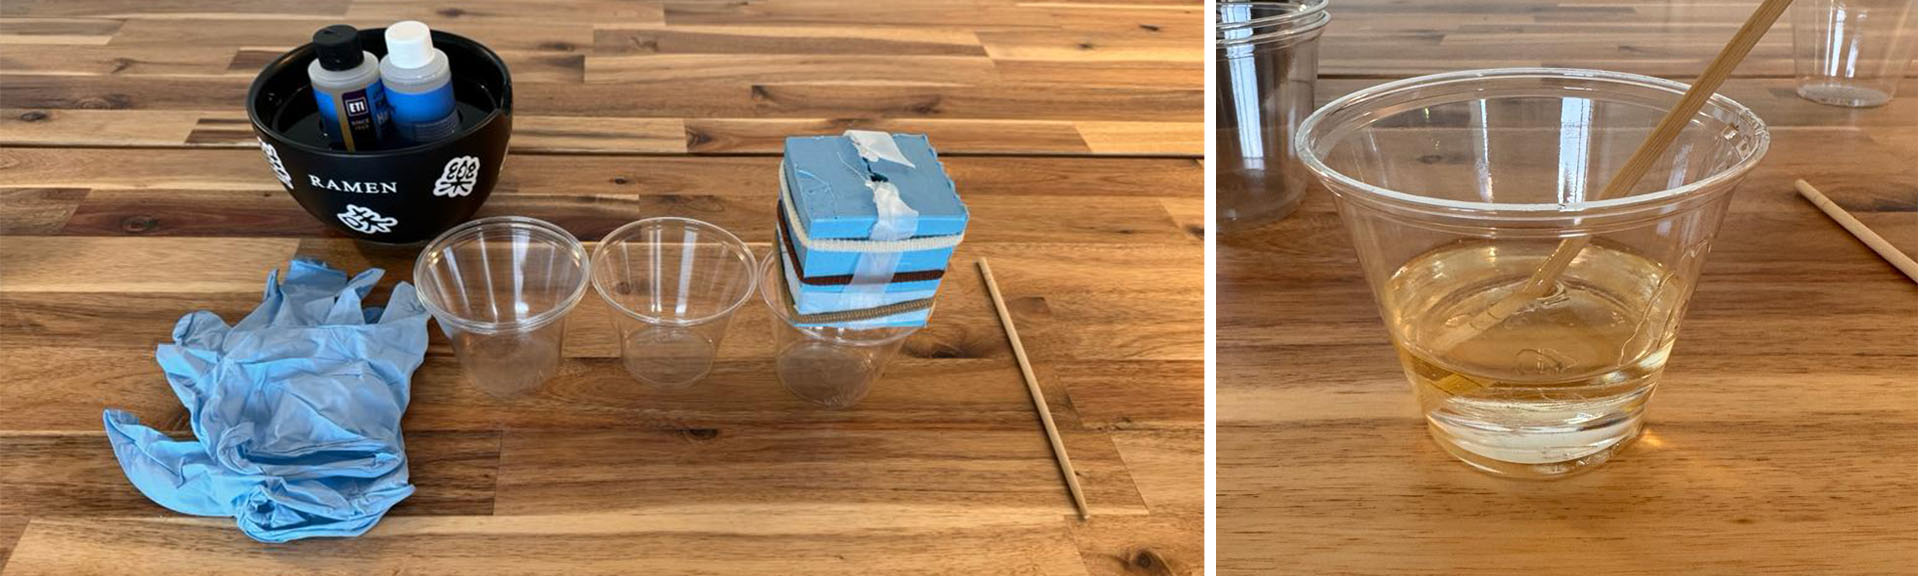
I bought Castin Craft EasyCast Clear Casting Epoxy and read the instructions for use. First of all, you should definitely not work with epoxy alone. It can cause an allergic reaction at any time. And just because you haven't had an allergic reaction before, doesn't mean you won't have it in the future. Therefore, it is necessary to be very careful when using this material.
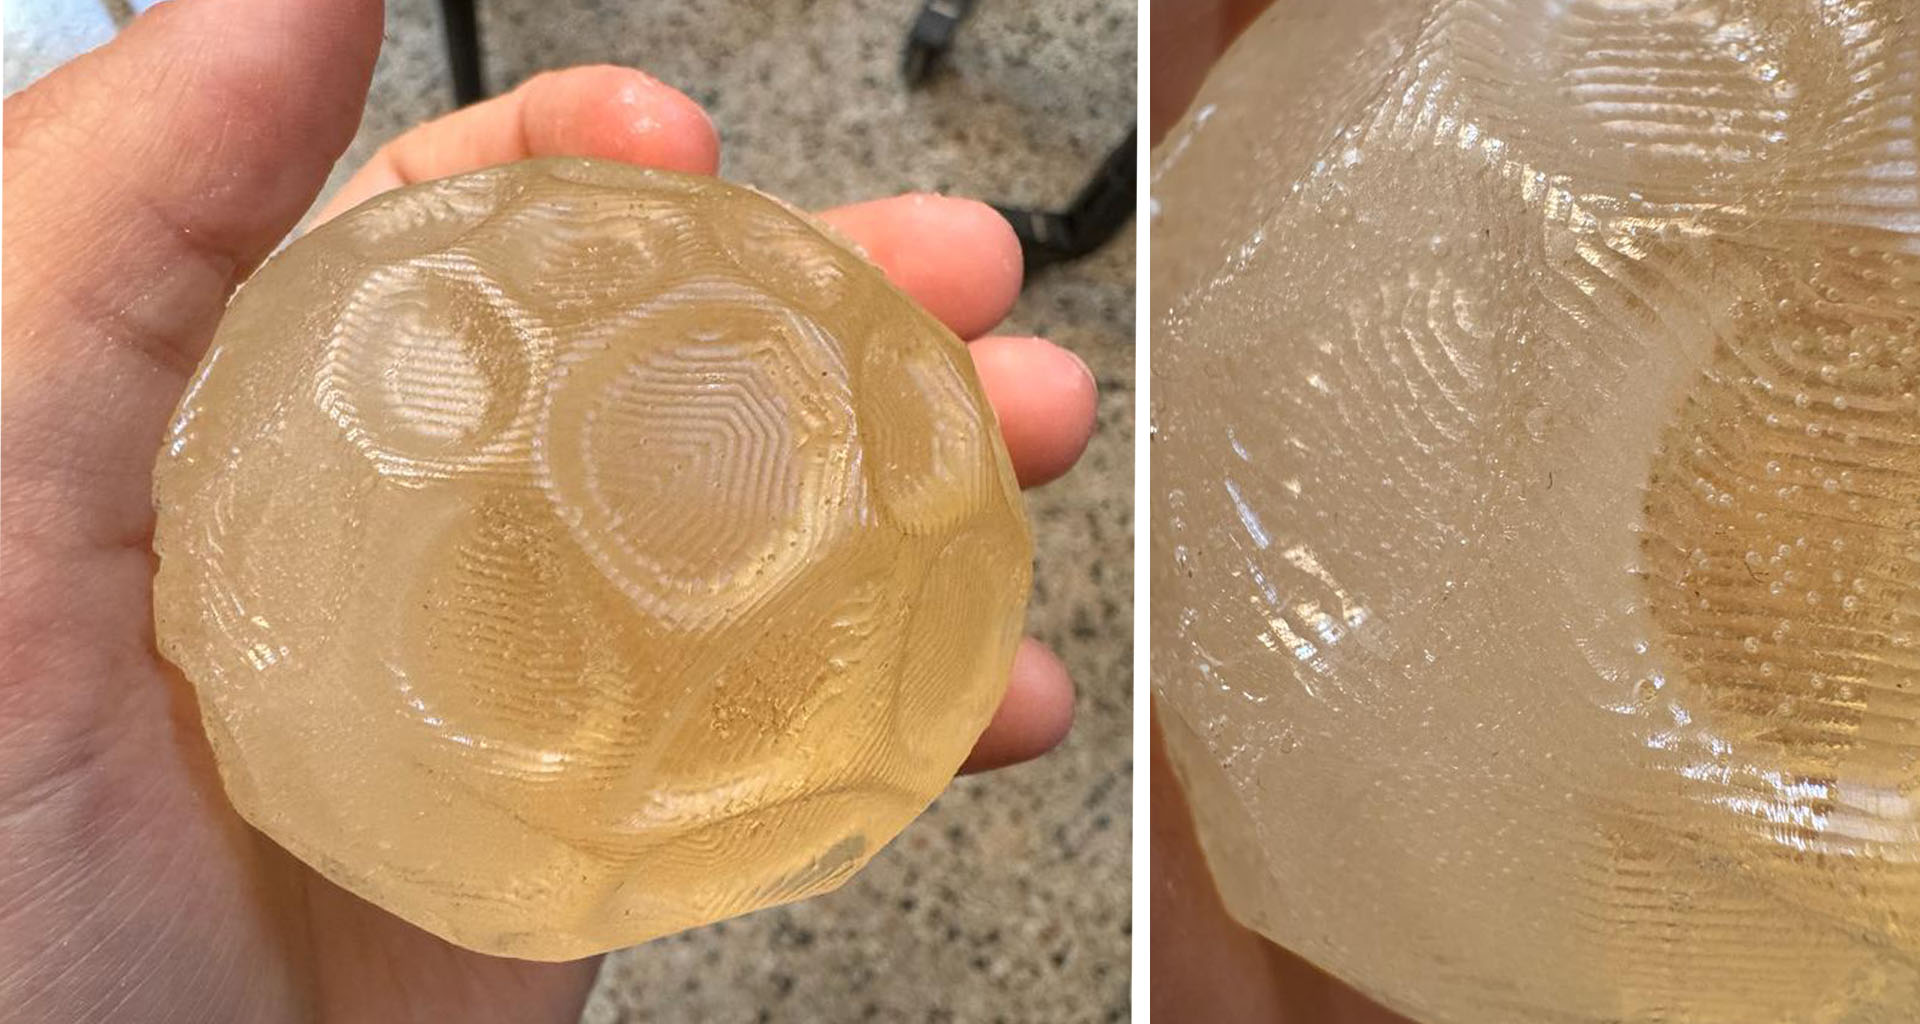
The material consists of two parts. Hardener and resin. According to the user manual, it is necessary to mix these two parts in equal amounts at 25 degrees for 2 + 1 minutes and then pour it slowly. It was written that it would eliminate the bubbles in the material mixture on its own within 5 minutes. I decided to pour the epoxy in two batches to reduce the travel distance of the bubbles.
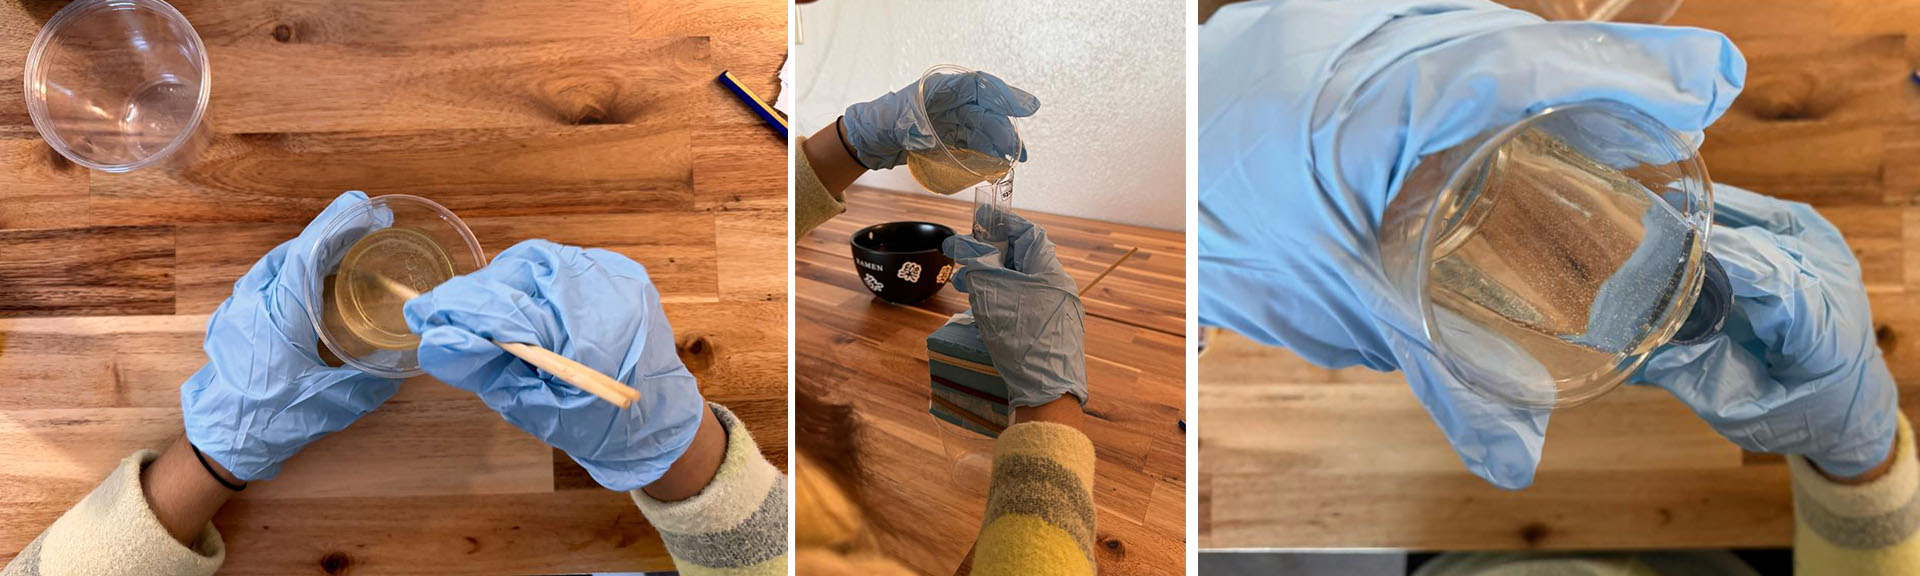
I mixed the first layer for much longer and did not do any heating. After 24 hours, I soaked the second layer in some warm water, heated it, mixed it for 3 minutes as instructed, and poured it. As a result, I saw that the side that I mixed longer and did not heat was much cleaner and had fewer bubbles. However, the piece that I heated a little and mixed for 3 minutes could not expel its bubbles, even though it was a thinner layer.
Alternative Technique
For this week's assignment, I was inspired to craft circler tablets that encapsulate memories from various places we've traveled. During our travels, I've been collecting plants, leaves, herbs, and flowers. However, over time, these natural keepsakes tend to dry out and deteriorate. Wanting to preserve them as lasting mementos, I thought of embedding them in handmade memory tablets.
I decided to use a homemade molding dough to cast circular memory plates, imprinting them with flora from the Cambridge area. To prepare the dough, I combined 1 part salt, 1 part water, and 2 parts all-purpose flour. The mixture yielded a consistency similar to playdough, making it easy to shape. From this dough, I fashioned circles roughly 1 cm thick and arranged my collected specimens on them. To imprint their shapes onto the dough, I pressed them in firmly. Using a glass of consistent size, I trimmed the edges to ensure uniformity among all the pieces. I then prepared additional dough to encase the sides and set them aside to dry.

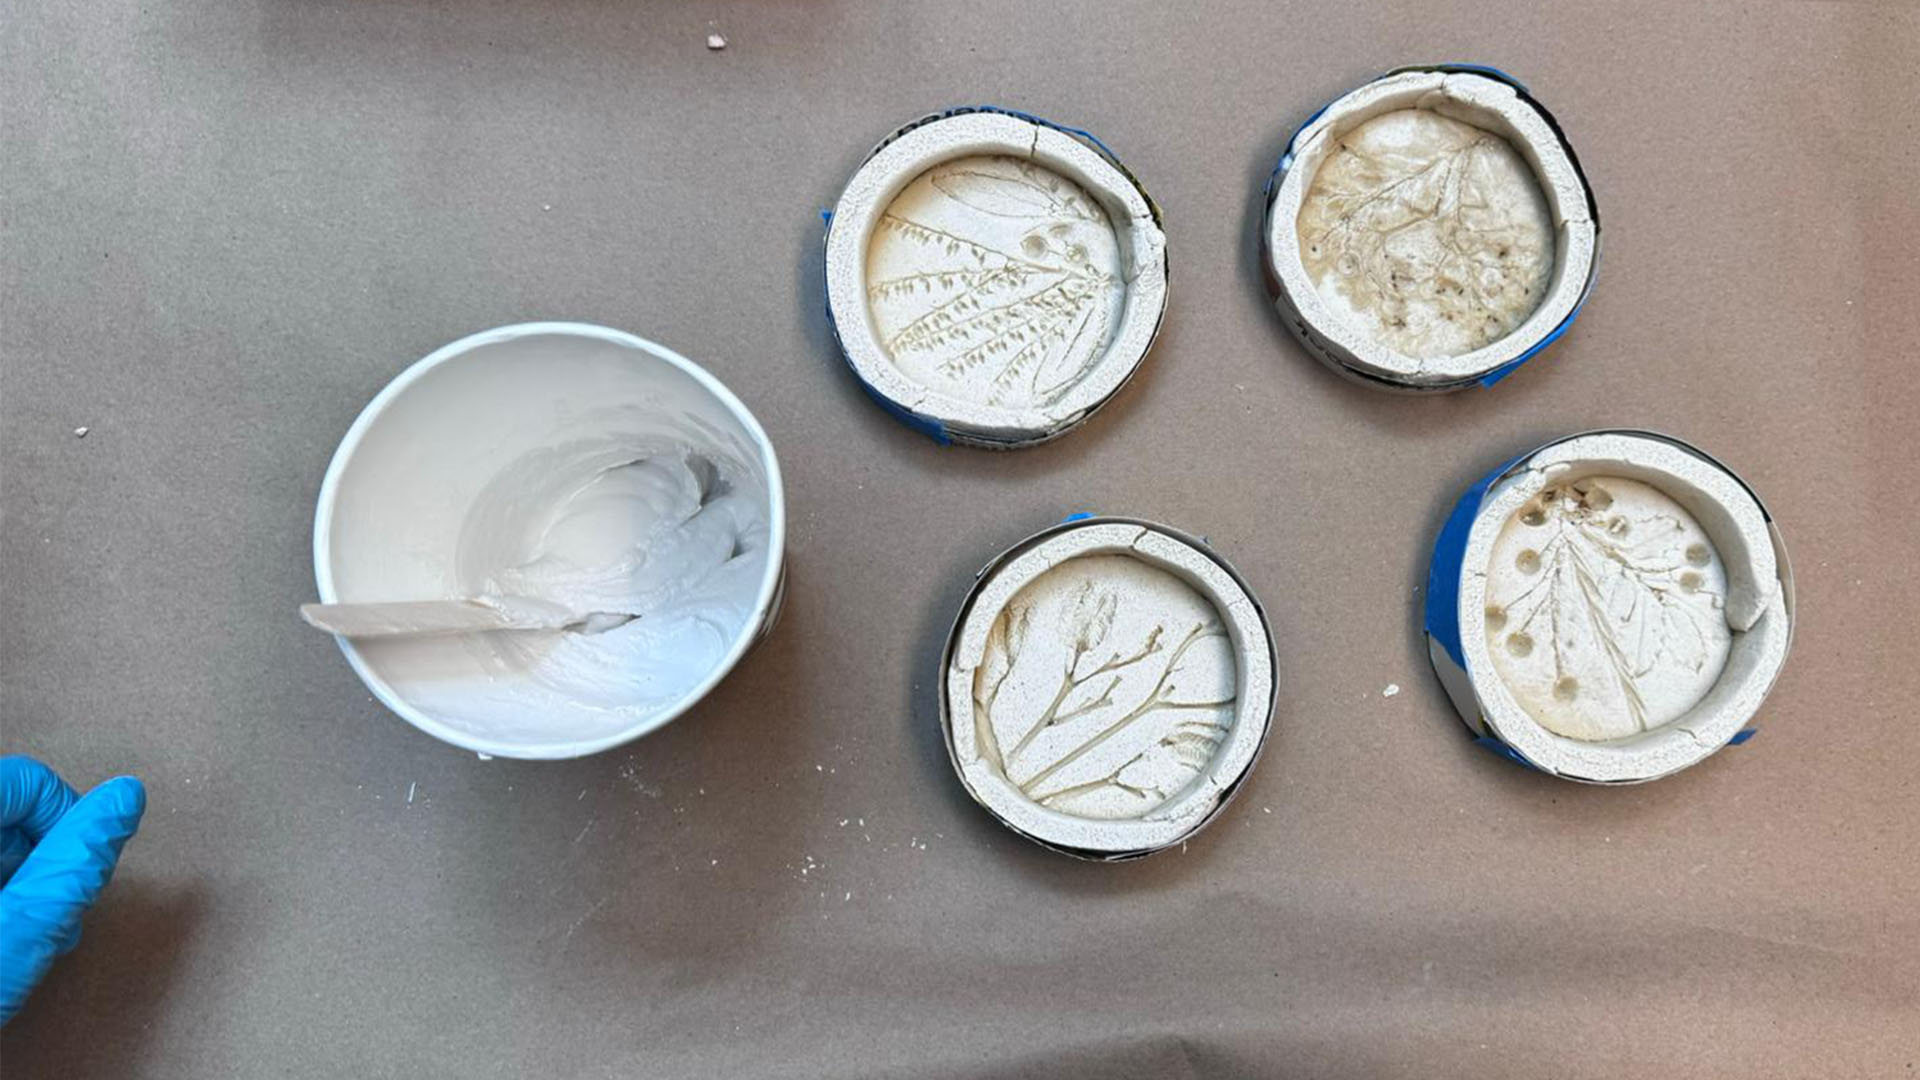
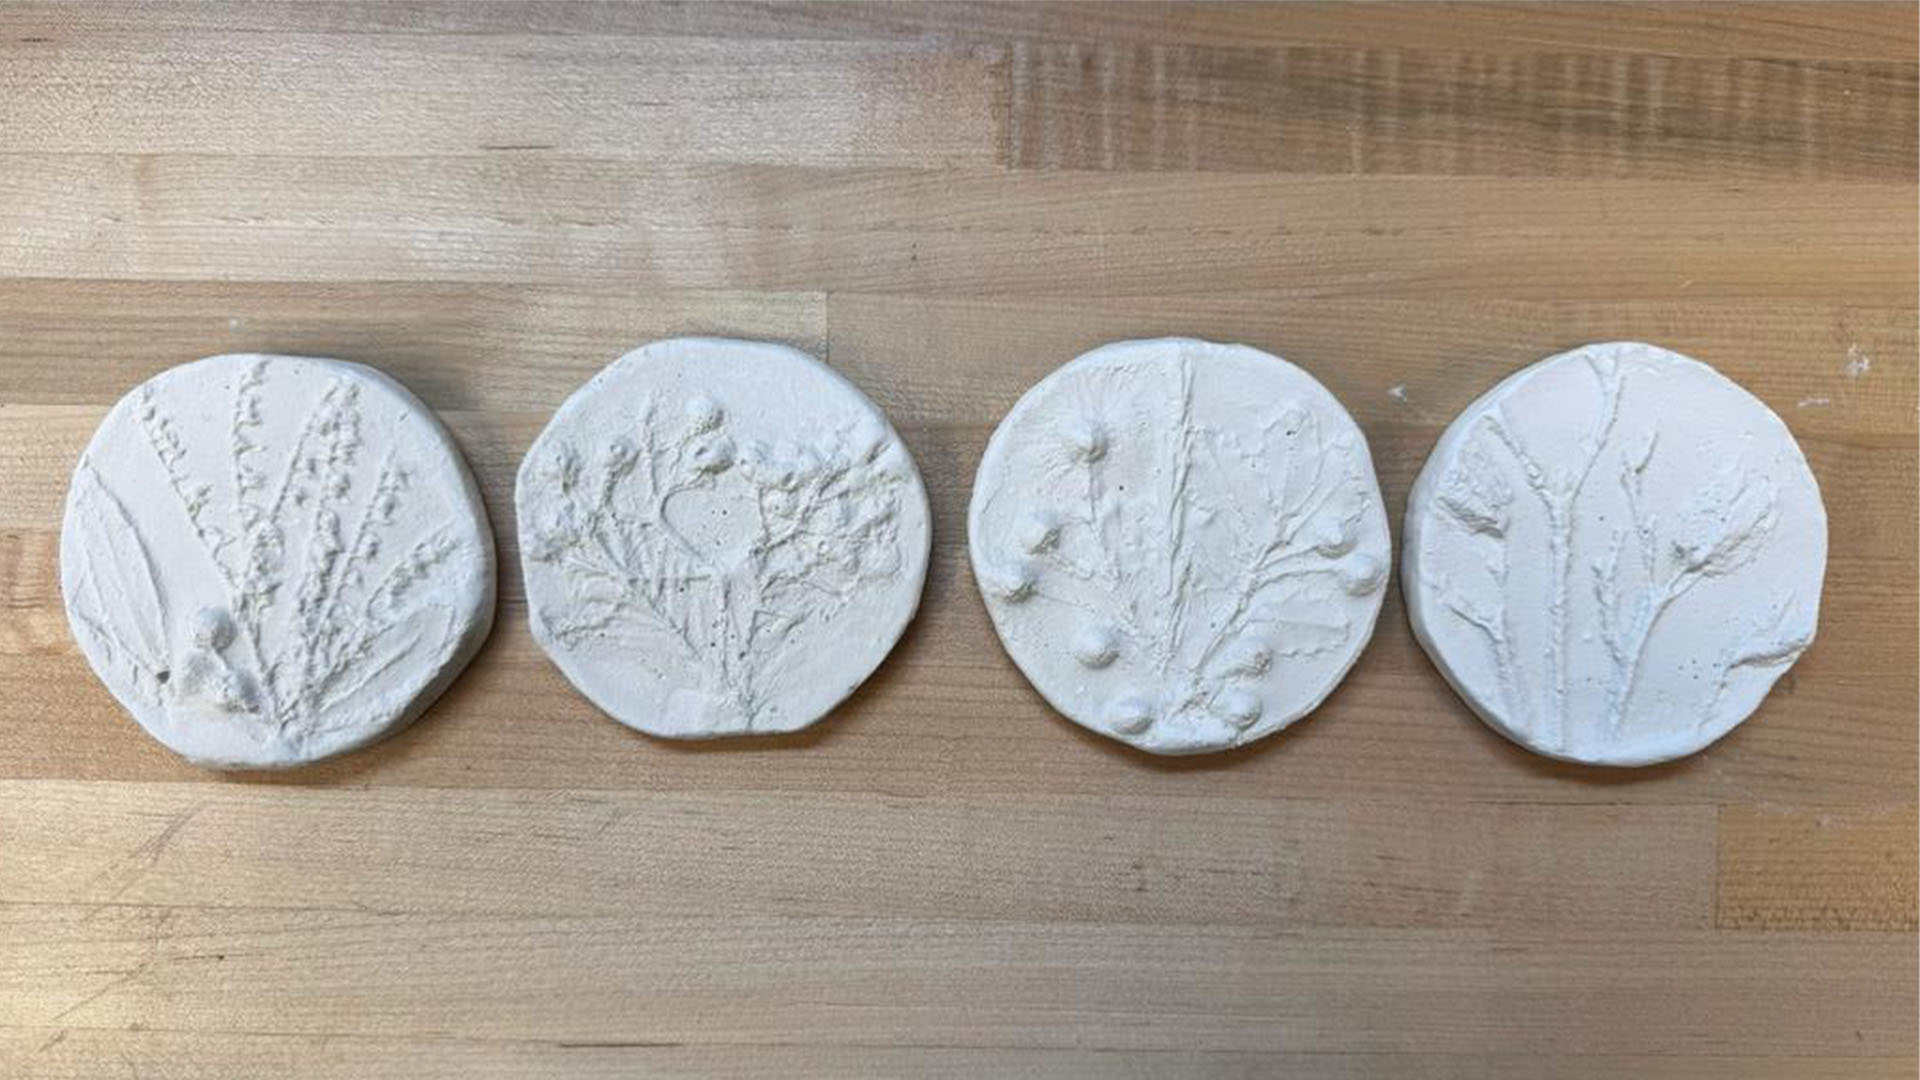
The following day, I headed to the arch-shops to use drystone for casting. Firstly I read the material sheet to understand how to use it. I prepared a mixture of equal parts water and drystone, ensuring it was well-combined. Pouring this mixture into my molds, I noticed its thick consistency made even distribution a challenge. I used a mixing rod to help spread the material, but this left noticeable marks within the casts. After a couple of hours, I gently removed the dough to unveil the memory tablets. Some imprints of the flowers and plants were faint due to the fragile nature of drystone, which tends to lose intricate details. However, a bit of sanding smoothed out the rough edges, and the finished product was quite the sight. Voilà!
Outcomes and Don'ts
- 1. While assembling the cast made with Oomoo silicone rubber, I fixed it with buckles to prevent it from flowing. Tighter buckles tightened the lower part more, and since it is a flexible material, it made the sphere shape slightly oval. With this material, instead of local binding, an equal load and therefore smoother casting can be achieved by using flat surfaces and squeezing from the edges.
- 2.The next time I craft memory tablets imprinted with nature, I'll surely use a paper cup to prepare the molding dough, aiming to reduce any imperfections on the sides.
- 3.For the casting process, I'll opt for a material sturdier and less brittle than drystone to ensure the tablets are long-lasting and retain their intricate details.
- 4.For my upcoming nature tablet casting, I'm considering materials like silicone rubber, resin, concrete, or wax.