05
PCB Design Week
Halloween or bust
In week 3, I talked about designing a controller for the satellite dish robot. I didn't really have a great
idea of what the satellite dish could do besides being alive, but after some thought I decided the perfect job
for a semi-sentient big mouth would be to hand out Halloween candy!
My new concept is that come Halloween Mr. Satellite dish will sit on the porch with a bowl full of candy
offering it to the children who walk by.
When the satellite dish's faith in humanity is high, and hunger is low it will kindly offer candy to whomever
approaches. But eventually once it's grown weary it will start to take the candy for itself!
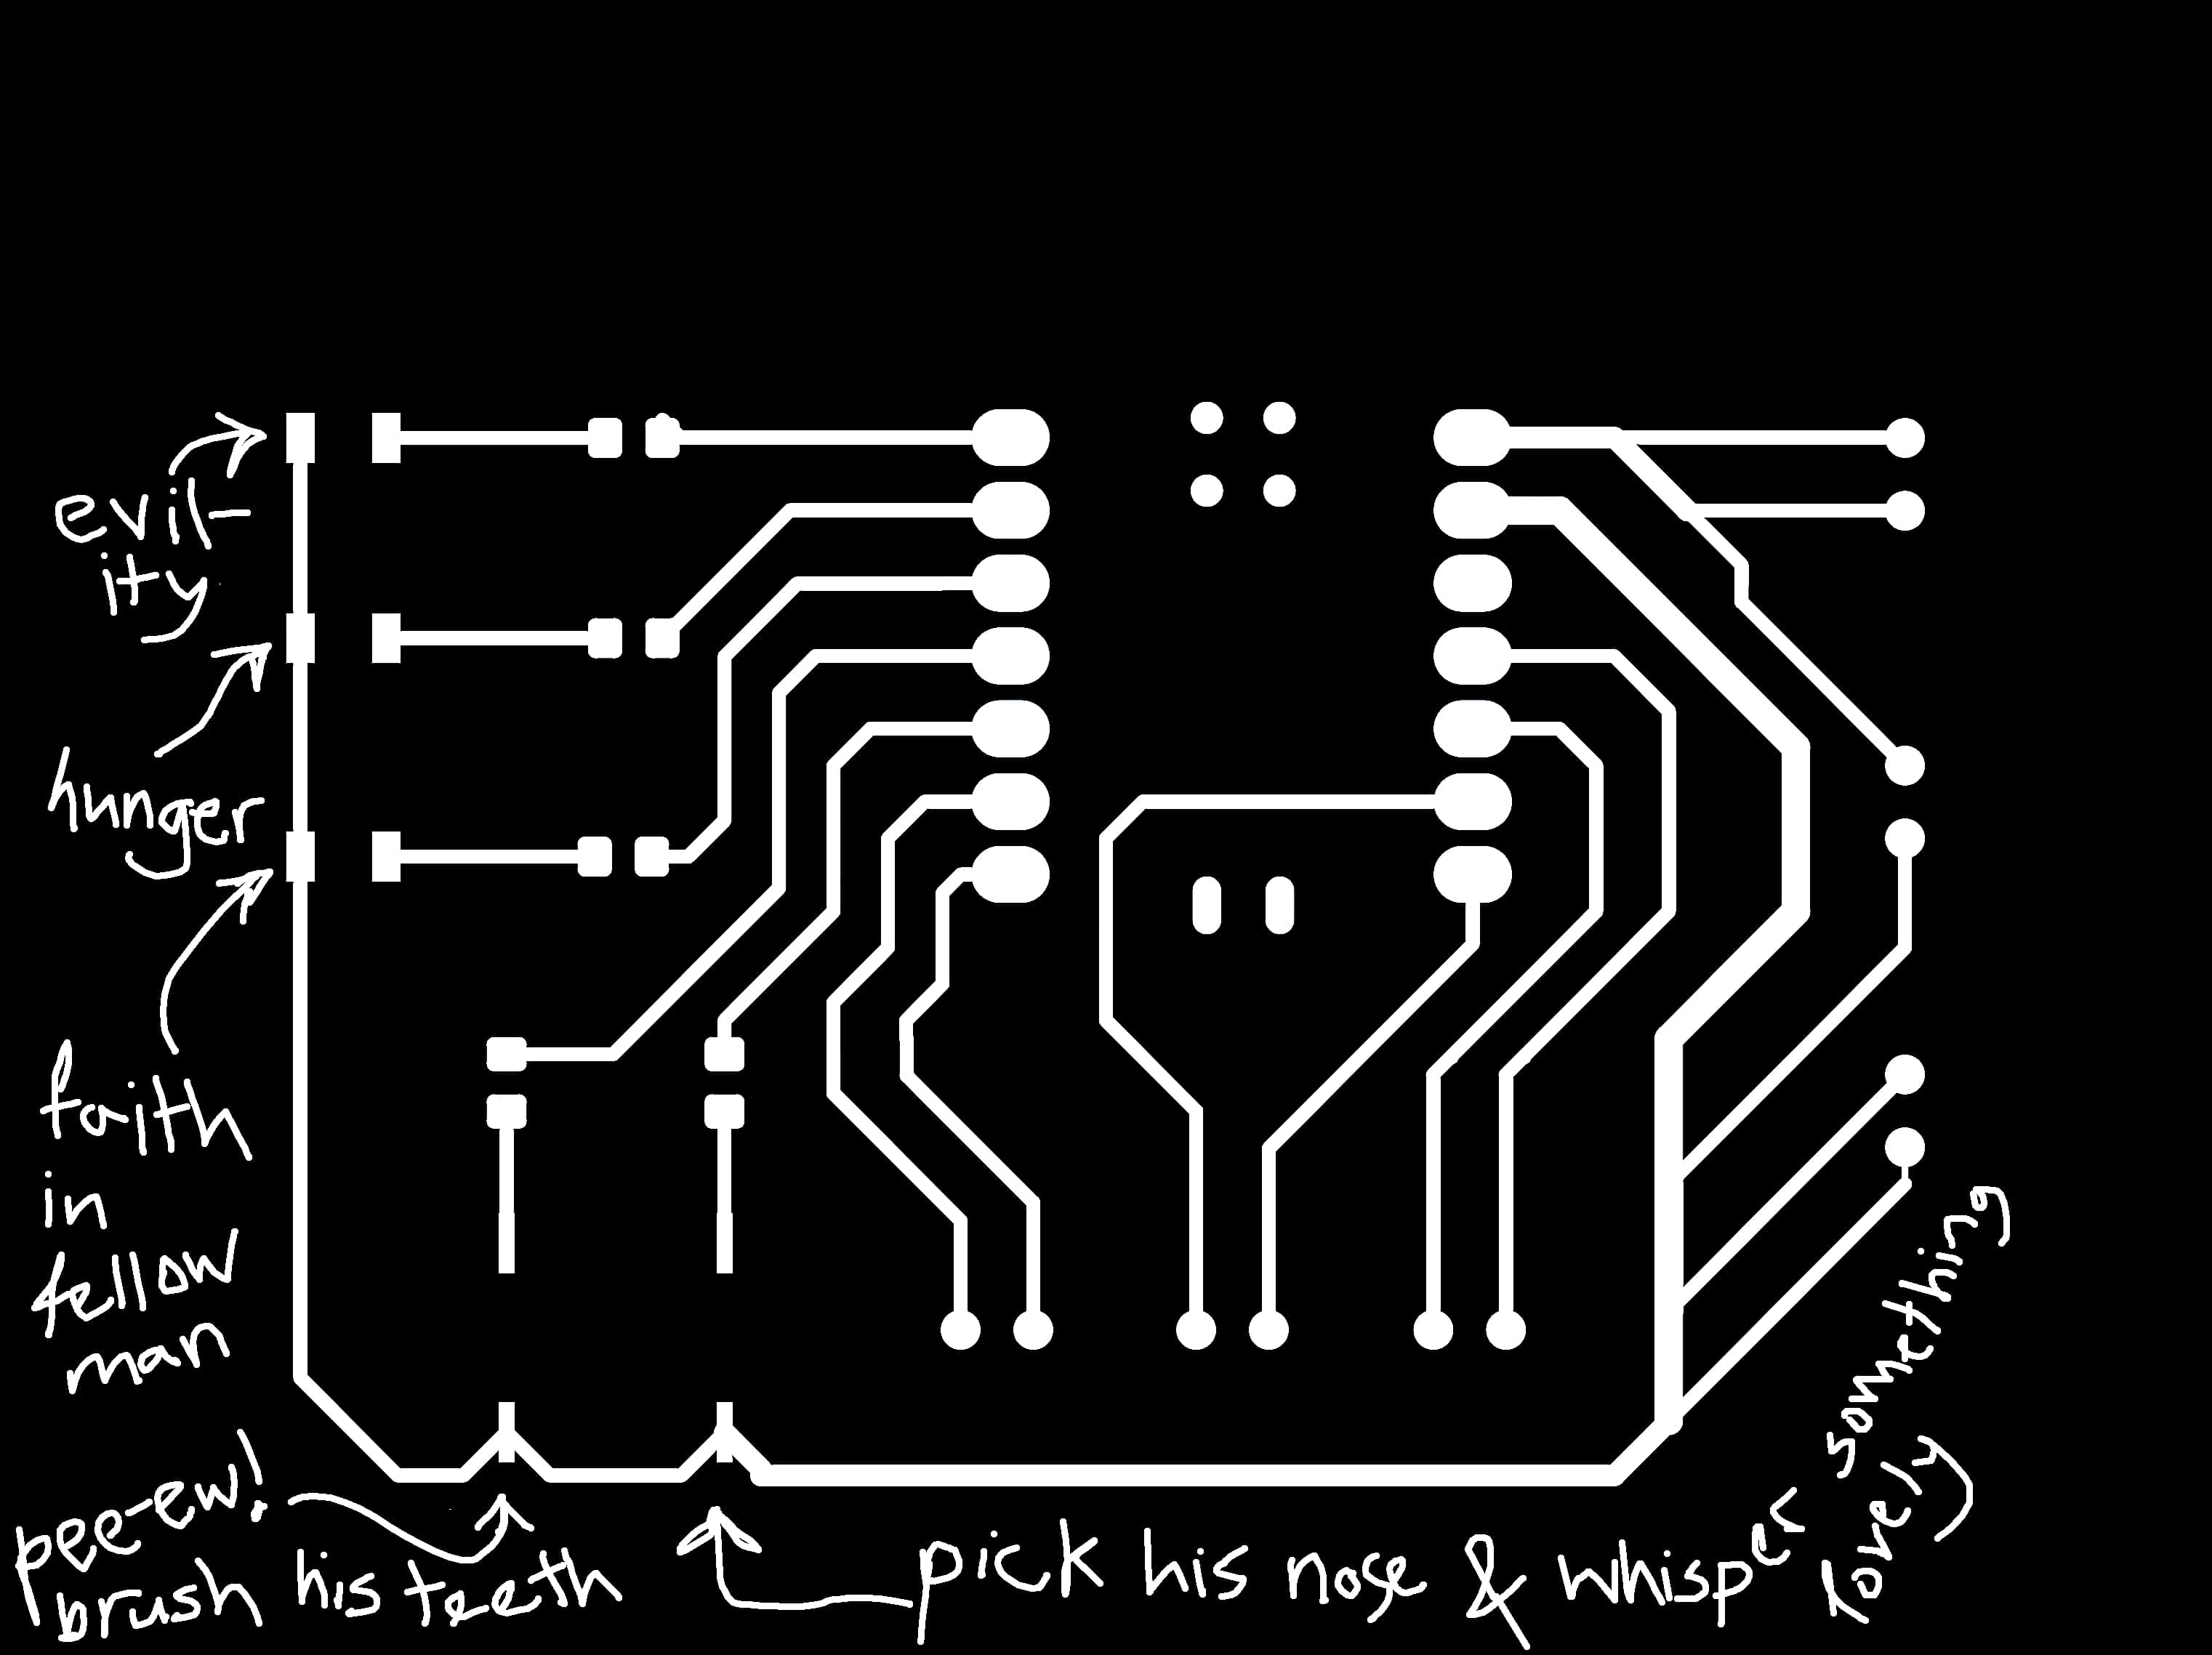
Figures 1 & 2 offer a graphical abstract of the interaction.

Design
So I thought it'd be best to have a couple display LEDs to broadcast the robot's internal emotions:
- Orange for the robot's hunger
- Red for robot's evilness
- Green for the robot's faith in fellow man.
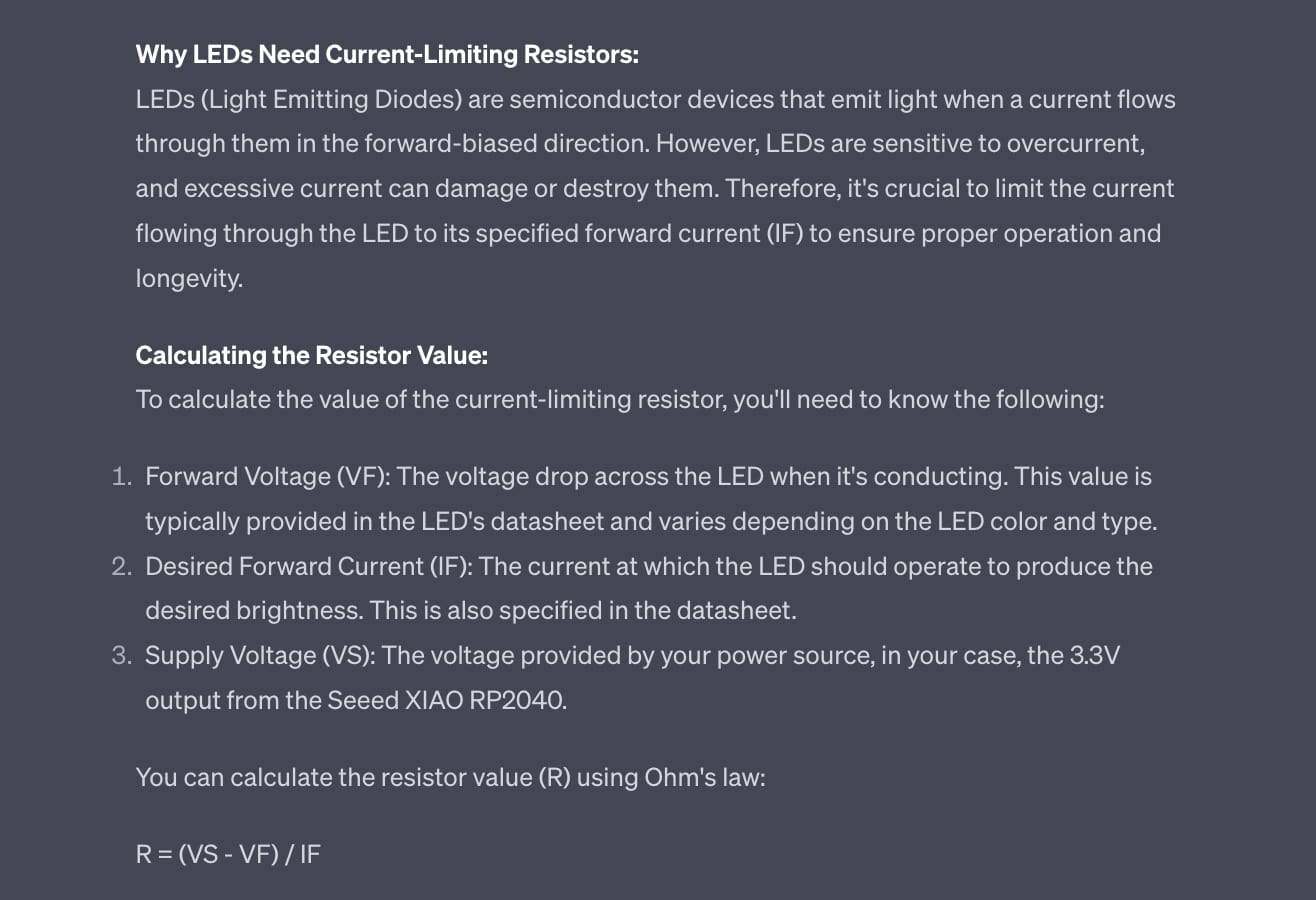
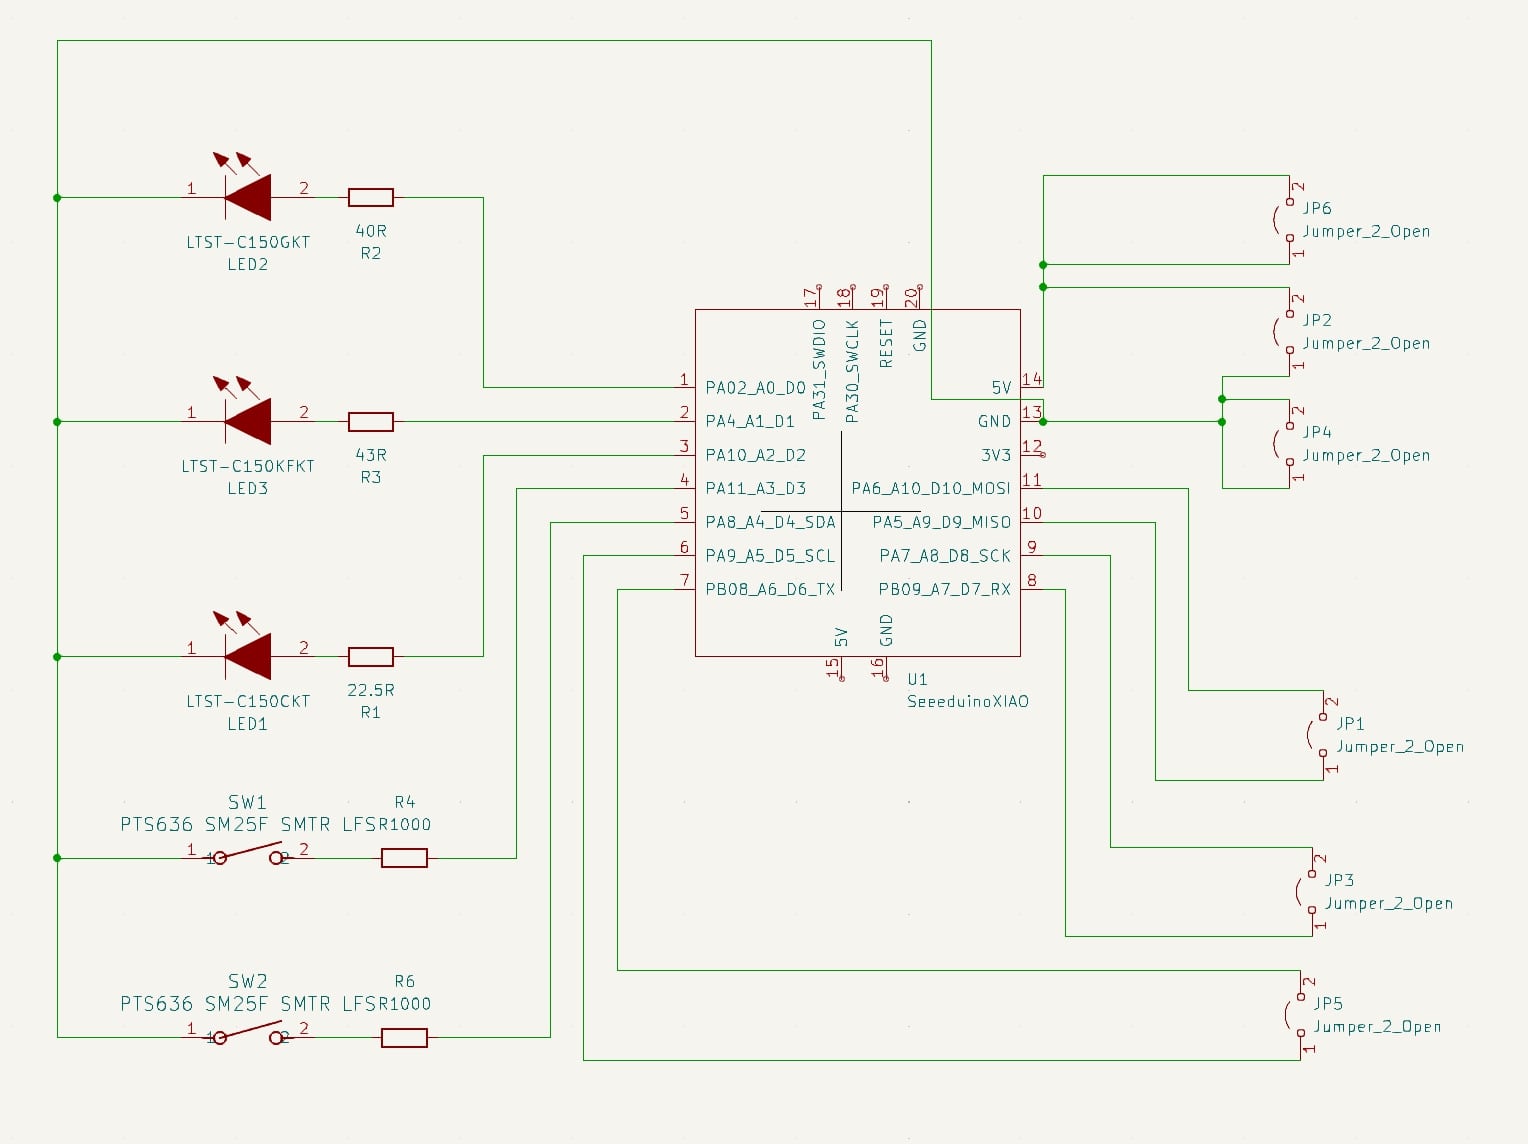
I poked through the architecture shop for suitable electronic parts and found LEDs as well as buttons as well as a PIR sensor - score! Having never wired up any electronics before, ChatGPT was actually very helpful for providing context on when a resistor is needed etc.
Without too much of an issue I was able to load the parts into KiCAD's library, adding hand soldered resistors when necessary, LED & button footprints courtesy of the ComponentSearchEngine, and breakout pins for the PIR & 2 motor drivers which will eventually be necessary.
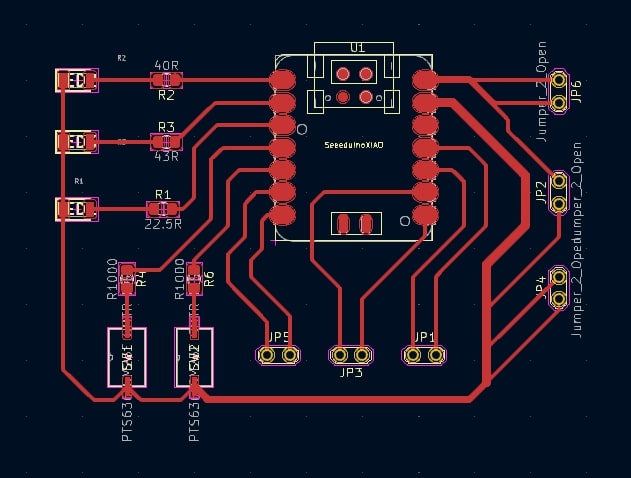
Then the footprint which was also pretty straightforward involved a little bit of fudging around with the wire
layouts and thicknesses.
I opted to really set a very thick ground wire since basically every component feeds into it. thinking of the
wire sort of like a tree, where the trunk is the thickest (where all connections run together) vs the thin
branches (where the connections feed into each individual component). I bet there's a more structured way to
do this than just eyeballing but eyeballing is what I'm going with this week.
Finally, here is the finished Png complete with labels for the LEDs & Buttons. Ready for the mill!