Week 07 - molding and casting
group page // repo source files // objectives
Contents
hero >

Note: I spent a ridiculous amount of time on this week’s project and it’s late, so unfortunately I can’t provide as much context as I normally do.
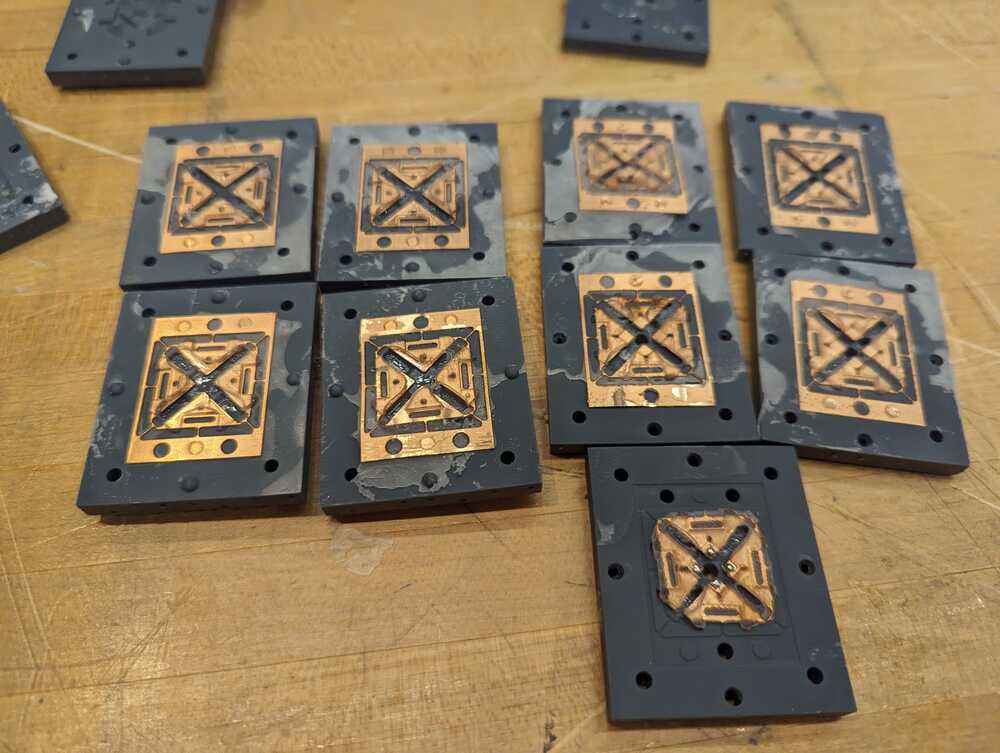
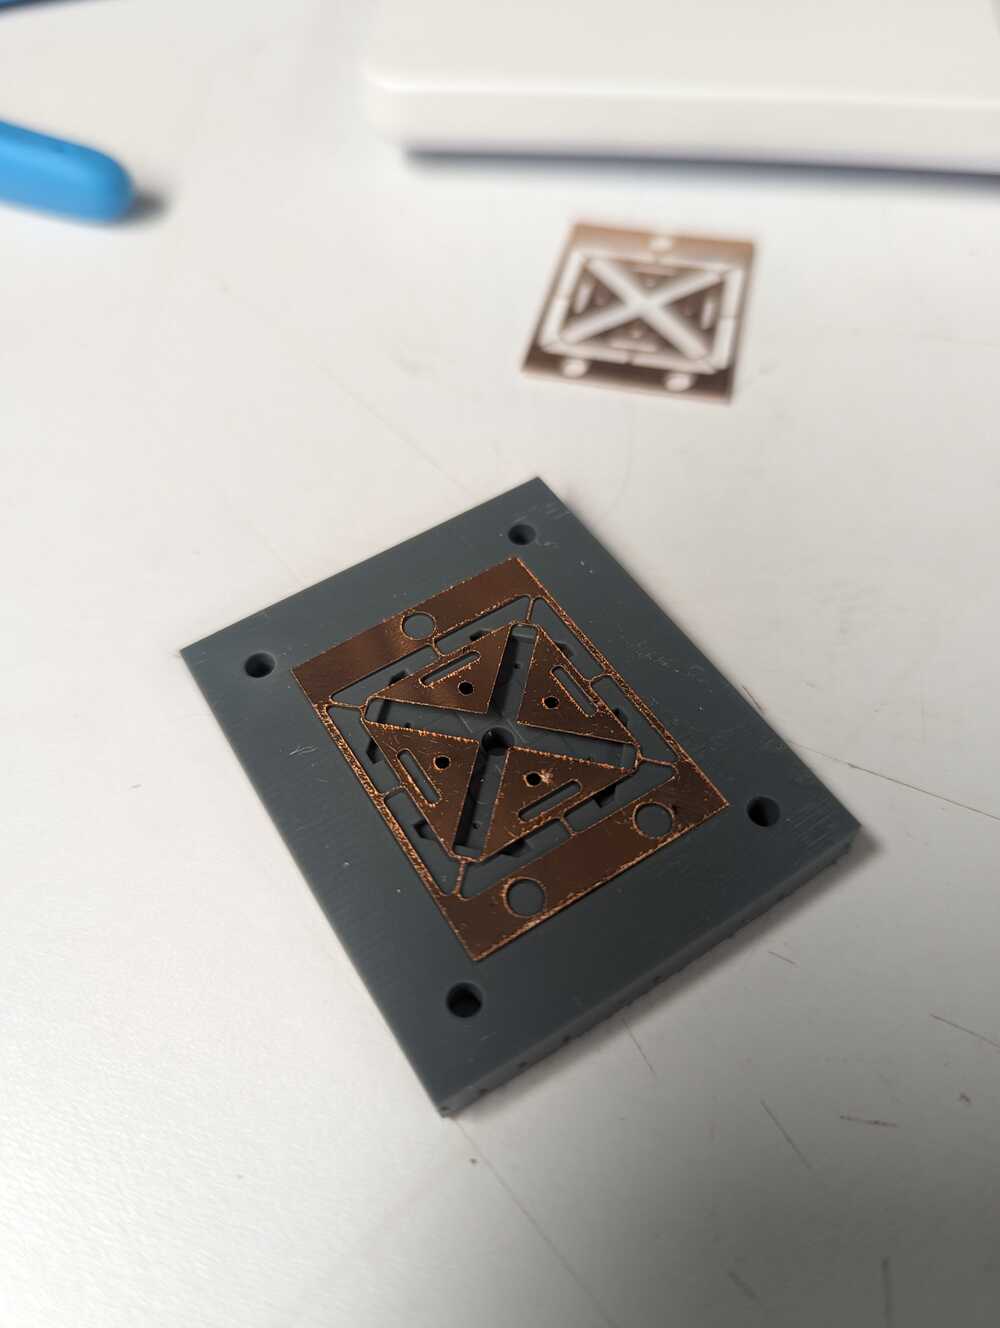
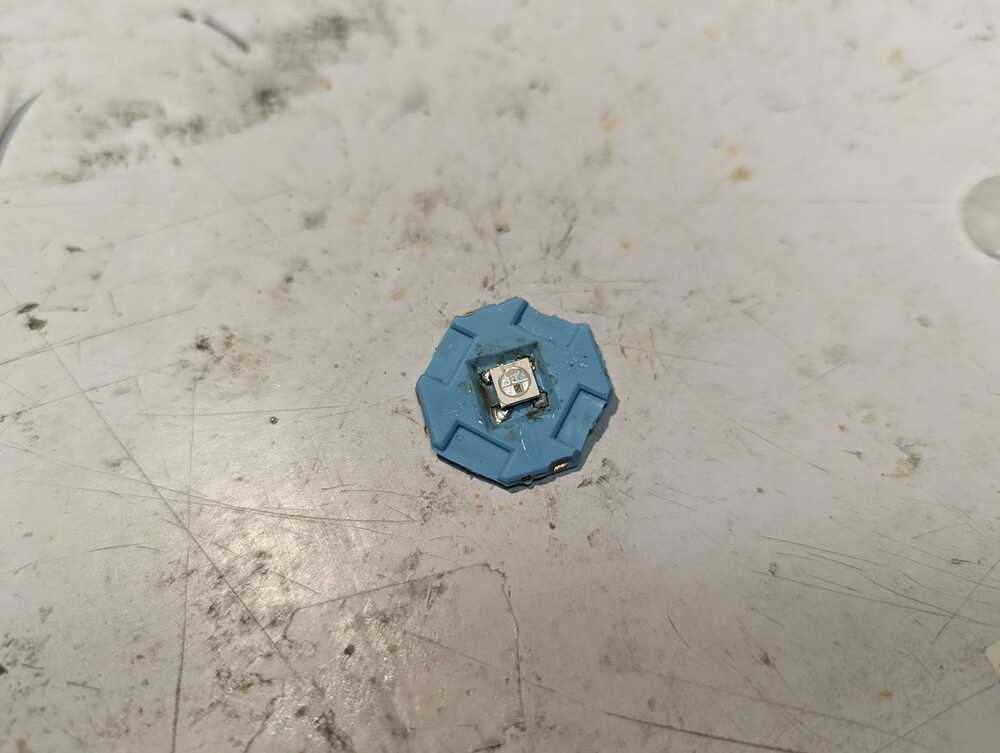
This week, I spent a lot of time working on an insert molded integrated device leadframe. Initially, I wanted to use resin epoxy (Art Resin, a safe variant where the SDS is much less scary), but ran into molding issues and switched to oomoo 25.
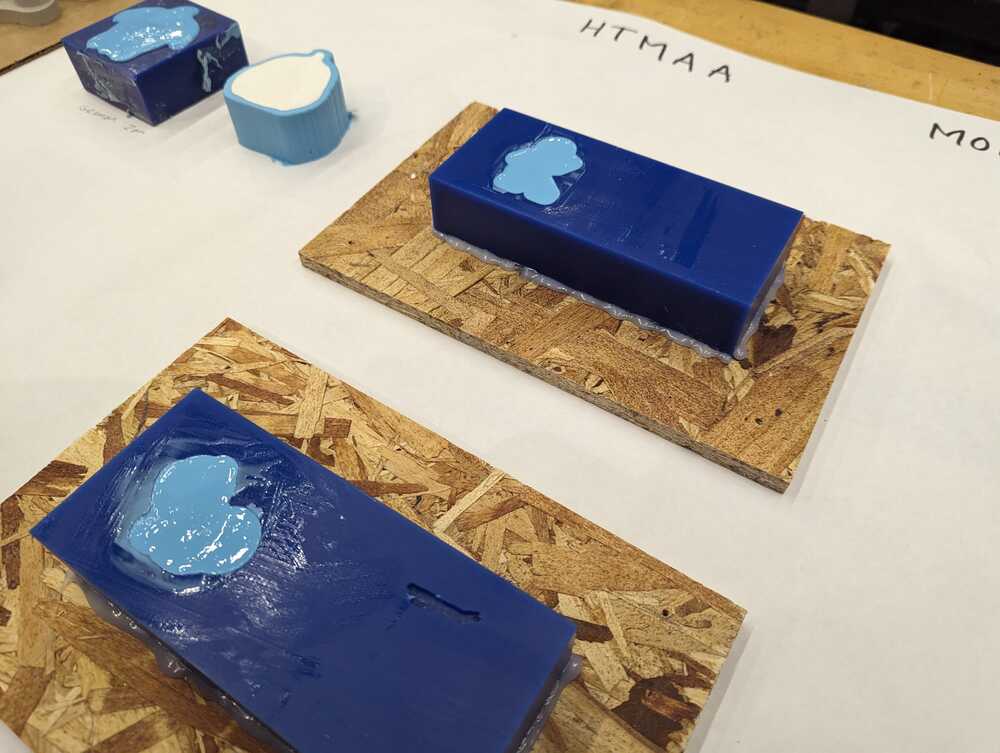
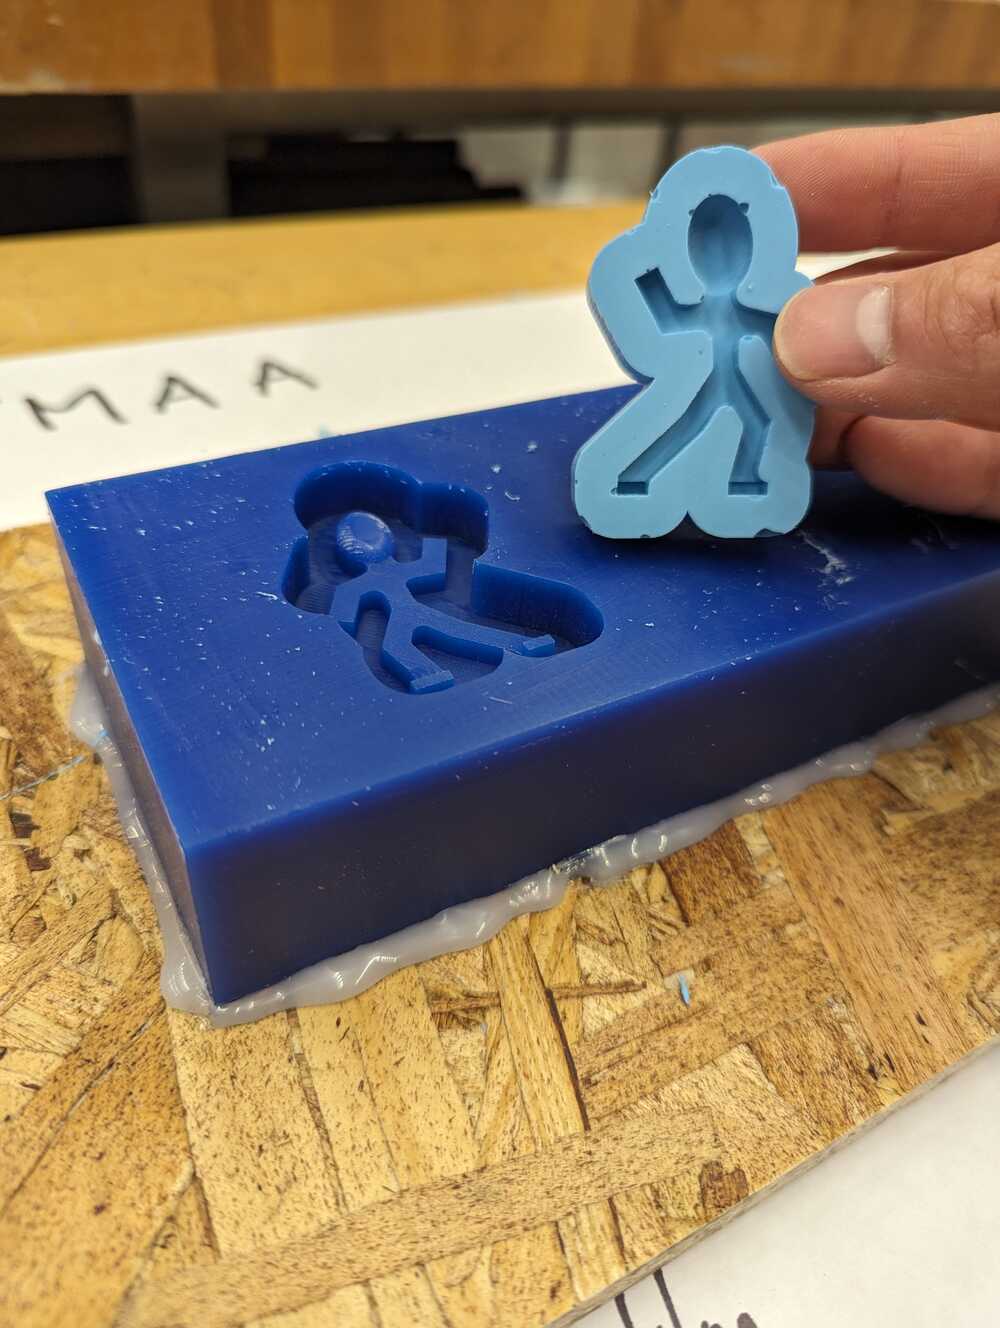
I also made some aliens (that don’t look like aliens).
The mega (but truncated) gallery:
 PXL_20231021_184847591
 PXL_20231021_185053504
 PXL_20231021_224519342
 PXL_20231021_225540134
 PXL_20231021_234518147
 PXL_20231022_031118169
 PXL_20231022_045654411
 PXL_20231022_174838747
 PXL_20231022_175342904
 PXL_20231022_175349794
 PXL_20231022_183733218
 PXL_20231022_184342496
 PXL_20231022_185244343
 PXL_20231022_185518849
 PXL_20231023_035448697
 PXL_20231023_042556000
 PXL_20231023_055348946
 PXL_20231023_061900372
 PXL_20231023_202759924
 PXL_20231023_203118304
 PXL_20231023_224516833
 PXL_20231024_020204017
 PXL_20231024_020715308
 PXL_20231024_021759353
 PXL_20231024_031423356
 PXL_20231024_032243196
 PXL_20231024_032917239
 PXL_20231024_050620722
 PXL_20231024_054519563
 PXL_20231024_070550840
 PXL_20231024_211840040
 PXL_20231025_003257901
 PXL_20231025_004343775
 PXL_20231025_014405017
 PXL_20231025_014412016
 PXL_20231025_032315718
 PXL_20231025_043443696


Here is a voice to text dump of this week’s summary:
00:00 Okay, this week, I spent so much time on the assignment. It’s not even funny. So let’s see. This is gonna be a quick bullet point of what transpired So I can quickly get some documentation on the website. So basically, I decided to do some stuff towards my research, which is discreetly assembled electronics.
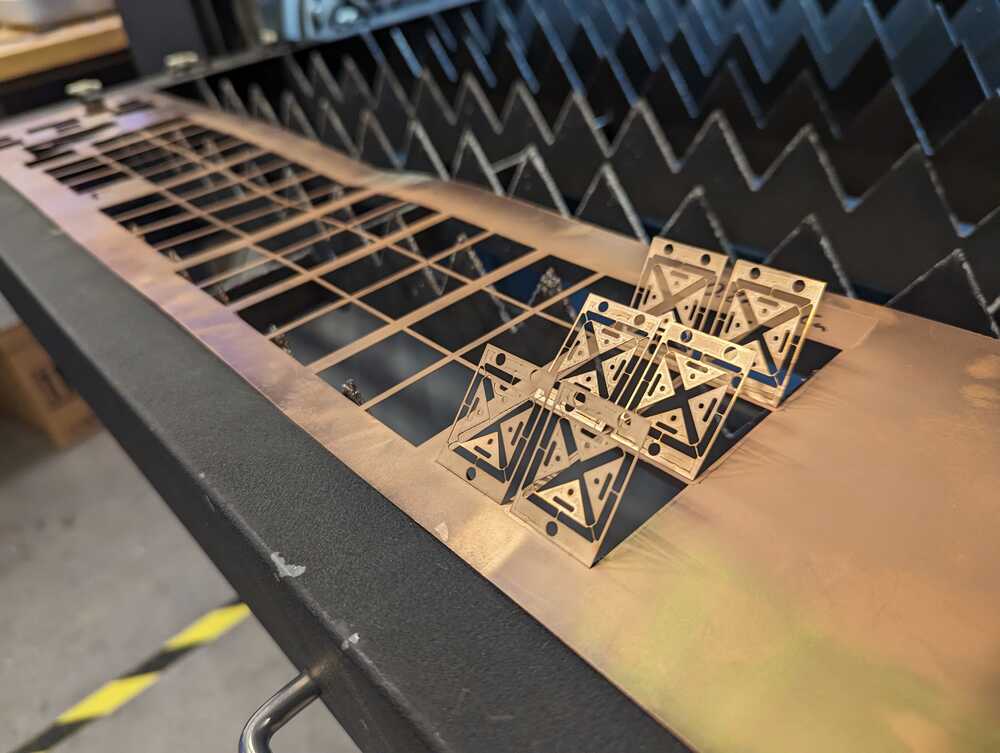
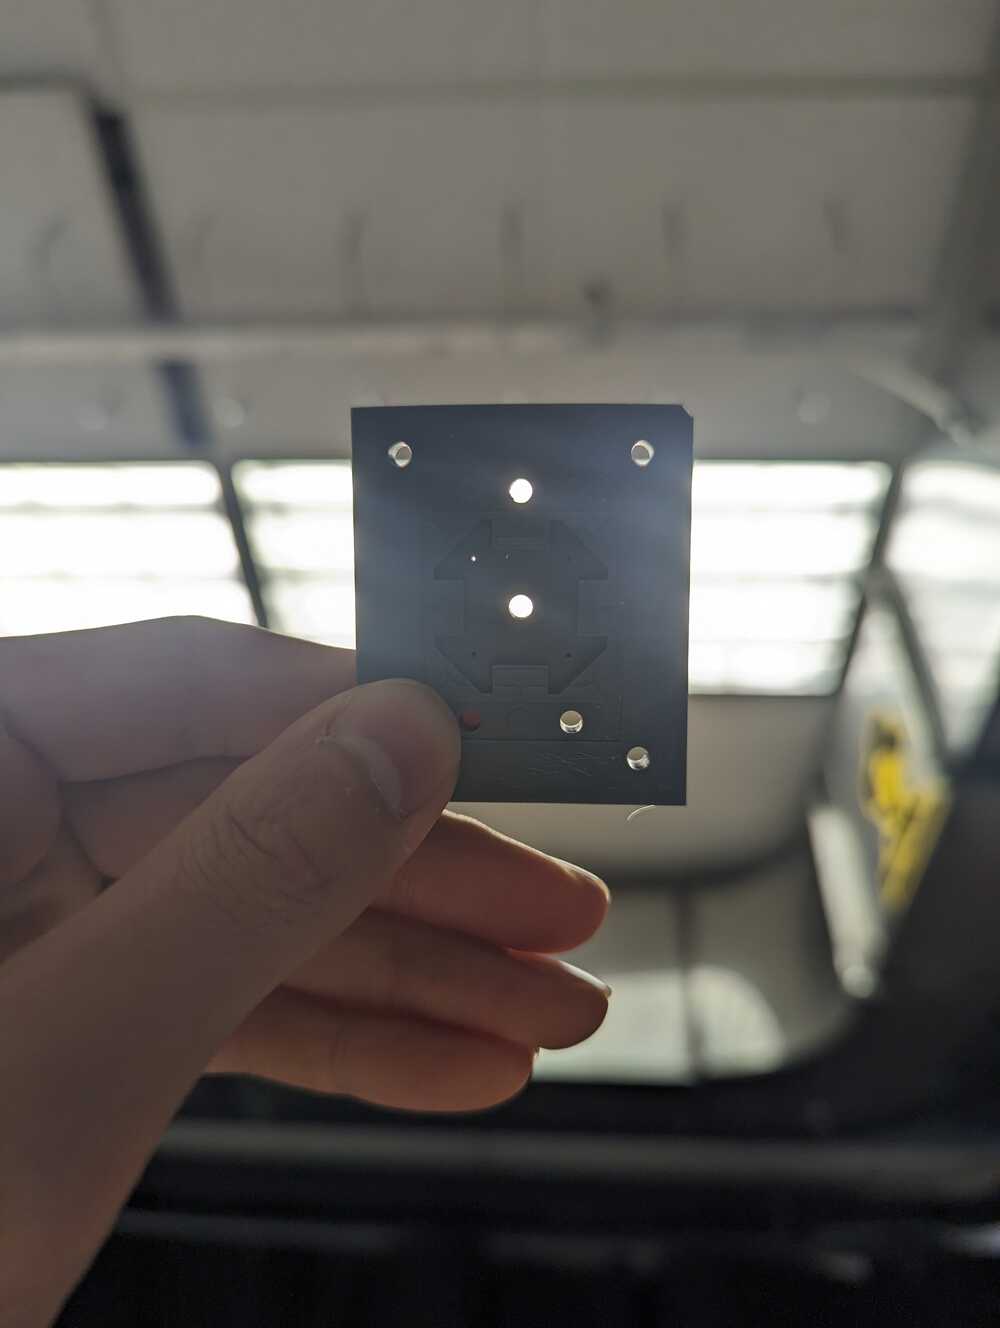
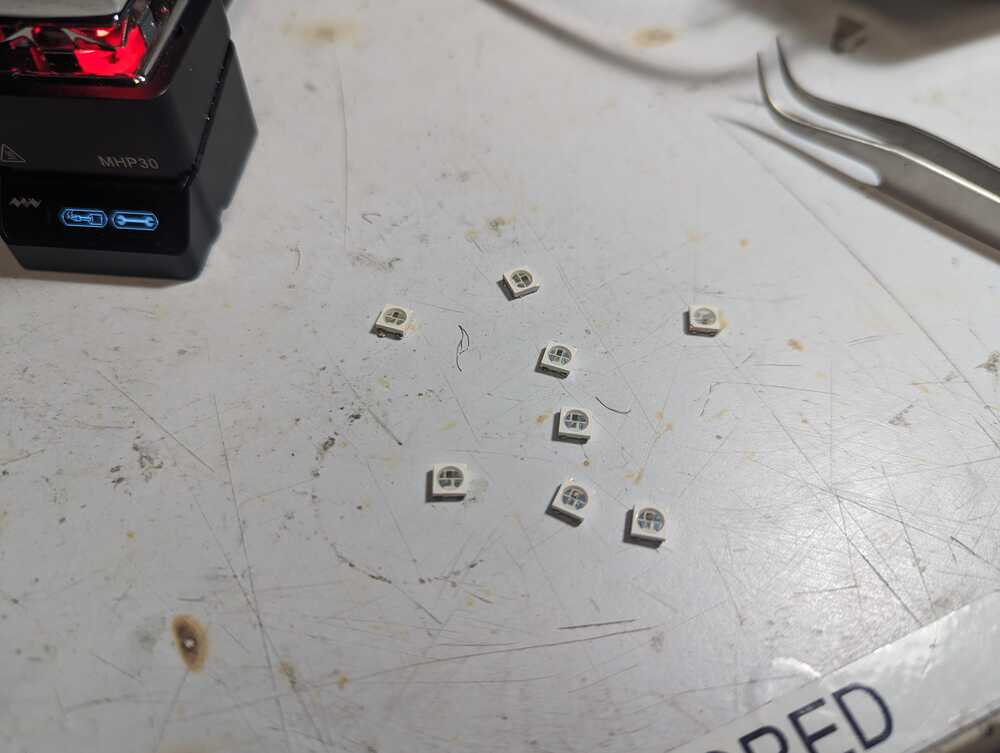
00:39 And Um decide to mold some insert molded. Lead, frame electronic carriers. And So I originally expect out art resin, as a relatively, safe Resident Epoxy for use as a rigid body to create these pieces. I continued the practice of using the fab light to create lead frames muscle size lead frames.
01:17 And I, At first, I was kind of evaluating using wax for the molding casting, but quickly realized that using the art resident epoxy, which takes 24 hours to solidify and not even fully cure. And given the amount of time I had, I would need to really go for high volume batch processing.
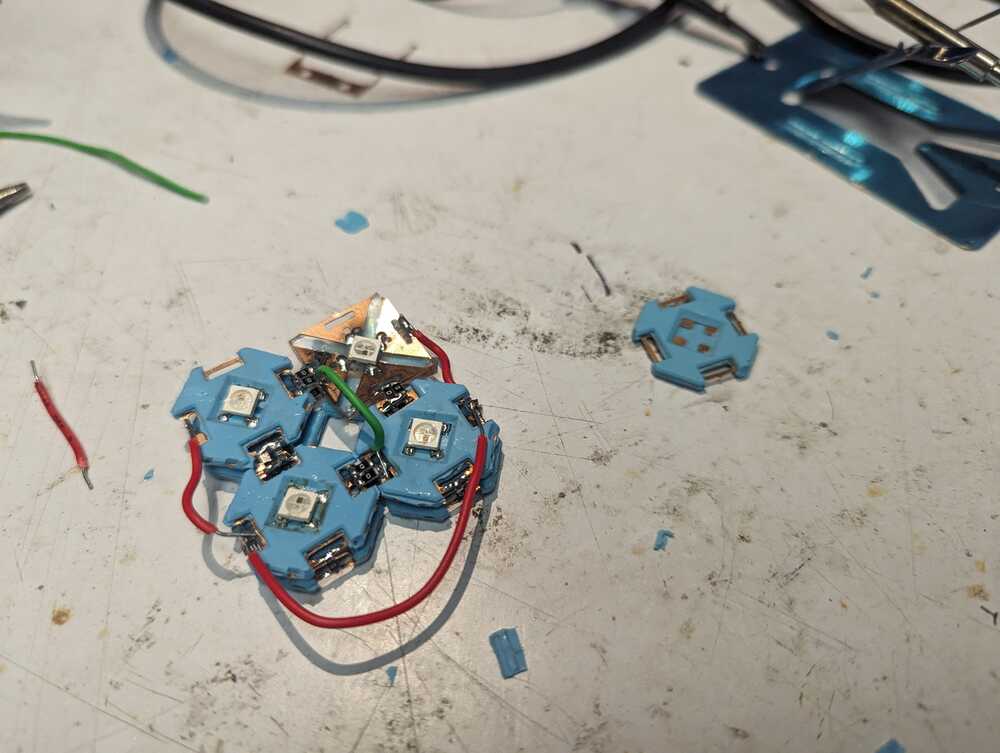
01:51 If I needed, if I want to make anything I was represented of of a system. So originally I had planned to make 25 tiles to create a 5x5 grid of LEDs, but I felt well, short of the mark mostly due to debugging my tooling and not having time to do.
02:25 Quote-unquote respits. I managed to get out two versions of the tooling, but I think I learned a lot about or rediscovered. How I construct higher arc goalie assemblies for making integrated lead prep devices.
02:53 So,
02:58 See, two revisions different device. What did I do?
03:08 I Try doing art resin and
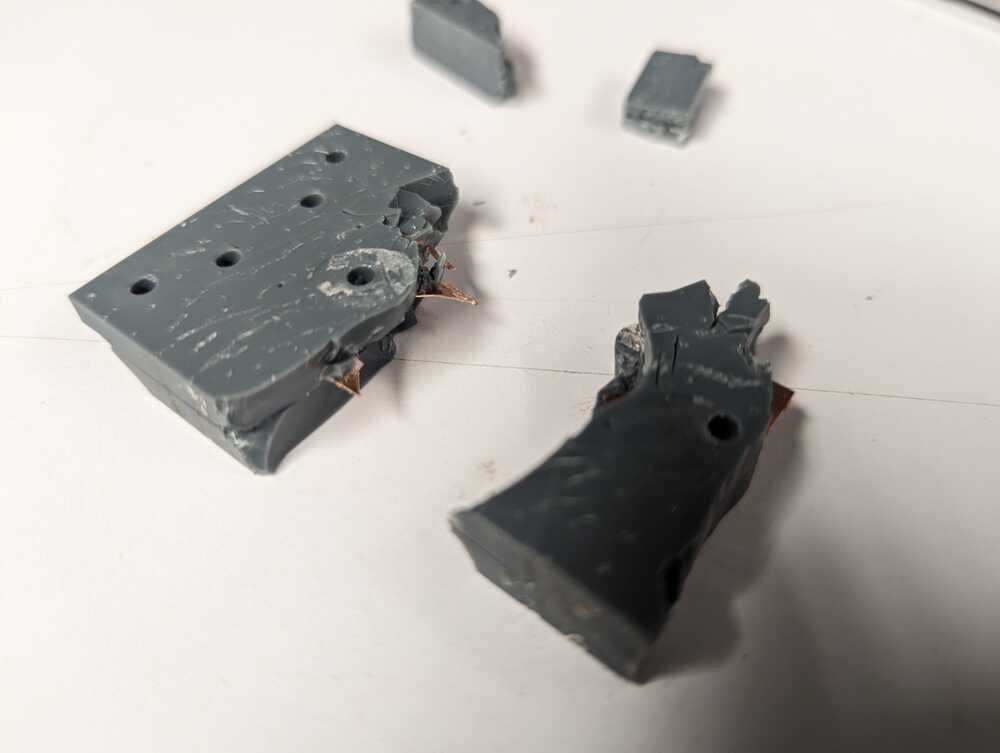
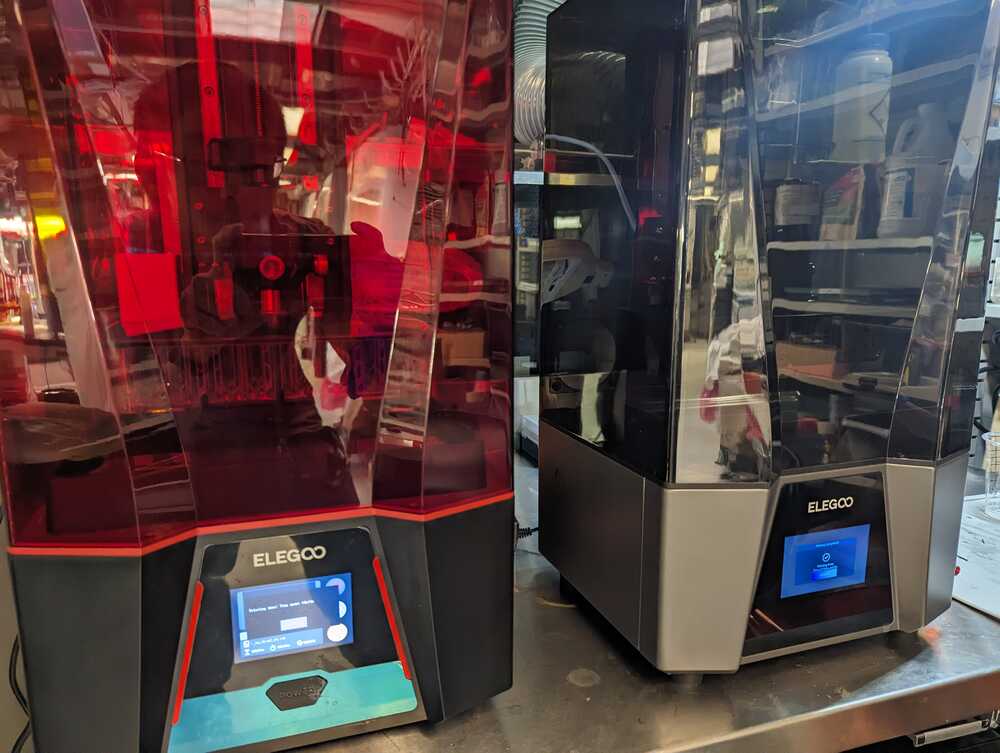
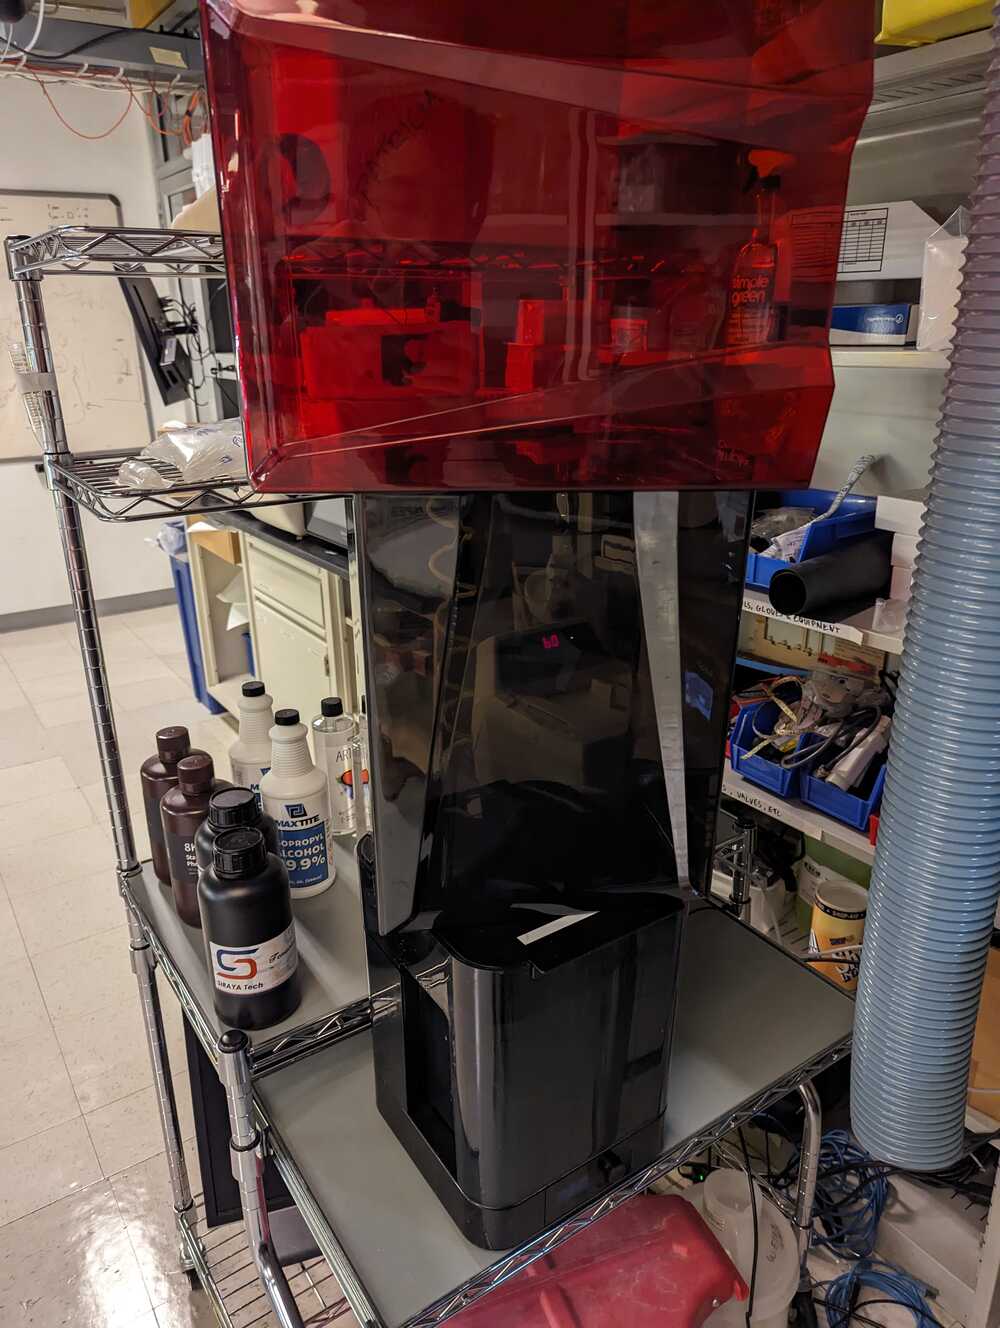
03:18 Well, okay the first two molds I tried, I use both the Saturn too and the Saturn 3 with a gray, resin gray space glue, resin. And The first two I didn’t use mold release and I didn’t really think about draft mostly because I thought was shall enough. It wouldn’t really matter.
03:45 Turns out mold release is really useful, and I was physically unable to pry open the two halves because the resin epoxy basically turned into a glue for the first mold, I tried to try open. I kind of saw that the corners the parking line of it, and Once I created a notch, I tried to twist to kind of crack it open.
04:12 And unfortunately, just cracked and did not open. I continue to kind of work at it. And venture concluded was a bit of a lost cause and then I had a bright idea where I used a vise to try and crack it. Open to see if I could recover anything inside.
04:36 At least get a sense of whether the molding worker did. So after exploding, the mold two or three times I ended up with chunks but I did not end up with any information. The other mold I kind of just left because I knew it was a bit of a lost cause So
05:02 I did note that I had a, I made the vent vent. Holes way too small. And because of this, the wash So the wash stuff was unable to clear the ventils for post curing. So In my next revision, I made the whole bigger, I matched it with the inlet holes and I kind of built it into the CPA logo.
05:35 I also made some other minor adjustments such as trajector. I think it was ejector features.
05:48 So Unfortunately, the vent hole location is not really. It’s not at the end of the pressure path. It’s overflow path. It’s kind of like a little too close to inlet honestly. So problem there was was unable to achieve the pressures. I was trying to hit when pouring in the resin so that’s one and then to the
06:24 Was it the second part was?
06:30 The ejector pins, right? So the ejector pins weren’t placed in the best locations, They’re placed on the edges of the lead frame. The leaf frame itself was 0.2 millimeters. Thick not the most robust piece of metal. And So I was able to use them, but they weren’t very useful the way that I ended up ejecting some of the parts was actually using the inlet and outlet holes themselves because they were in the center of the park.
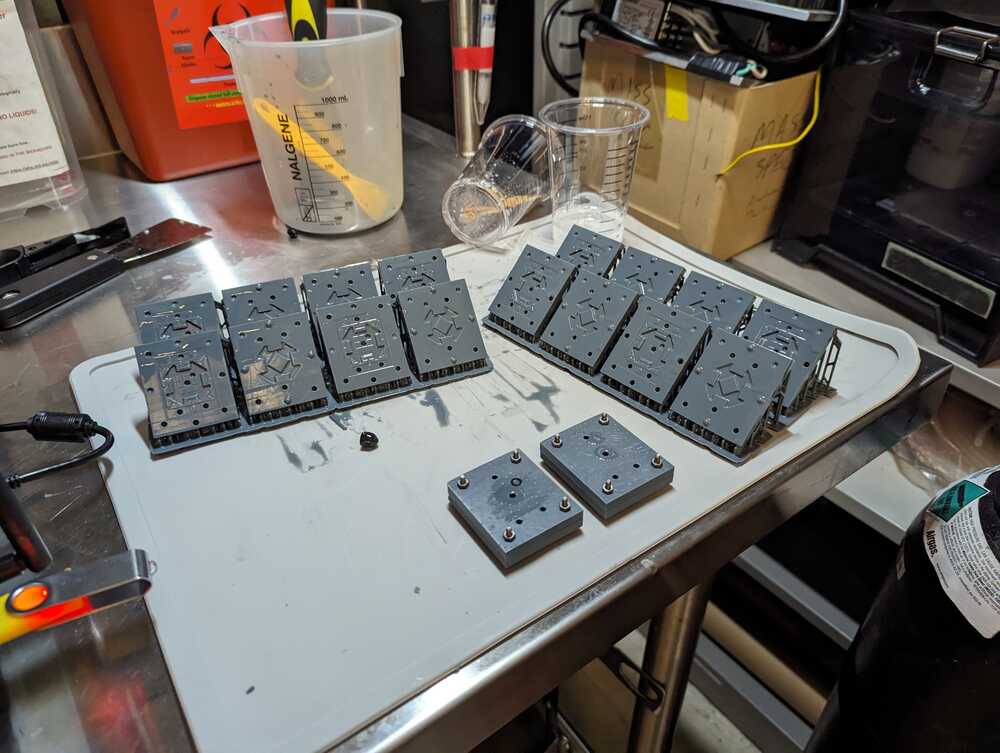
07:05 So hindsight should have anticipated all this but that’s why I’m practicing here. So, My second batch, this time, I’ve scaled up the resin prints. The molds to, I think I had 16 total 16 8. No 16.
07:35 And I learned that Resident Epoxy. Well, okay I learned that the inlet outlet thing is very critical to achieving geometries. You care about. And I also learned that, um, you see, I think the, for one, the tolerances of the print aren’t exactly spectacular. But also Um well okay tolerances of the lead frame and the the mold I think a lot of cracks and the resident epoxy was actually quite a low viscosity because of that likes to flow everywhere including all the little cracks.
08:26 So it’s great for small details but that’s also the reason you got to make the mold a little more robust. I would actually try maybe make it so that one piece fits into the other piece for the mold rather than having the parting line kind of be at the edge of both.
08:49 But, you know, We’ve got to do that in a way. That makes it so that you can still release it or at the very least, recover, the mold. If you can’t if you can’t recover the part so maybe that means including a notch to put a pool or something.
09:10 Yeah. Anyways, the pretty much all one on the same. Pretty much all of them. All of them, failed. All the risen epoxy cast failed. They all under-filled and flashing like crazy was to be expected. But that also seems to make it much more difficult to take it apart. Some of the parts released pretty easily Probably due to the application of mold release.
09:40 But a number of them Crash, you really difficult to pry open. I worked at it for quite a while with an exactly knife and I have the scars to prove it and kind of at that, It’s, I decide to pivot to using umu as my substrate. Even though I was aiming to make rigid bodies and the carrier greatly benefits from having a rigid body to kind of constrain it.
10:15 However, boomoo has a relatively quick, turnaround time only takes about one and a half hours from four to four to finish. Sure it’s easy to work with. Something I noticed is that if something is flashing quite a bit either you need some sort of edge to work with or need something that peels off relatively easily like silicone.
10:48 So, kind of a combination to I
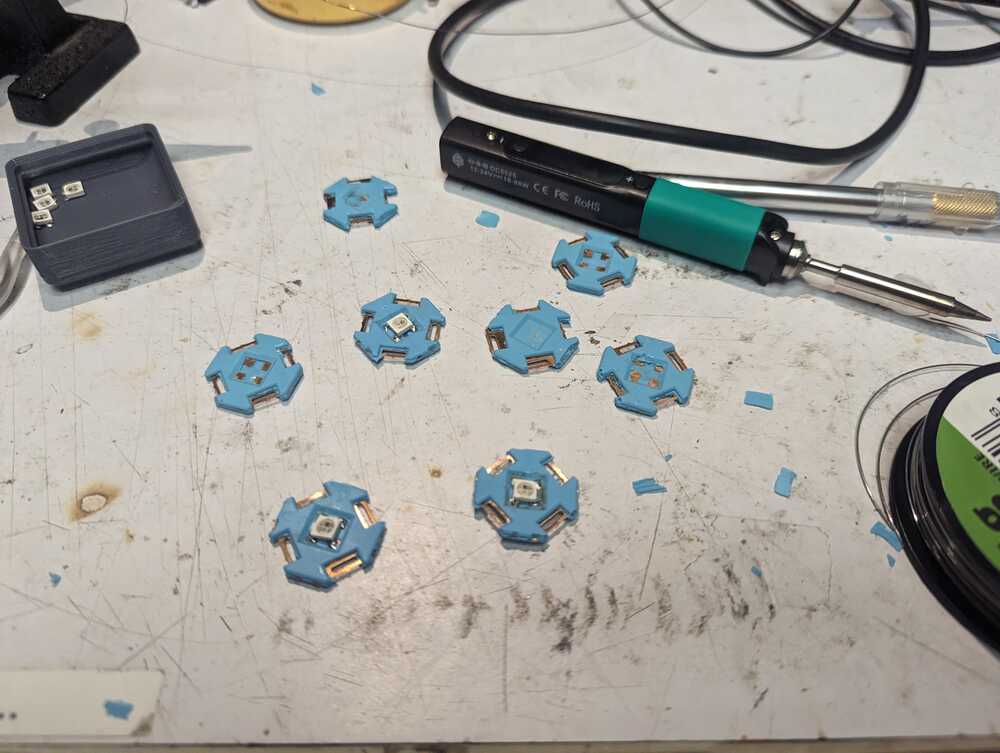
10:57 I went for Umo because it was readily available. Easy to use. And given that I was using a rigid mold, a soft body to peel out the mold. Also seem pretty reasonable giving a difficulties. I was facing. So, see, I think I only did three test parts first. We’ll see what would happen.
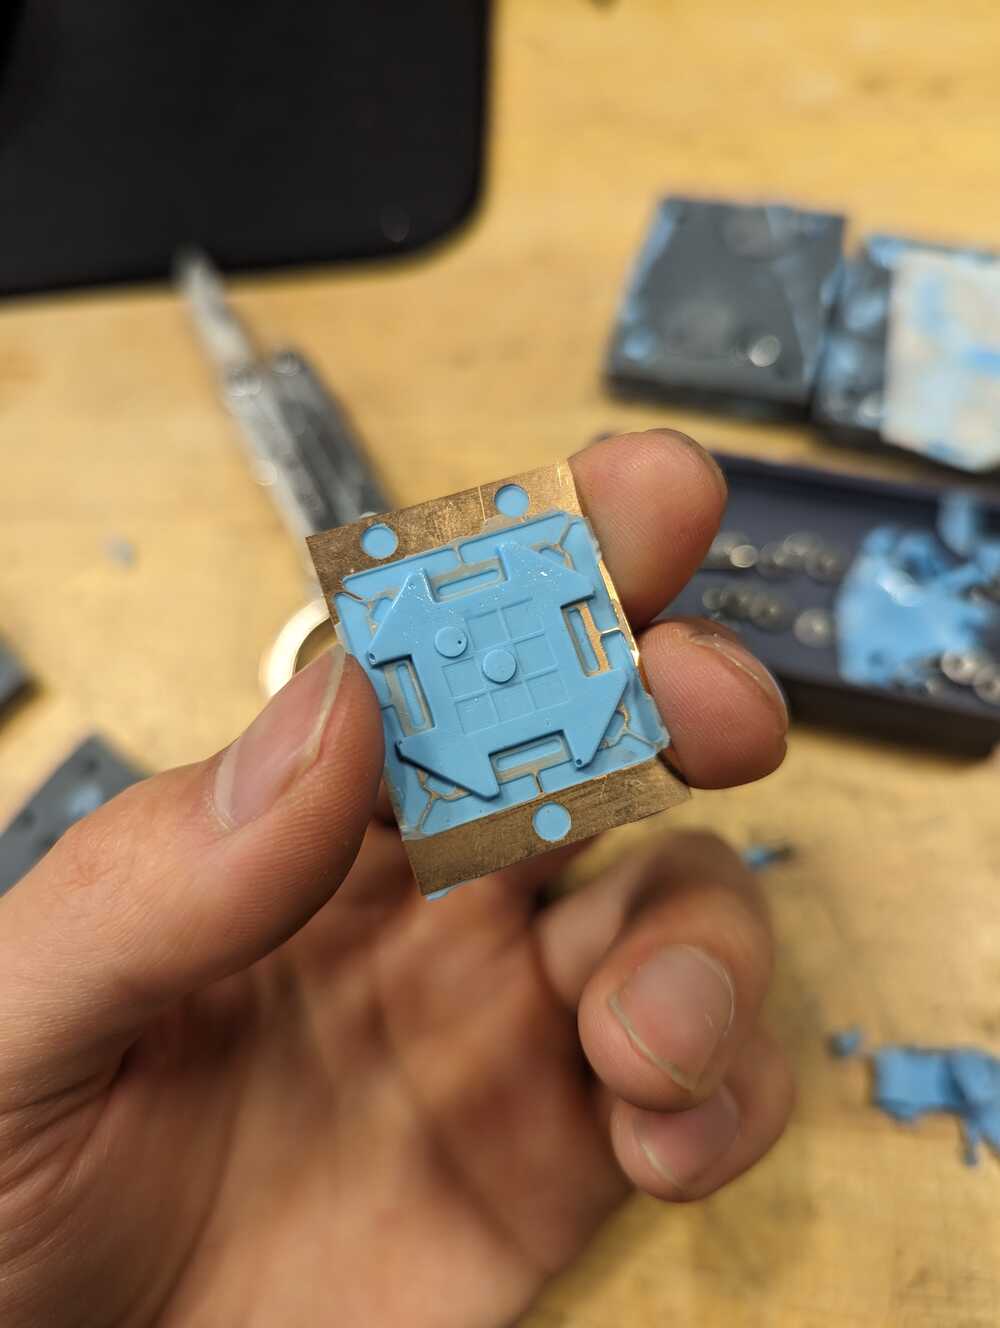
11:23 And the thing I changed here was given that my pressure path for flow path. Was like add poorly designed and I didn’t really have time to kind of make a new mold and have enough time or material since I kind of put all my I’m eggs. And one basket here, I took that mold did I took three molts to three tests and the way I did this was actually kind of painted each half of the mold and then stuck the lead frame in and then sandwich the whole thing.
12:11 I was kind of counting on the higher viscosity as well. So the Uber wouldn’t under fill places? I also kind of plugged up some of the holes I think um, for the endless, that’s the reason I did the sandwich method. So the results I got out of that were pretty good.
12:31 They were so good. I was I decided to just convert the rest of my molds to umu and I Unfortunately had some other, you’ll problems later, but managed to scrounge enough to make a finish, December quarter-quote, Okay? So there’s there’s a number of, a lot of my yield was due to misalignment during the sandwich intercept.
13:17 I’m not sure how I did it the first time differently, but the yield was so bad, that I literally had maybe five or six good parts. Total laughter the whole thing and like nine failures or something. And So, a lot of the failures were due to misalignment which kind of screws up the entire thing because pads are kind of centered and the interconnect slots or right, the edge.
13:52 So Anyways I did pick up another trick. Um, I realized my sandwich thing leads to a lot of flashing over the surface. I need a solder exposed pads and maybe it would be the same. There were flash like that again if I use the mold properly but redesign it not sure we’ll have to do for their experience.
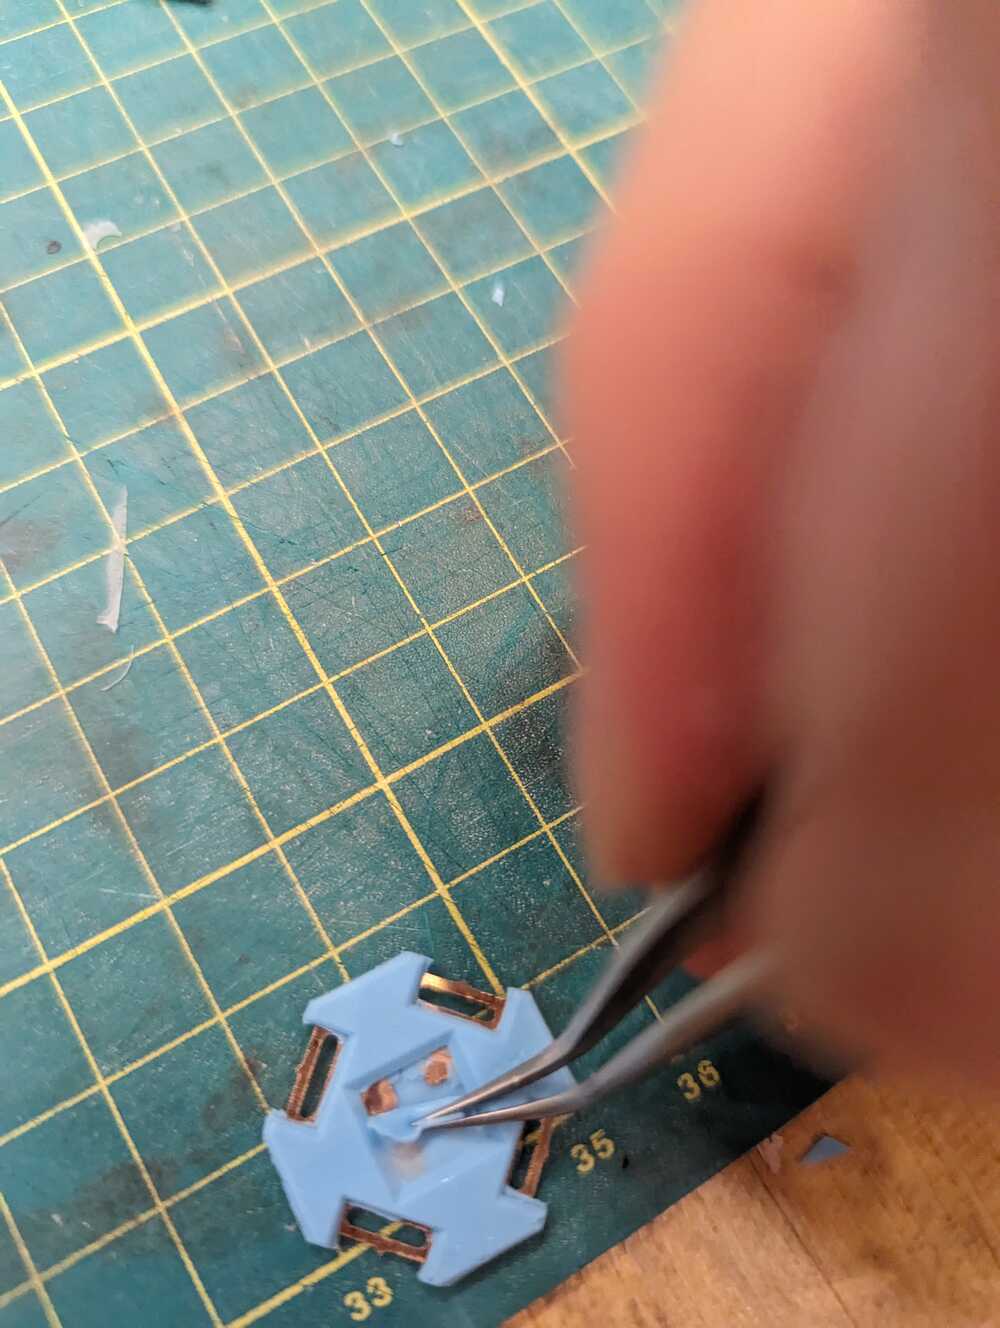
14:25 But the, the trick I figured out was using tape to cover up the pads. And actually, if you put another piece of tape on the back side, it retains the top facing tape pretty easily.
14:47 That makes it easy enough to after casting using exacto knife to cut the the pads out, which is actually just a thin layer of silicone here and peel it off. Because it’s just tape behind it. So it’s really not adhering to the other silicone underneath. It’s not, it’s not really doing much at all.
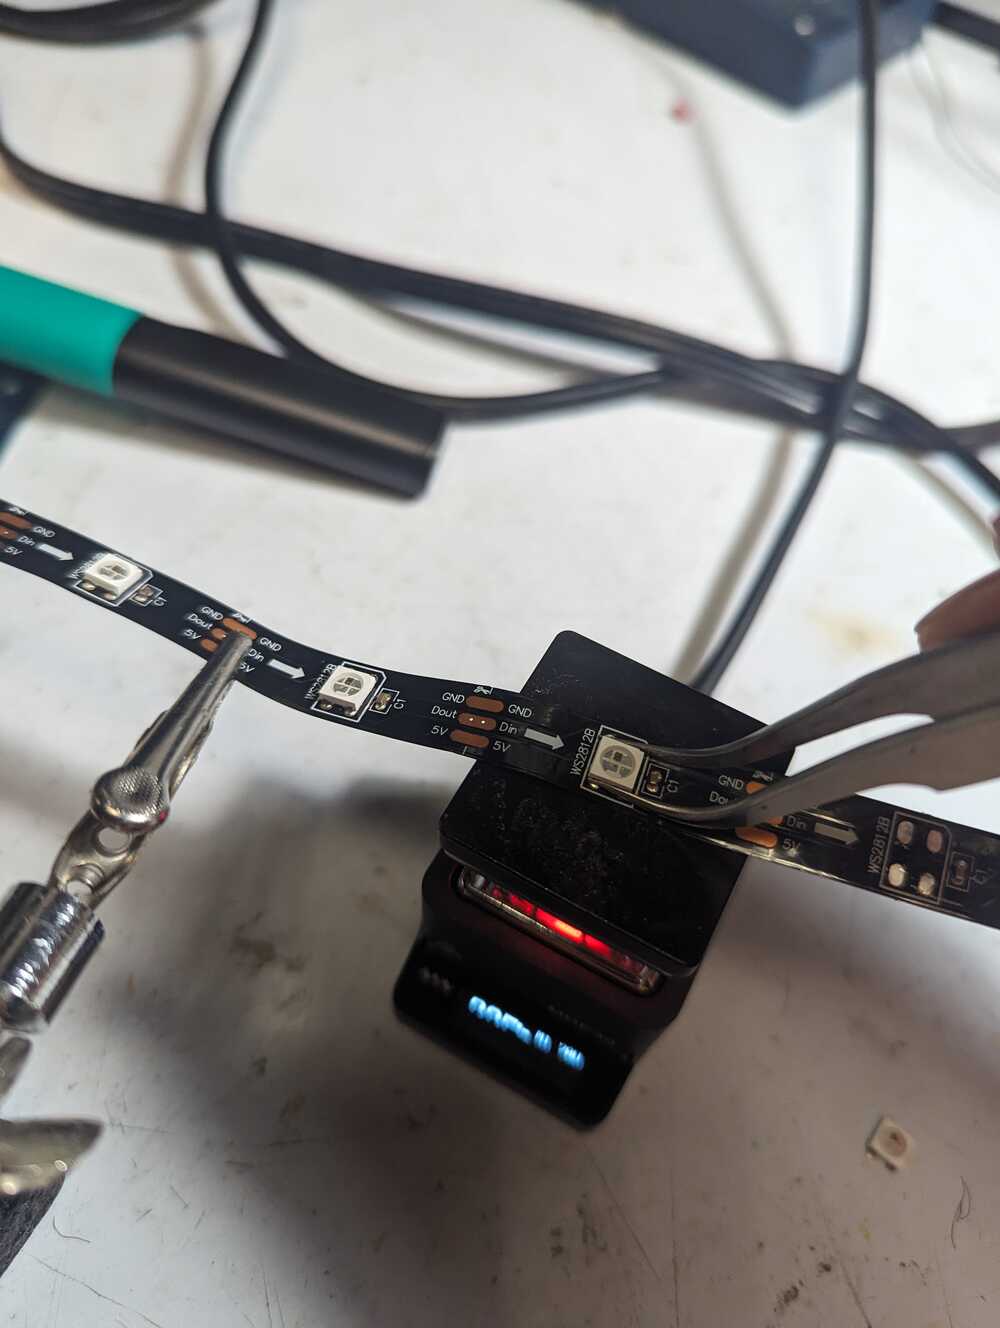
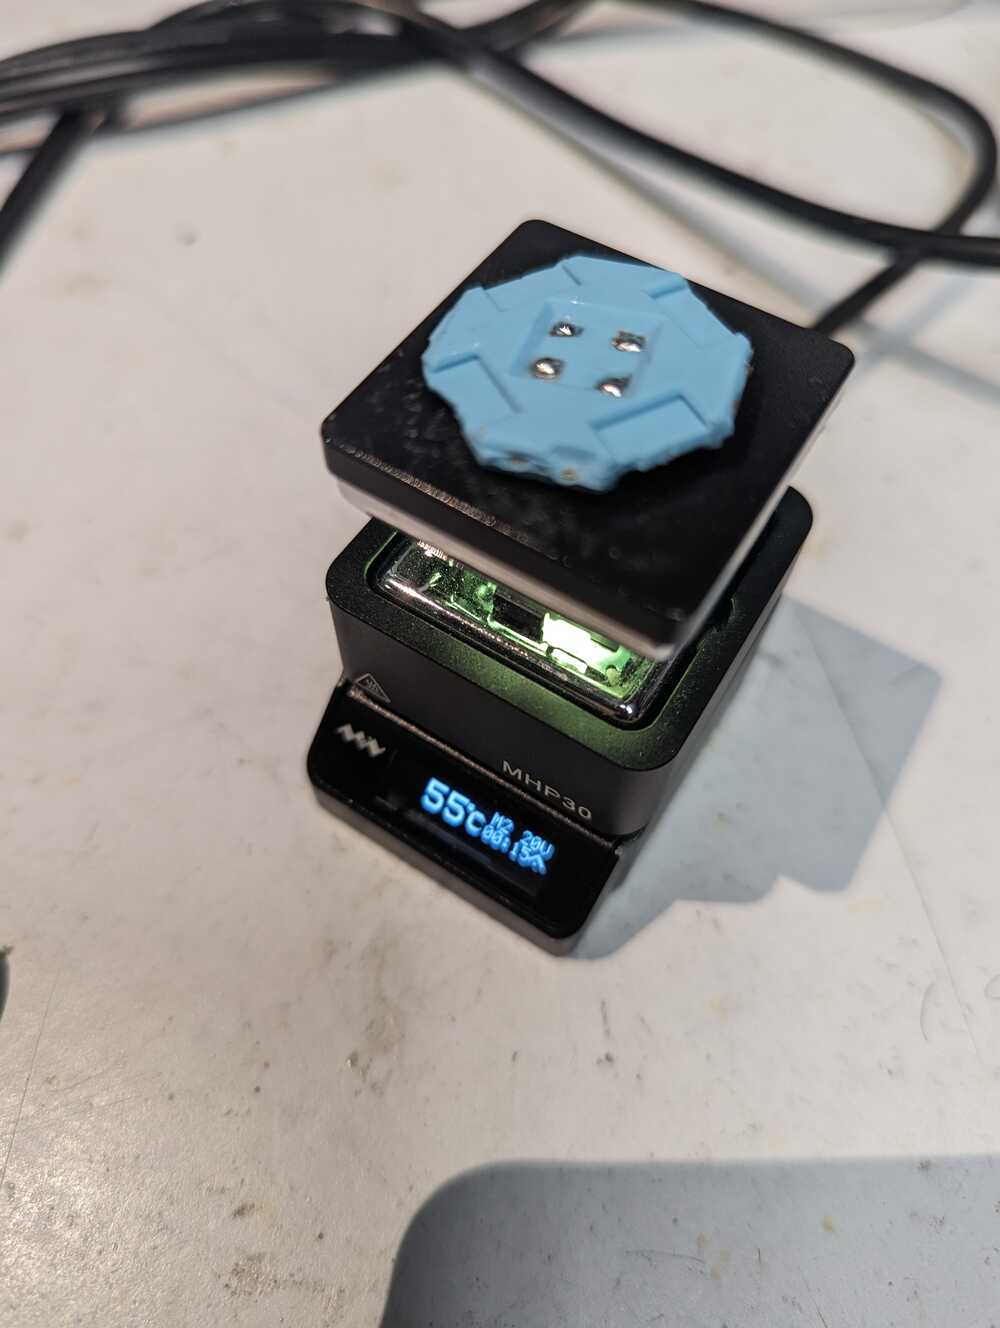
15:11 It’s just a thin layer. So it’s easy. Just peel off the entire thing that off the tape and you have your beautiful pads. Ready for soccer too. I did check that the the copper solder roll just in tests actually ran. He hot plate under the thing and Despite Umu only being quote, unquote useful to 200 degrees Fahrenheit, It ended up being a capable of withstanding, the 300 degrees C, plus temperatures of the mini hot plate, indirect contact.
15:53 And that heat conducted well enough to refill the solder on the top. So besides a bit of browning So it won’t held up pretty well. Umu 25 is really something One need trick. I noted was if you bend the board a little you can see what’s not cyber properly.
16:15 Probably doesn’t work very well for more than a single component, but I thought was kind of neat. Um, yeah. Okay, so that trick was as full
16:30 For the reinforcing. How singulation tools are designed. Pretty useful to cut single pie bar at a time because if you don’t, it gets really hard to cut. What else? Okay, that’s probably it for now. I will document.