Week 6
Mill a PCB
Intro
I have gotten quite a few PCBs made by a fab, almost always by JLCPCB. Also, someone who started this about 2.5 years ago, it's always been so cheap that I've been spoiled and always use 4+ layers. So the main thing for me to learn is about milling and how to do that.
First Run, overkill
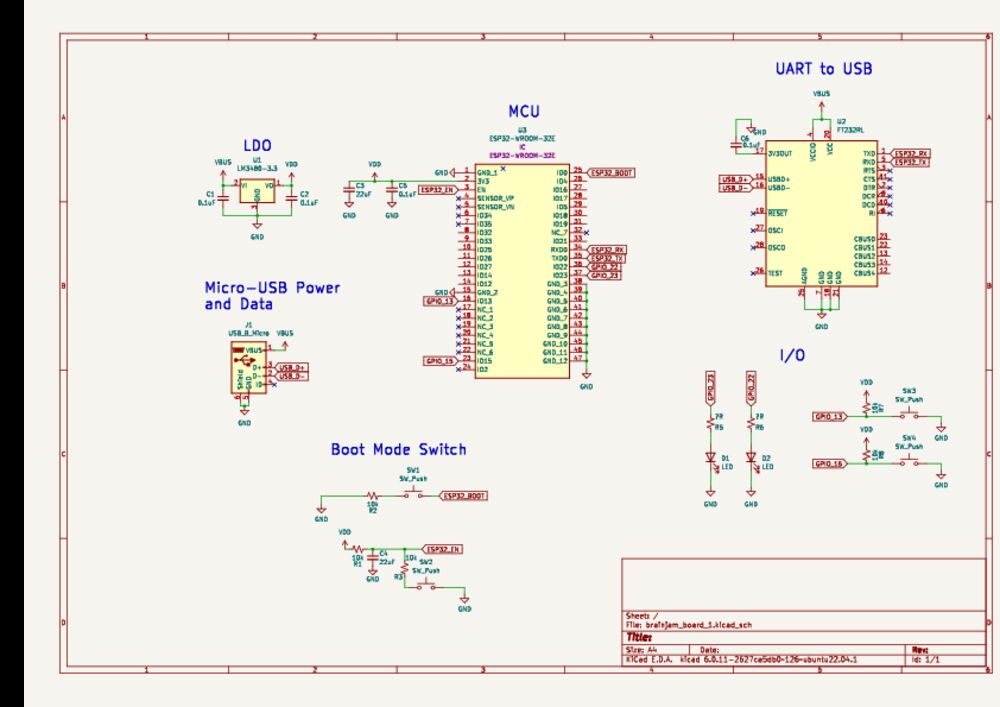
I orignally thought we were contrained only to embedded MCUs that were barebones, so I designed a breakout board for the ESP32-WROOM-32E with UART to USB converter, switches, LEDs, power system, USB, etc.

Second Run, simple
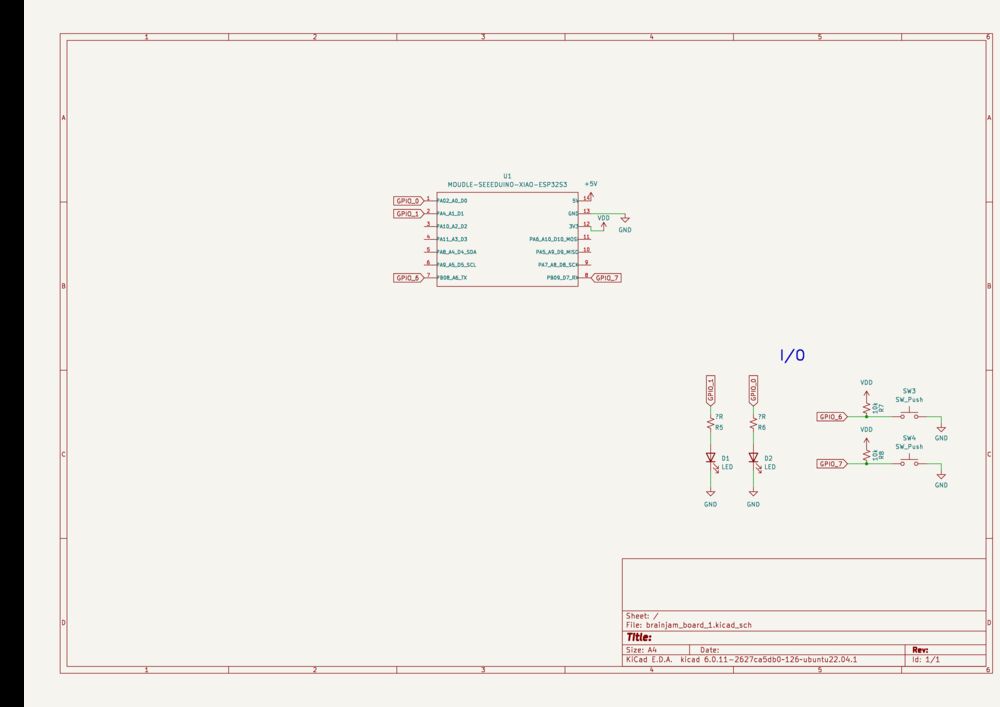
Then I realized the micro USB and MCU pitch were too fine for the CNC. I also saw everyone was using the XIAO boards and their pitch is very large, so I just redid it way simpler:

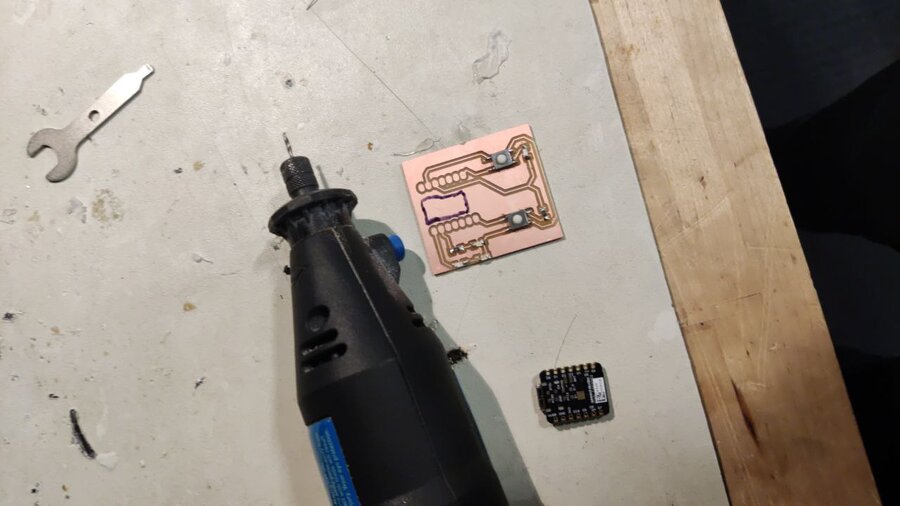
Mill that board
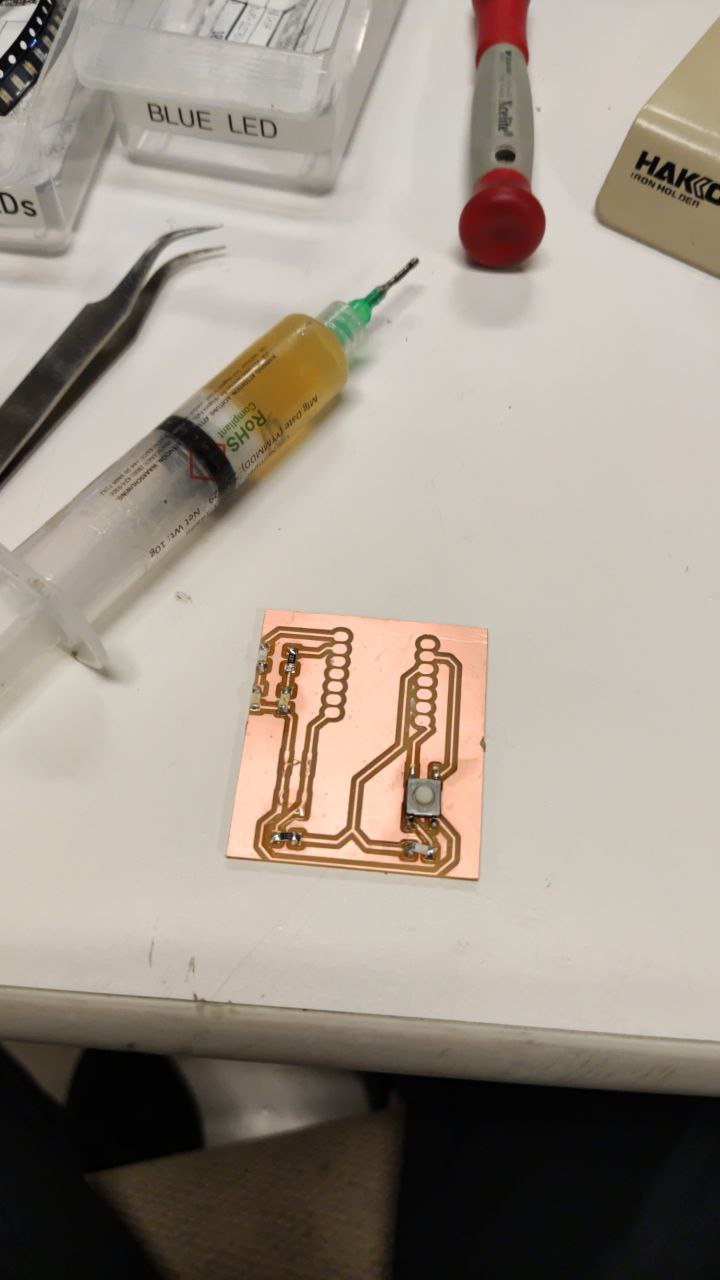
It was now time to mill the board. I exported a Gerber from Kicad then used Quentins `gerber2img` to get a png. Then I uses `mods` from CBA to generate a cut file. I viewed the cut file online in NCViewer to make sure it was all good. Then I cut it:
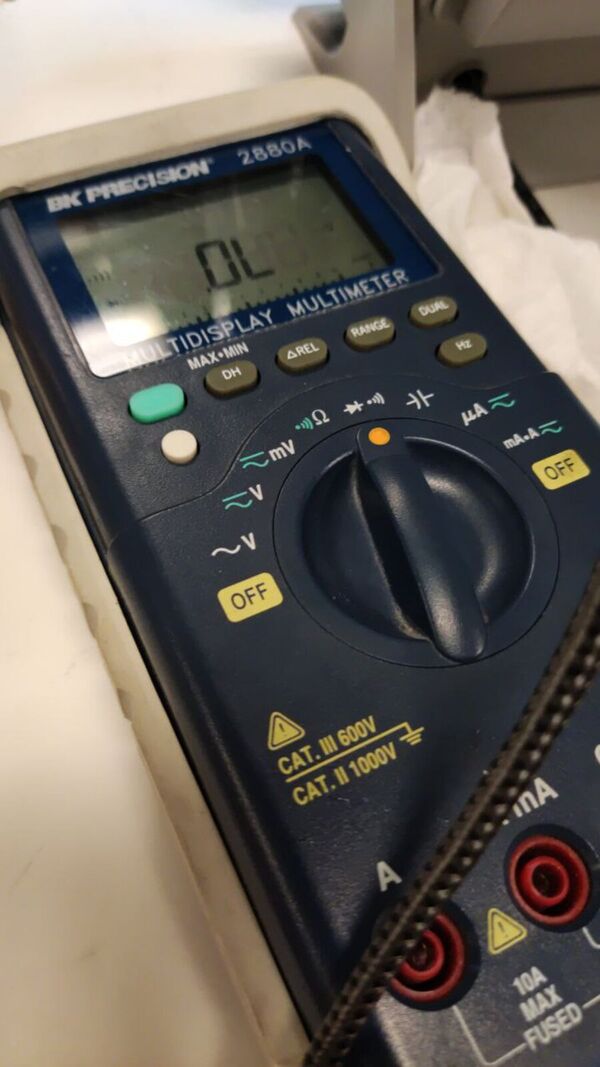
Test with multimeter to assure good milling
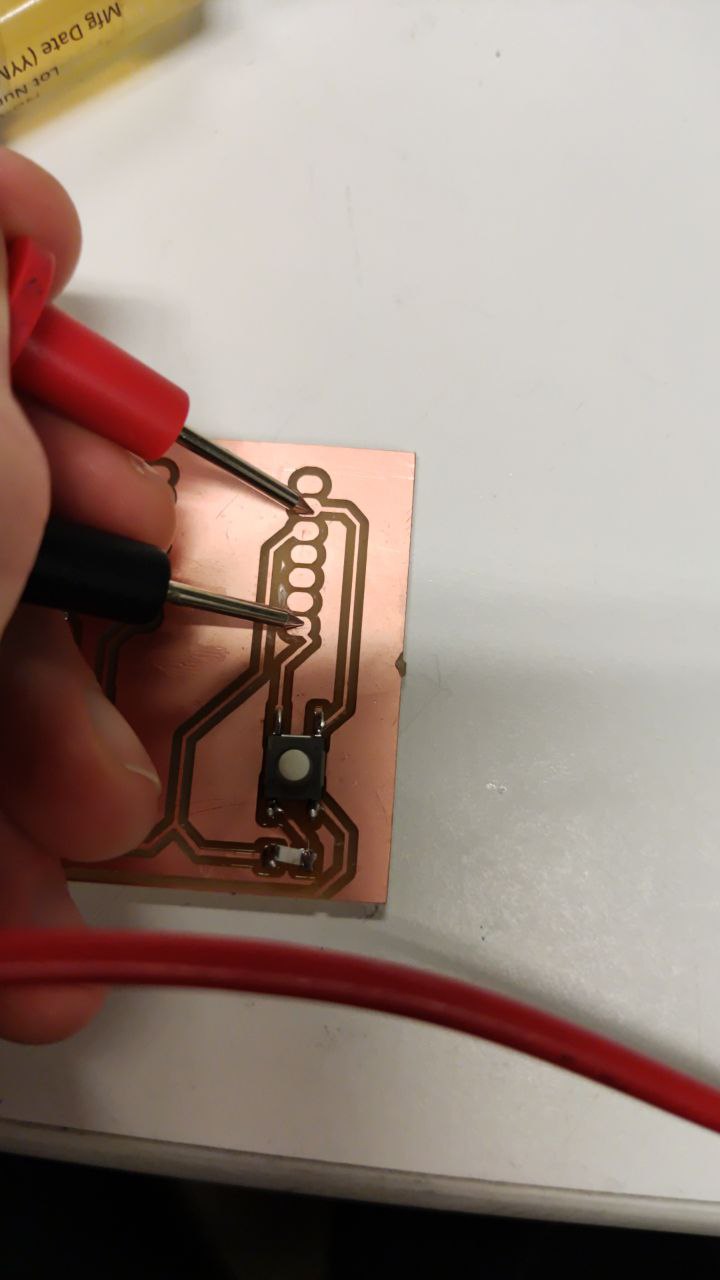
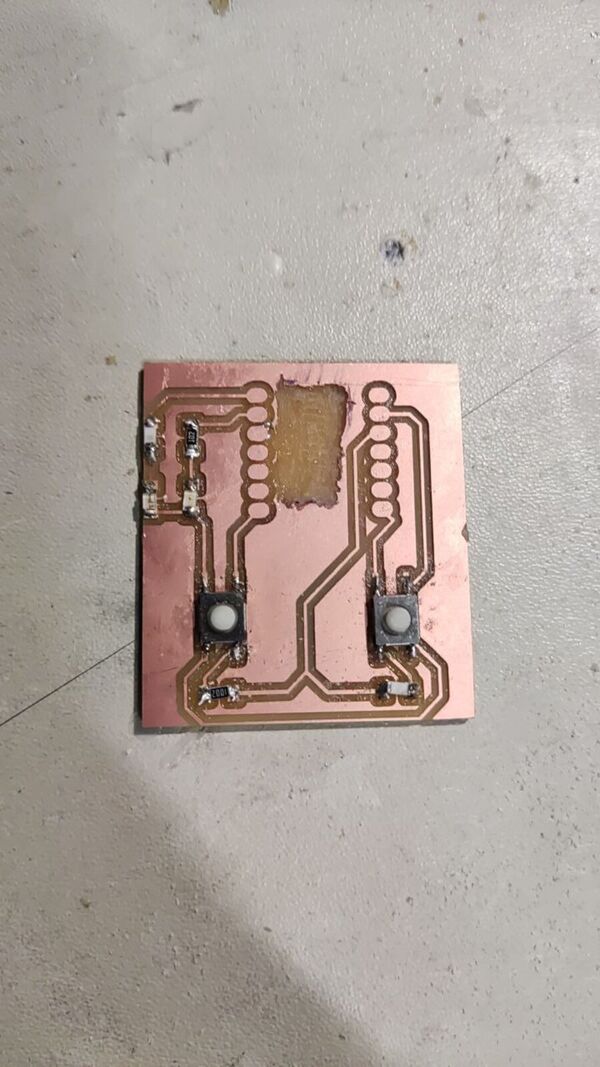
Mistake and Solution
I realized that the keepouts from the XIAO footprint don't work in the land of milling. PCB fab assumes that you have resist and mask everywhere, but the mill doesn't create that. Thus, if I soldered on the XIAO now, the pads on the bottom would all short. The line for the CNC machine was very long, so I used my favourite tool, my dremel, and cut away the part underneath the XIAO.
Final Board
Now I can put the XIAO down:
For the minimal example, I just wrote a blinky for the LEDs:
                #define LED_1 LED_BUILTIN
                #define LED_2 2
                #define LED_3 1

                // the setup function runs once when you press reset or power the board
                void setup() {
                  // initialize digital pin LED_BUILTIN as an output.
                  pinMode(LED_1, OUTPUT);
                  pinMode(LED_2, OUTPUT);
                  pinMode(LED_3, OUTPUT);
                  Serial.begin(9600);
                }

                // the loop function runs over and over again forever
                void loop() {
                  digitalWrite(LED_1, HIGH);  // turn the LED on (HIGH is the voltage level)
                  digitalWrite(LED_2, HIGH);  // turn the LED on (HIGH is the voltage level)
                  digitalWrite(LED_3, HIGH);  // turn the LED on (HIGH is the voltage level)
                  Serial.println("HIGH");
                  delay(1000);                      // wait for a second
                  digitalWrite(LED_1, LOW);   // turn the LED off by making the voltage LOW
                  digitalWrite(LED_2, LOW);  // turn the LED on (HIGH is the voltage level)
                  digitalWrite(LED_3, LOW);  // turn the LED on (HIGH is the voltage level)
                  Serial.println("LOW");
                  delay(1000);                      // wait for a second

                }