How to Make (almost) Anything 2023 | Week 4.1: 3D Scanning & Printing
Home
Assignment: Group assignment--Test the design rules for your 3D printer(s); Individual assignment--Design and 3D print an object (small, few cm3, limited by printer time that could not be made subtractively); 3D scan an object (and optionally print it)
Individual assignment: Design and 3D print an object that can't be made subtractively
Description: A vase within a vase was constructed using CAD within Fusion360, exporting an STL file compatible for the 3D printer to produce the final object.
Primary files:
- Vase-within-a-vase CAD model (Fusion360)
Procedure:
- Within Fusion360, design the profile of the outer vase by sketching a line for the base, a larger circle set tangent to the line, and a smaller circle set tangent to the larger circle
- Establish desired parameter measurements for each component
- Trim the inner portion of the larger circle and the outer portion of the smaller circle such that the profile of the vase appears one continuous curve
- Offset the profile of the vase to a desired thickness
- Recreate the steps above on a smaller scale within the confines of the existing vase profile, to create the profile of the mini vase within the larger vase
- Once sketch is completed, use the "Revolve" function to create the full structure of a vase within a vase
- Export CAD model as an STL file to be compatible with 3D printing
- Email STL file 3Dprint@cba.mit.edu to 3D print the object
- Alternatively, import the STL file to Creality where you can scale and slice file, then export as G-code onto an SD card to be inserted into the FDM 3D printers
Key learnings:
- Symmetry is helpful when CAD modeling -- The revolve function made it very efficient to create the vase given the symmetry of the object; However, I did struggle trying to add additional design features to the outside of the vase because I had difficulty selecting the plane as the surface of the vase.
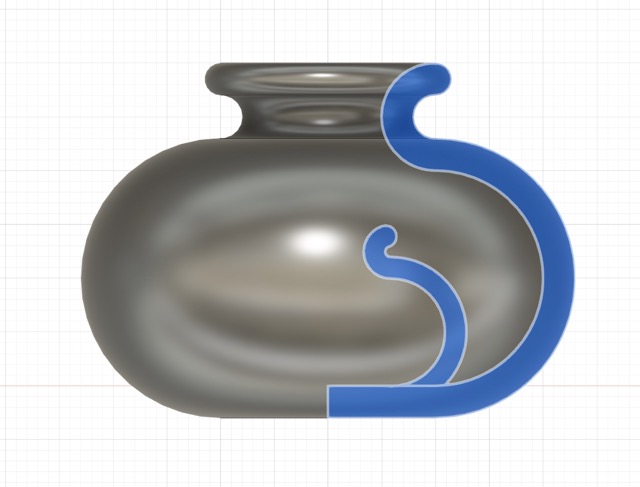
CAD design process of vase-within-a-vase
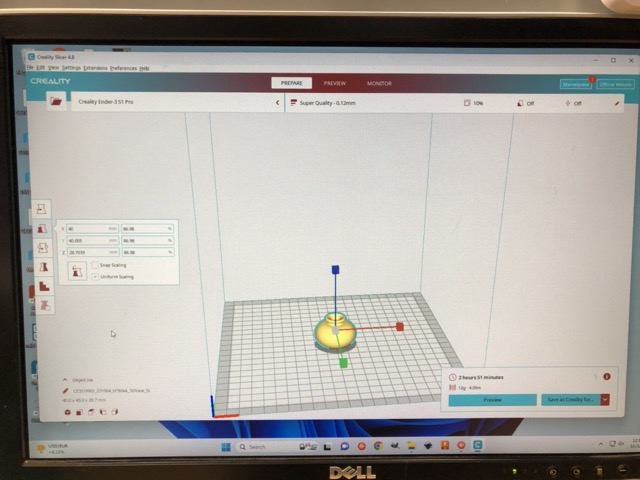
Scaling and slicing STL file in Creality
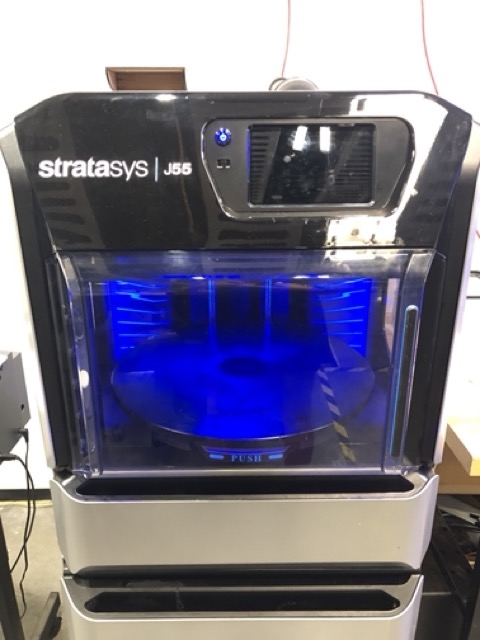
3D printer
Individual assignment: 3D scan and print an object
Description: After a failed attempt to 3D scan a ring with the Leo 3D scanner given the inability to detect shiny objects, a model of the Thinkerman was scanned instead and then converted to an STL file to be 3D printed.
Procedure:
- Turn on the Leo 3D scanner and create a new project
- Position the desired object onto a piece of cardboard with gridlines to assist in the 3D scan detection
- On the Leo 3D scanner, turn on the texture setting and turn off background
- Click the trigger on the Leo 3D scanner once to begin scanning and walk around the object to ensure all details are captured
- Click the trigger on the Leo 3D scanner once more to end the scan
- Select the project and click "save to SD card"
- Eject the micro SD card from the Leo 3D scanner and insert into the computer
- Open the Artec program on the computer and create New Project > Import > Leo Scan > Select desired scan
- Once the scan is imported, right click on the Leo scan on the right hand side and select "Show"
- Right click on the Leo scan again and select "View Frames," then scroll through the frames and delete any frames flagged as red given it indicates the frame contains unnecessary data
- Select "Autopilot" on the left hand side and click next using the default settings
- Once upon the "Edit" section of the Autopilot process, use the rectangular selection option to remove the background and unwanted areas from the scan (use CTRL+LMB+Delete)
- Once done editing, select next and the Autopilot will process the image to determine if the scan was sufficient; If an insufficient scan, repeat the scanning process until you gain a sufficient scan
- Export the model as a mesh, and save as an STL file (save as VMRL2 if texture detail and color needs to be retained)
- Email STL file 3Dprint@cba.mit.edu to 3D print the object
- Alternatively, import the STL file to Creality where you can scale and slice file, then export as G-code onto an SD card to be inserted into the FDM 3D printers
- To shut down the Leo 3D scanner, go to Settings > Shutdown (do not power off directly using the power button)
Key learnings:
- 3D scanning can be extremely variable -- There doesn't appear to be a magic formula for the best way to get a quality 3D scan, sometimes it works better with background on, sometimes with background off, etc.; Additionally, the 3D scan can be very picky about the material type, for example I learned that the Leo 3D scanner doesn't play well with shiny objects (such as a metal ring) and will be unable to detect the object
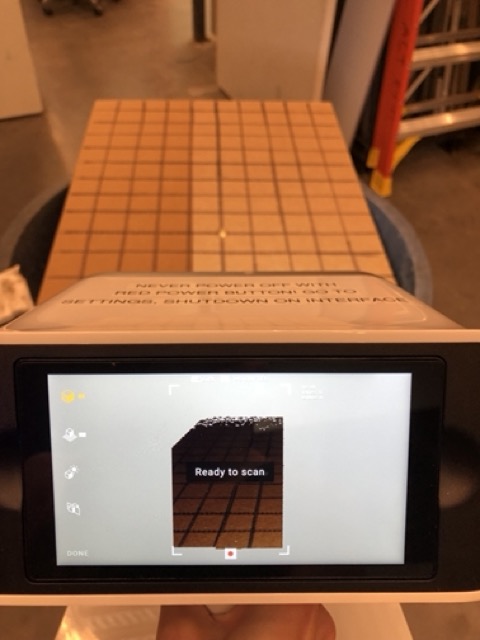
Leo 3D scanning process

Artec failed scan attempt
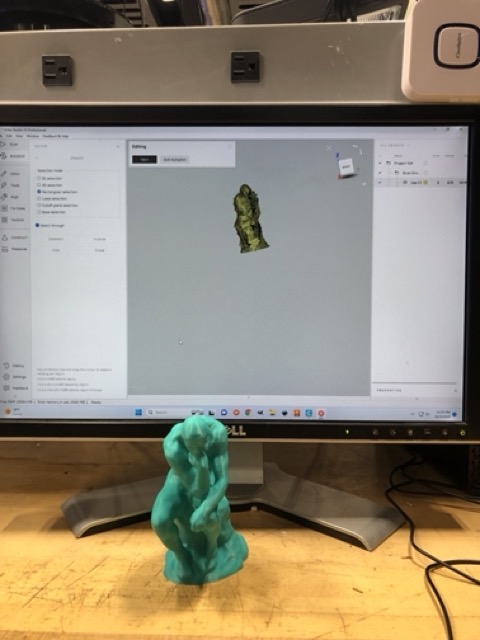
Artec autopilot editing process
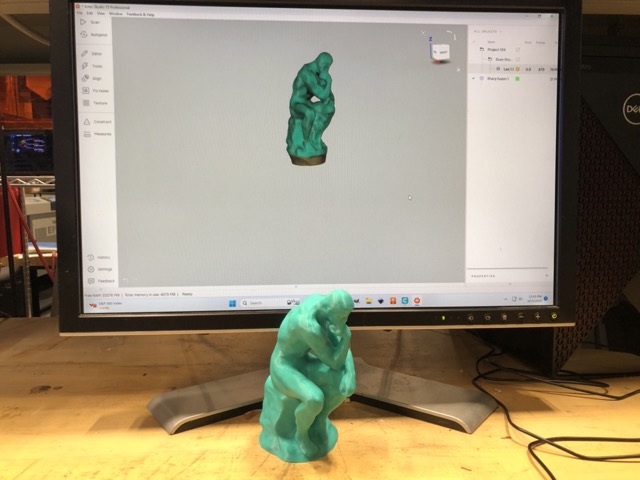
Artec successful model rendering
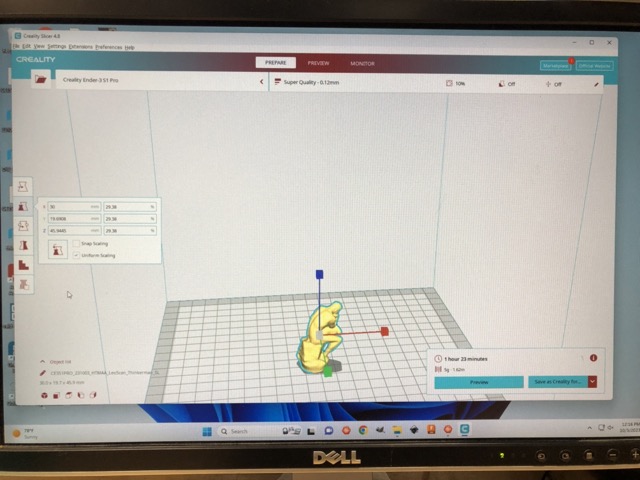
Scaling and slicing STL file in Creality
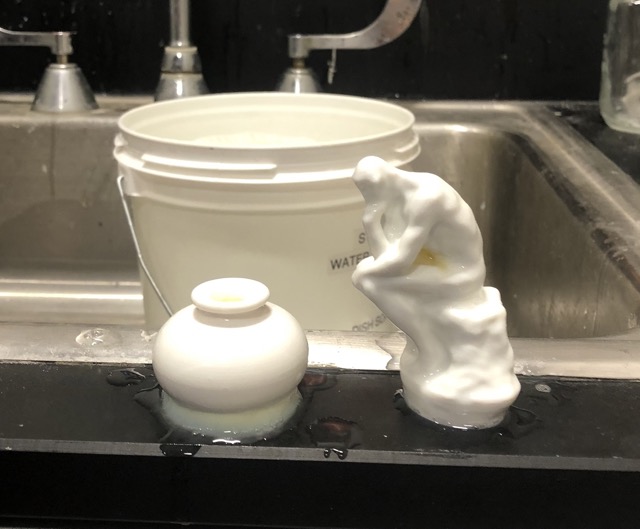
3D printed vase-within-a-vase and recreated Thinkerman