What is Additive Designing?
I have spent many hours wondering this question. The answer given in class and on Google seems to hover around "things you make with 3D printing" and "things that were not made subtractively." It is not so much this aspect that bother me rather than that "things that cannot be made subtractively" does not feel well defined--what if I hand carve every single detail with tiny fine tools? I talked to Anthony about this, and amended the definition to "things that cannot be practically made in a timely manner with subtractive machining."
I have this conversation latter in the week after pondering on this seeming flaw for hours. I rejected many project ideas because I was not sure if they were truly cannot be made with subtractive measures. Maybe it is better to talk about it earlier next time.
3D Printing
All of the credit for my project's inspiration goes to Masarah who was very gracious in sharing her ideas. For this week, I'm making a circle shaped tube that has a small opening and spheres inside of it. This object is not meant to do anything productive other than existing on my shelf afterward.
I have learned from my mistakes in previous weeks and skim over many a Youtube tutorials during my CADing process. Amongst them is how to move a sketch and how to revolve a sketch. The answer to the former is foremost by not constraining it to the origin or, if one did, then make a copy of that sketch. The answer to the later is to just use the revolve function under create.
I planned for my inner spheres to be 8.5 mm in diameter--giving 0.75 mm clearance on each side in the tube. This clearance should work because of the group project for this week showed that a 0.6 mm is enough to make distinct parts. I first make a cross section sketch of the tube. I drew a circle centered at the origin with diameter of 10 mm. Then, I created a an opening that is 2mm less than the sphere diameter or 6.5 mm so that the sphere can not escape or be inserted in otherwise.
I made the opening by drawing a line and then using the Pythagorean theorem to constraint its distance to the center. I used the trim function to cut off the excess and then use the offset function to give it a thickness. I also fillet the corners for good measure. If you look very closely, you may see that the picture is not quite symmetric on the horizontal axis; I may or may not have rotated it slightly when moving the sketch.
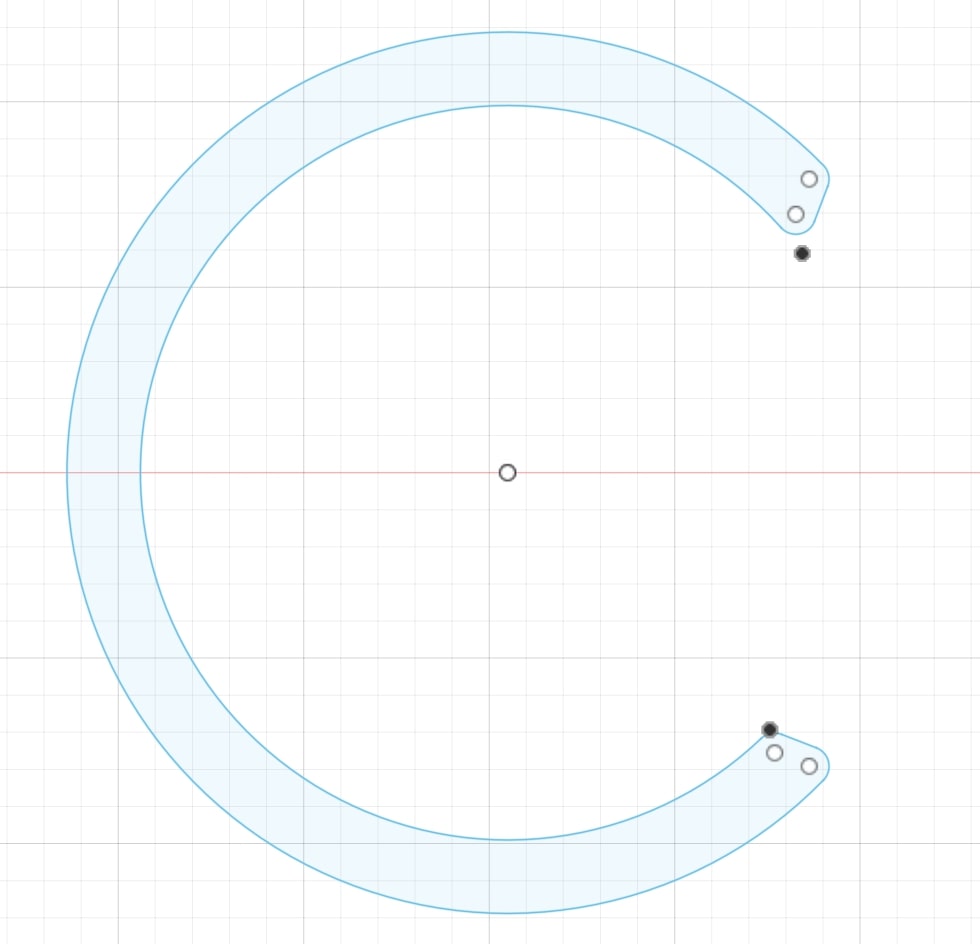
Following the previously listed tutorial, I moved the center of the sketch to the side by 50 mm then revolve it around the axis to create the ring. Turning the ring off, I create a sphere on inside the slice of the ring and make a circular pattern to make four spheres. More spheres could have been made, but I have to start somewhere.
<
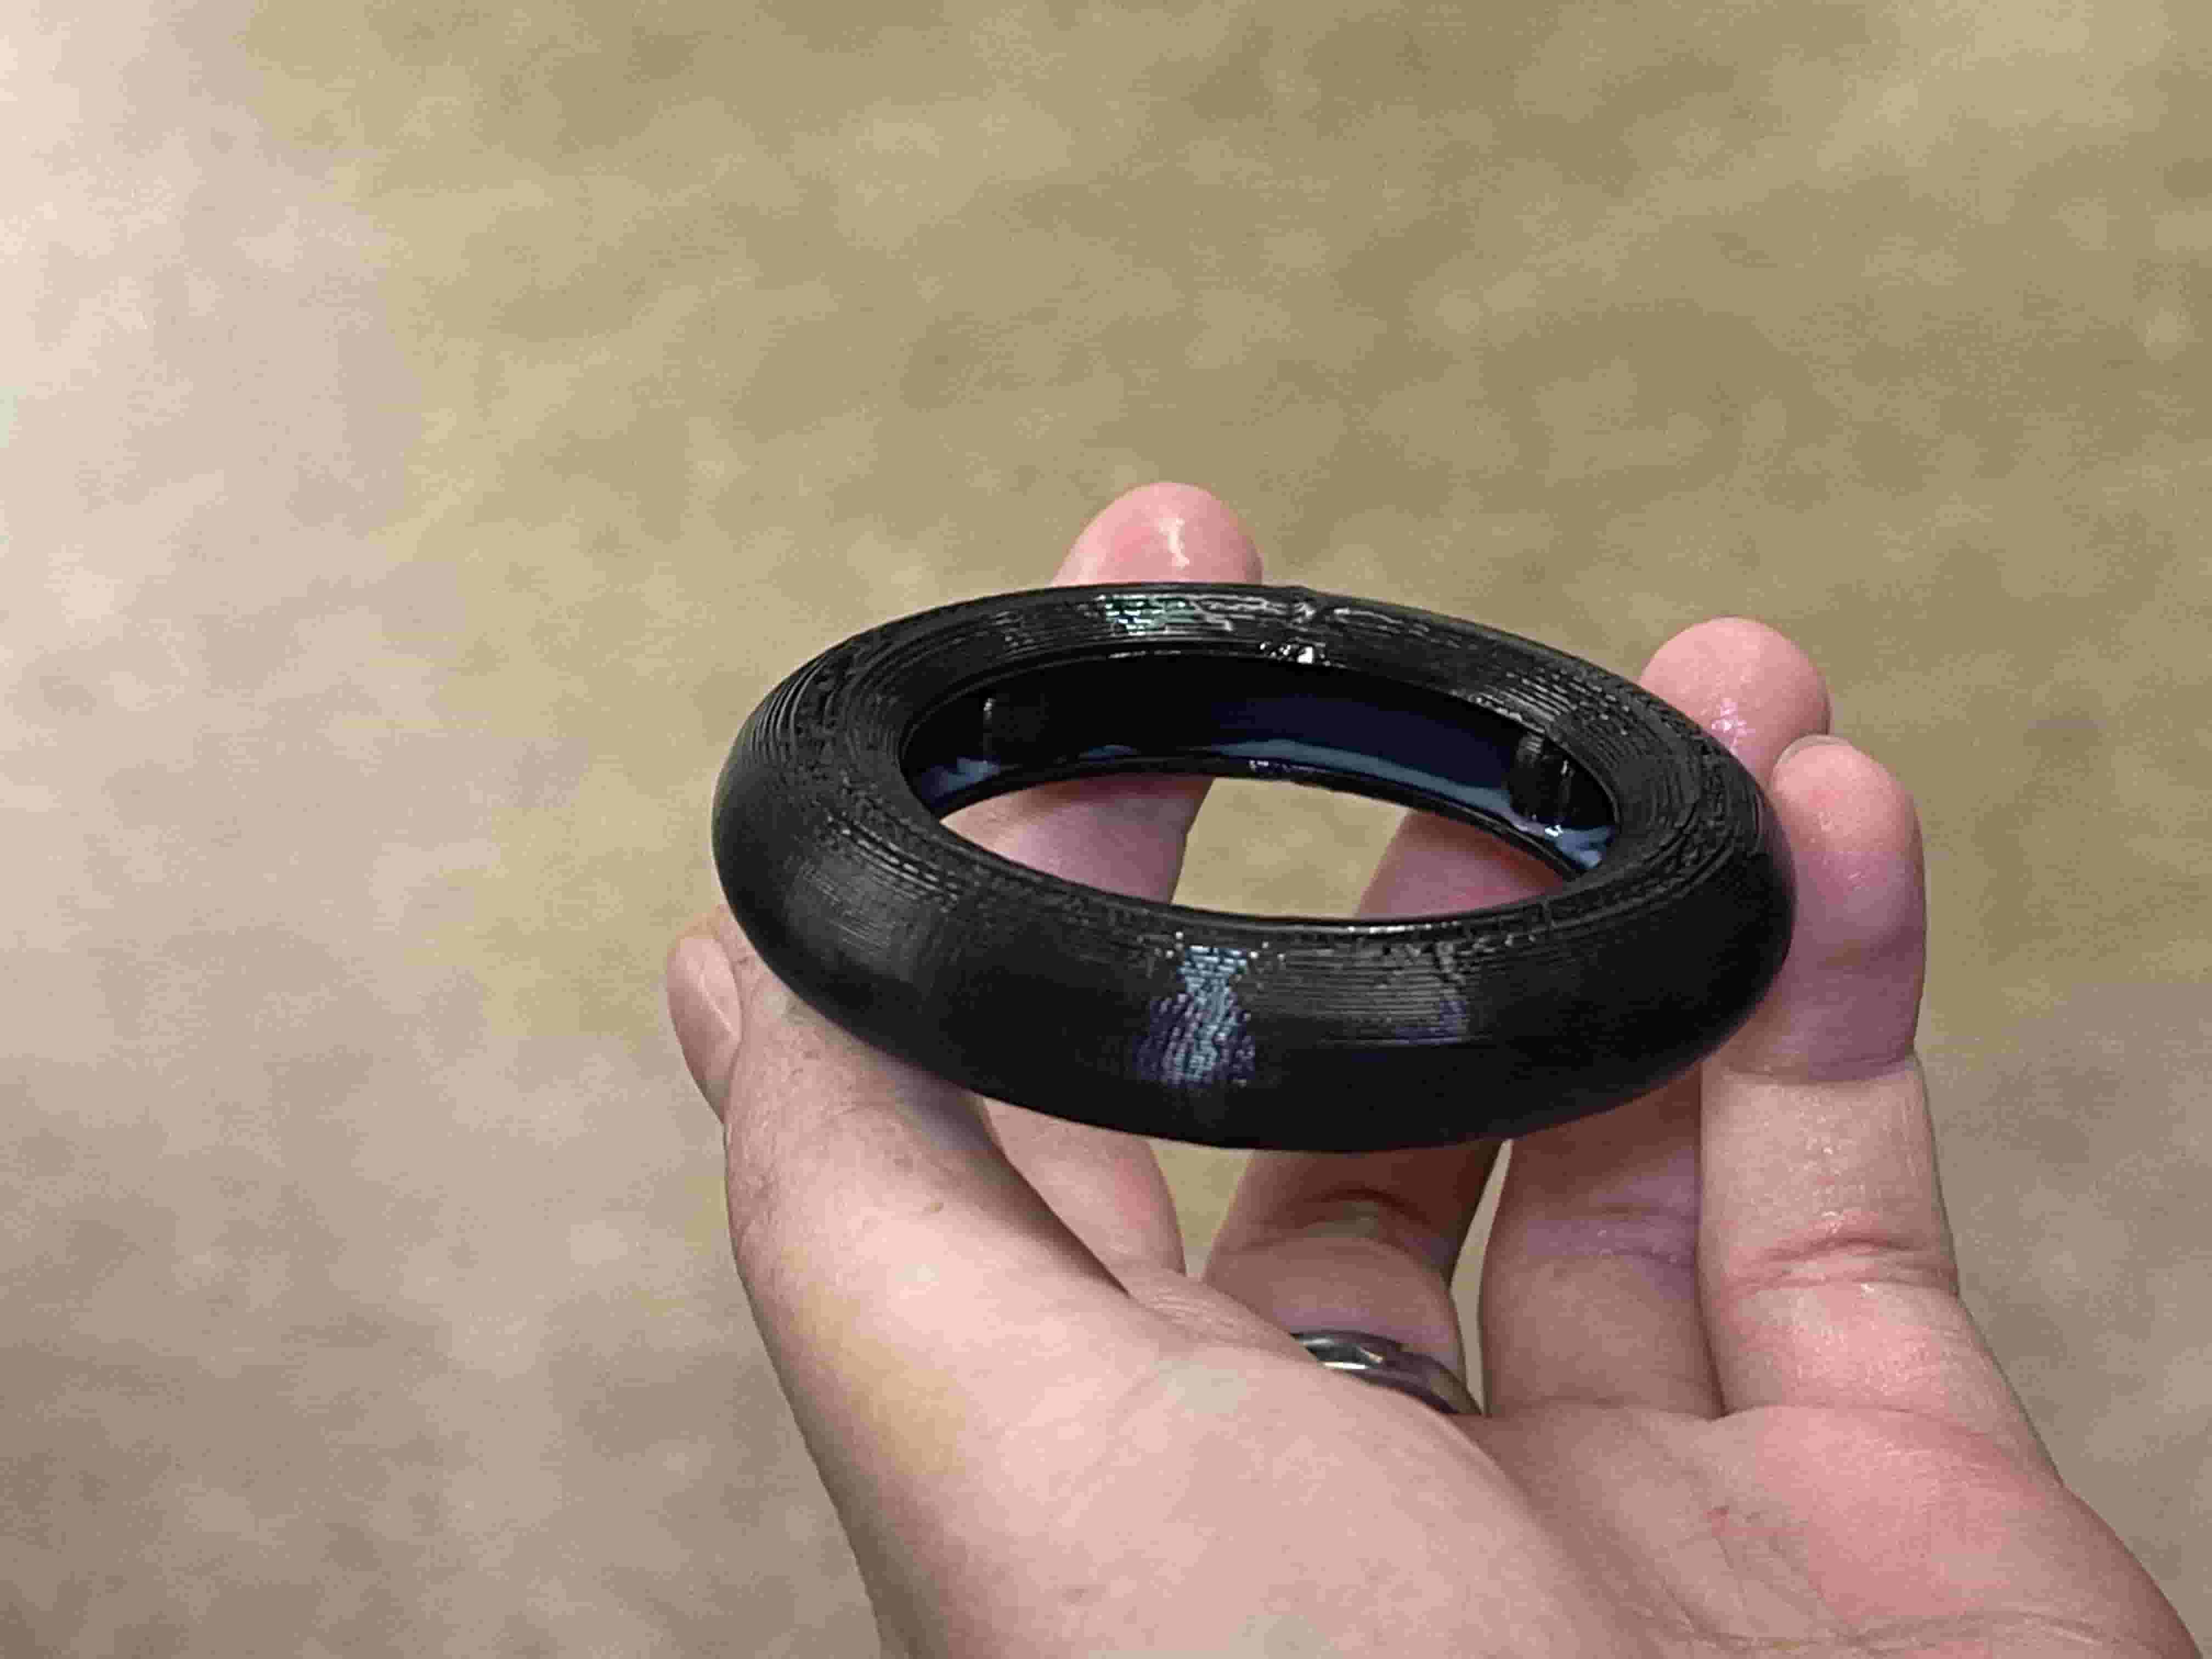
I then printed this on the StrataSys printer because the design needs support materials all around the inner spheres. The program took roughly an hour to print, but many more hours for the support materials to dissolve. Below is a picture of a print with some of the white support left undissolved. You may have to look very closely to see two of the spheres inside.
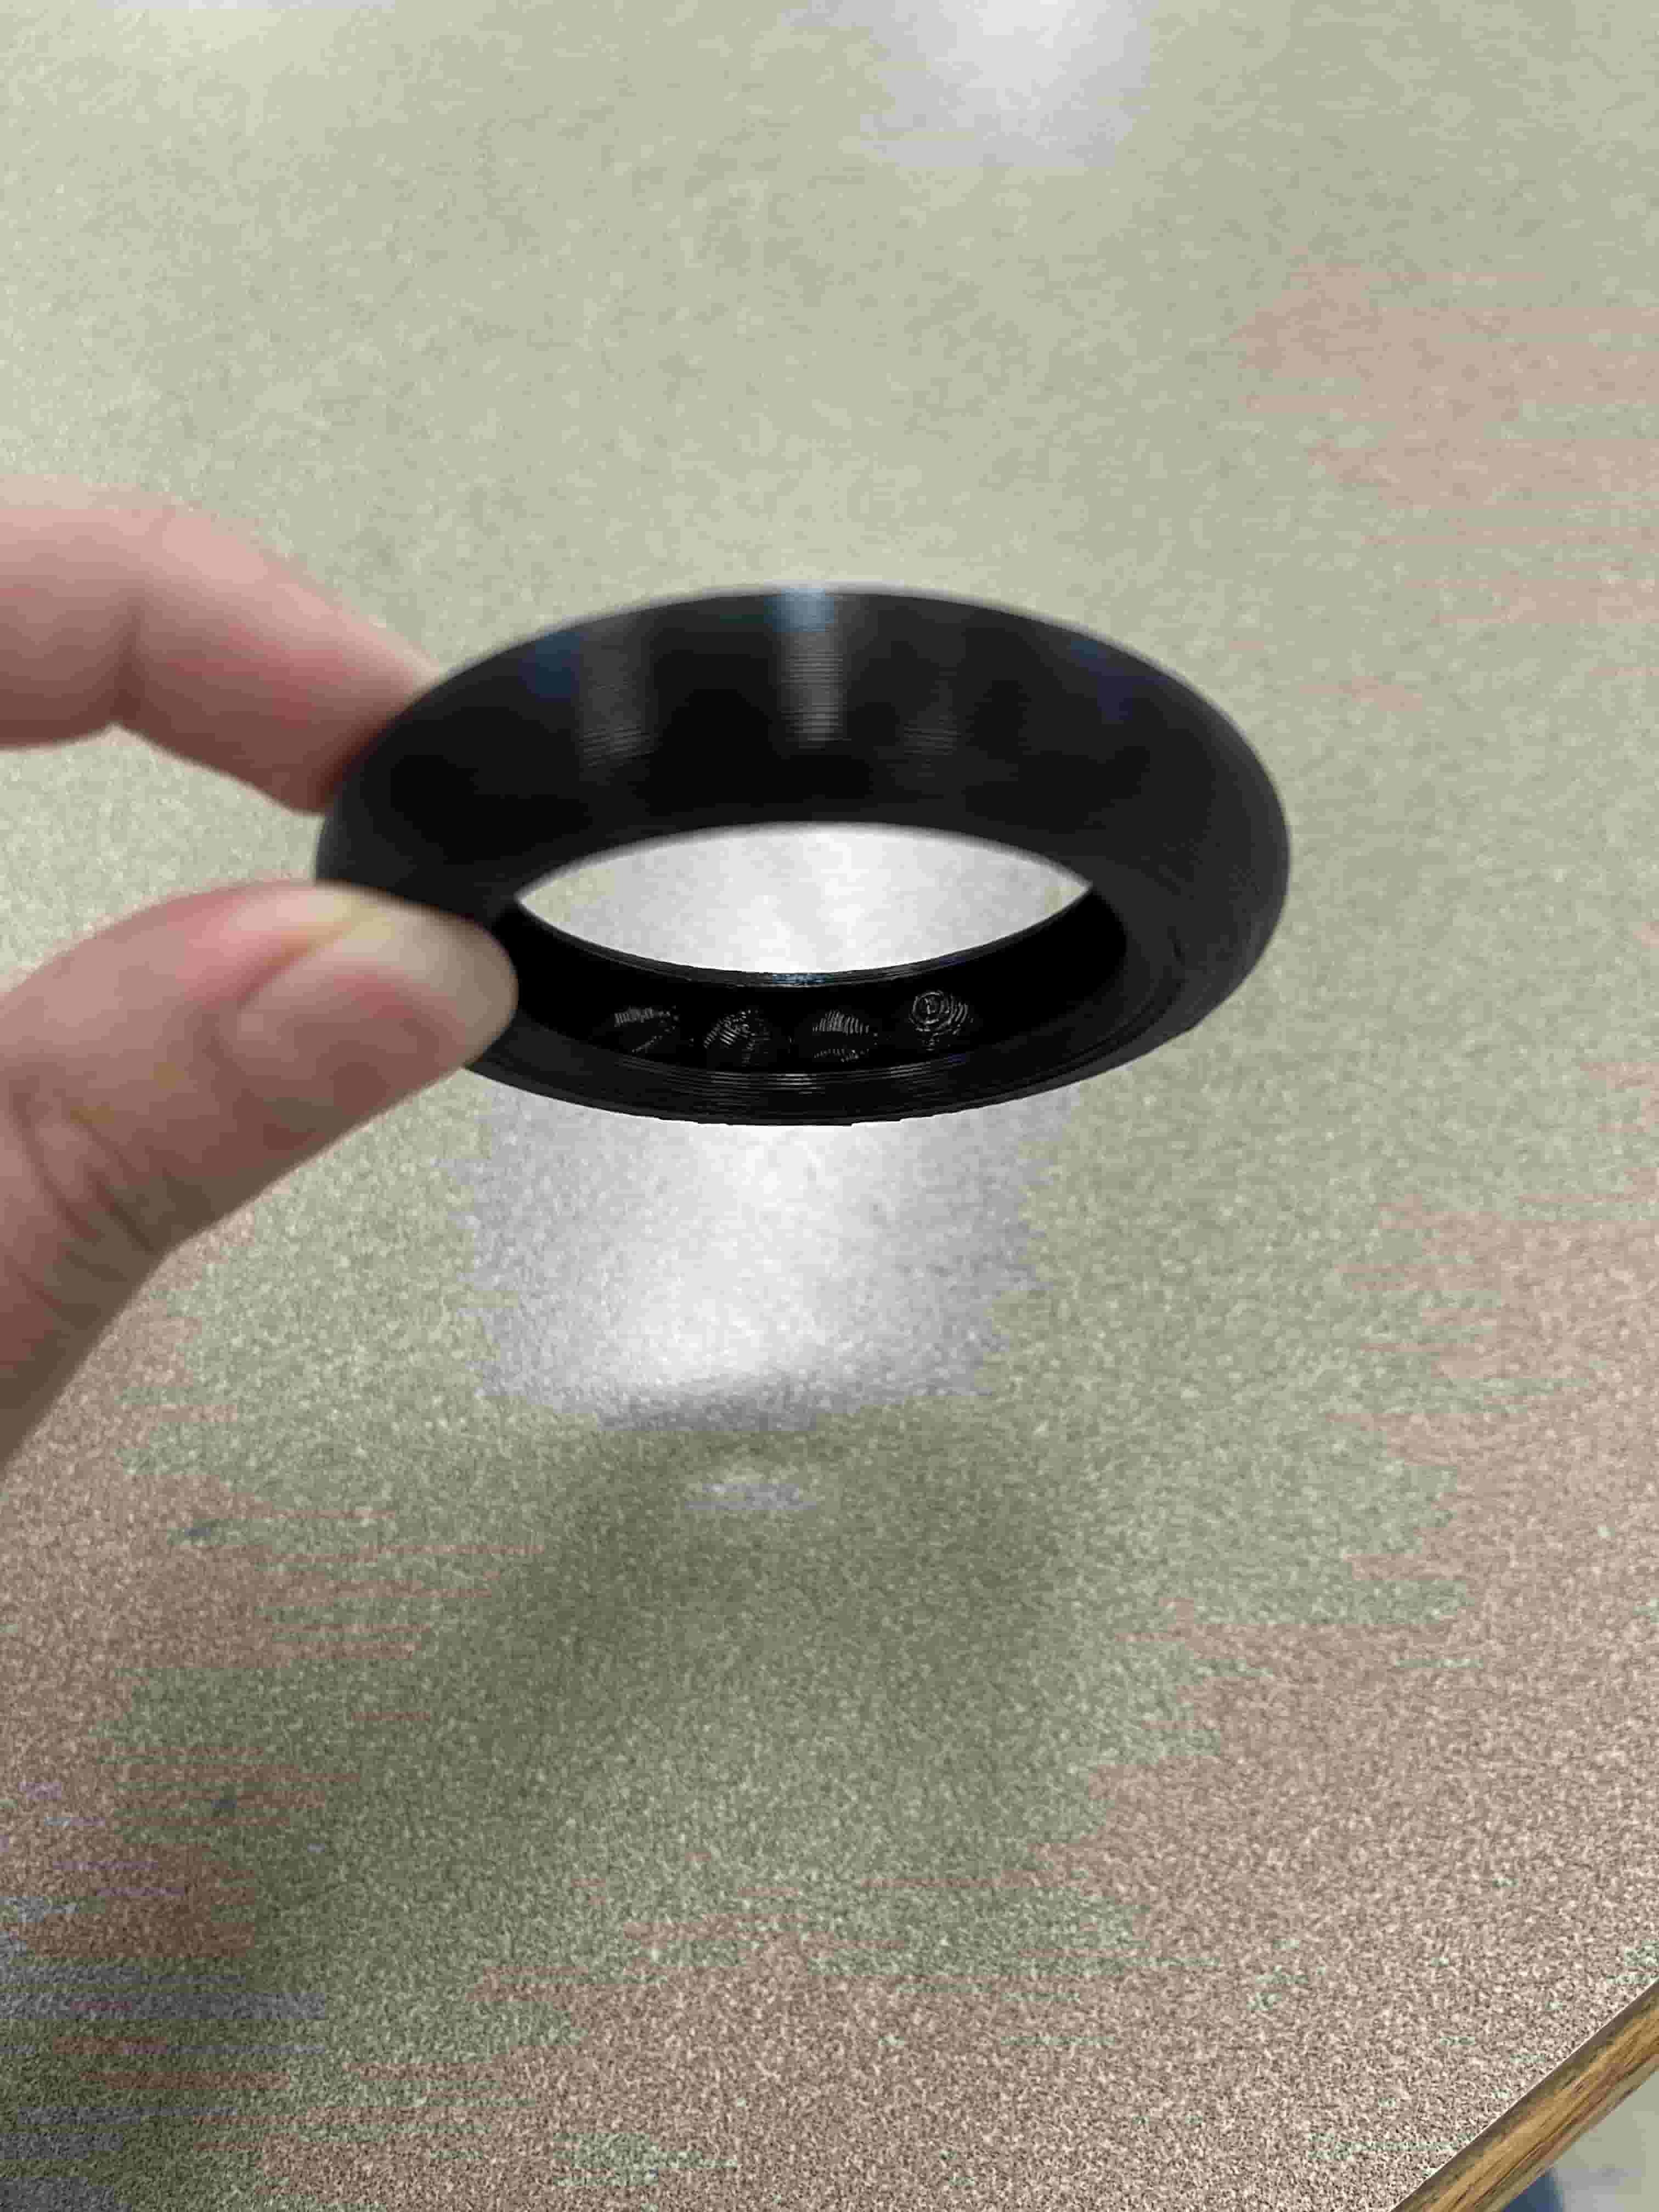
And here is the final product! It makes little sounds when you swirl it around!
You can find my CAD file here
3D Scanning
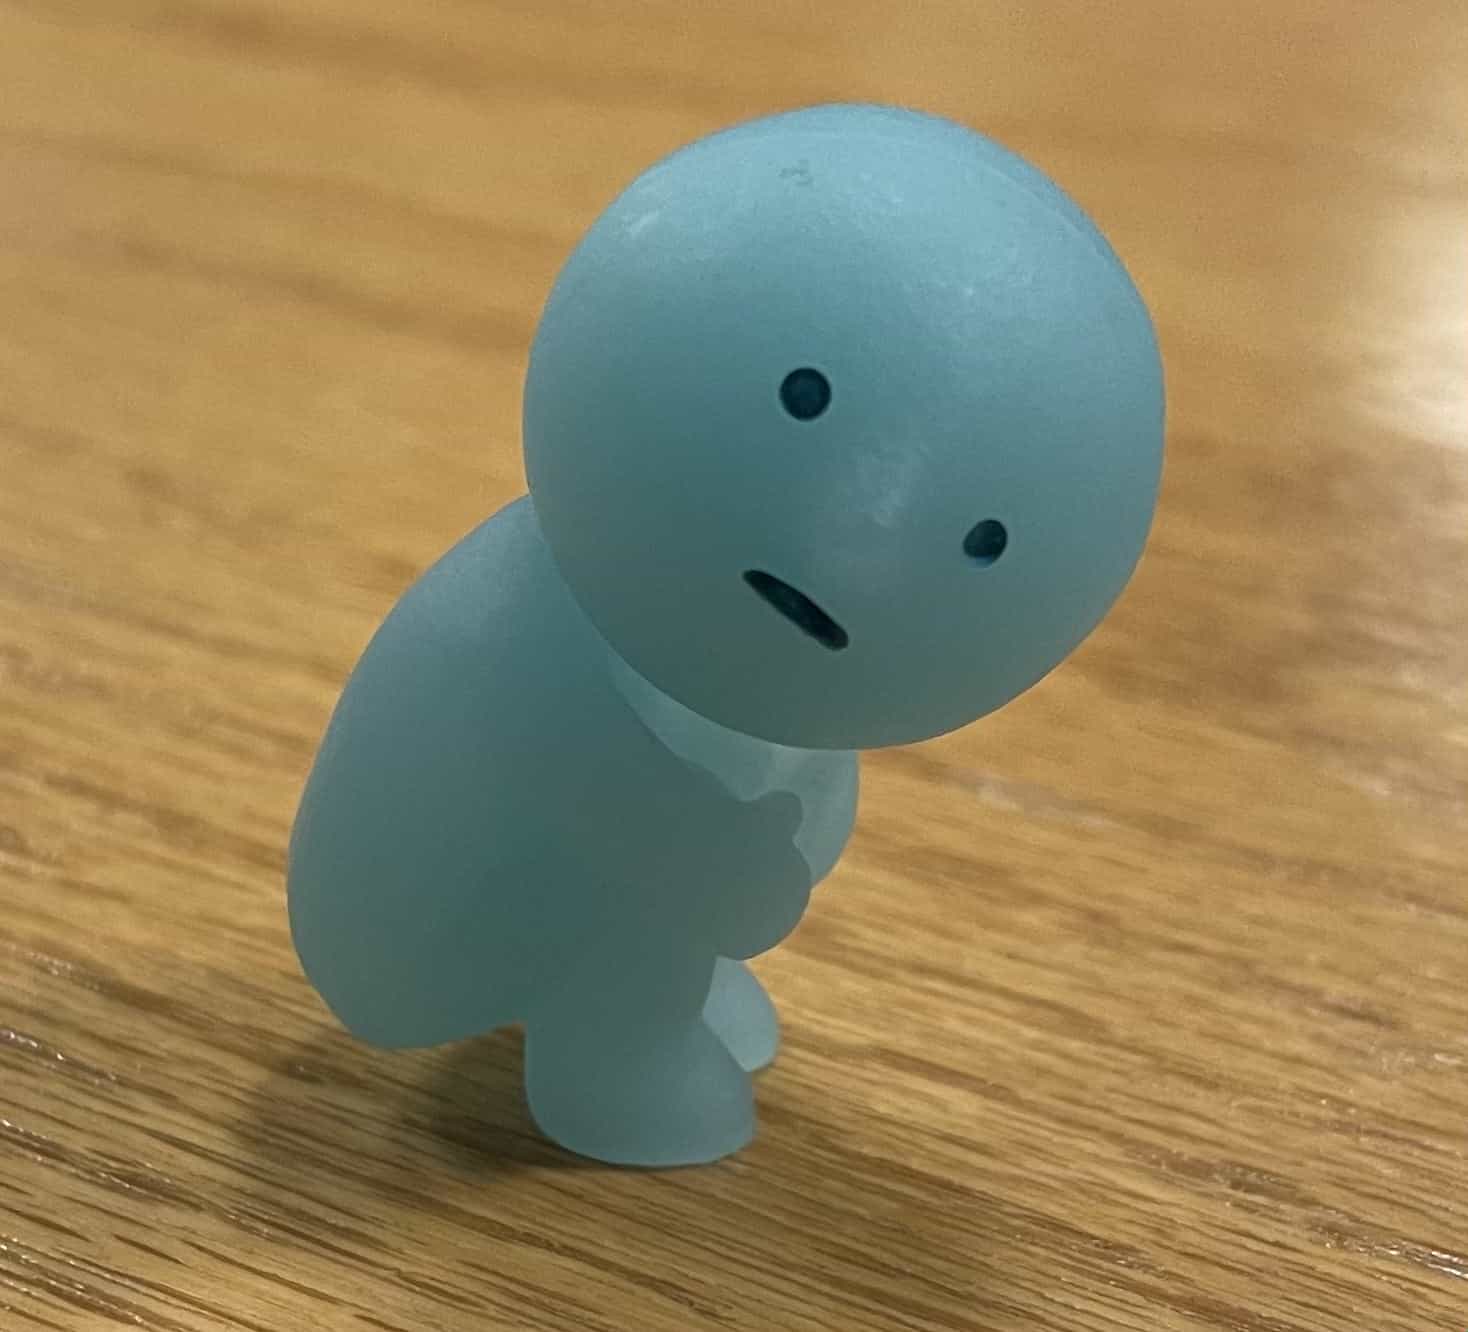
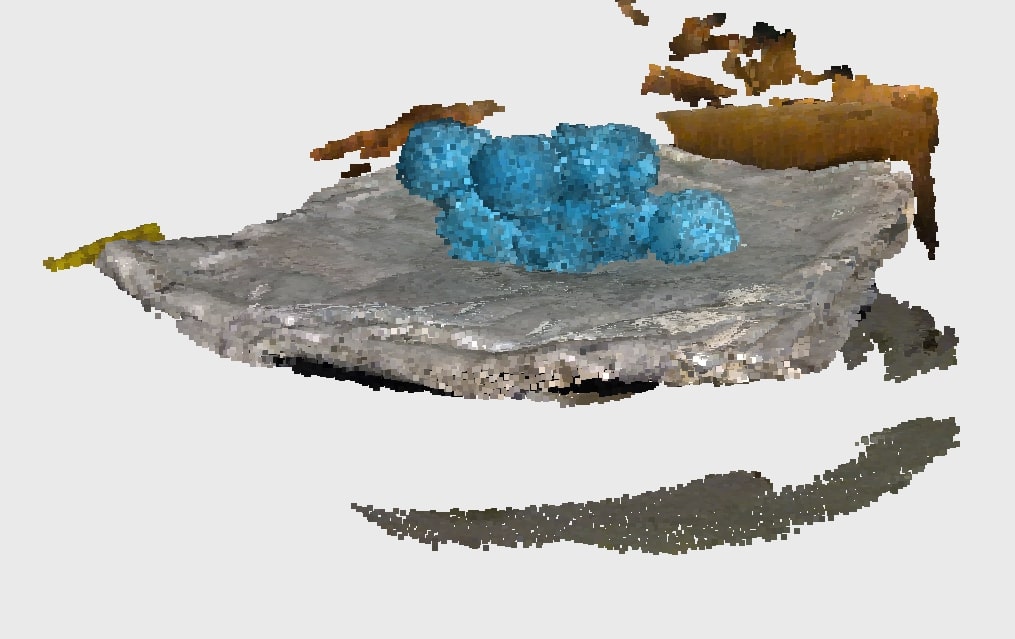
I used the scanning Revopoint program available on the computer in the Engineering Design Studio. I first attempted to scan the blue figurine below. Sadly, the figurine was too smooth for the program to pick up much of the details, and I ended up with a blue blob with eyes. The picture below is the second round of scanning, and to be fair to the program, the man did fall over in despair during scanning. I assure you, regardless, that the low quality is not primarily driven by his fall from grace.
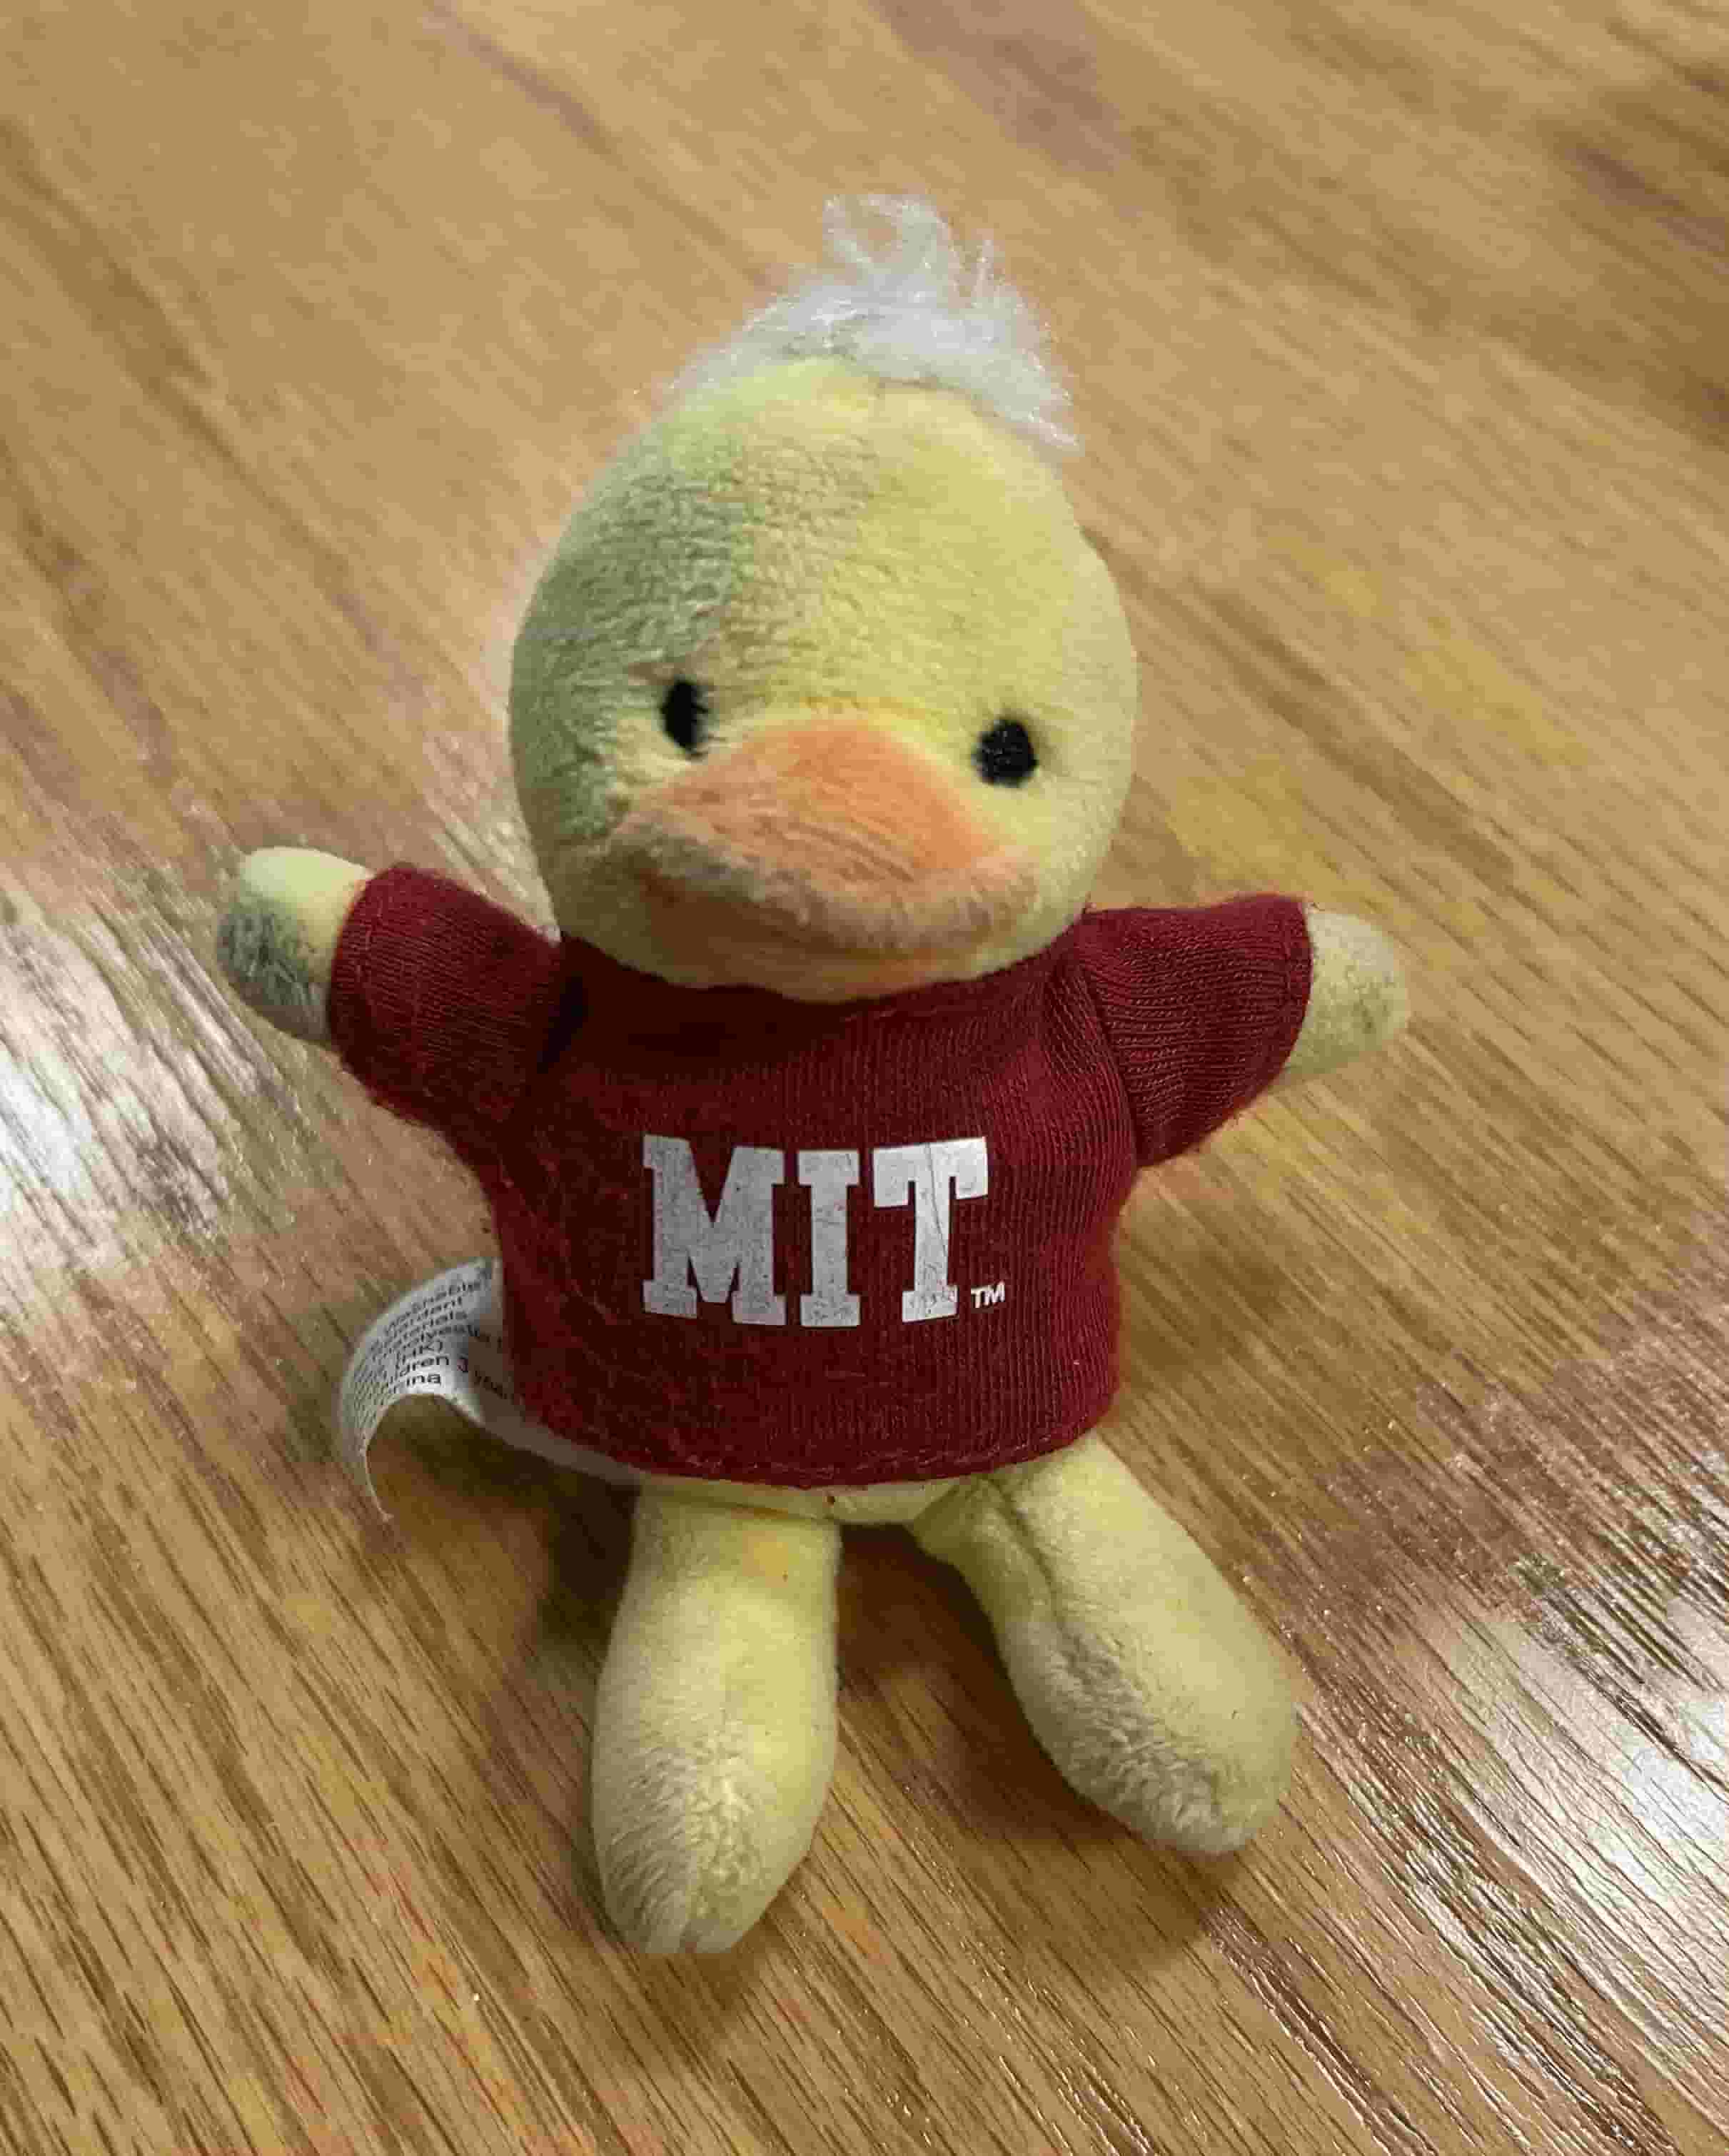
I then resolved to scanning my dirty tiny stuffed MIT duck that was purchased at the MIT COOP some time ago. The program liked the duck much more than the blue pooping man, but the quality of the scan leaves much to be desired.
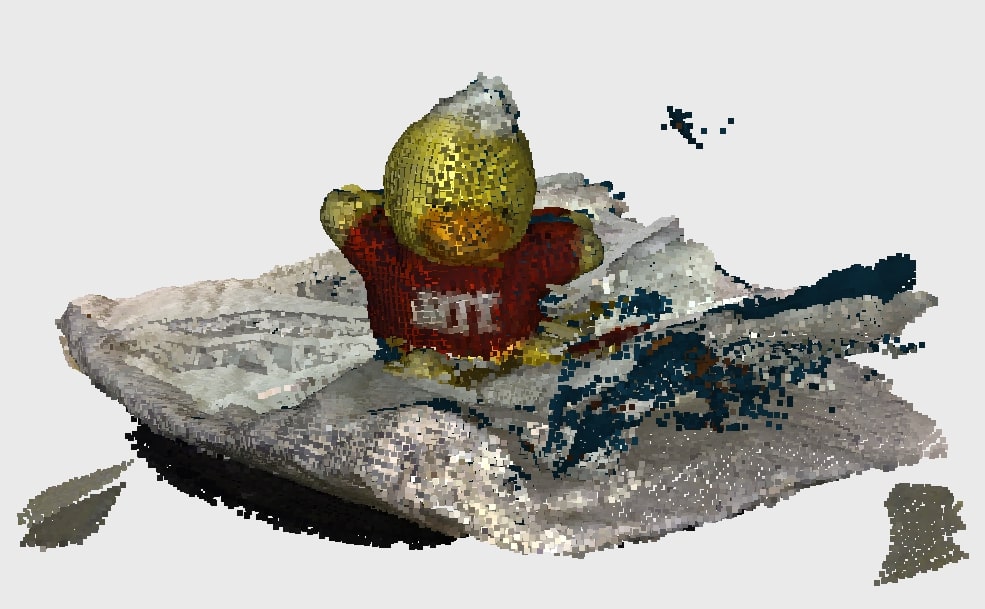
Sadly, the communal USB drive that I used was corrupted and first gave me damaged PNG files and then the drive cannot be registered on any computer in the lab. The pictures you are seeing is from my second attempt. I will save my files on both the communal computer and the USB drive next time.