CADing
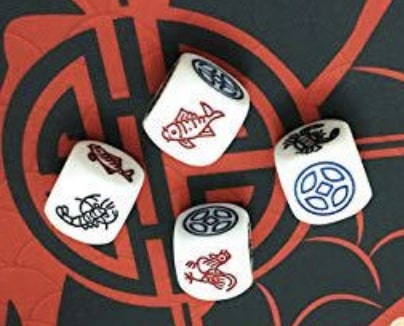
I want to make a dice for bầu cua--a Vietnamese traditional game. I'm not exactly sure how the game work, but the Vietnamese Student Association whose executive board I am on just recently held an event with Vietnamese (non-alcoholic) drinks and games. We could not find the appropriate dice for the game that ship on time, so we settled on standard one to six dots dice.
The dice is six sided and usually a bit larger than regular dice. The sides features a deer, gourd (Asian vegetable that looks like an 8), crab, shrimp, fish, and chicken.
I started by trying to CAD just the dice in Fusion before making the positive mold. Knowing my artistic skills, I attempted to import the image of the animals from Flaticon instead of drawing my own. I first make a simple cube and add fillet on all side. I imported the image as an PNG file. I watched this video which import files as a PNG and extrude each part up. However, the design that was used in the video (an emoji) is much simpler than the animals that I intended on using. I then watched this video which tells me that I can to manually convert it to an SVG file--which looked very tedious considering that I have six images, so I questioned if I should just shell out ~$13 to buy Flaticon subscription for a month. But no! I refuse to pay money for things that I can spend way to much time doing!
Based on some recommendations from friends, I downloaded Adobe Illustrator, and followed this video to try and get my image into Fusion. This works, but the imported object was very big and has a lot of seemingly random dots that causes Fusion to crash on my end. Nevertheless, I keep going.
Just kidding! I got tired and decided to google "bau cua dice CAD model" and this show up! For free no less! I did not search for it earlier because this is a niche traditional game that is only played in Vietnam to my knowledge, so I was very surprised when it did! Albeit there is only one CAD model I can find of the dice which had the whole animal shadow indented into the dice instead of just the outline--like I had intended. Nevertheless, this is much less work than CADing the dice myself, so I'll take it :))
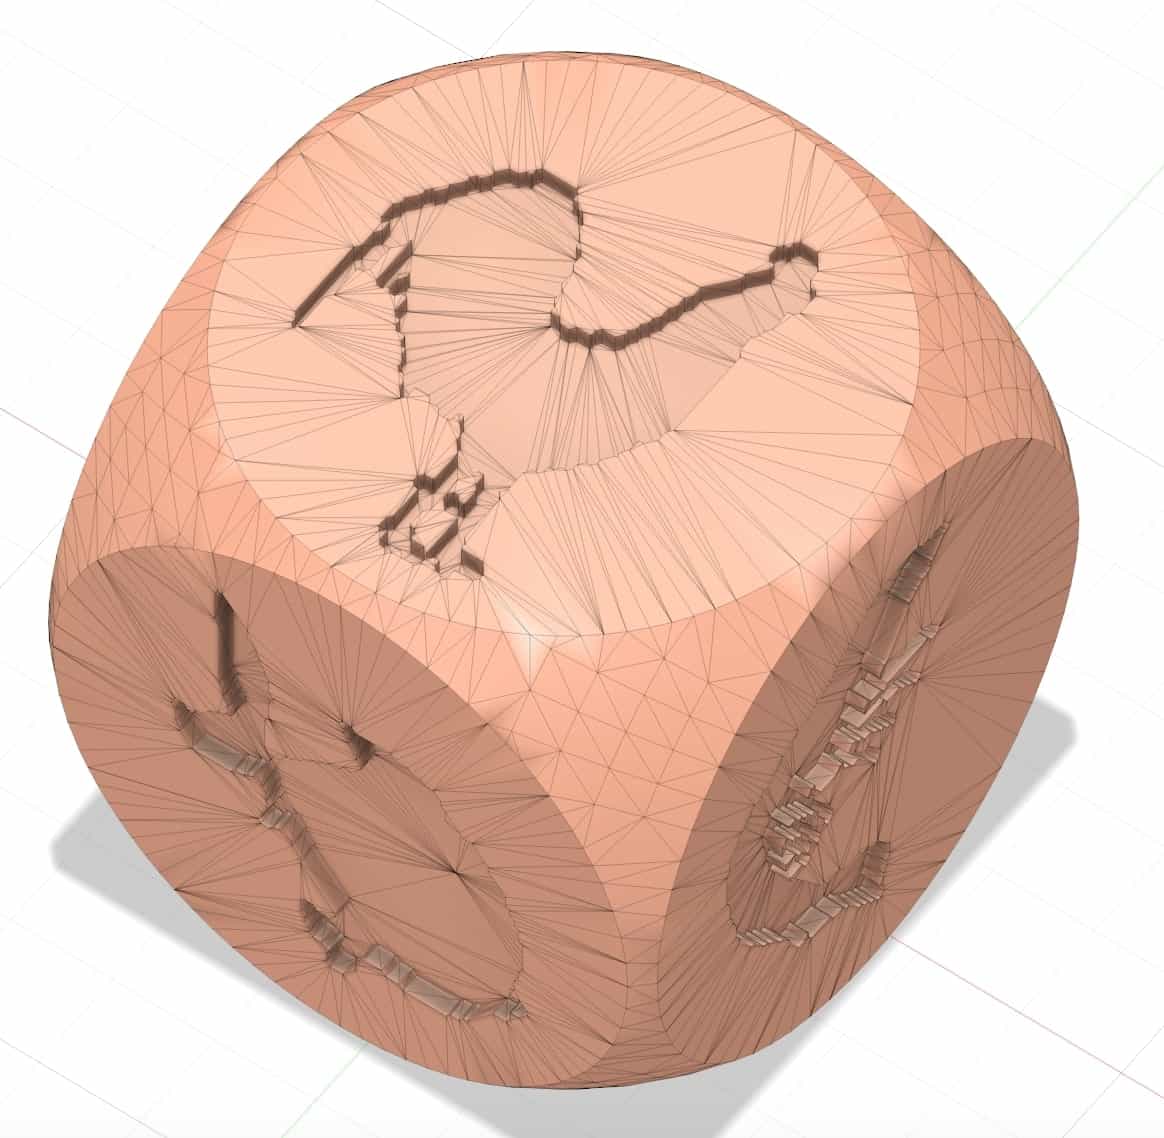
I wrestled a bit with Fusion to figure out what to do from here. The model I got online was meant to be 3D printed, so I was given a mesh with many, many triangles. Following this website, I tried to convert the mesh to a body by first generating face groups under Mesh > Prepare > Generate Face Group then using Mesh > Modify > Convert Mesh > Prismatic. However, the prismatic feature, which is supposedly more advanced because it merges the triangles on the surface together, failed and left me with four missing faces on my dice.
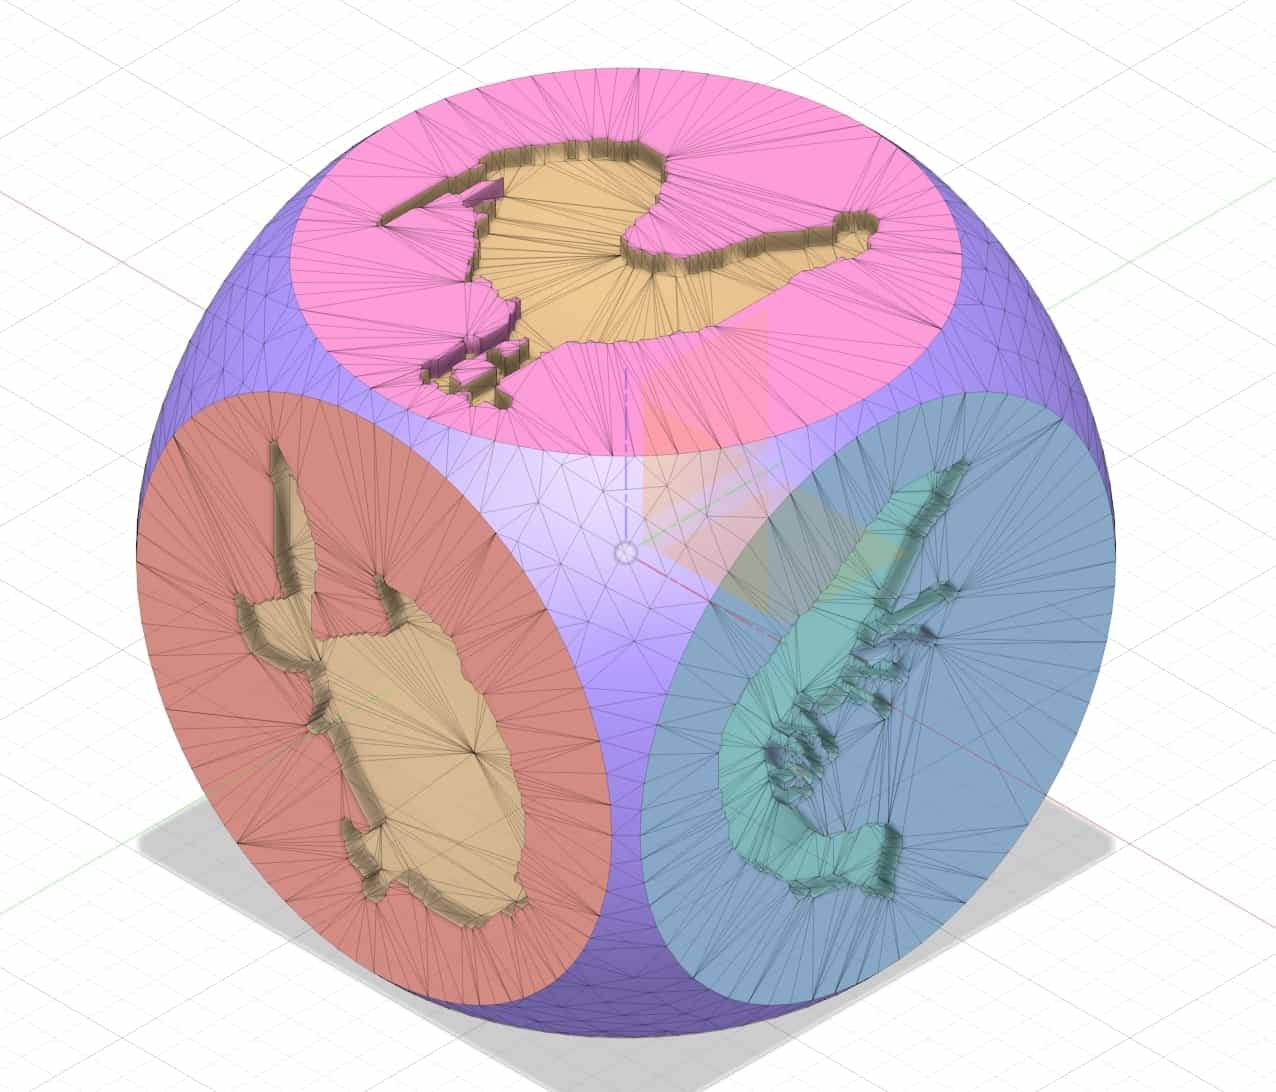
After failing and failing again to use the prismatic feature, I settled for the faceted feature and manually merged the facet by selecting one triangle and pressing delete on my keyboard. This was actually much easier than I anticipated because it only requires deleting one triangle to clear up a surface rather than all of the triangles on that surface.
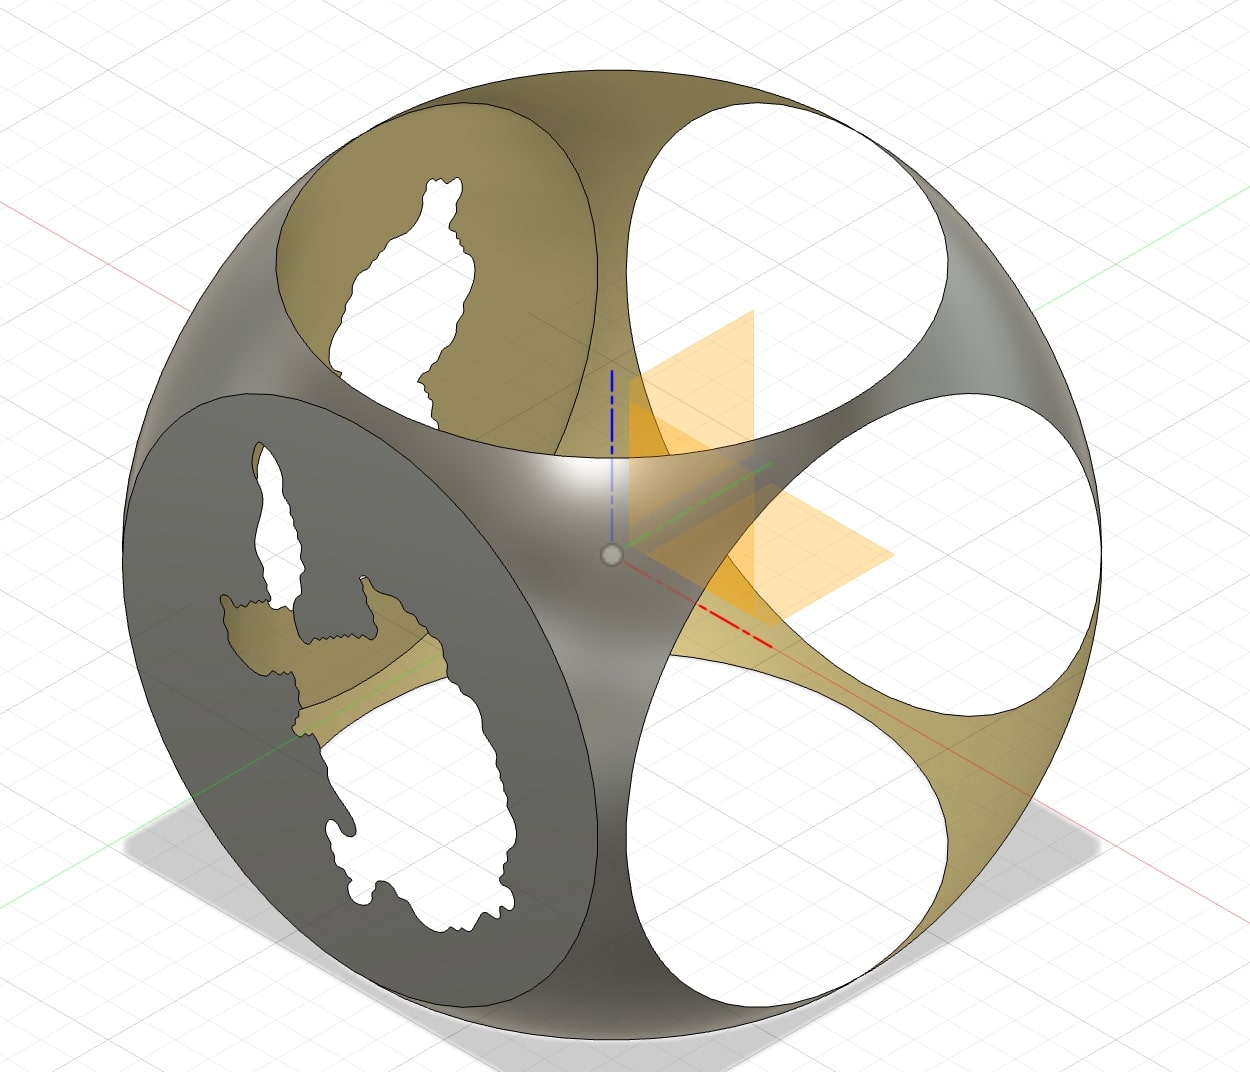
Now, aim with a body of the dice that I want, I can move onto making the positive mold. I had trouble picturing what the six part positive mold would look like, so I decided to make a negative mold first. I did this by creating a cube that is bigger than my dice then creating a sketch with diagonal lines from corner to corner on three of the six surfaces such that the three surfaces are not parallel to each other. I then uses the Solid > Modify > Split Body function and split the cube on the lines that I created in sketch. I then end up with something like below.
I merged the four splitted parts of each face together to make one piece with the Solid > Modify > Combine function. Now, I have something like six pyramid assembled into a cube. I place both the pyramid cube's and the dice's center at the origin and use the Solid > Modify > Split Body function to cut the cube with the dice. Now, the cube has turned into twelve bodies, and six of those (the outer bodies) are exactly what I want my Oomoo to be.
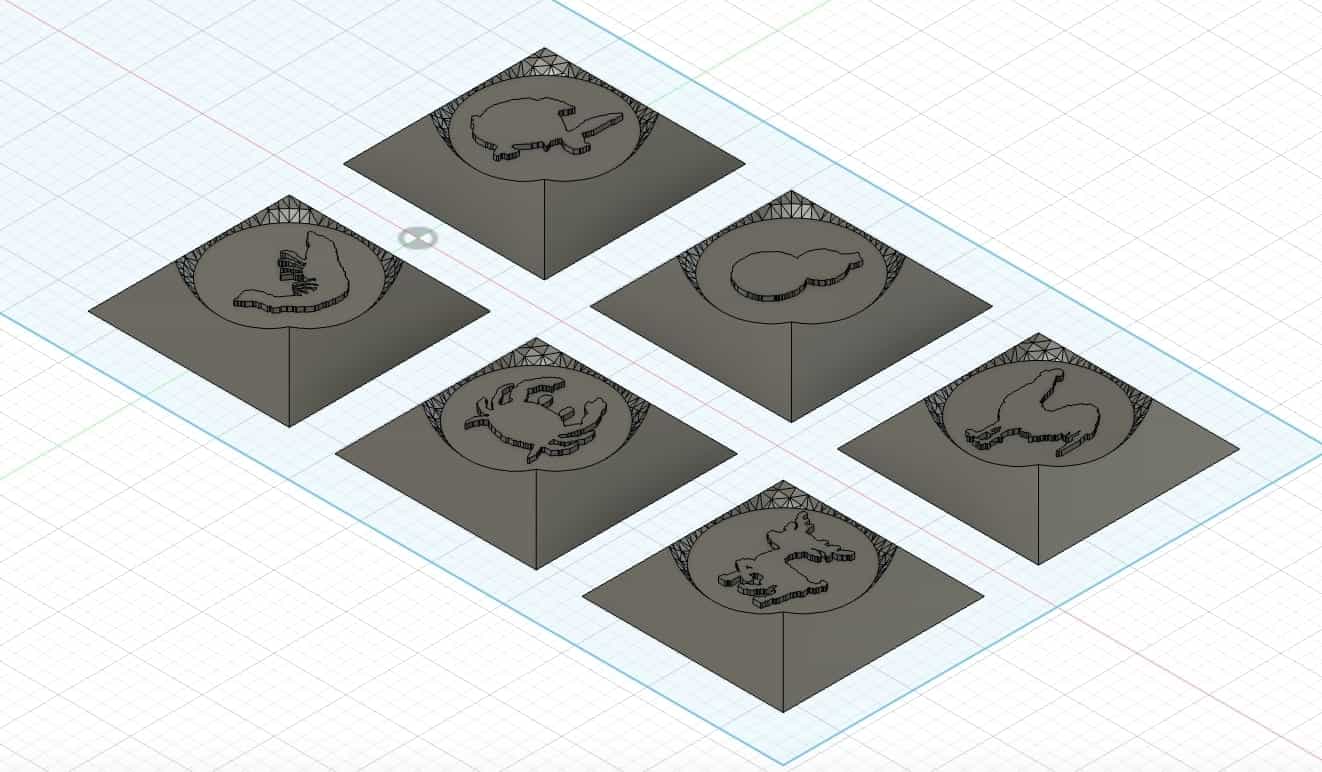
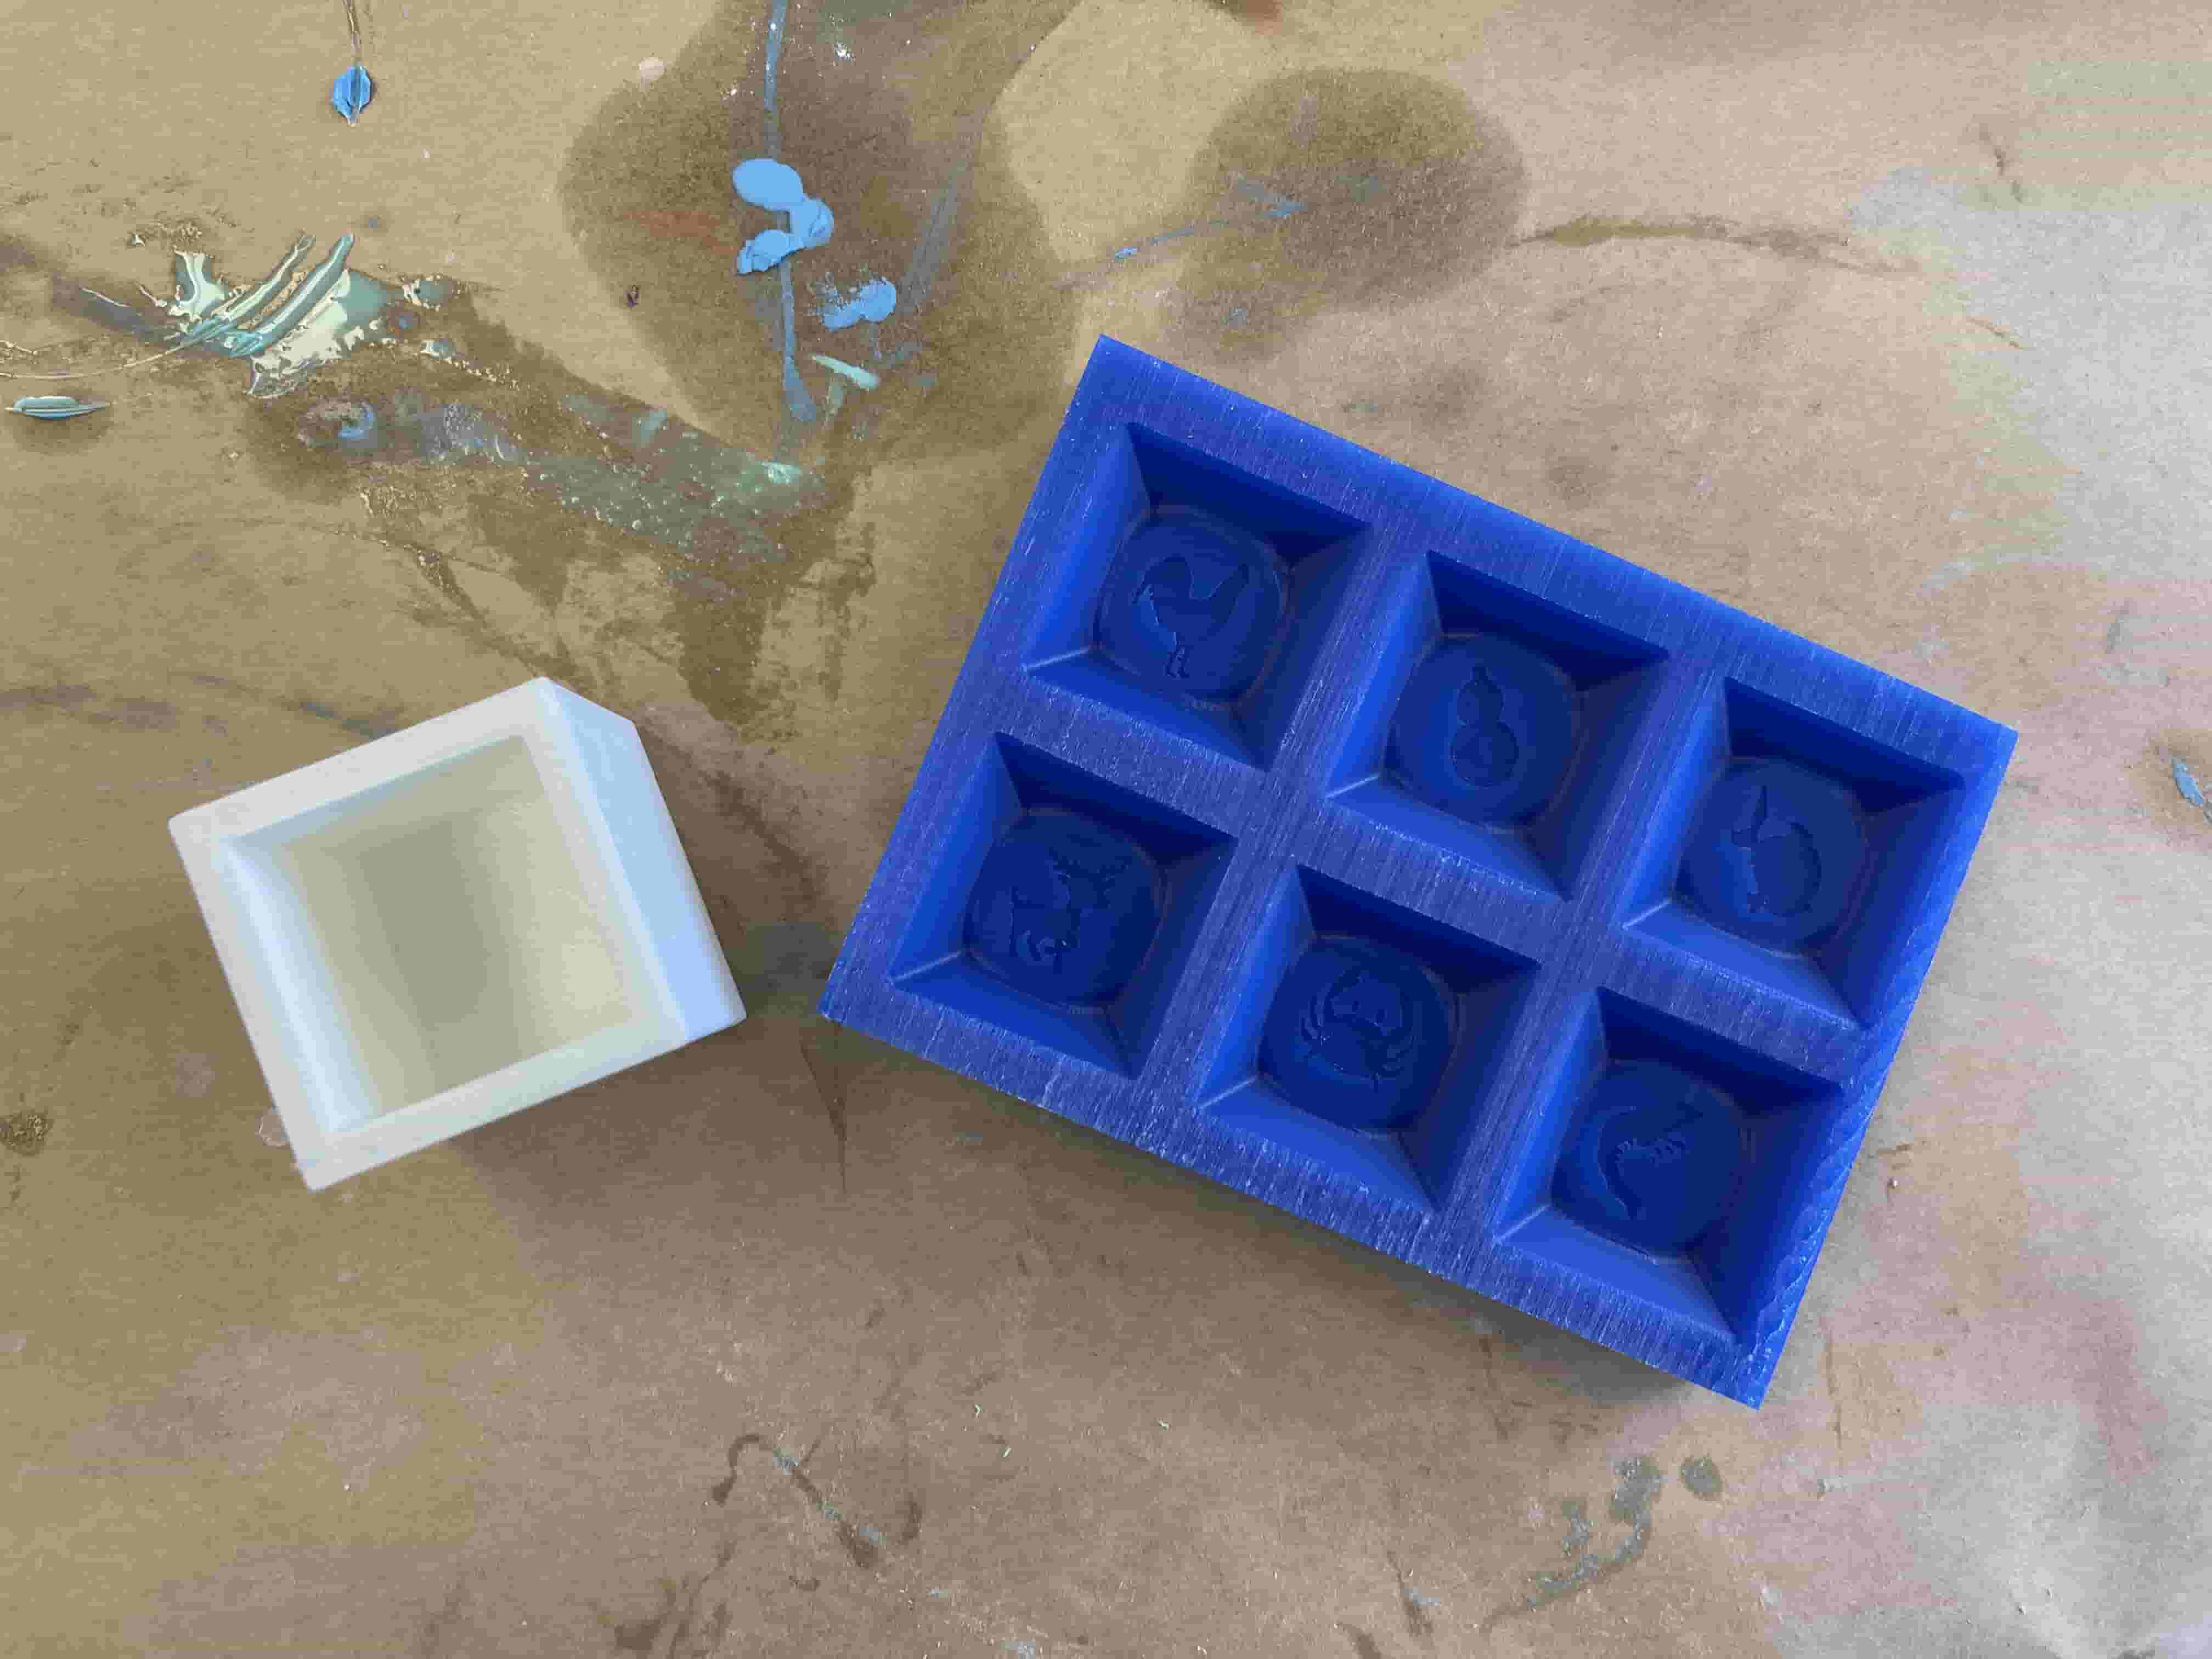
Finally, I created a rectangular prism in the shape and size of my wax block which I will machine later. I arrange my cube's outer bodies to be on the surface of the wax block and uses the Split Body function again to cut the negatives into the block to create positives.
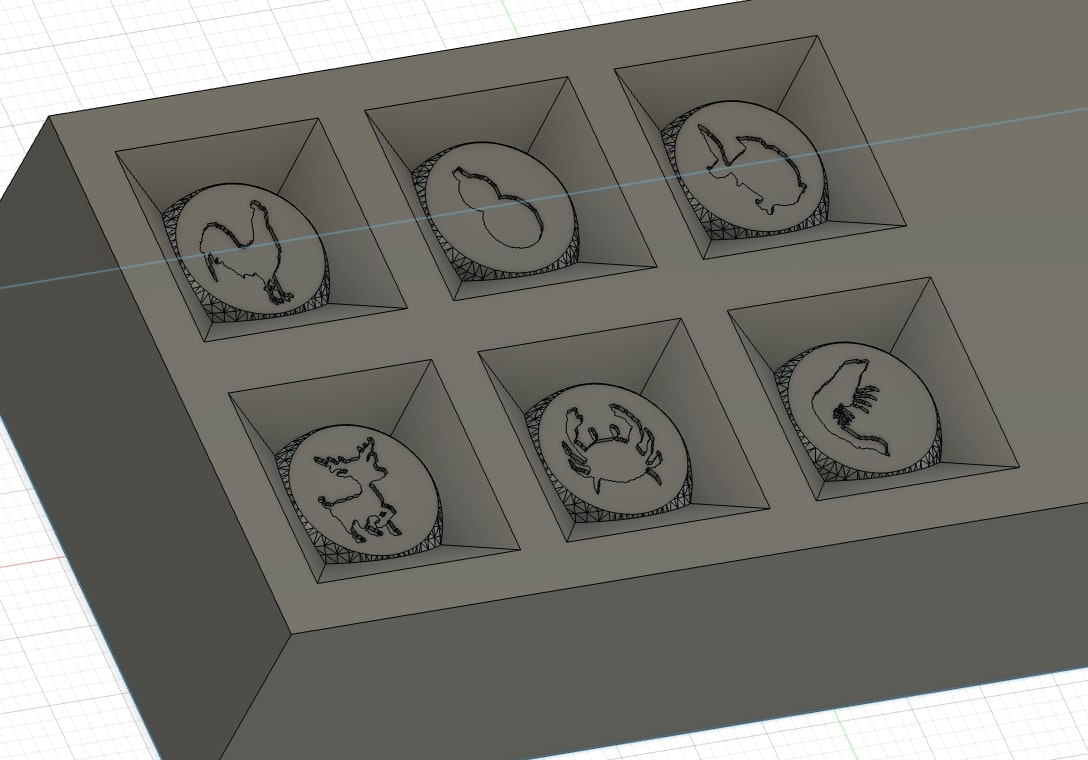
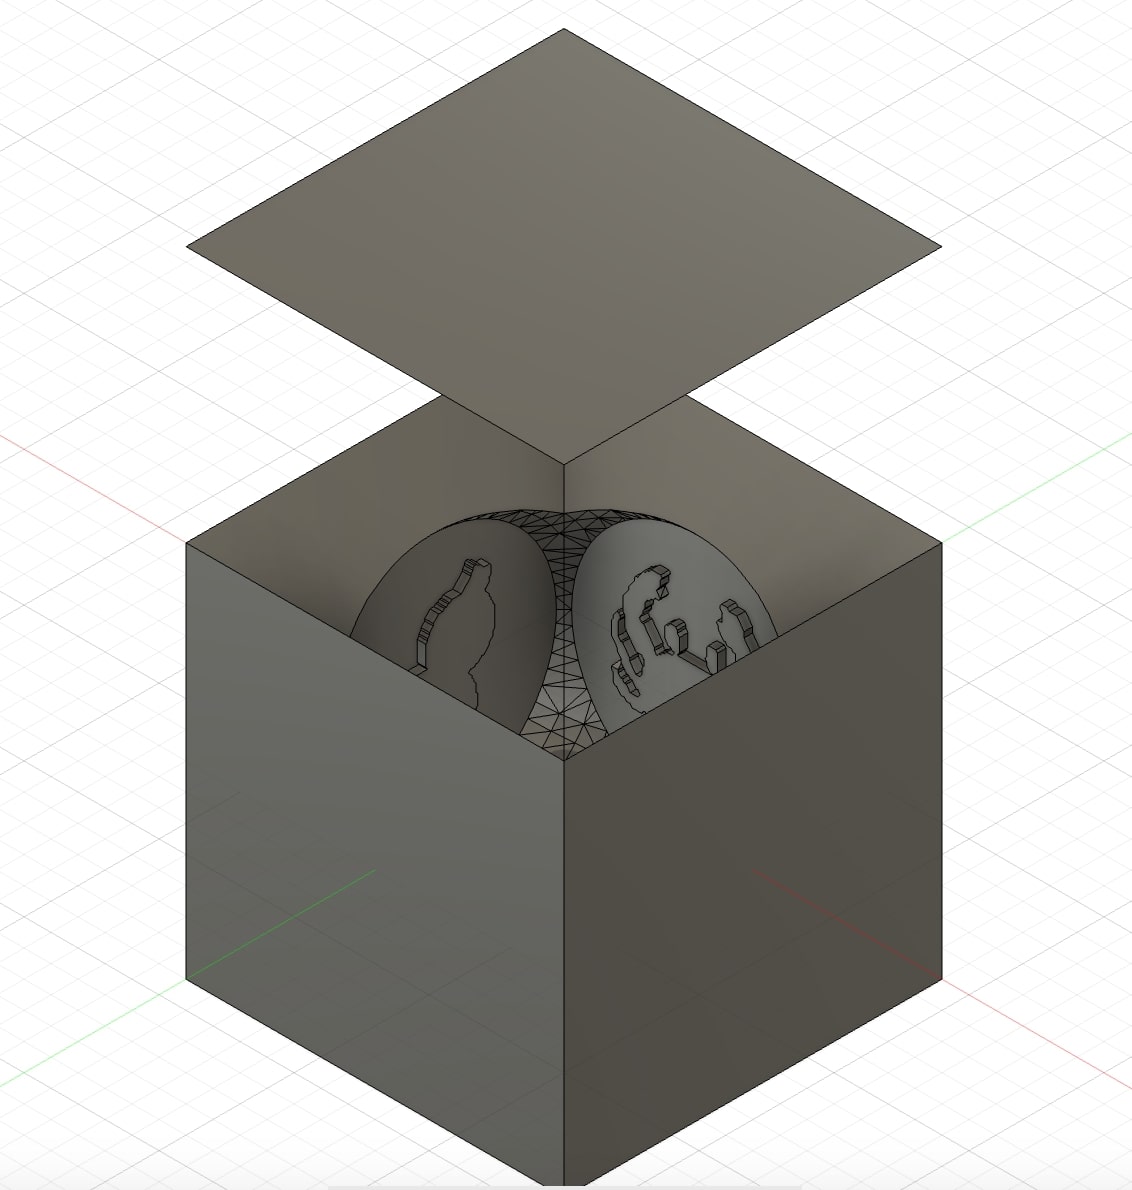
In anticipation to hold the Oomoo parts together for casting, I created a open box in CAD whose inner dimension exactly matches that of the cube (20mm by 20mm base) with the thickness of 4mm.
CAMing
Anthony did much of the CAM because I was unprepared when I came in for my time slot. It was entirely my fault, so I will try to be more prepared next time.
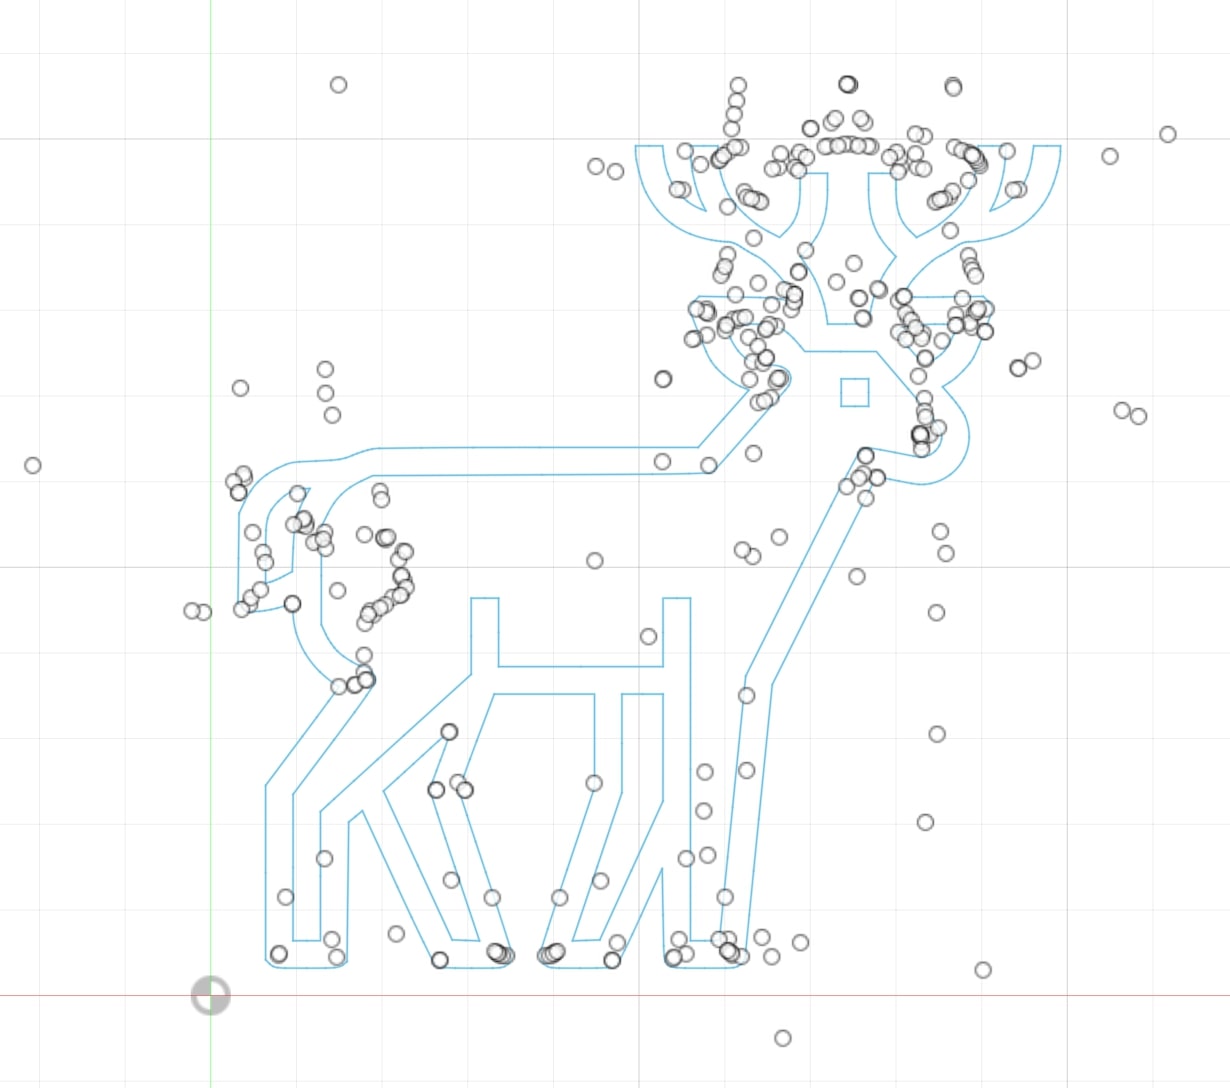
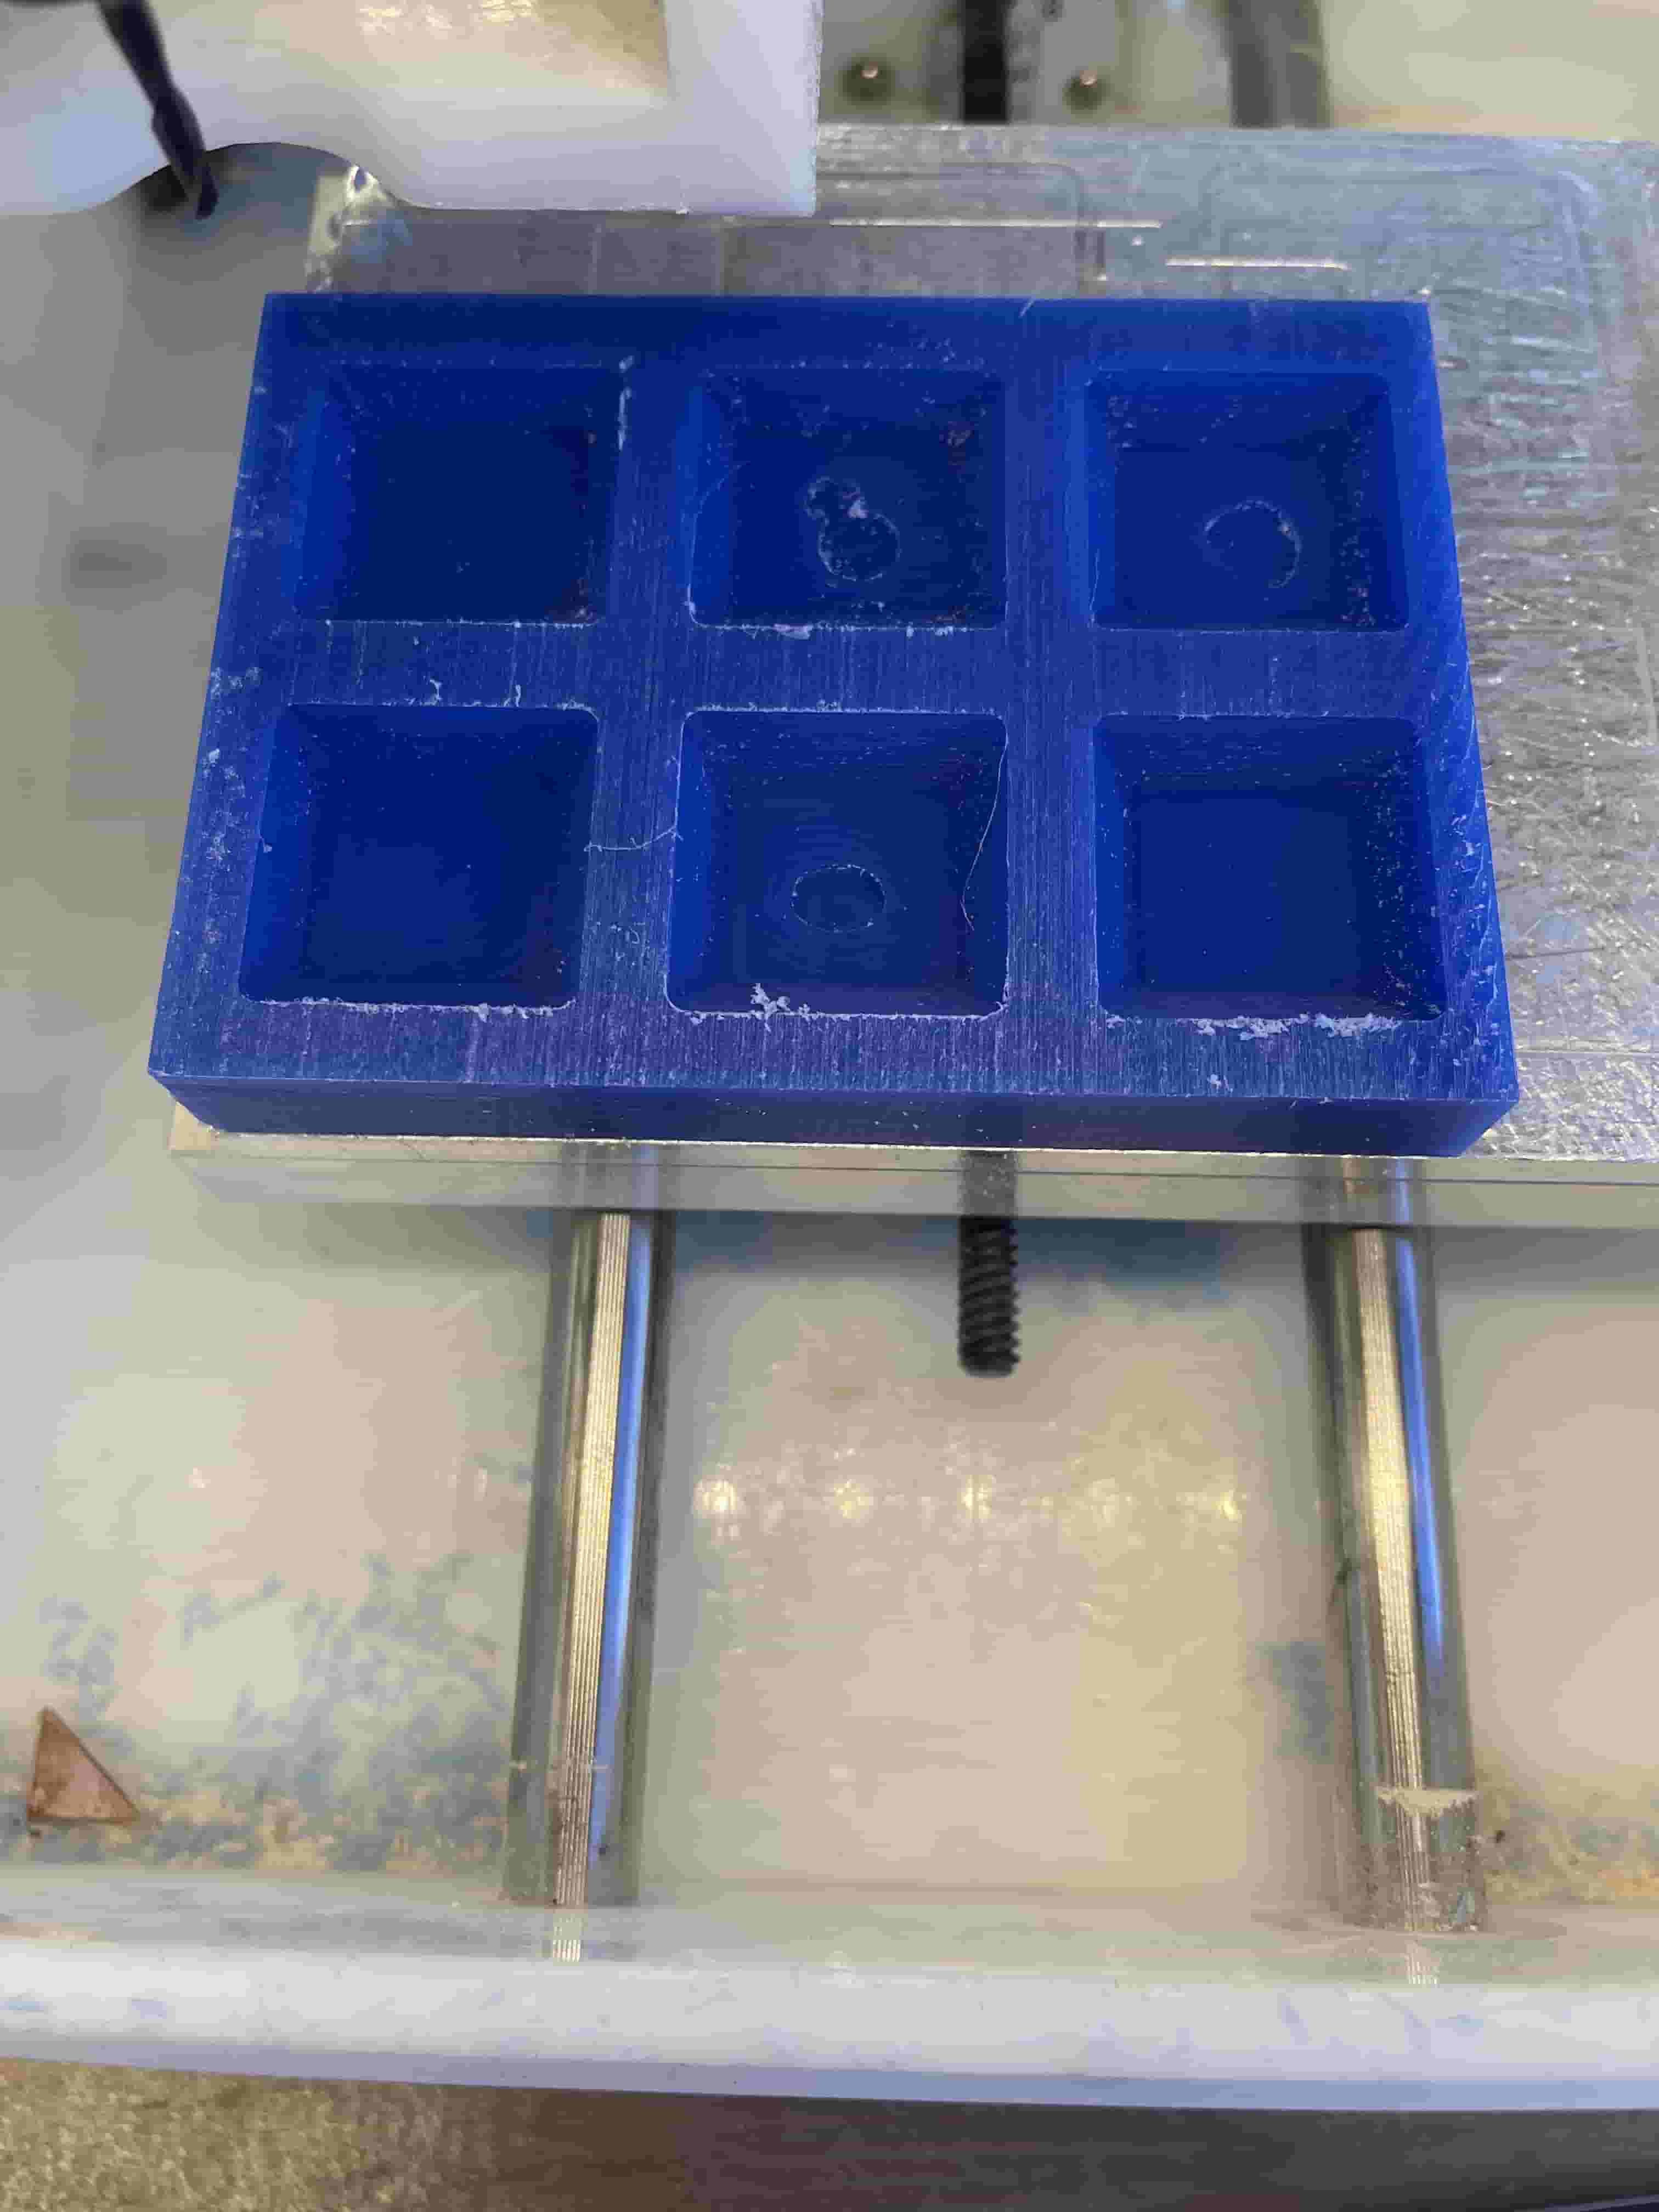
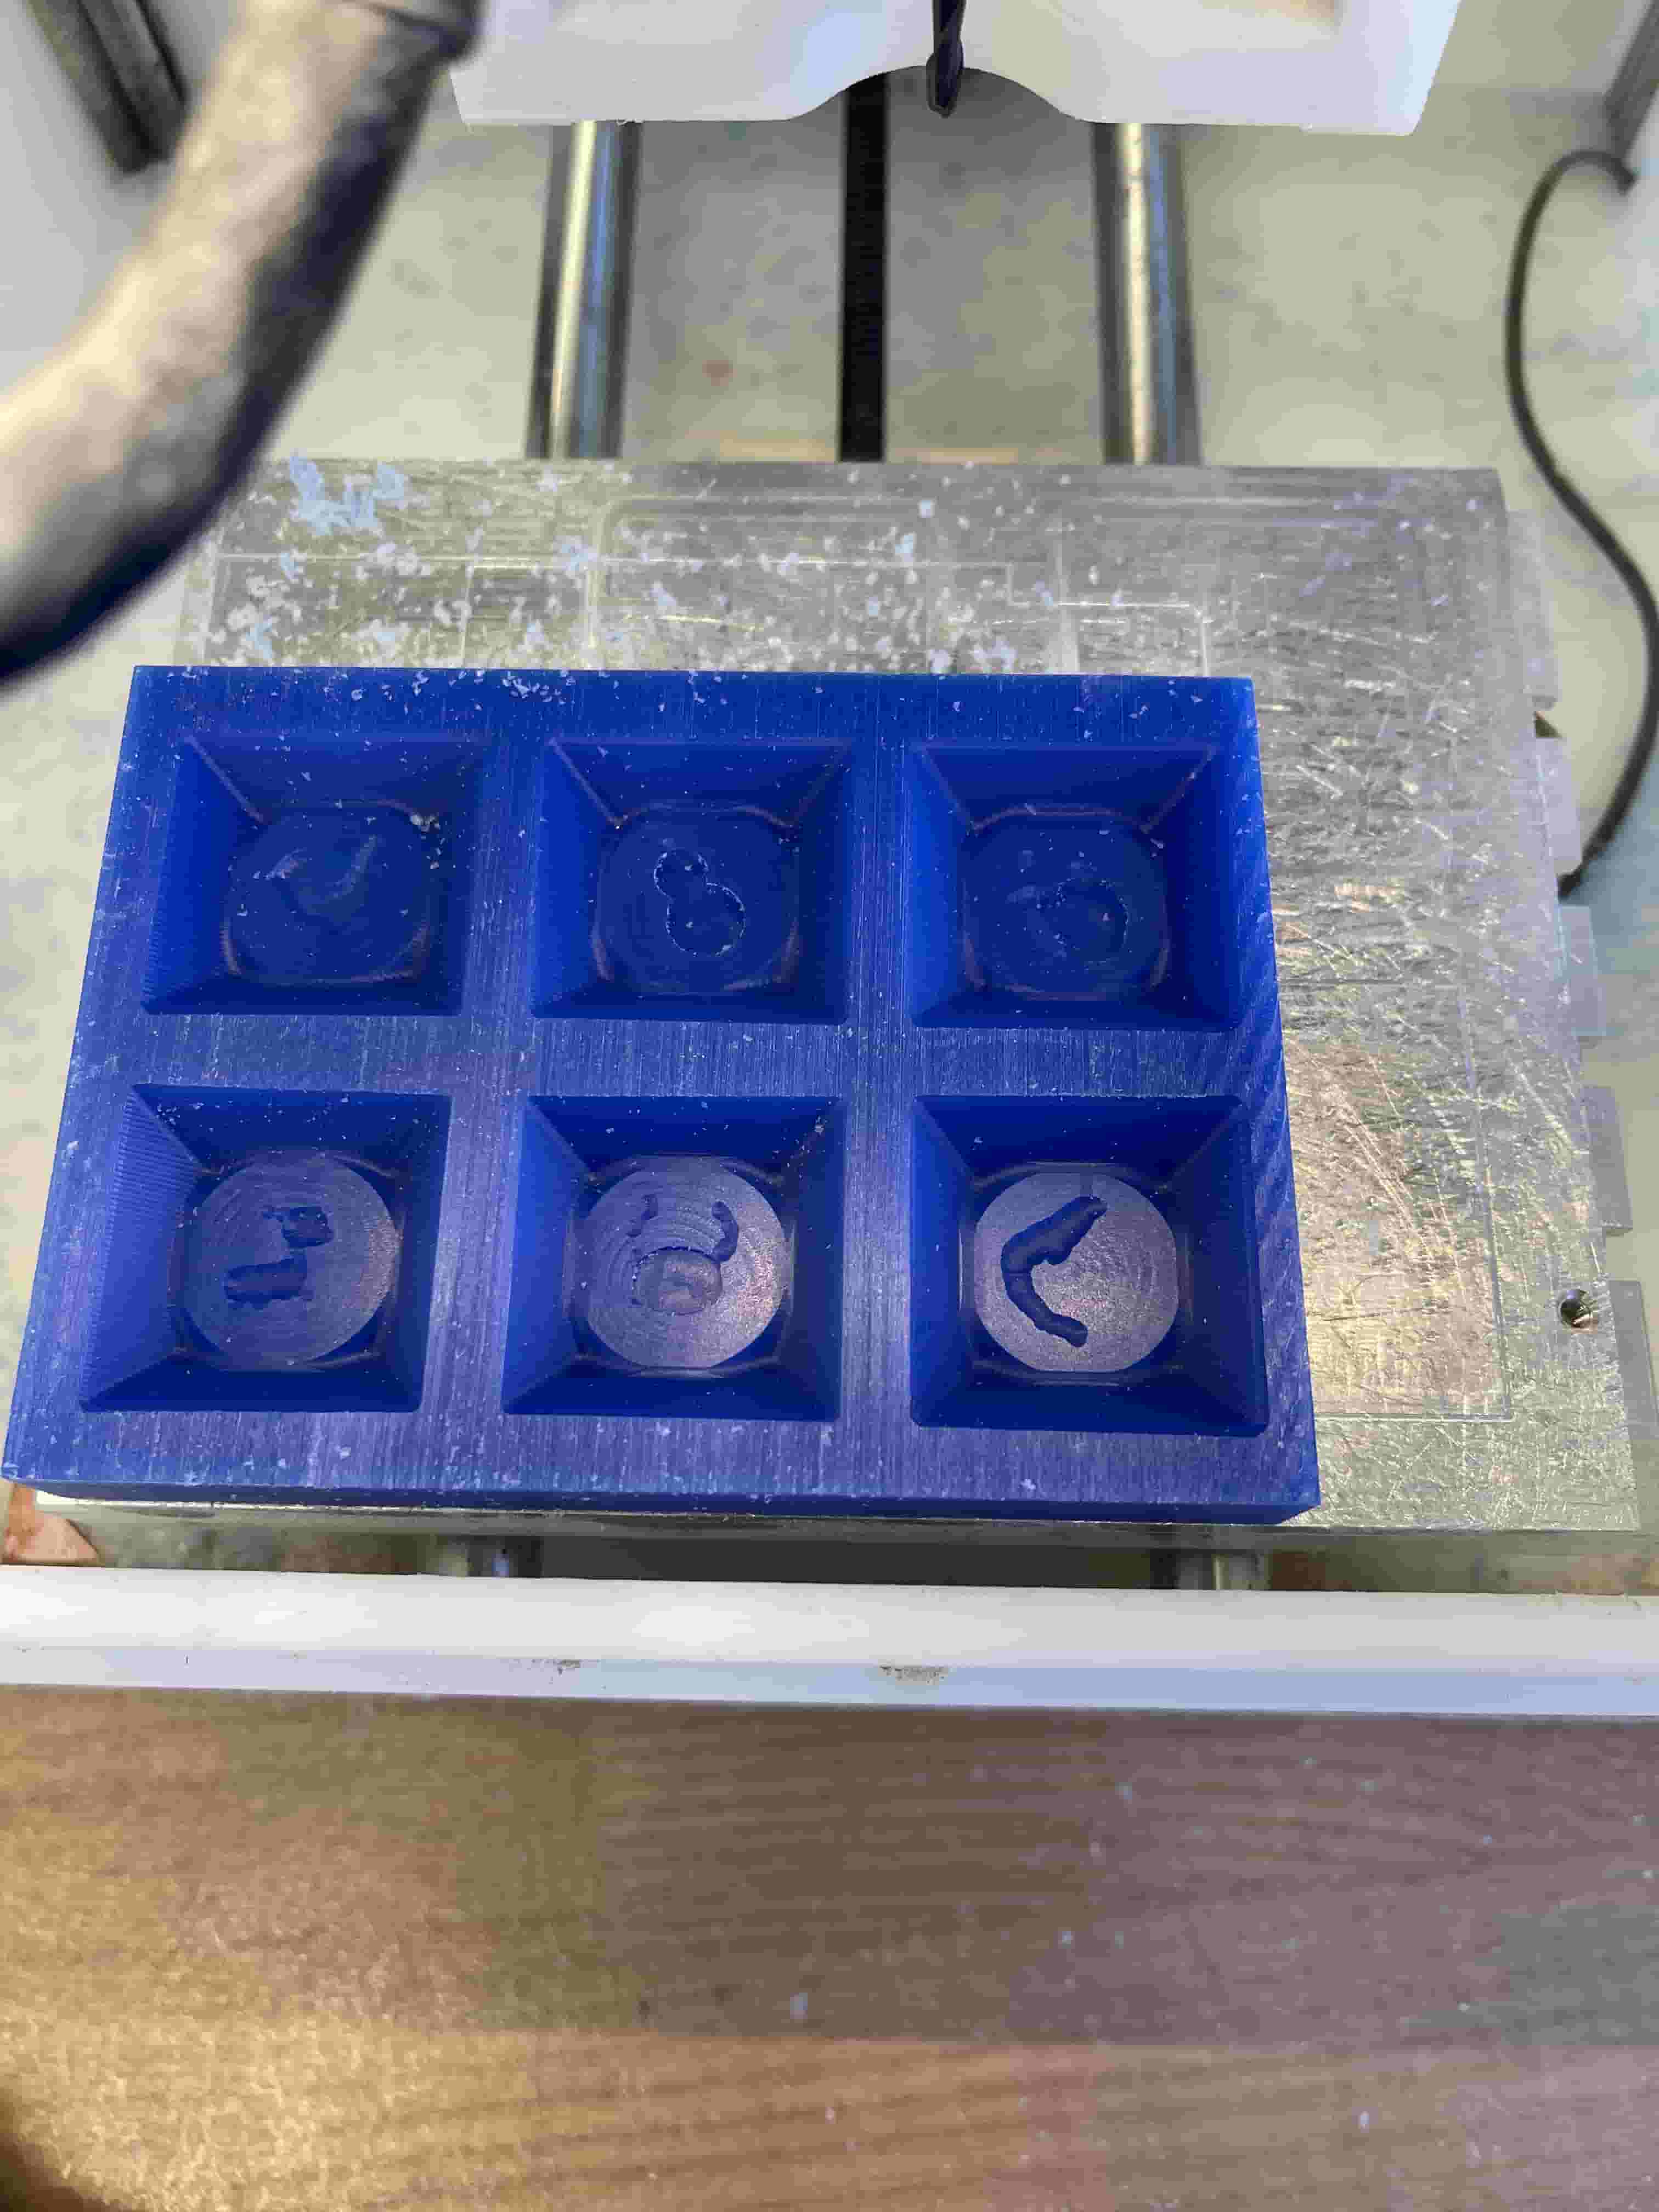
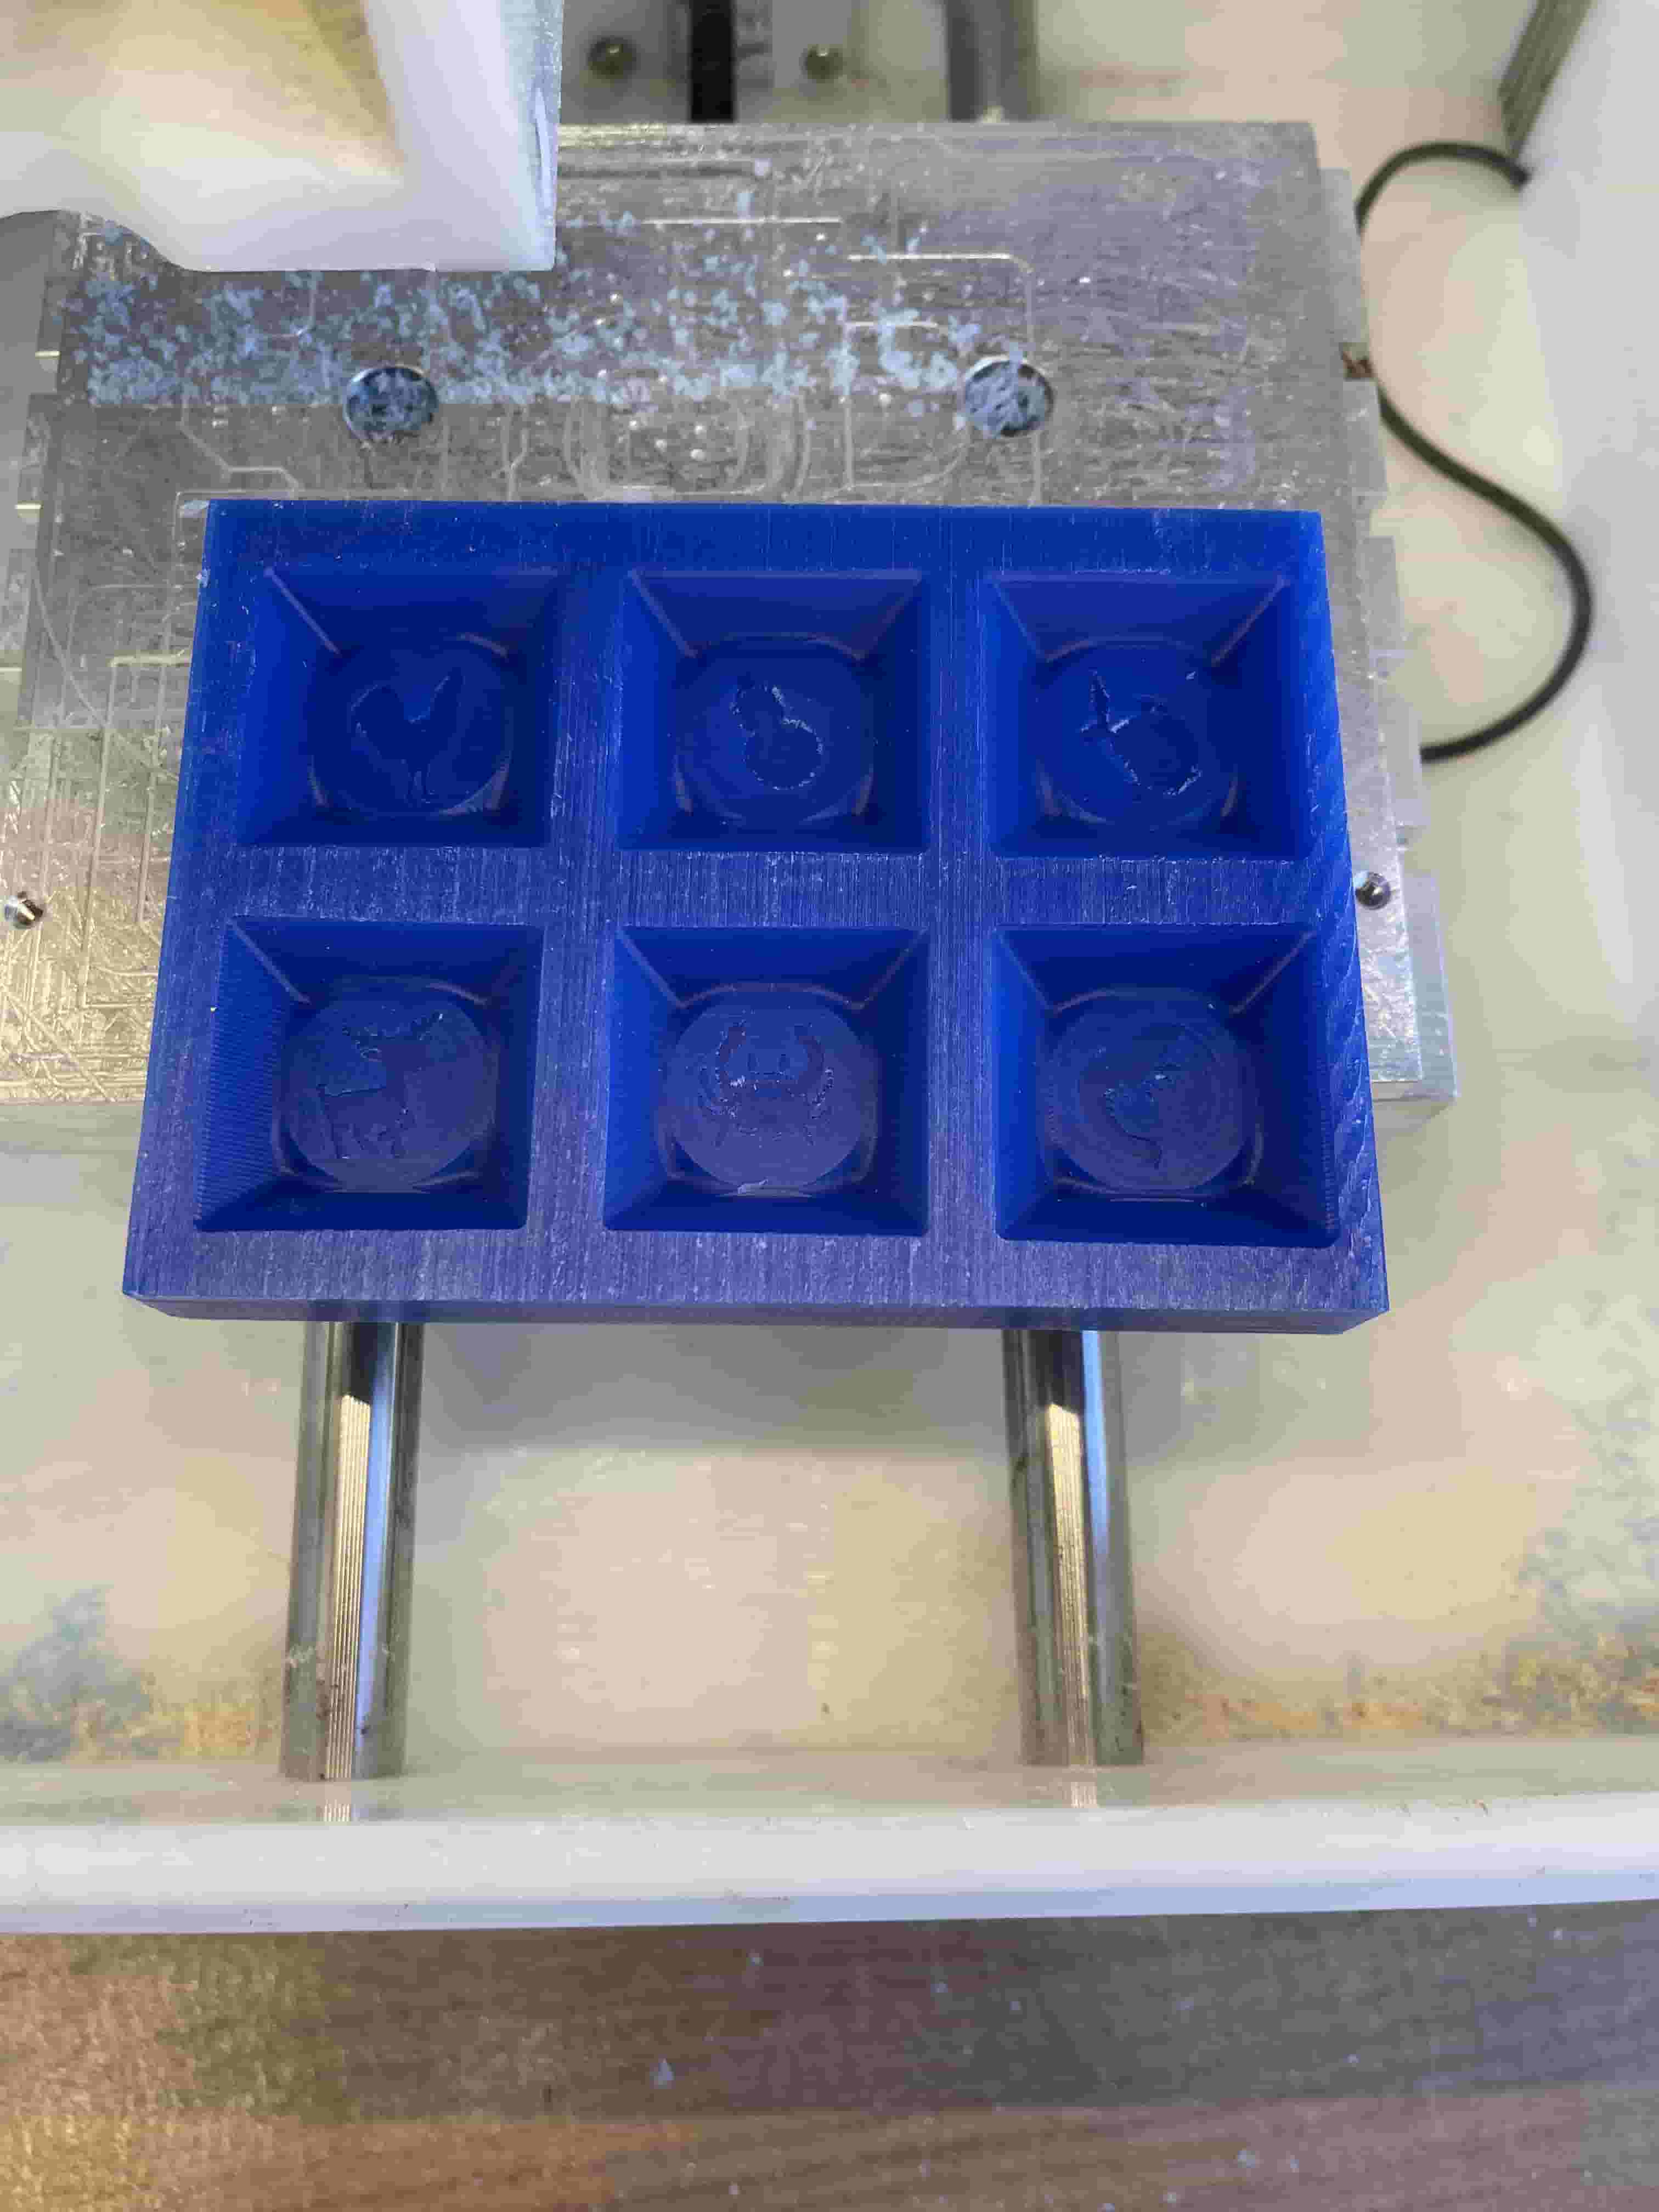
We did all of the milling on the OtherMill machine (that was also used to mill my PCB board) because the details of the dice is very tiny. To fit the wax block into the machine, we cut it on the band saw. Therefore, I got a quick band saw tutorial and use the band saw for the first time! We got the wax block from 7 by 3 by 1.5 inches to roughly 4.5 by 3 by 1 inches.
We used three flat ends: the 1/32 in flat end, 1/8 in ball end, and 1/64 in flat end (iirc). The first goes in a clear up the wax to roughly the desireable shape. The ball end goes in and drill some dice facet details as well as rounding out the lines created by the flat end. The smallest flat end give the final details to the dice facets. Sadly, some of the shrimp's legs were too small even for the smallest bit, but the majority of the facet's details came through!
In total, it took a little under an hour to mill the wax block which did not interfere with other students' milling because we did it on the OtherMill instead of the larger machine.
First mill
Second mill
Third mill
Molding & Casting
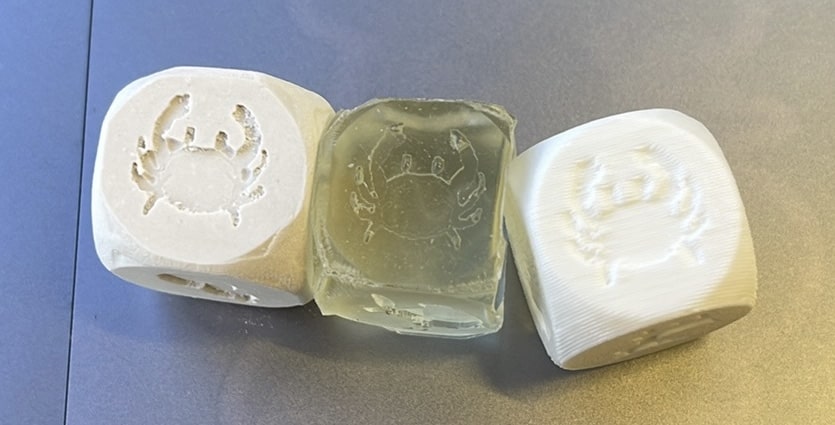
After the wax milling, I casted a negative with Oomoo just my pouring in slowly into the side of each slot. I also print the box that I CADed on the Prusar 3D printer which took about 40 minutes. The Oomoo was ready about two hours later, but it was missing some details that was present in the wax such as the crab eyes and even more of the shrimp's legs. I assembled the five pieces of Oomoo into the box's sides, poured some the dry stone mix into the box, then press on the top piece.
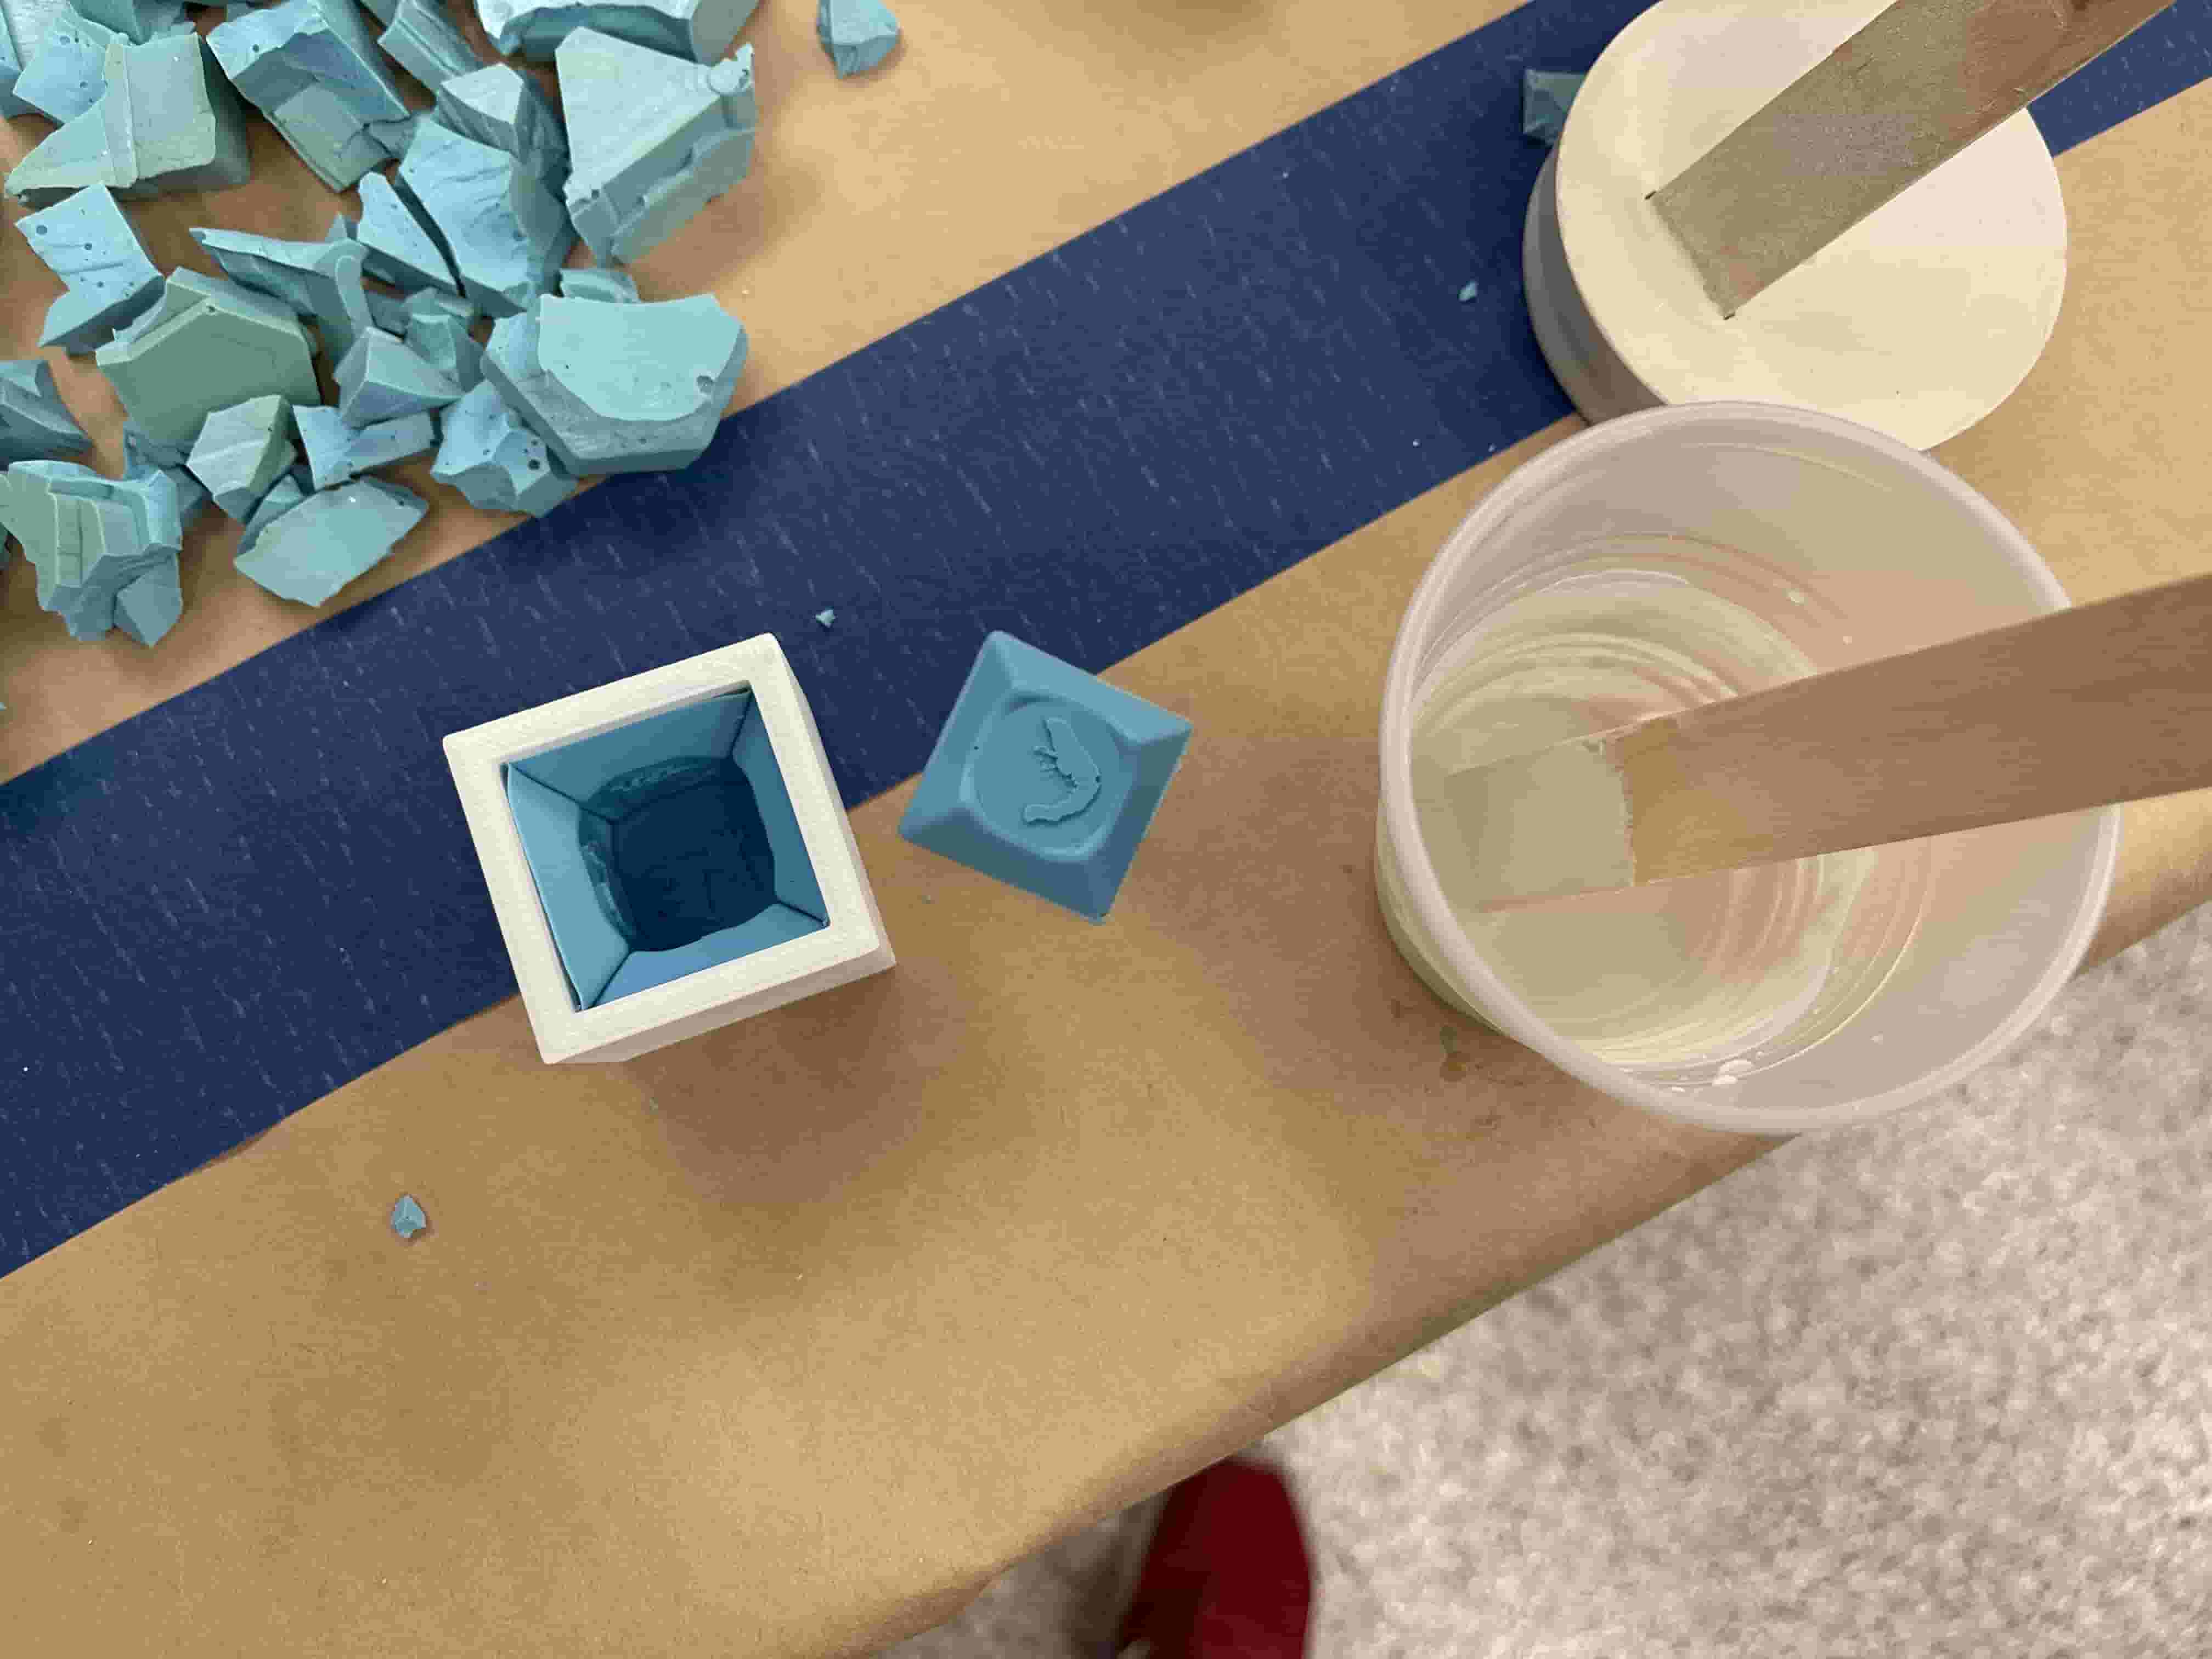
About an hour later, I removed the finished product and beside the missing details from the Oomoo, there were minute air bubbles trapped on the top side and non-round edges and corners that I had to hand-file down. I decided to recast the Oomoo, this time with the help of a small brush which make sure that the Oomoo get into every crevices. The Oomoo turned out noticeably better than the first time.
With the first mold bubbly mold, I attempted to cast an epoxy dice. Anthony brought out the epoxy mix and a pressure chamber to take out the bubble in the mix. The epoxy combination is an exothermic reaction, so I took are not too mix too much at once (which was not a problem since the dice is only 8 cubic centimeter in volume). I then learn that we put the freshly mixed epoxy into the pressure chamber and not the epoxy after we pour it into the mold--which makes a lot more sense, retrospectively.
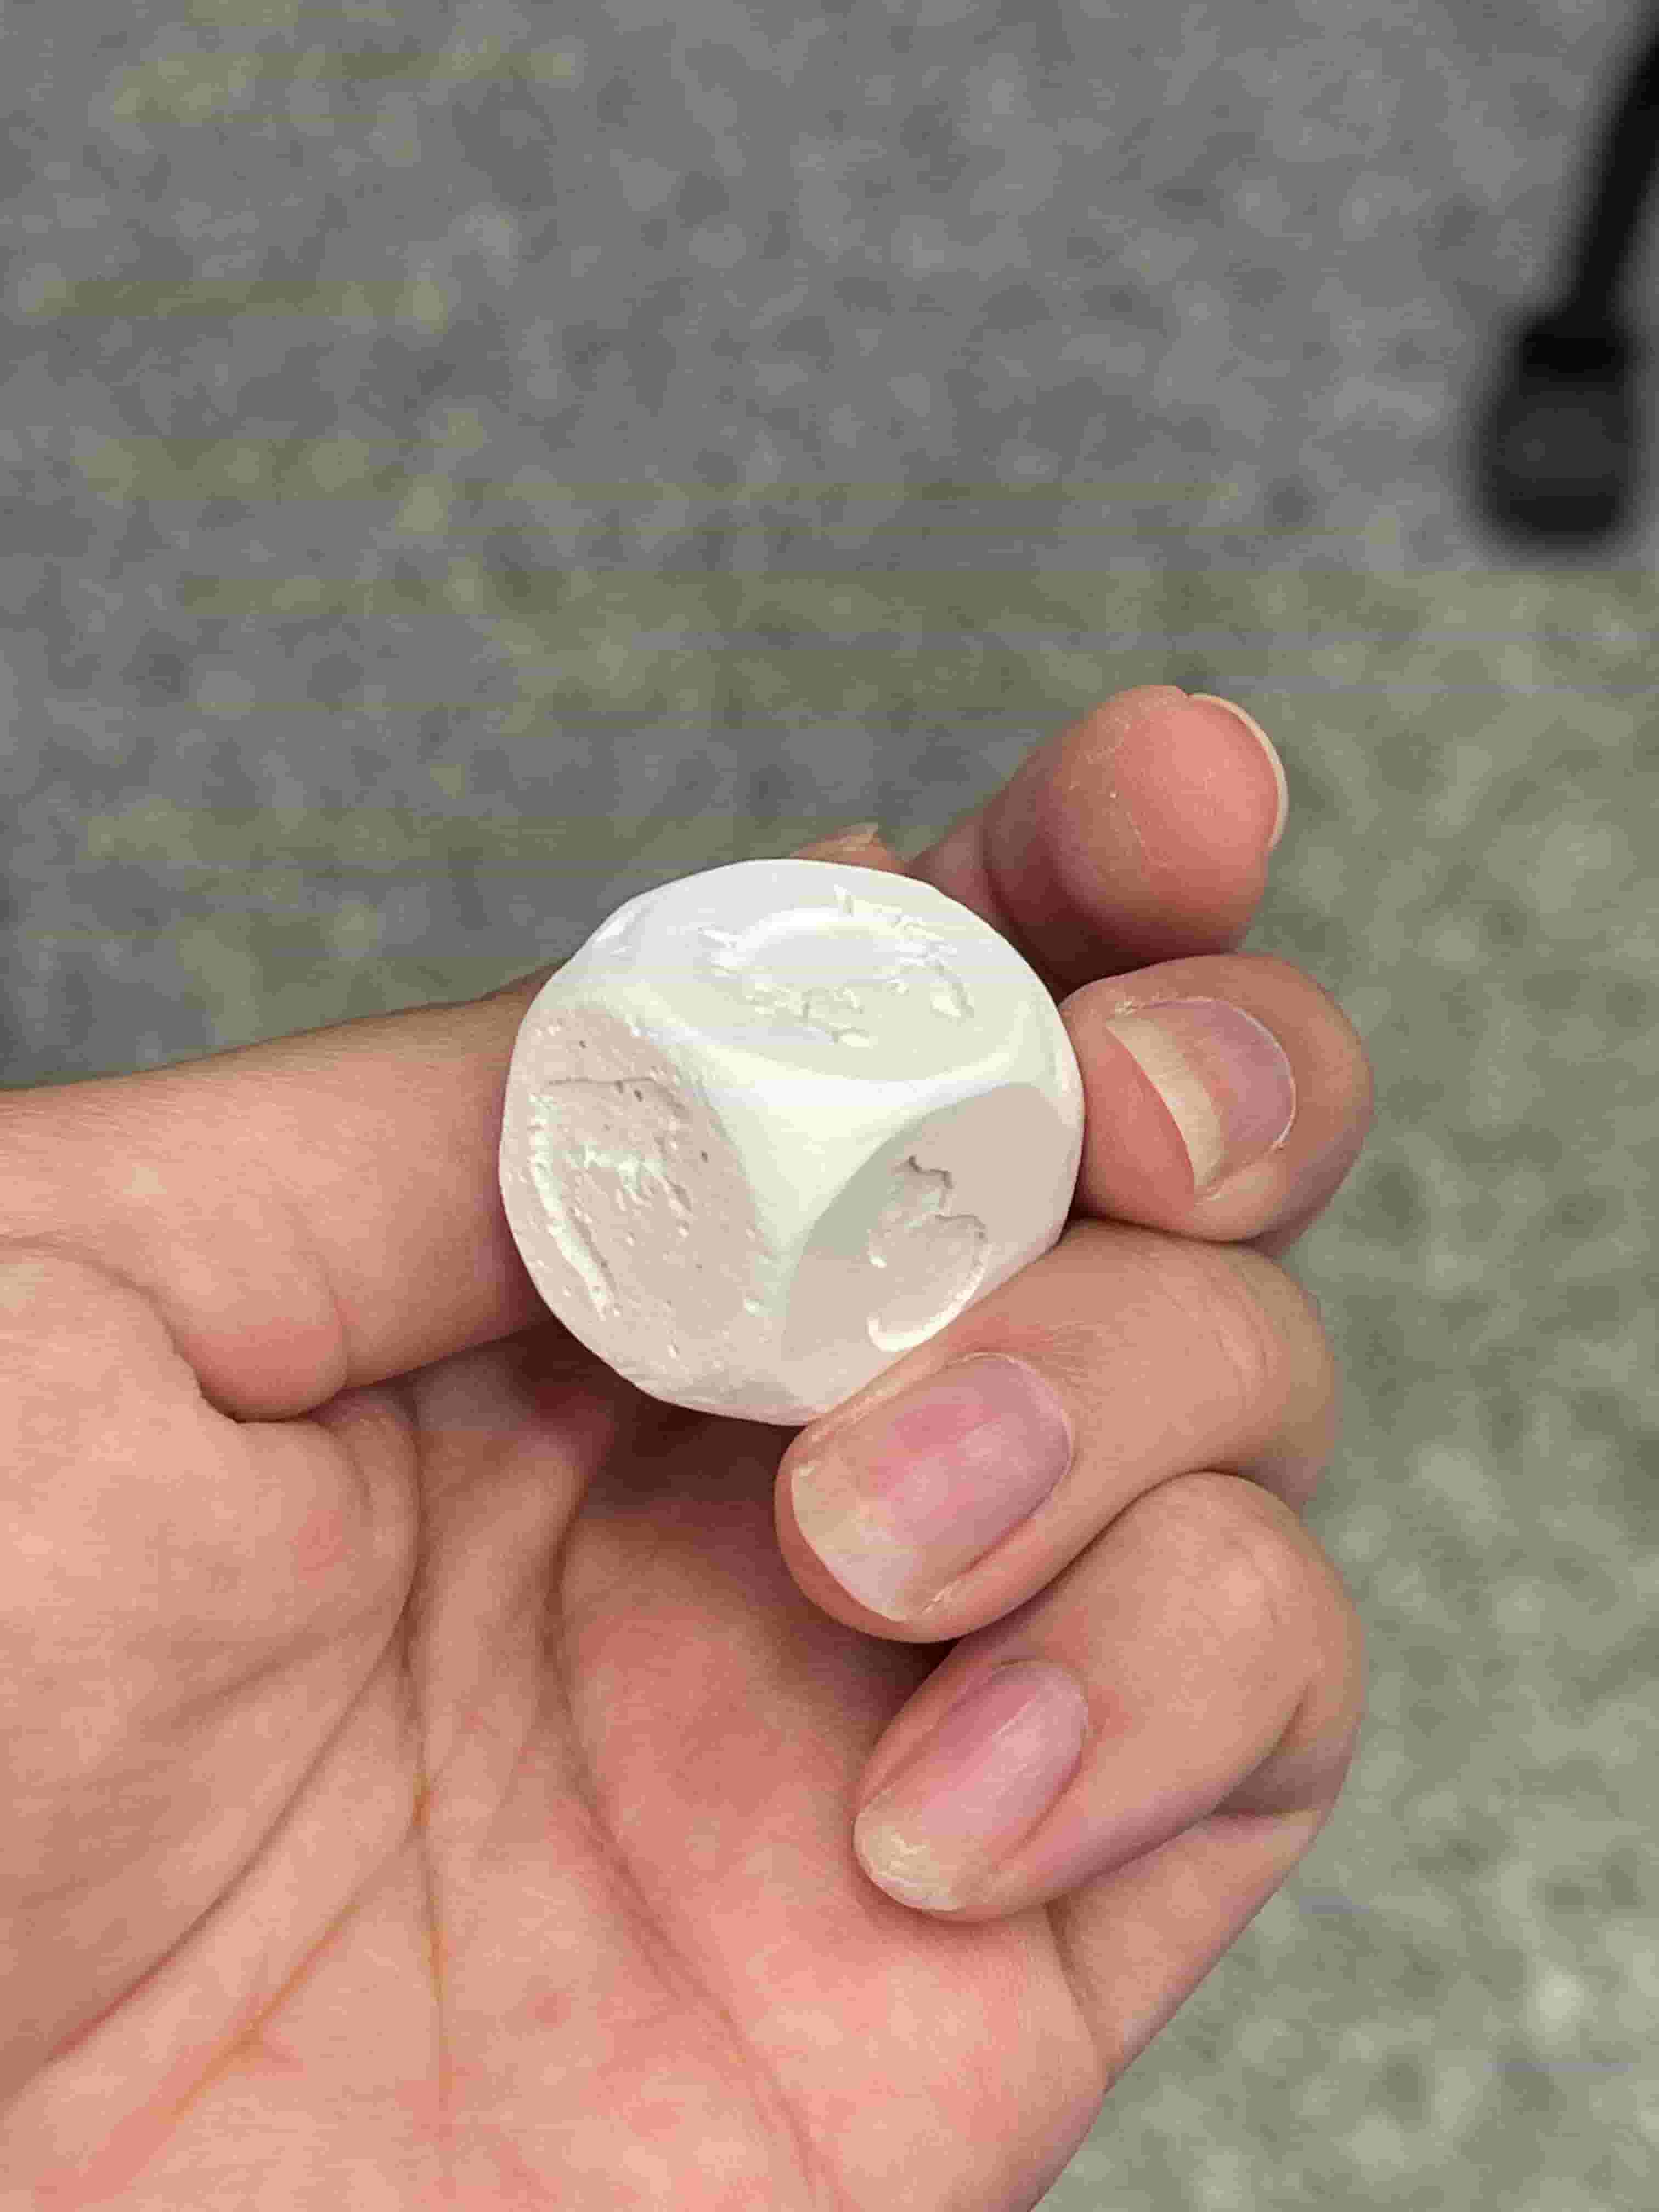
I let the epoxy dice cure for a 3/4 of a day (which was probably not enough) then took it out of the mold by cutting into the 3D printed box. The Oomoo actually survived the removal, but, sadly, this time the top mold did not get casted. I was left with a gourd-less dice, but I'm sure my imagination will make up for it during the game (when I do learn how to play). I cut off the edges and corners with a tapered cutter.
With the second batch of Oomoo mold, I casted another dry stone dice but ran into the same problem as the epoxy dice. To fix this, I took some slightly dry dry stone (paste consistency), and smear it onto convex part of the dice to make a flat surface.
I also 3D printed the dice for comparison!