The assignment this week: 3D print something that can't be made subtractively; then scan something.
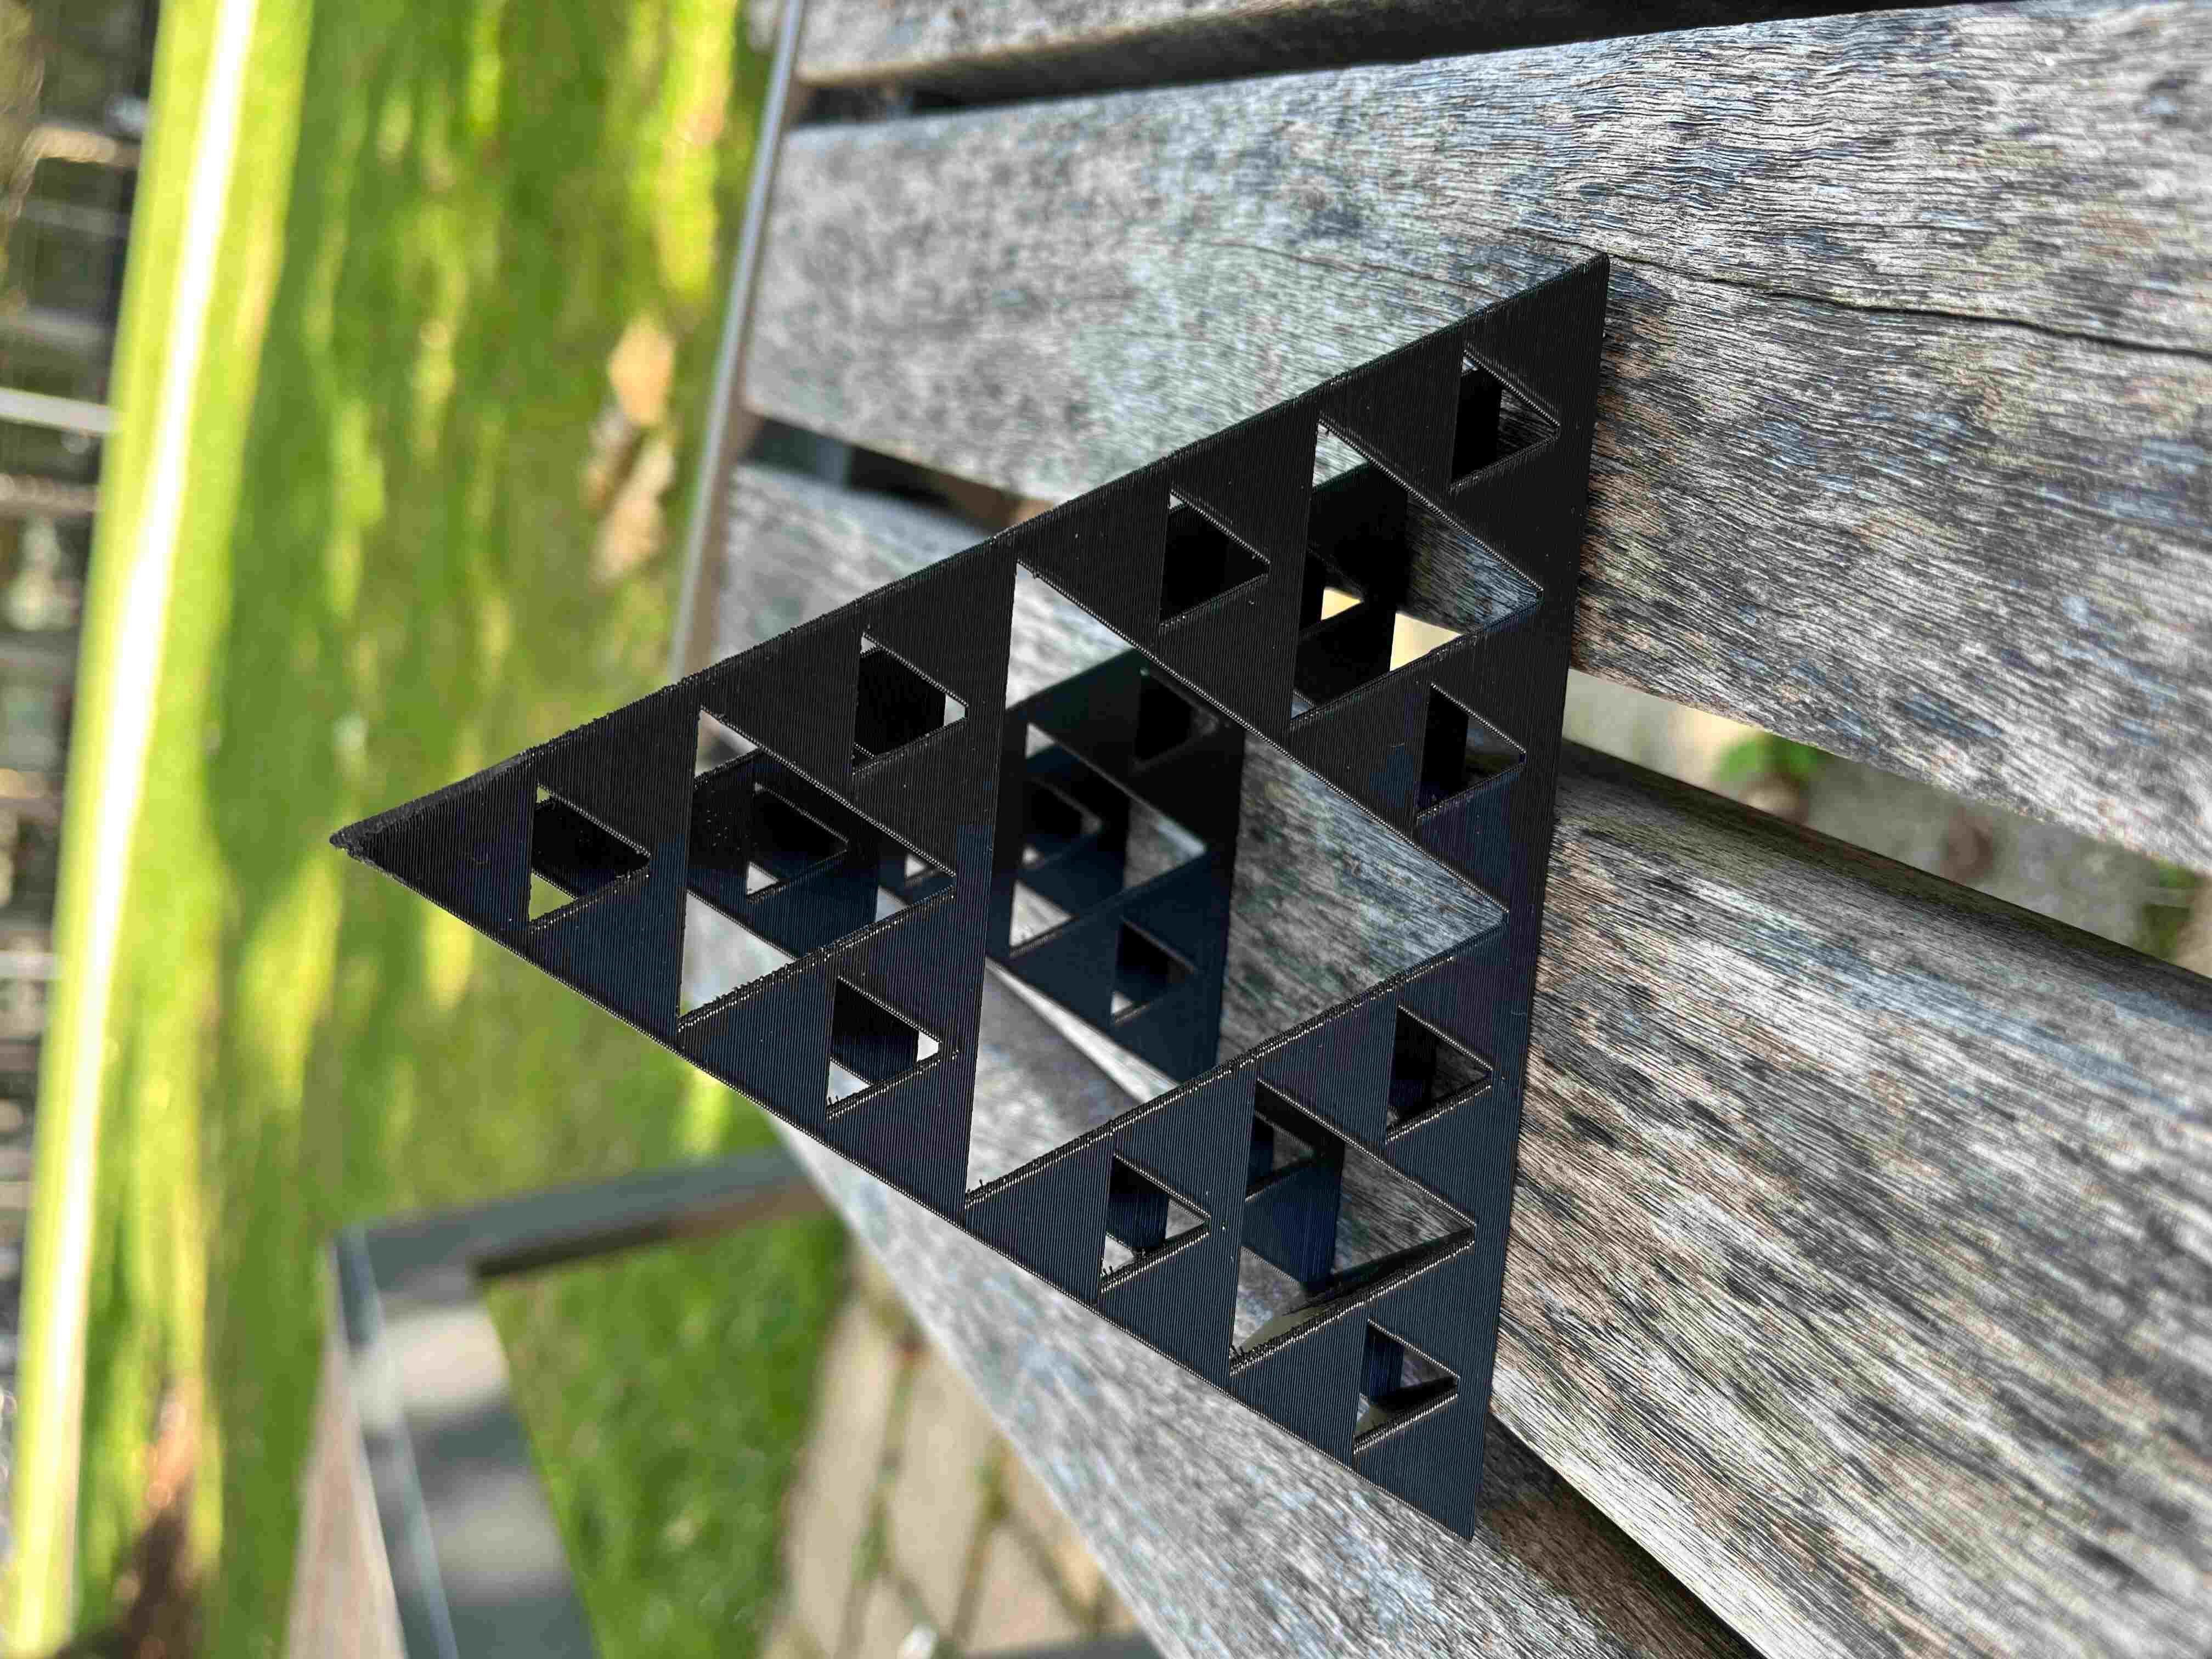
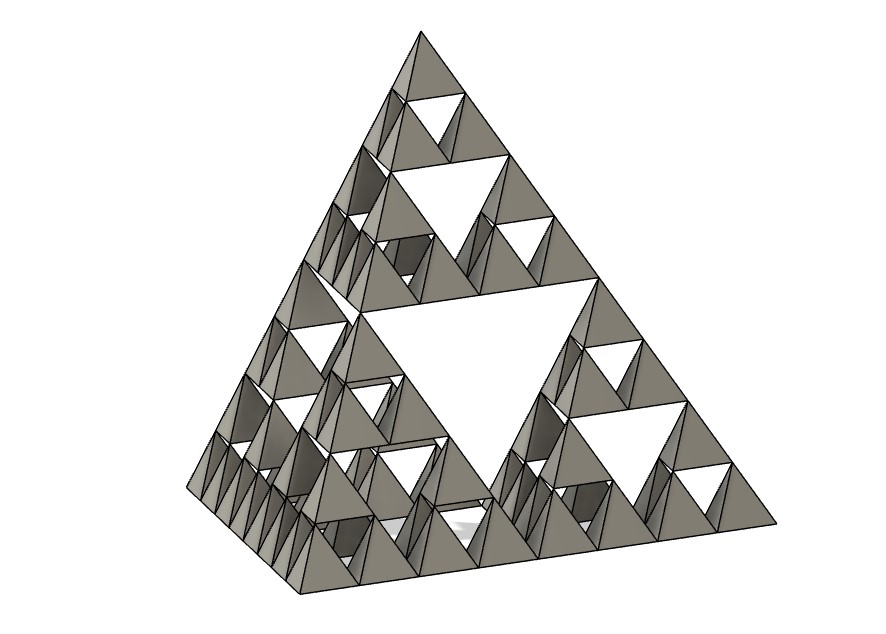
As a mathematician, I love fractals. They are beautiful, mesmerizing, and most importantly for this week, they can't be made subtractively. So I decided to make, this week, a 3D version of a classic fractal: Sierpinski's triangle. In this case, Sierpinski's pyramid.
Once I figured out how to CAD a tetrahedron in Fusion, it was pretty straightforward to use the copy function to make 3 extra copies of it in the right spots, then make 3 extra copies of the whole thing in the right spots, etc. After making one 5 layers deep, my husband broke the news to me that it really didn't look like it was going to 3D print. I decided to try it anyway... and maybe have a backup design that was only 4 layers deep.
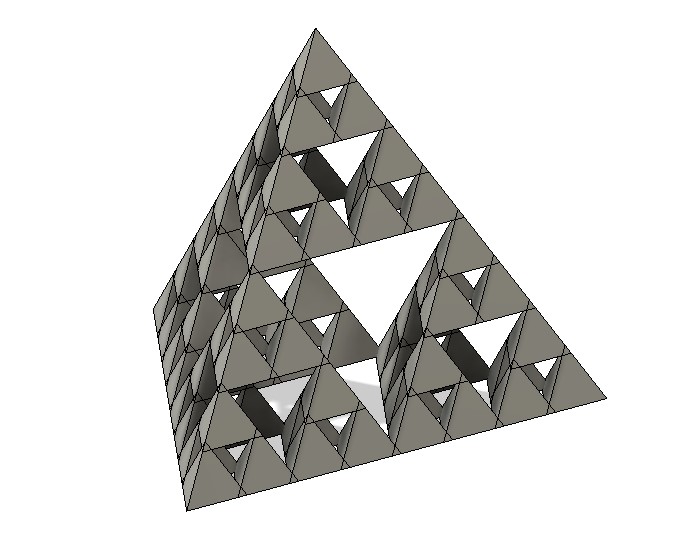
Turns out he was correct, it would not 3D print. I was determined to try to print it, all until the staging software showed me that the supports would entirely separate the small tetrahedrons from each other. I also noticed that my design was far too small, and would barely even look like triangles given the resolution of the 3D printer. Back to the drawing board.
This time I designed the tetrahedrons to overlap by a few millimeters, and I played around with the design to ensure that the design was fully parametric, including the overlap.
It worked beautifully! I decided that it would be prohibitively difficult to manually remove support material from all the narrow crevices, so I chose to use the StrataSys printer, so I could dissolve the support material away. The support material came out a little wispy around the edges, so it was kinda fun to see my Sierpinski pyramid with a bunch of flyaways. #relatablecontent
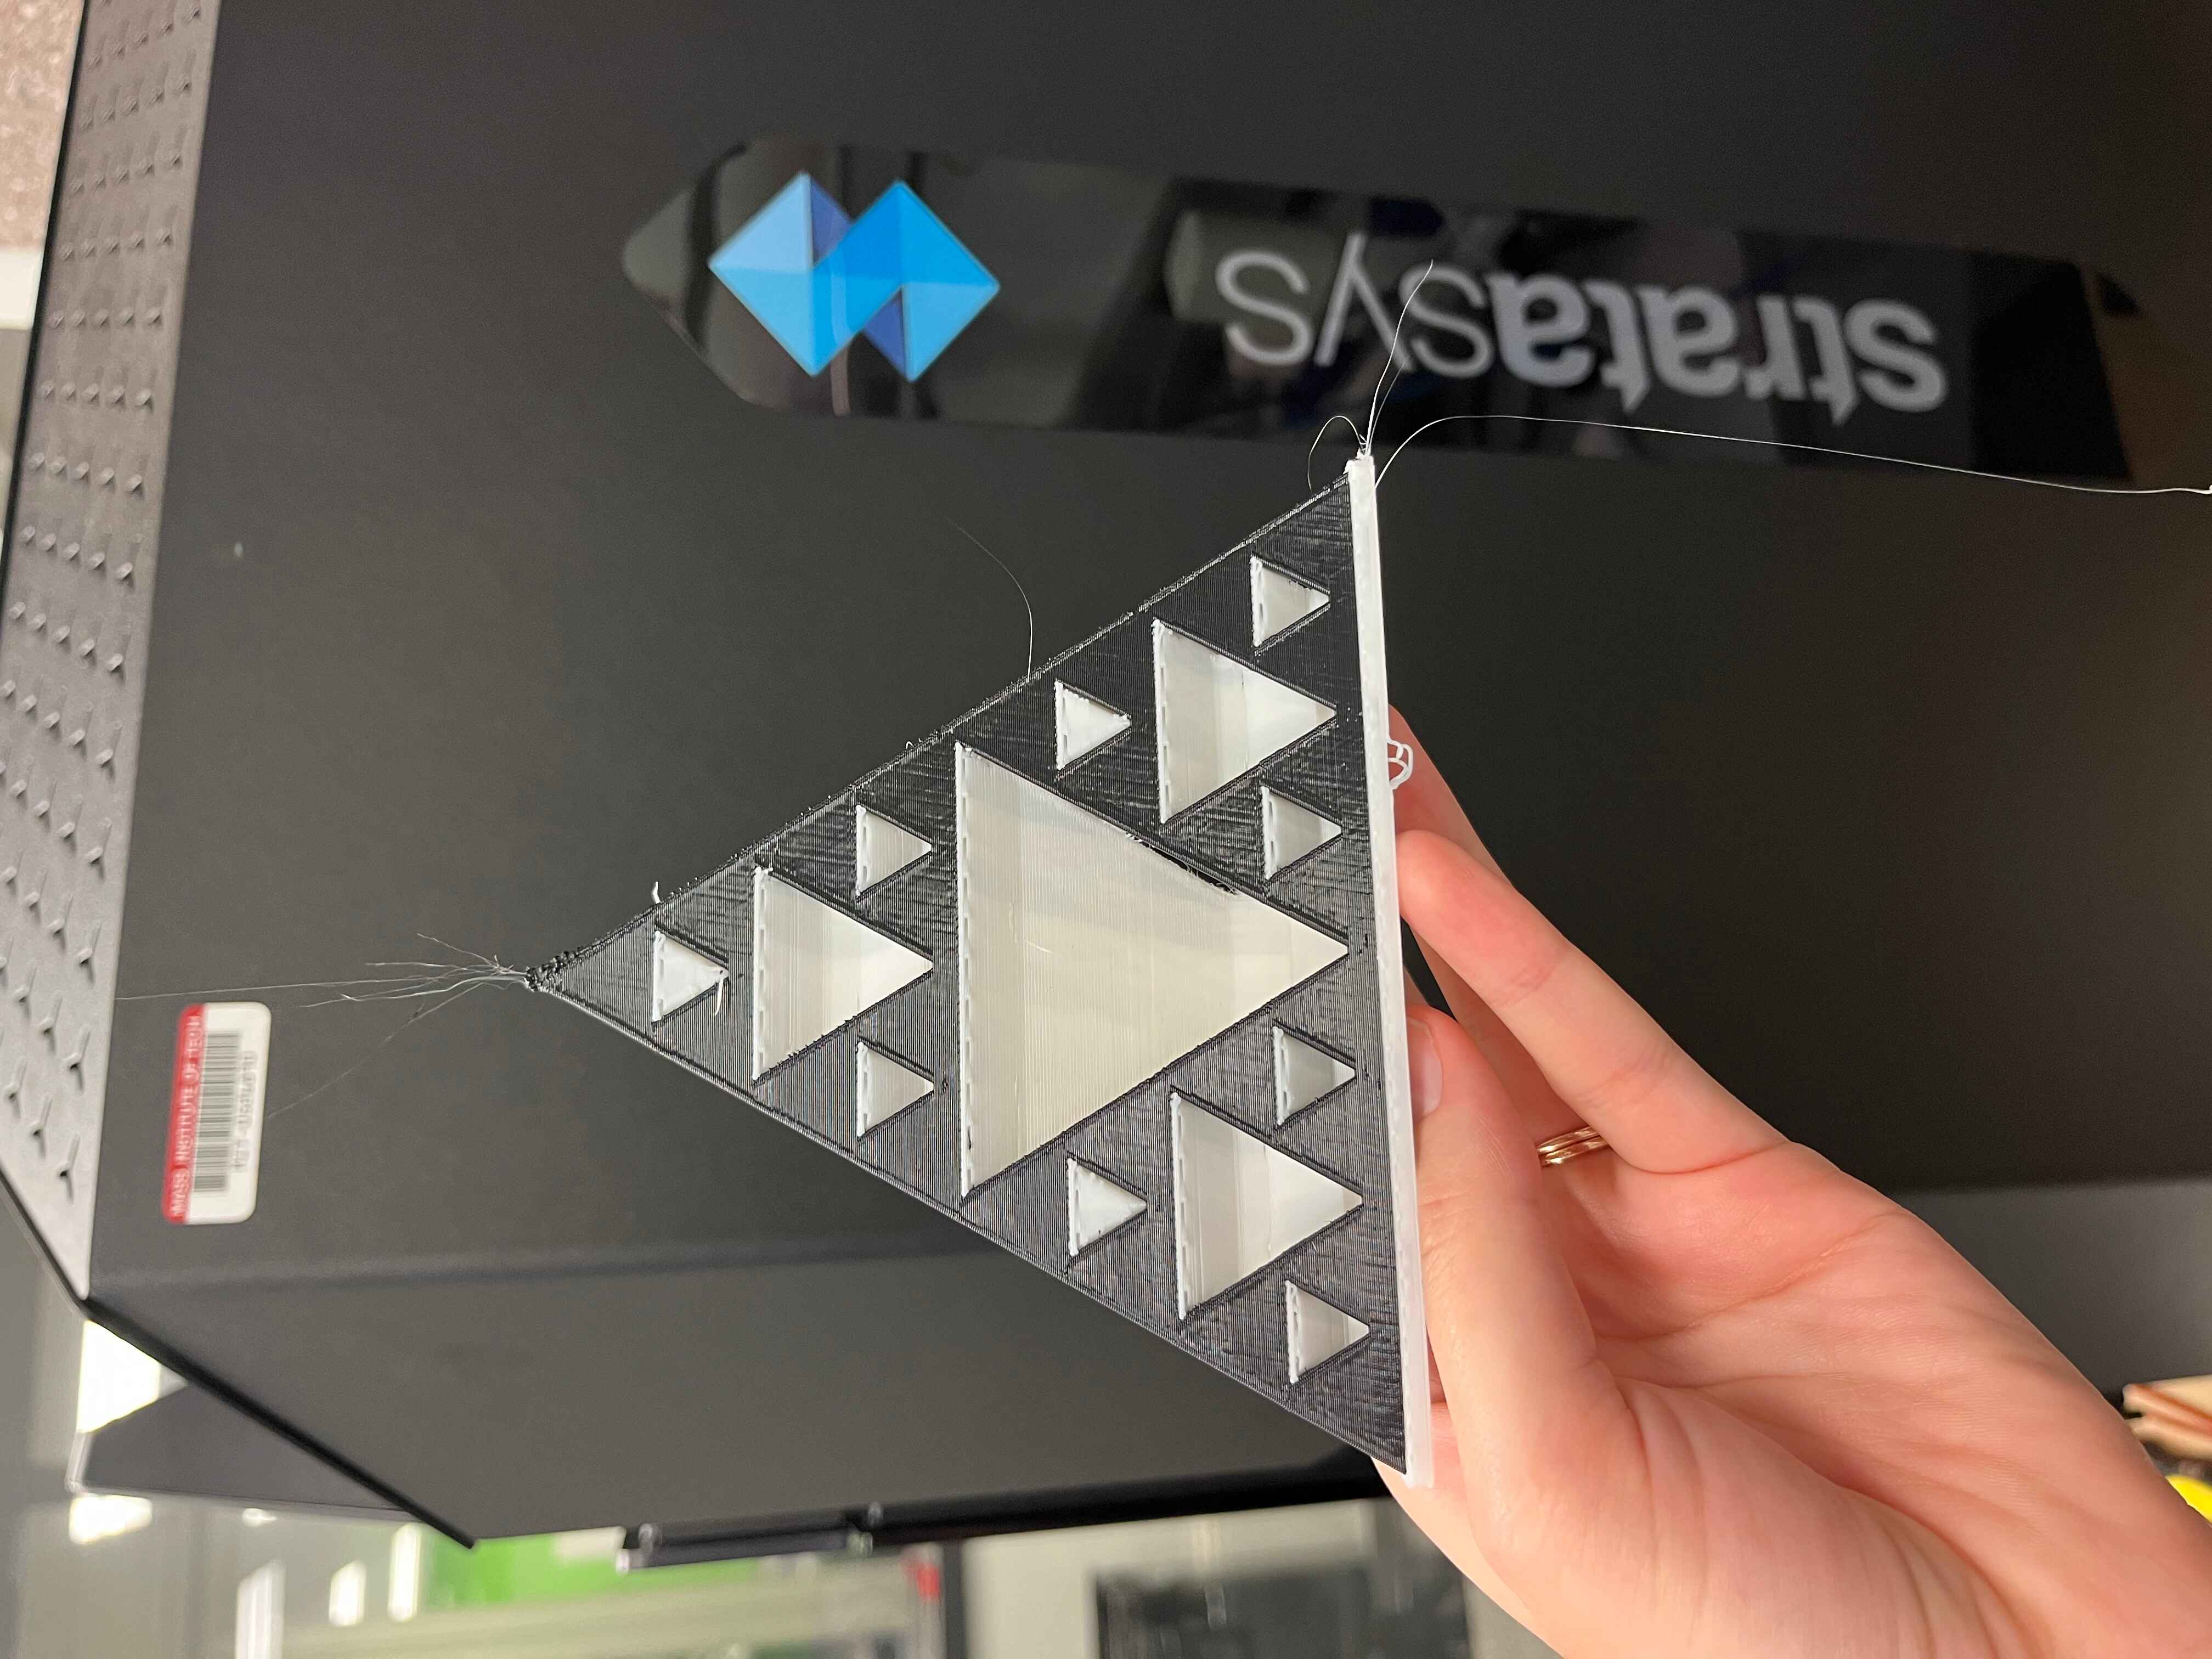
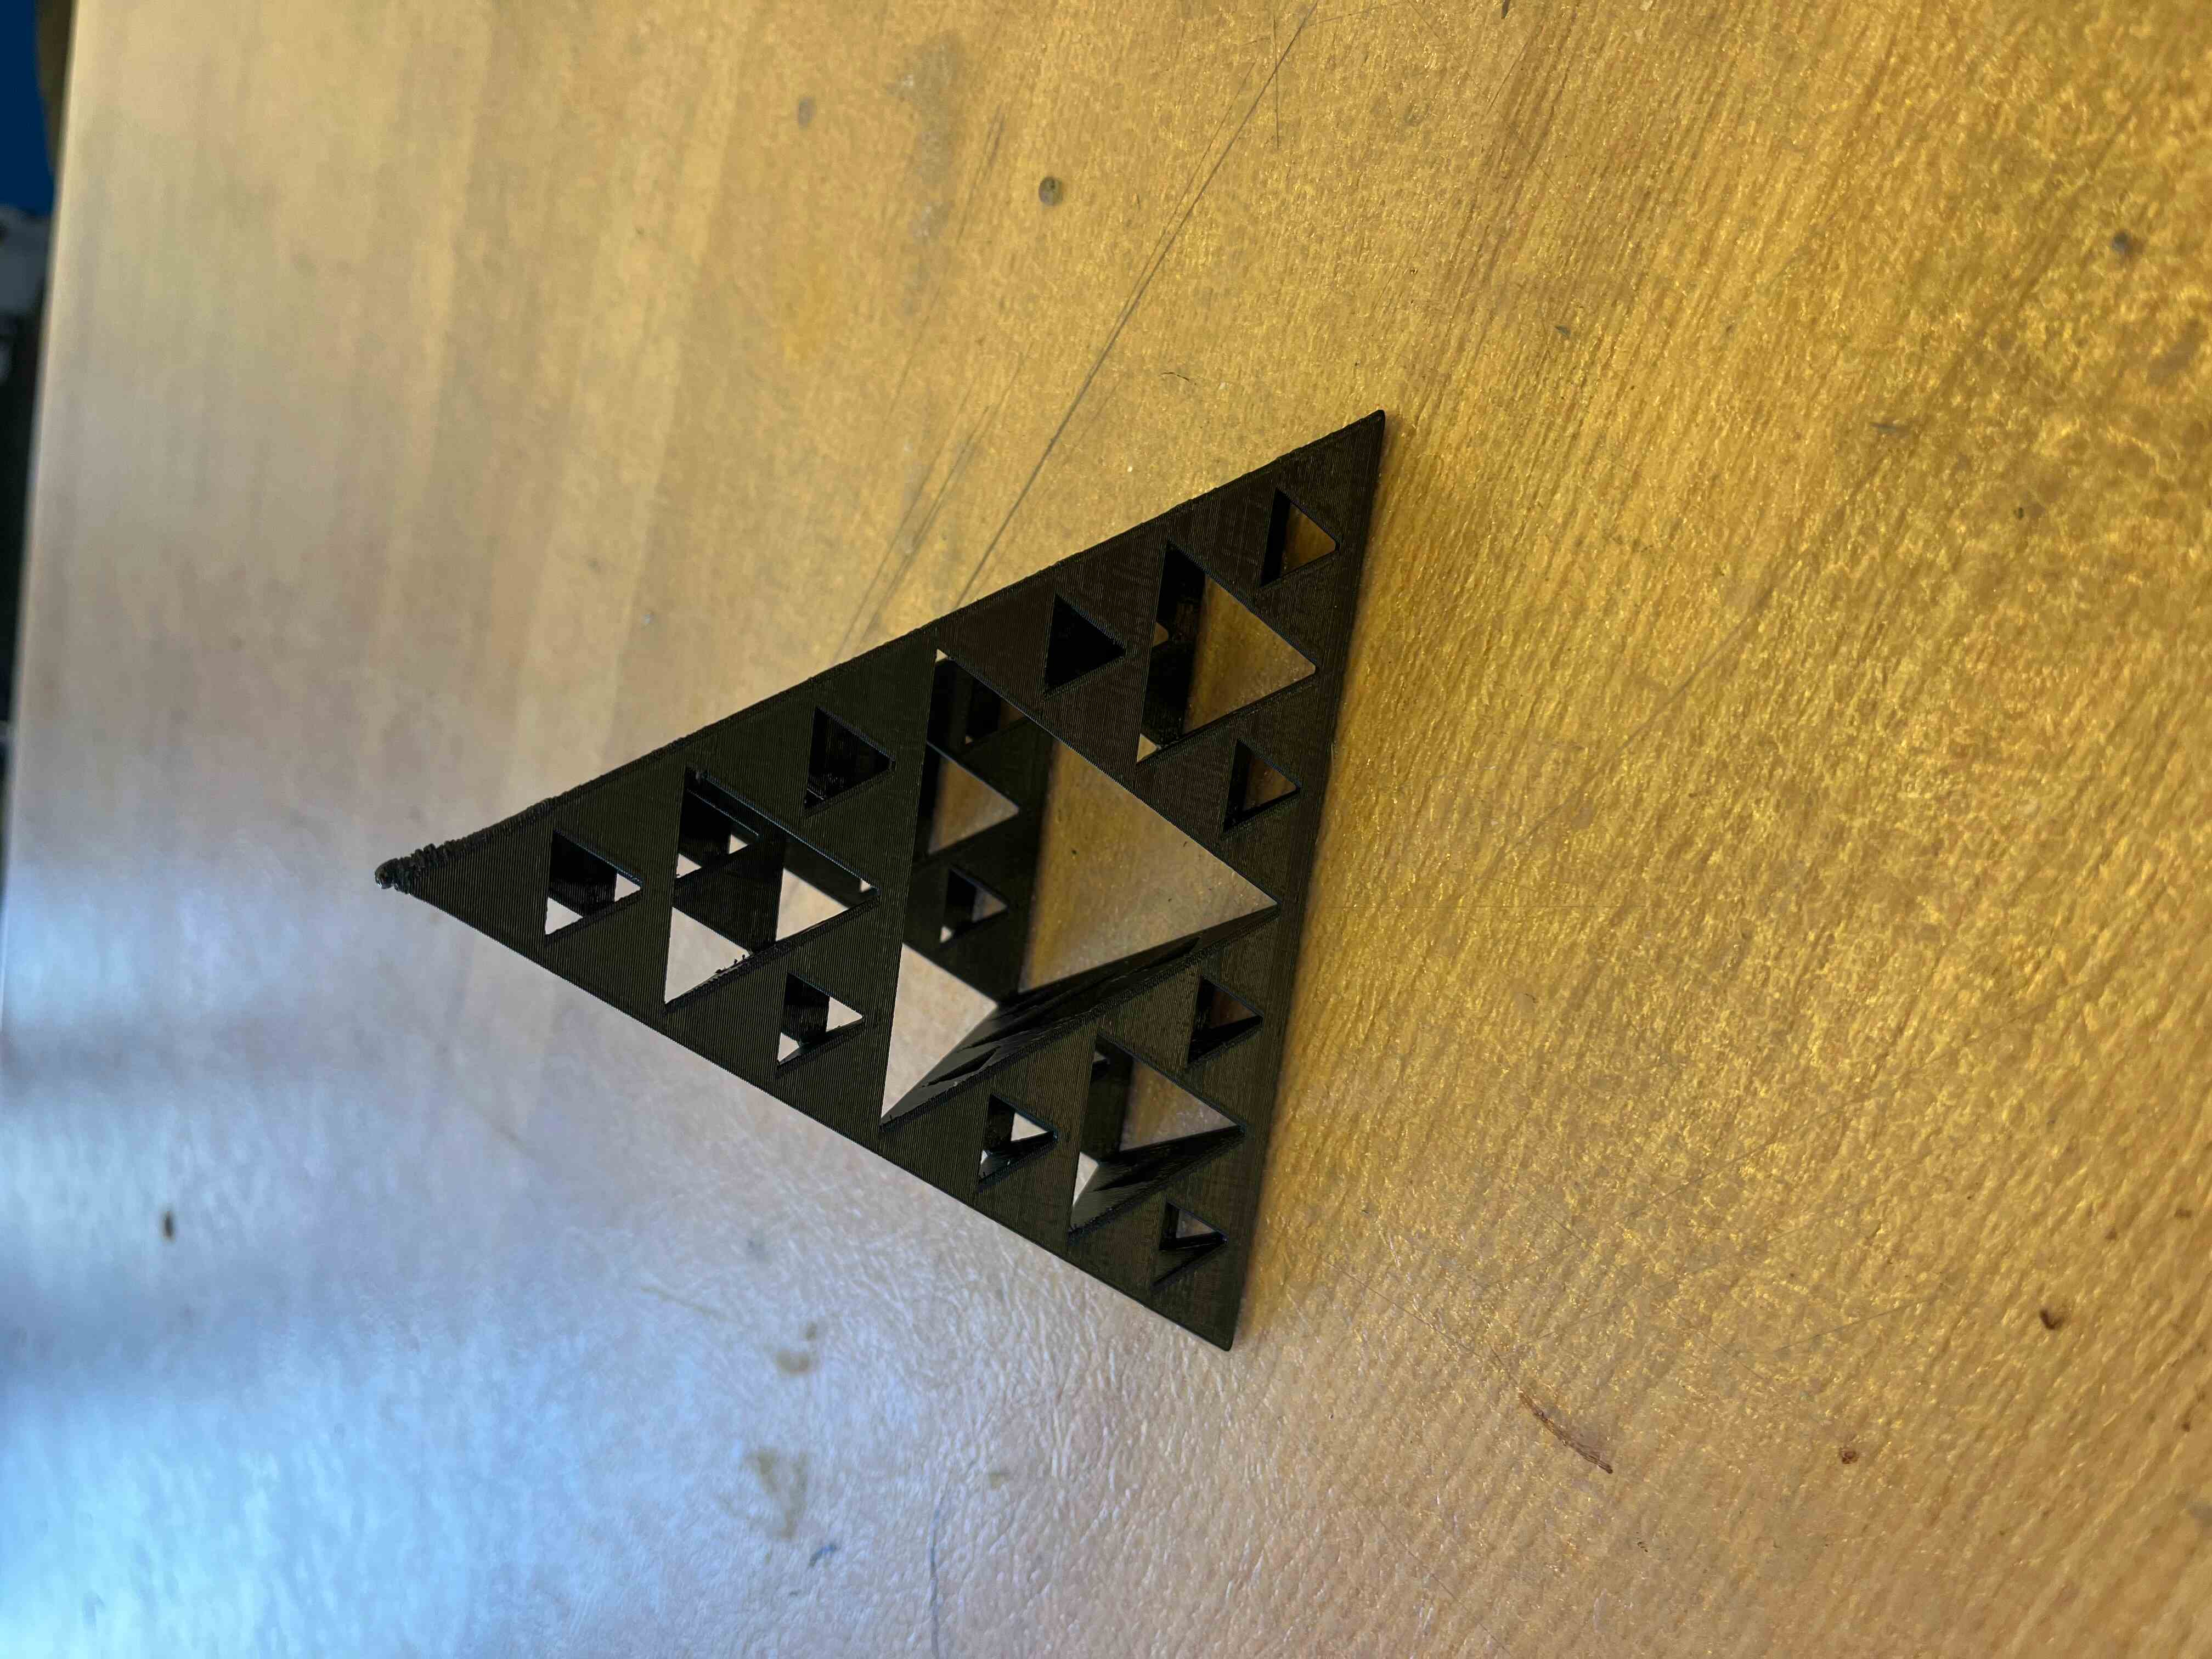
I had to let the pyramid soak in the dissolving solution overnight, and by the time I came back, some kind soul (who probably wanted to put their own print in the bath) had already taken the pyramid out and cleaned it off for me. The tip of the pyramid still kinda looked goopy, so I filed that off to a point, and voila! Sierpinski's pyramid!
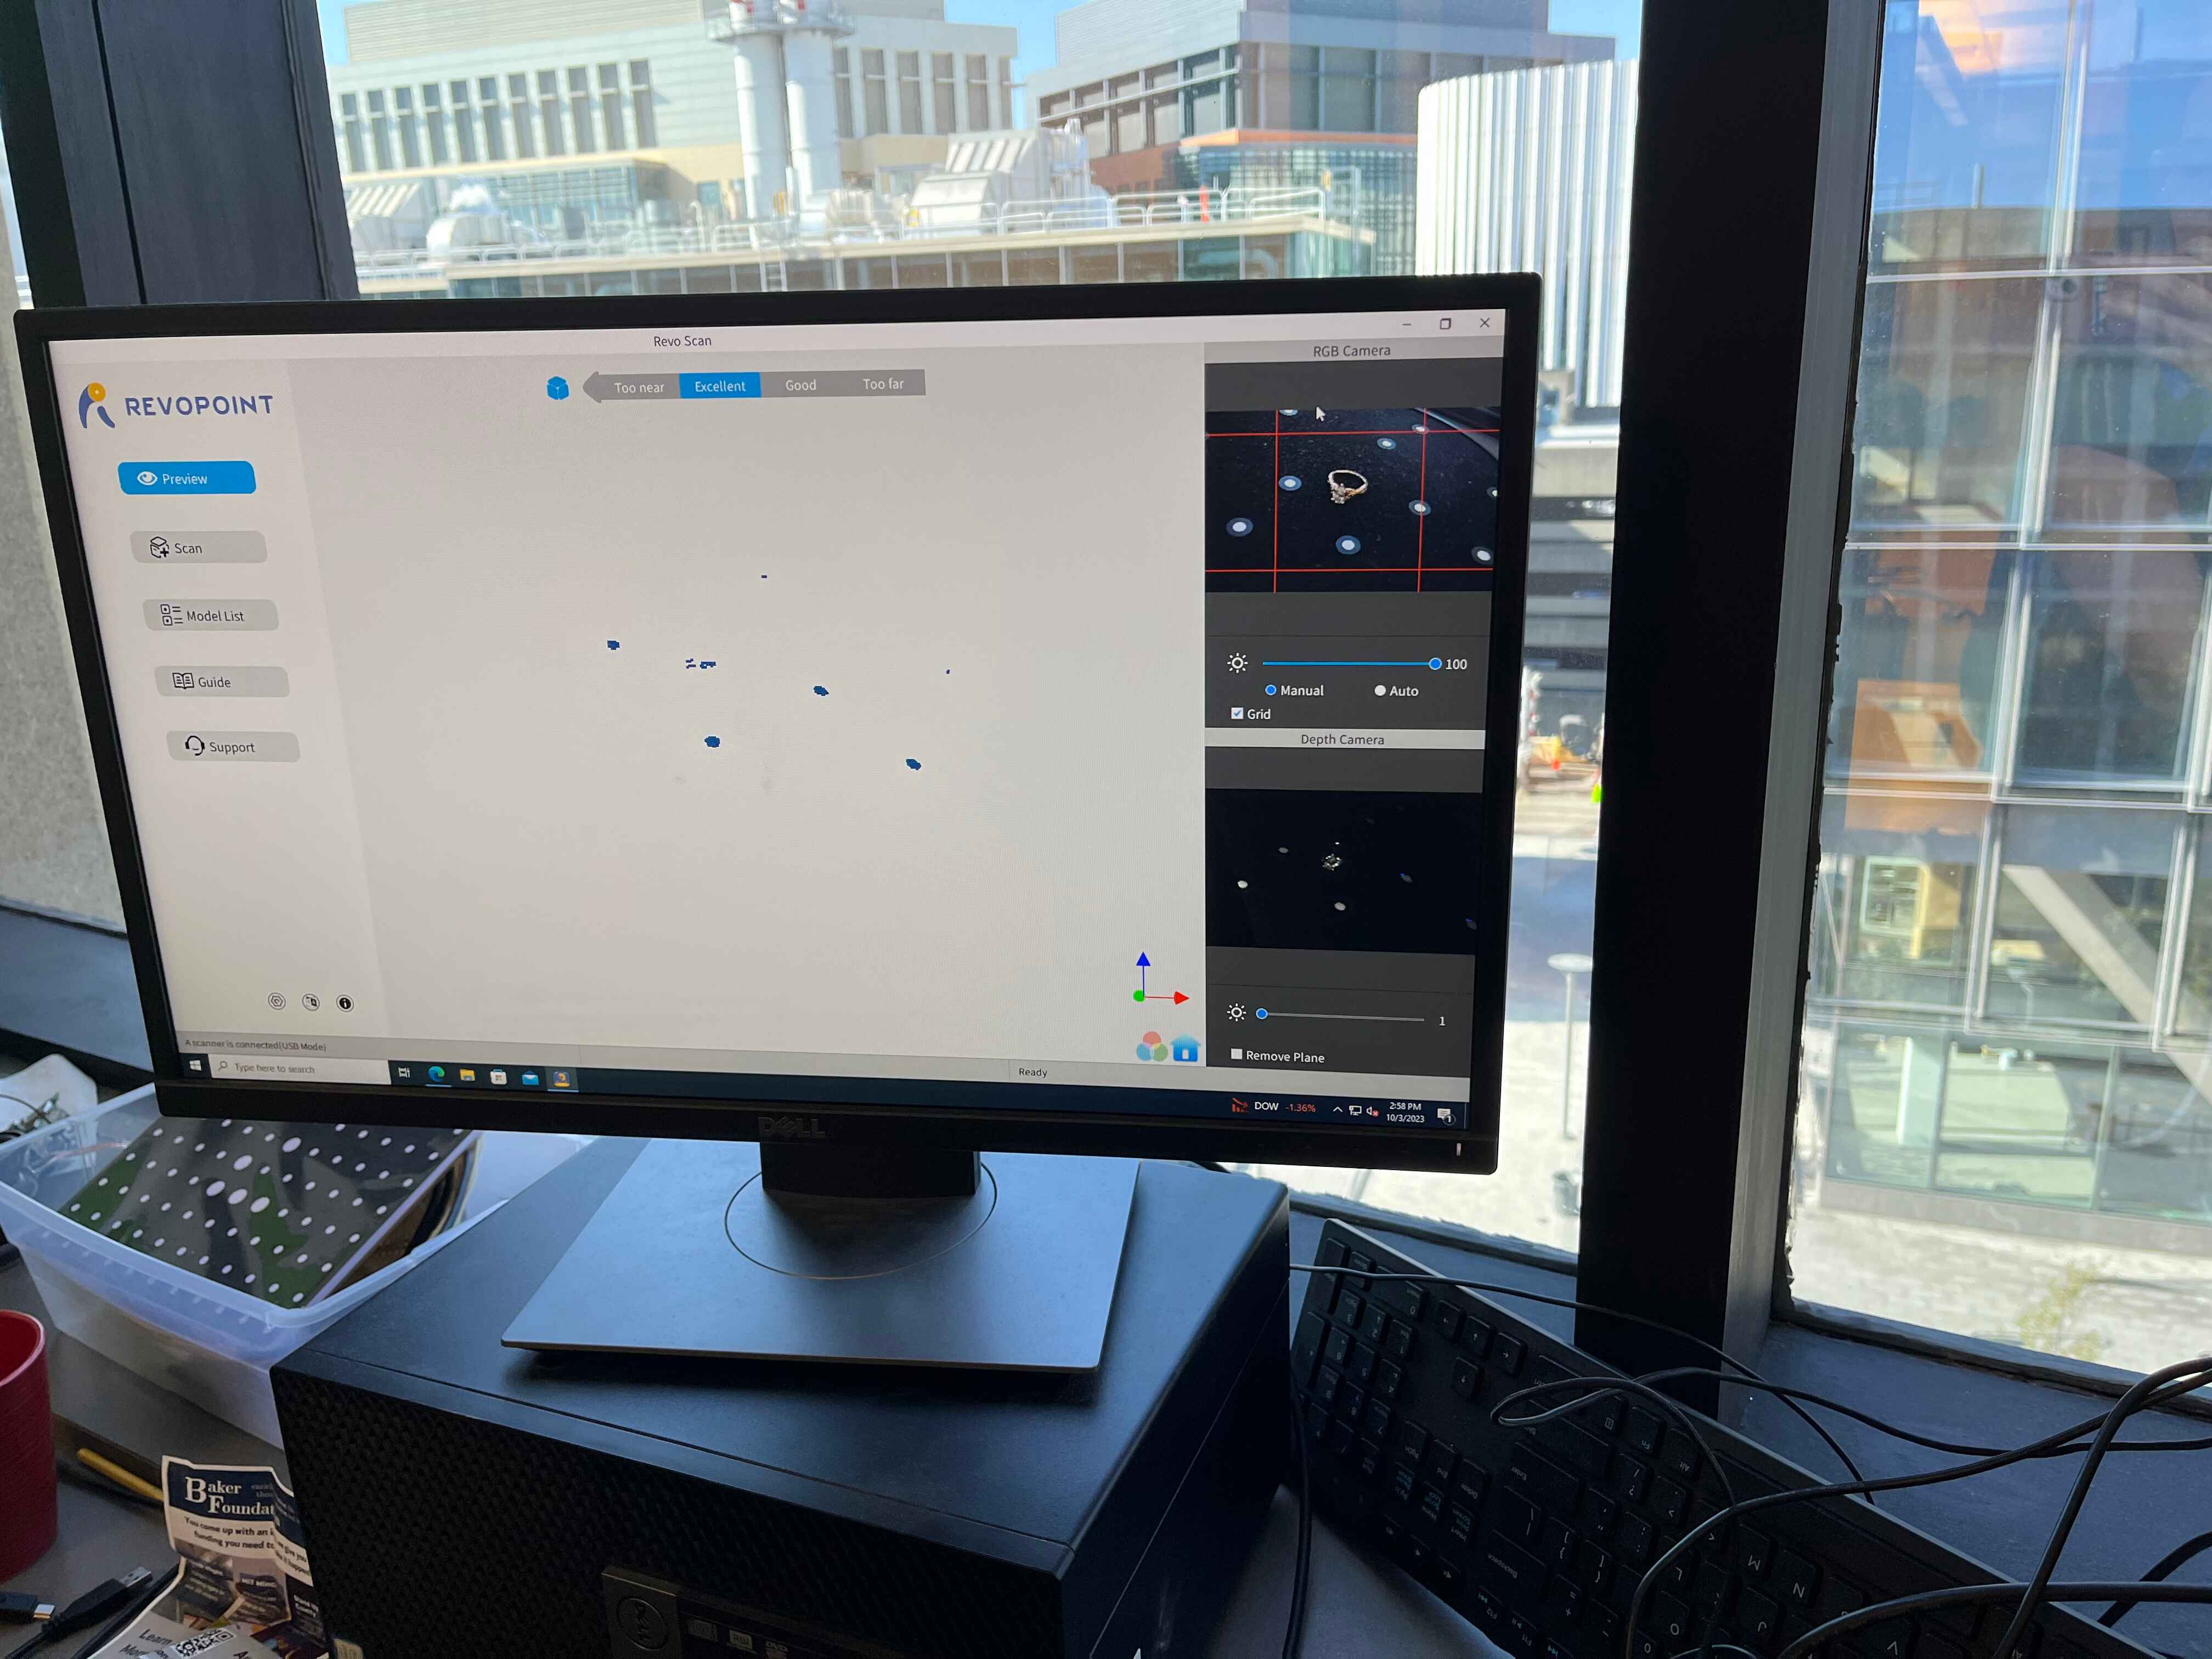
For the scanning project, I had the excellent idea to try to scan my engagement ring. Imagine my surprise when the scanner didn't think that idea was so excellent. At first I thought it was because the ring was so small, and I tried playing with the height of the scanning turntable. However, Anthony pointed out to me that the reason wasn't the size of the ring, as much as how shiny it is. The reason we like rings so much is precisely the same reason the scanner can't scan it.
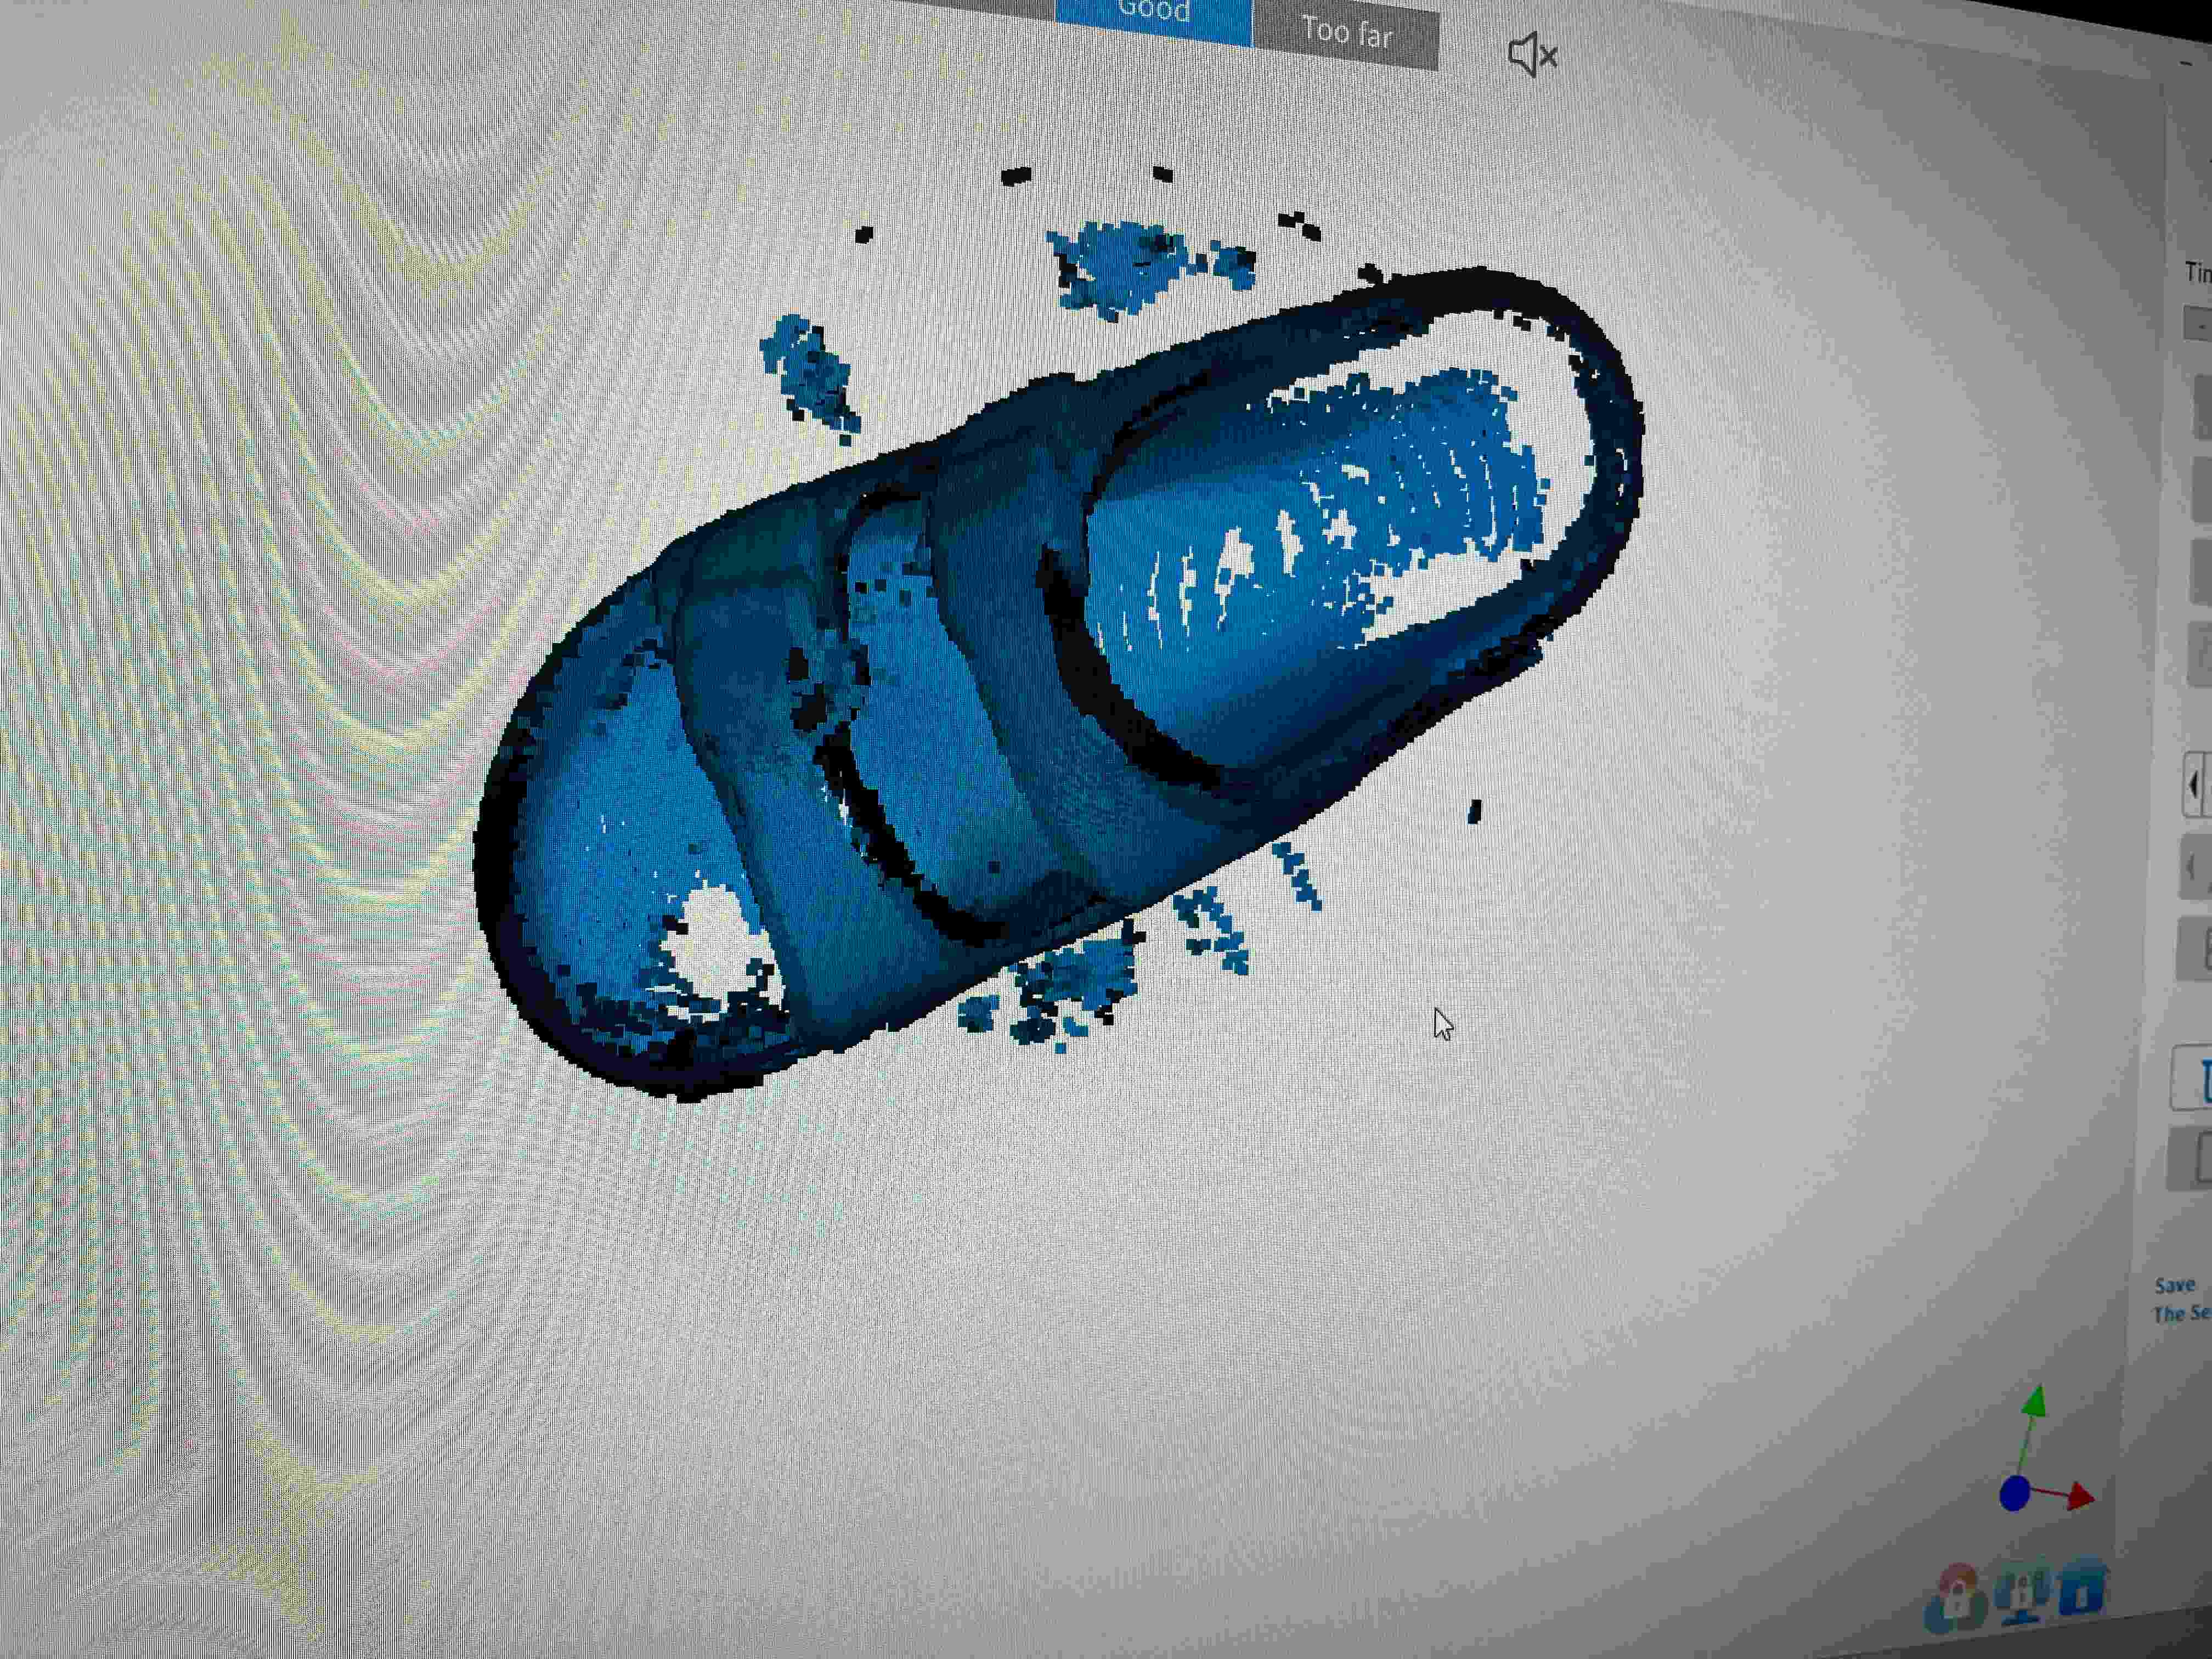
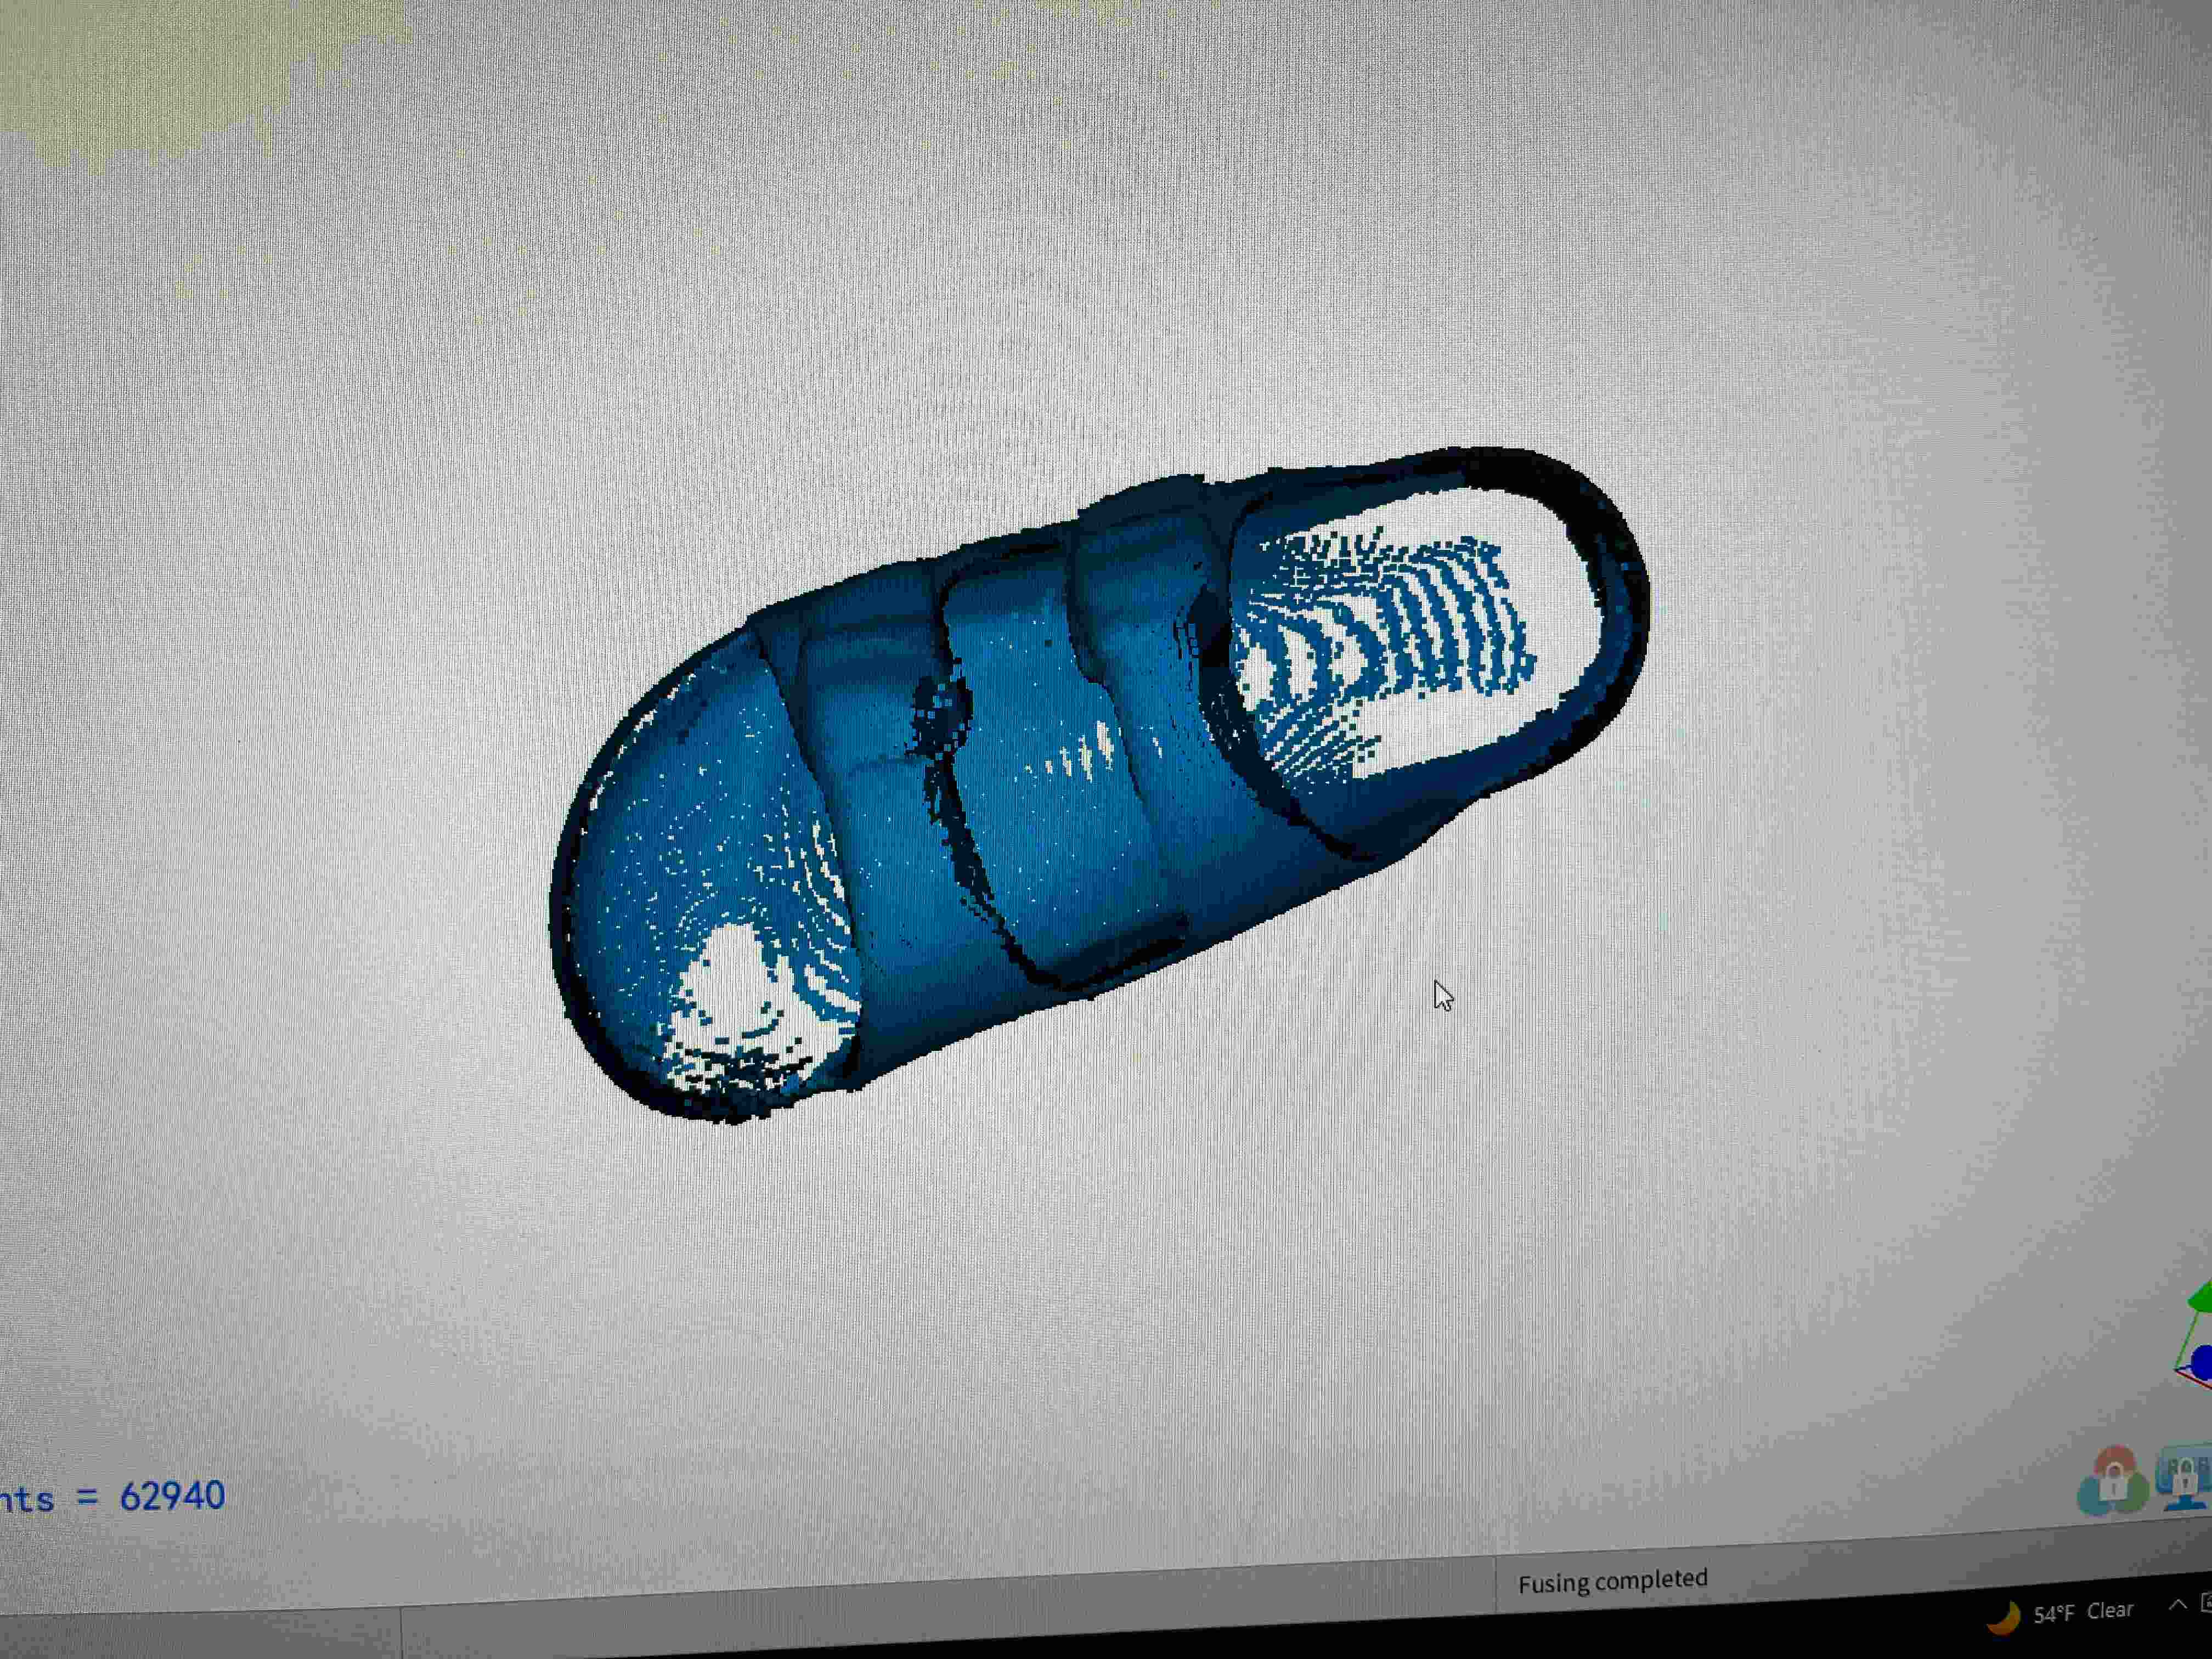
So I abandoned that idea, and decided to scan a shoe instead. I have these nice purple loose-fitting sandals that I thought could make a really tight 3D scan. I used the scanner in the EECS lab, which came with a nice, slow lazy Susan.
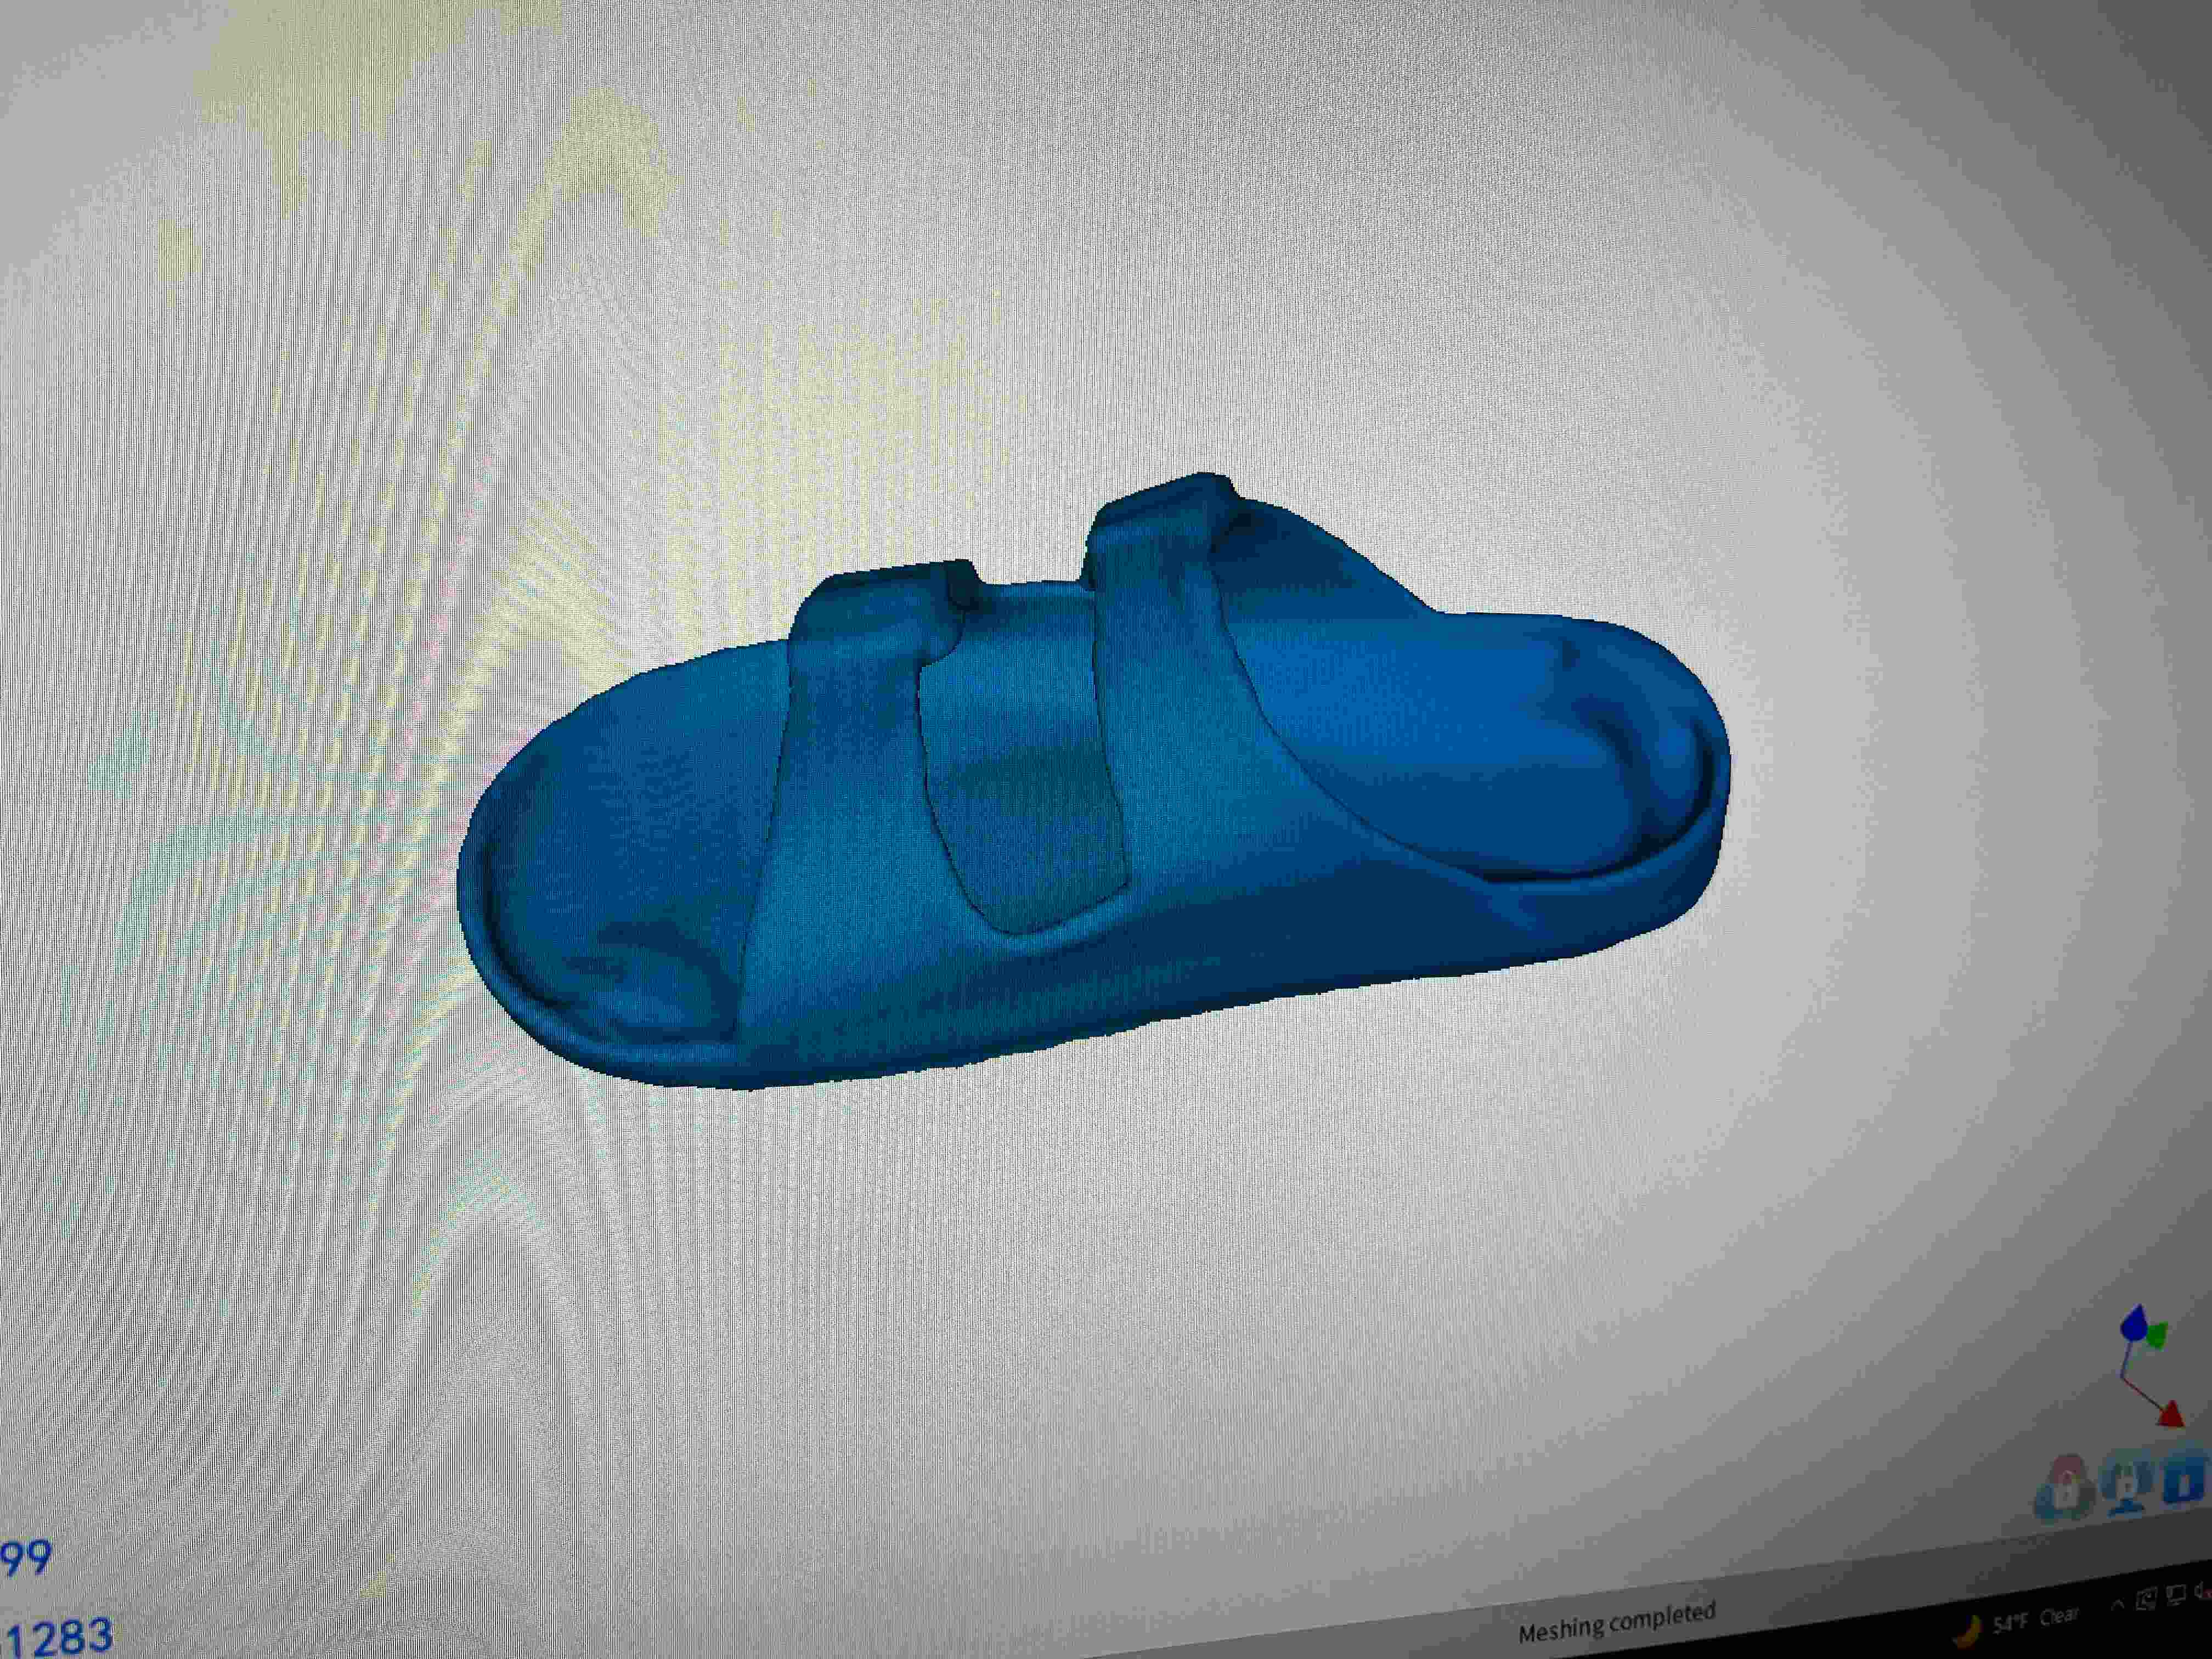
The scan came out pretty good, though it could use a bit of manual fine-tuning. Because of the rim on the base of the sandal, the scanner struggled to see a lot of the sole inside the shoe. There were pretty big holes in the point cloud that resulted, but the fusion did a great job of elimitaing junk, and the mesh closed the holes decently well. It was a little lumpy in the empty regions, which is the only thing I would change if I were to edit it manually.