The assignment this week: Design a mold, mill it, and use it to cast parts
This week was a roller coaster. The entire week I was planning on molding and casting piano keys for my final project, but I ran into major problems the day before I was supposed to cast, and completely switched gears, and ended up with a goose.
With a little more experience with CAD software under my belt, as I began to think about making a mold for my piano keys, I realized that the designs I made during week 0 just weren't going to cut it. Fortunately, since then I have also acquired an electric piano, so I could finally take real measurements of my keyboard instead of trying to find standard information online (which turned out to be harder than I expected, as not all pianos are made the same way, apparently).
However, I soon discovered that there's a lot I don't know about piano measurements! I had assumed that all the white keys were the same width as each other, that the thin parts of the white keys are all the same width as each other, which are the same width as the black keys. However, when I started crunching the numbers with those assumptions... with 12 black/thin white widths adding up to the same thing as 7 thick white widths, there's no way that adjacent white keys are going to be flush with each other. I was more certain that they ARE flush than of my prior assumptions of equal widths.
I started digging on the internet, and didn't find a lot of official measurements, but discovered thanks to https://www.pianostreet.com/smf/index.php?topic=51490.0 and https://en.wikipedia.org/wiki/Musical_keyboard that the thin parts of the white keys are not uniform. In particular, D and E are bigger than the others. At this point, I decided that I would stop trying to find the official measurements, and just assume that C, D, and E all have the same width at the back, that F, G, A, and B all have the same width at the back, and that the black keys have the average width of all the white key widths. Doing the math, I concluded that the ratio of a F, G, A, or B key thickness near the back to a black key is 27/28, and the ratio of a C, D, or E key thickness near the back to a black key is 22/21. I'm very grateful for parametric design in CAD at this point, to keep track of all these tight ratios for me.
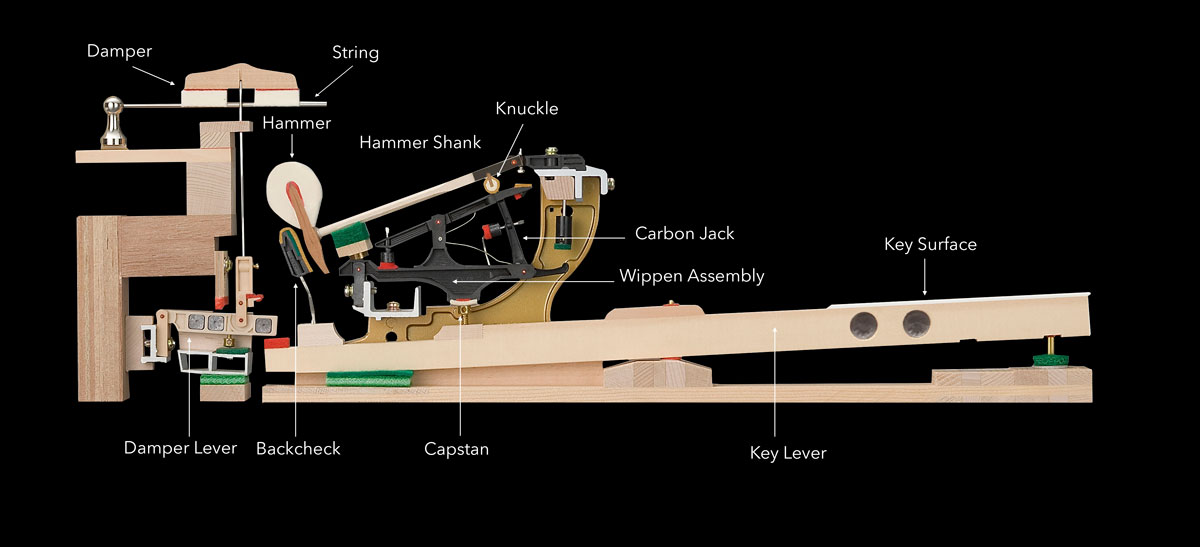
I also discovered something new when pressing the keys. I had always assumed that the keys pressed STRAIGHT down. This is absolutely not so! Looking at pictures of piano actions showed me that the piano keys are on a pivot, so that the angle of the key changes when you play it. "Okay, cool," I thought, "So the keys angle slightly downward when I press them." However, when I got out the level app on my phone to see how much the angle changes, I discovered that the black keys are angled upward 3 degrees at rest, and the white keys are angled upward 1 degree at rest. When pressed, the black keys become level, and teh white keys become angled 1 degree downward.
With these angles and some height measurements in tow, I had all I needed to calculate how far back in the piano the pivot point needed to be. And this is where I ran into problems. See, by my calculations, the pivot point needs to be 8 inches back from the front of the keys. Seeing as the wax I had at my disposal was 7 inches in its maximum dimension, I recognized at this point that I wasn't going to be able to mold and cast in this wax. And I didn't have time to get bigger wax. So I changed projects.
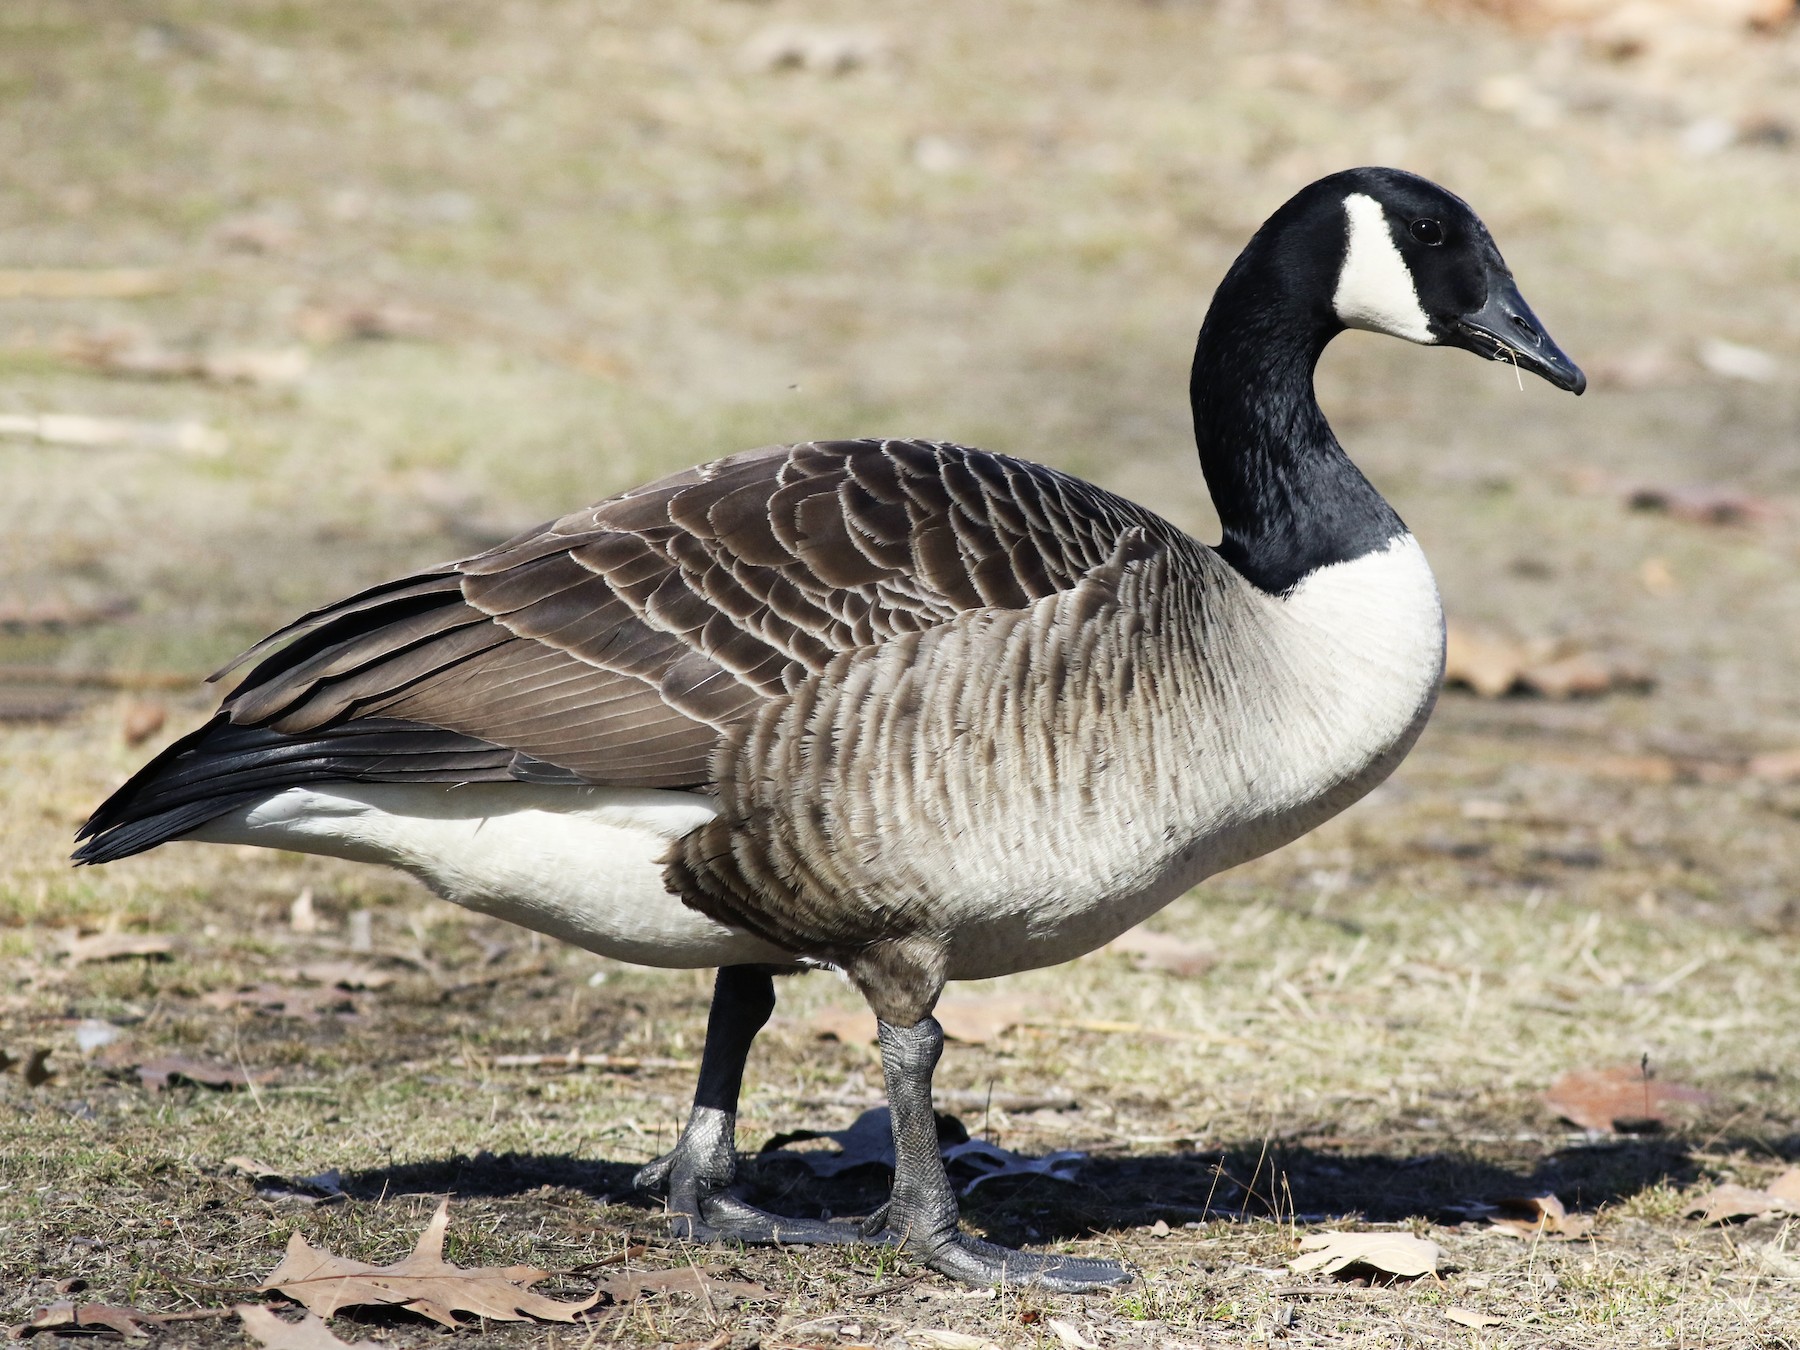
See, I have this friend who just LOVES geese. So I thought I'd make a little trinket for her. I thought of finding some open source image of a goose online and turning that into a 3D model somehow, but I just kept on being dissatisfied with the goose images I found online. Remembering my stint with Adobe Illustrator for my vinyl cutter project, I decided to draw a goose myself. I ended up using this image of a goose as my inspiration.
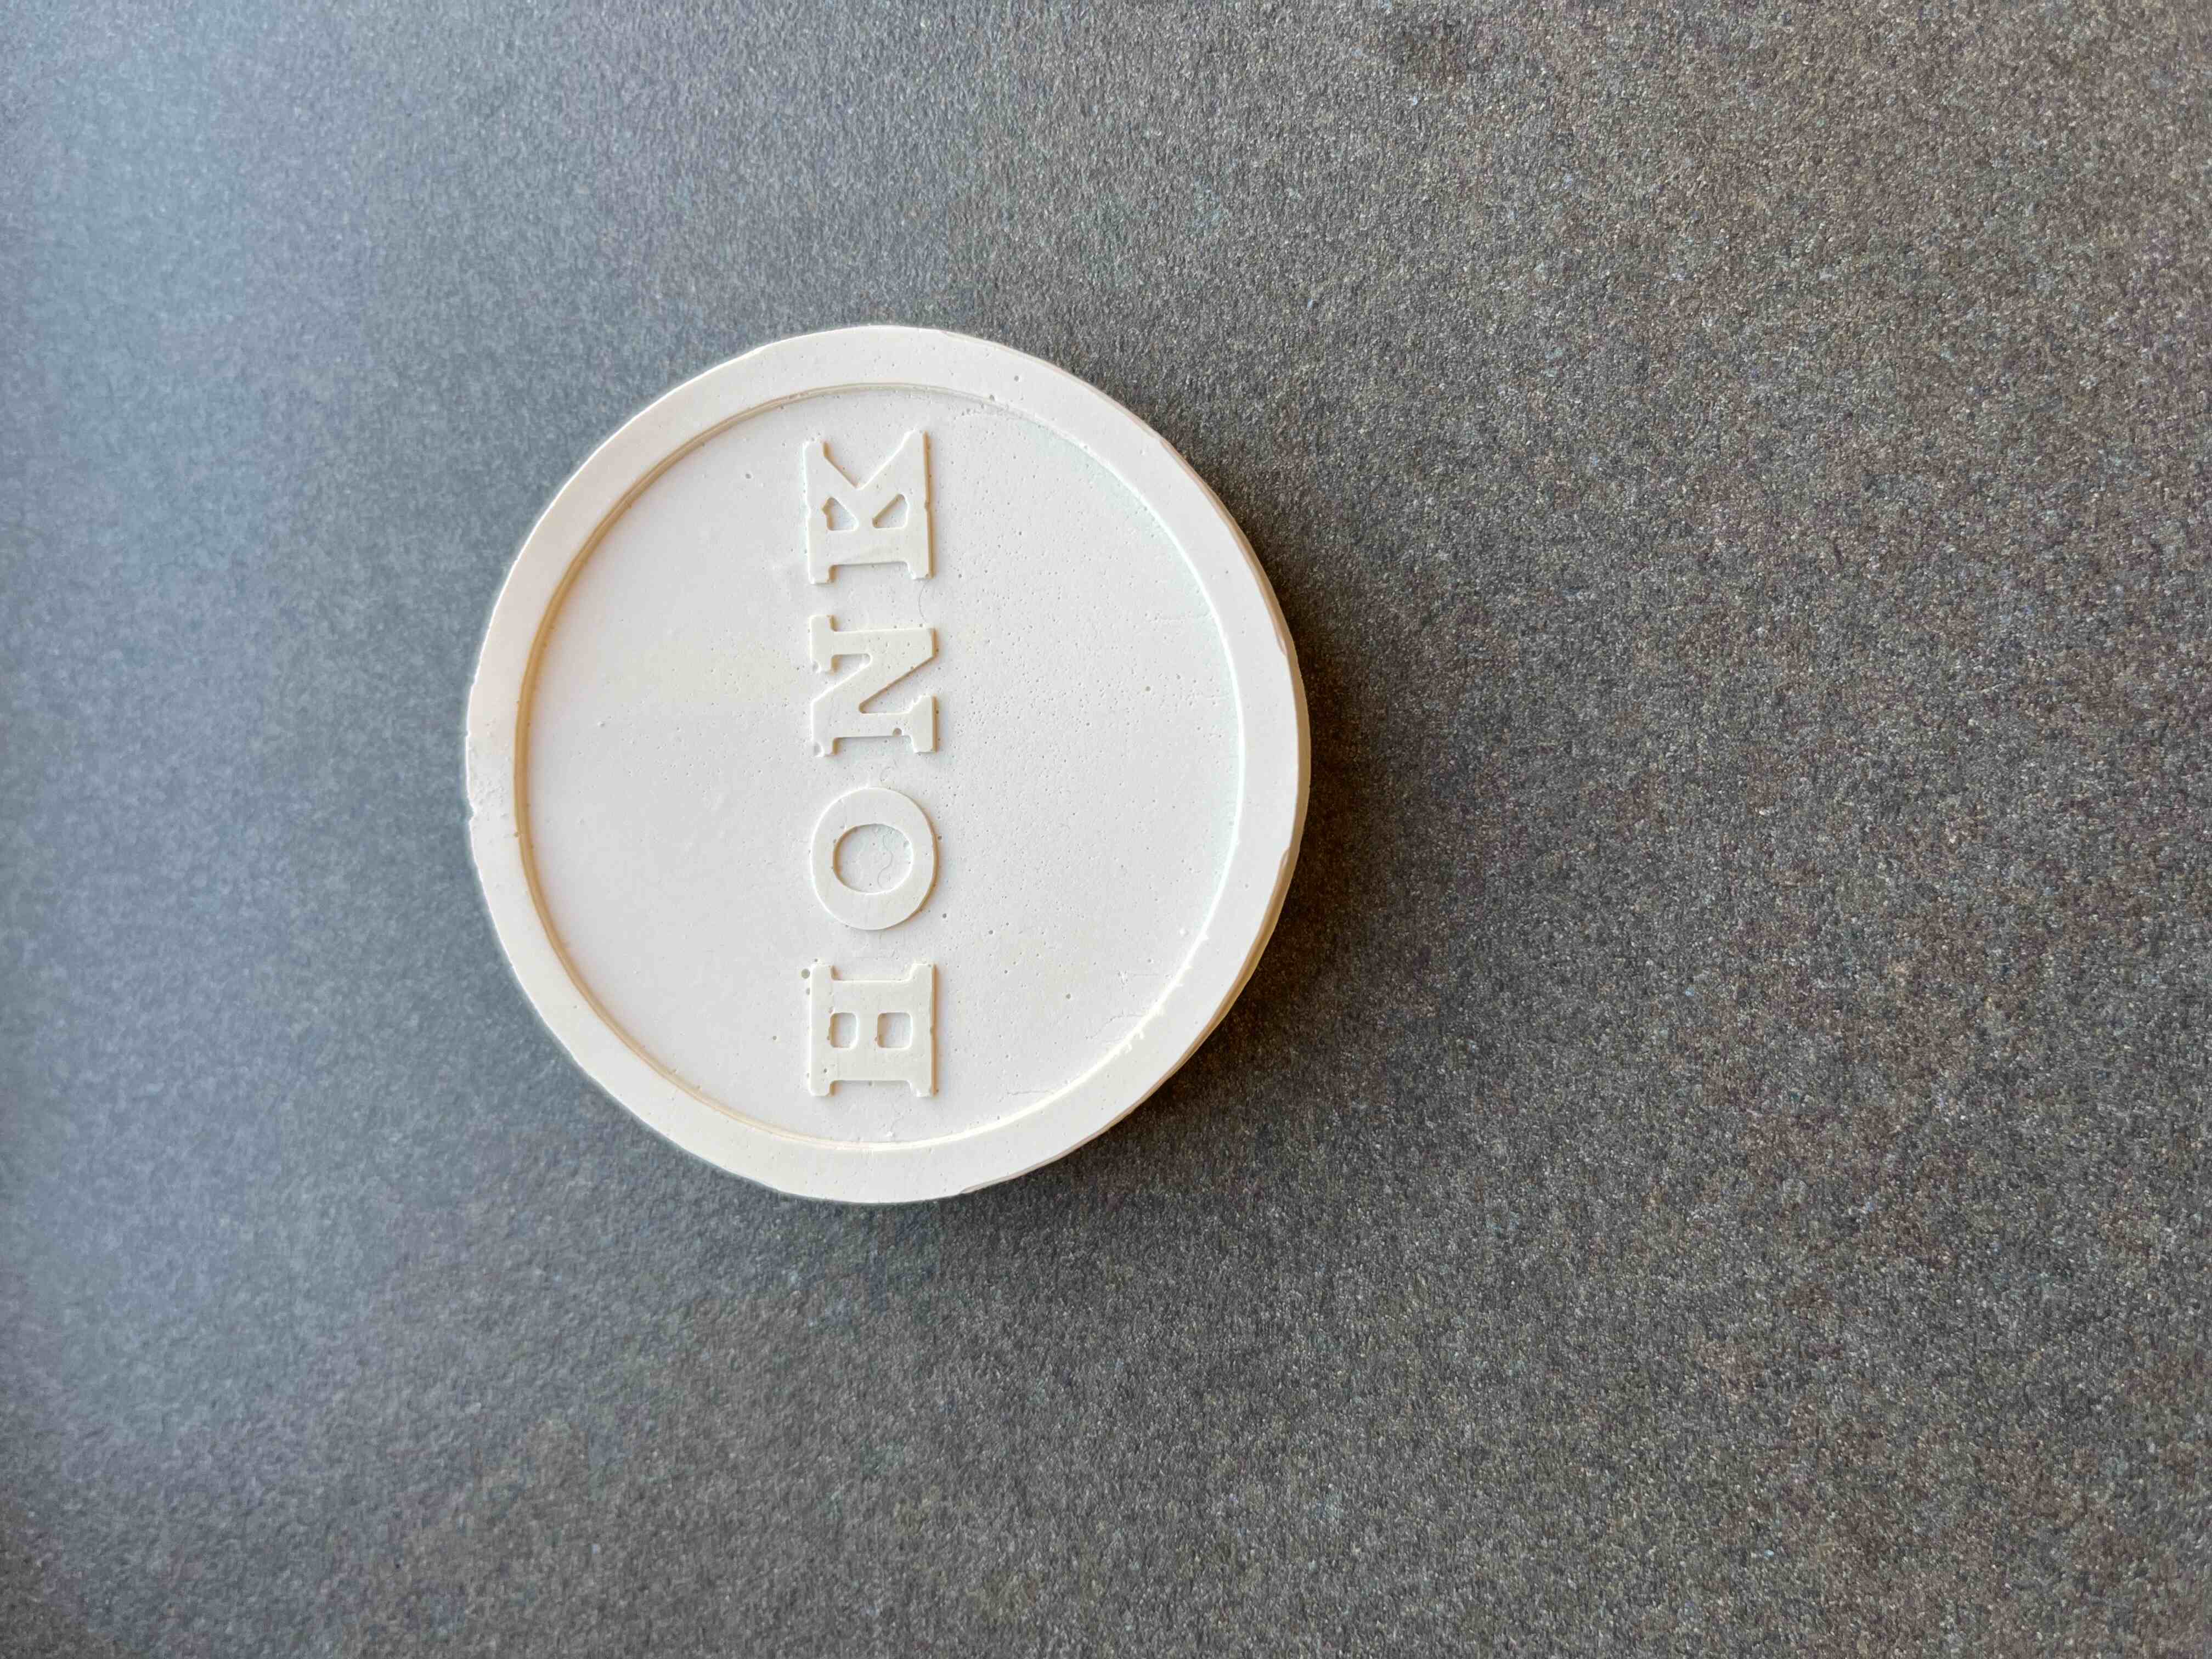
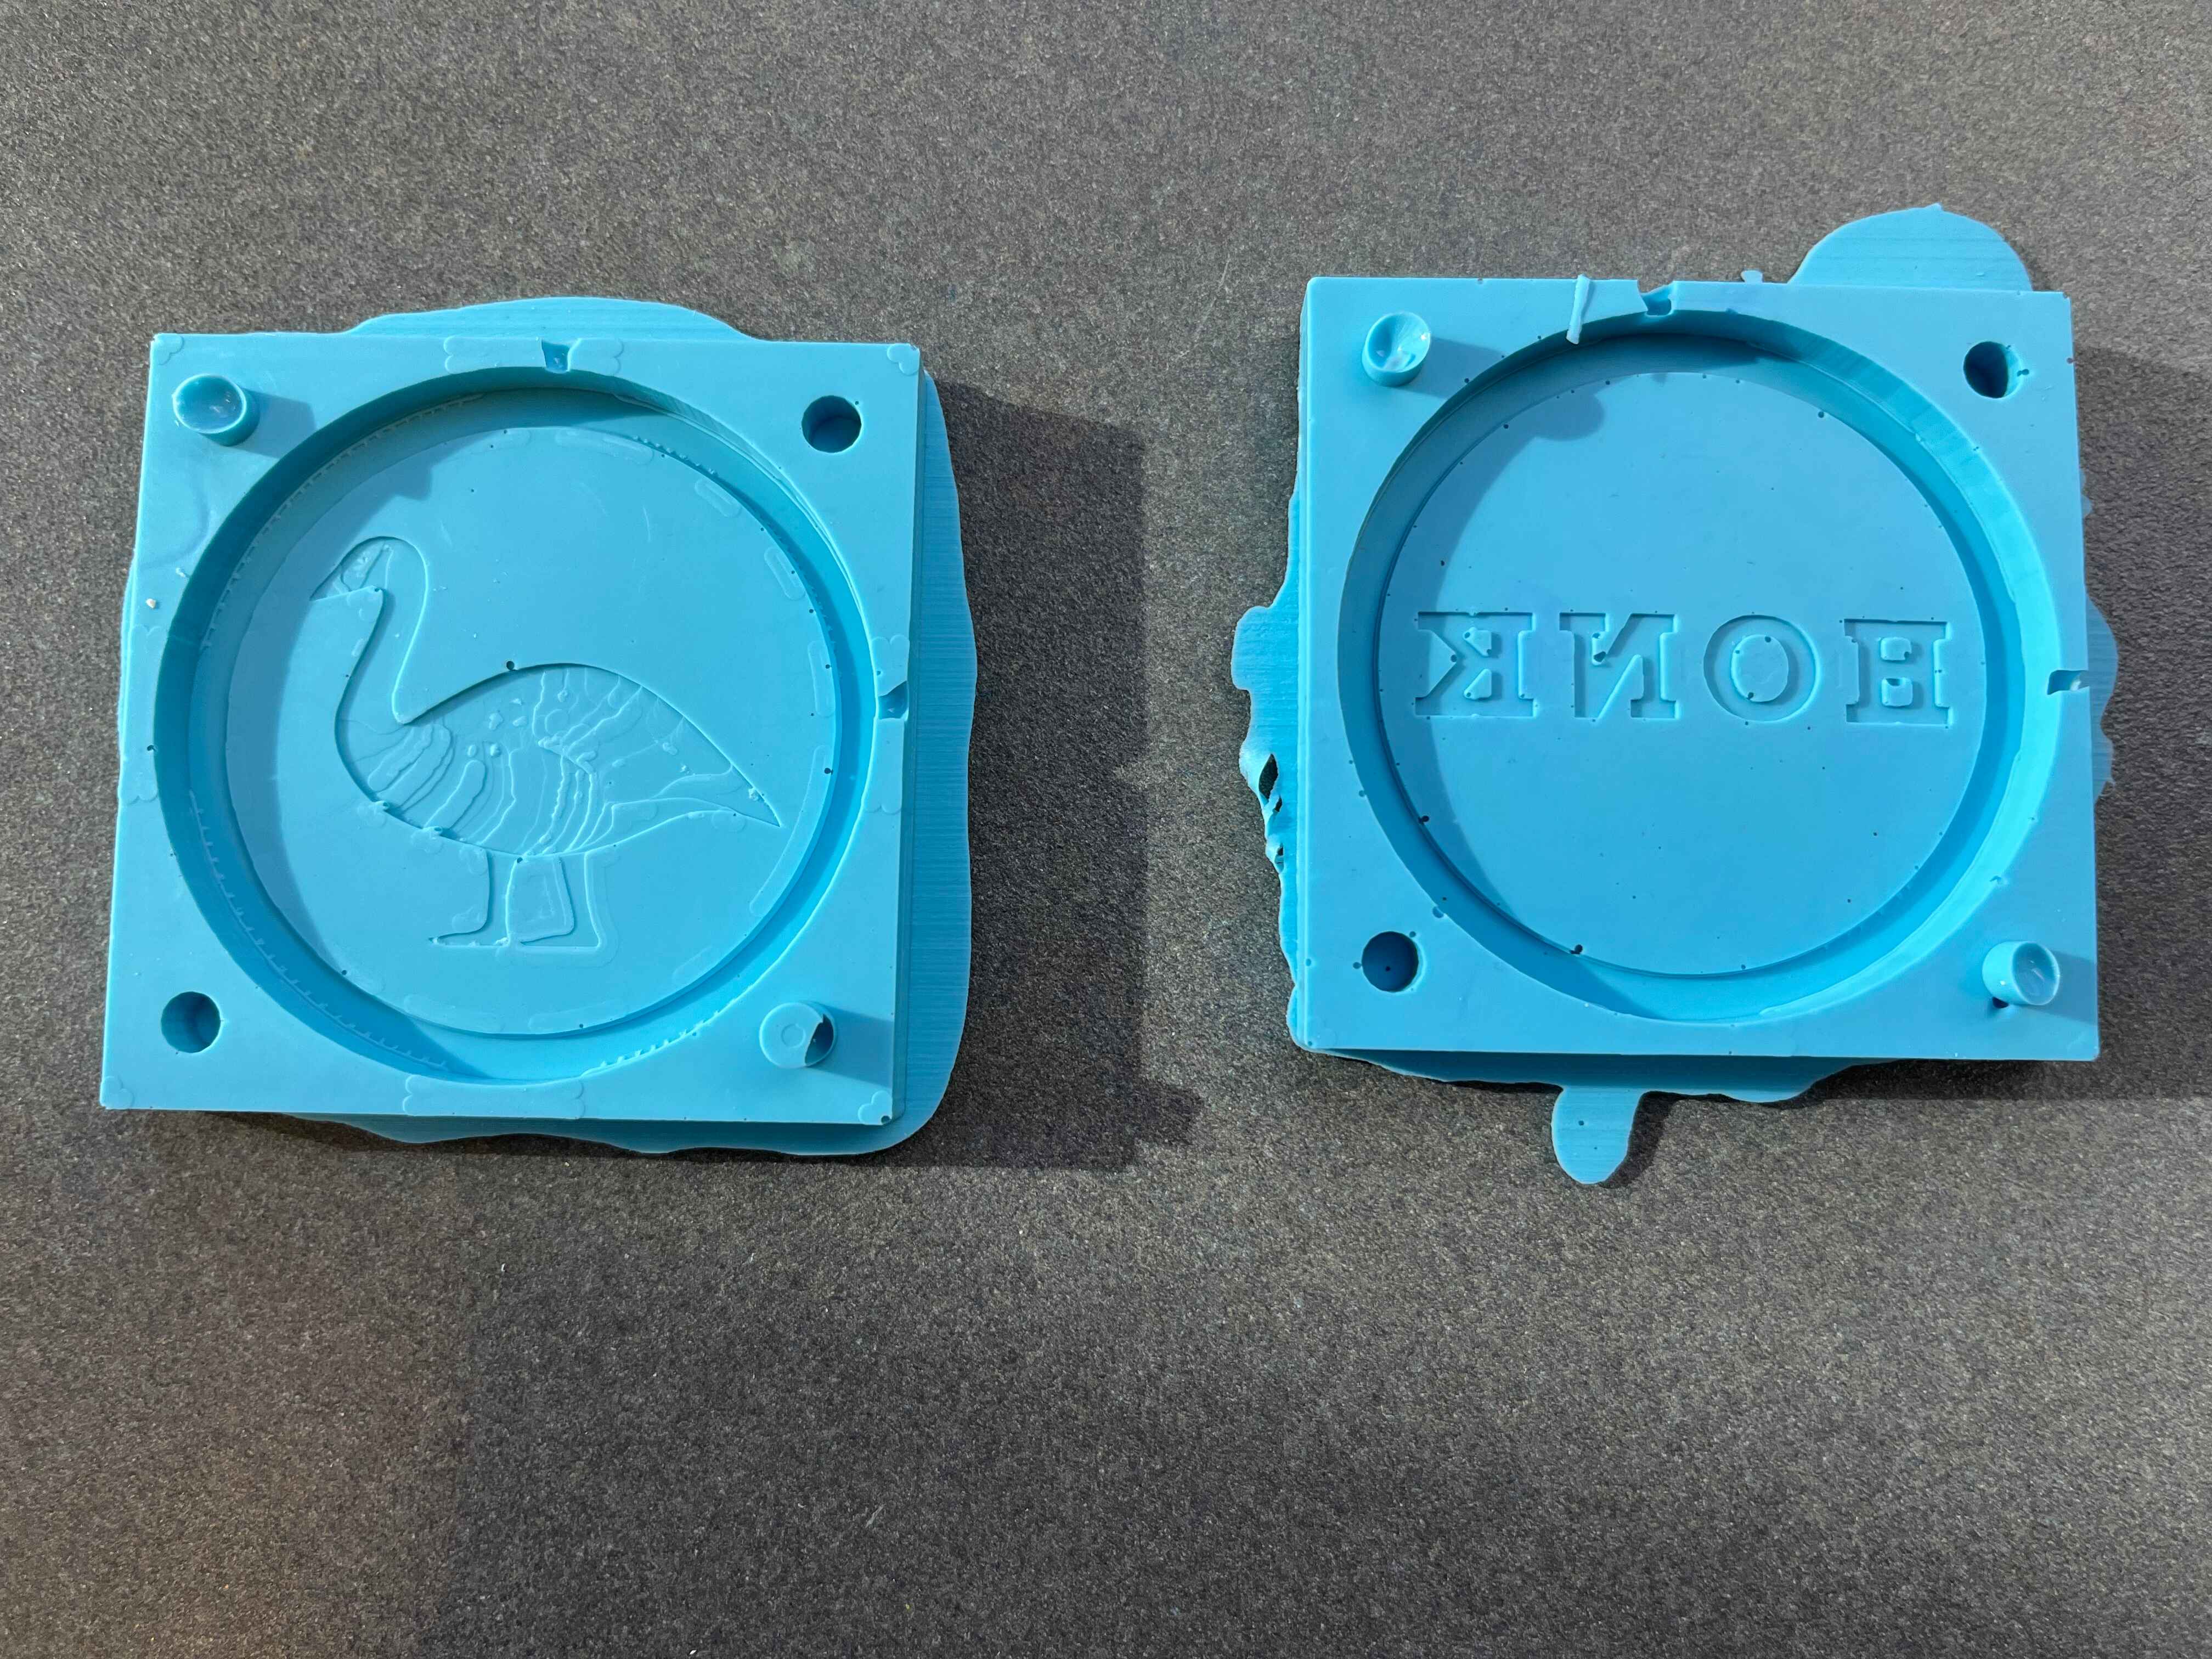
I ended up being very happy with my hand drawn goose (sketching is a lot easier when you can adjust the lines you just drew). However, it was more difficult than I anticipated to get all the shapes in the goose image to be separate from each other. I ended up making the outline its own shape, and that allowed the inner shapes to be separable as well. The other side of the coin was much easier, as I simply vectorized some text.


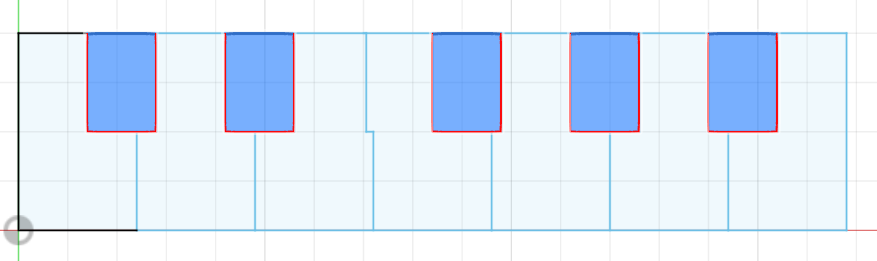
I imported the SVGs into Fusion 360, where I had made a template for the wax block. Sure enough, I could individually extrude all the different shapes in the goose. I tried to bevel the faces, but some of them were to pointy to allow the beveling. It took a LOT of extrude commands, but I managed to get the goose's feathers to be at different heights. I left the "line" face well below the other faces, and was delighted to discover that I could tell Fusion 360 to ignore certain faces. I told it to ignore the line face, and voila! No lines in the goose.
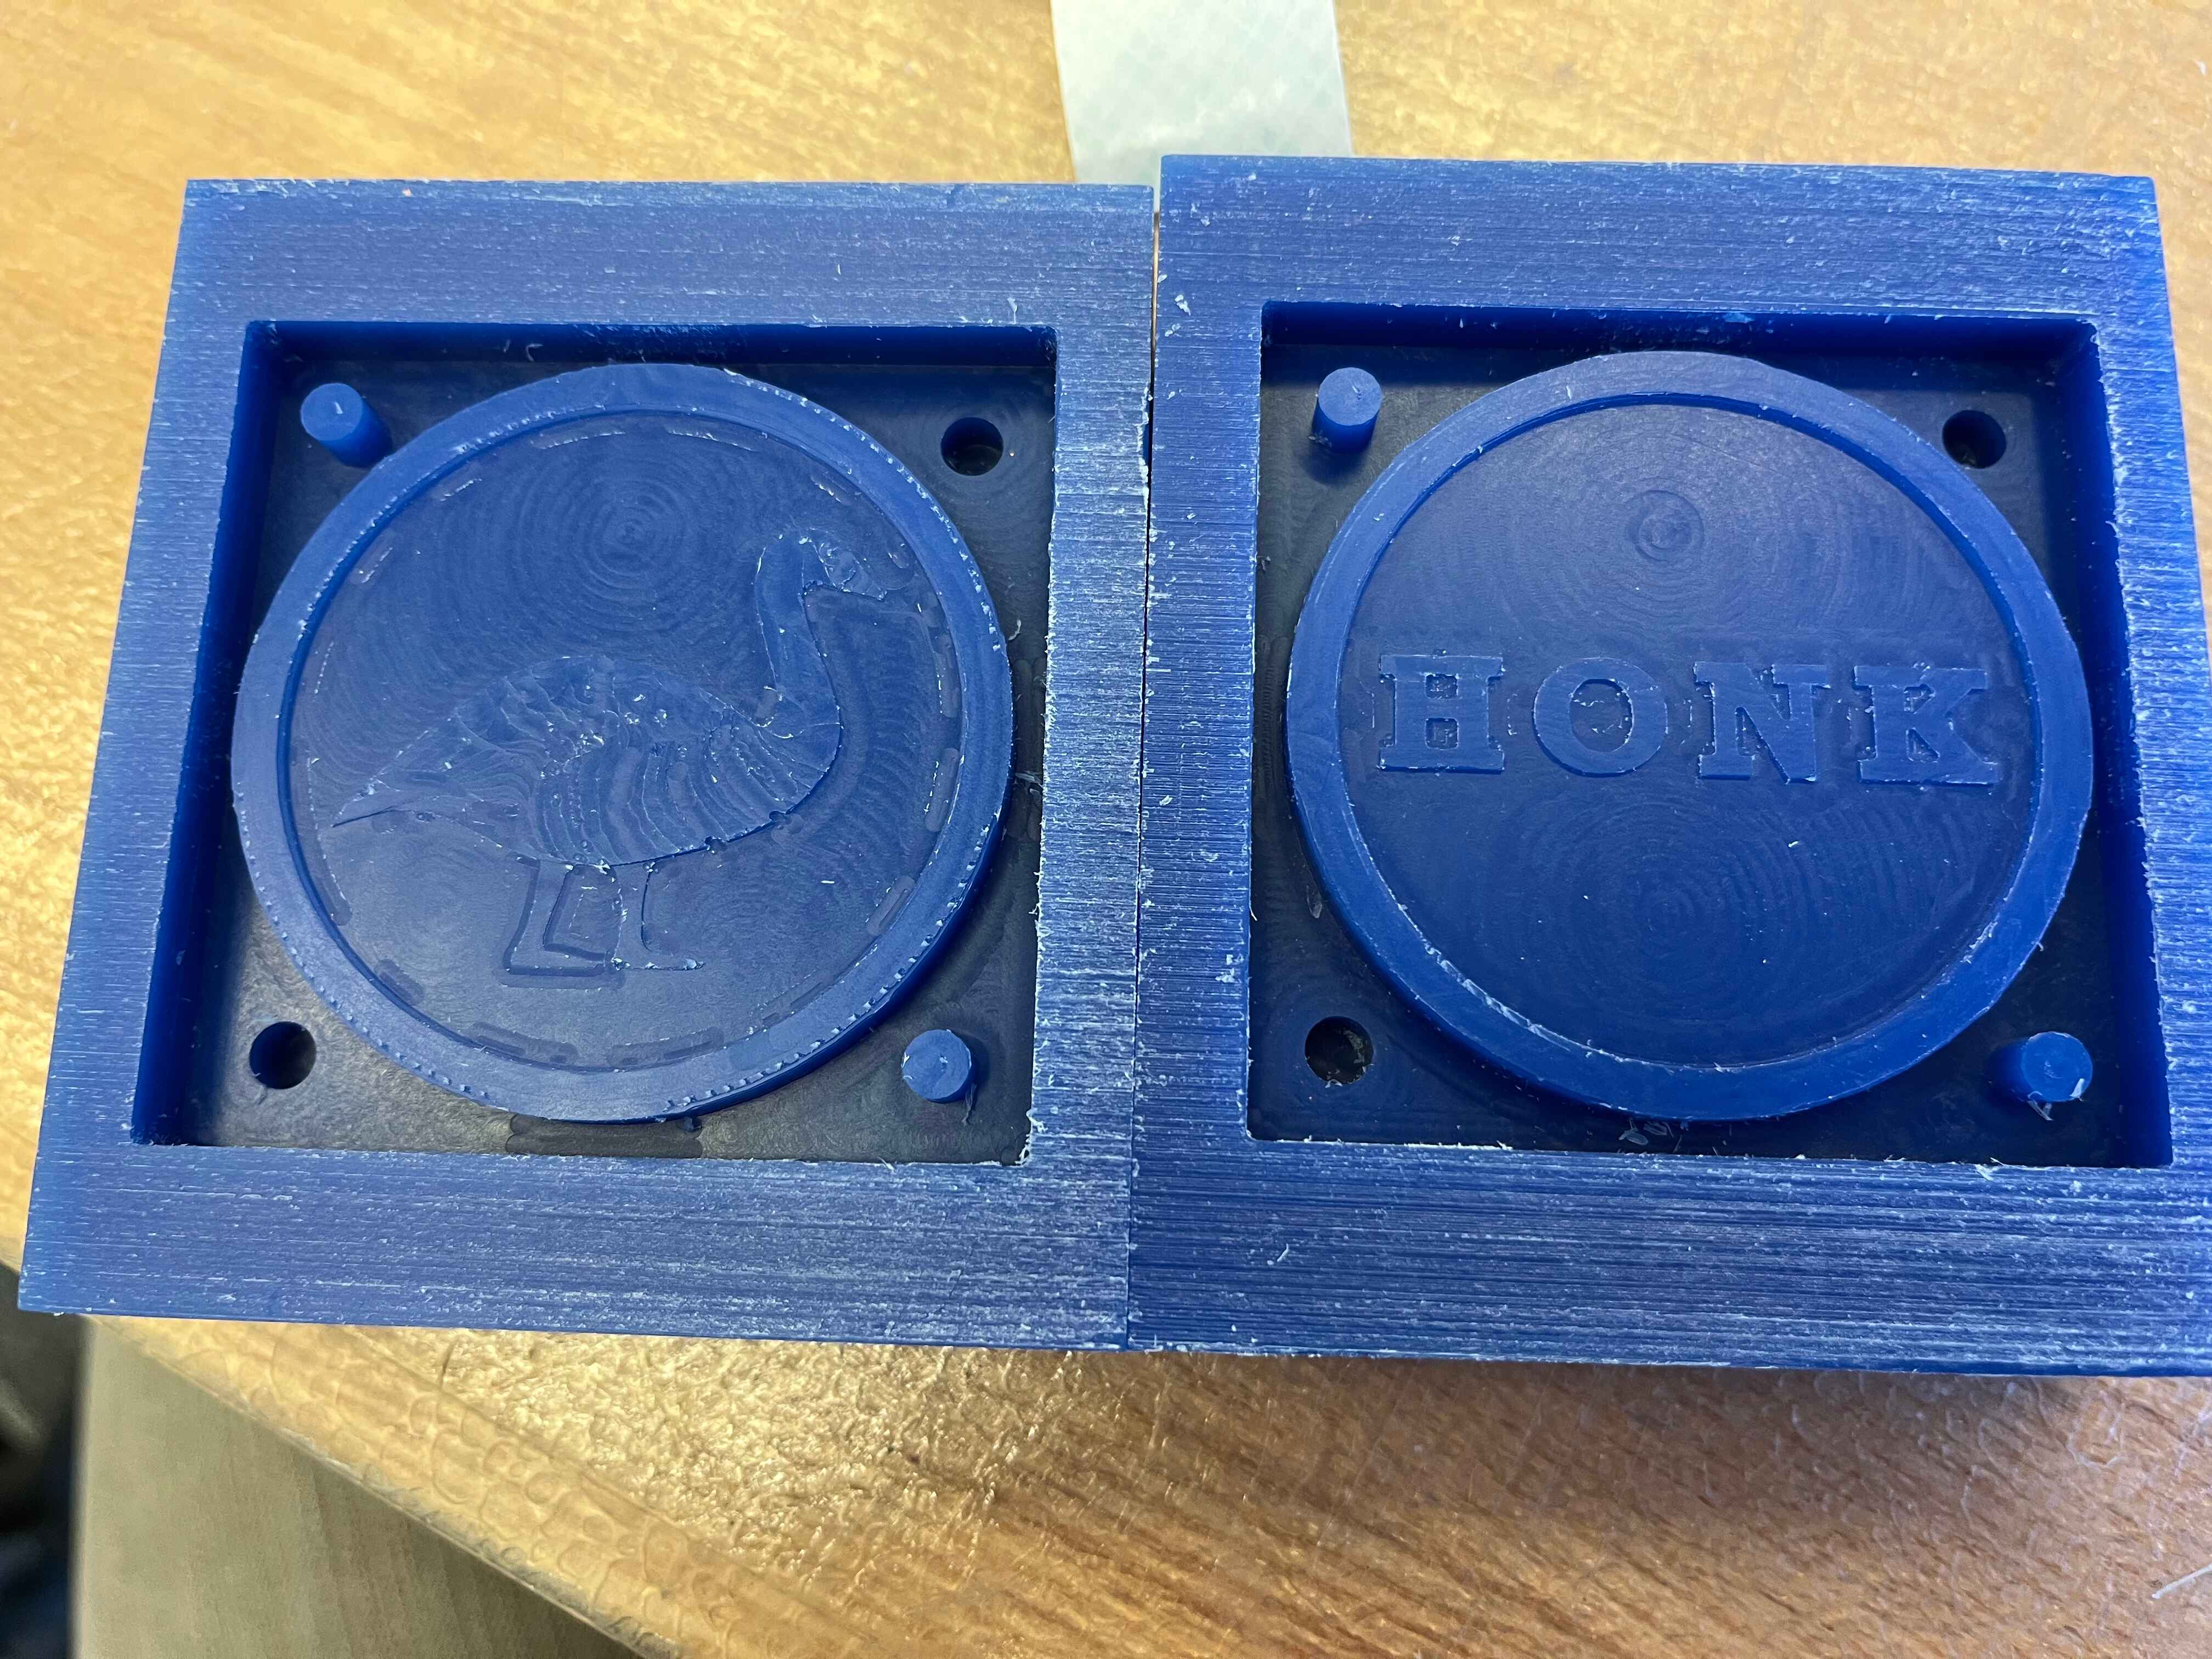
Because of the fine detail on the goose, Anthony suggested that I use the Othermill instead of the large mill. It was nice to use a machine I was already familiar with from last week. I had to split the wax in half and saw off the bottom part of the wax block so that it would fit in the Othermill. Since I'm just making a thin medallion, that worked out just fine.
I made a first pass with a 1/8" endmill, then got finer details with a 1/16" endmill, and got the finest details with a 1/32" endmill. I ended up using basically the same G code for both sides, since the only major difference was that on the goose side, the goose outline needed to be ignored.
And then I had adventures with oomoo. I ended up using different batches of oomoo for the two sides of the coin, since the first batch was incredibly thick. I suspect that the bottle of Part A that I used was a little too old. The second batch felt a lot better. Even so, although I tried to stir by shearing as much as possible, I saw enough bubbles in the oomoo that I doubt my skill at oomoo stirring.
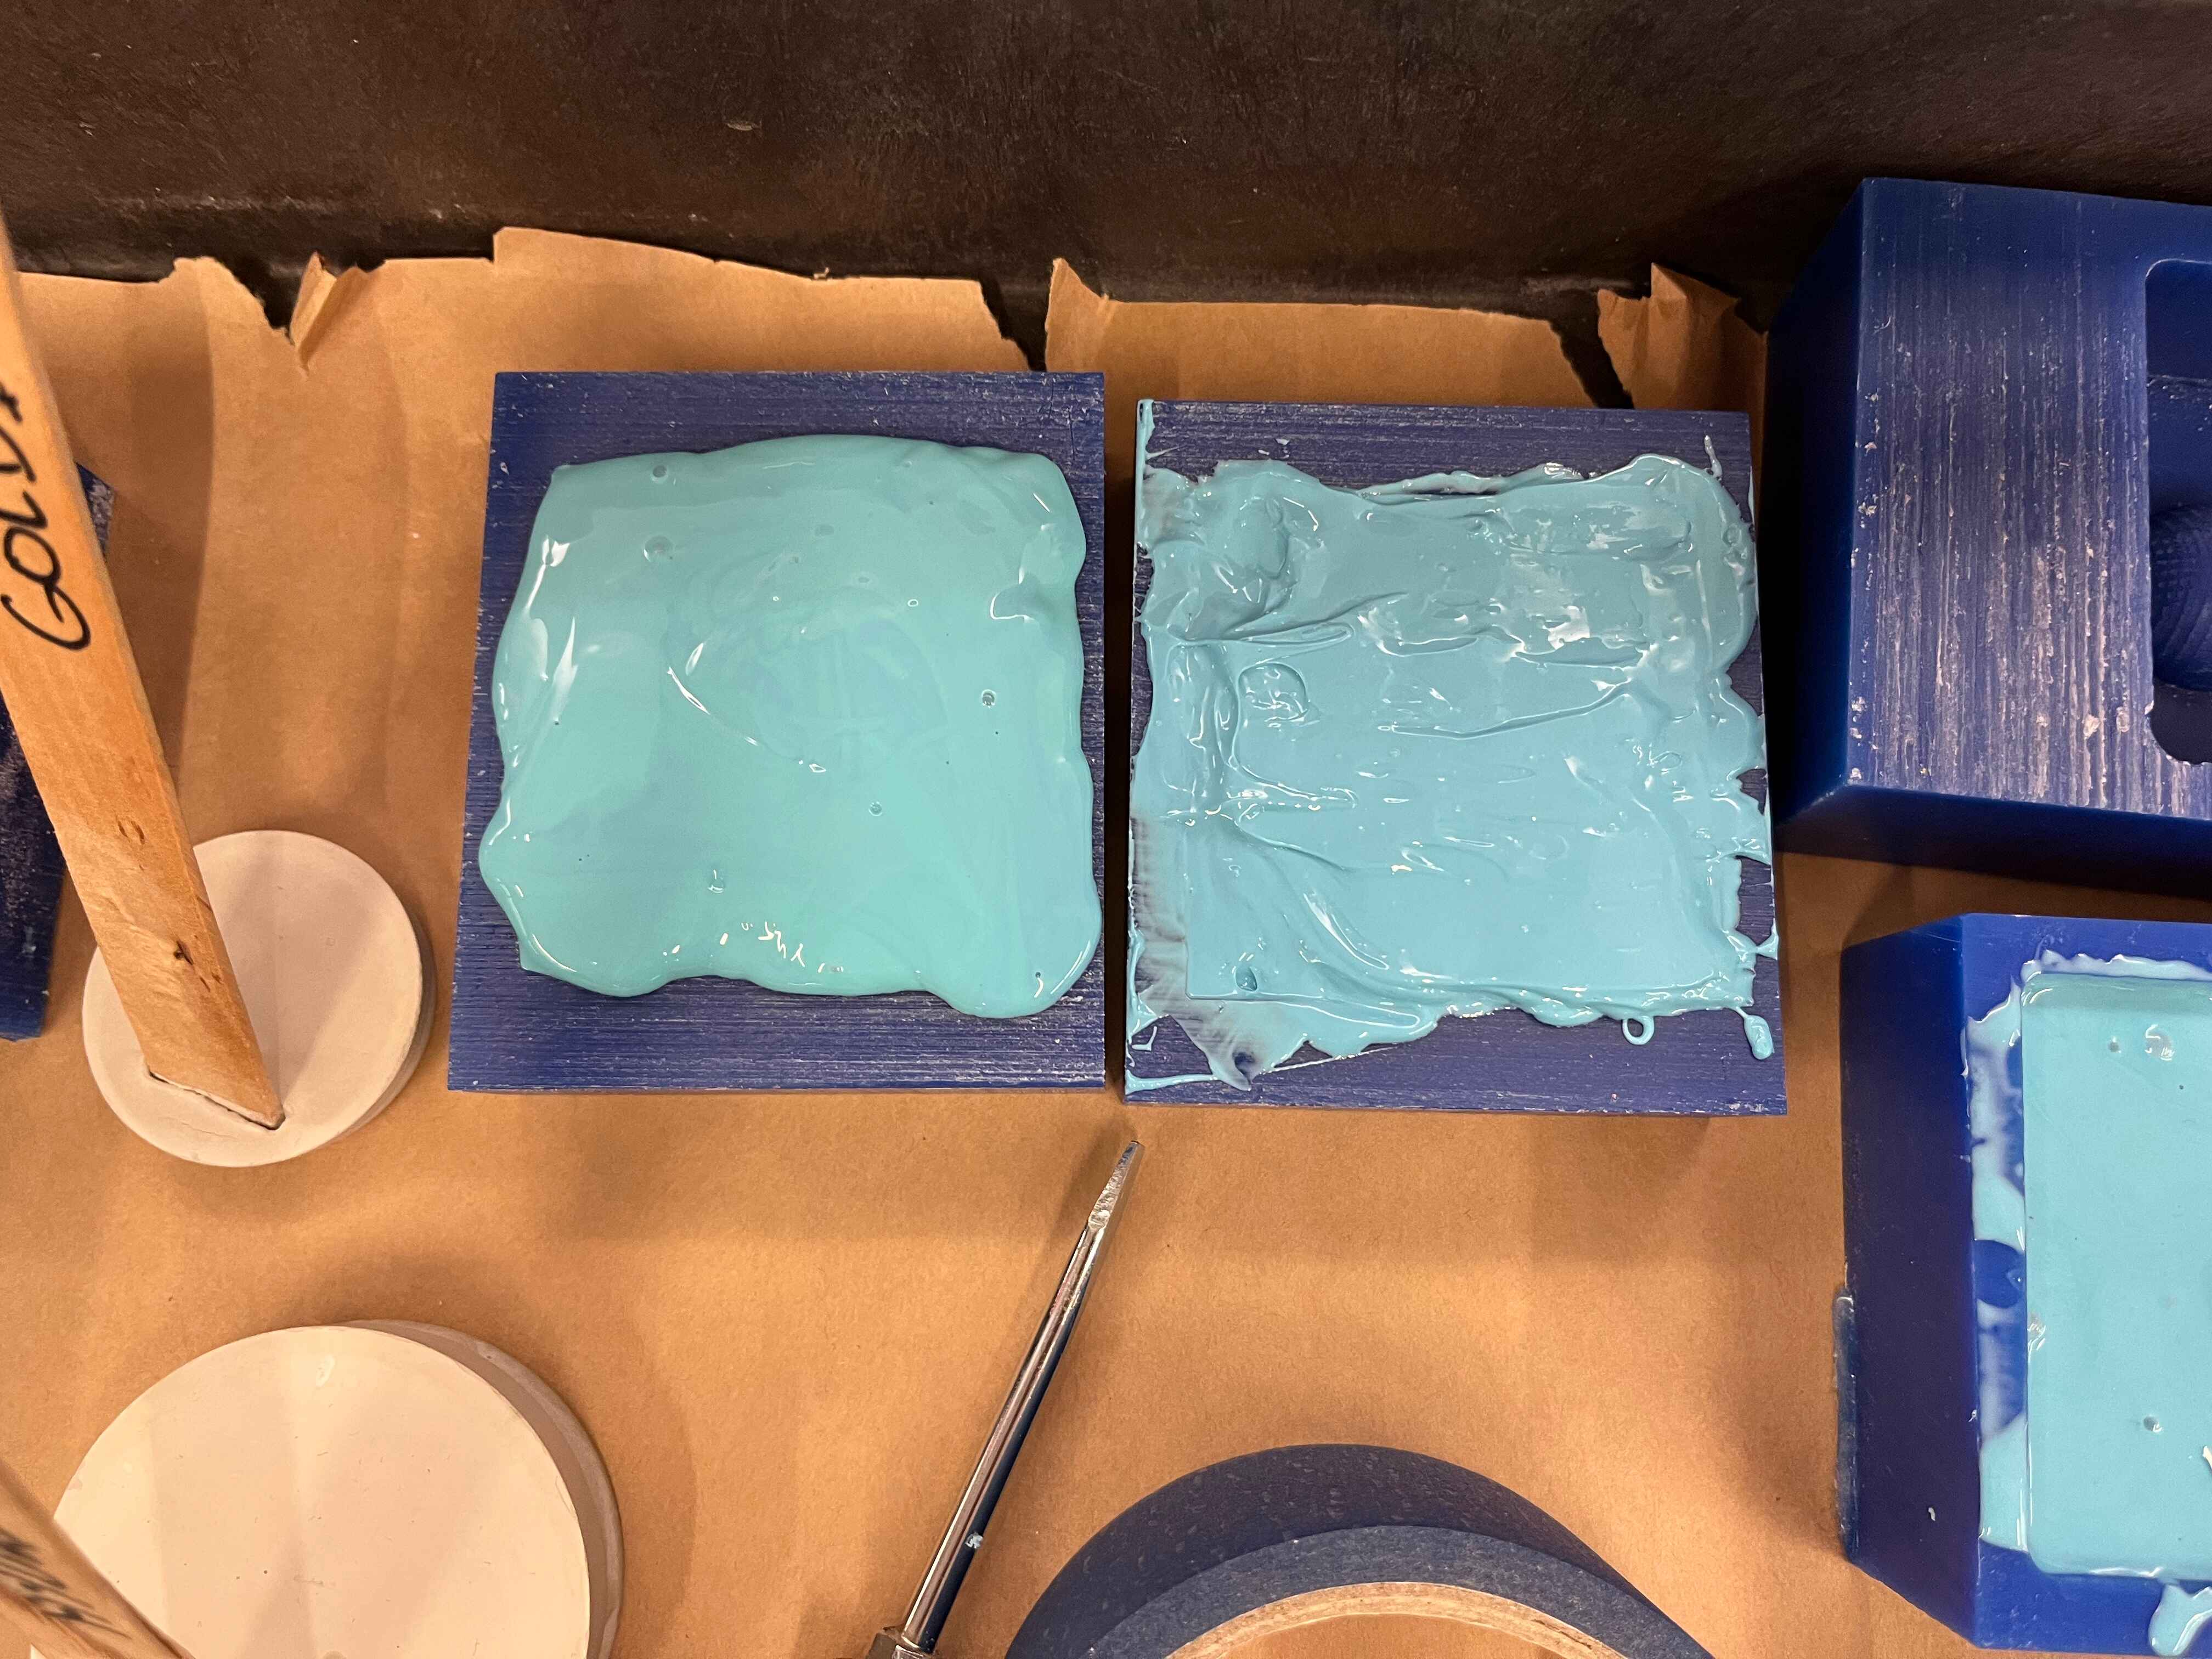
I'm not sure if it was my fault for not measuring exactly enough, or the oomoo's fault for being old, but the first round was completely unusable. The oomoo didn't get into the cracks around the edge of the coin, so I was missing edges to seal on. Since it couldn't even hold liquid, I had to try again.
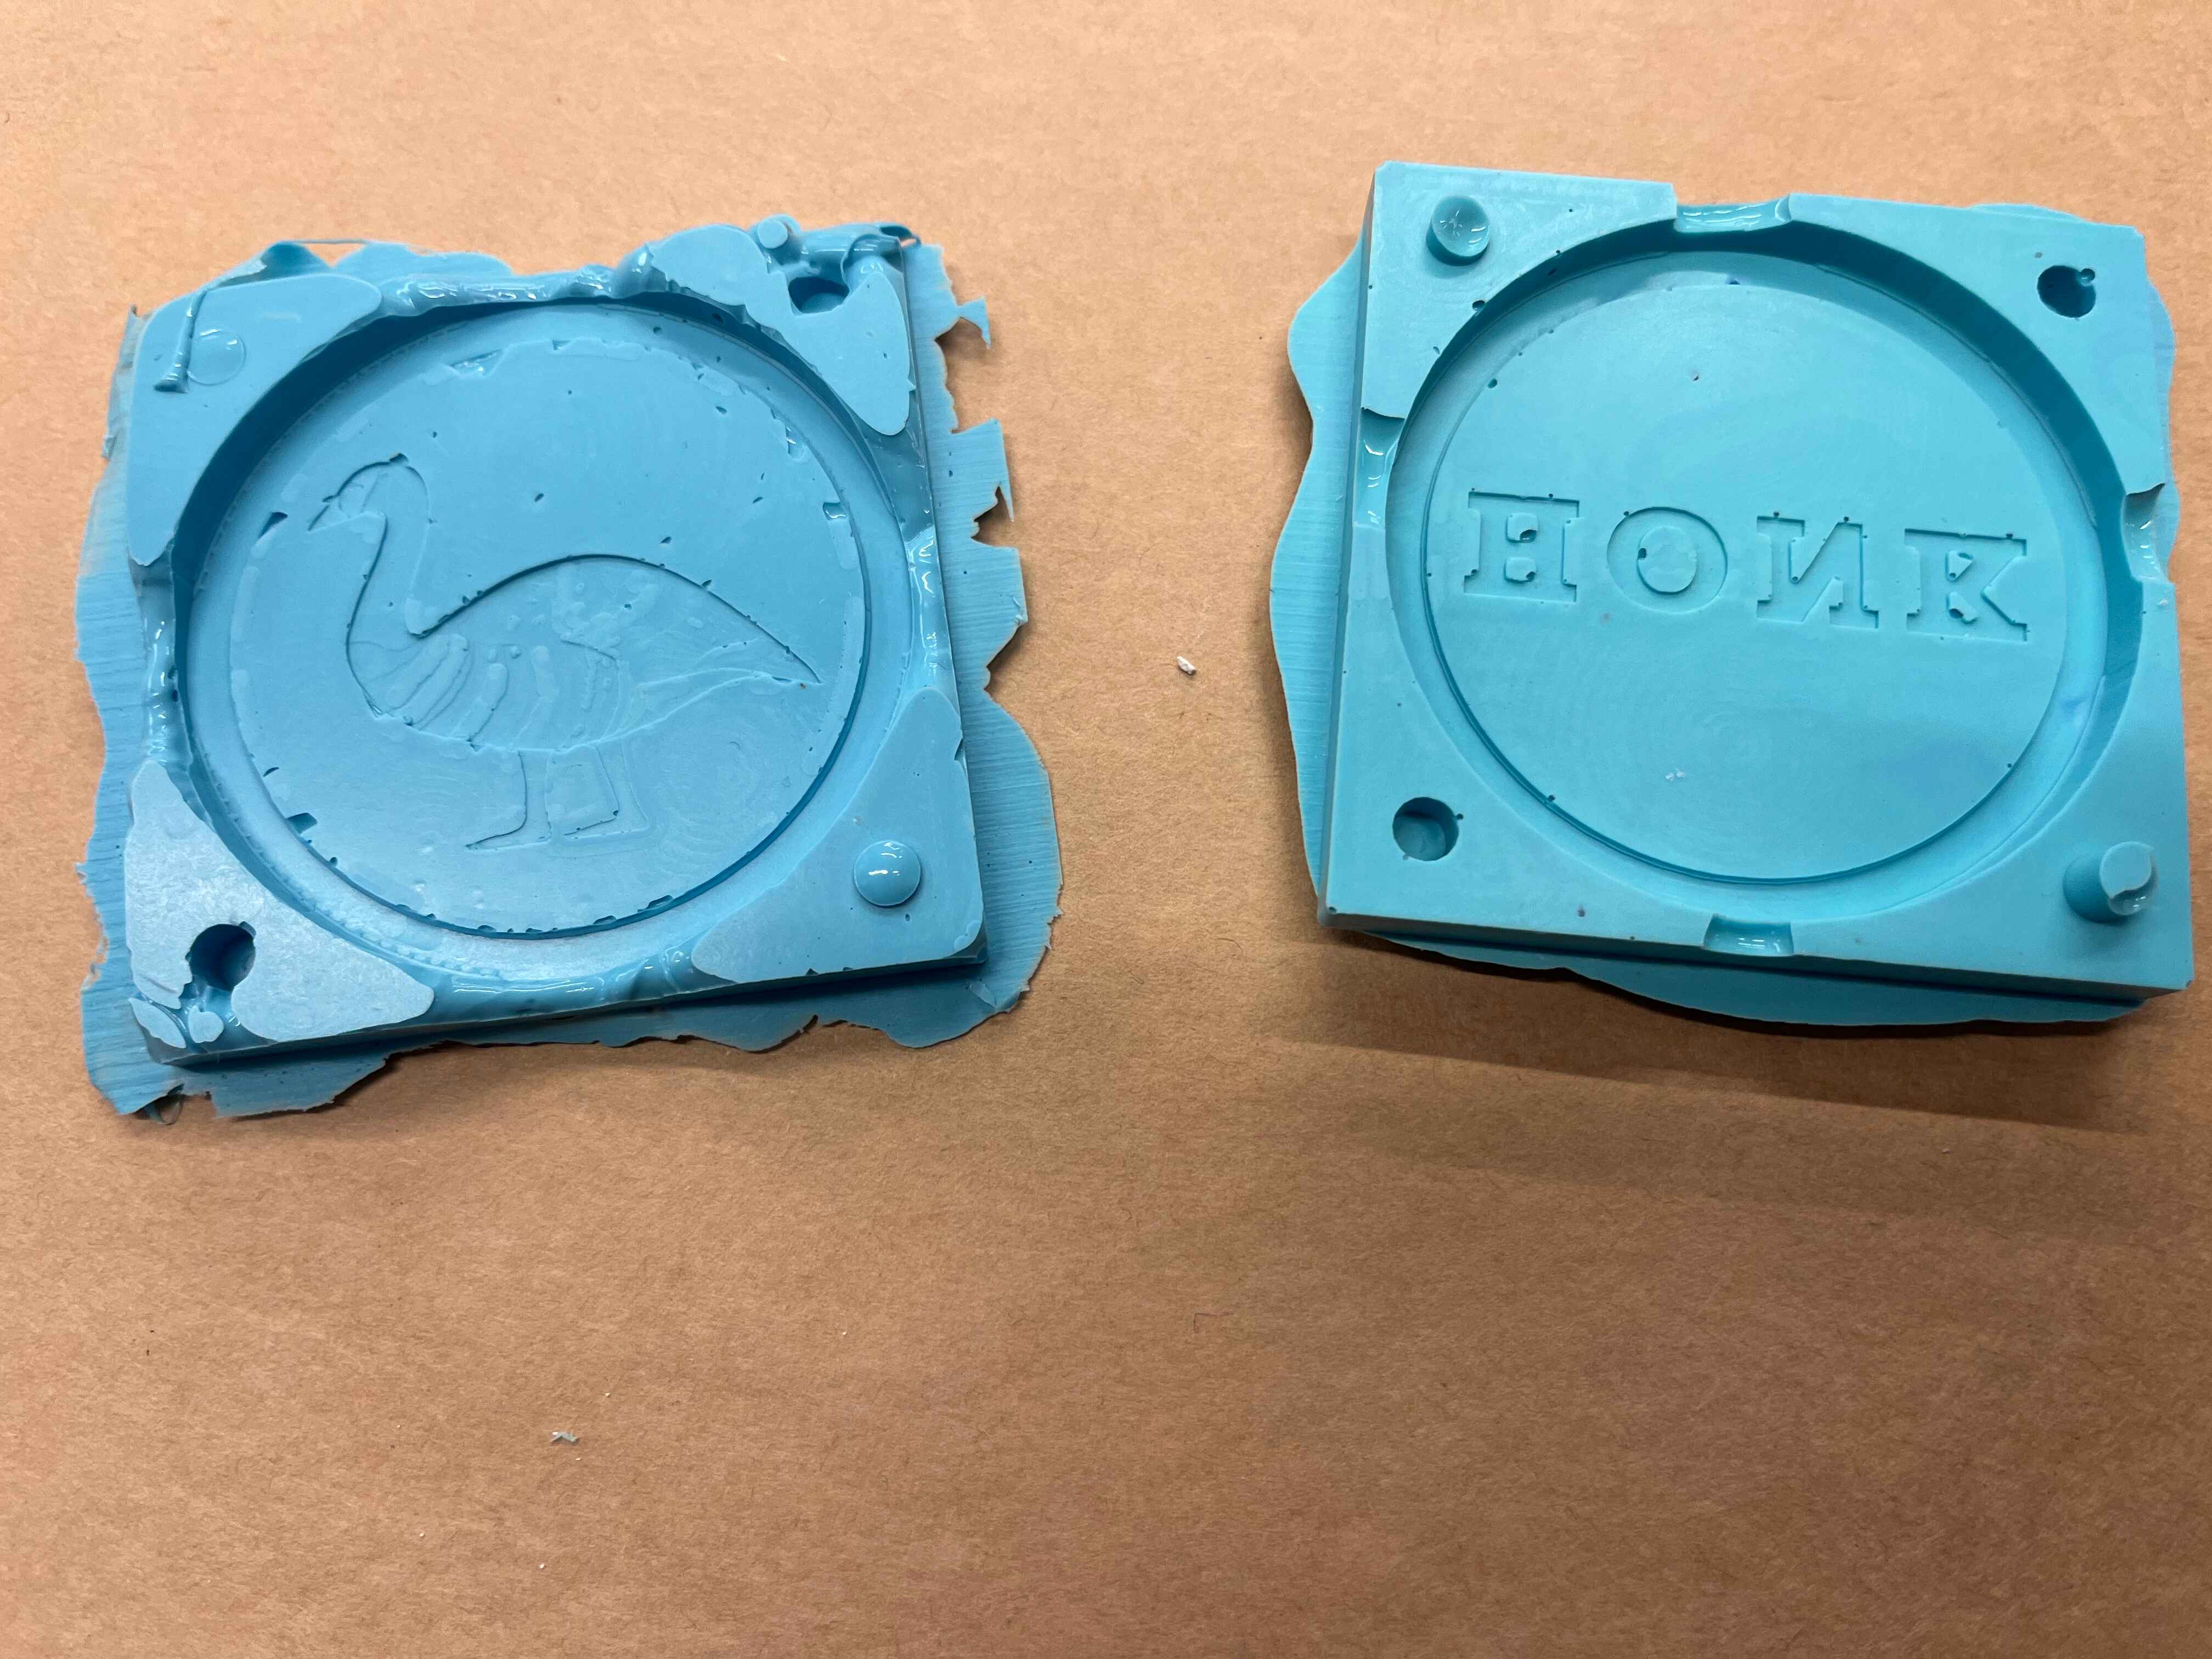
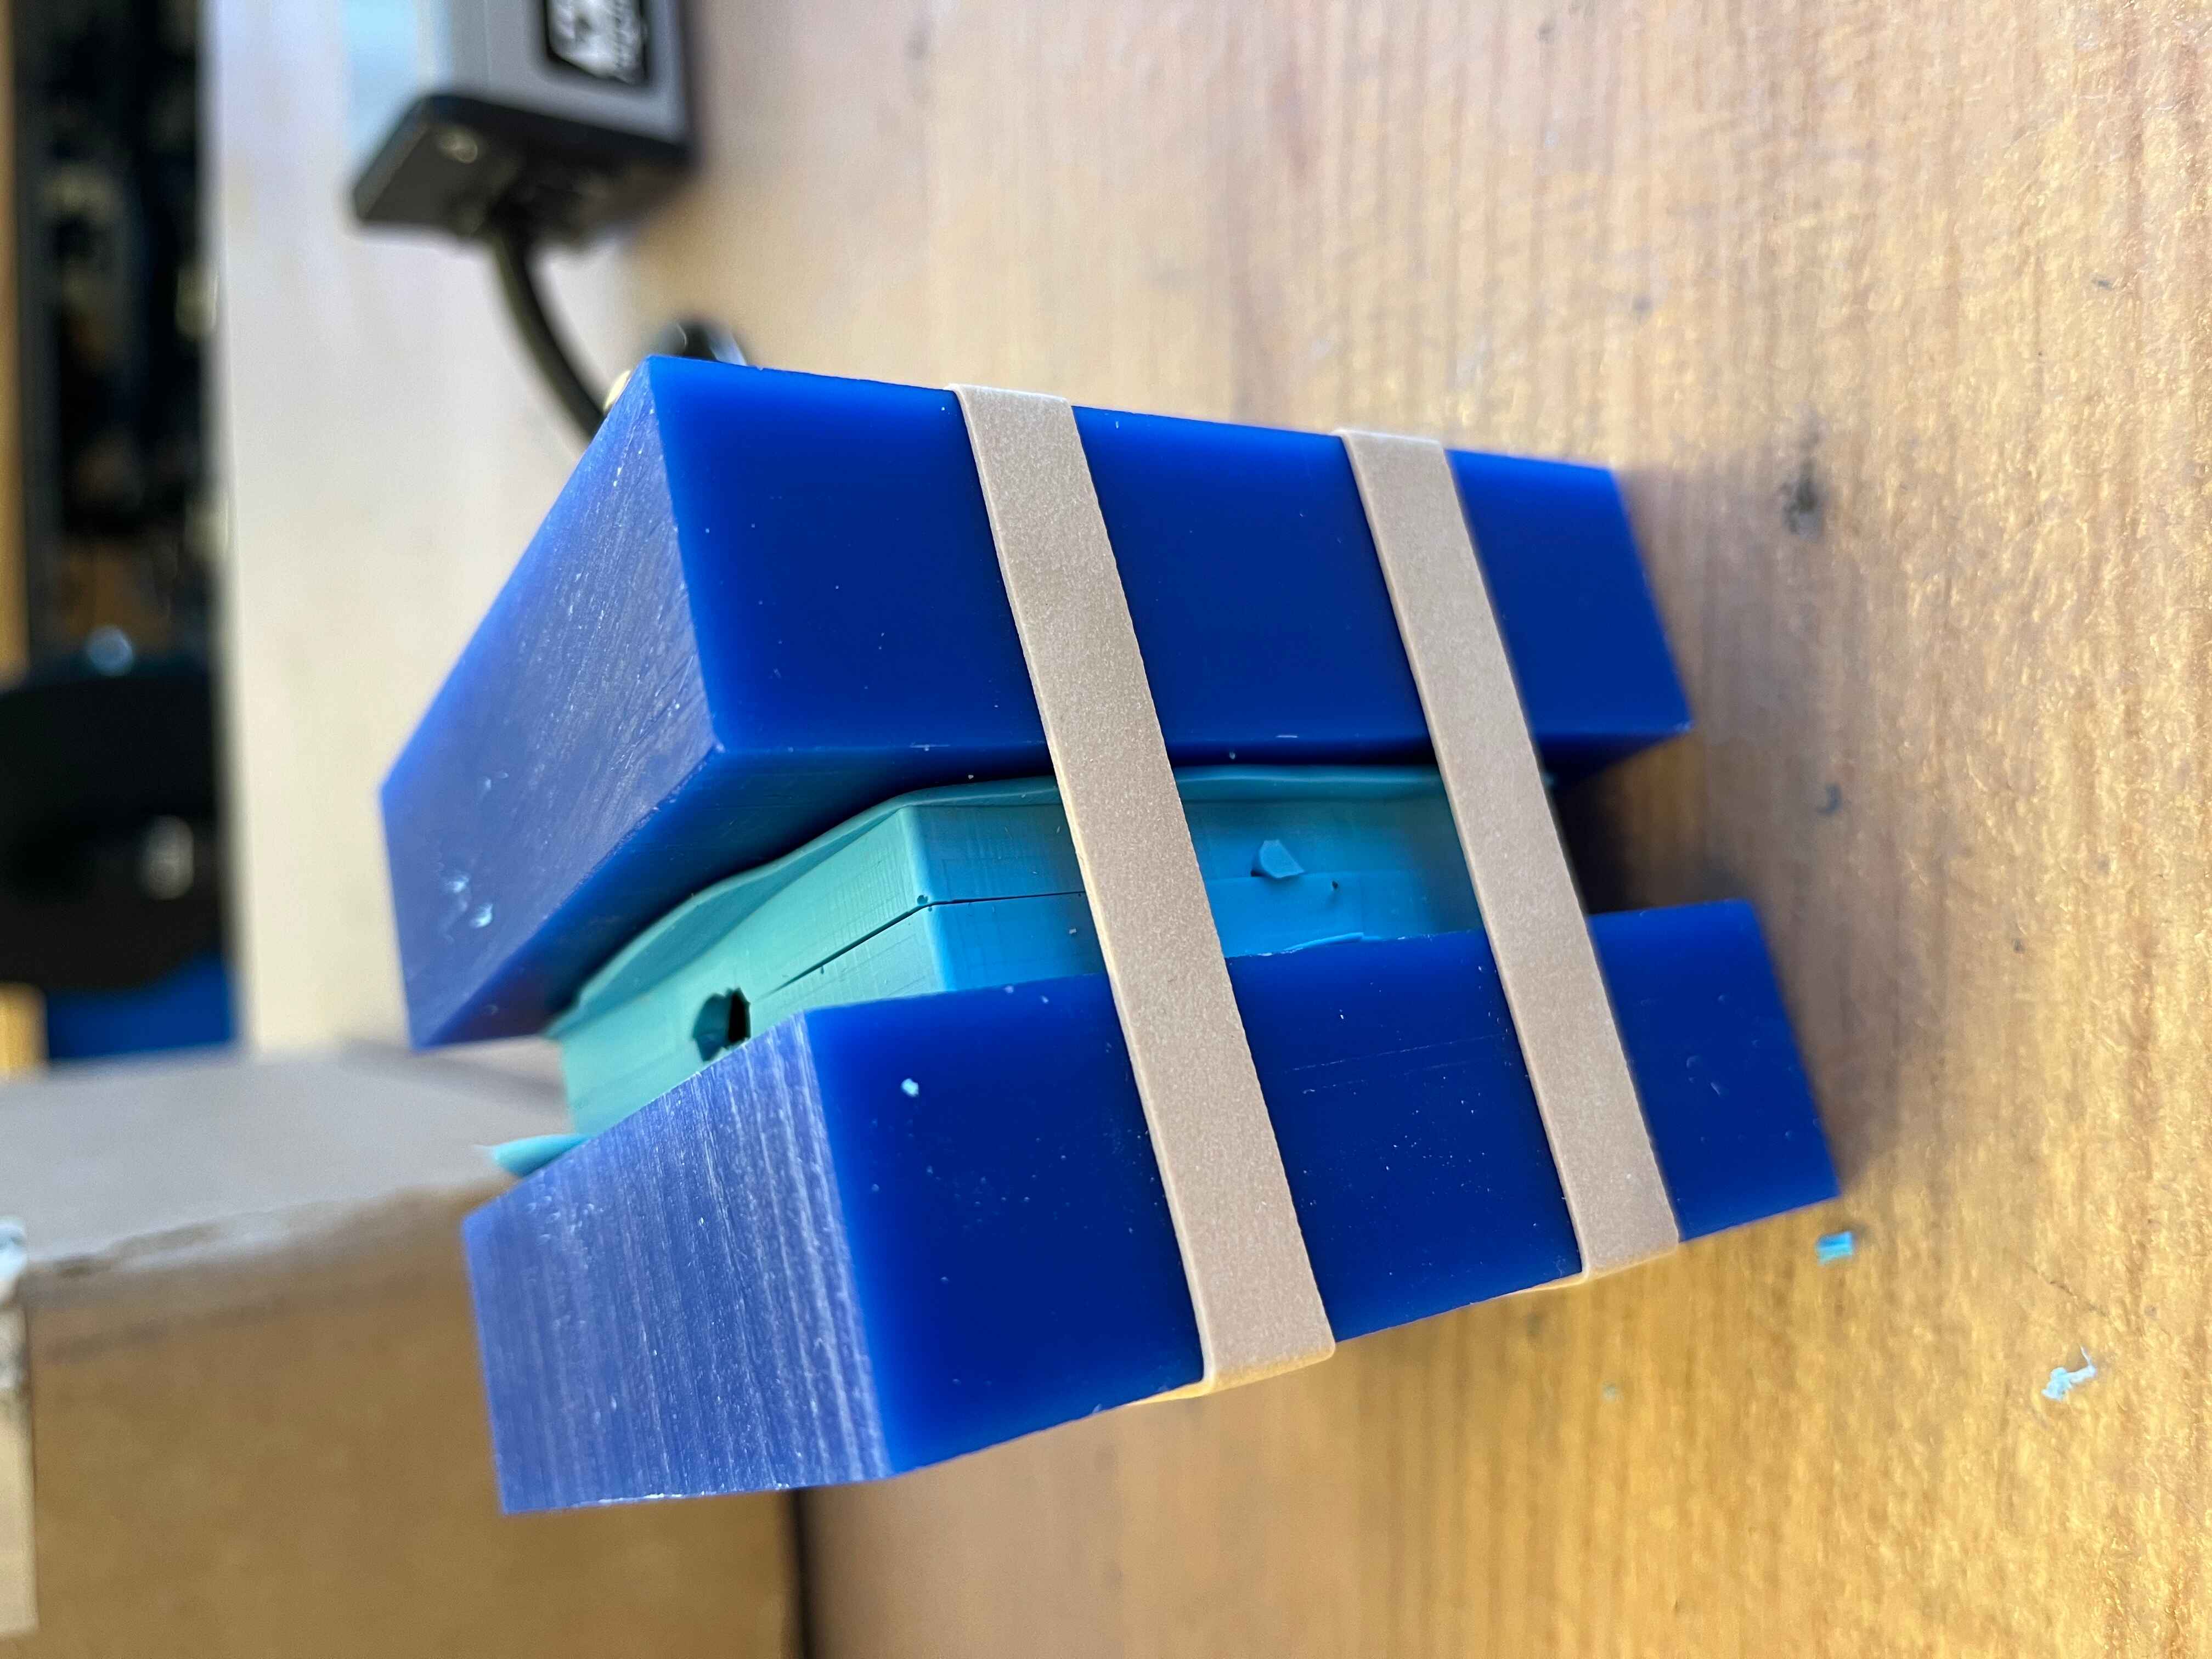
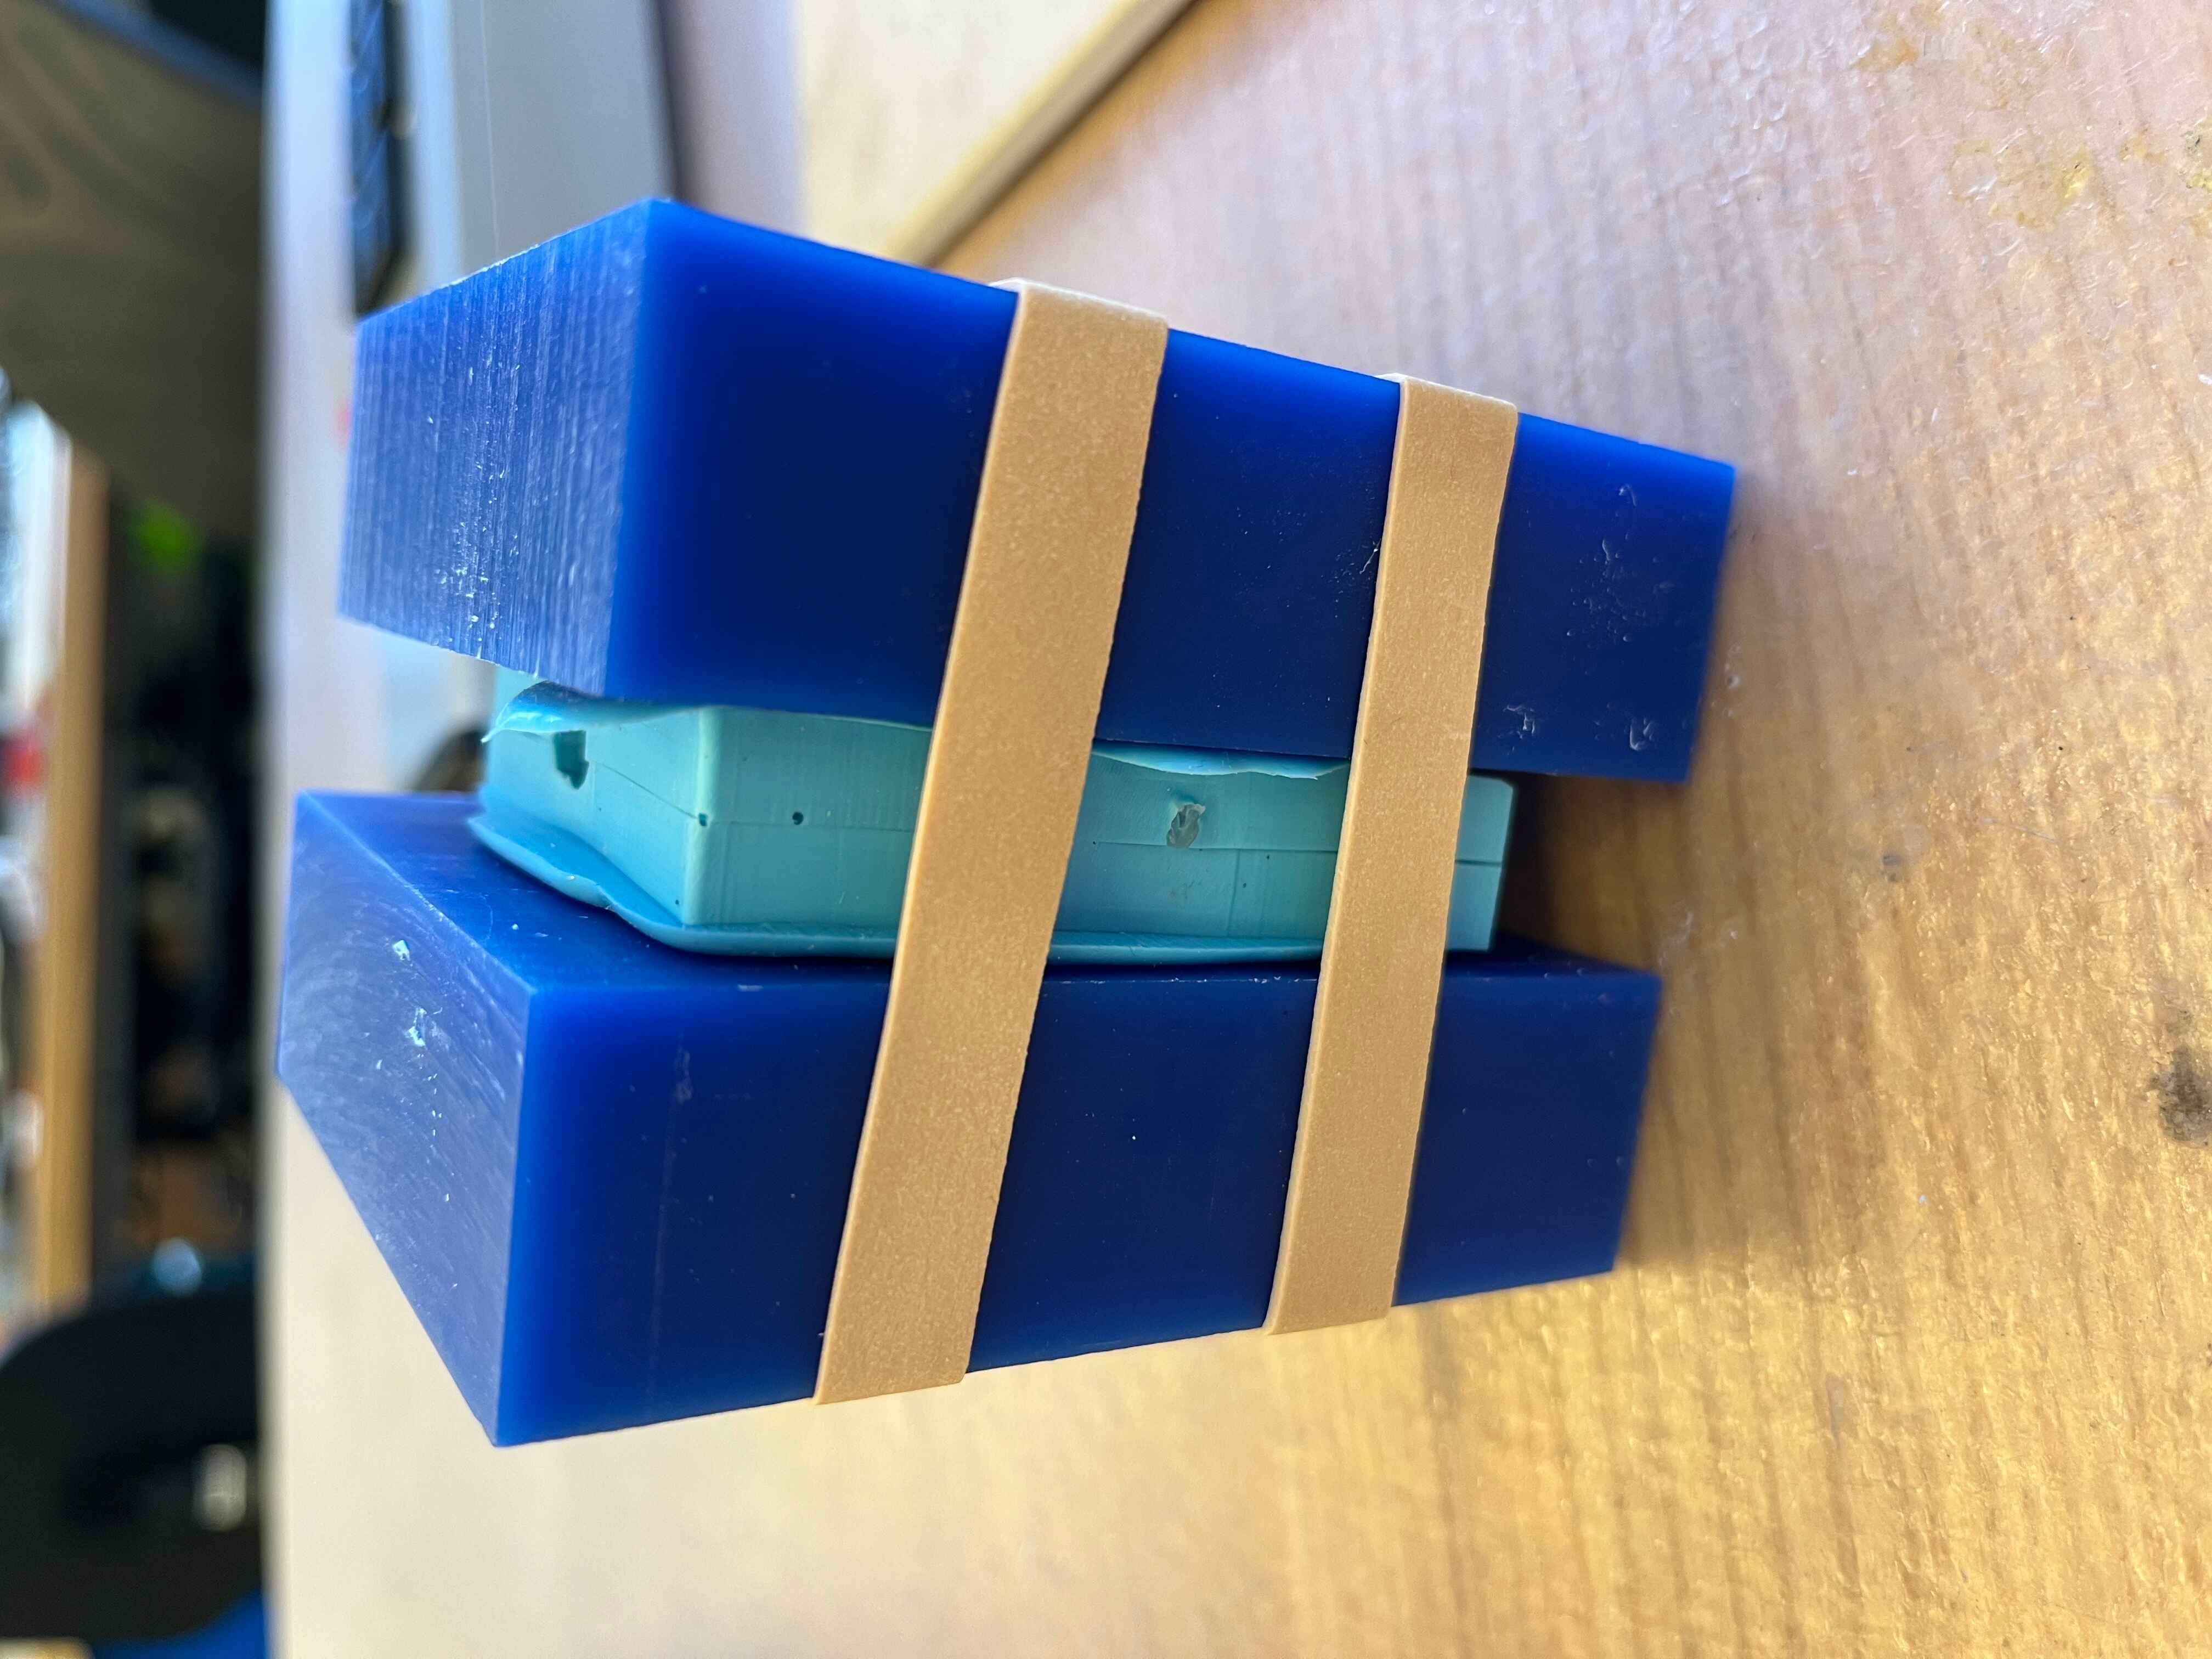
This time I chose less viscous bottles of oomoo, I measured more precisely, and I used a ziptie to push the oomoo into the cracks between the coin and the wall. After letting that set overnight, it turned out a lot better!
There were still a couple unwanted bubbles between the edge of the coin and the edge of the mold, but I was able to stop those up. I used a bit of silicone from where I had carved out a bigger pouring hole on the top to stop one side, and a small hardened drop of hot glue to stop the other side.
I chose to make this mold with drystone. I did the proportions by estimation, since I wasn't sure I wanted the directed consistency anyway, since I wanted it thinner to pour it in easier and to capture the finer details.
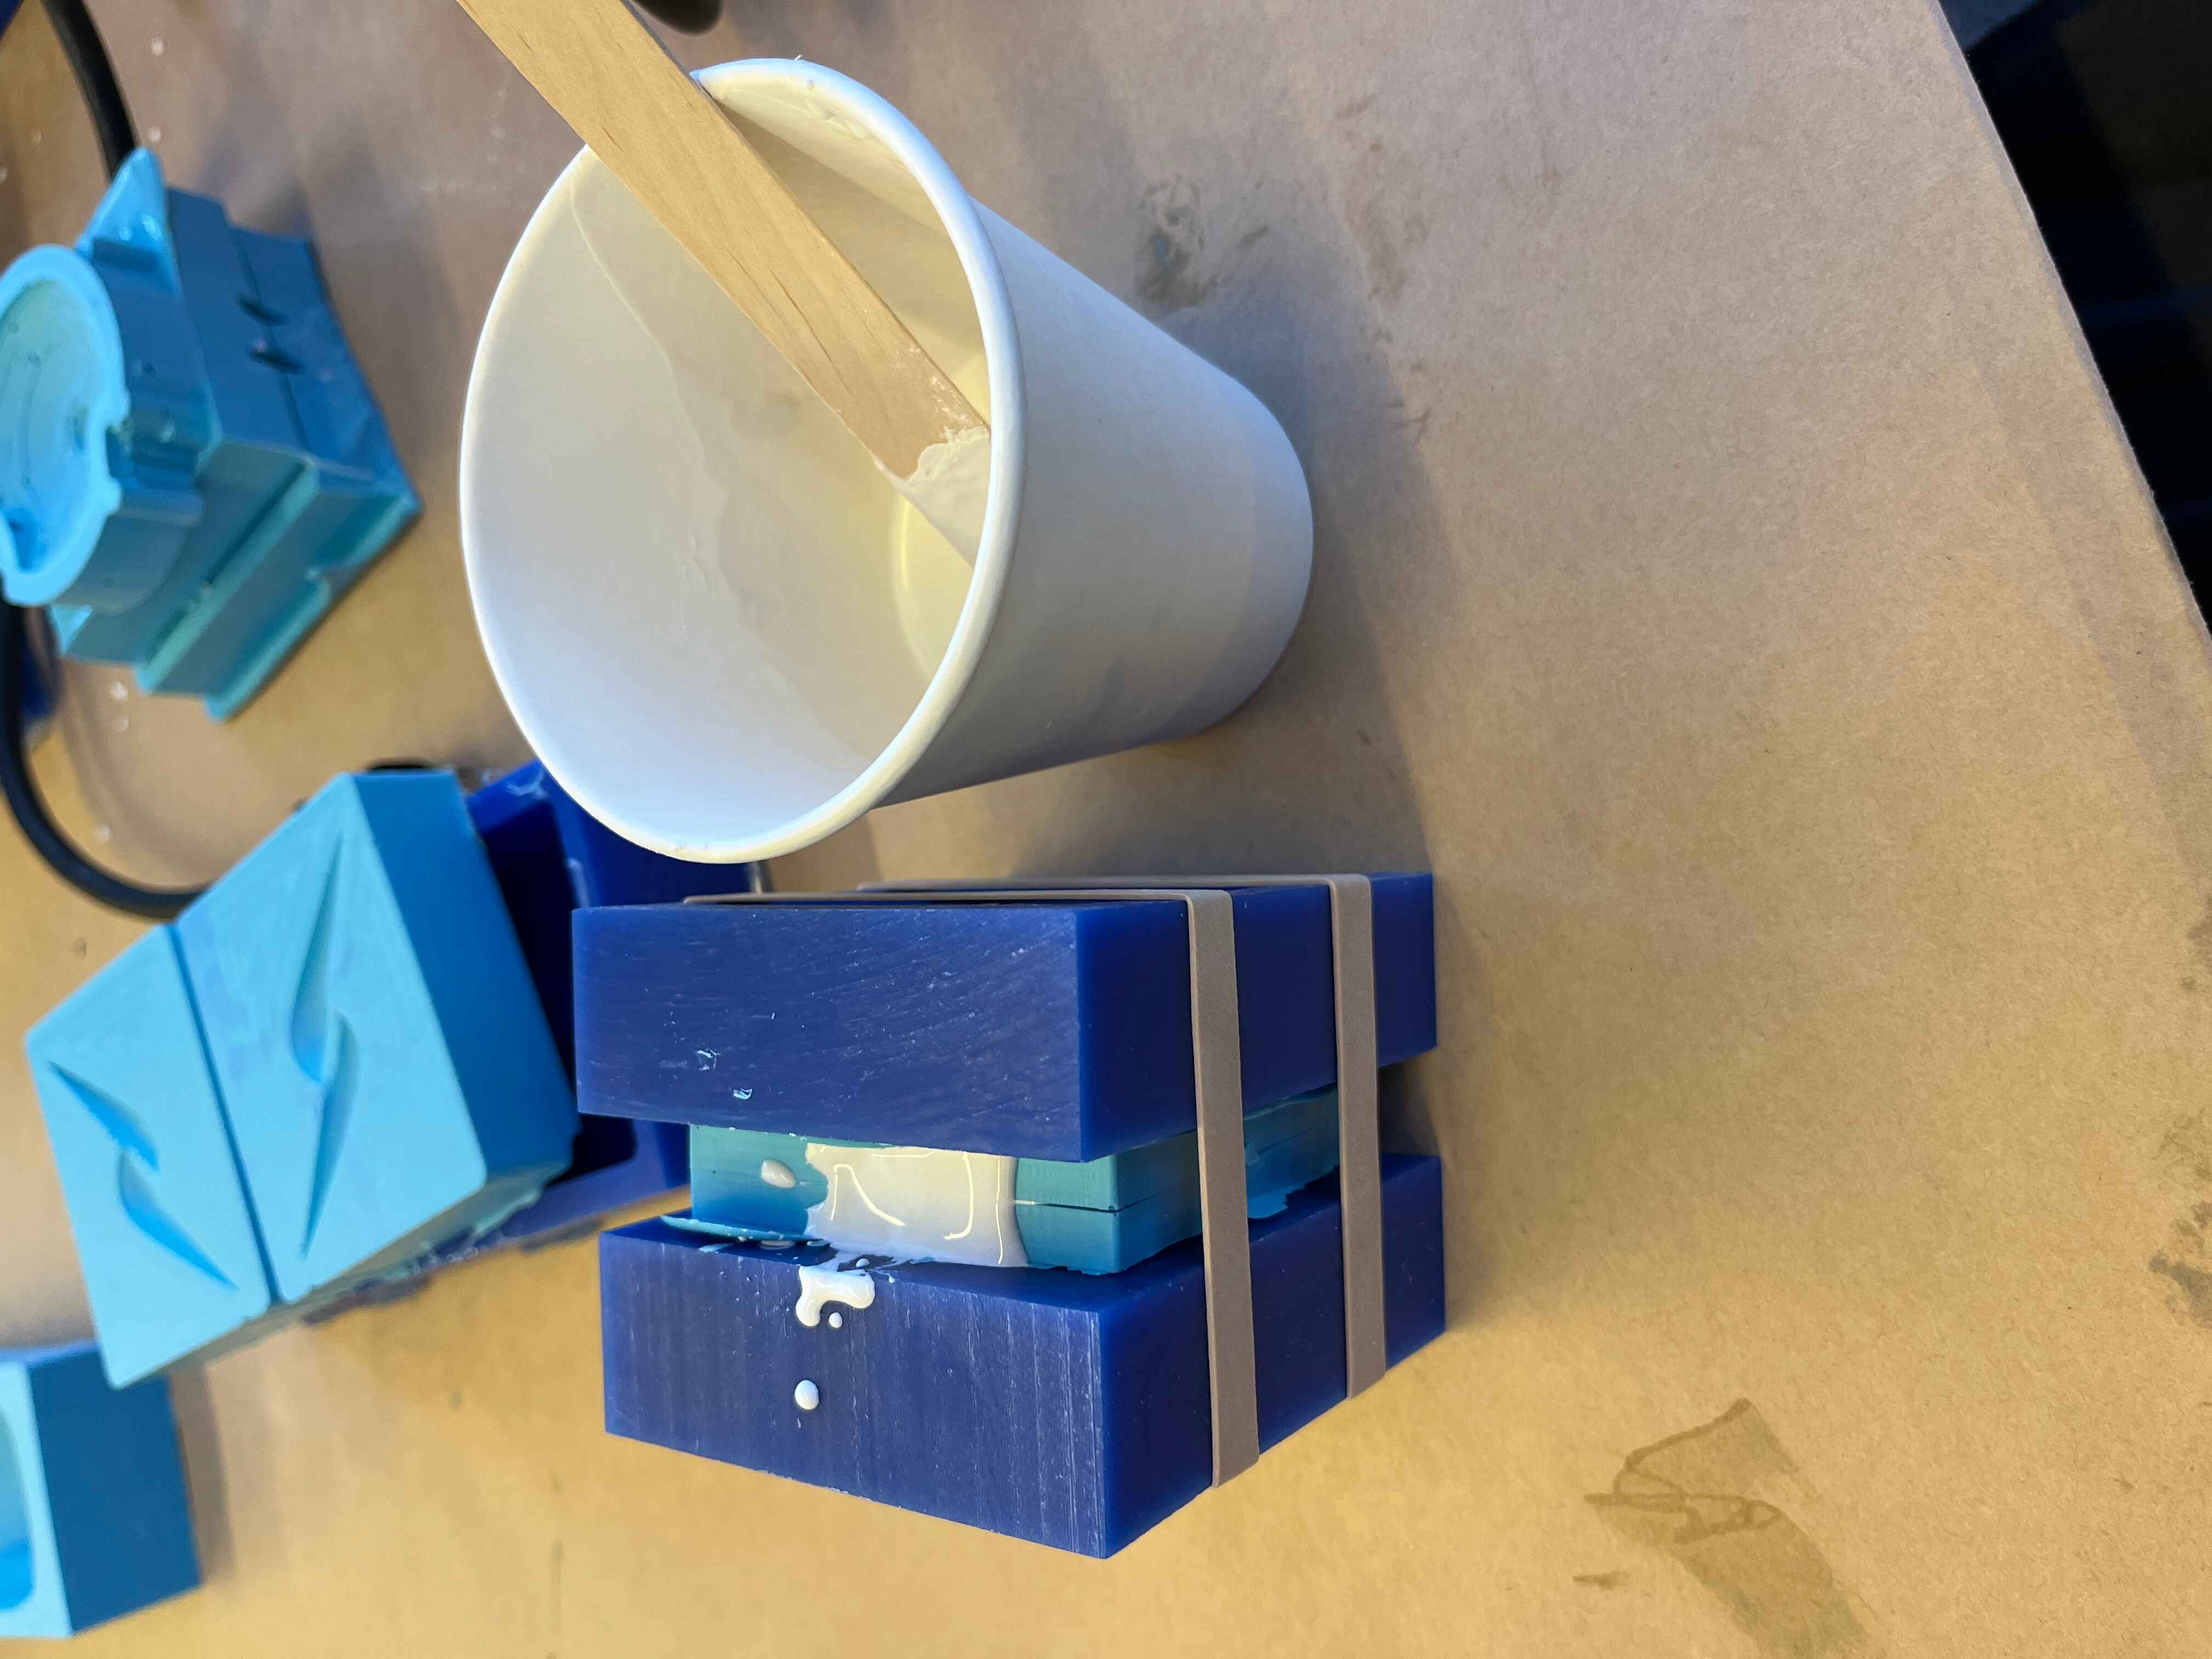
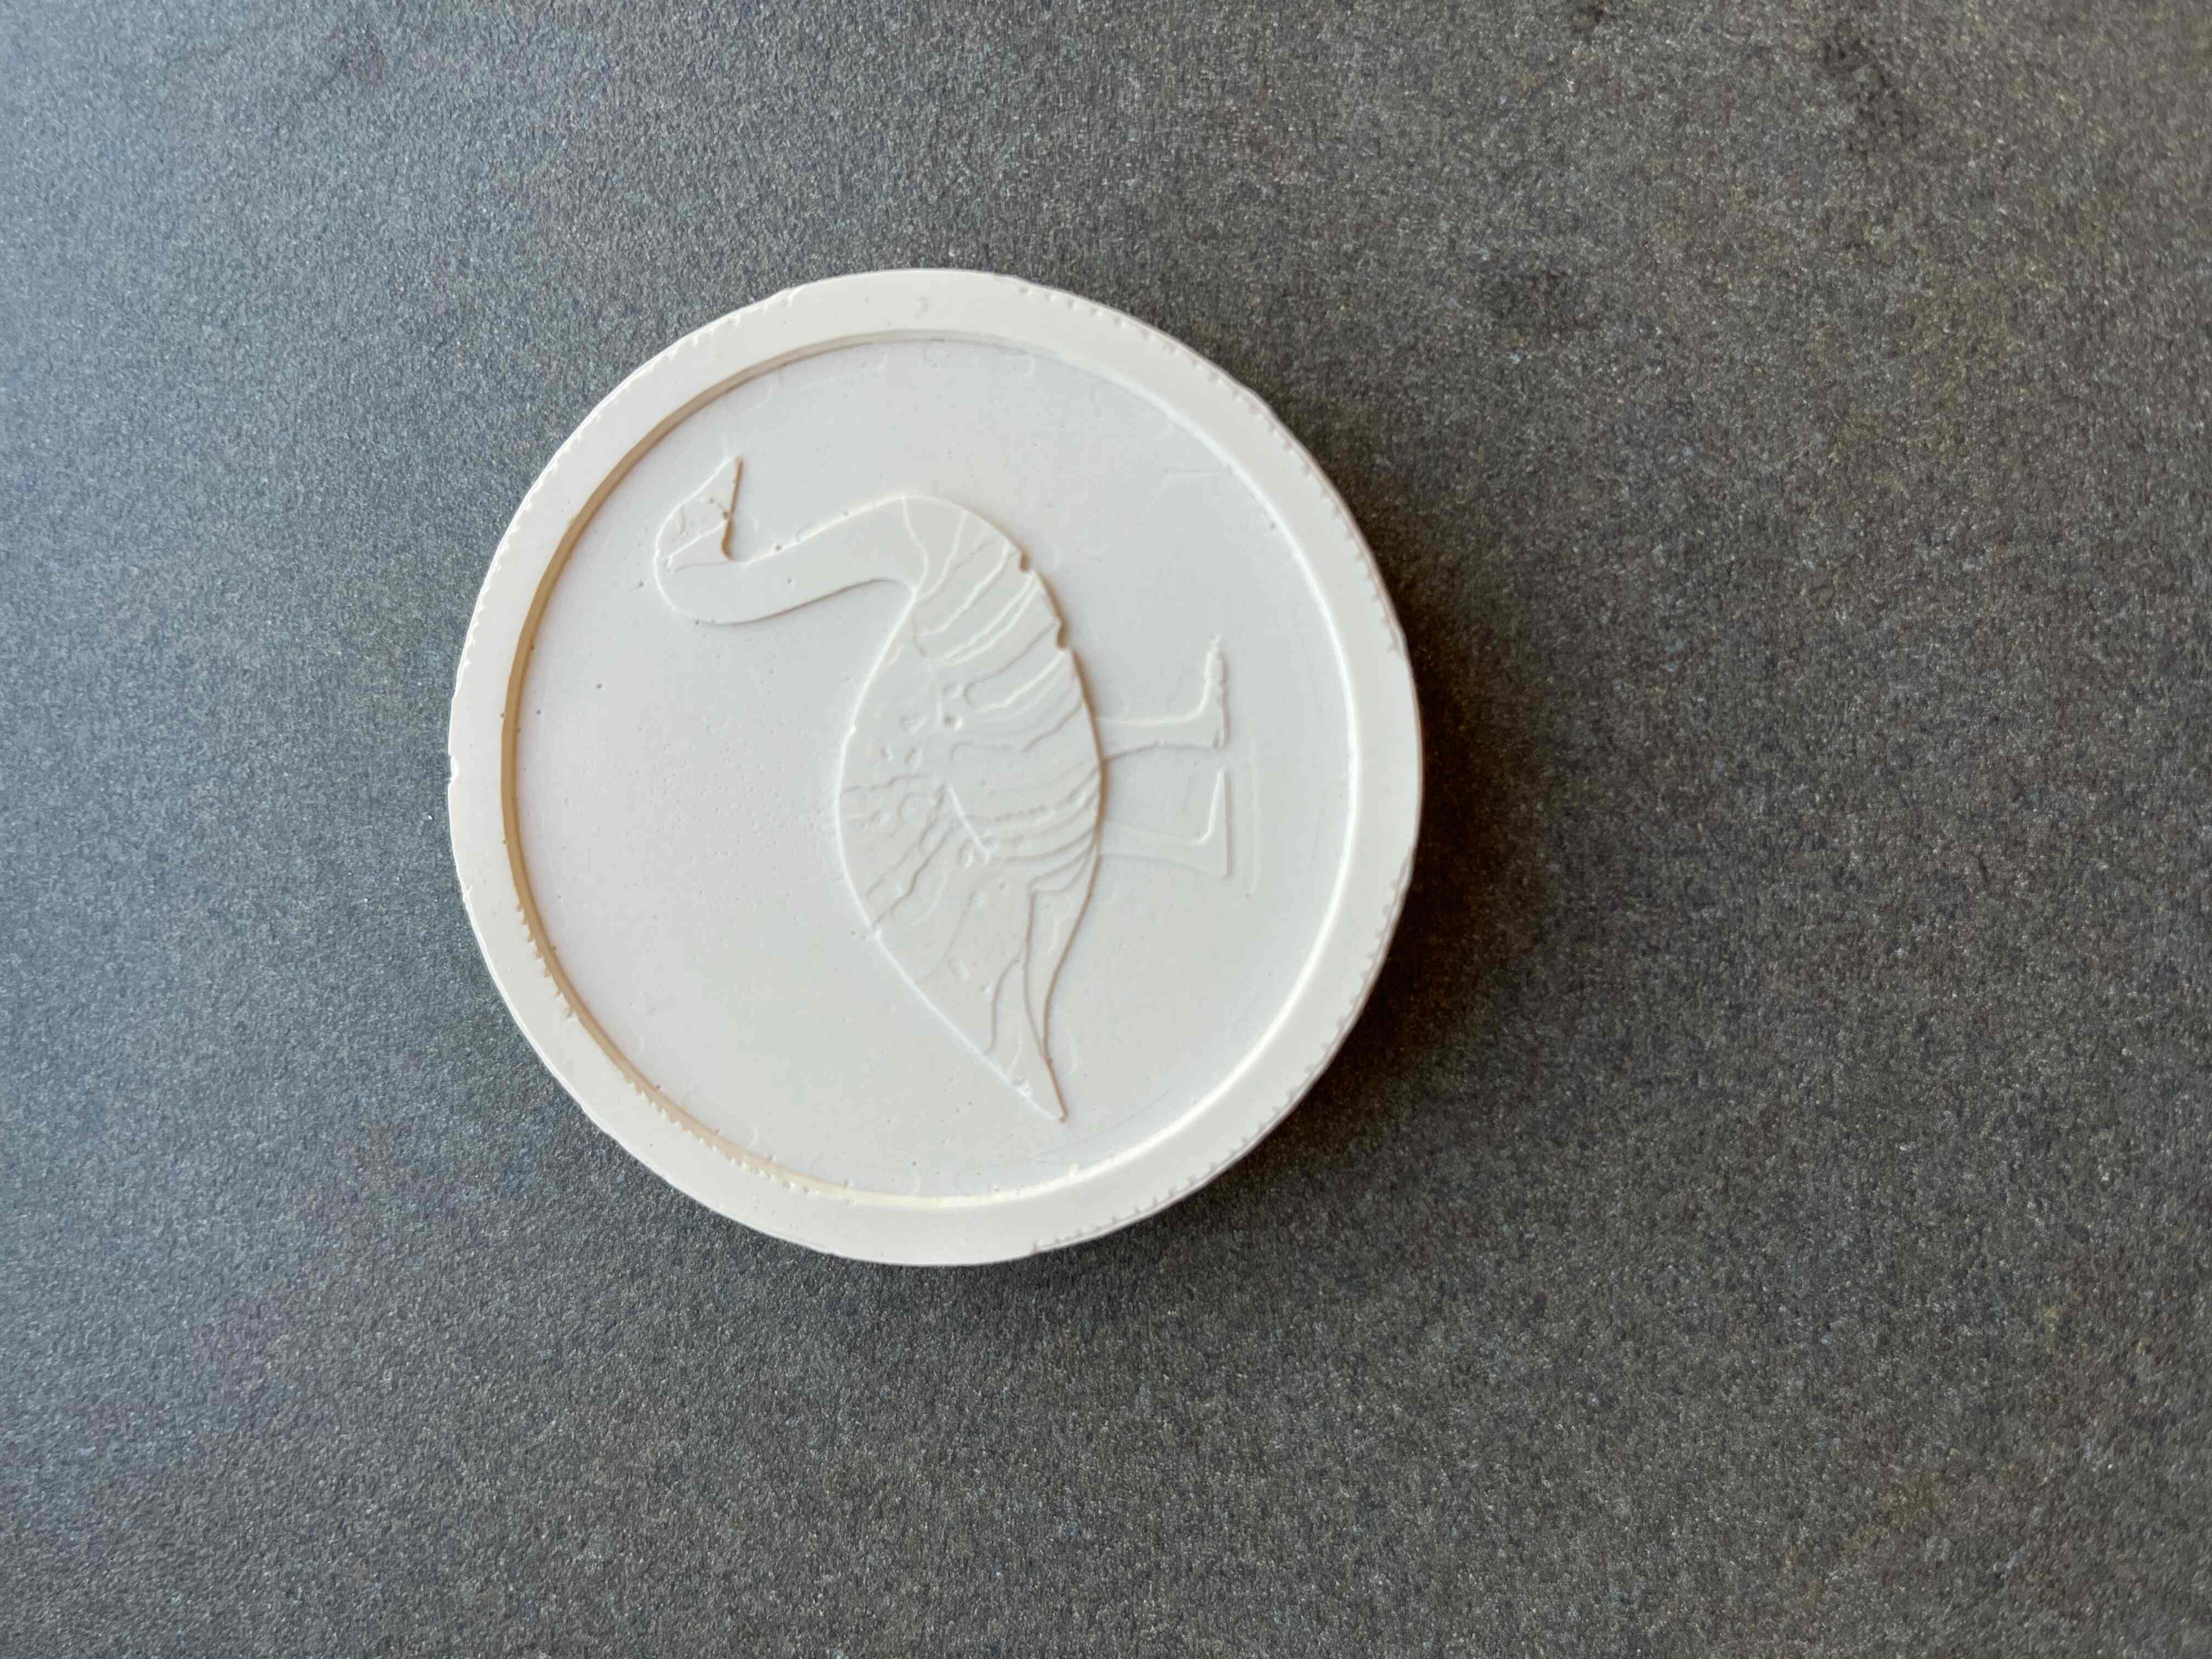
After setting this, it worked! I had to sand down the coin a little bit, from where it had bulged on the side, and from where I had overfilled on the top, but it turned out really nice.
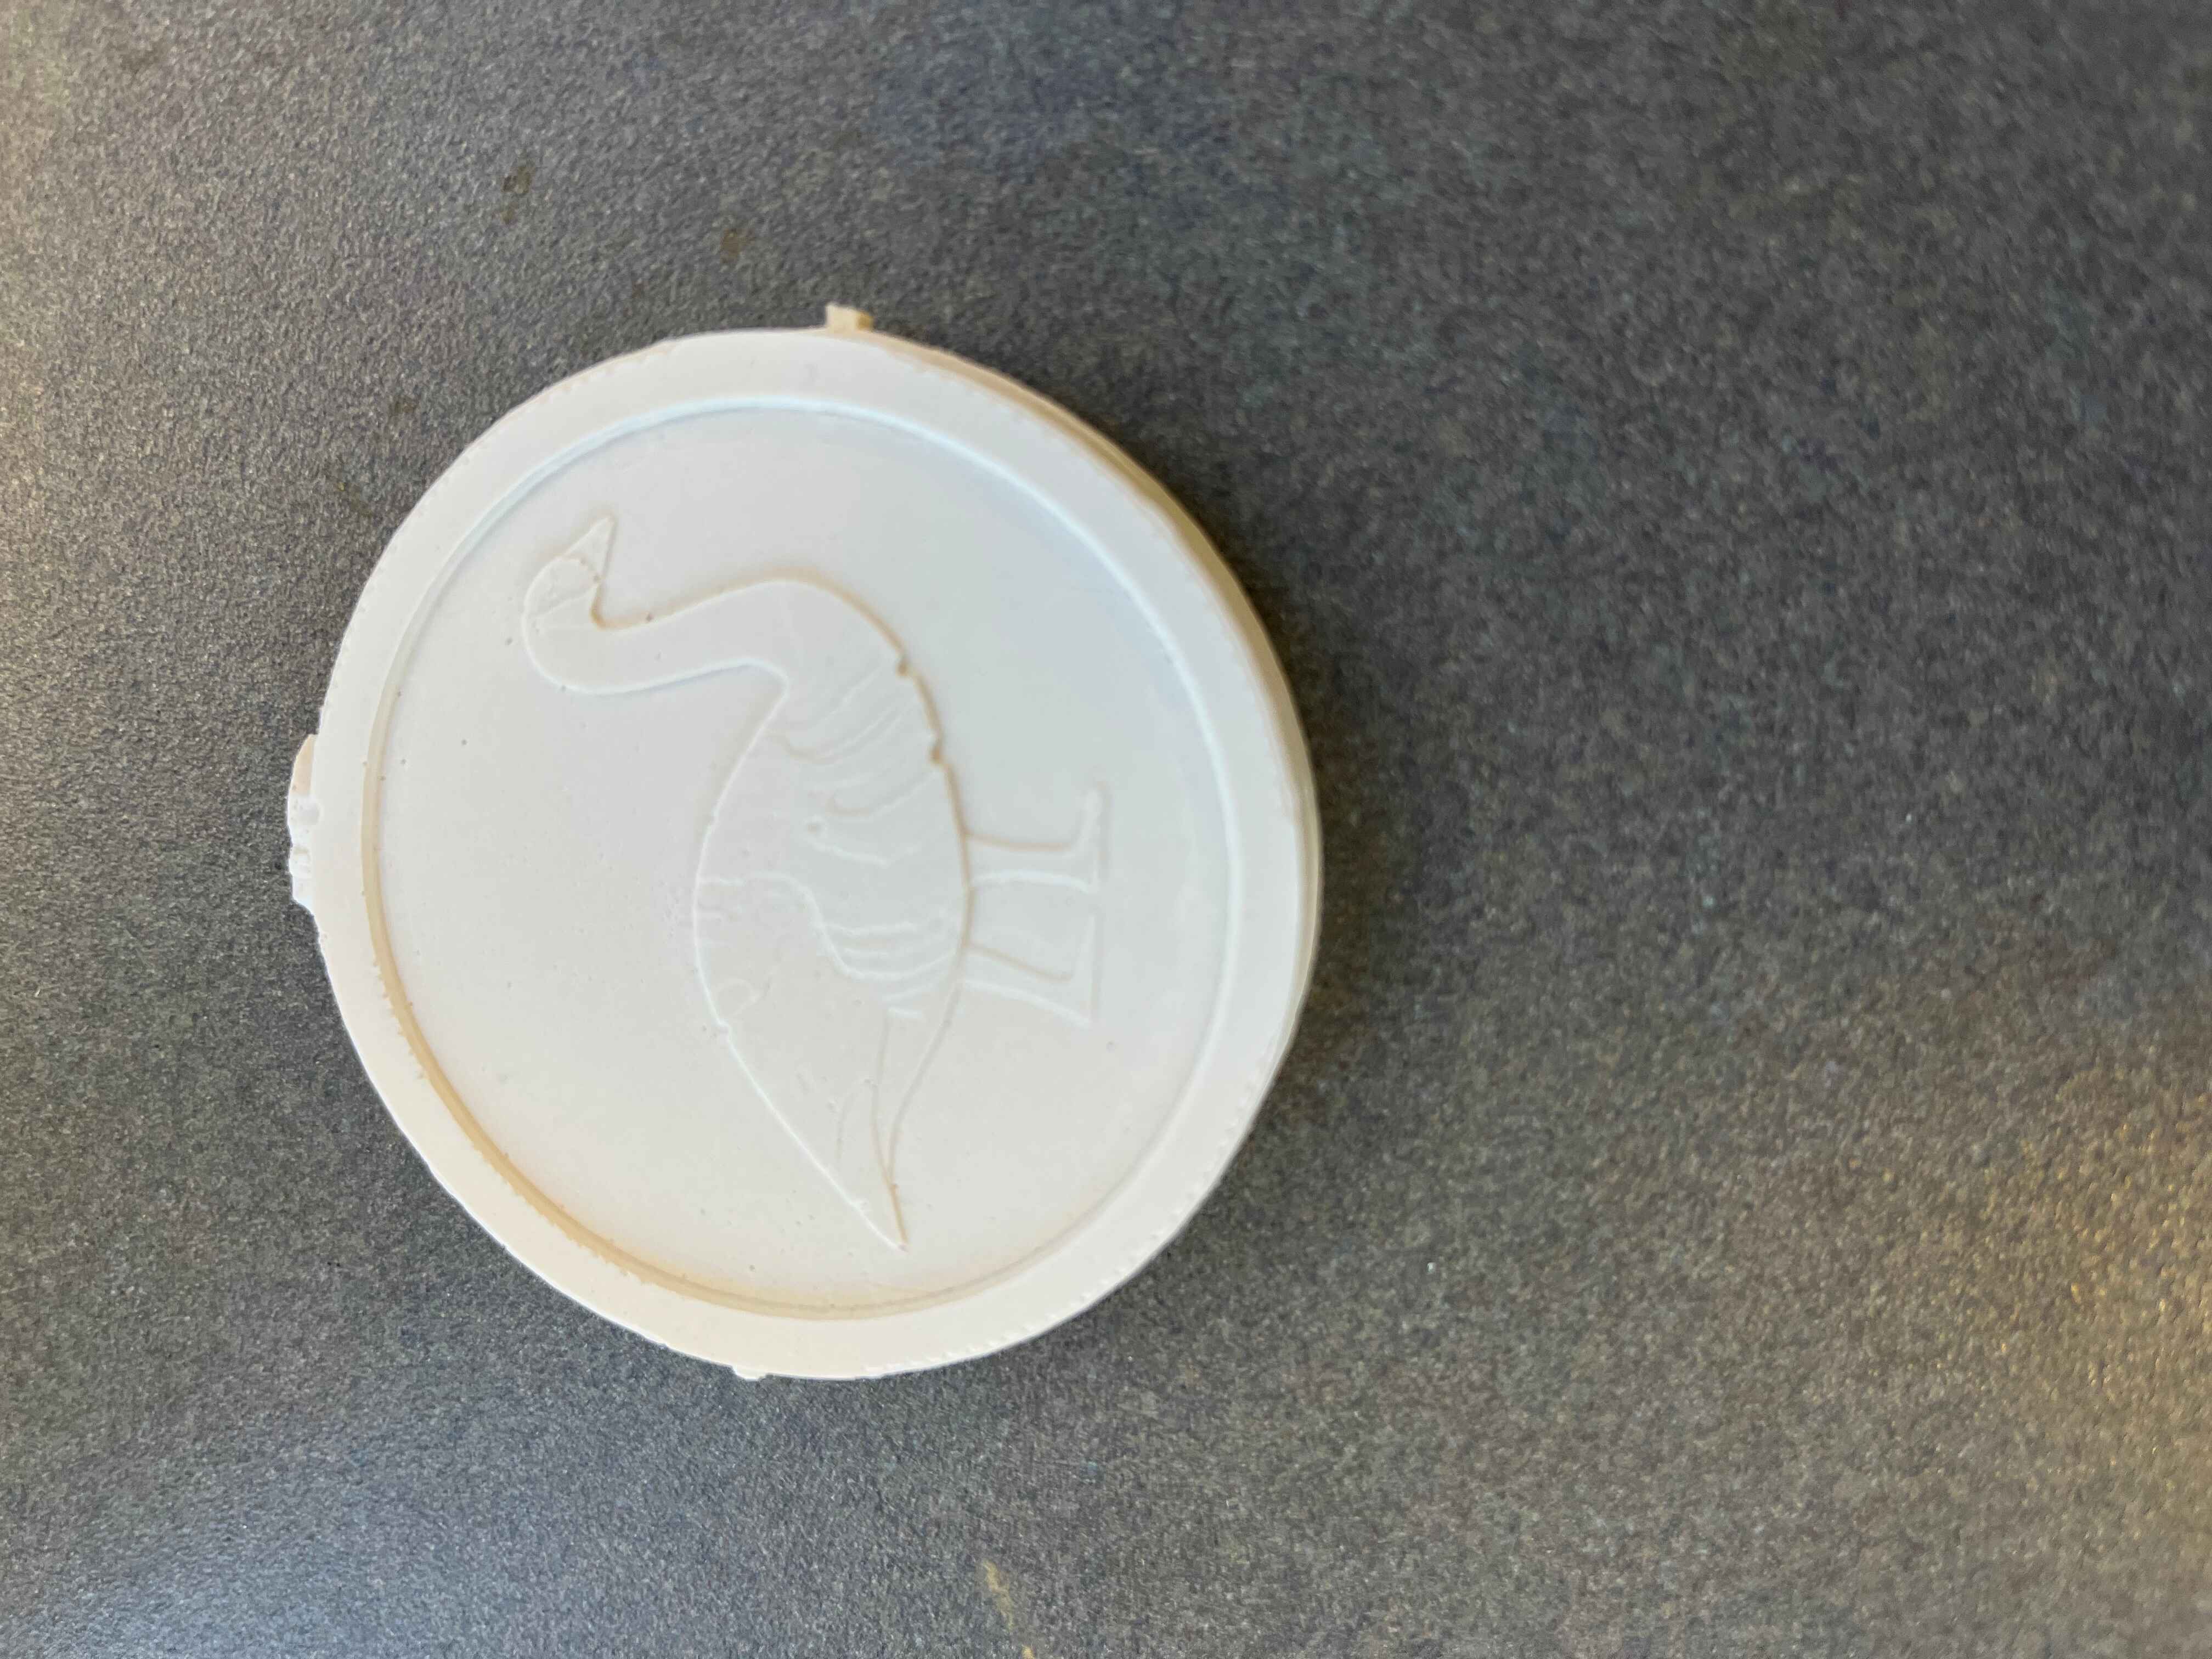
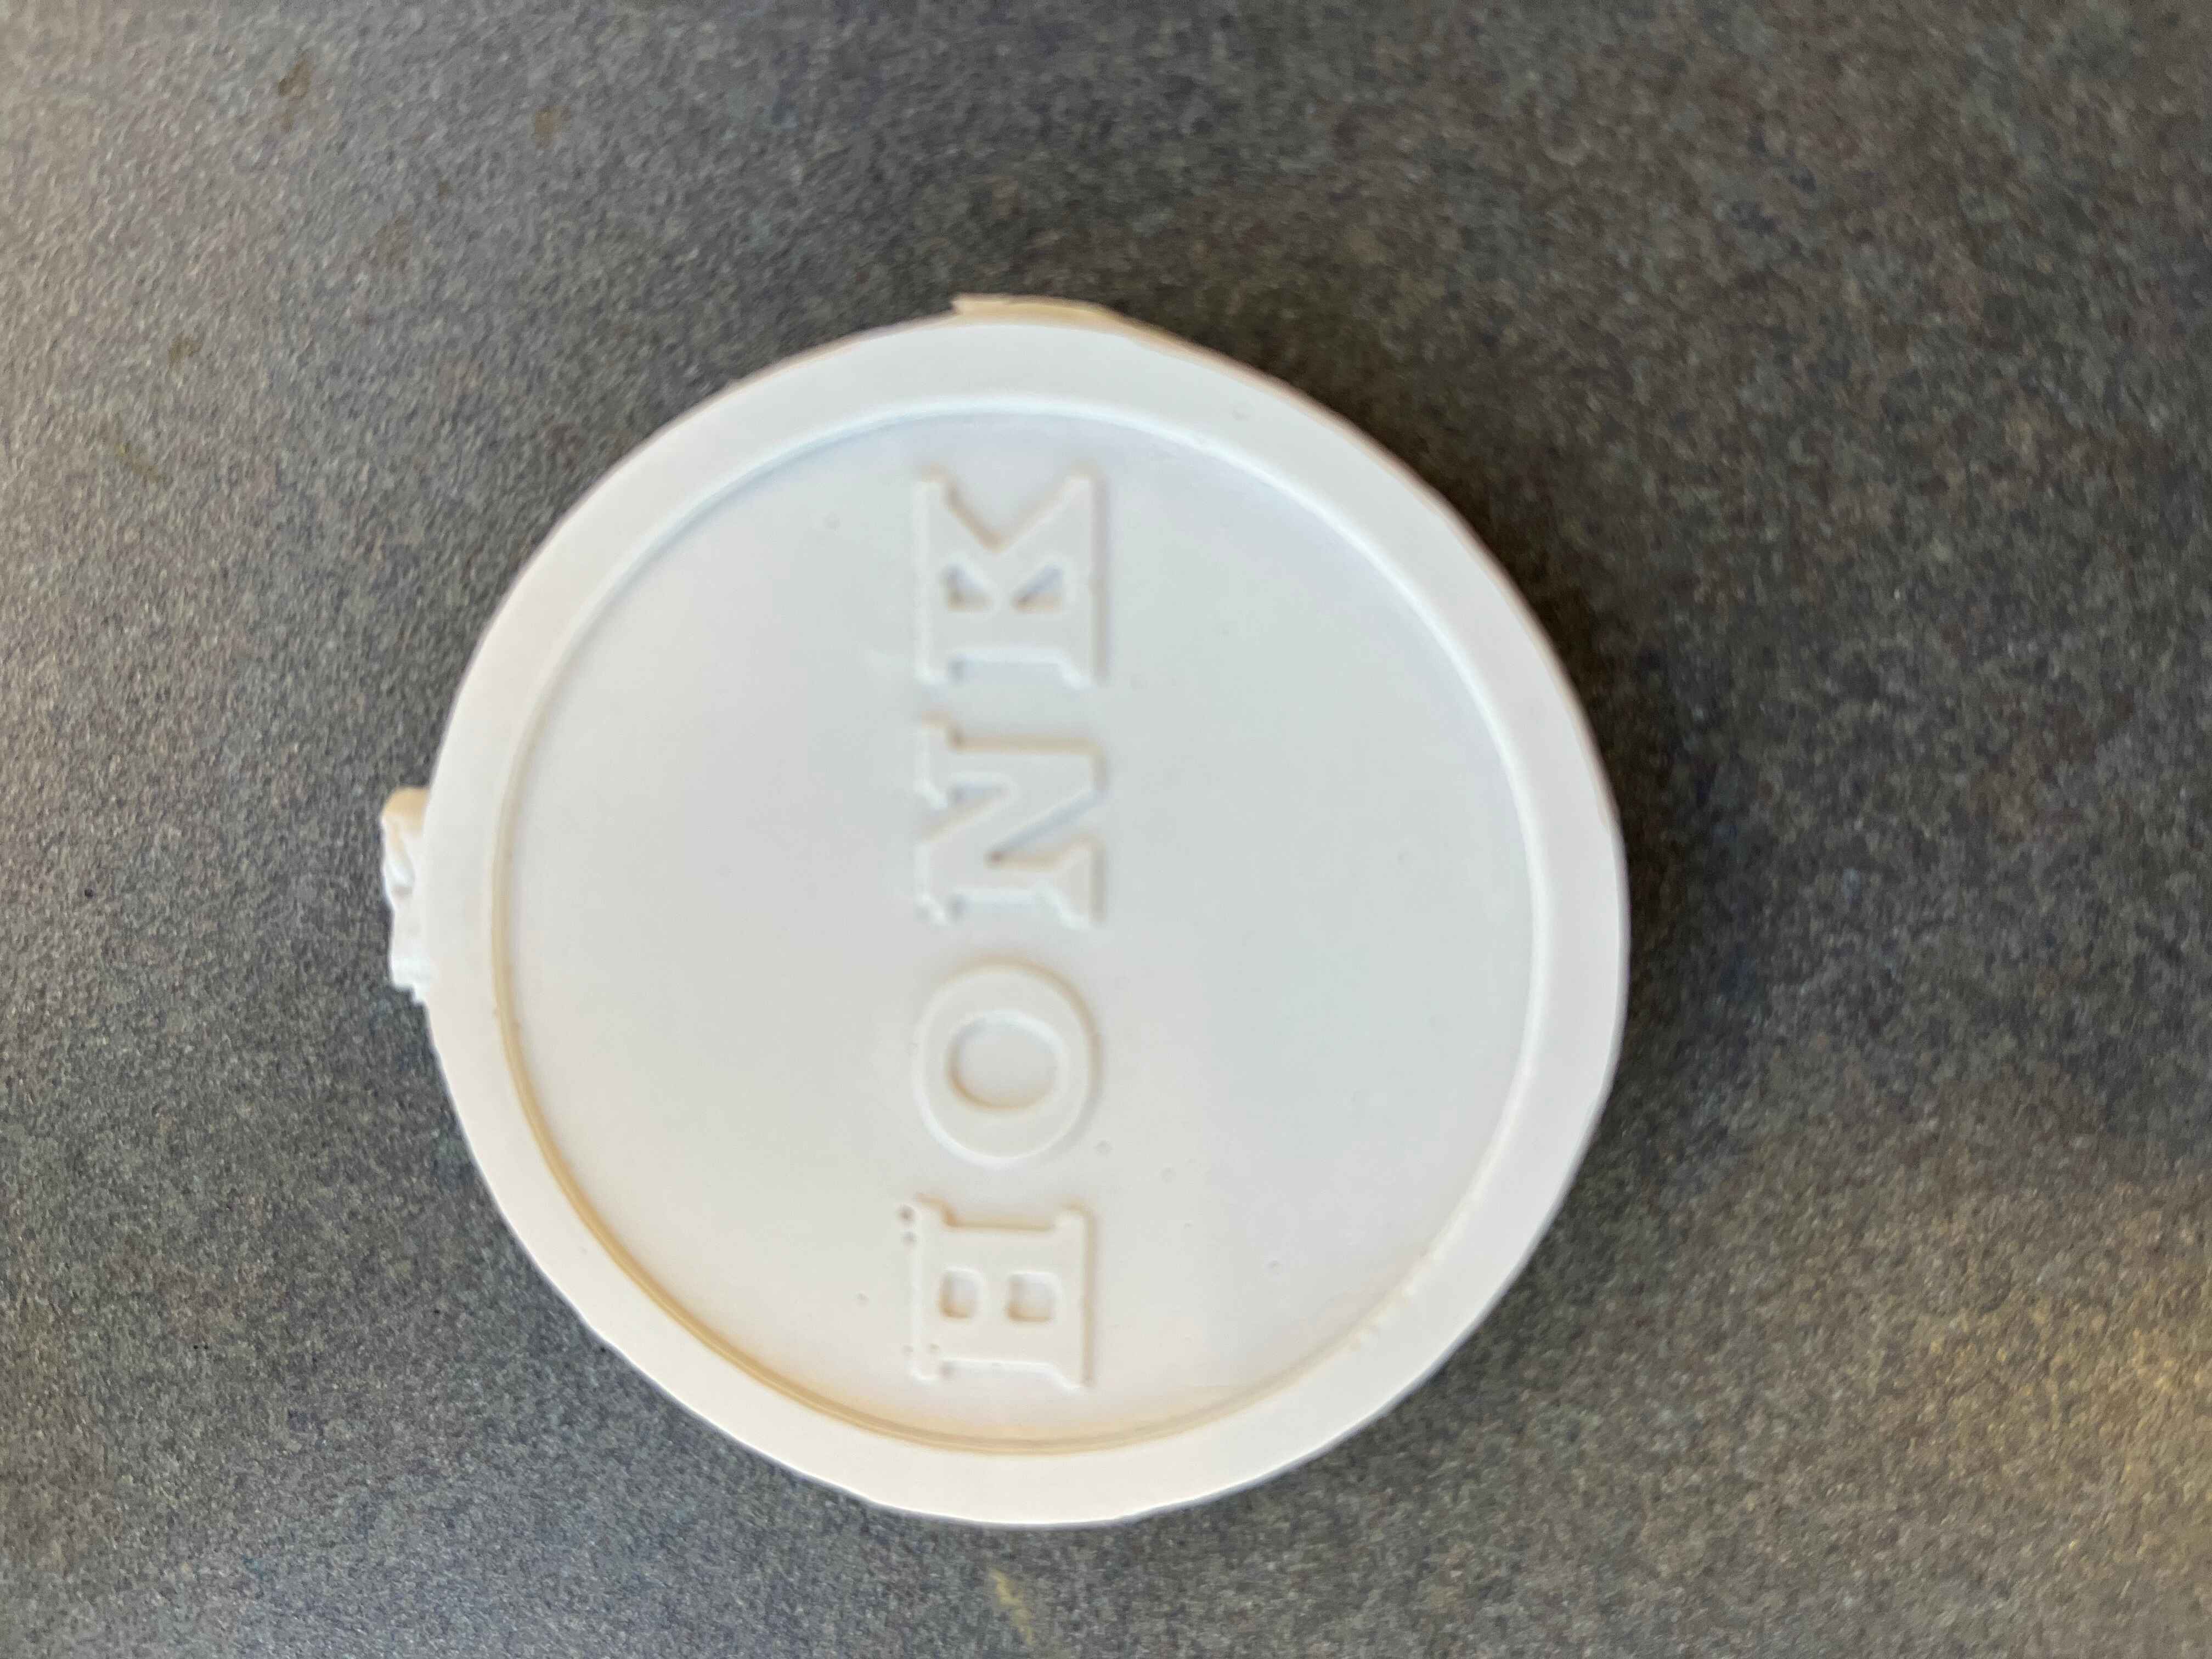
And here's how it turned out!