The assignment this week: make something big!
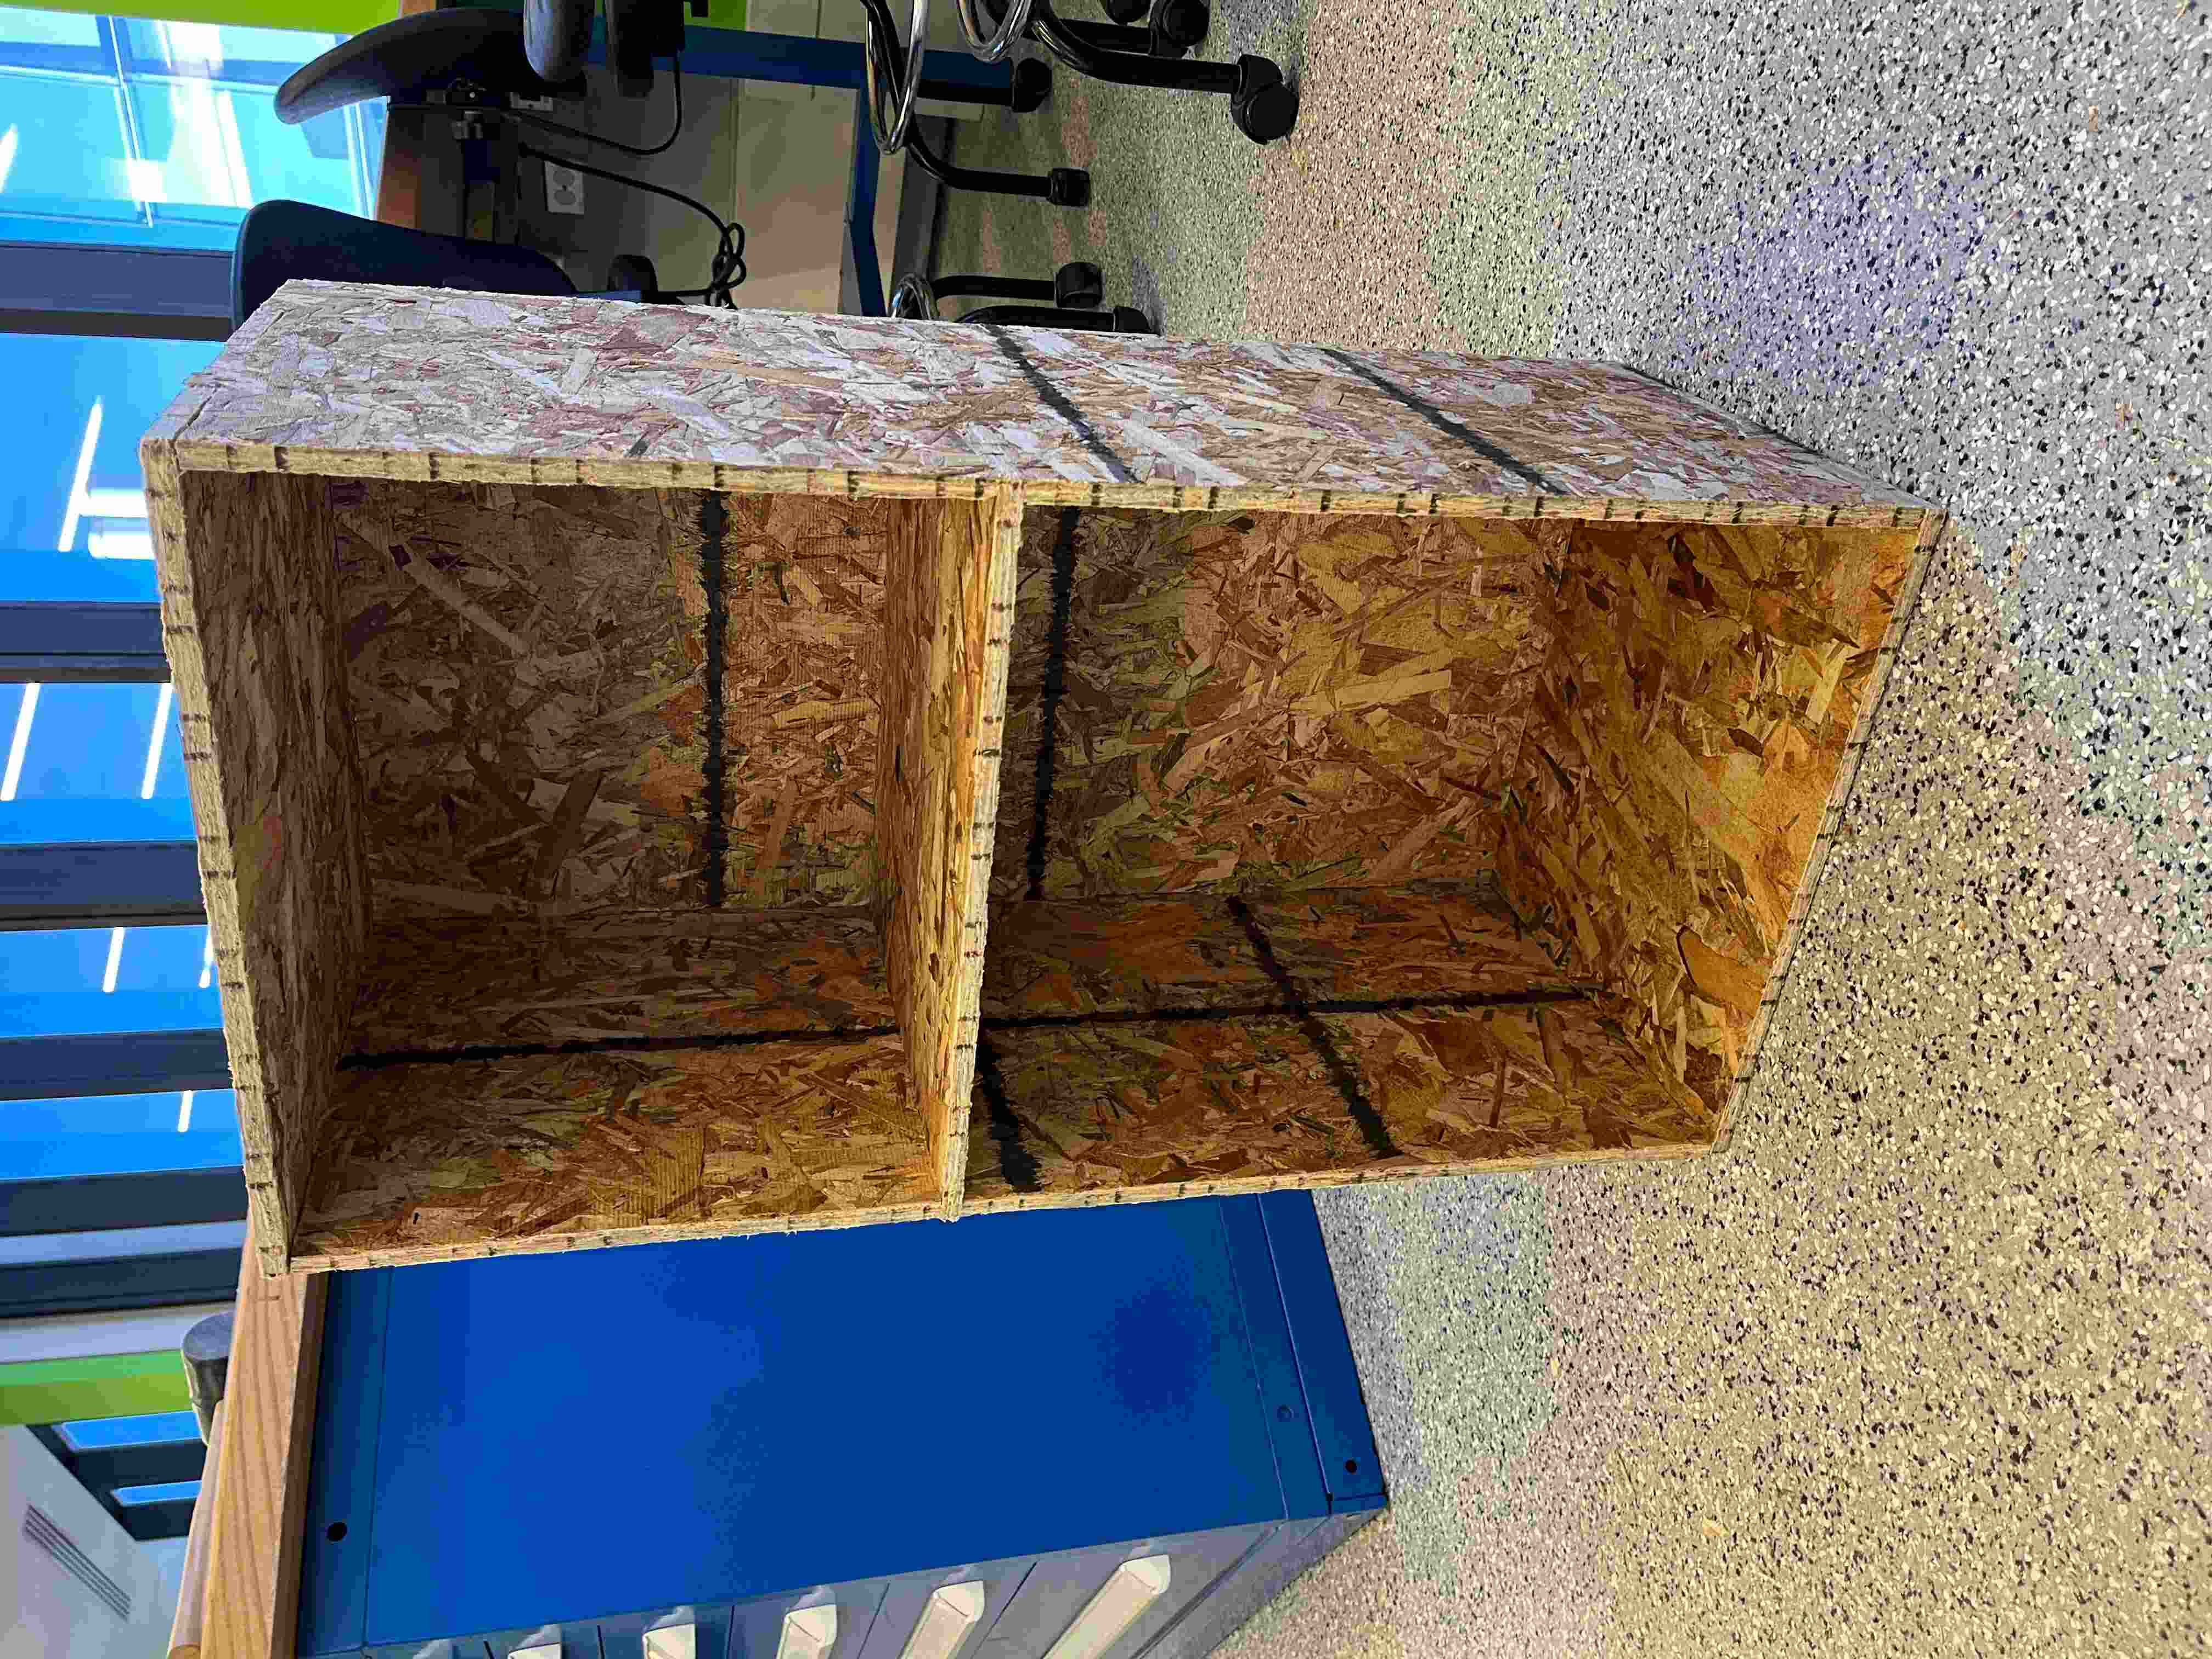
I decided to go with something simple that might be useful to me: a small shelving unit. The thought is that I could store a few board games, or some sheet music on it. Not sure if I'll like the look of the OSB enough to actually keep it in my apartment, but it seemed like a good project to go with.
I started with some hand-drawn designs, so I knew what I was gonna try to CAD; and so I knew roughly what I wanted my parameters to be: height, width, depth, height of the shelf, etc. It was especially helpful to play around with the joints and see how I wanted them spaced.
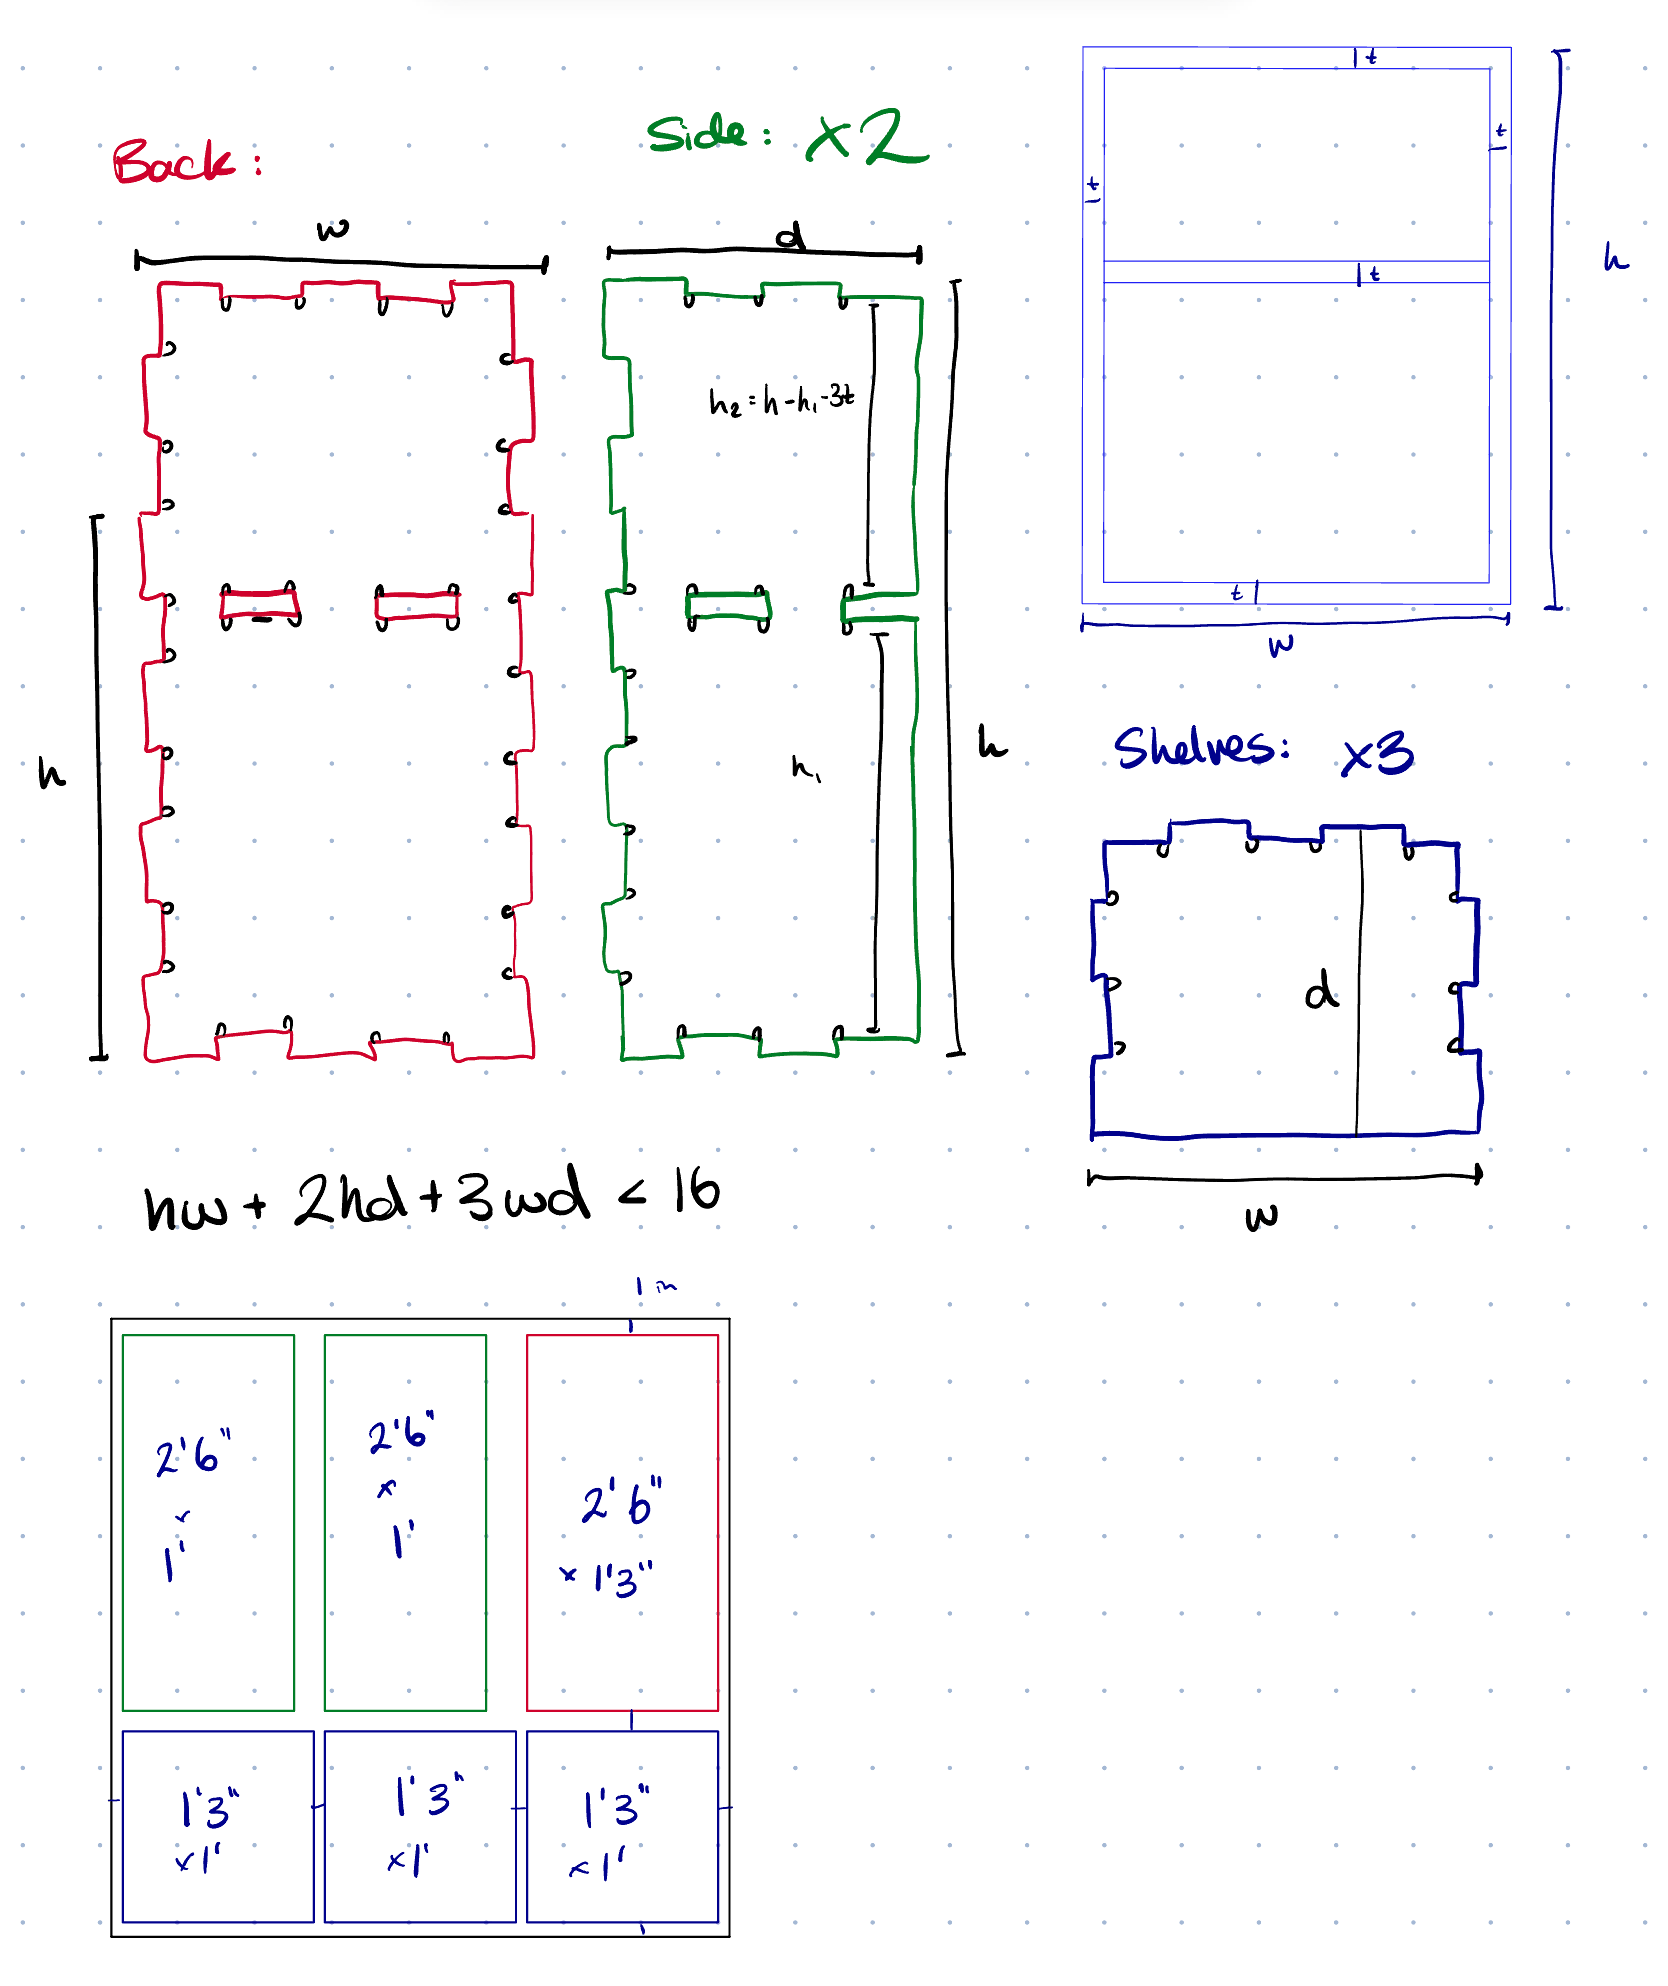
It wasn't too difficult to design this in CAD, once I had already hand-designed it. I just drew the shapes, extruded them, copied the shelves and the sides, and assembled them into a 4' x 4' board. I also used the Nifty Dogbone tool for my inner corners. That was very nice and easy to use. I CADded the board, too, as the stock material. Here's my design.
I used the Manufacture workspace in Fusion 360 to get the G code. I used two passes: one with a 3/8" endmill, and one with a 1/4" endmill, for the corners. The mill we have in the EECS lab has a 4x4 bed, and my design filled up that space quite efficiently.
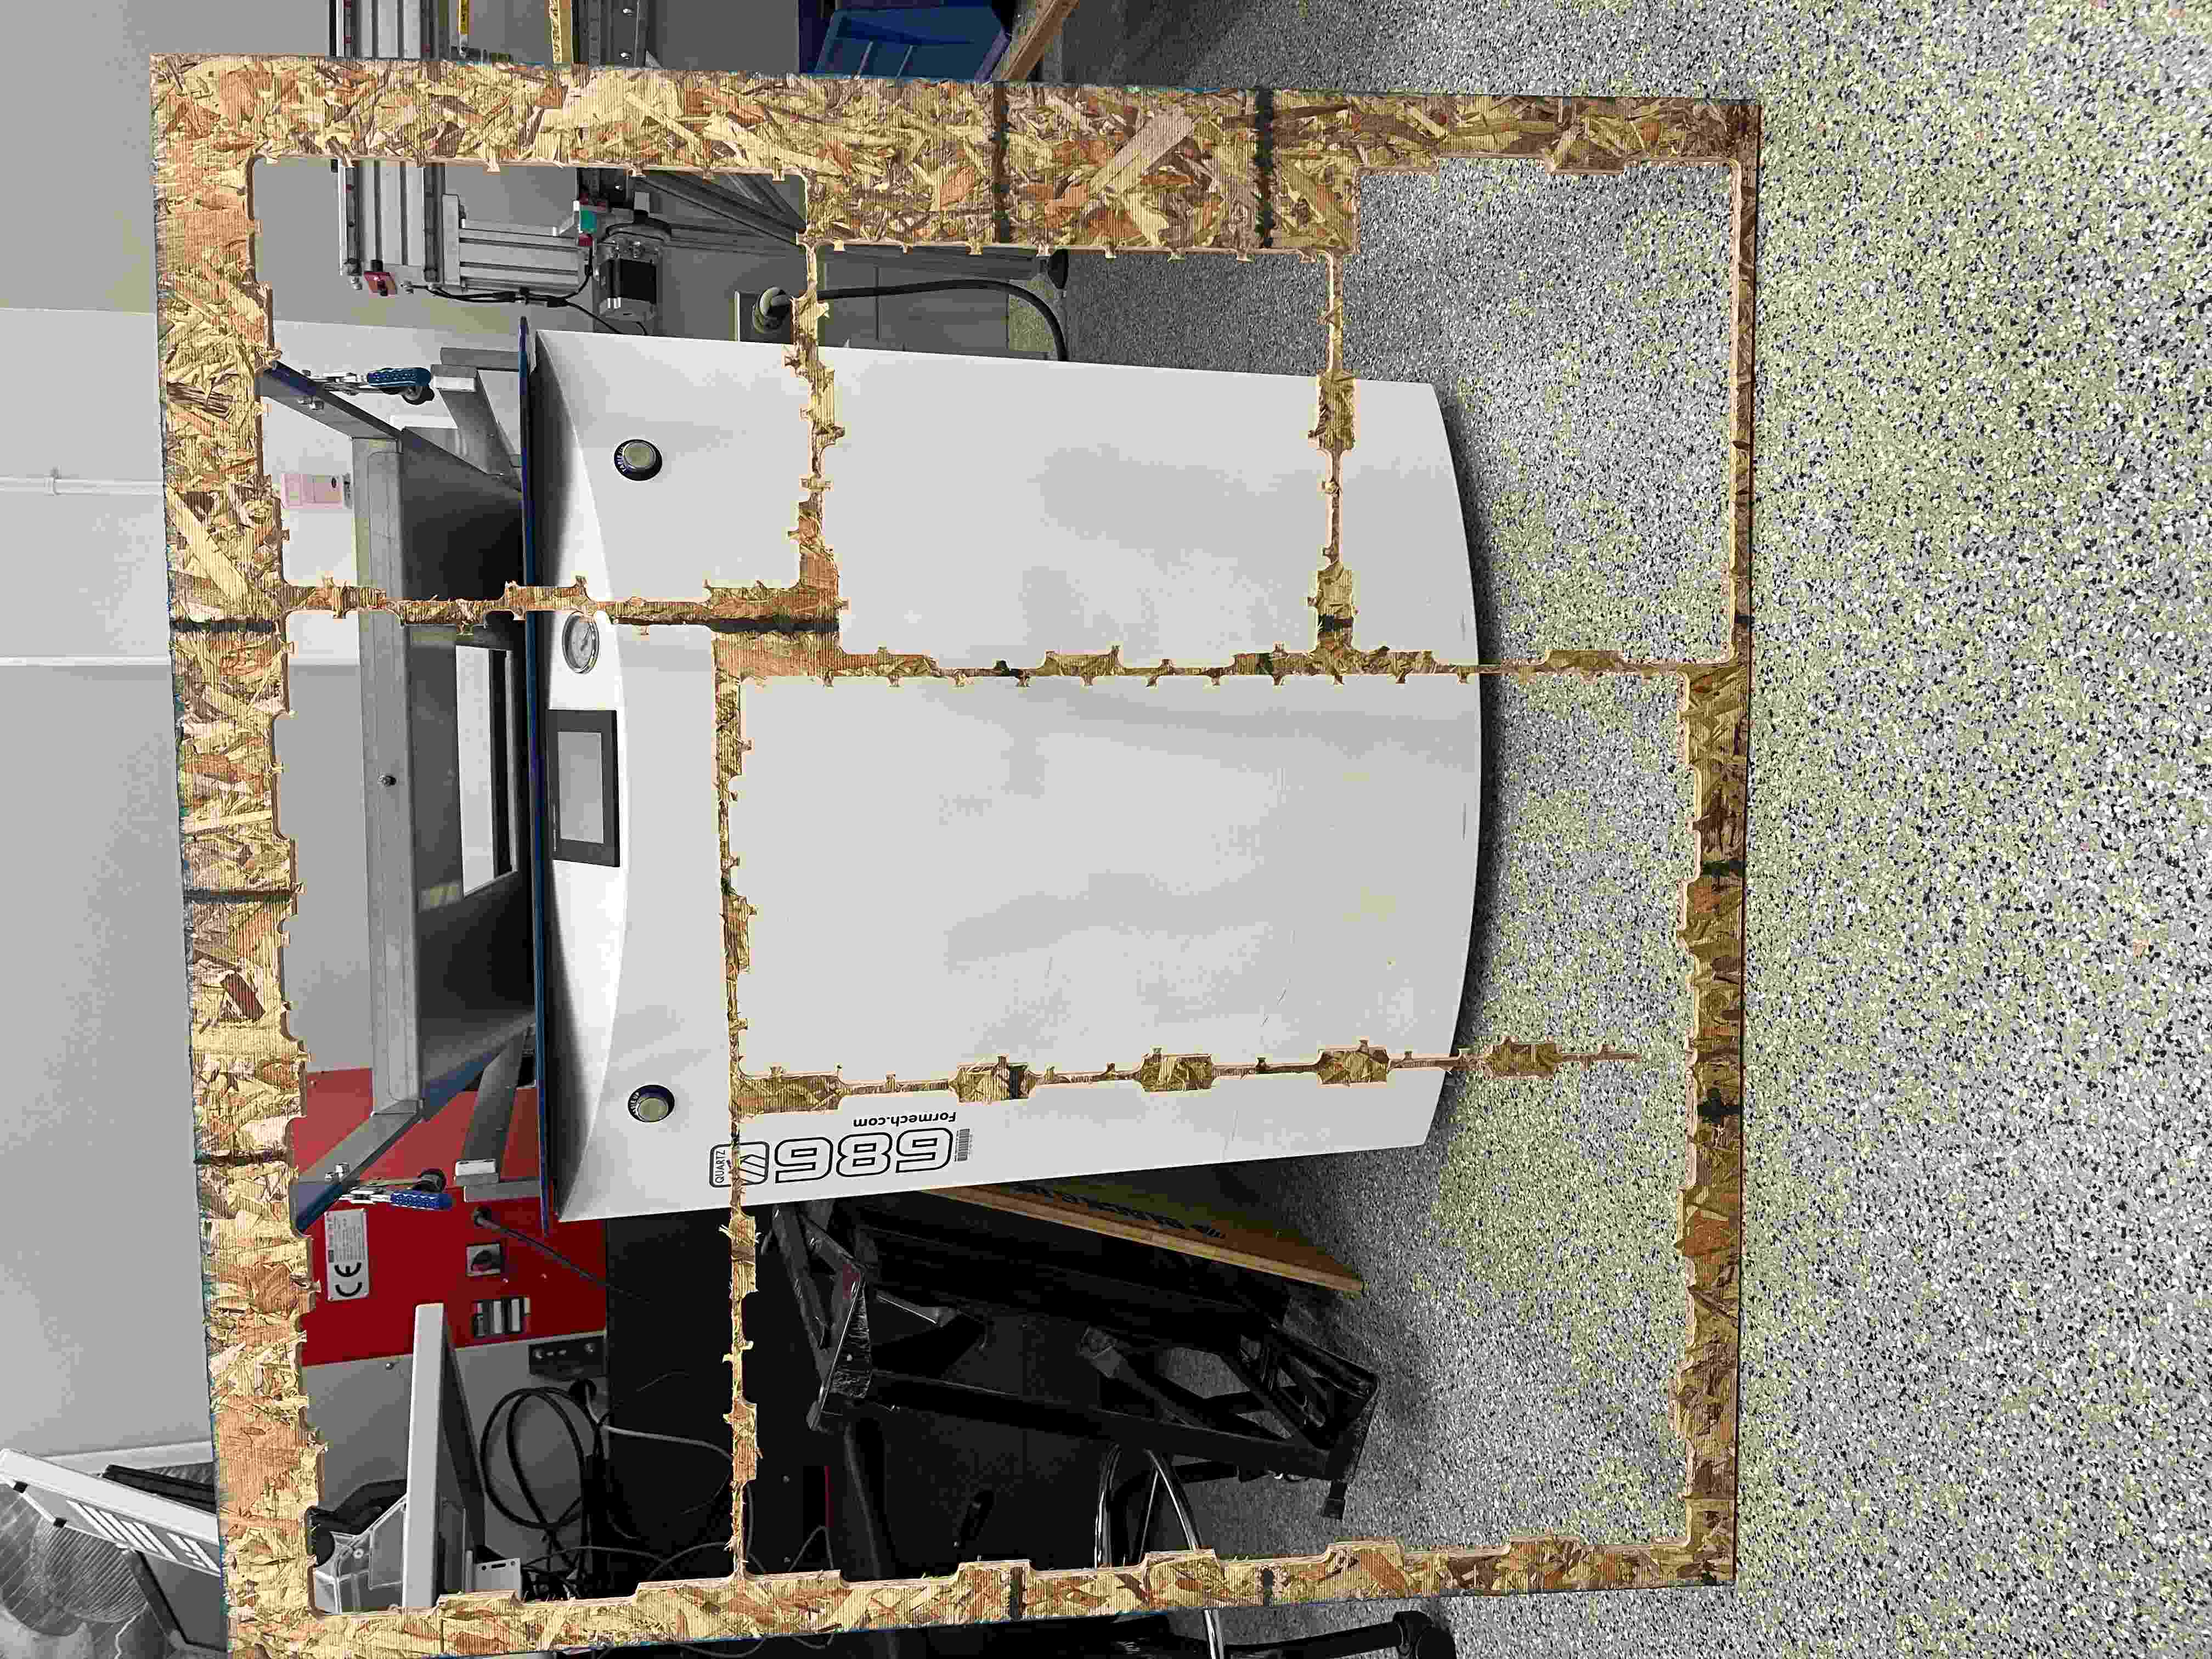
I learned with my project why we need the big safety button to power down the machine and stop the job. When I was using the nail gun to put the plastic nails in my board, it must have jammed partway through. So when I thought I had put ~25 nails into my board, I had maybe put ~10 down, all on one side. So when the mill got to the edge of my board, the strength of the mill overcame the nails and my board started sliding! I was very careful to check that the nails actually went in when I nailed it in again. I was fast enough to press the stop button, and aligning the board was straightforward enough that I didn't need to get a new board; I still just used the same one, and it was close enough that nobody could tell the difference.
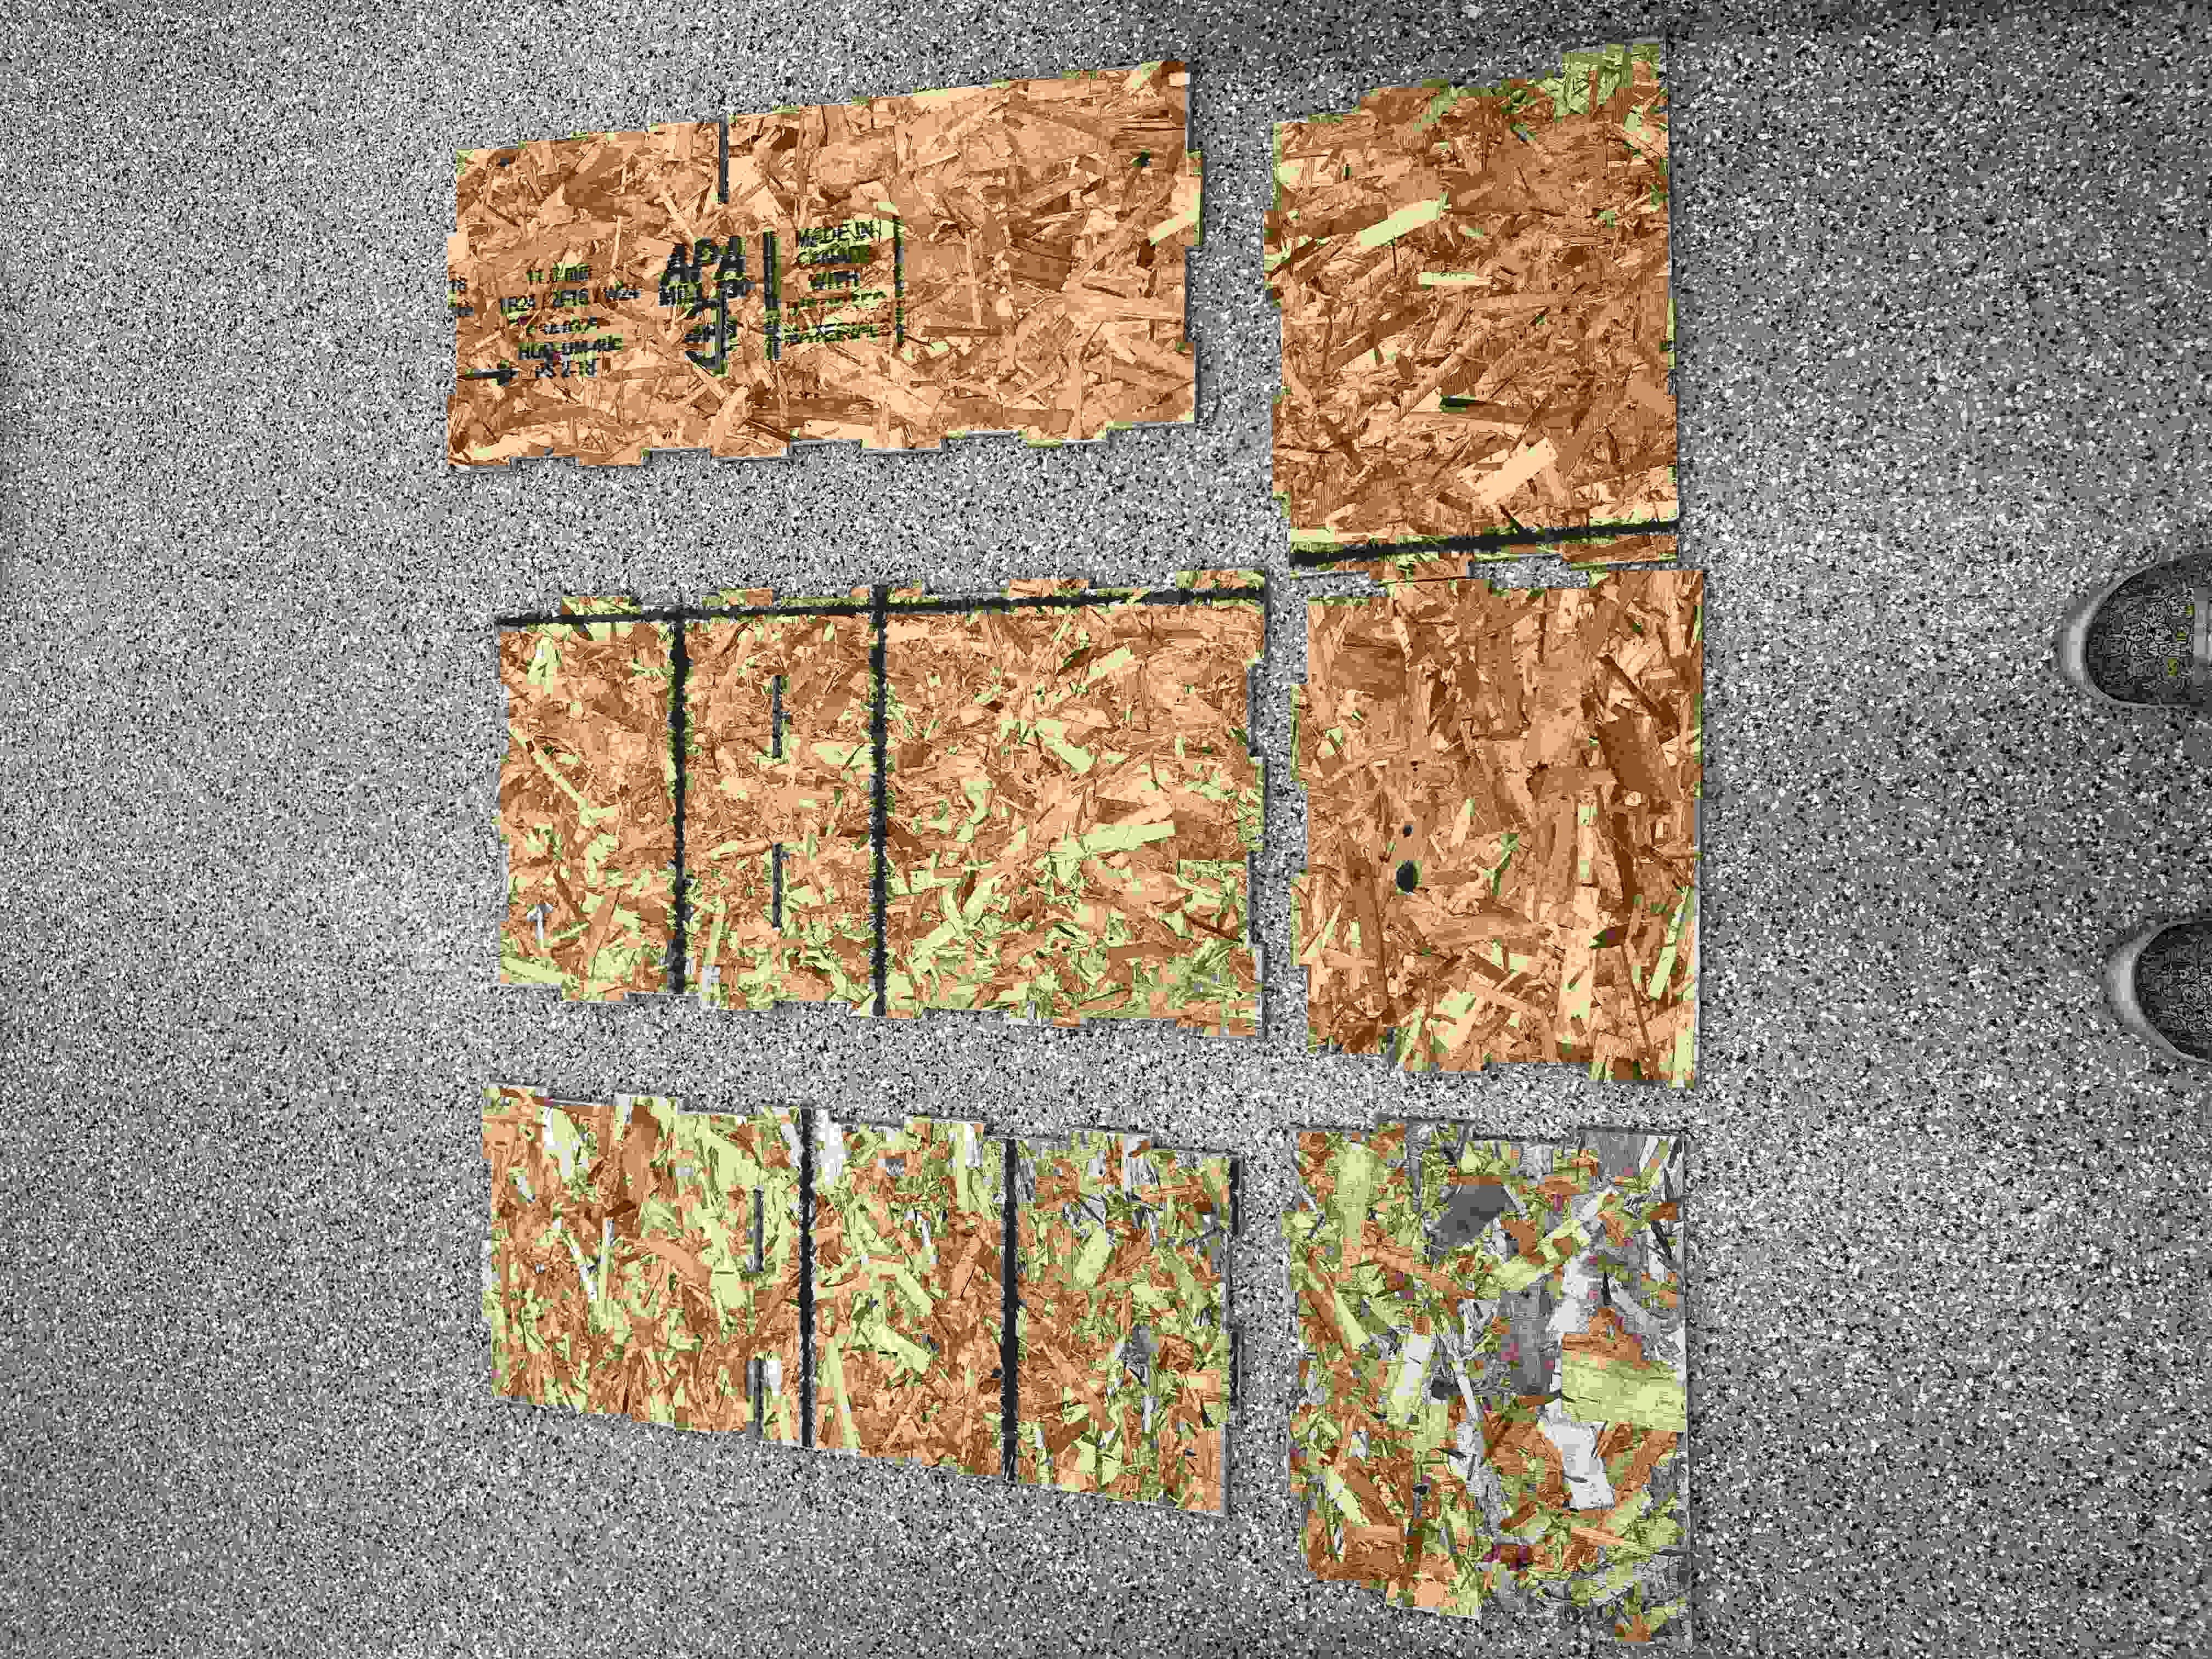
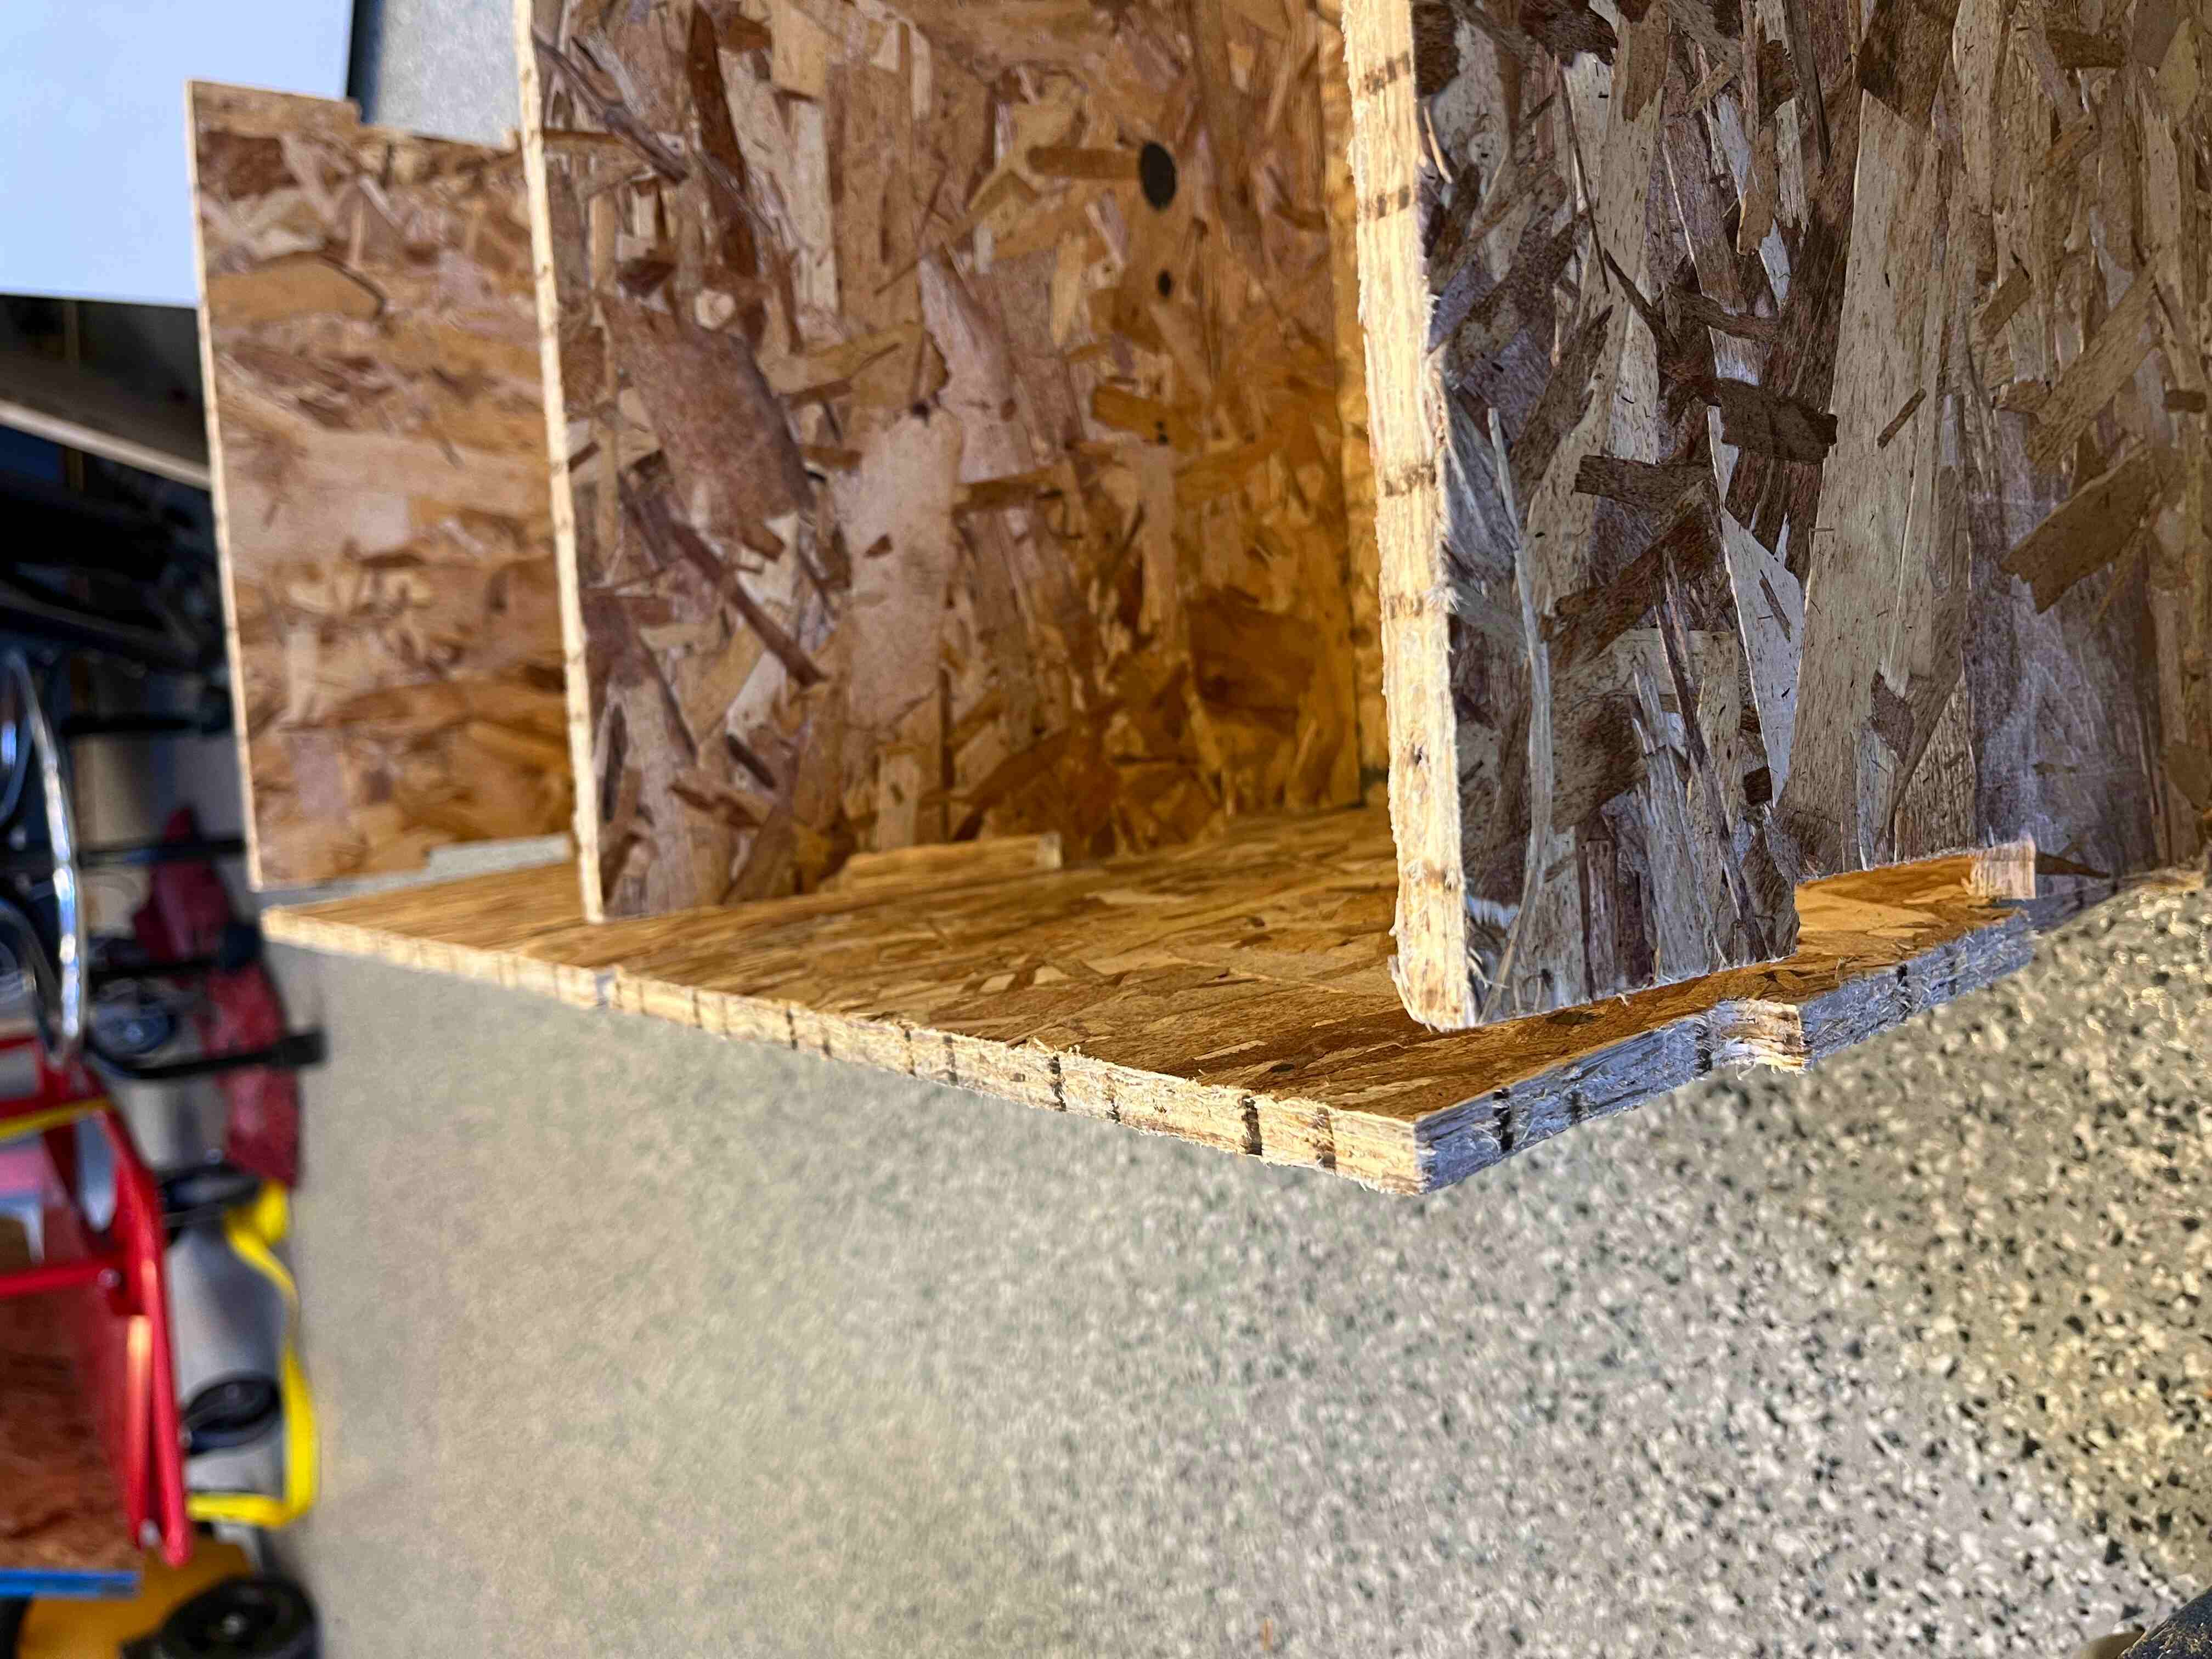
It was more of a process than I expected to cut all the tabs, pry the board off the bed, and whack all the nails off with a crow bar. Particularly annoying were the tabs that Fusion 360 had placed at corners. Even once I had gotten the boards off, the strands in the OSB looked somewhat frayed and splintery, so I also spent awhile sanding those down so it was nicer to hold.
I had forgotten to incorporate tolerances in my design for joining the pieces together, so the boards did NOT want to connect to each other. However, the OSB had enough give to it that this was nothing that a rubber mallet couldn't fix! I started by whacking the shelves into the back piece, then angled the side pieces in, whacking them onto the back first, then rotating them and whacking them into the shelves.
Voila! Shelves!