This was
The 14th Project
WildCard Week - Vacuum Forming
I see cool machine - I learn cool machine

Summary:
For Wildcard Week, I wanted to do something that was "off menu". This week, since we had a vacuum former in the shop, I wanted to try it out. Since we did not have additional uses for the vacuum former, I wanted to make a screen protector for our final project. This would become EXTREMELY IRONIC as we would later break as screen......
Tools
Software- SolidWorks
- Vacuum Former
- Bambu X1C
Methodology
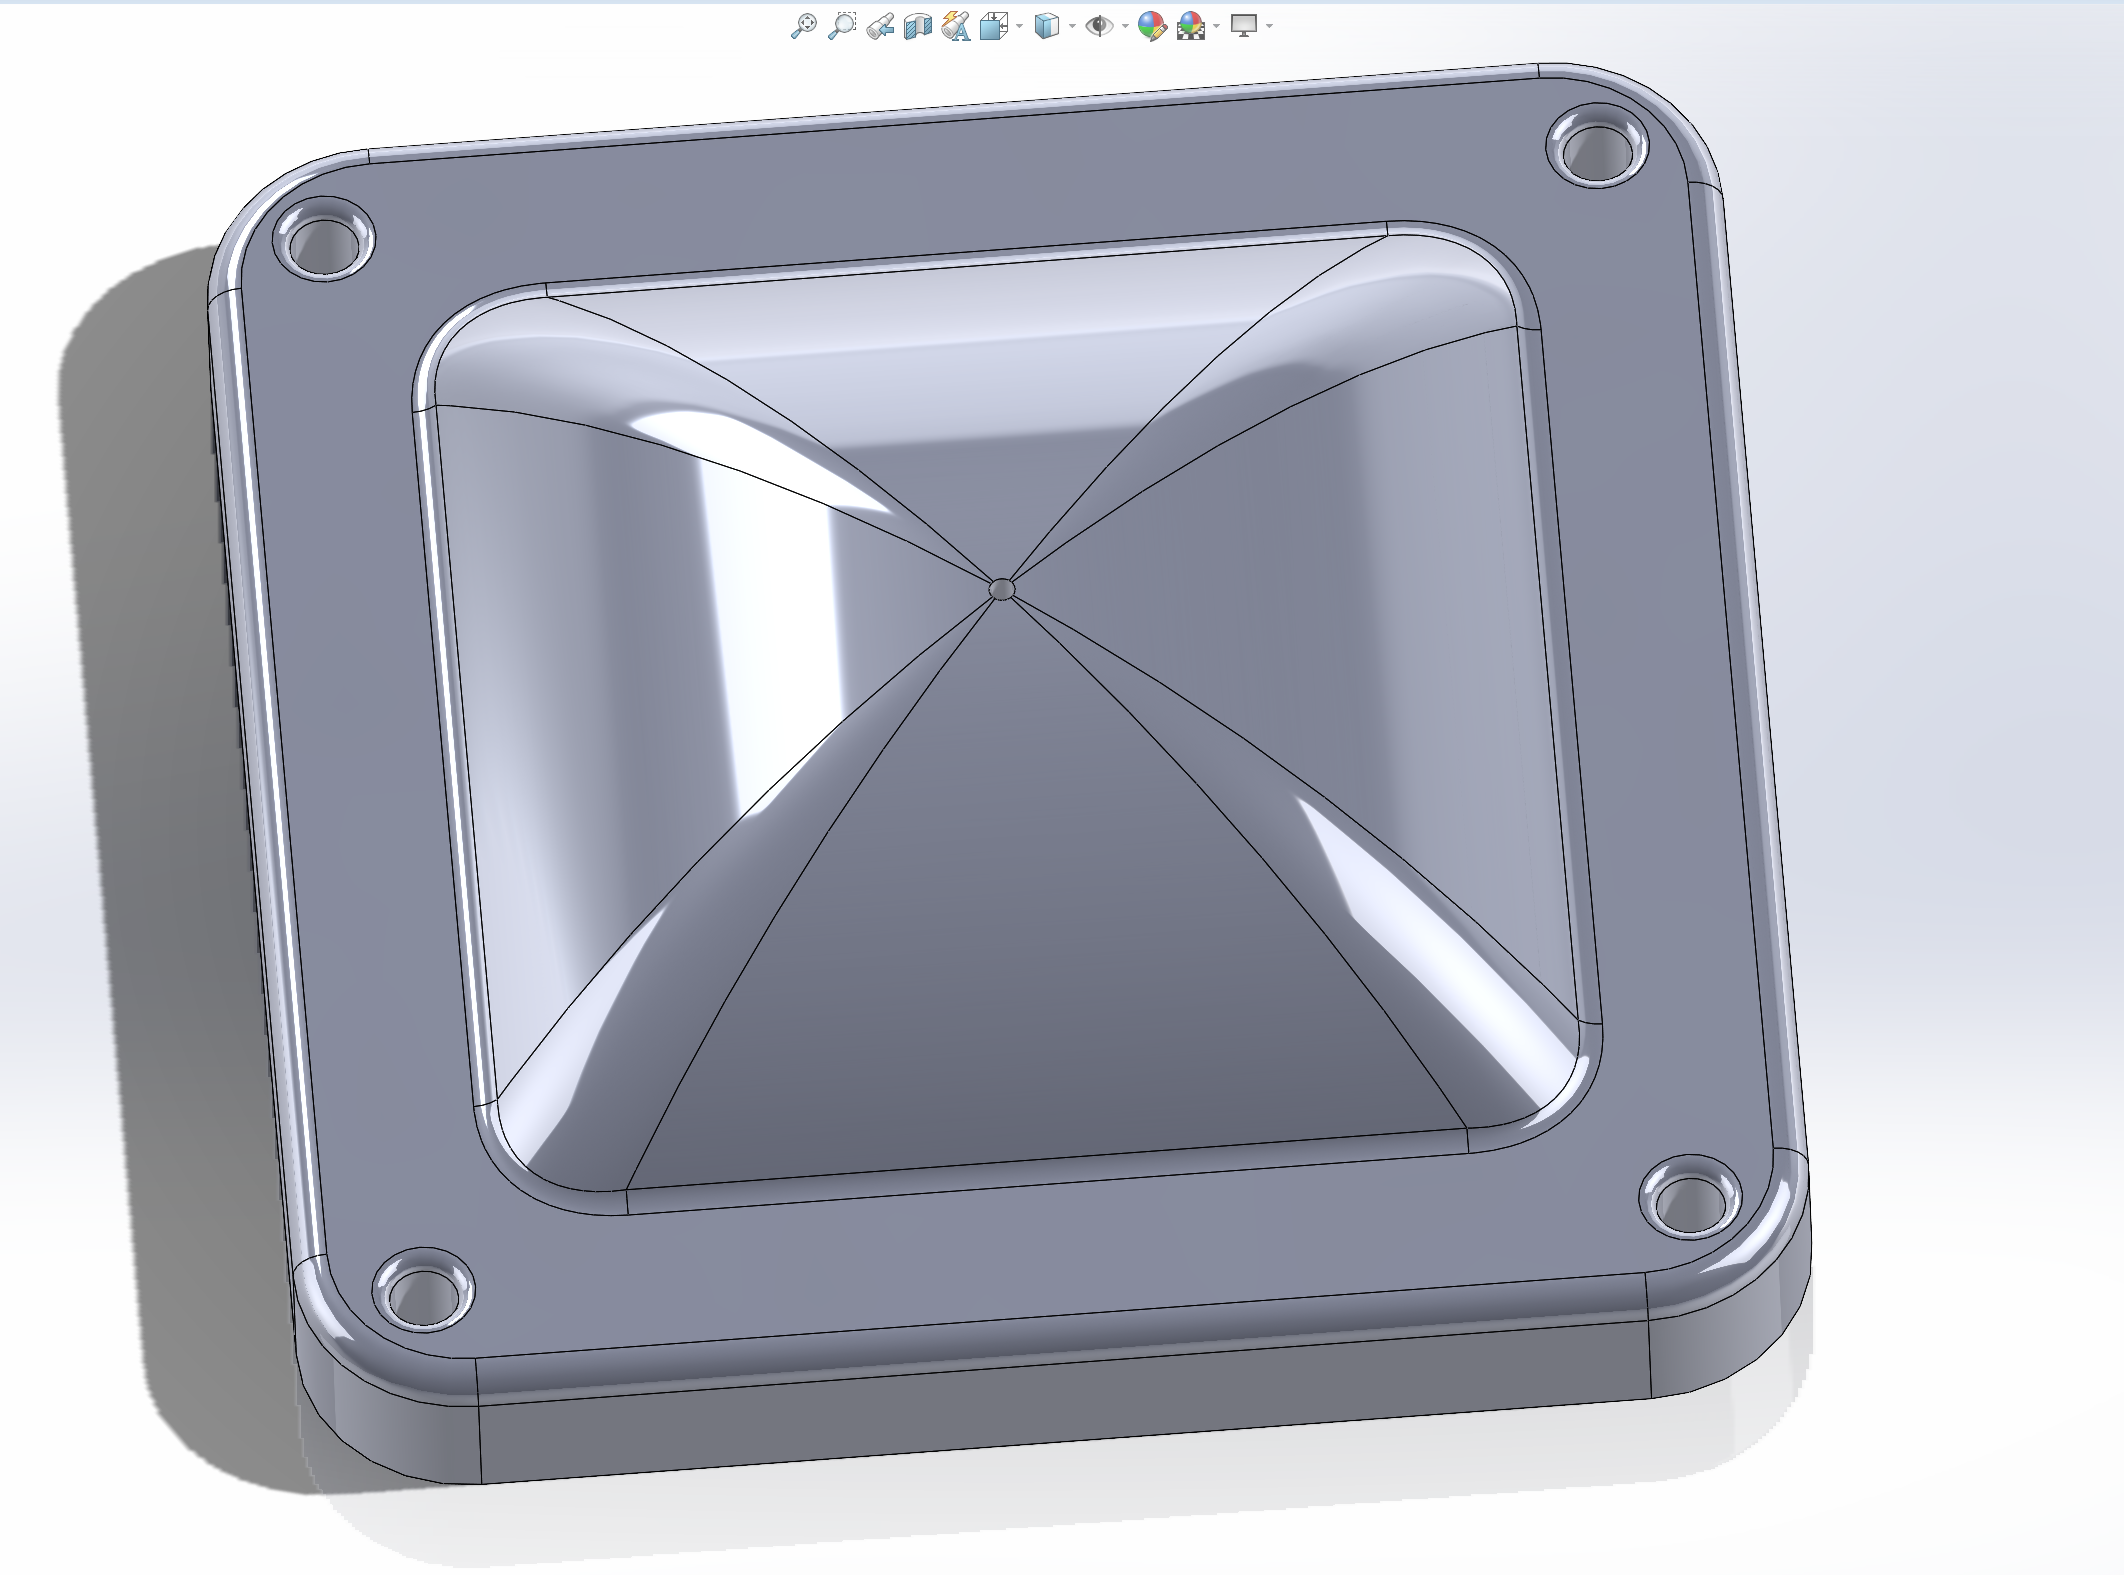
We first wanted to vacuum form something. Since I had very little experience vacuum forming, I know that we take the negative and then press hot plastic over it while applying pressure evenly on the underside. We created following shape in SolidWorks based on our screen dimensions.

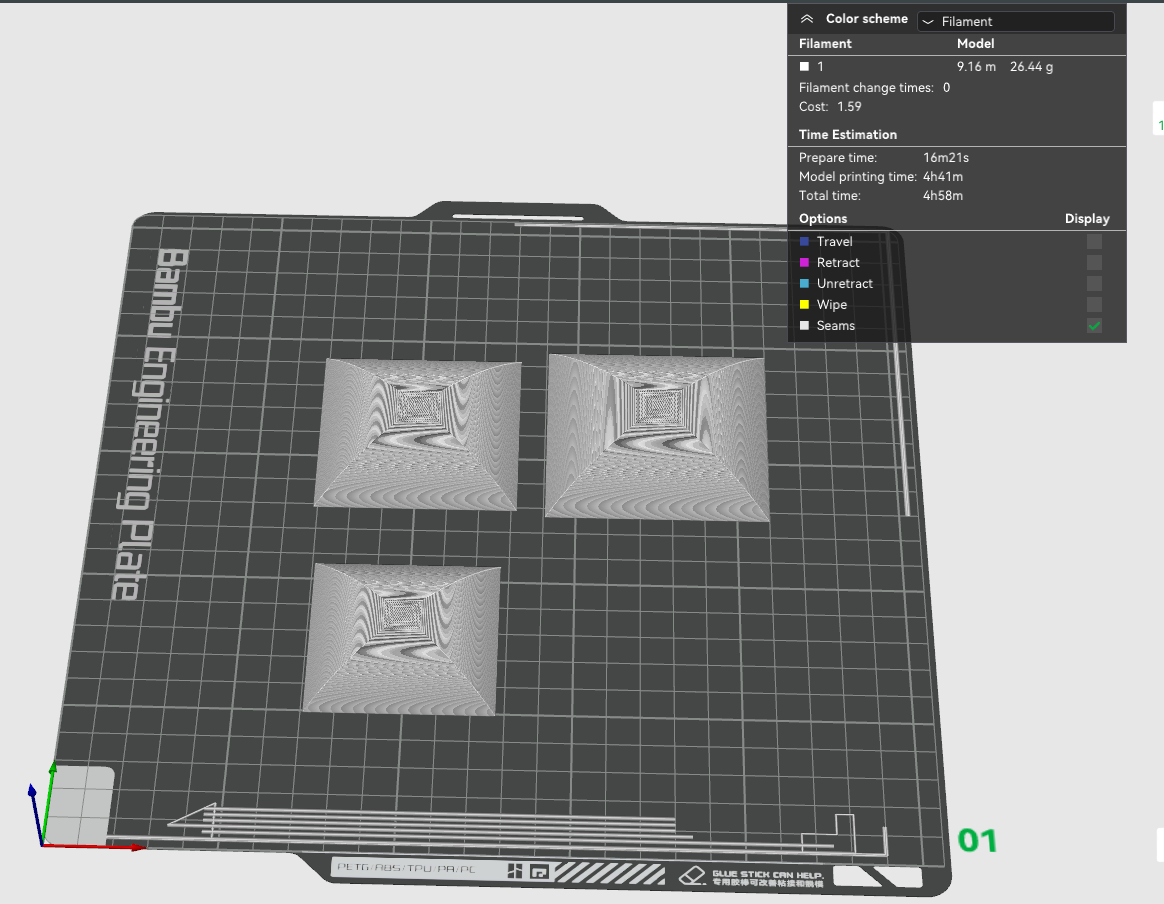
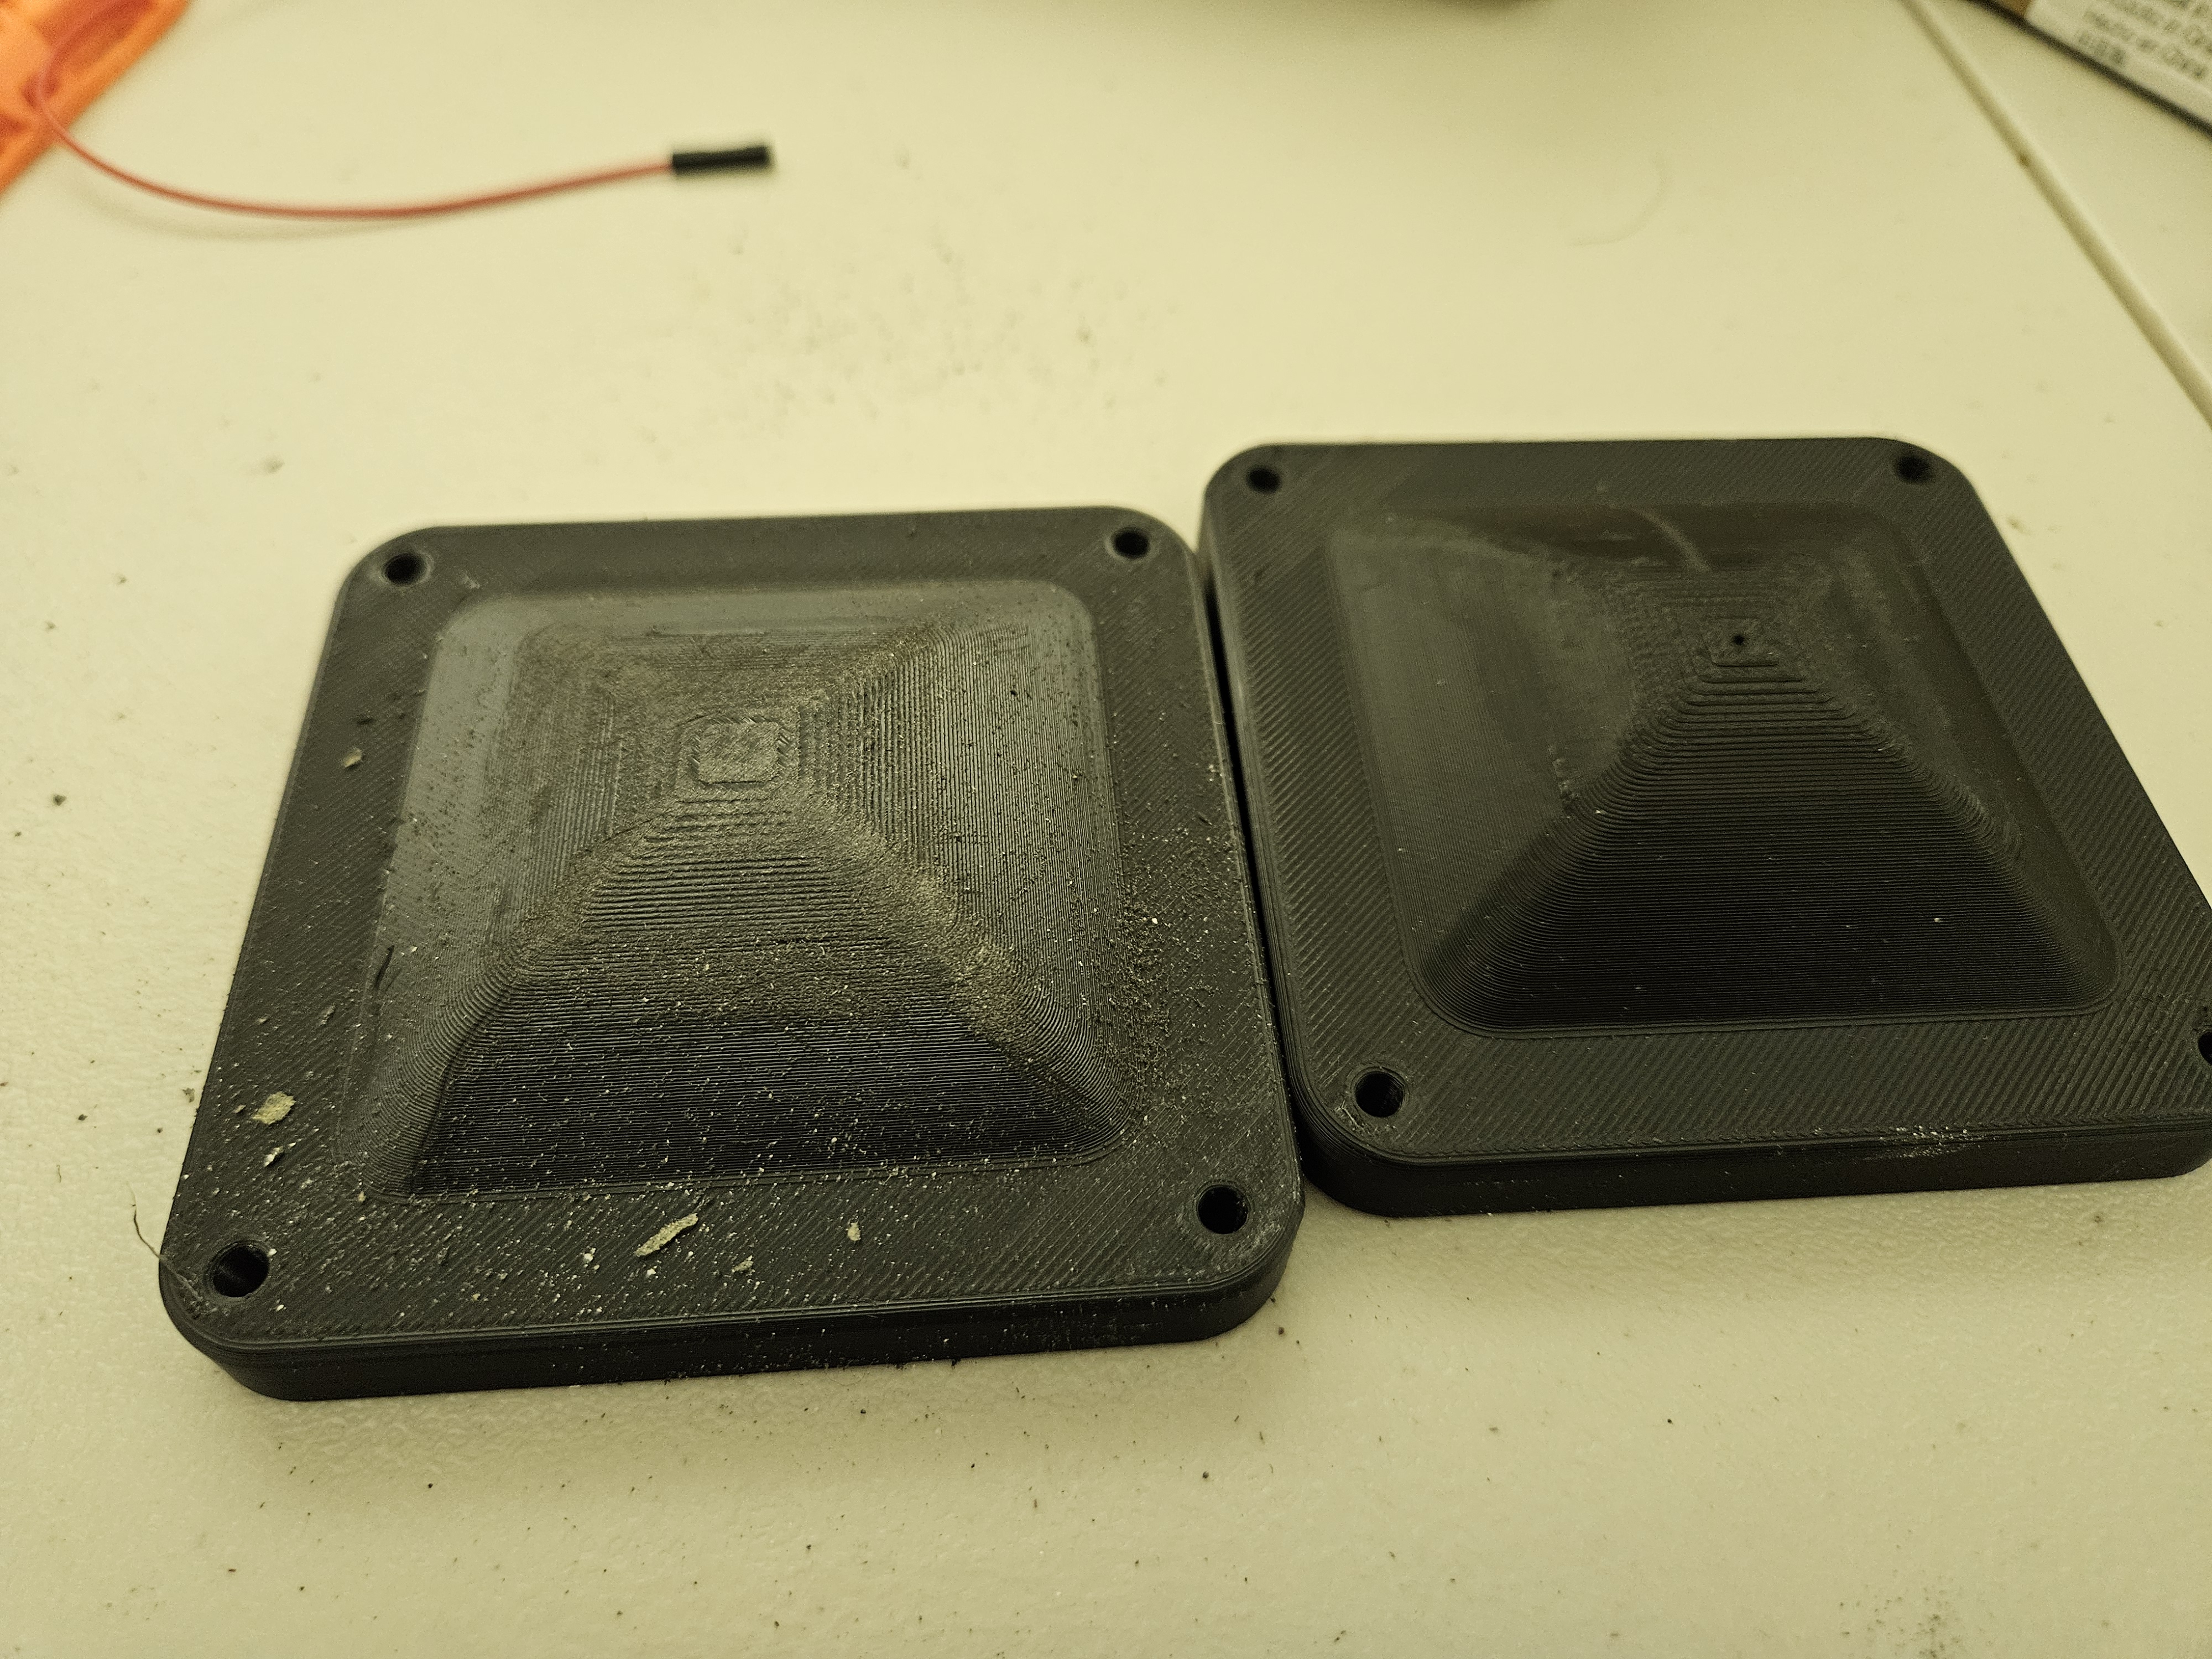
We then printed this in our 3D printers. I acknowledge that it would have been better to put these molds in a CNC machine, however we had two major issues. The primary material was wax - I wasnt sure if this would melt under the hot molten acrylic sheet causing deformation or worse, bonding. Secondly, I just didn't have the time to iterate multiple designs from the CNC as I did with the Additively using my personal machines.
We printed these out of Polycarbonate - I generally always have it loaded AND it is extremely heat resistant. Our prints turned out pretty good, except it had some print imperfections. Note, these print around ~280C and extremely slowly.
We also printed these in multiple sizes. This was under the concer that it acrylic would have memory or spring (like metals) causing deformation not an insignfiicant amount next ot the molds. This was not a cocern as we would later go with just the matched dimensions.
Initial Test
Based on online data, we find that Acrylic glass temperatures are 90-105C. We shoot for the lower end of this range with the plan to go hotter if we needed. We assigned ourselves to Job 6 on the machine. In this case, we used 70C first in order to preheat the acrylic. However, it wasnt bending or appearing malleable and we then switched it to 70C. Almost instantly, the acrylic became malleable.
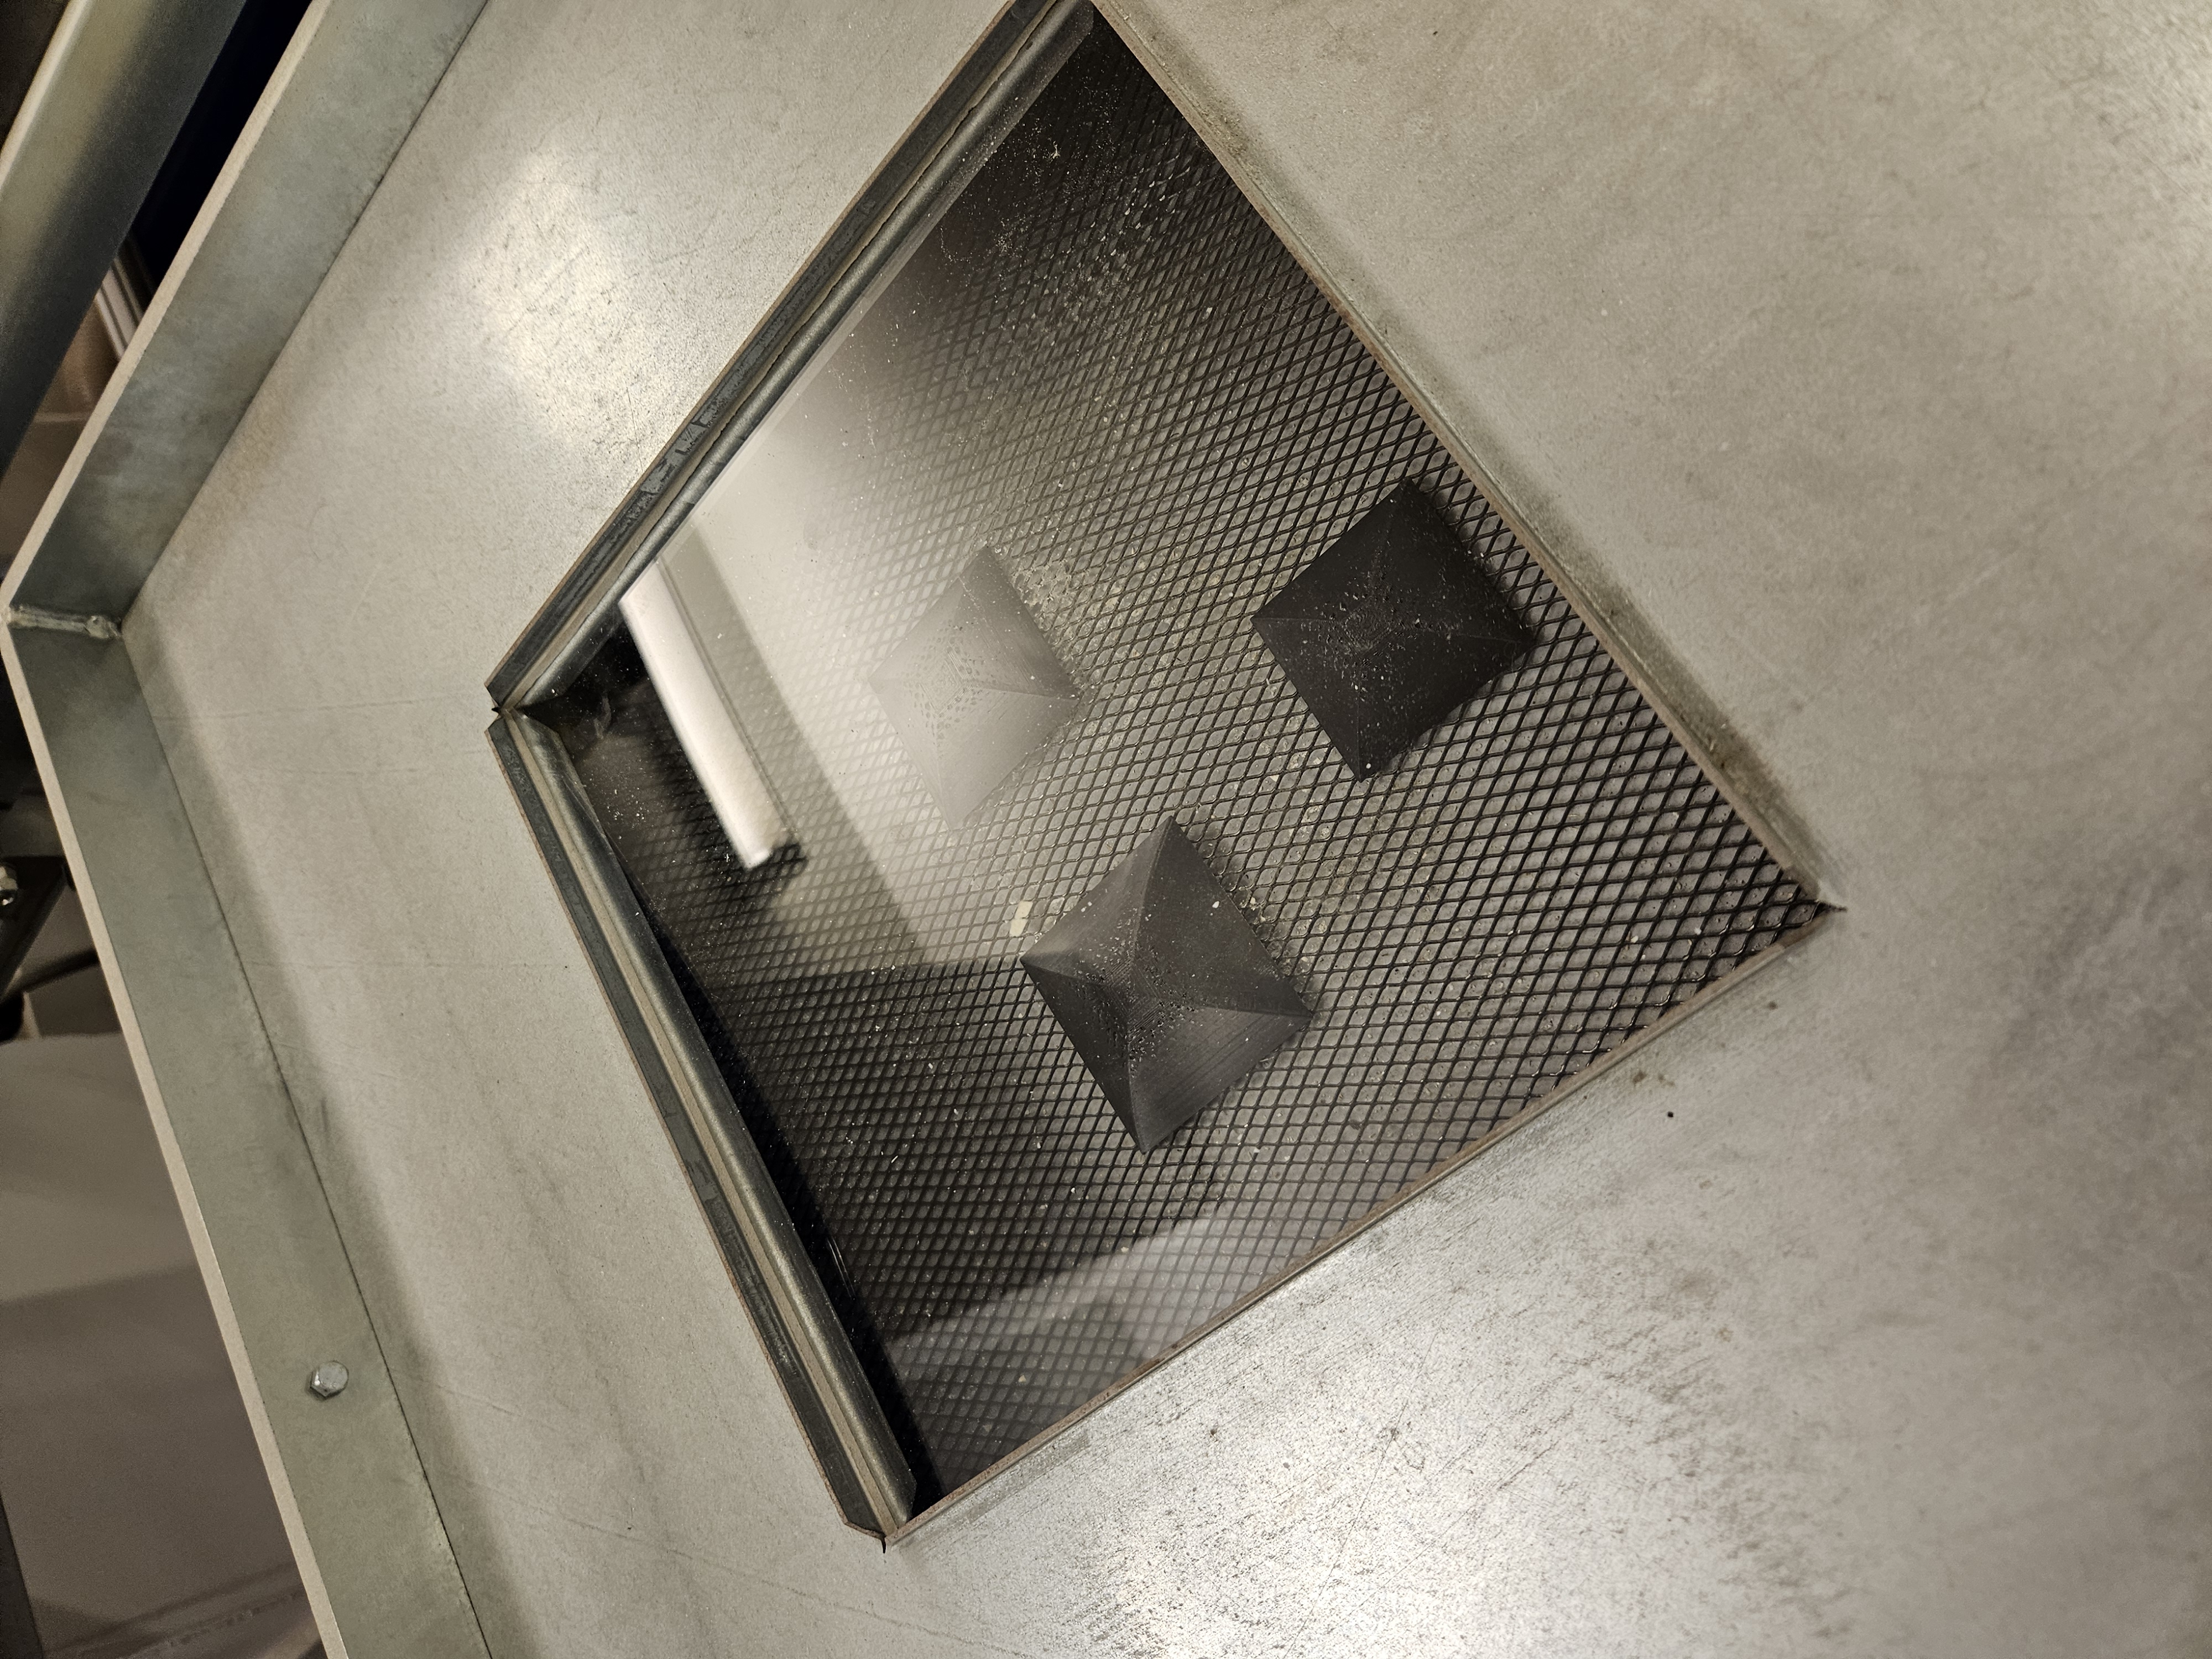
We then pressed the acrylic into our molds.
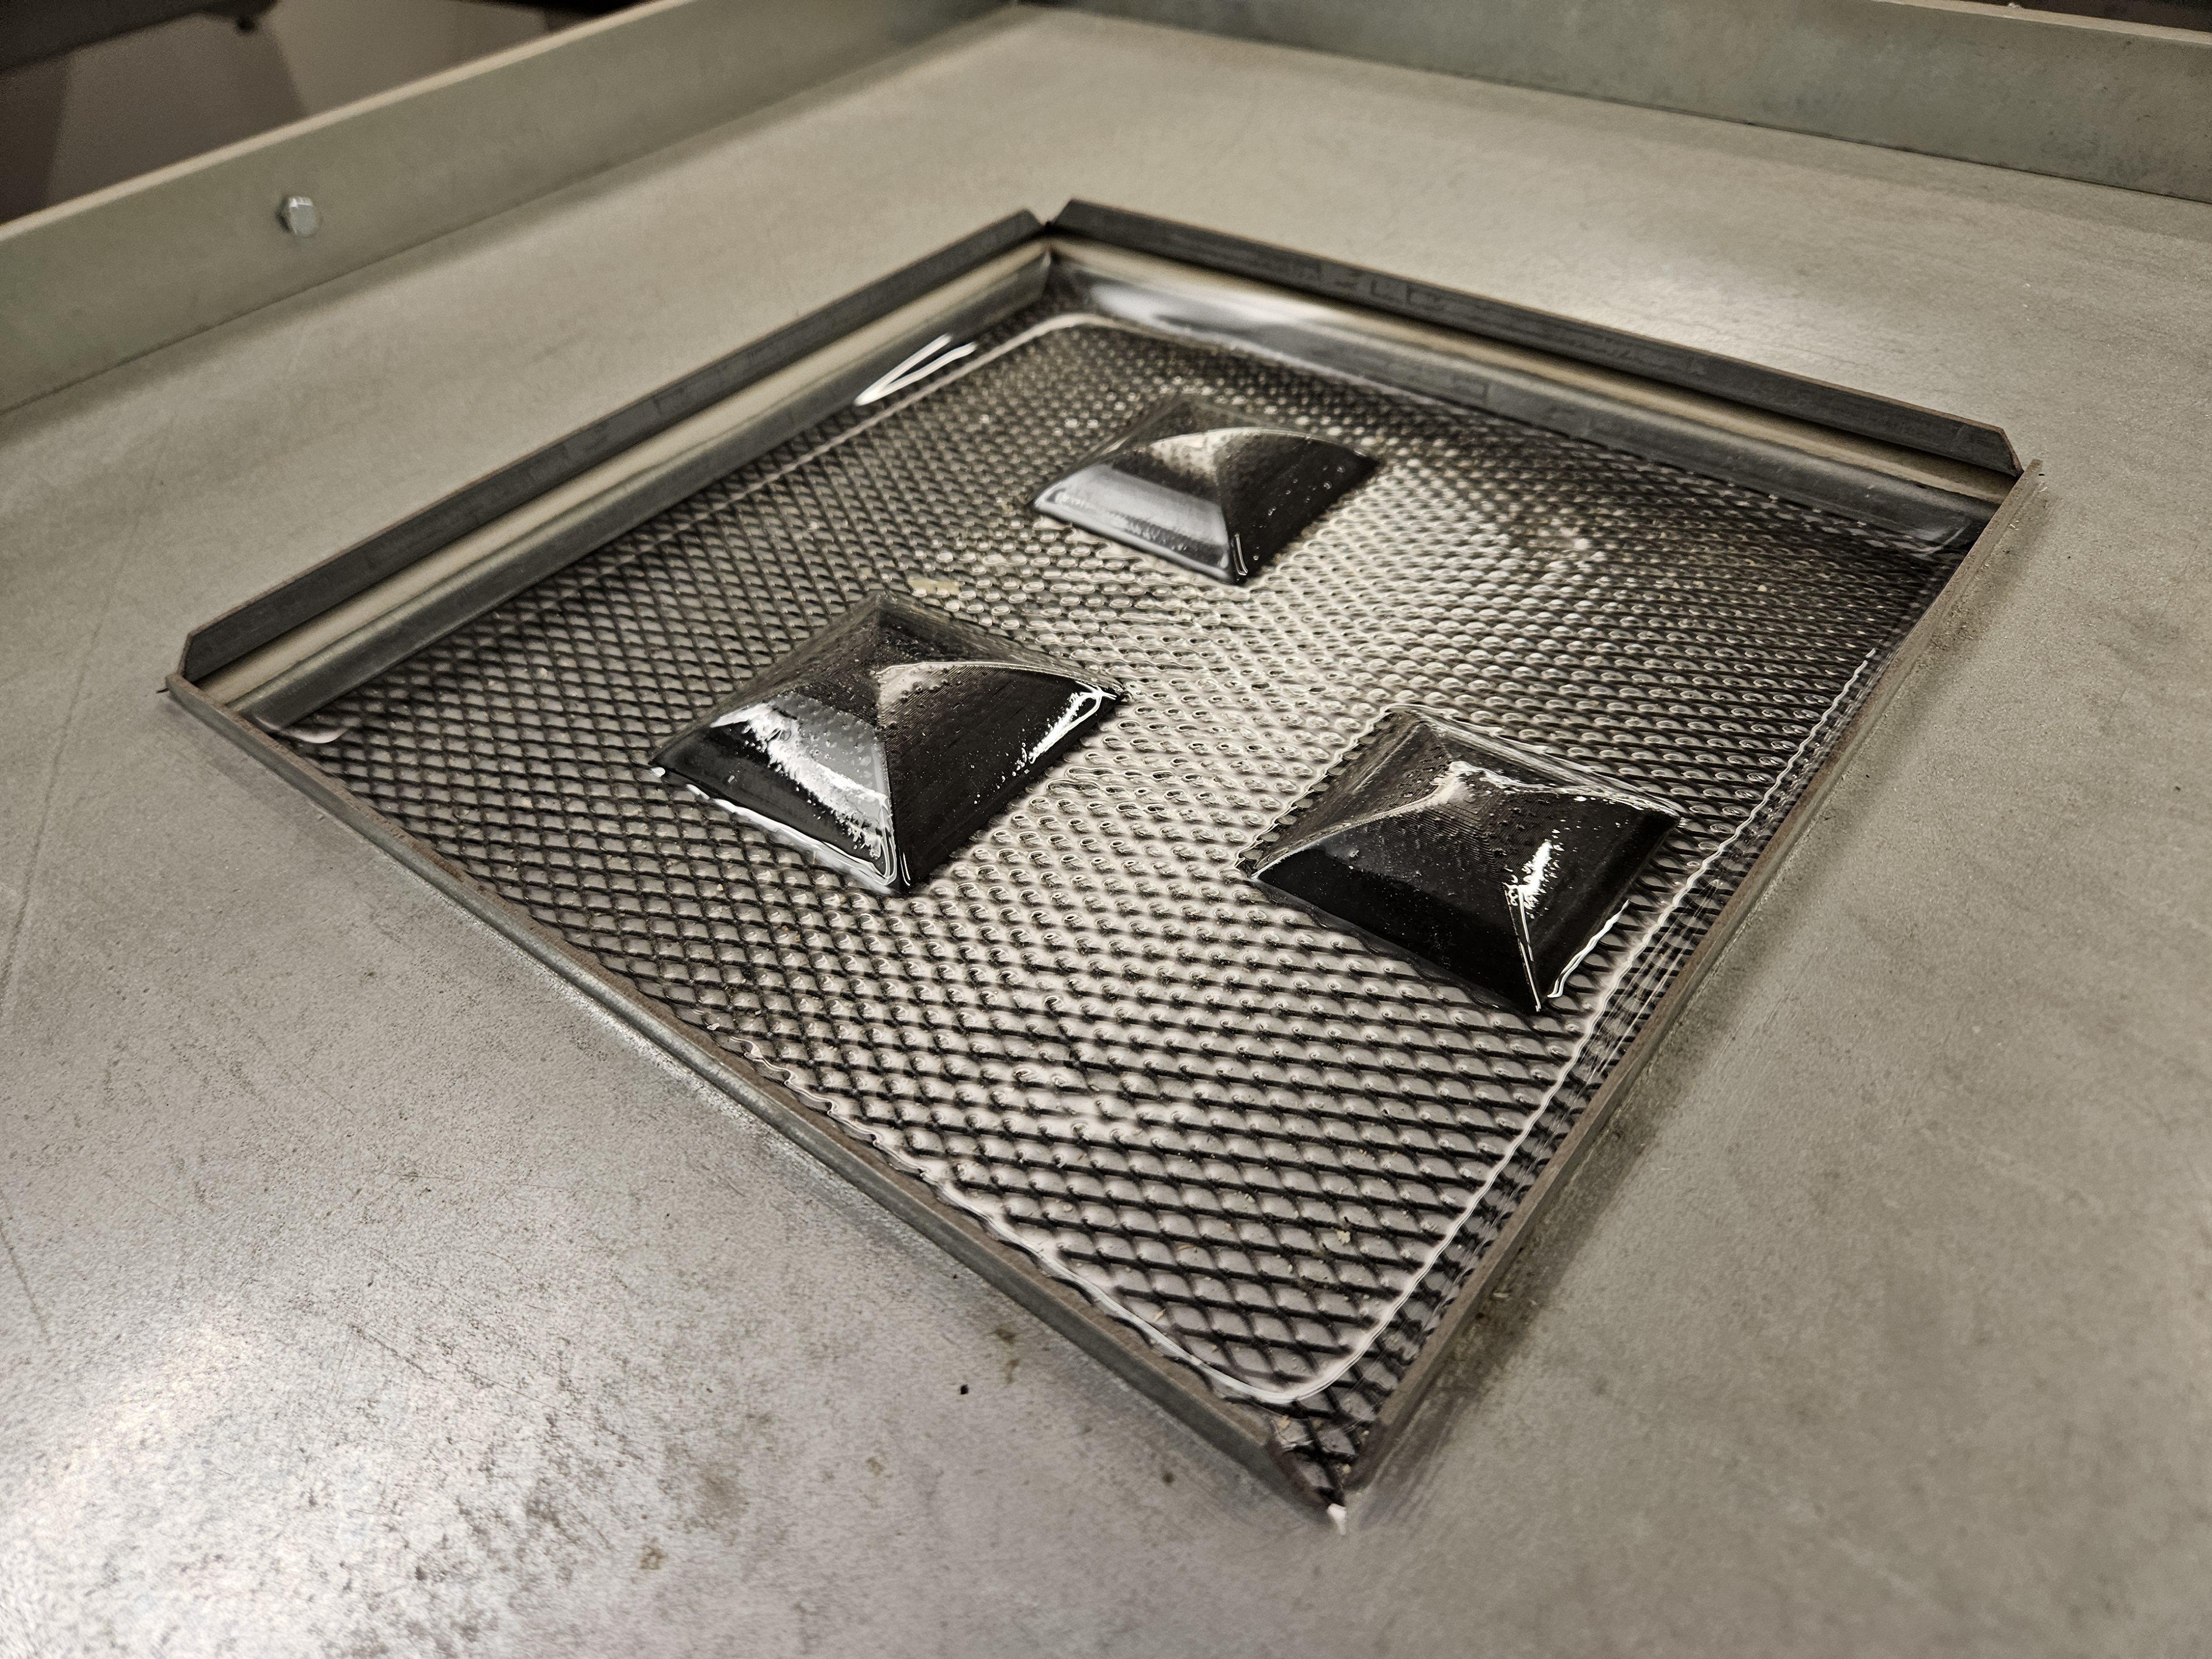
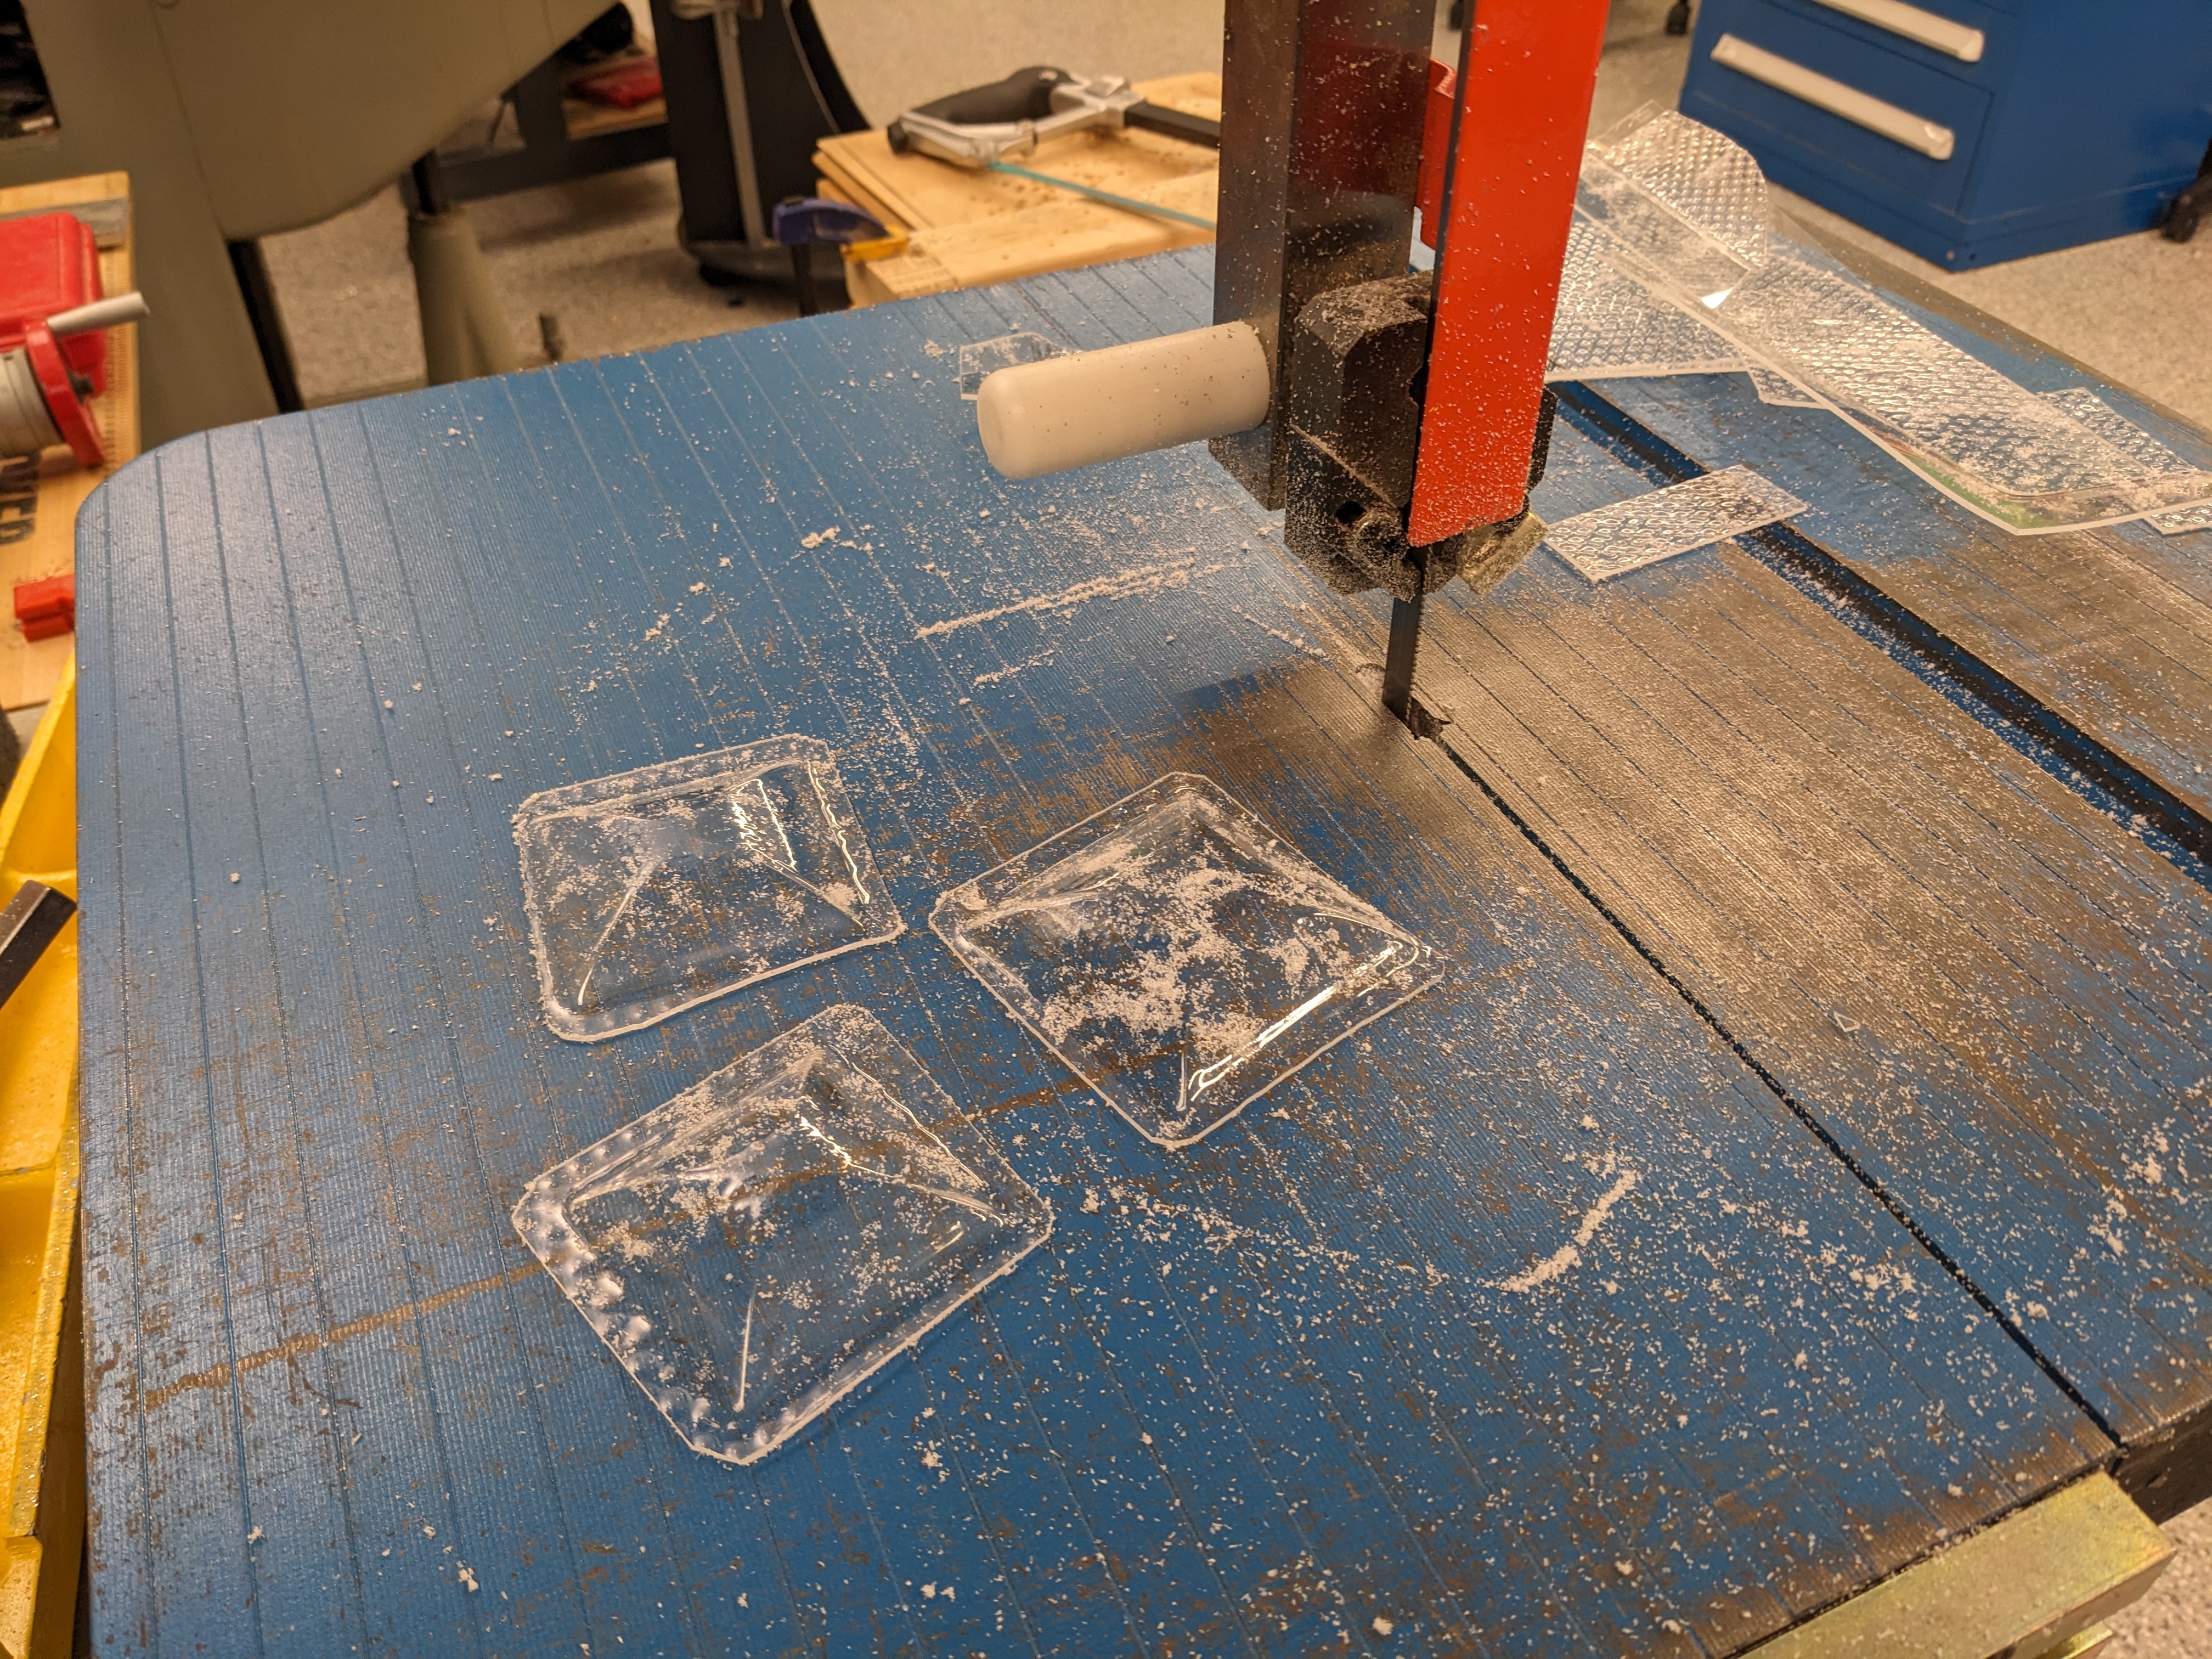
After holding for a few seconds, the vacuum release almost instantaneously popped off the acrylic. We can see both the marks from the "mesh" and the 3D printed lines.
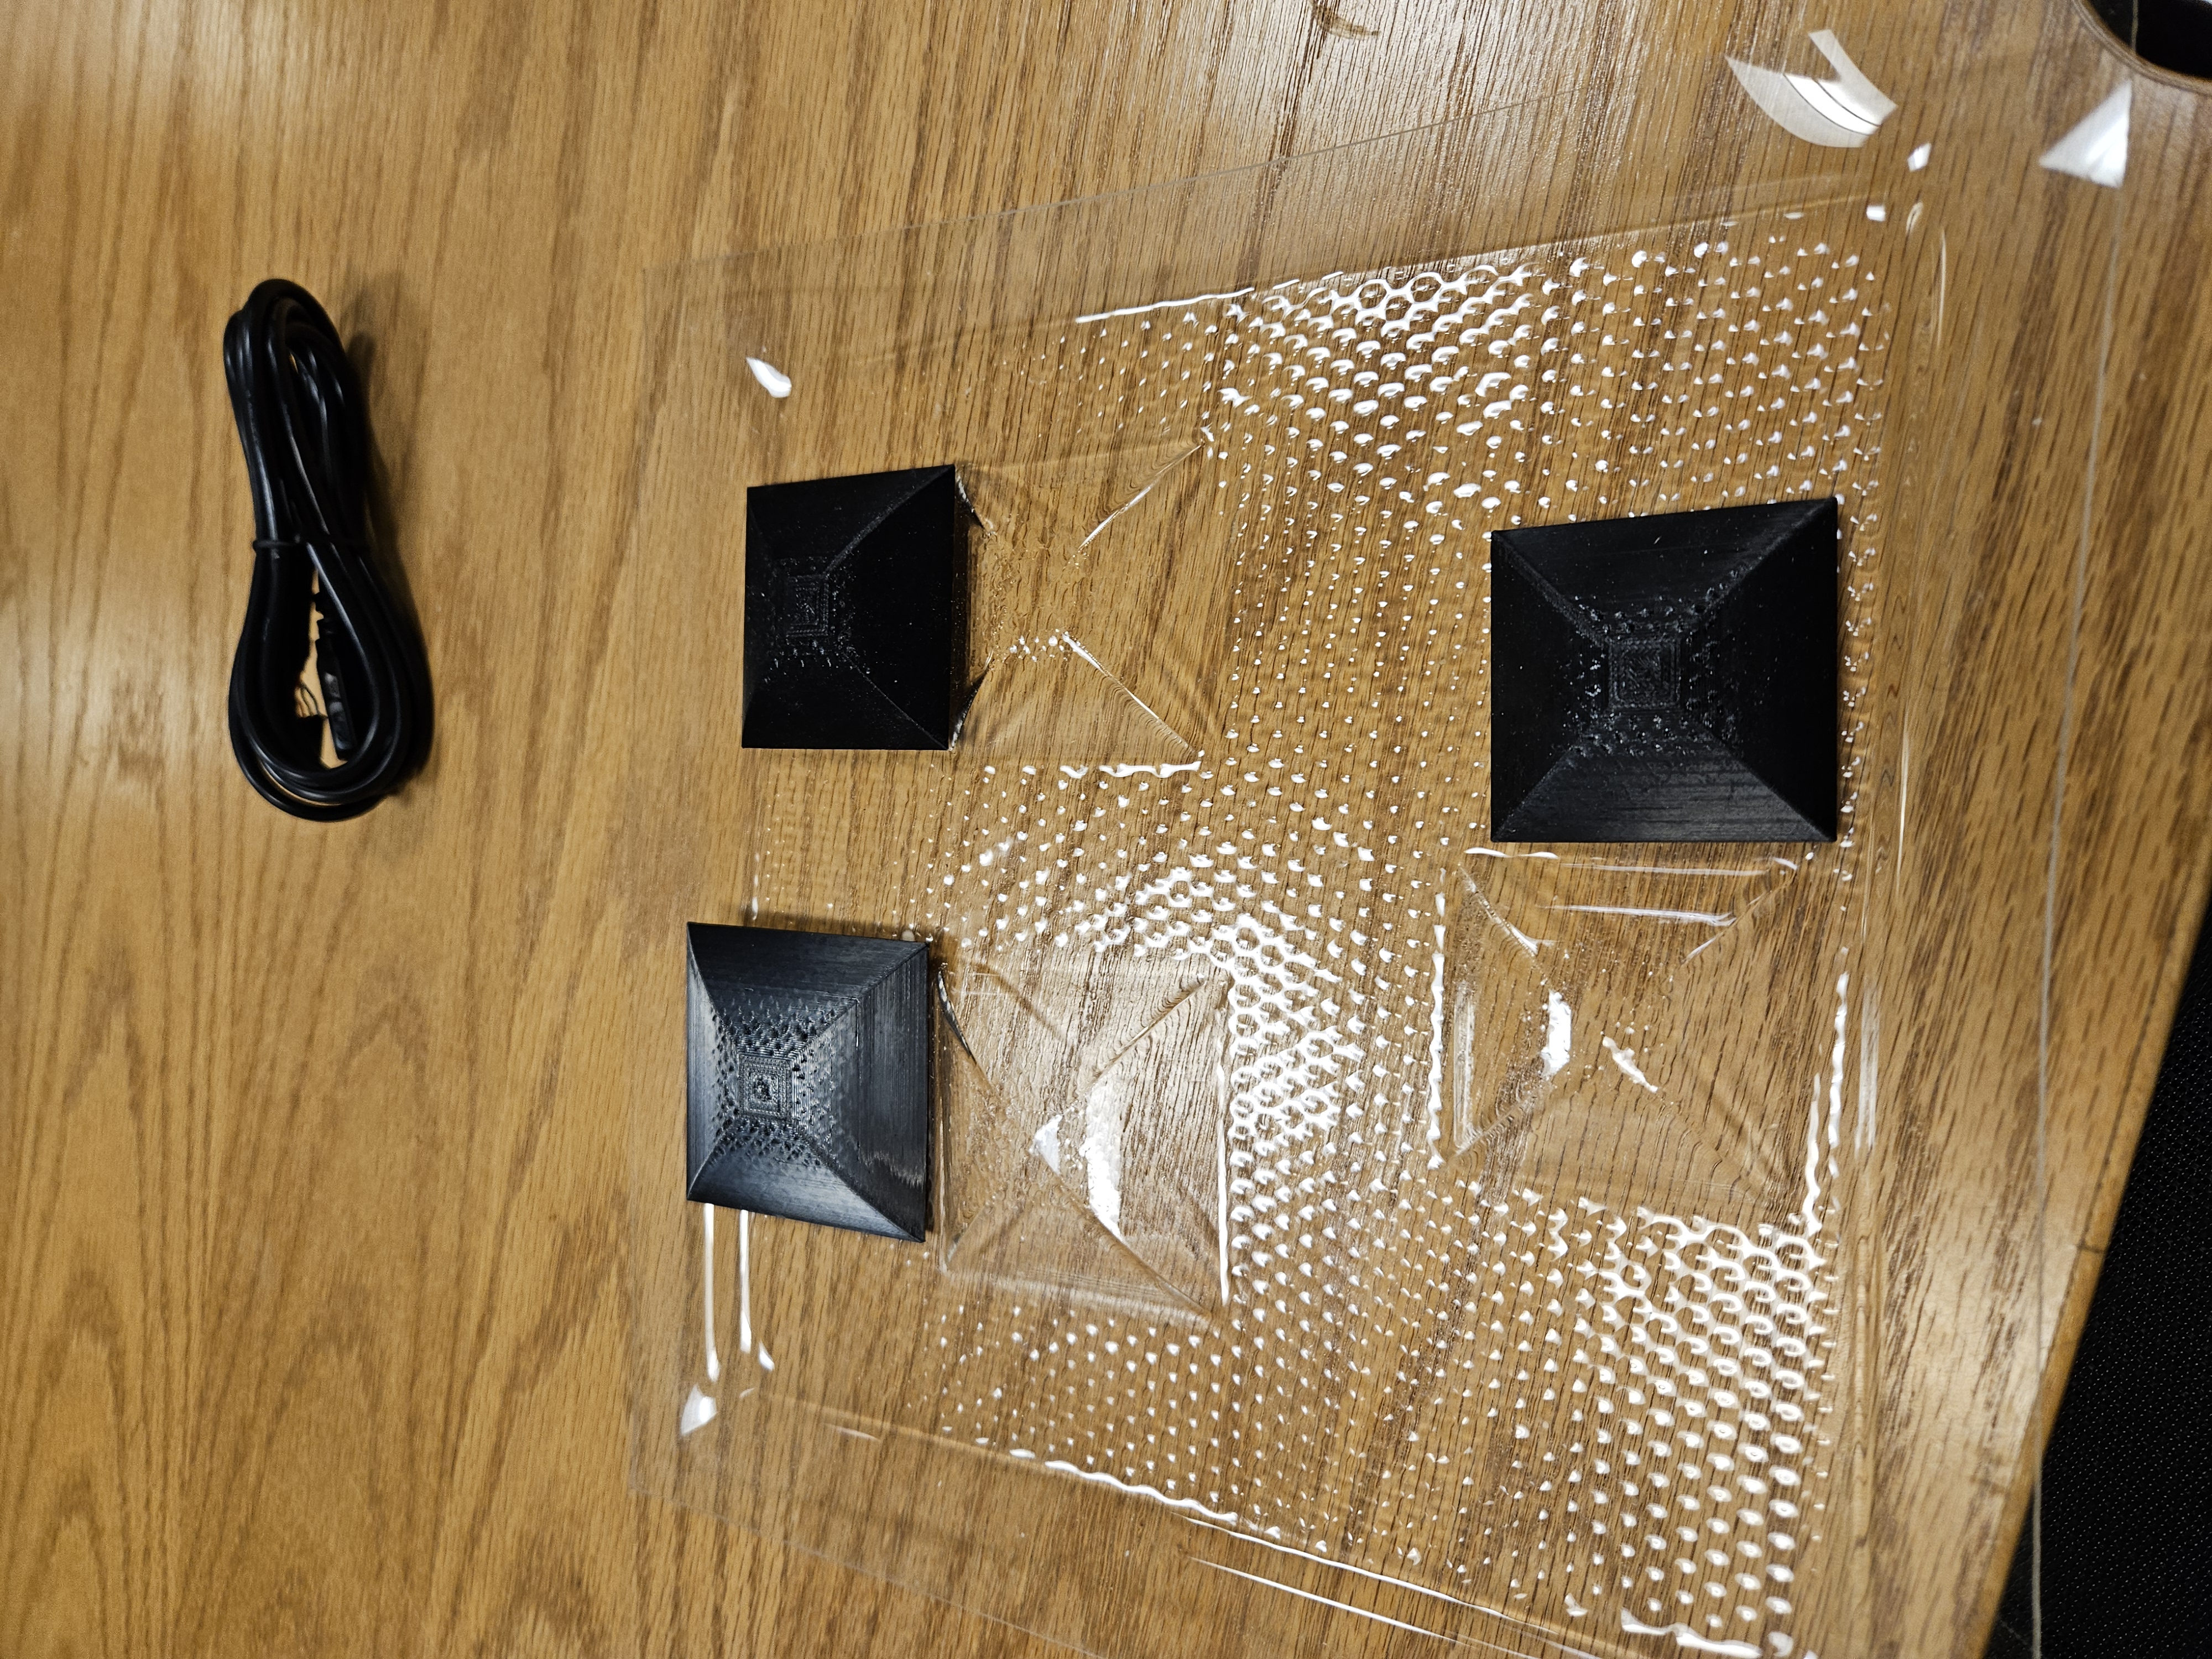
Using the bandsaw, we then cut off the excess acrylic. Note, I would have much rather preferred to laser the final piece, but I was unsure if the molded acrylic would then interfere with the laser height. This would have produced a cleaner cut but was at risk of damaging the machine.
Lessons Learned & Second Mold
We understood that we can run the machine for about 90s at 90C. This served as a great starting point for us!
Using our previous lessons learned, I created another mold. In this case we eleveated the mold itself in order to create a better vaccum cutoff line. Additionally, I changed the material from Polycarbonate to PET-G. This was mostly due to the fact that the mold did get that hot and PETG has great heat tolerance (although not as good as PC). Finally, in order to get rid of the imperfections on the mold, we took some time to sand the 3D printed part with 120grit and 230grit sandpaper.
These parts turned out great. However, if I had additional time, I should have resin printed the parts and then taken the time to clear coat it. This would have created the best results.
- © Untitled
- Design: HTML5 UP