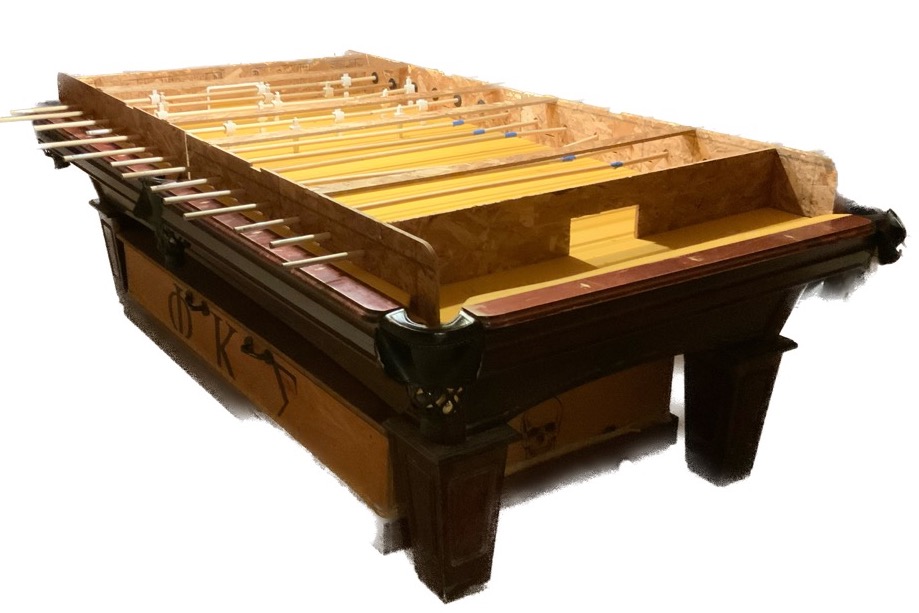
This week I'm making a comically large foosball table. That is, I take the standard foosball dimensions (i.e. the size of the men) but double both the width and length of the play-field. So now up to 8 players can join instead of the usual 4; or dual a friend for a 1v1 with lots of running.
 This thing is really large
The idea is to make an add-on for a standard 9' billiards table. There happens to be one in the basement of my fraternity, where this project will live and be assembled.
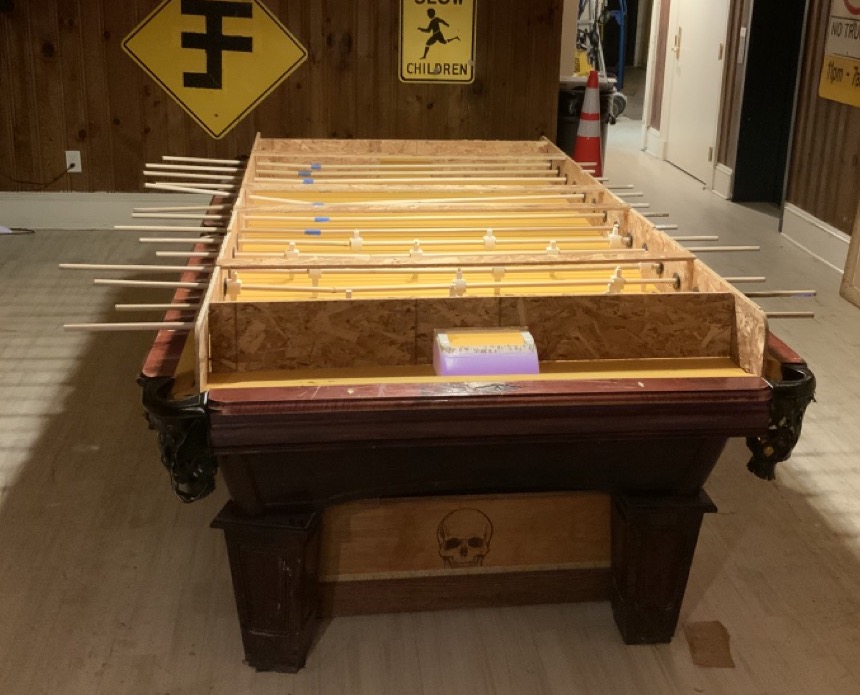
 This image is just half the table!
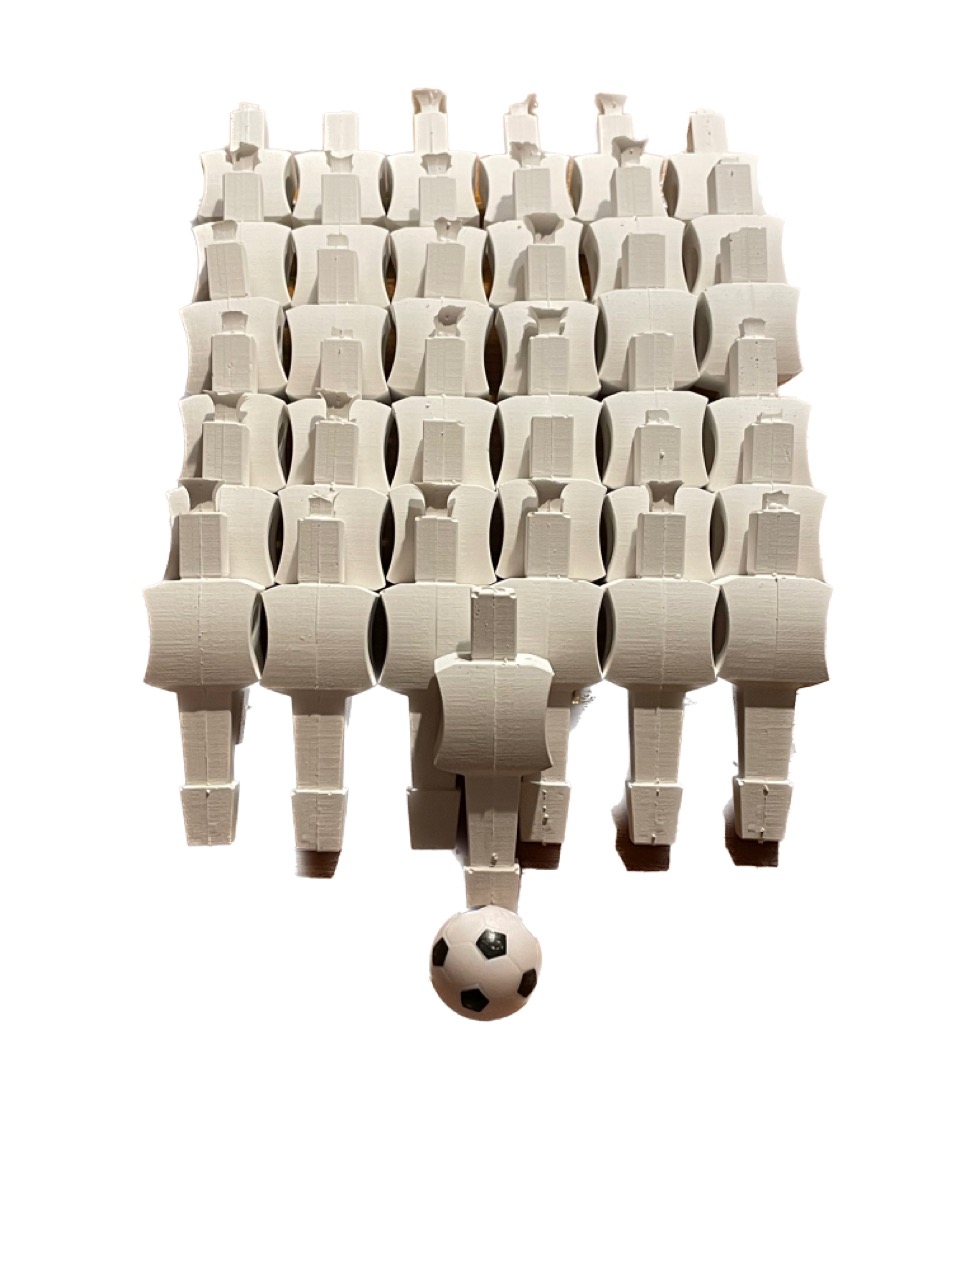
This project is about 50% logistics; making one of the men from foosball is not very hard; making a full-set is a challenge; but making twice that amount, and within a week is crazy. So I started this project by planning a rough schedule to manufacture at least 42 foosball men (minimum amount required for three per stick) in addition to building the table itself. All this without losing my sanity.
 Mold made of Oomoo
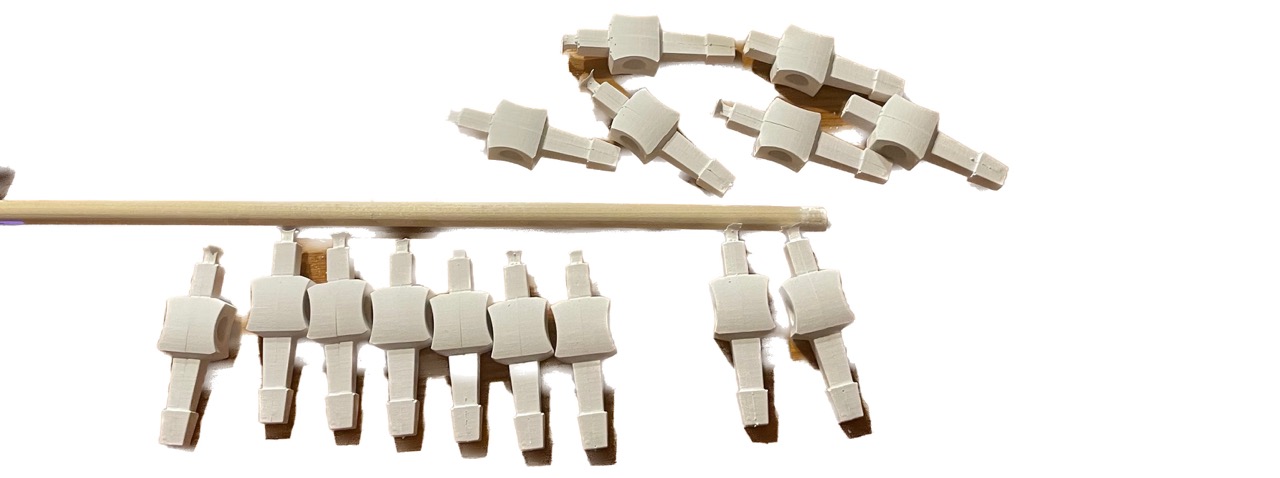
I took a page from last week and decided to mold & cast the men. The process isn't much effort, but requires sticking around while the cast cures to make the following batch. It so happened that Saturday and Sunday this week were rainy so I wasn't going to go out much and made the bulk of these casts then.
 The first foosball dude I made
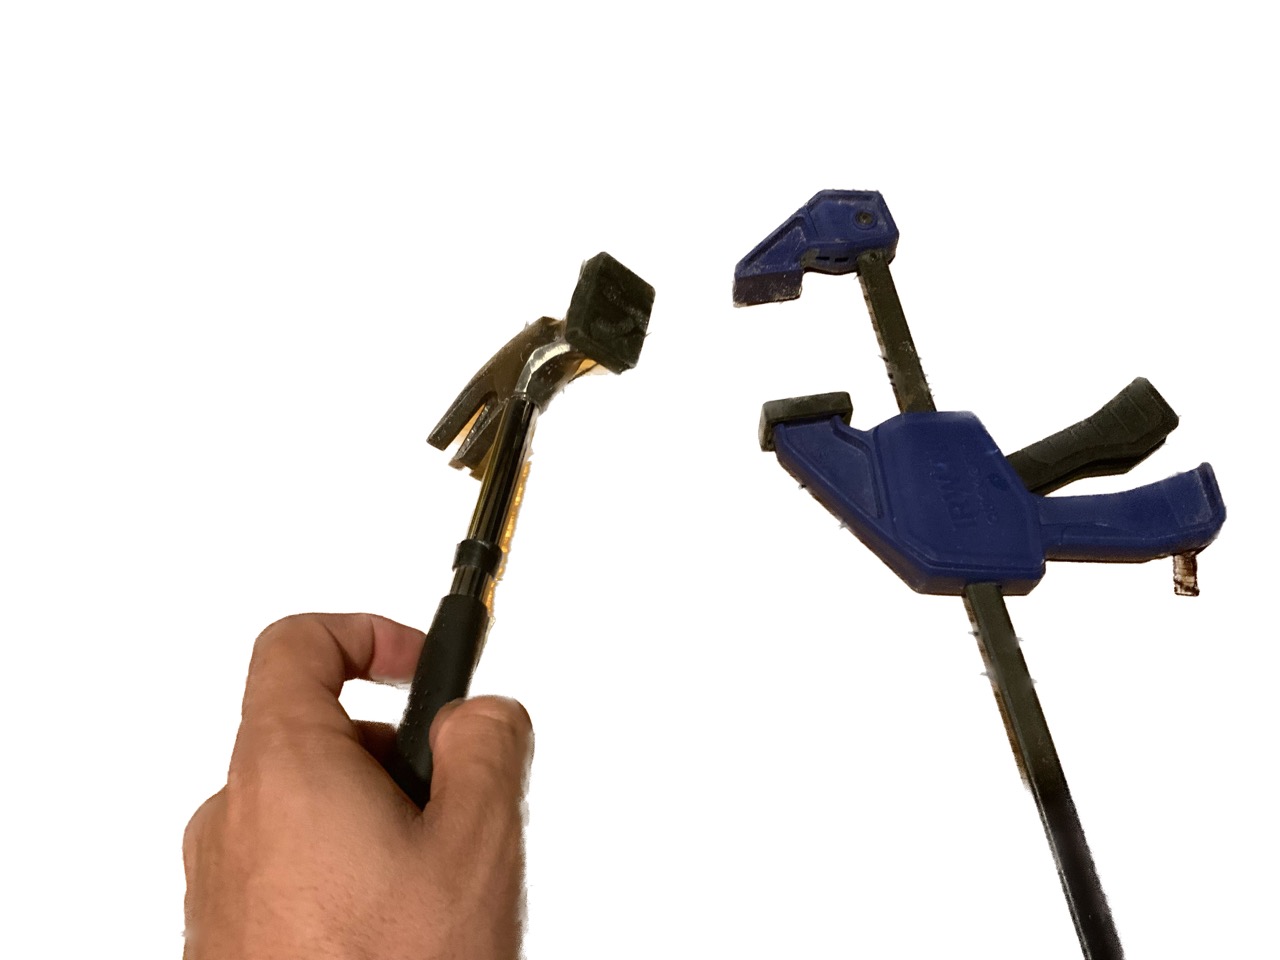
These guys are cast from drystone, which is like a modified plaster. I was afraid it'd be too brittle so Anthony and I did some quick tests dropping and hitting casts with a hammer. I think for even the most extreme of foosball players, this will do fine:
I used the same exact process as last week, except this time I'm taking full advantage of this mold of a mold concept. At the same time that I cast foosball men from drystone, I made more molds from Oomoo to have even bigger batches in the future.
 Progress, Day 1
 Progress, Day 2 (way faster!)
Since I've just done way more drystone casting than most, here is my advice: - Follow their instructions but always add a little more water to have a consistency a little thinner than pancake batter. You want to prioritize how easy it will be to pour; the exact measurements don't really matter. - Mix thoroughly between pours because this stuff becomes more viscous very quick. Also don't be afraid to stop mid-pour to stir again. - Even if you manage to get a thin stream, beat the mold against a surface at all times when pouring to let the air out. It can also help to pinch along the seams of the mold (if it's a two-part) to get bigger bubbles out.
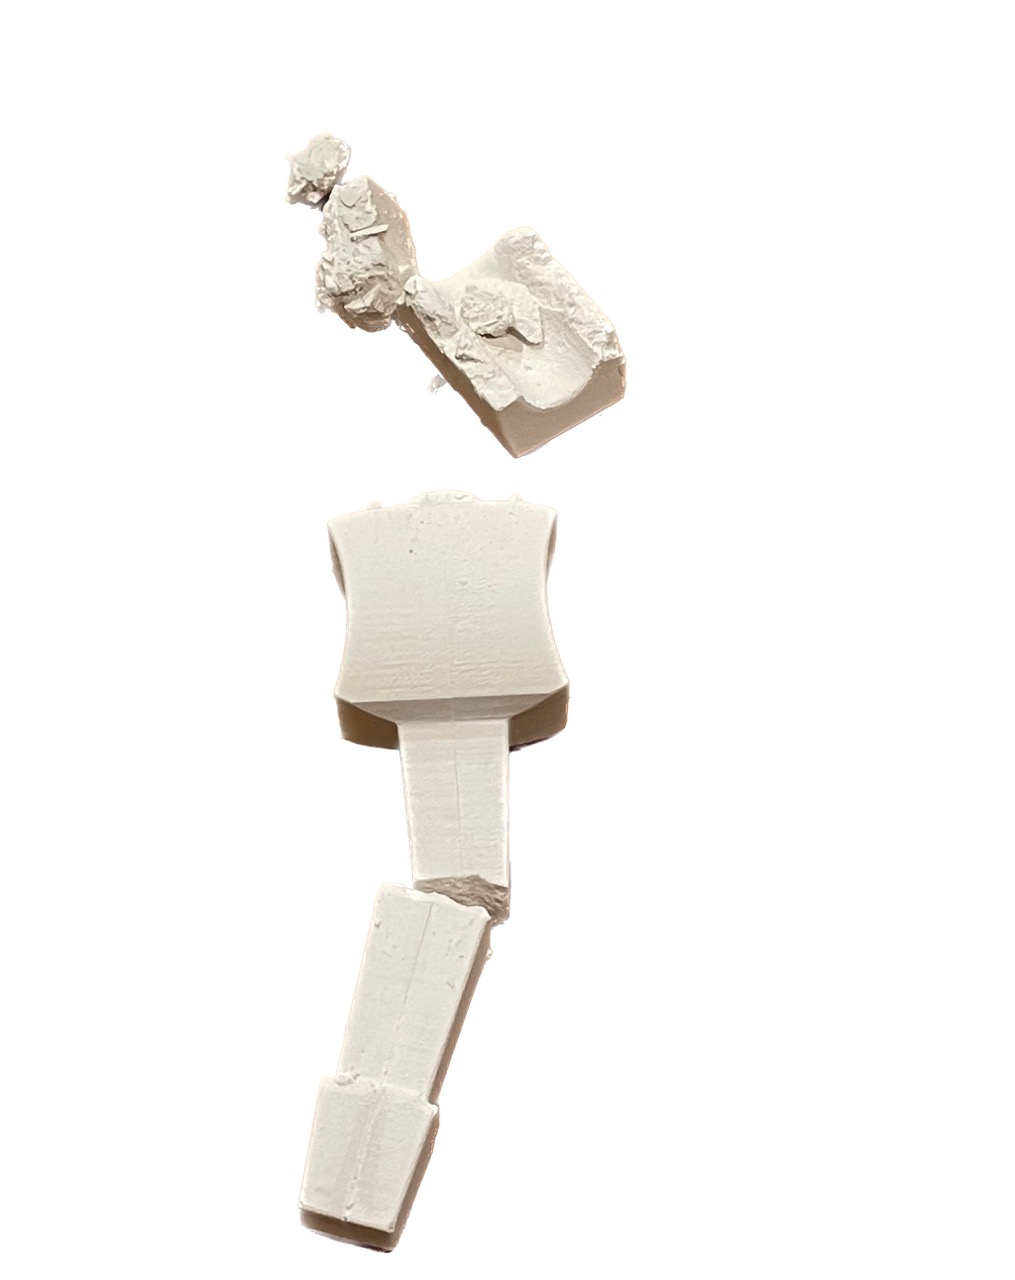 What happens when an air bubble enters the mold
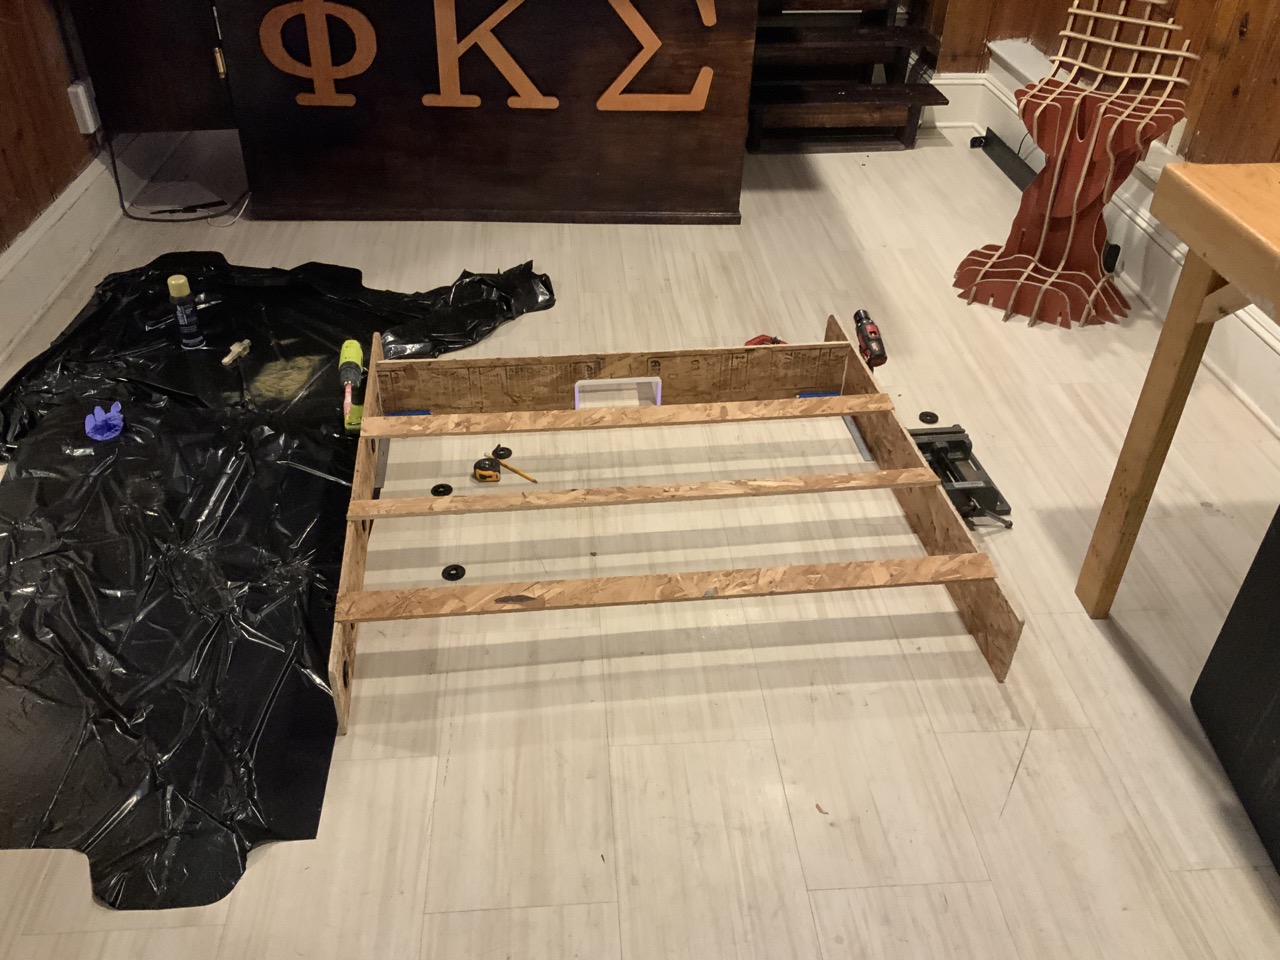
The design for the wooden frame is fairly simple. The only real design constraint is supporting large forces along the cross axis because people play aggressively.
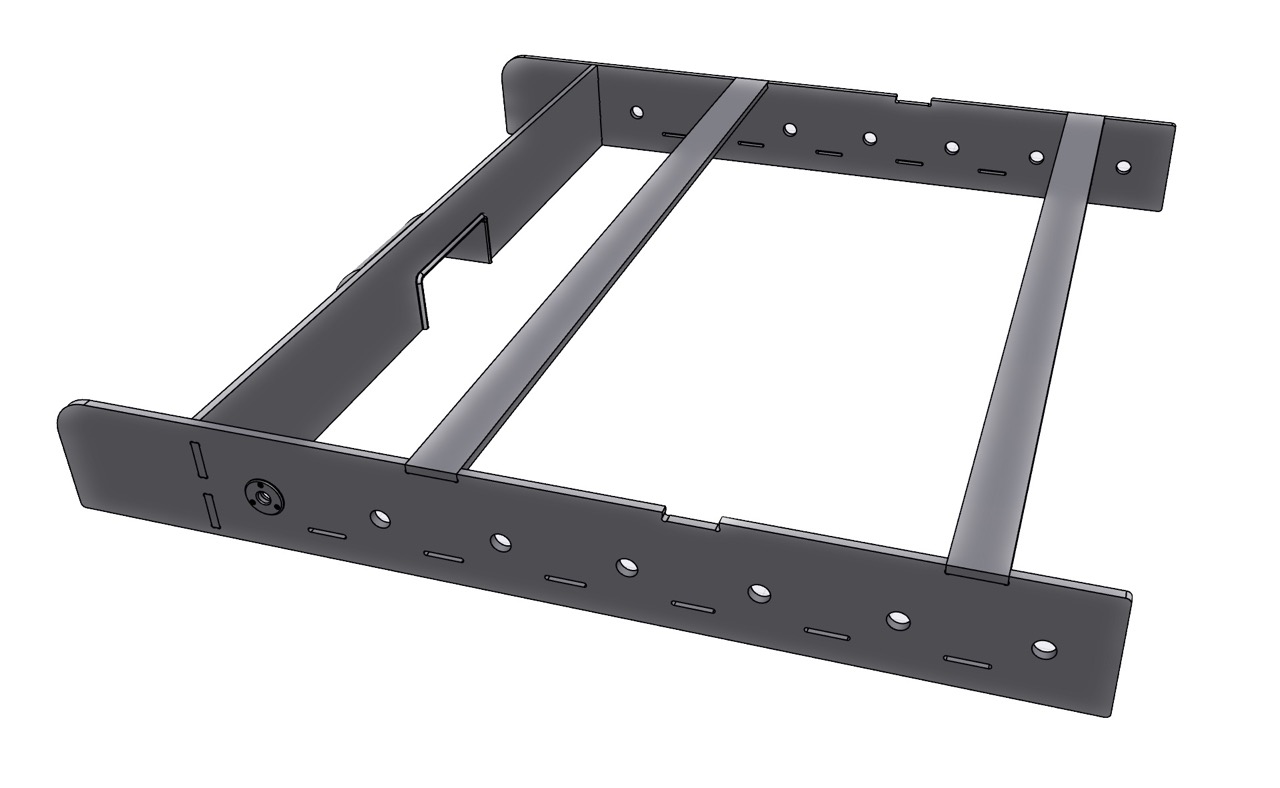 Model of the design
It's very hard to convey this through images, but this thing is really massive. It slots in a 9' billiards table (the largest possible size) so it has around the same footprint. So, I got a much bigger machine than what we had in my section to mill this.
The machine (C.R. ONSRUD) is awesome, but the results came out mediocre. I had issues with parts moving around (despite onion skinning) and the raw finish of OSB is pretty awful. Still, I used the full 4' by 8' sheet for this so I had to do with what I had.
And now for transporting these parts all the way from Central Square, Cambridge to Back Bay, Boston.
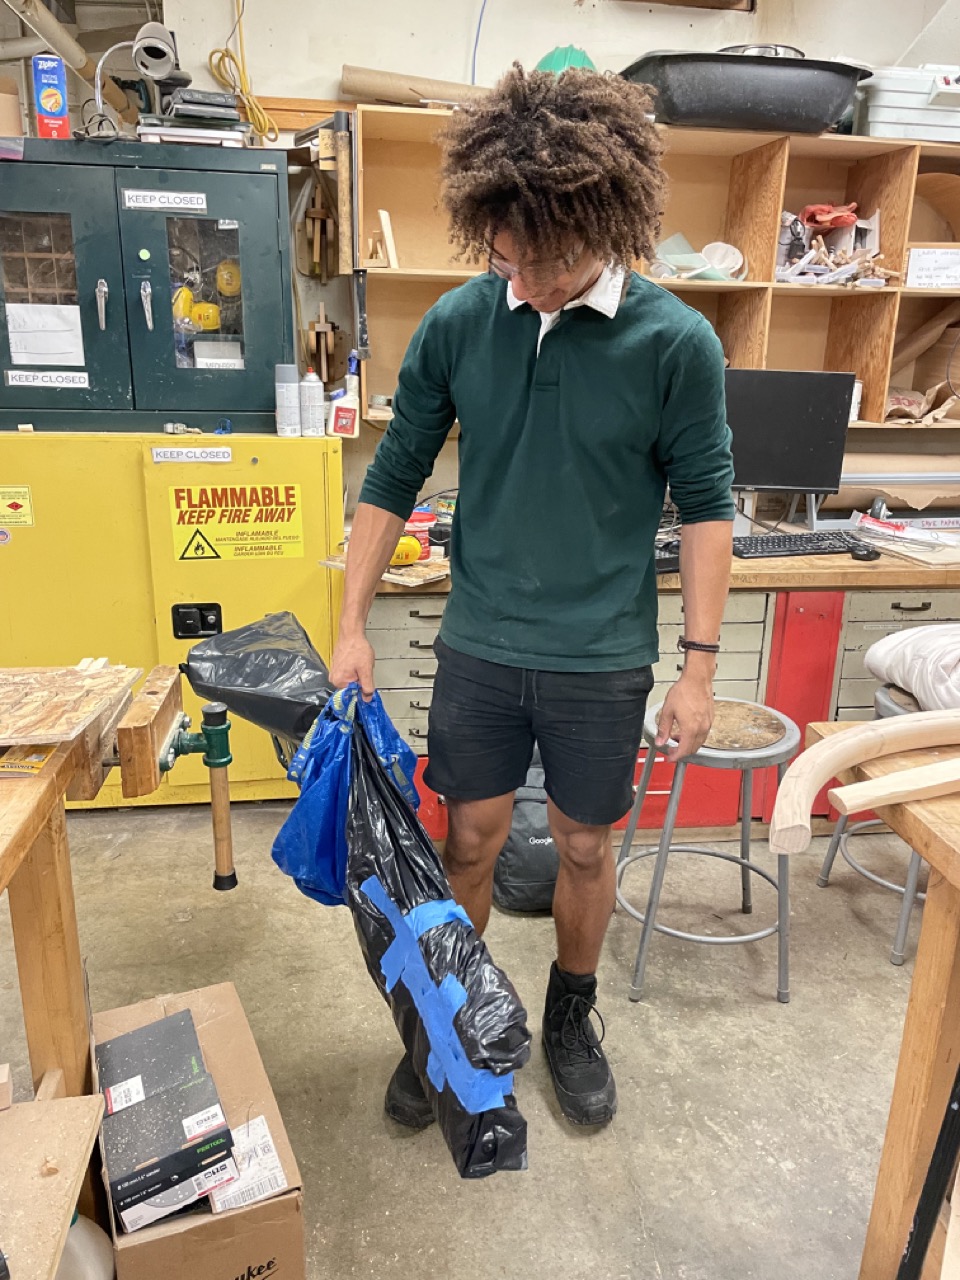 The "briefcase" setup; worked well but it was a workout
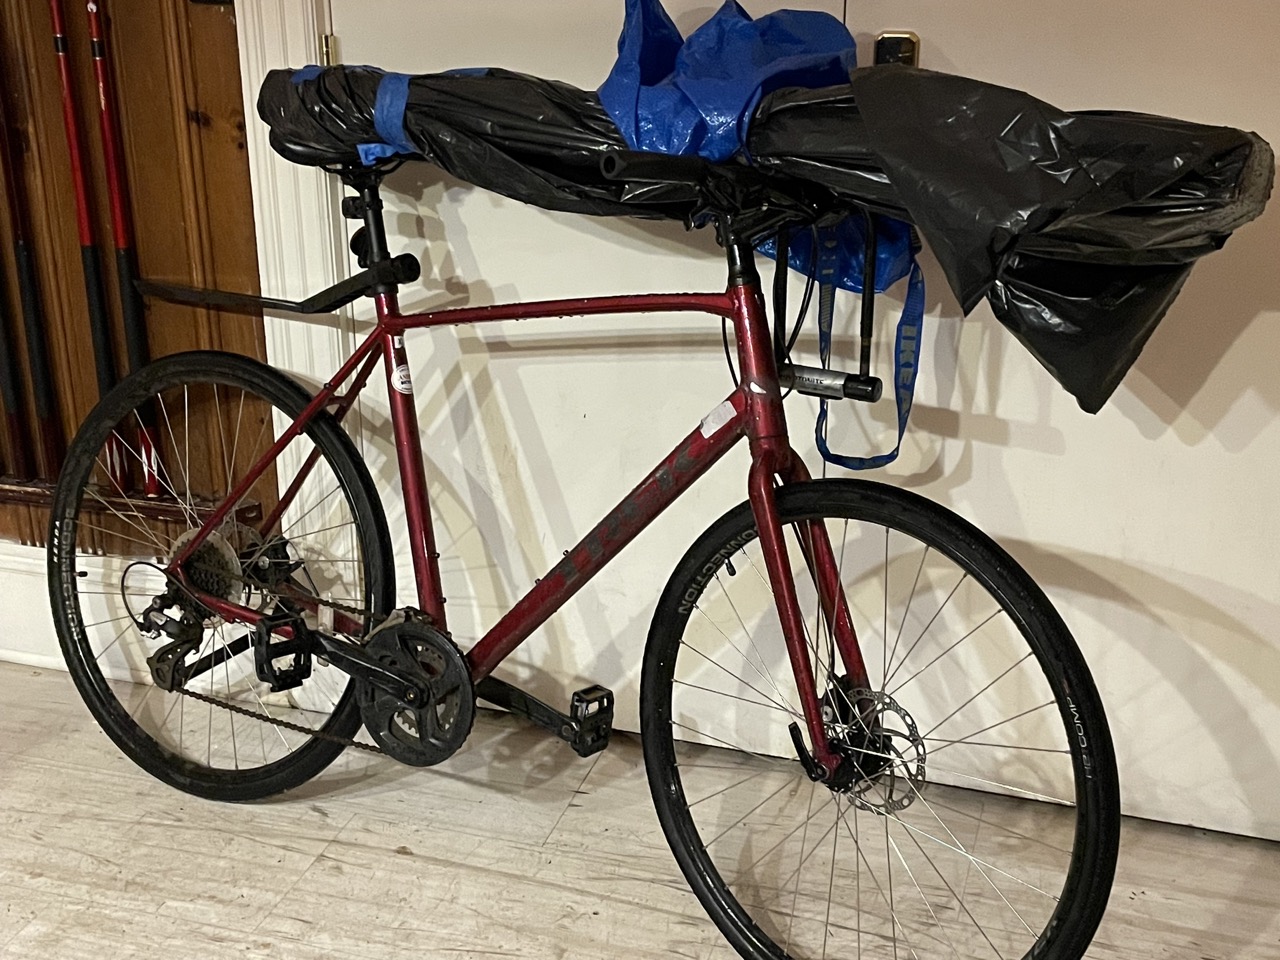 How it ended: much better!
Since this thing is so massive and will ultimately live in my basement, I brought all the raw parts home and worked there. This had a few quirks:
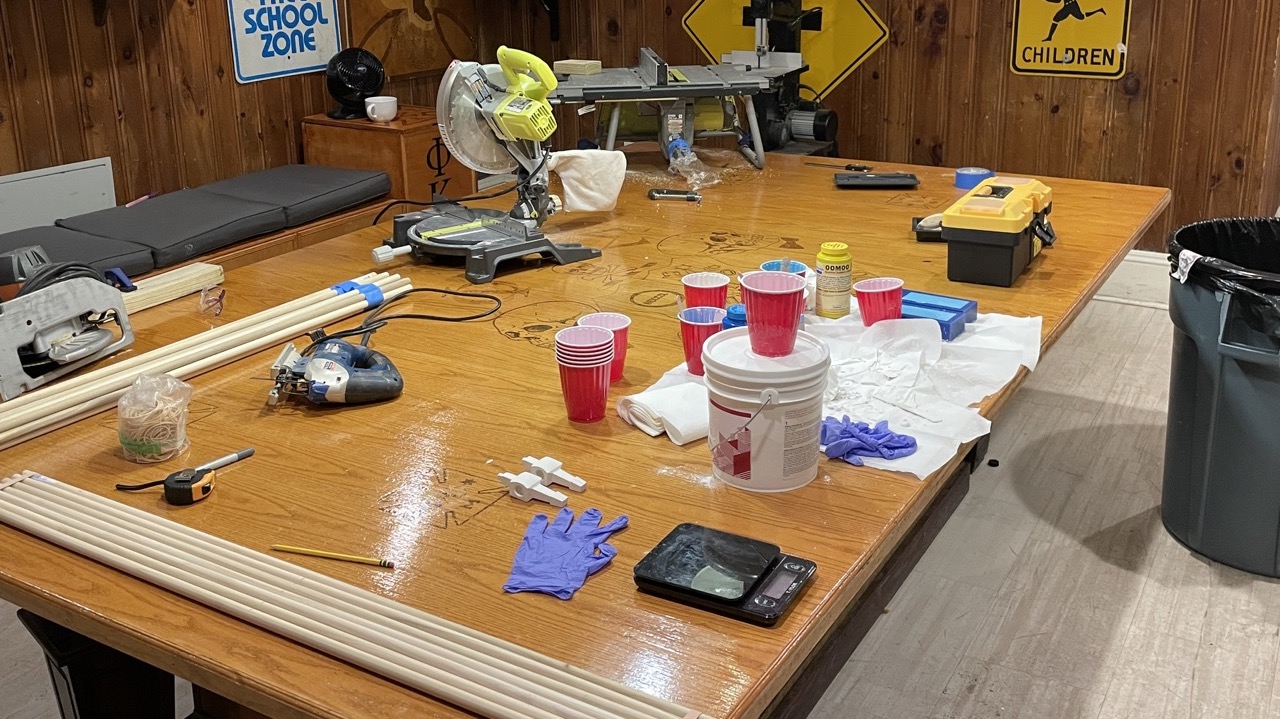 Yeah, this is clean
 "We have mallets at home"
 "We have a spindle sander at home"
 My back hurts
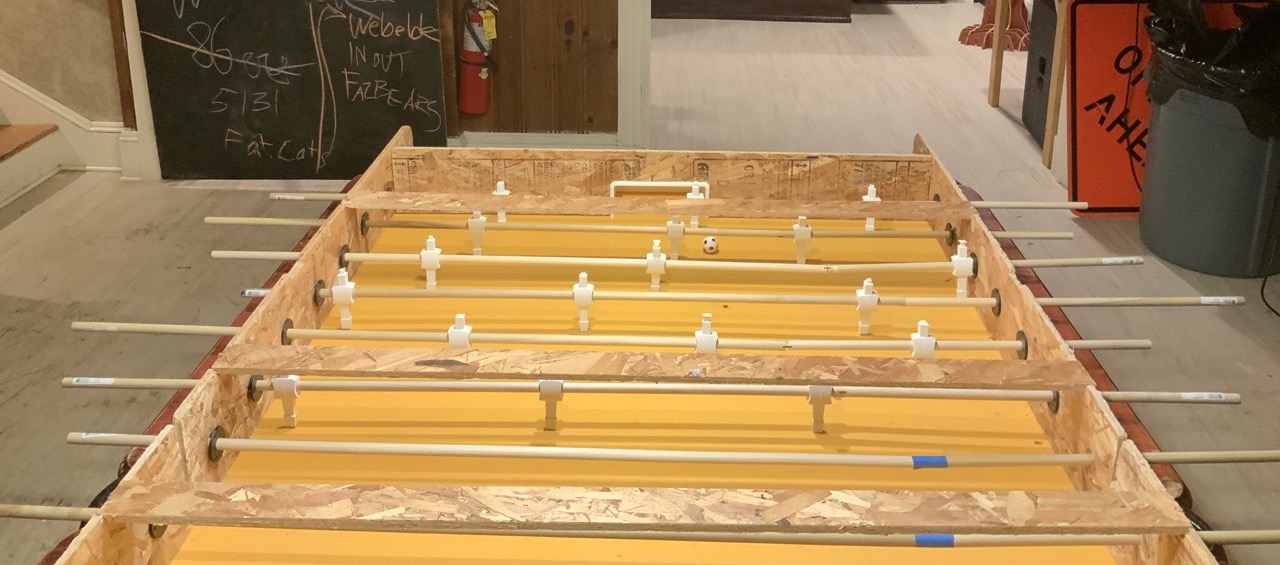
Now for the most seemingly difficult and expensive part of this project: the rods. A replacement kit for a normal size foosball table is already pretty expensive, but here the rods need to be twice as long and as twice as many. So solid metal rods are out the question; even hollow metal rods, in this quantity, are on the order of several hundred dollars.
So I decided to use wooden dowels which are extraordinarily cheap and probably sturdy enough at this thickness (5/8"). I went to Home Depot and bought the longest dowels they had.
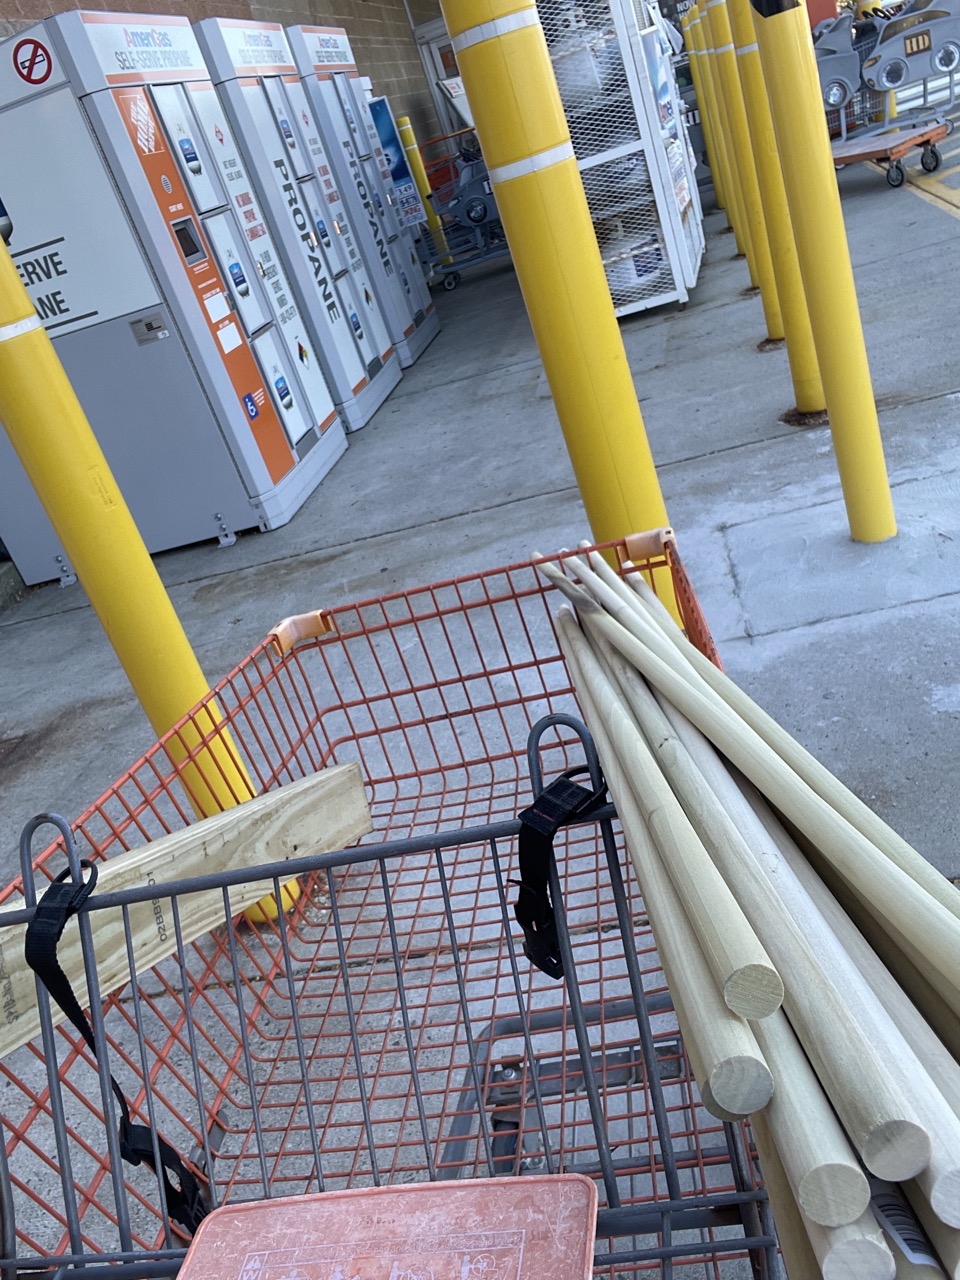 A normal purchase
Unfortunately I could only find 48" dowels but I needed at least 72" for each rod. So I decided to try and splice the rods. I followed this guide to get the right length from 1.5 dowels.
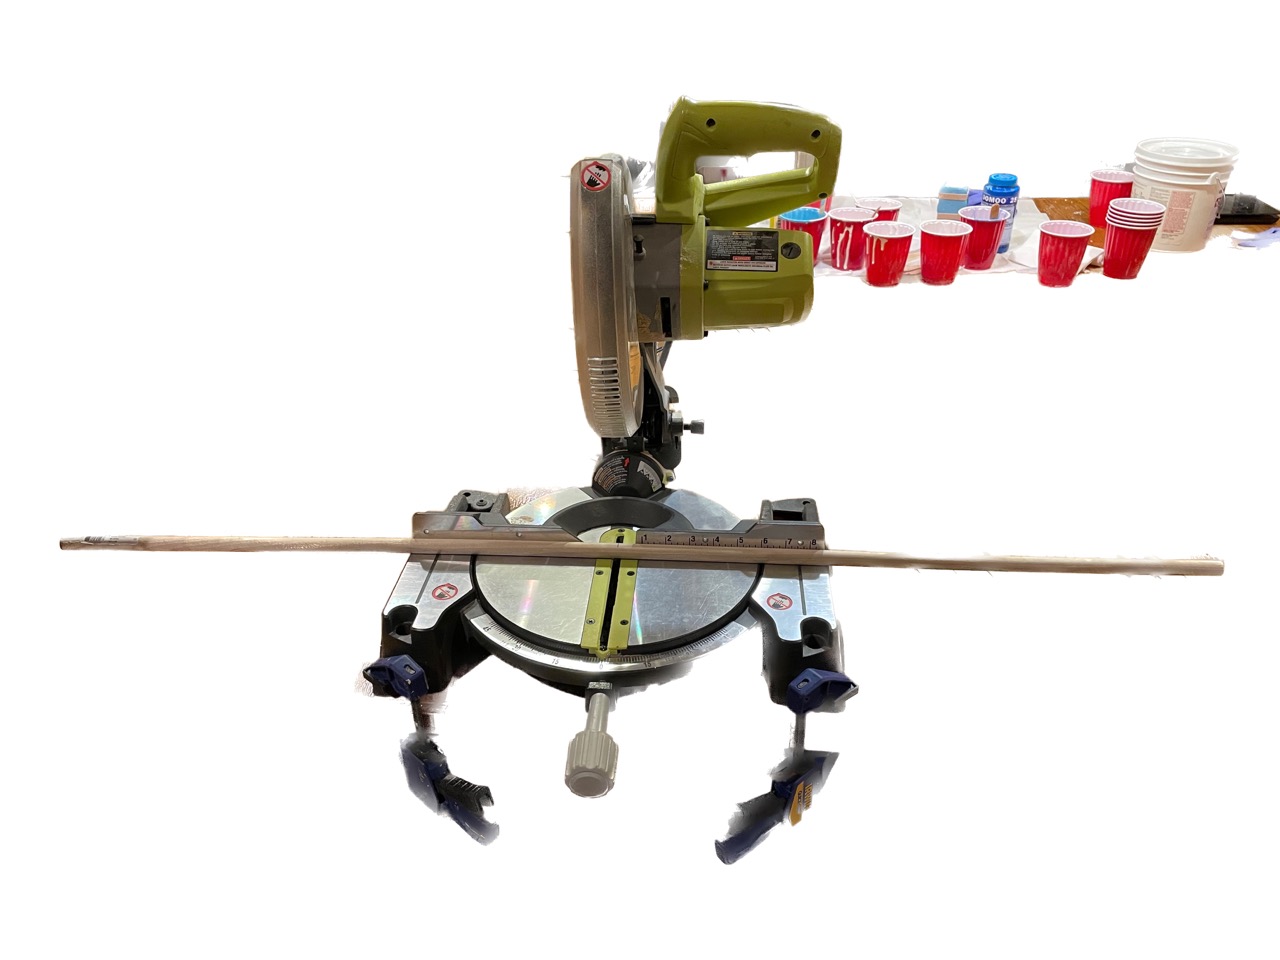 Step 1: Cut one of the dowels to length
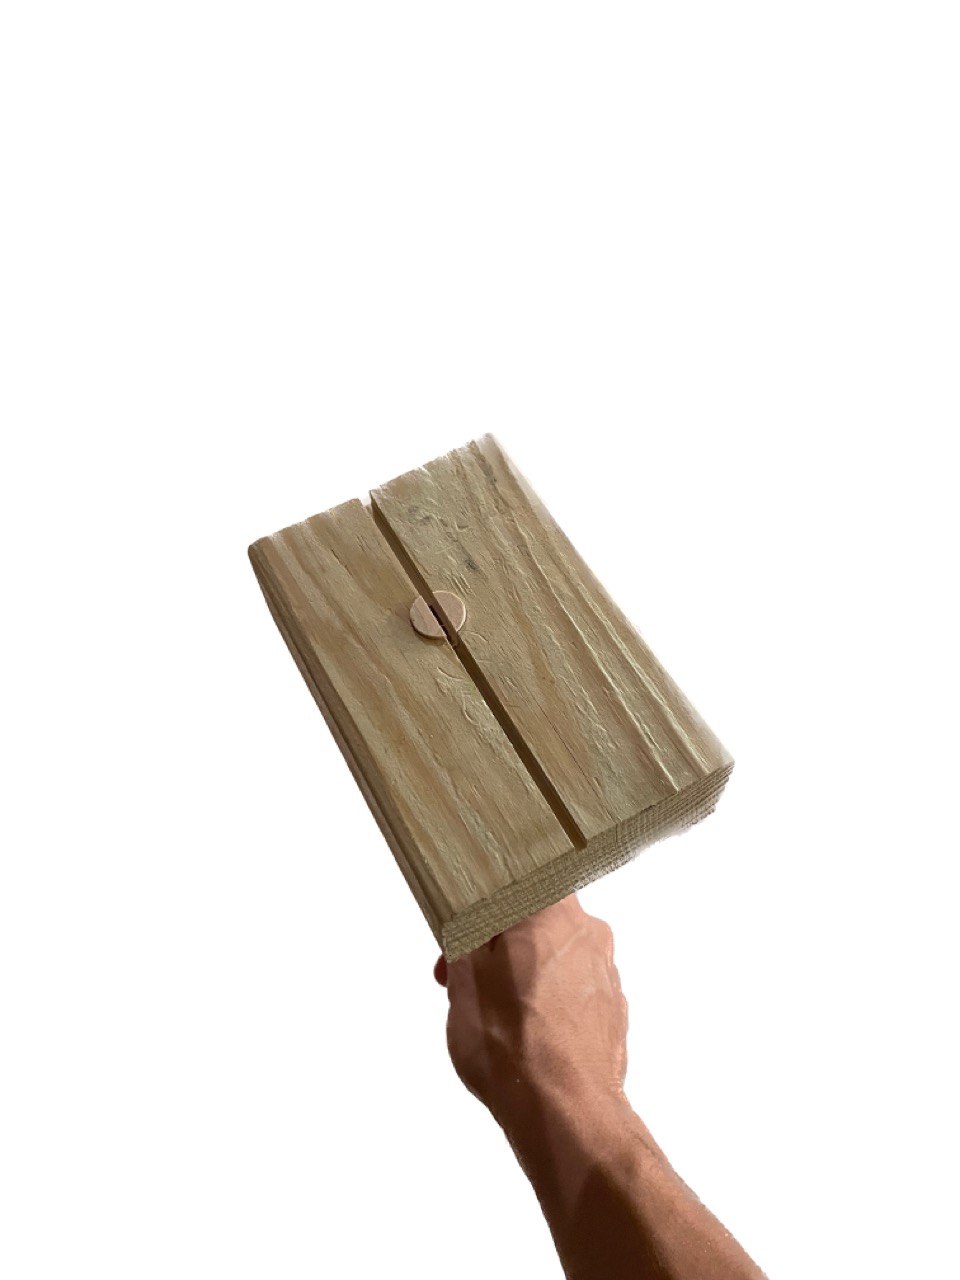 Step 2: Make a jig to cut a slit through both dowels
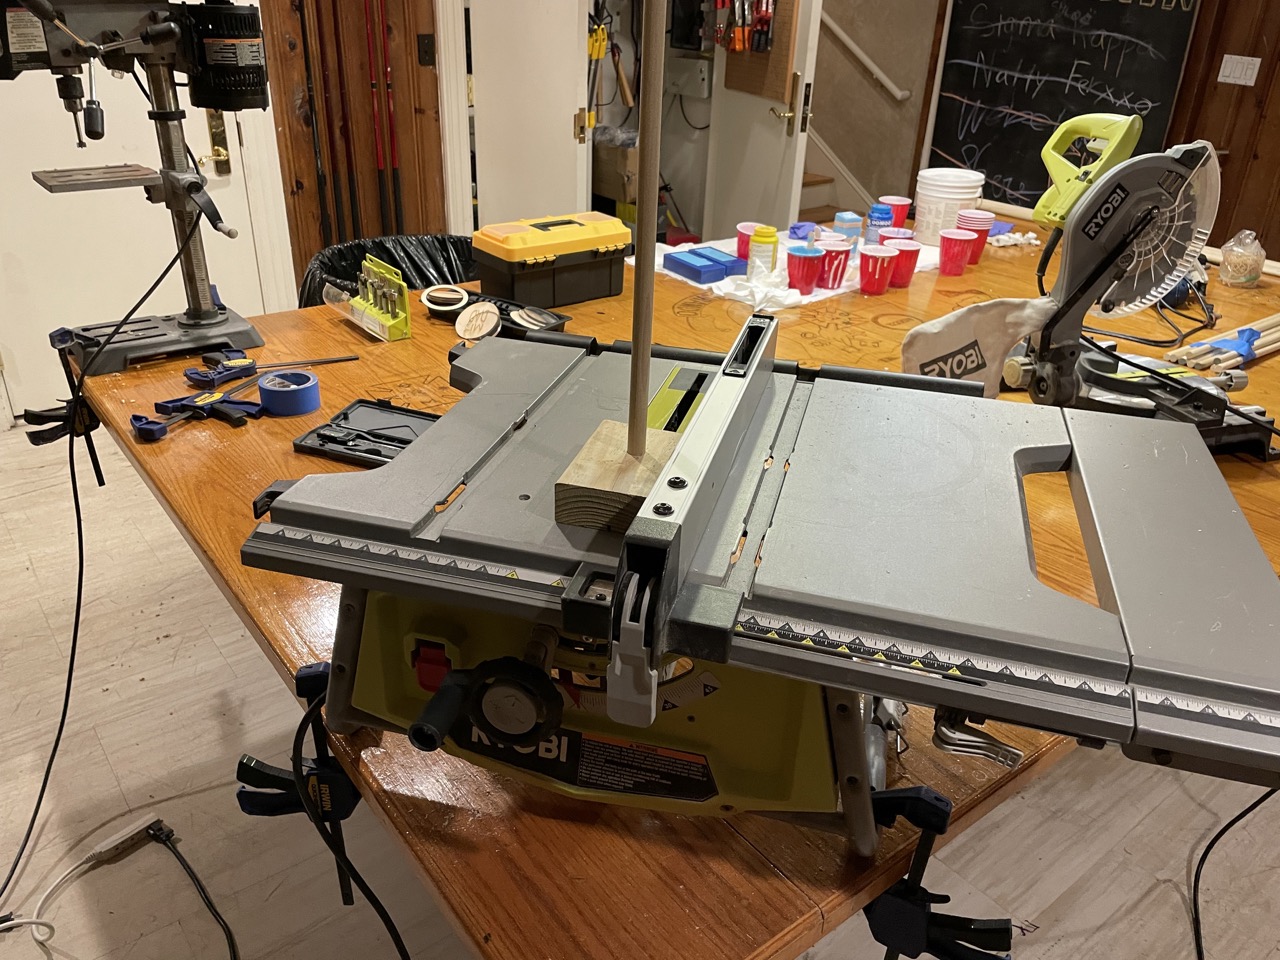 Step 2, again: I forgot to mention but a table saw is a really good use for this. Also pretty safe 👍🏽
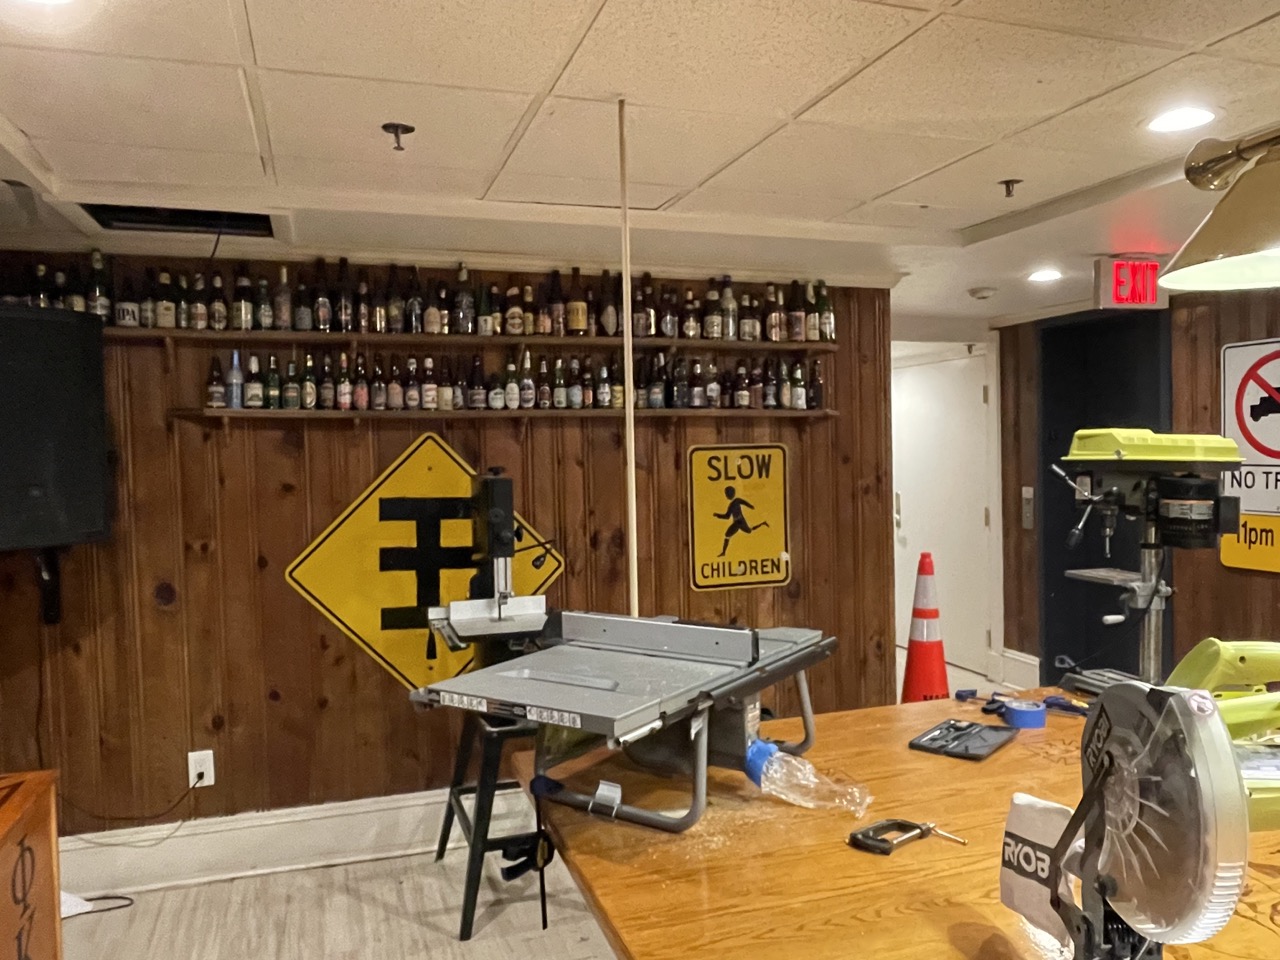 Step 2, again again: Consider getting a higher ceiling
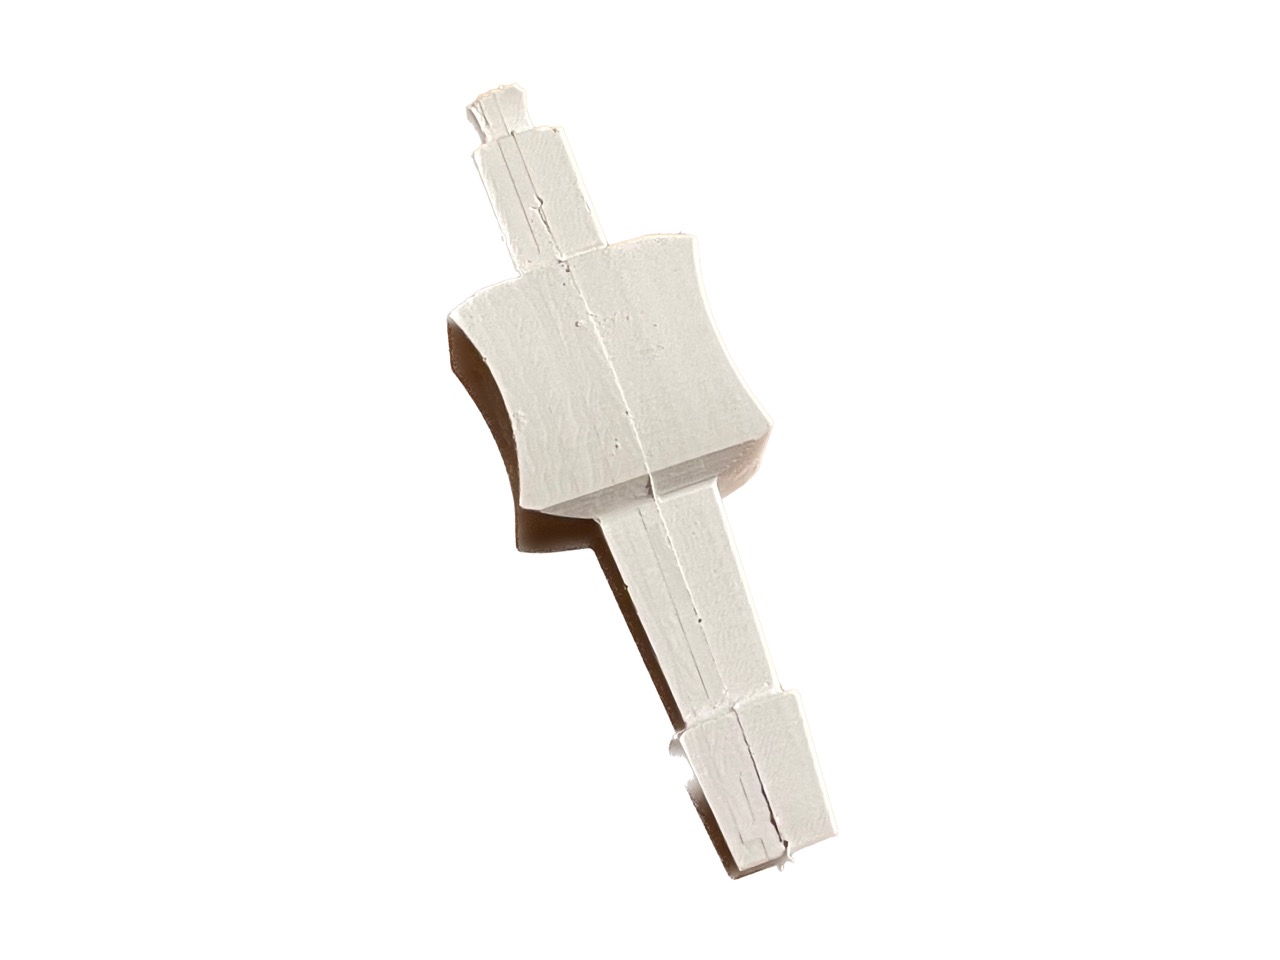
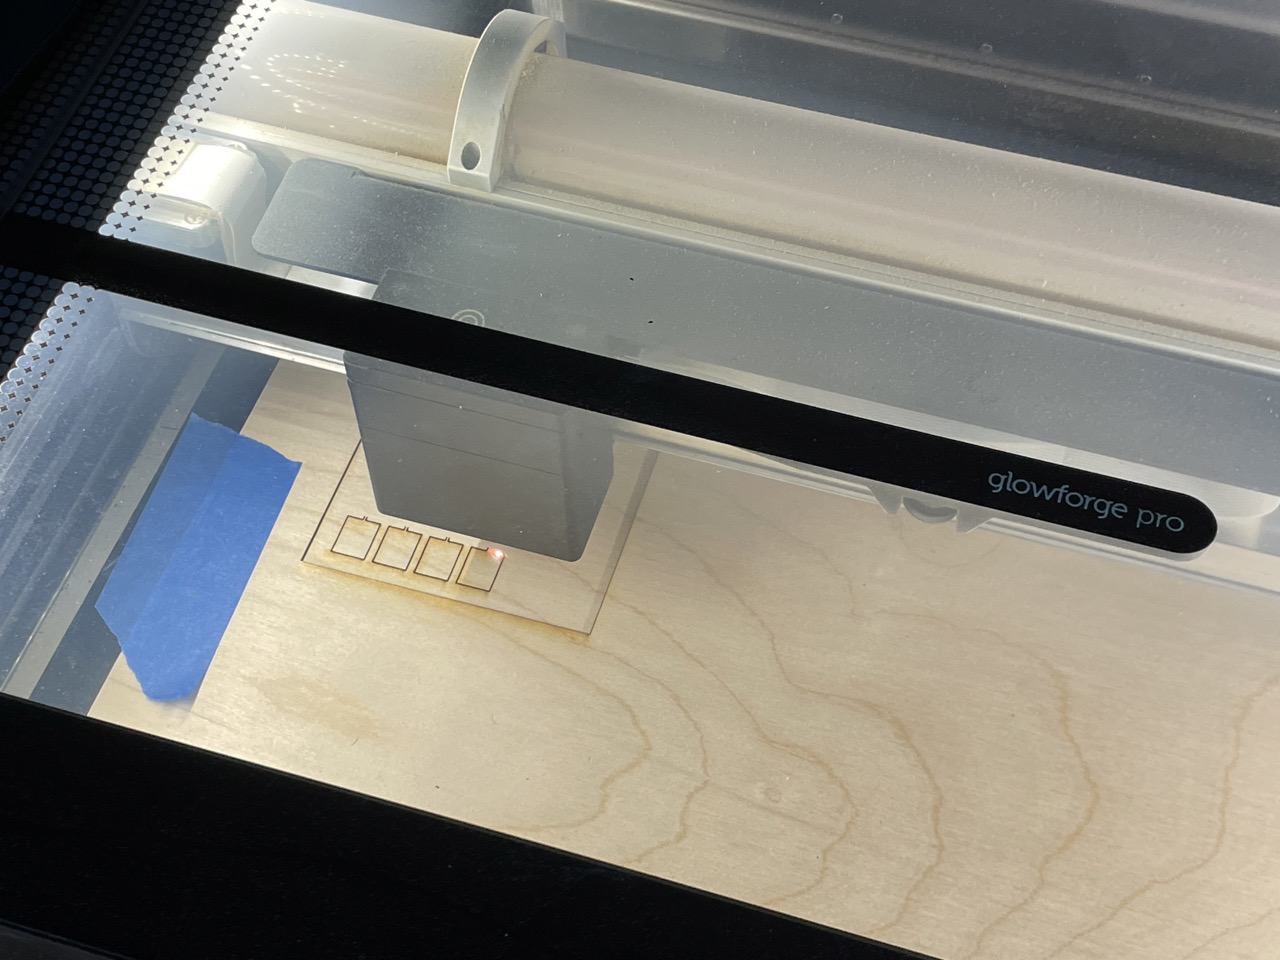 Step 3: Laser cut little pieces to fit in between the slits
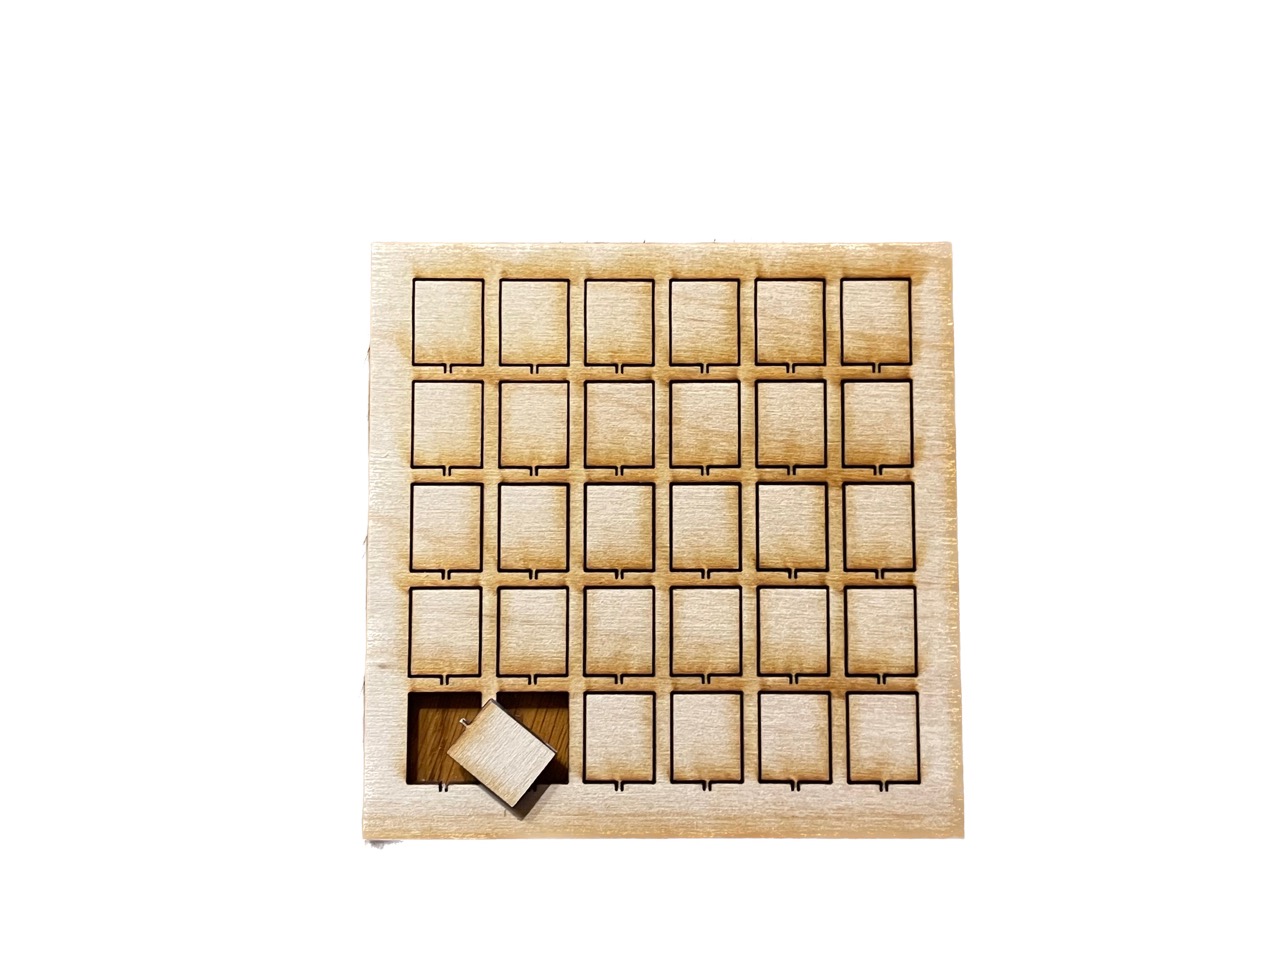 Step 3, again: I made a little bingo sheet of these guys so I lose none of them
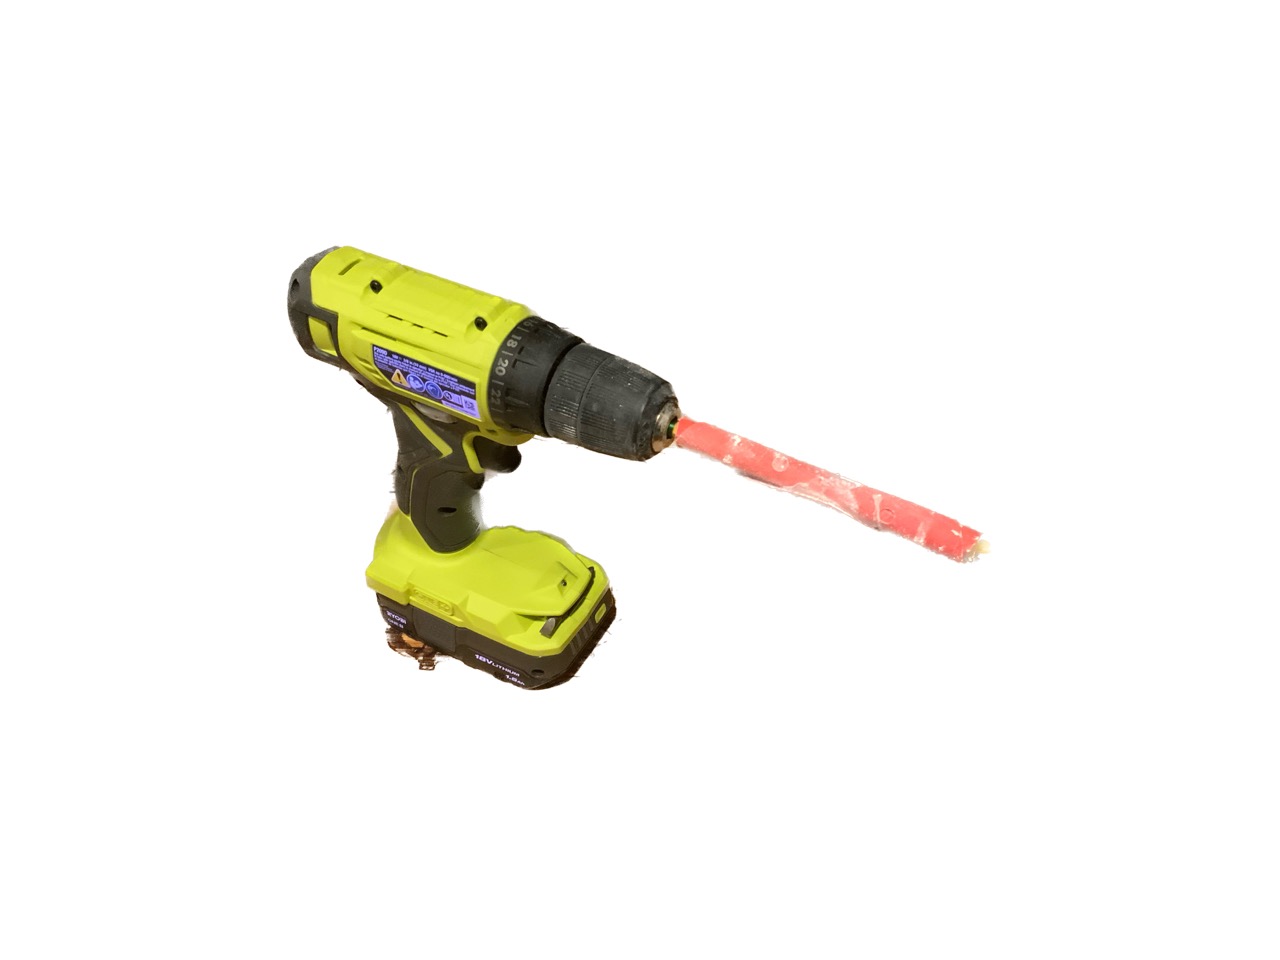
Then the last step is gluing and clamping everyone together. But for some reason that didn't work. The parts would never adhere. Actually the glue never worked in any use case. I think something is wrong with my glue.
After a week of work, the table isn't really playable (yet). The dowels are my biggest issues and some 3D printed parts (bearings, goal) aren't done. I'm also not very happy with the finish of the OSB.
 "I'm limited by the materials of my time"
That being said, the vision is definitely there and having it physically built has gotten a lot of people excited. So I'd like to revisit this project with better wood and rods in the future!