Final Project Idea |
|
|---|---|
|
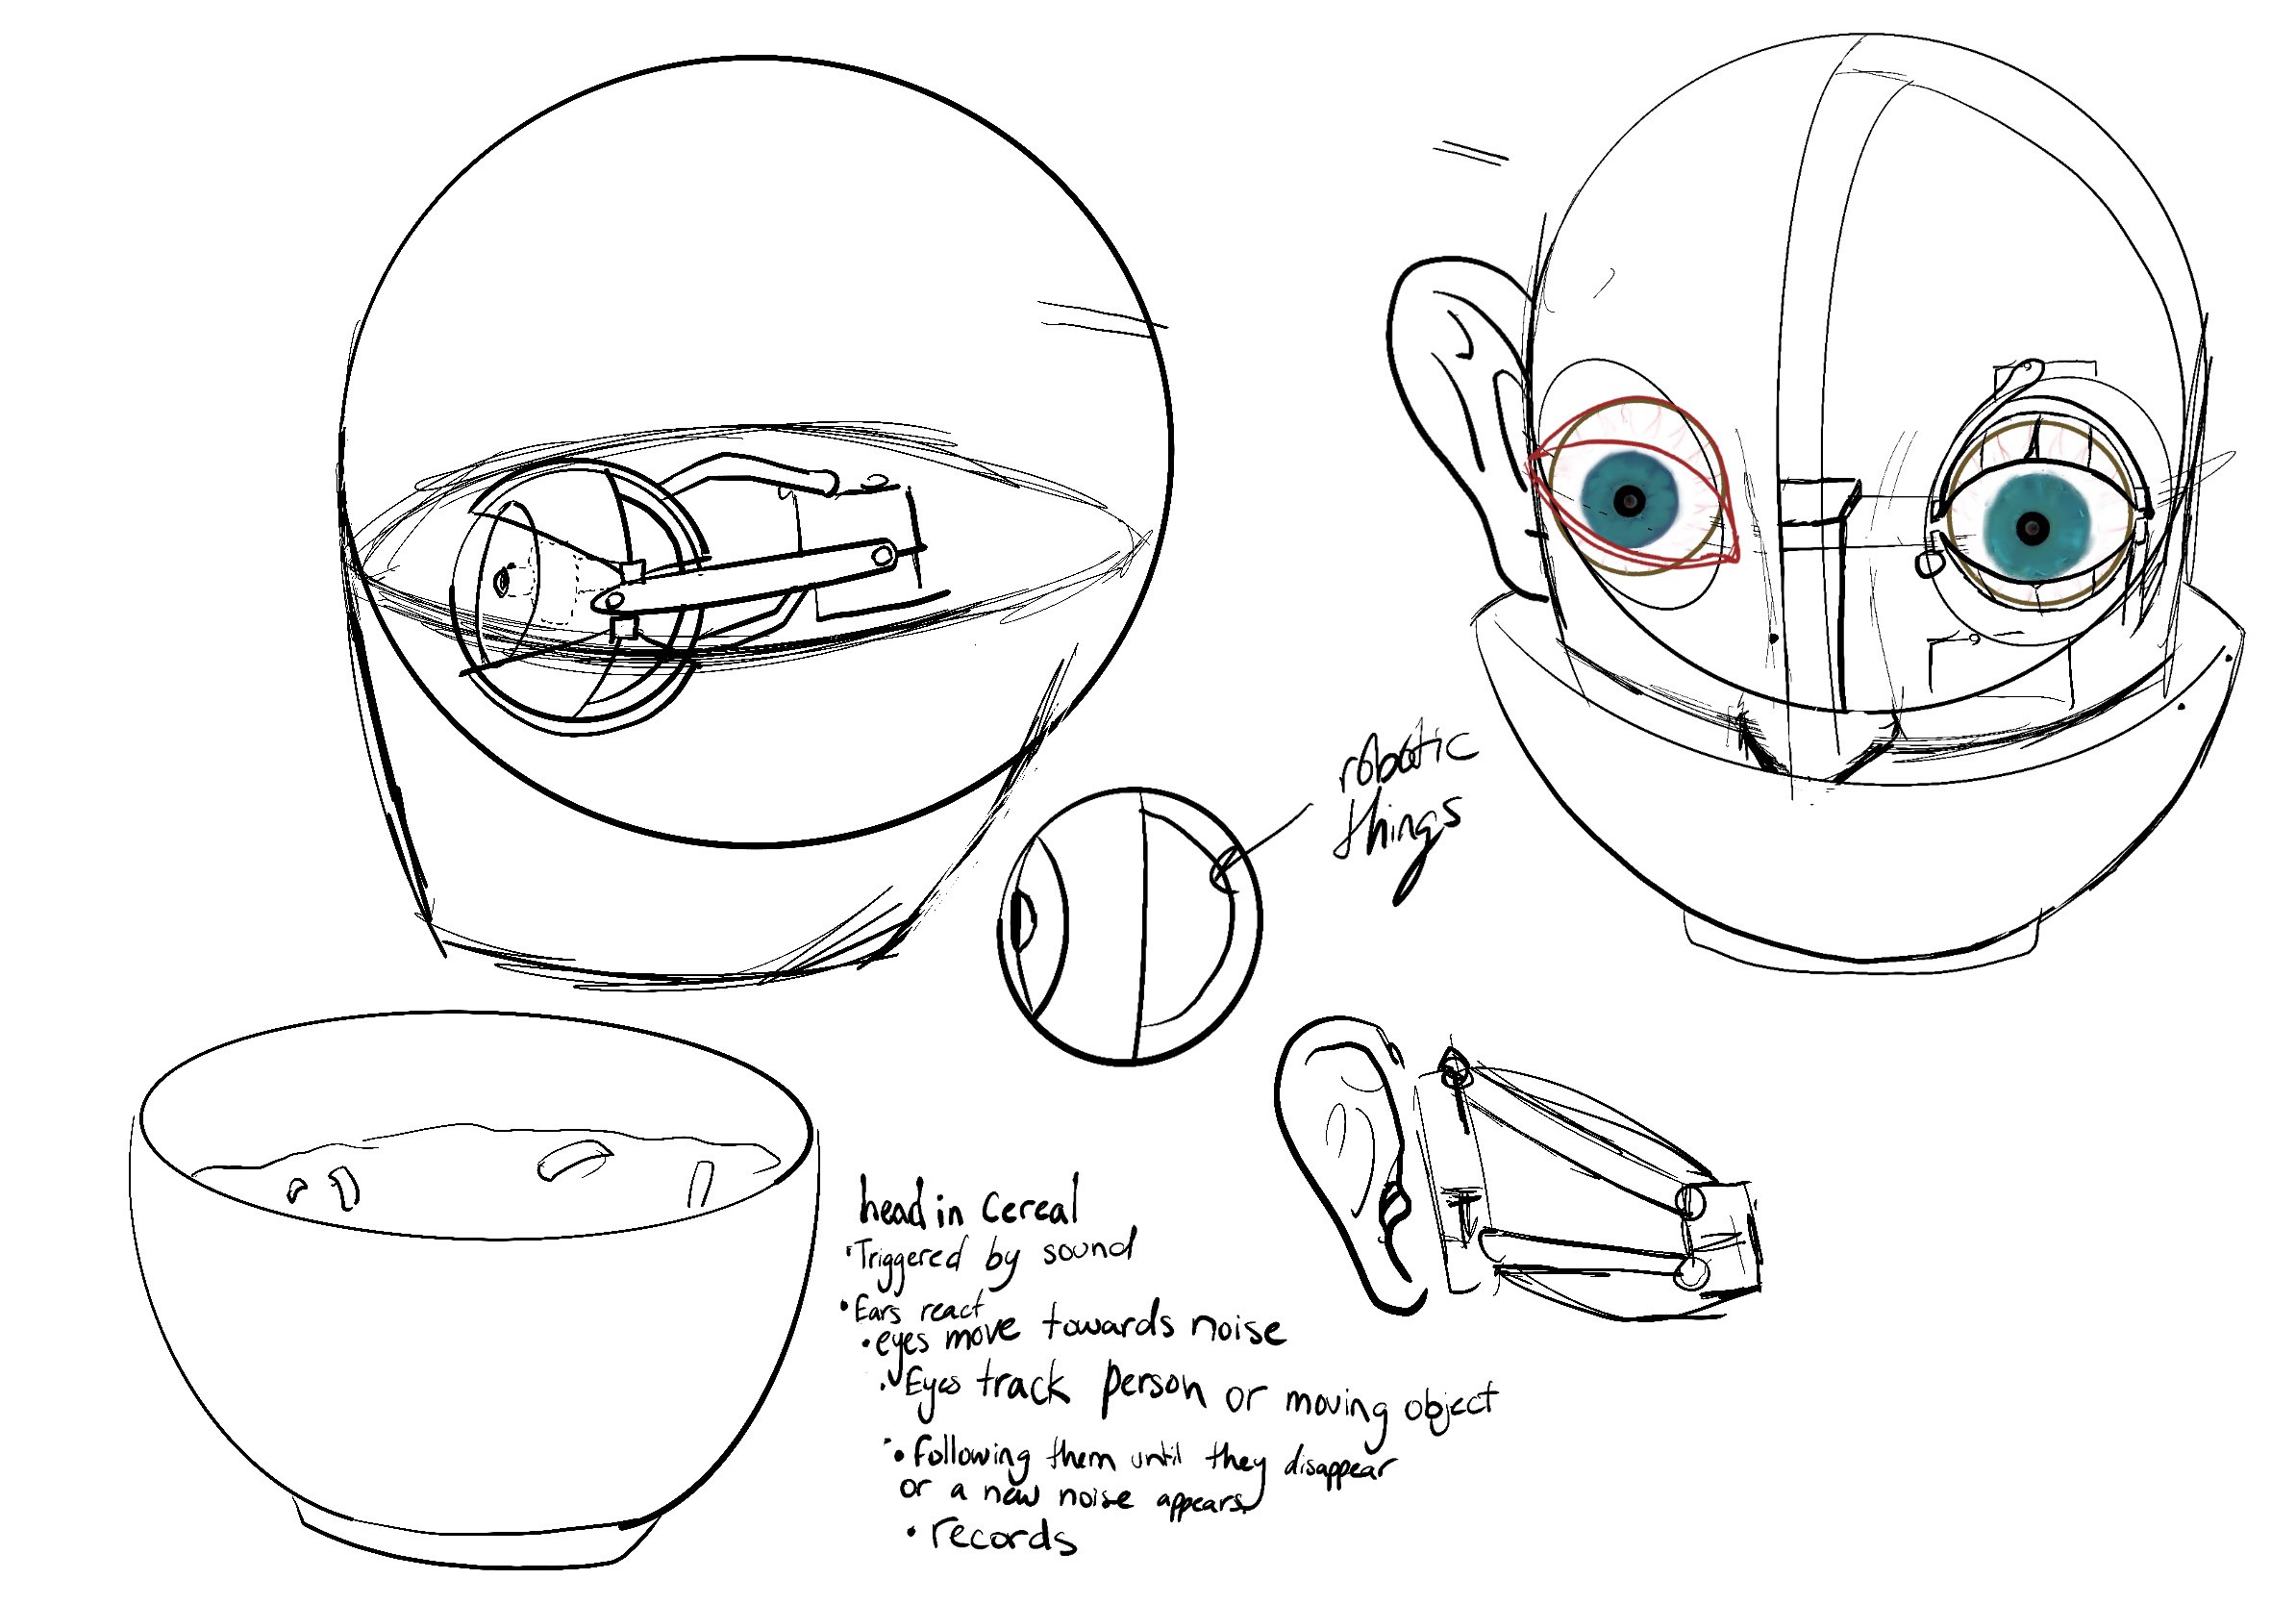
For my final project, I wanted to make a floating jellyfish that could be controlled between two magnets, but then I realized I wouldn't be able to get magnets to do what I want. So I moved on to something that I could make in a reasonable amount of time. That was eyes that can move and track moving objects/people. With ears that would trigger the eyes to go into a certain direction and/or wake up. Once I told this idea to someone, they said I should make it more complex since it was very bare boned. So just because it would add an interesting element to it. I plan to make a male head cut off at the nose that has his other half of his face covered by “cereal” with him in the bowl with it. As an artist, one of the attributes that might make my project interesting is refining it to be very realistic which is why I decided this could be an interesting project to attempt. Later on I ended up deciding that instead of a random man I am going to do my face, because that will probably be more uncomfortable for myself and others. As well as instead of in cereal it will be more like a fish bowl, still weird but it isn't in fake food and it reminds me of the saying swimming with the fishes which makes me thing that this head is a version of me what was killed. But I ended up and the end changing my idea back to the "serial" bowl idea after Claire told me how much she liked it. |
Then I changed the concept. This is a very very very fast idea of what I want from its look. Then this was the idea it changed to but then continued to evolve/devolve.
Materials and Prices
| Material | Price | Source |
|---|---|---|
| SmoothCast 65 | $30 | Smoothon |
| Epoxy Resin/Any Clear resin | $15-$150 | https://a.co/d/ftG9G6g |
| Clear Serving Bowl/Any big bowl | $10 | Target |
| DragonSkin 20 | $35 | Smoothon |
| PLA Plastic | $20 | https://a.co/d/7rFBl2n |
| Acrylic Sheets/any sturdy lasercuttable thing | $10-25 | https://a.co/d/fBNCkYF |
| Human Hair | Free if you get it from yourself or others | My friend's head, they didn't want it anymore |
| A wig | $10-300 (depends on how nice of a wig) | https://a.co/d/j2zyUkO |
| Mold making plaster(Low temp) | For big bag, $50? | Germany |
| M2&M3 screws | $5-25 | https://a.co/d/djsSVH9 |
| Thread | $3 | https://a.co/d/36Wxwcy |
| A spoon | $1 | Cabinet |
| Silicone Pigments | $40 | https://www.dickblick.com/items/smooth-on-silc-pig-color-sampler/?clicktracking=true&wmcp=pla&wmcid=items&wmckw=61936-1009&country=us¤cy=usd&gad_source=1&gclid=CjwKCAiAhJWsBhAaEiwAmrNyq0e6tkscqexIS8tZEZ9RlkkgyBPSVKI7Gw76rI0XrkFmCw6yNMC_mxoCXYsQAvD_BwE |
| Metal Hinge | $5 | Hardware Store |
| Acrylic Paint | $1-20 | Any Art store |
| Adafruit Servo Driver | $15 | https://www.adafruit.com/product/815 |
| Xiao RP2040 | $5 | SEEED Studios |
| SAMD21 | $5 | SEEED Studios |
| Hot Glue | $2 | Any art store, or department store |
| Scanner | $280 | Creality |
| Doll Hair Rerooter | $10 | https://a.co/d/1OGeA4G |
| 9g Servos | $10 | https://a.co/d/1LsUDGL |
| Magic Ingredient | My Blood, Sweat, and Tears | My Sleep |
What does it do?
It creeps people out, you touch the spoon the eyes open and look at you, it is made to stick in people mind and linger
Who's done what beforehand?
Many has made animatronic eyes and mouths and faces, a example is the person I link below that I followed his tutorial on animatonics, but I don't believe anyone have put their own face in a cereal bowl
What did you design?
The eyes, laser cuts, pcb, head, headshell, mold, face, cereal, spoon?, and altered the design slightly of the animatronics to better suit the shape of head
What questions were answered?
The things I find fine and normal are definitely not to majority of society. I realize with more time I could make some amazing things and I am capable of making something better than this, which I wasn't sure if I would be.
>What worked? What didn't?
Everything went relatively well, other than not enough time management and time didn't work in my favor, so they eyes that were designed were unable to be added, and to make this work how I wanted I needed to have stronger servos and a more complex system for holding the silicone on.
Questions that weren't answered here are answered within the page
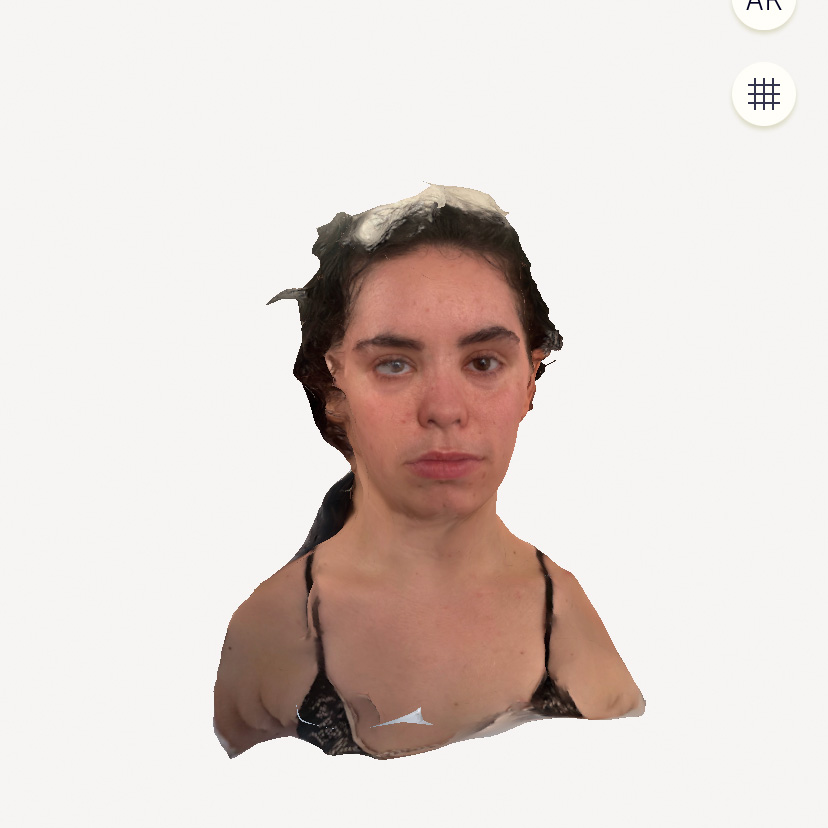
First Scan
Since I planned to use my own head now as the model that watches people, I thought that I should scan my head so that I can get the general shape of my head/skull. So to do that I used PolyCam and had my roommate take pictures incrementally as I slowly moved my body in a circle. It did not need to be perfect since I could fix problems with the shape in another software. What came of trying this out was extremely hilarious to me. It looked like what would happen in the failed ai generated people that don't exist, but that is fine for what I am using it for and also very funny, also one of the more terrifying things I've seen of myself.
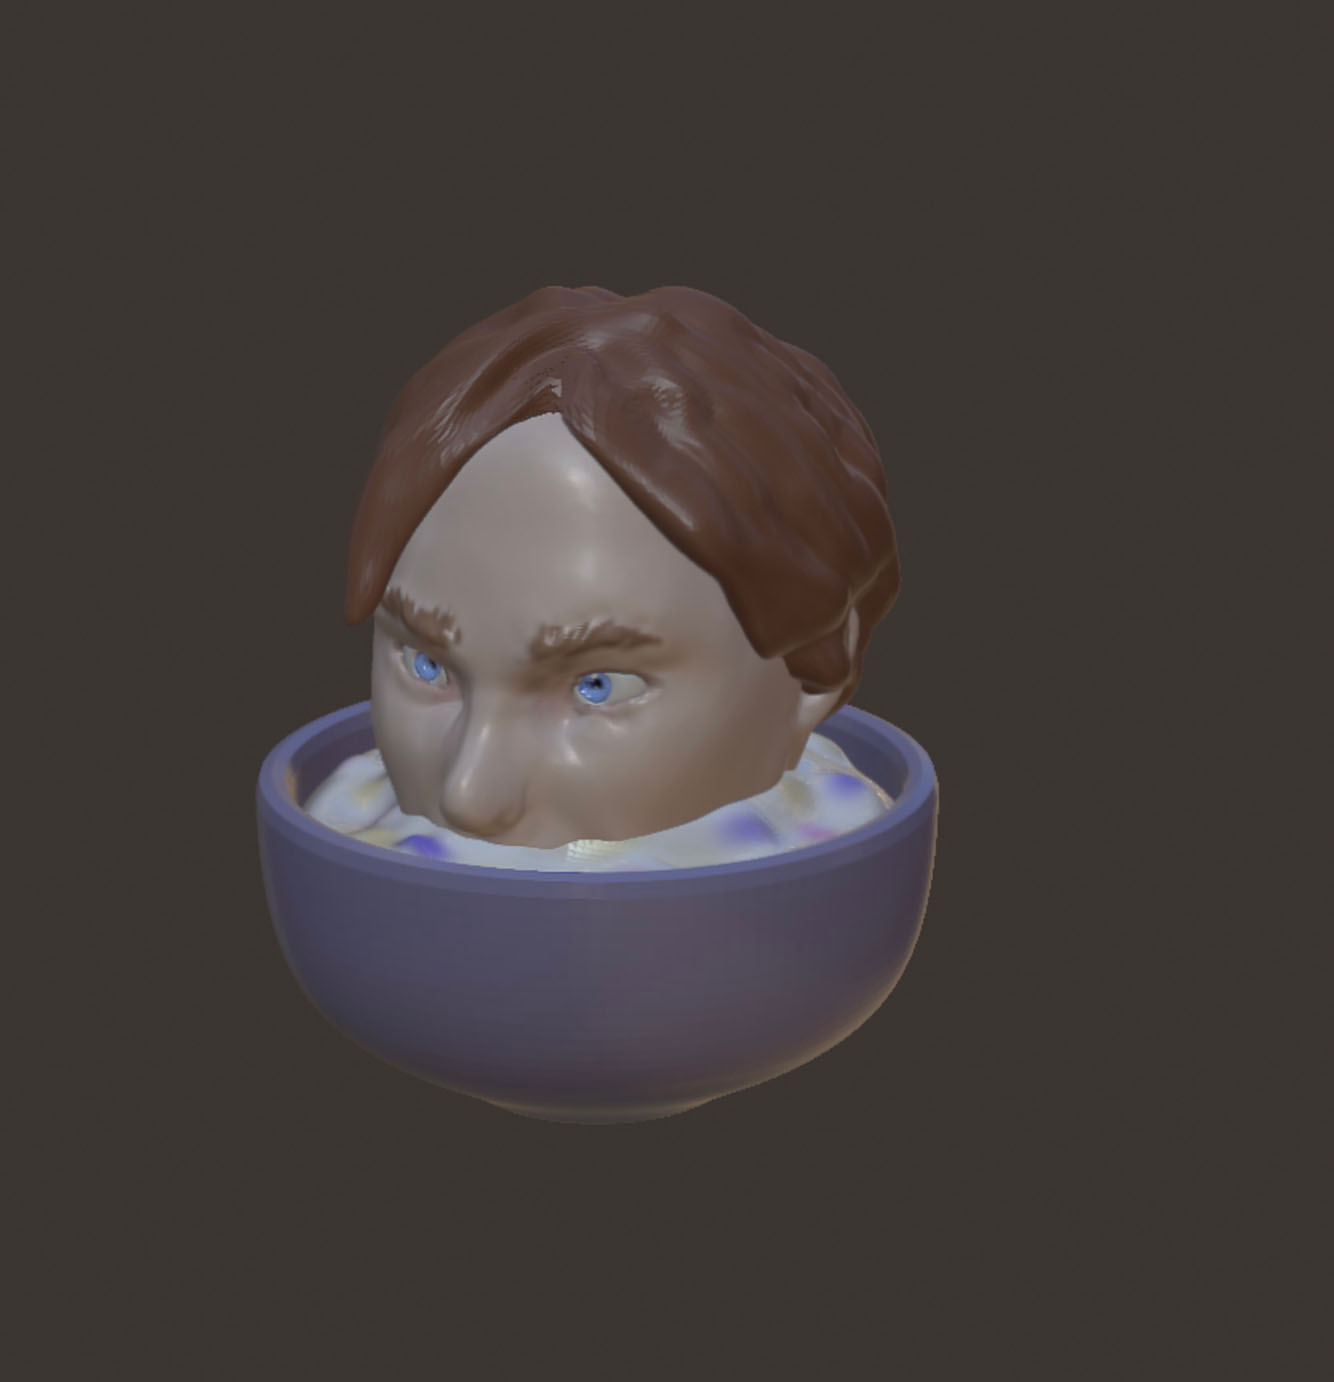
New Scan


With using a scanner from Creality and the help of one of my friends, I was able to get a surprisingly good and accurate scan of my head to be able to use as the structure for my head shape. I also printed a small version of it out with temperature sensitive TPU, to see what it looks like.
Altering Face Scan
To make a hard structure to put my floppy face on and also make it hollow to hold the components in it from my face scan. So I needed to make it have near to no details on it and easy access to components on the inside.
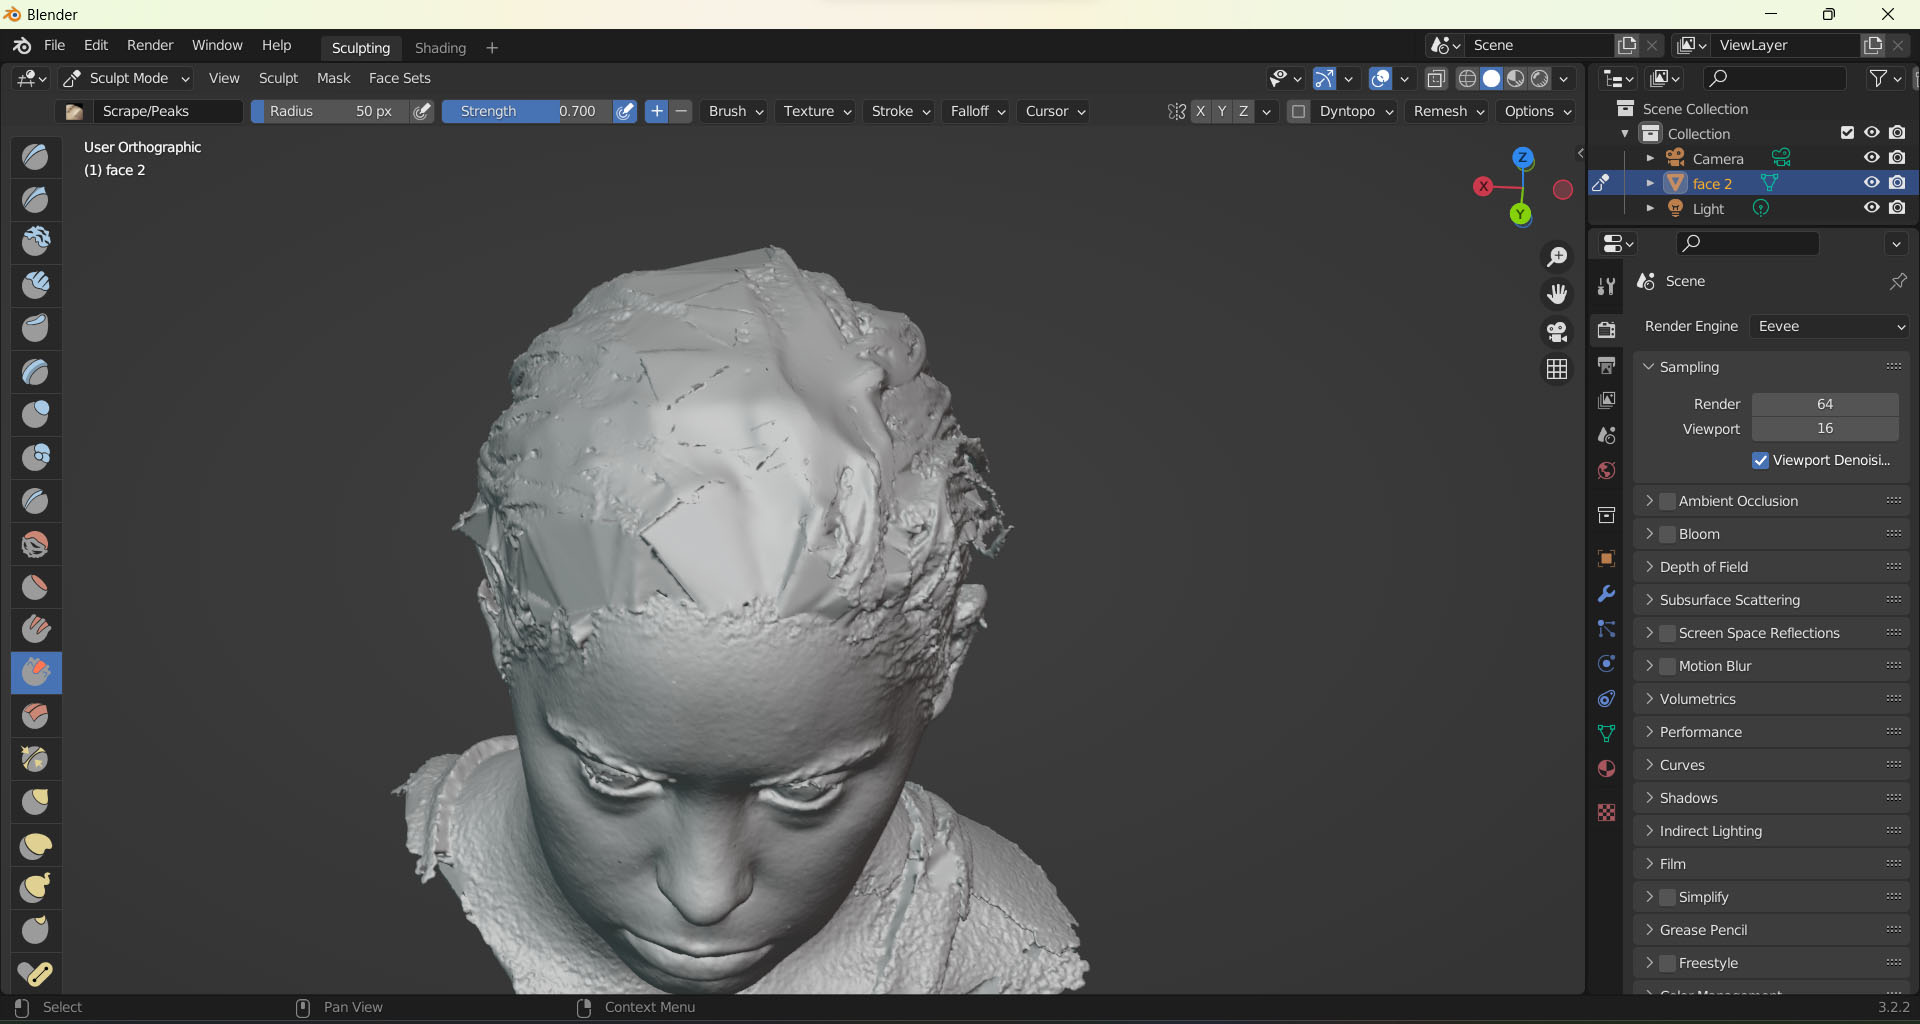

Using blender to smooth out the face and head
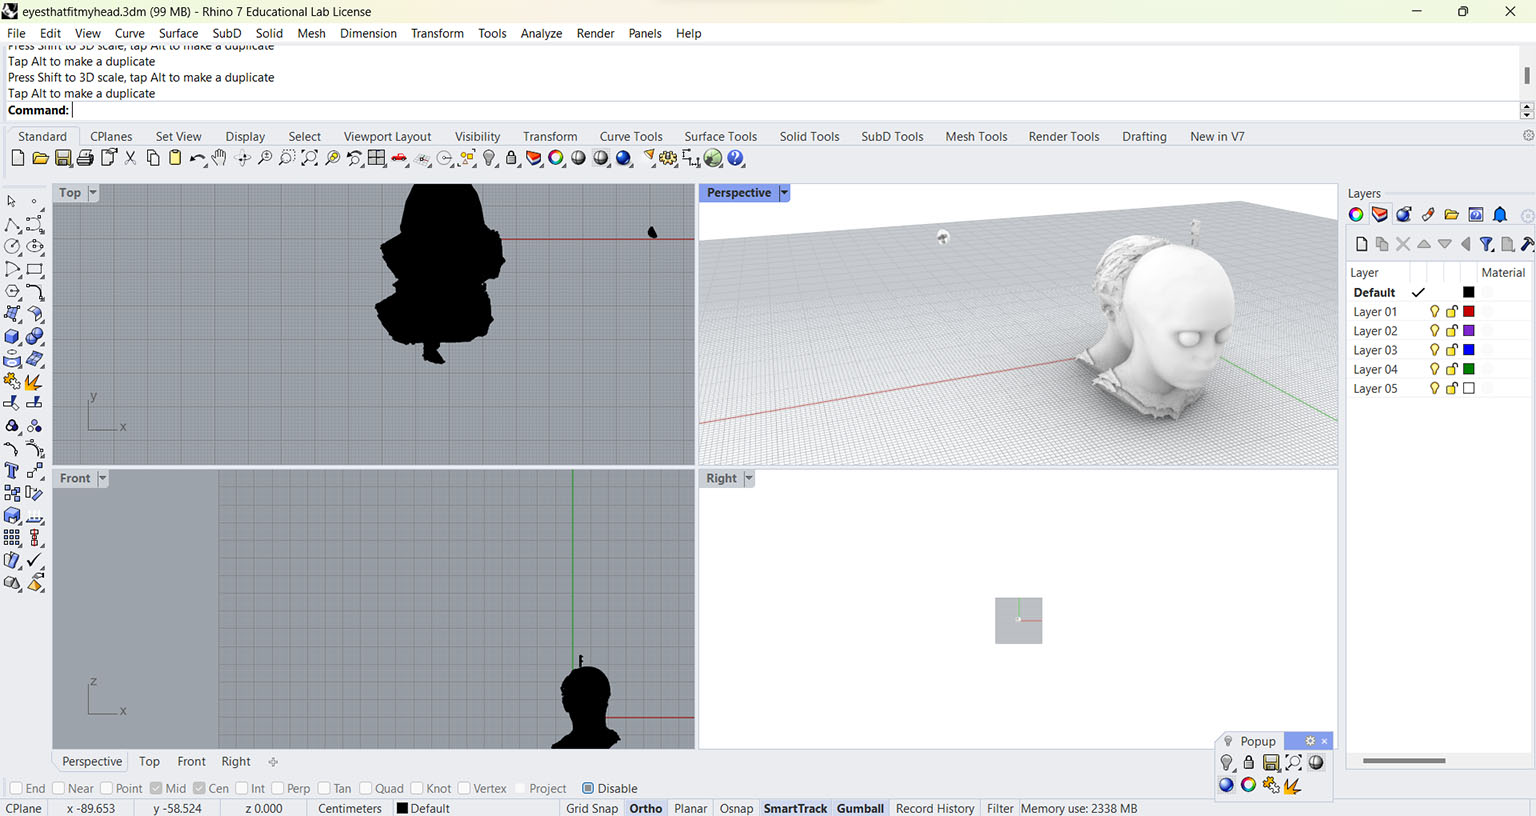
Then using Rhino 7 to subtract the eye sockets with spheres and using a smaller version of the smoothed head to subtract out to make it into a shell.


After I printed it I was able to add a hinge onto the side in order to keep it aligned but also able to get at the components on the inside.

After this I could have edited the model itself in Rhino or Blender, but the prints take so long I ended up using a dremel to quickly change the dimensions as I go. Mainly making theeye sockets bigger and taking the nose off, as well as making holes in the face and eyelids for the thread to sew the skin on
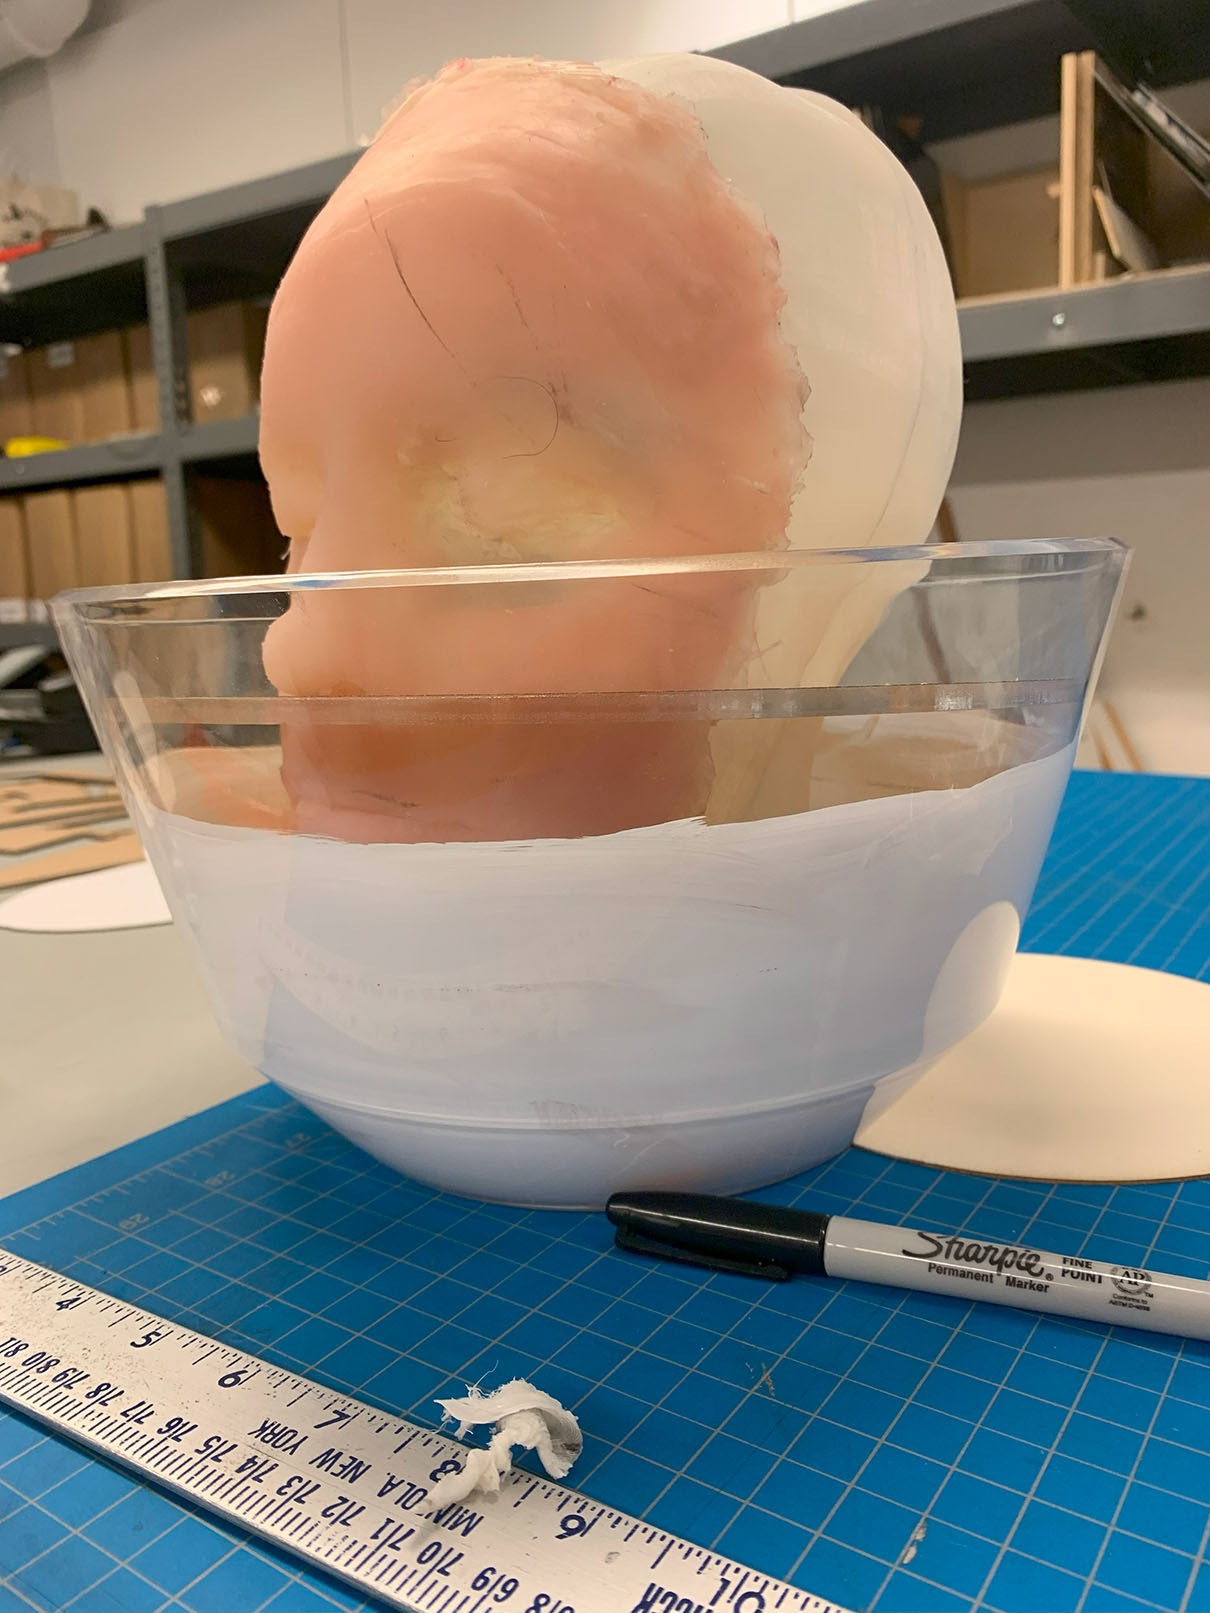
Plaster Mold of my Face
ONLY DO THIS IF YOU ARE TRAINED OR WITH TRUSTED AND KNOWLEDGABLE PEOPLE, I WAS A TA FOR MOLD MAKING AND THIS WAS MY FORMER PROFESSOR. PLEASE DO NOT HARM YOURSELF.
I was safe doing this and only lost a few facial hairs in the process, but once again don't do this with just anyone!
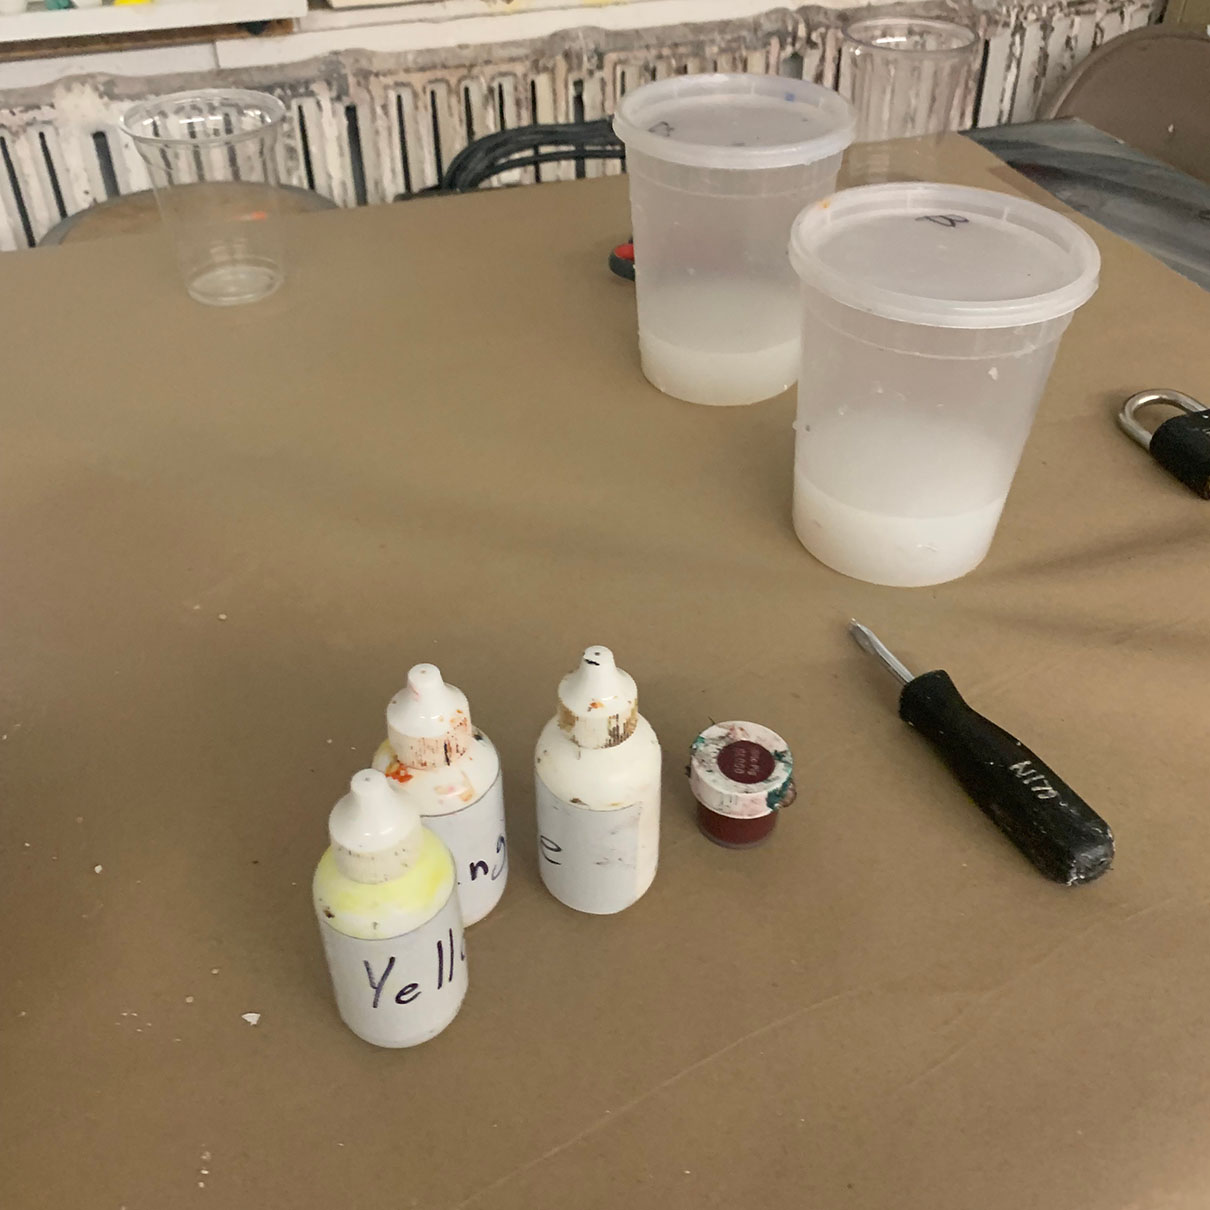
The next thing I did was with the help of a former professor of mine and a TA make another face casting of my face out of plaster so I can use it for testing and making silicone replicas of my face. Using Vaseline to be the mold release on my face, we use mold making plaster that is almost half and half water and plaster mixture, but we usually just eyeball it. It should usually have a small pile of plaster near the top of the water. You see my head shifting a lot since plaster gets very heavy after around 40 minutes holding it up with just your neck.
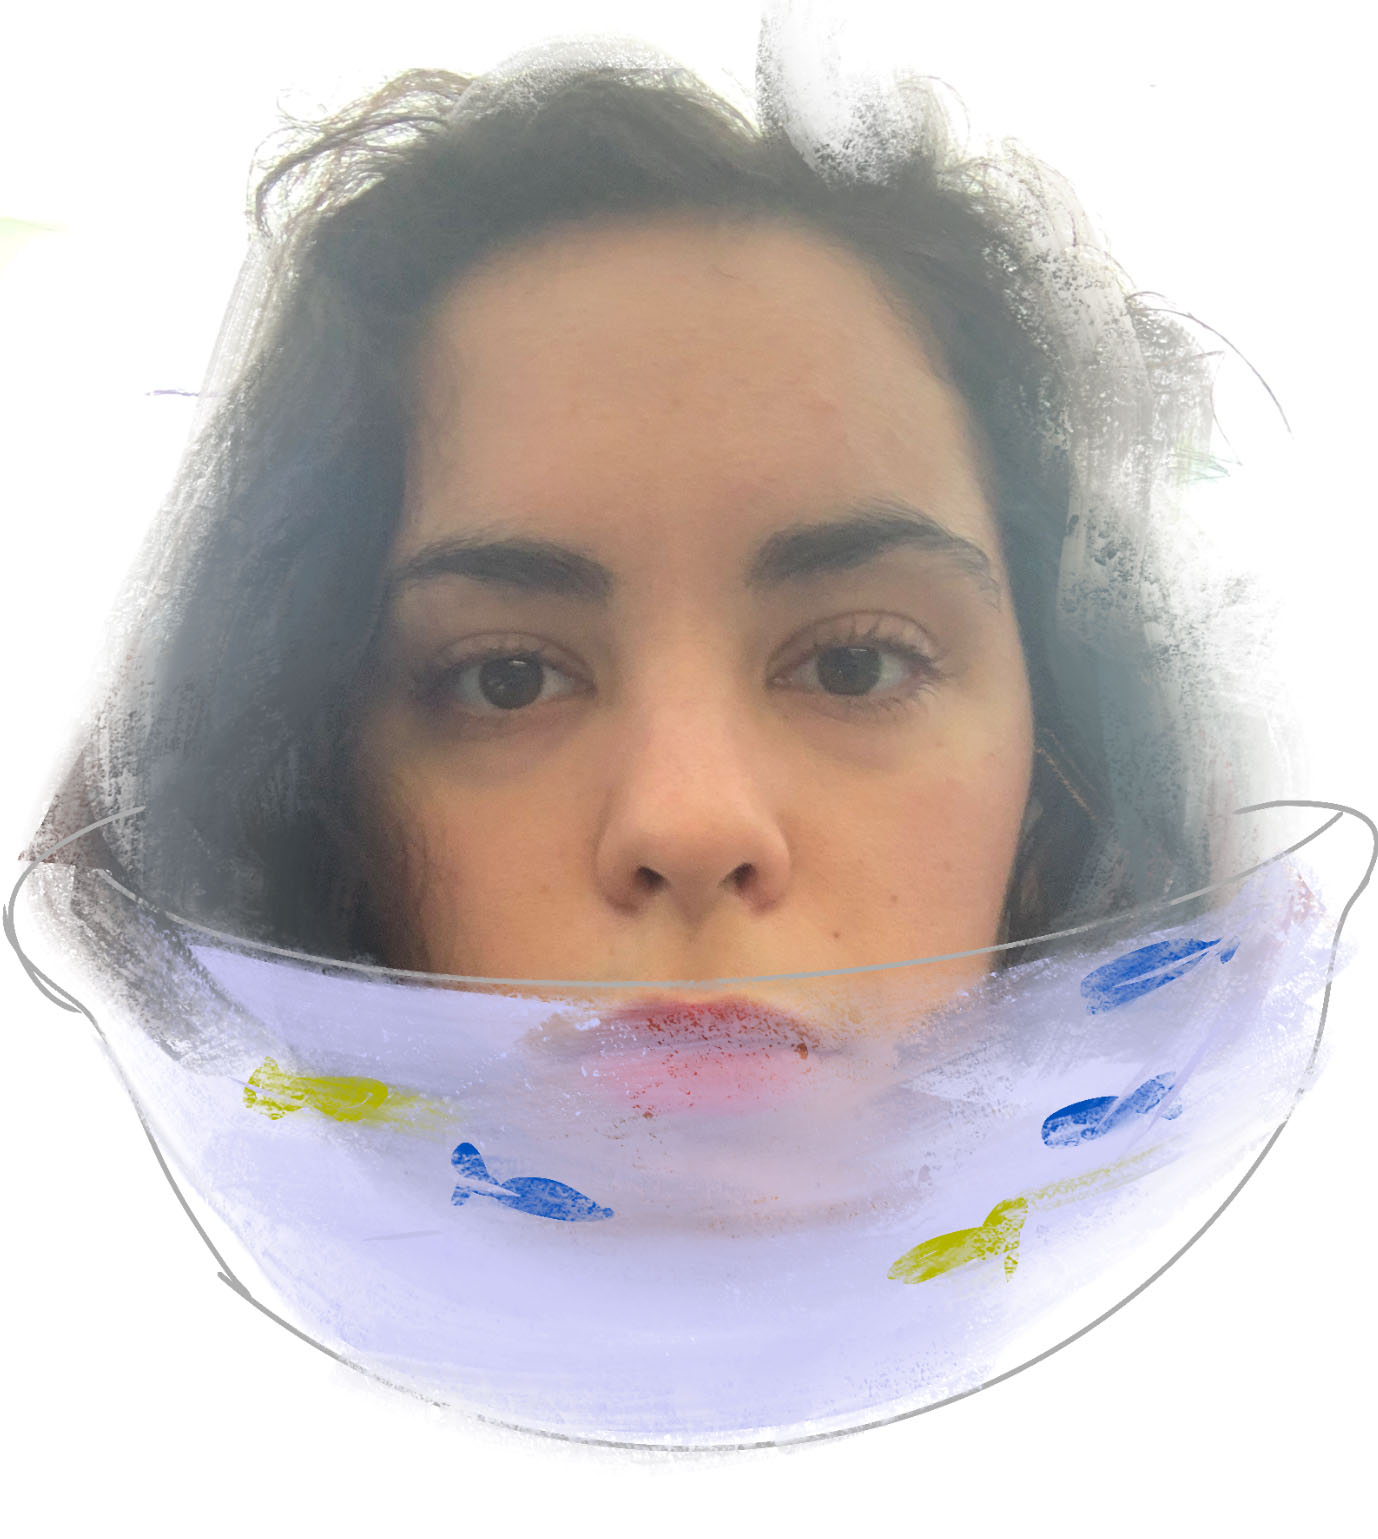
New Ideas within it
No cereal for the head to rest in, instead a shallow fish bowl. Why? Because it seems a lot more interesting and less weird I guess, plus it reminds me of when people say "Swimming with the fishes" and I think of this as a disembodied version of myself. The microphones for triggering the eyes to open will not be in the ear canals but instead most likely look like earrings and be pushed through the ear lobes. One on each side in order to say if someone is to the right or to the left.
Making the Skin
Doing tests for the face skin I tried DragonSkin 30, and Dragonskin 20 from Smoothon, and put the silicone into the face mold. The first test was with DragonSkin 30, and it was just a test to see what it would look like and feel like even if it wasn't well done but more of a way to test out the process.
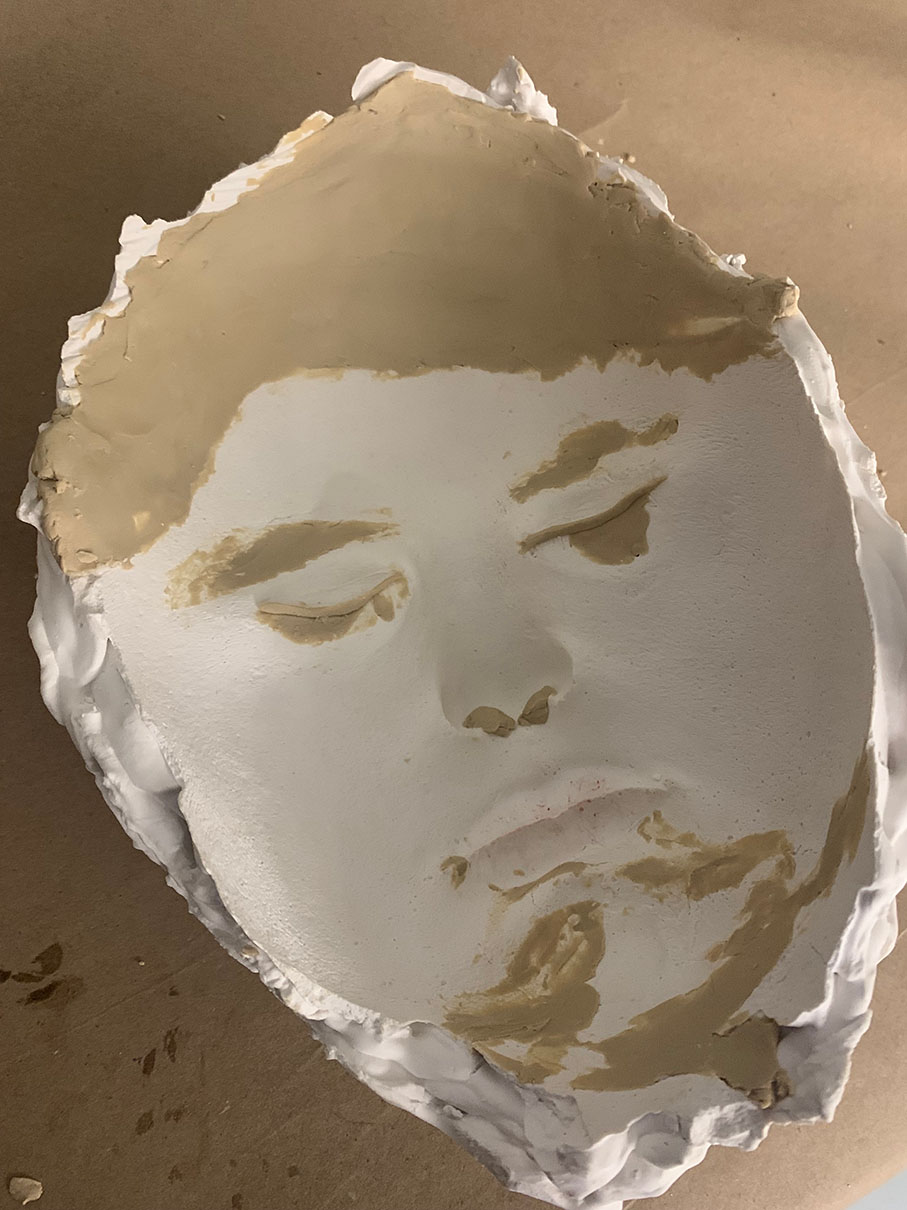


Test 1: I mixed 1:1 parts of part A and B with adding different colors to each part to see how they mix, the color came out a lot more saturated than I was expecting. Then I applied it onto my face mold which had some sulfur free oil based clay called Sculptex to fix any imperfections. But that clay seemed to affect the DragonSkin 30 and make it not cure, probably due to the silicone being too old. But the tests after that reacted and cured normally.


Test 2: I tried out layering with a thin layer of a translucent white, then a layer of what I tried to make my skin tone but added too much blue which was meant to desaturate the color and ended up being purple, also attempted to add color to my lips and that was a mess.

Test 3: I tried again with a thin layer of white, then a layer of a slight more yellow and saturated skin tone, and then a layer of a slightly paler skin tone. This one reminded me of salami.


Test 4: Same thing white first layer but this time with a little bit of yellow, red, and brown, which was surprisingly similar to my skin tone, and then I did a slightly more pink and pigmented tone after that and then a mixture of white and red to give a undertone of blood.
 Test 5: This time I tried a redder tint for the first layer but I made it a bit too thick so it wasn't able
to flow in a believable way, but I was able to get the eye lids nice and thin because they have been to
stiff otherwise.
Test 5: This time I tried a redder tint for the first layer but I made it a bit too thick so it wasn't able
to flow in a believable way, but I was able to get the eye lids nice and thin because they have been to
stiff otherwise.

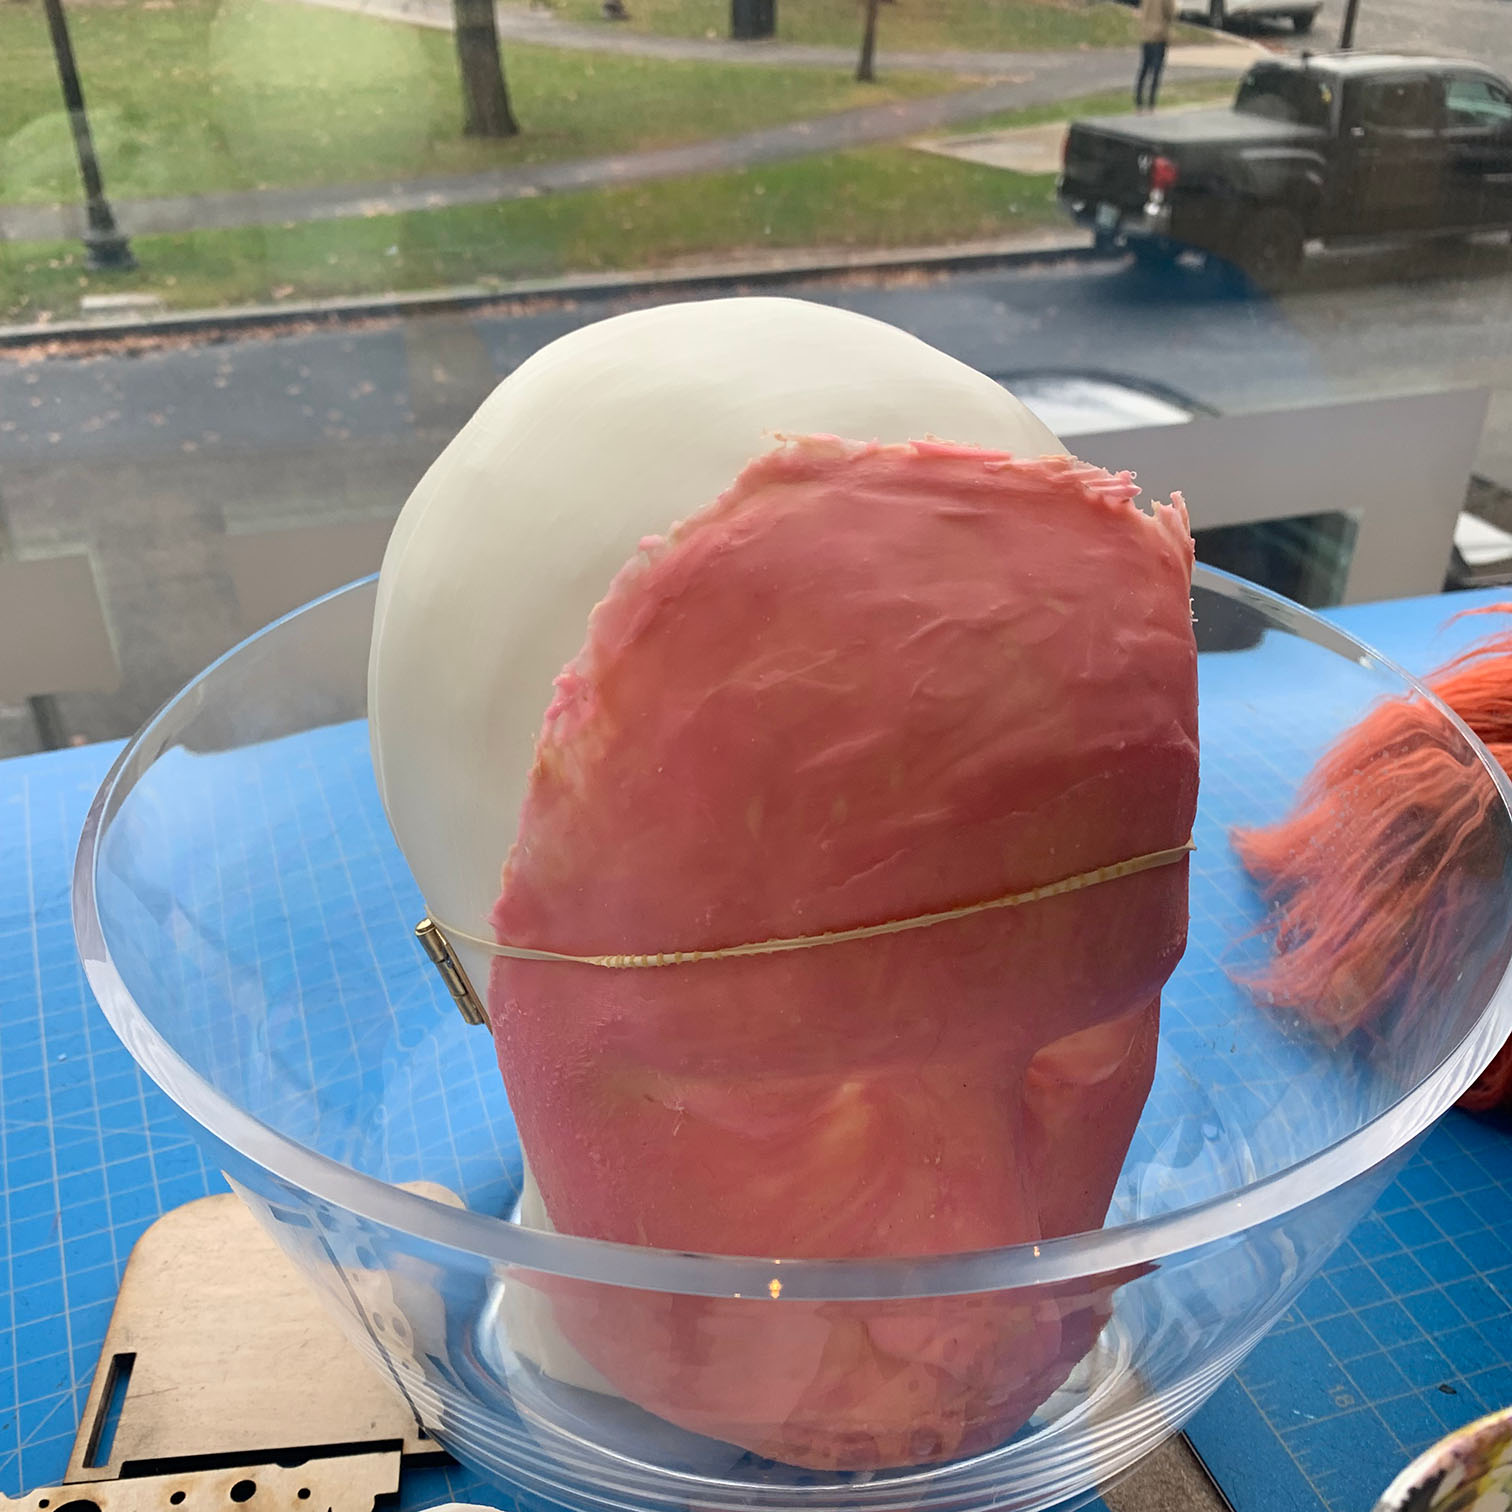
Test 6: This was the best, doing a thin layer of white, pink, and light tan color for the first layer and hand rotate it around for 20 minutes until it mostly sets up.
I then added a second layer of a thicker and slightly darker tone, then to even it out I used a more pink tone that was extra thin to even it out.
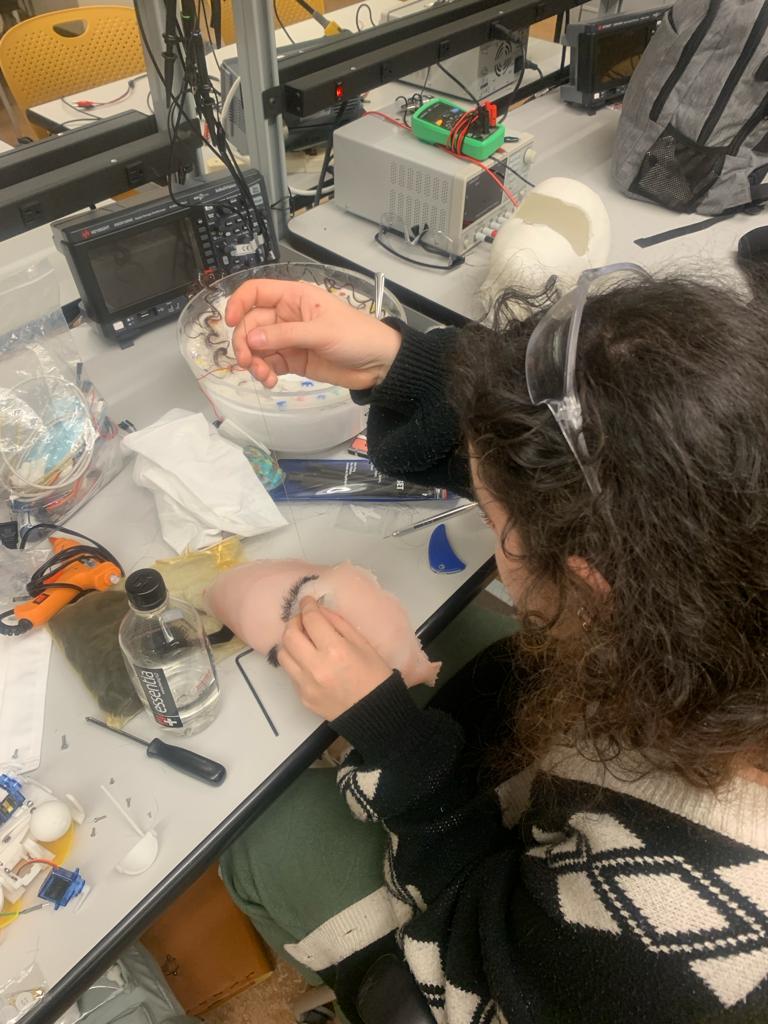
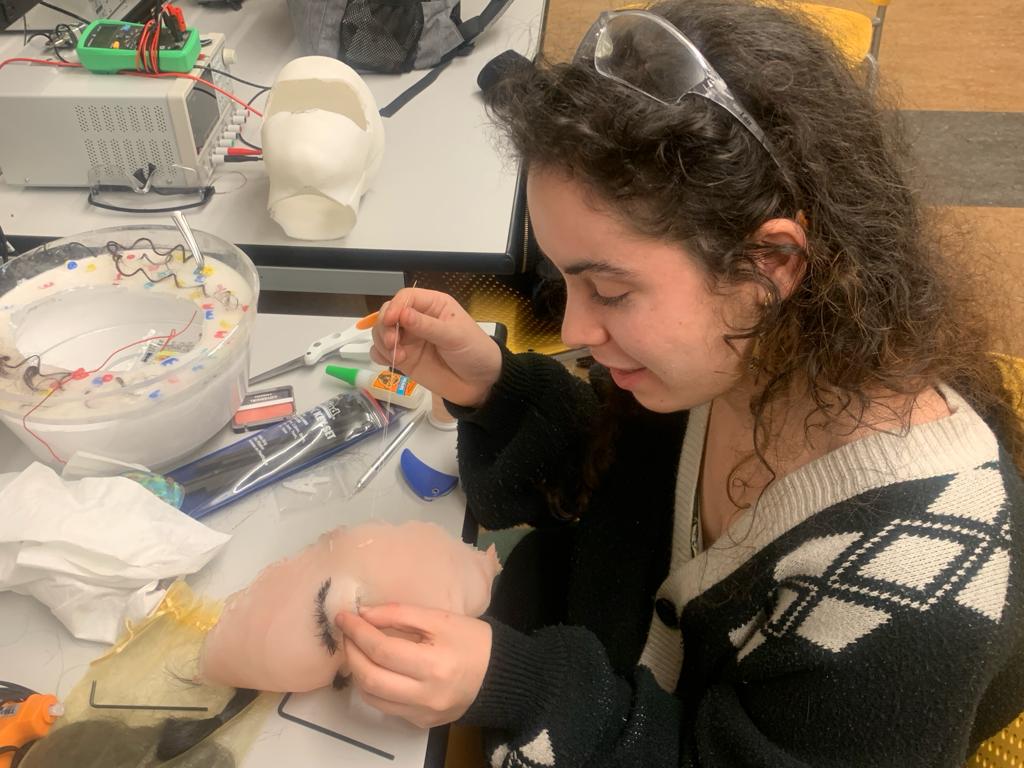
Bringing the Skin to Life
So I put human hair into my piece, and I did that before I attached it to anything or cut the eyelid holes, because otherwise it is hard.
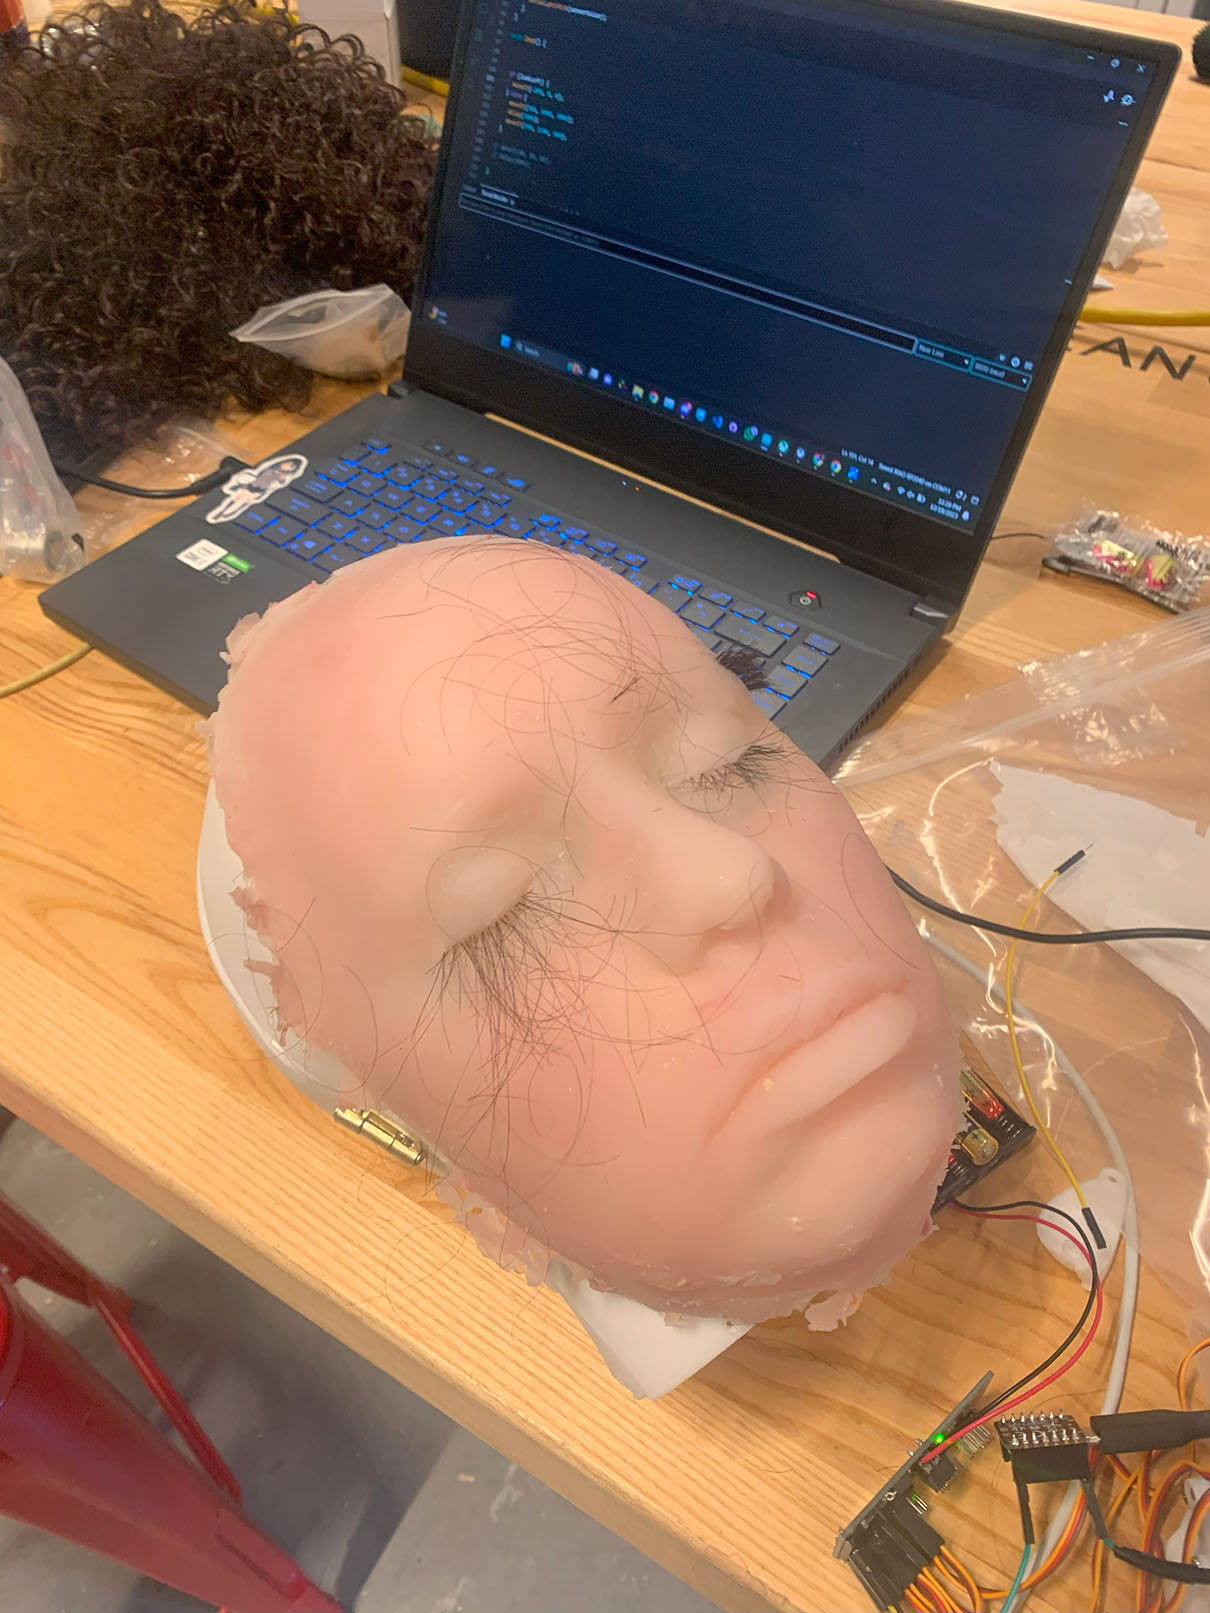
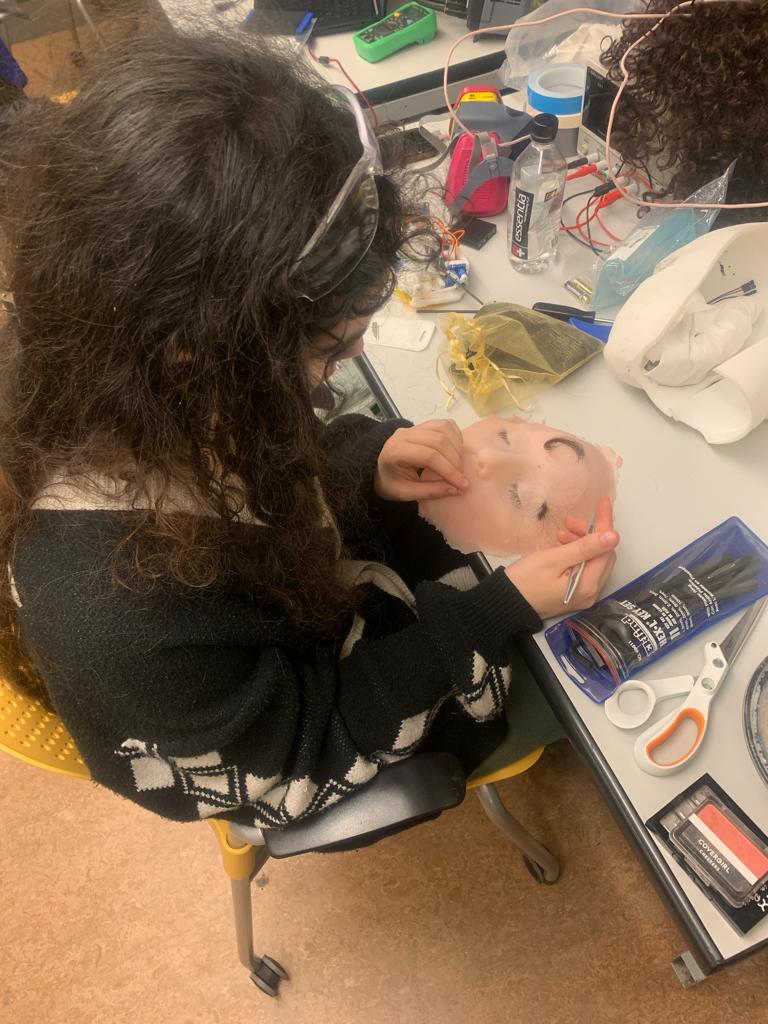

Keep in mind, doing too much hair at once just looks unrealistic and doing too many holes too close to
each other can start to tear the silicone, so it has to be a good balance.

Designing the Eyes
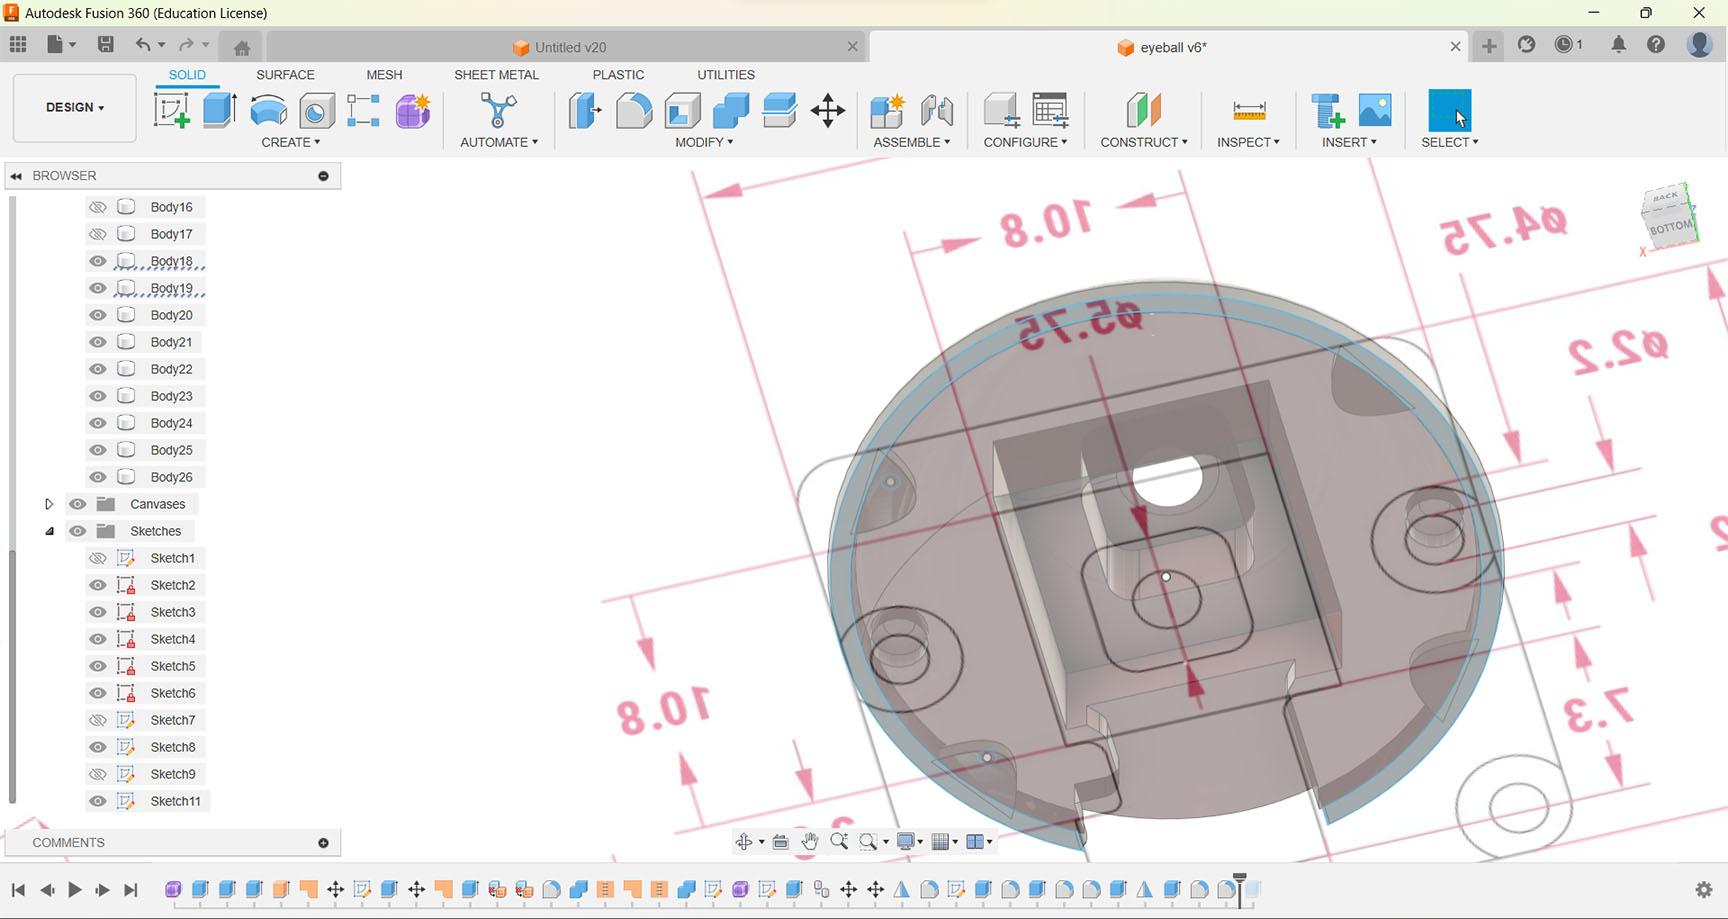
So something I would love to do is be able to print out the eyes in detail in order to get it to be the correct size and fit the components into it perfectly. So I was attempting to design the eye with realistic sizing in Fusion 360 and then create the dimensions for whatever camera is going to be in the eyes so I can subtract it out and make a place for it to rest inside.

Starting out with a sphere with around 24mm diameter as the base because of the normal size of an eye, I wanted a iris of about 11.7mm diameter so I sunk that amount downward to make the similar concave form.


Then I wanted to make a replica of the component I want in it so that I can model the eye around the exact dimensions. The camera I want to use due to its size was the Raspberry Pi 3 module Wide, it has a relatively nice camera and although a little big, it is a very reasonable size.


Making the hole for the camera to come out to act as the cornea.
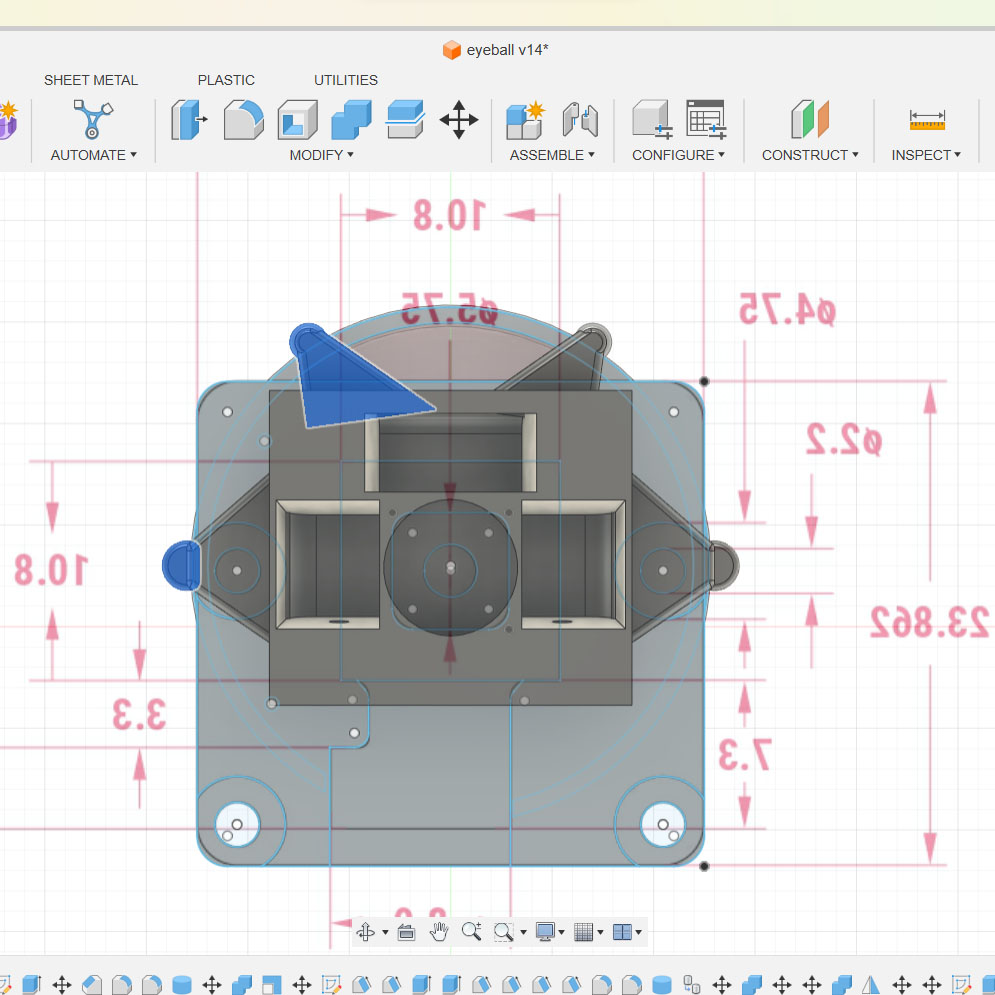
 Then I had to make a system to hold the eye because of how big the camera is, so I was making a ring to go
around it with a small cage that could go around the camera and still have the motion for the wires to move
the eye
Then I had to make a system to hold the eye because of how big the camera is, so I was making a ring to go
around it with a small cage that could go around the camera and still have the motion for the wires to move
the eye

Then with Bowen's help with Blender's UV editting and teaching me how to use it. I was able to put a uv map of a stock image eye that I edited to make more interesting and added details to.
With John and Quentin's help with understanding how to export the file type and make sure there was not crazy complex geometry. There was multiple failed attempts and we ended with obj, and png files for the object and the UV mesh. But because there were so many problems for too long I was unable to use the eyes in the final version because the supports took almost 6 hours to fully dissolve and I needed to do some post processing that would have taken too long so I had to postpone adding those wonderful little eyes in. These eye were printed on the Stratasys J55.


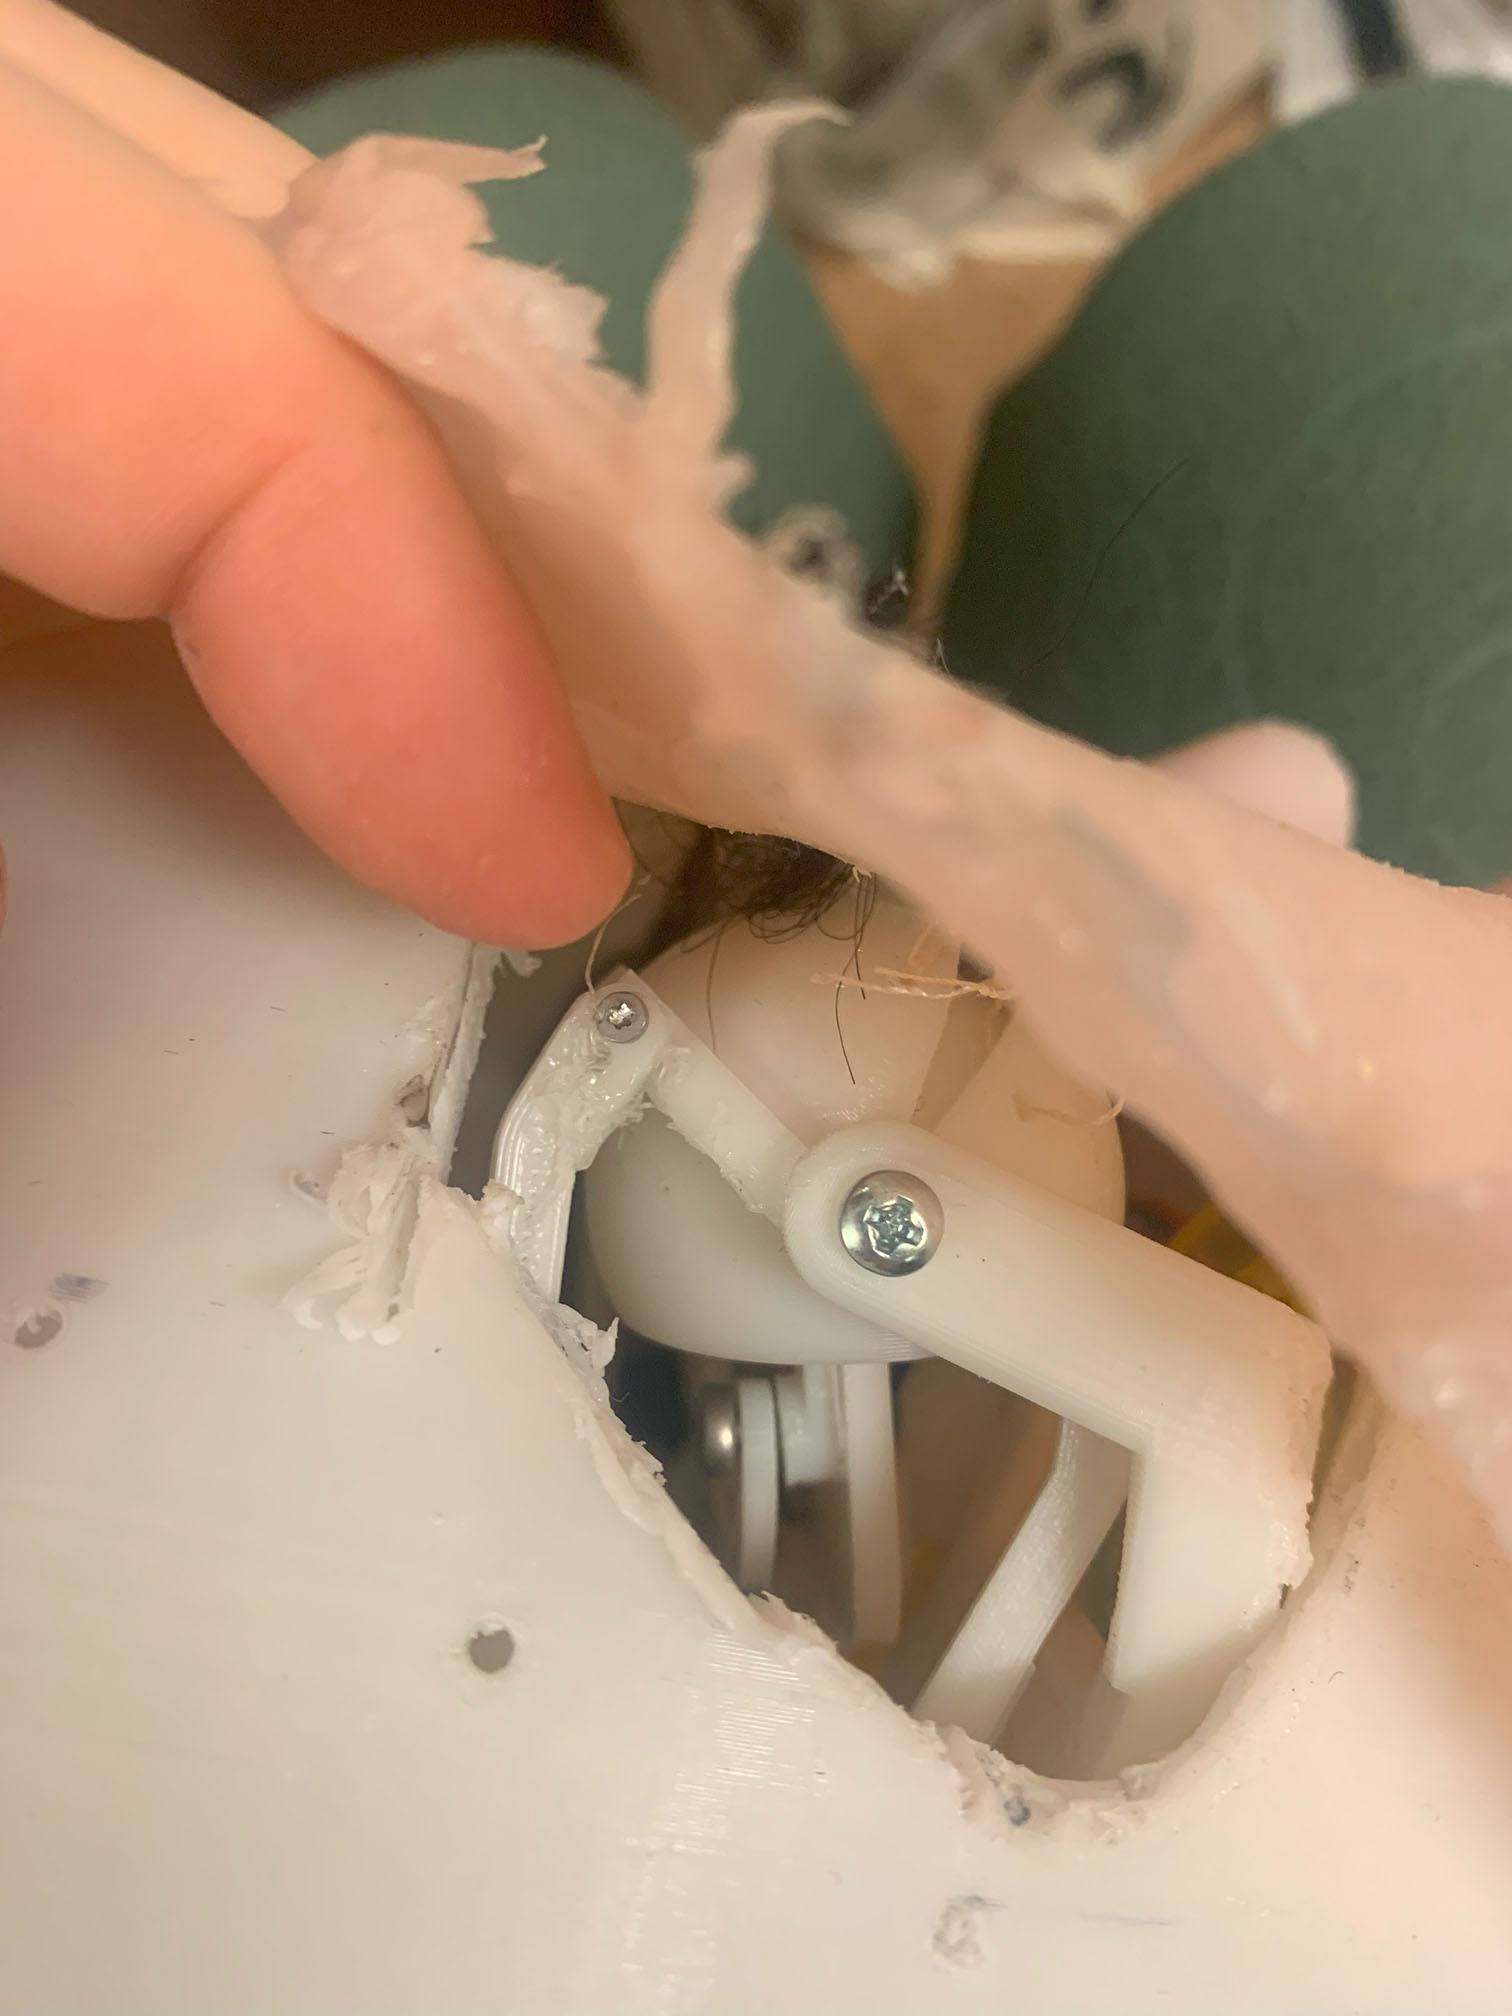
Animatronics
So for a week or two I was focused on improving an animatronic I had seen with complex moving pieces but the range of movement was surprisingly little. It wasn't until about 5 days before final was due that I ended up changing my animatronic model. But this time I was mostly going off of another model and tweeked some dimensions.
Mainly because when something is made that works so well it is hard to want to spend time on fixing something that is already amazing and pour my time and energy into it.
The files I had tweeked as well as the code I followed and changed was from http://www.nilheim.co.uk/latest-projects-and-blog/simplified-3d-printed-animatronic-dual-eye-mechanism Although I have confidence in my ability to design something similar, it seemed like a bad place to expend my time.


I had used Rhino 7 to use rectangles and similar shapes to elongate where the eye pieces would sit away from the servos, took away material under the eyes to make them more free standing, and then elongating the arms that attach to the screws that move the eyes.


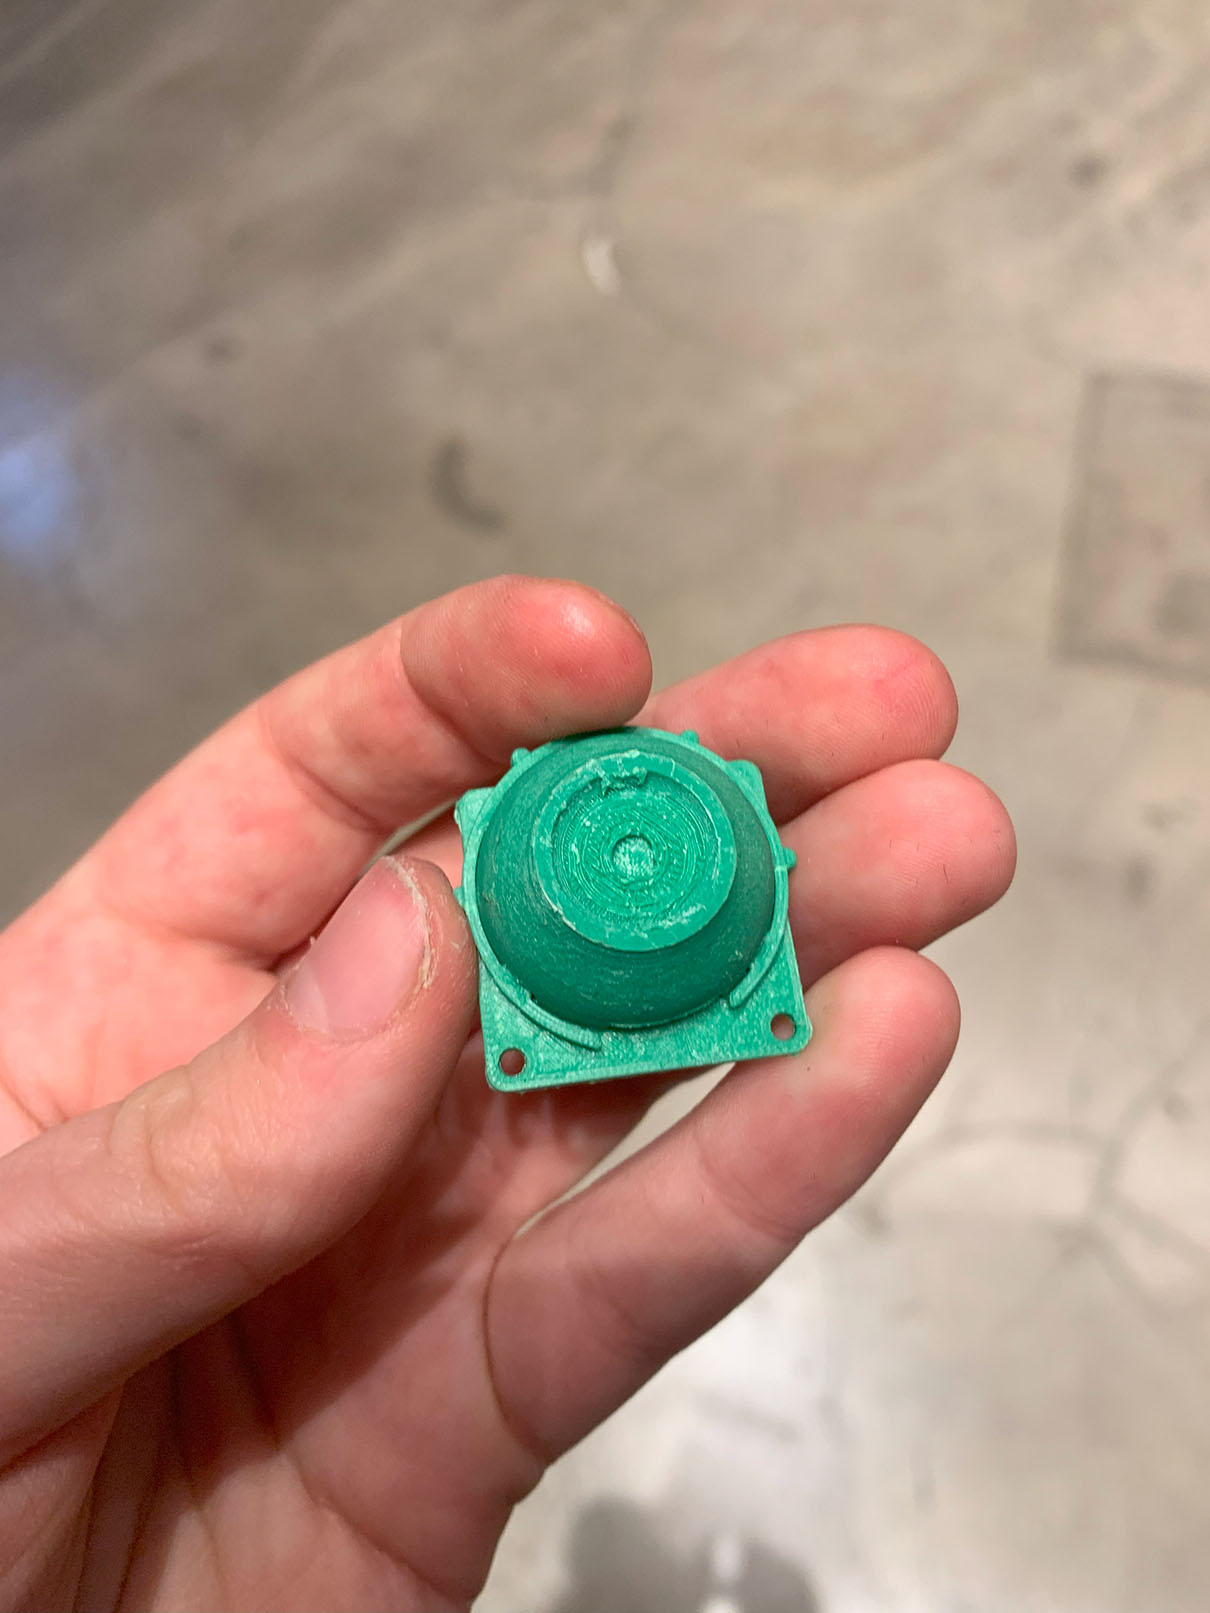
I then printed out all of the pieces and assembly takes a surpisingly long time, for directions and how it should be assembled can be found within the tutorial above since my changes did not alter how it functions.
The Code
Going off the the code from the tutorial, instead of using a joystick or a camera, I ended up using a metal spoon as a capacitive sensor to trigger the eyes to open and look at you.

The parts of the code that were changed for my needs were the additions of:
void loop1() {
while (Serial1.available() >= 2) {
uint8_t lowByte = Serial1.read();
uint8_t highByte = Serial1.read();
uint16_t sensorValue = (highByte << 8) | lowByte;
if (sensorValue > 700) {
lookLeft = false;
} else {
lookLeft = true;
}
Serial.println(sensorValue);
}
}
void loop() {
if (lookLeft) {
moveIt(-200, 0, 0);
} else {
moveIt(300, 1000, 1000);
delay(1000);
moveIt(100, 1500, 900);
}
// moveIt(00, 00, 00);
// delay(1000);
These parts were changed in order for the information given by the capacitive sensor to trigger its movements have the specific coordinates for the eyes to move to

In order to get the information given by the sensor, I started off with Adafruits freetouch code example and Quentin's past capacitive touch projects, and with the help of Leo added some code that allowed the SAMD21 to communicate with the RP2040 and understand what it was telling it.
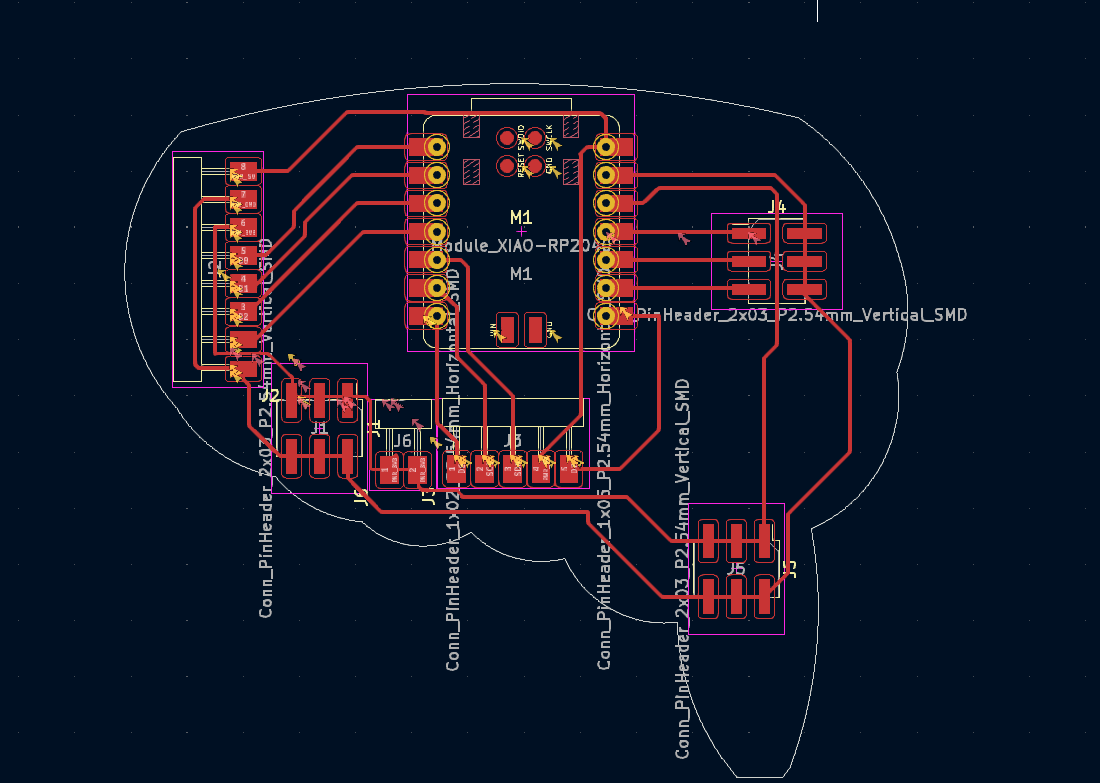

For the pcb Board I ended up using one I had made for output week, but instead I made it far less likely to short.
I also connected the qt0 pin of the SAMD to the spoon wire, the TX pin to the RP2040s RX pin and their GNDs together.

Lasercutting and Packaging
For subtraction and packaging requirement, I ended up taking the measurements of the bowl, and using Rhino I took the coutures of the inside of my faces shell, and the outside of my scanned face in order to make what would end up holding the head, where the cereal will sit on, and laser cut pieces for the animatronics to sit on, and for the electronics.(With knowing the pieces that would have gone into the head if I was going with these from the beginning I wuold have made all the packaging built into the model like little shelves)


Resin Work and Cereal/Spoon
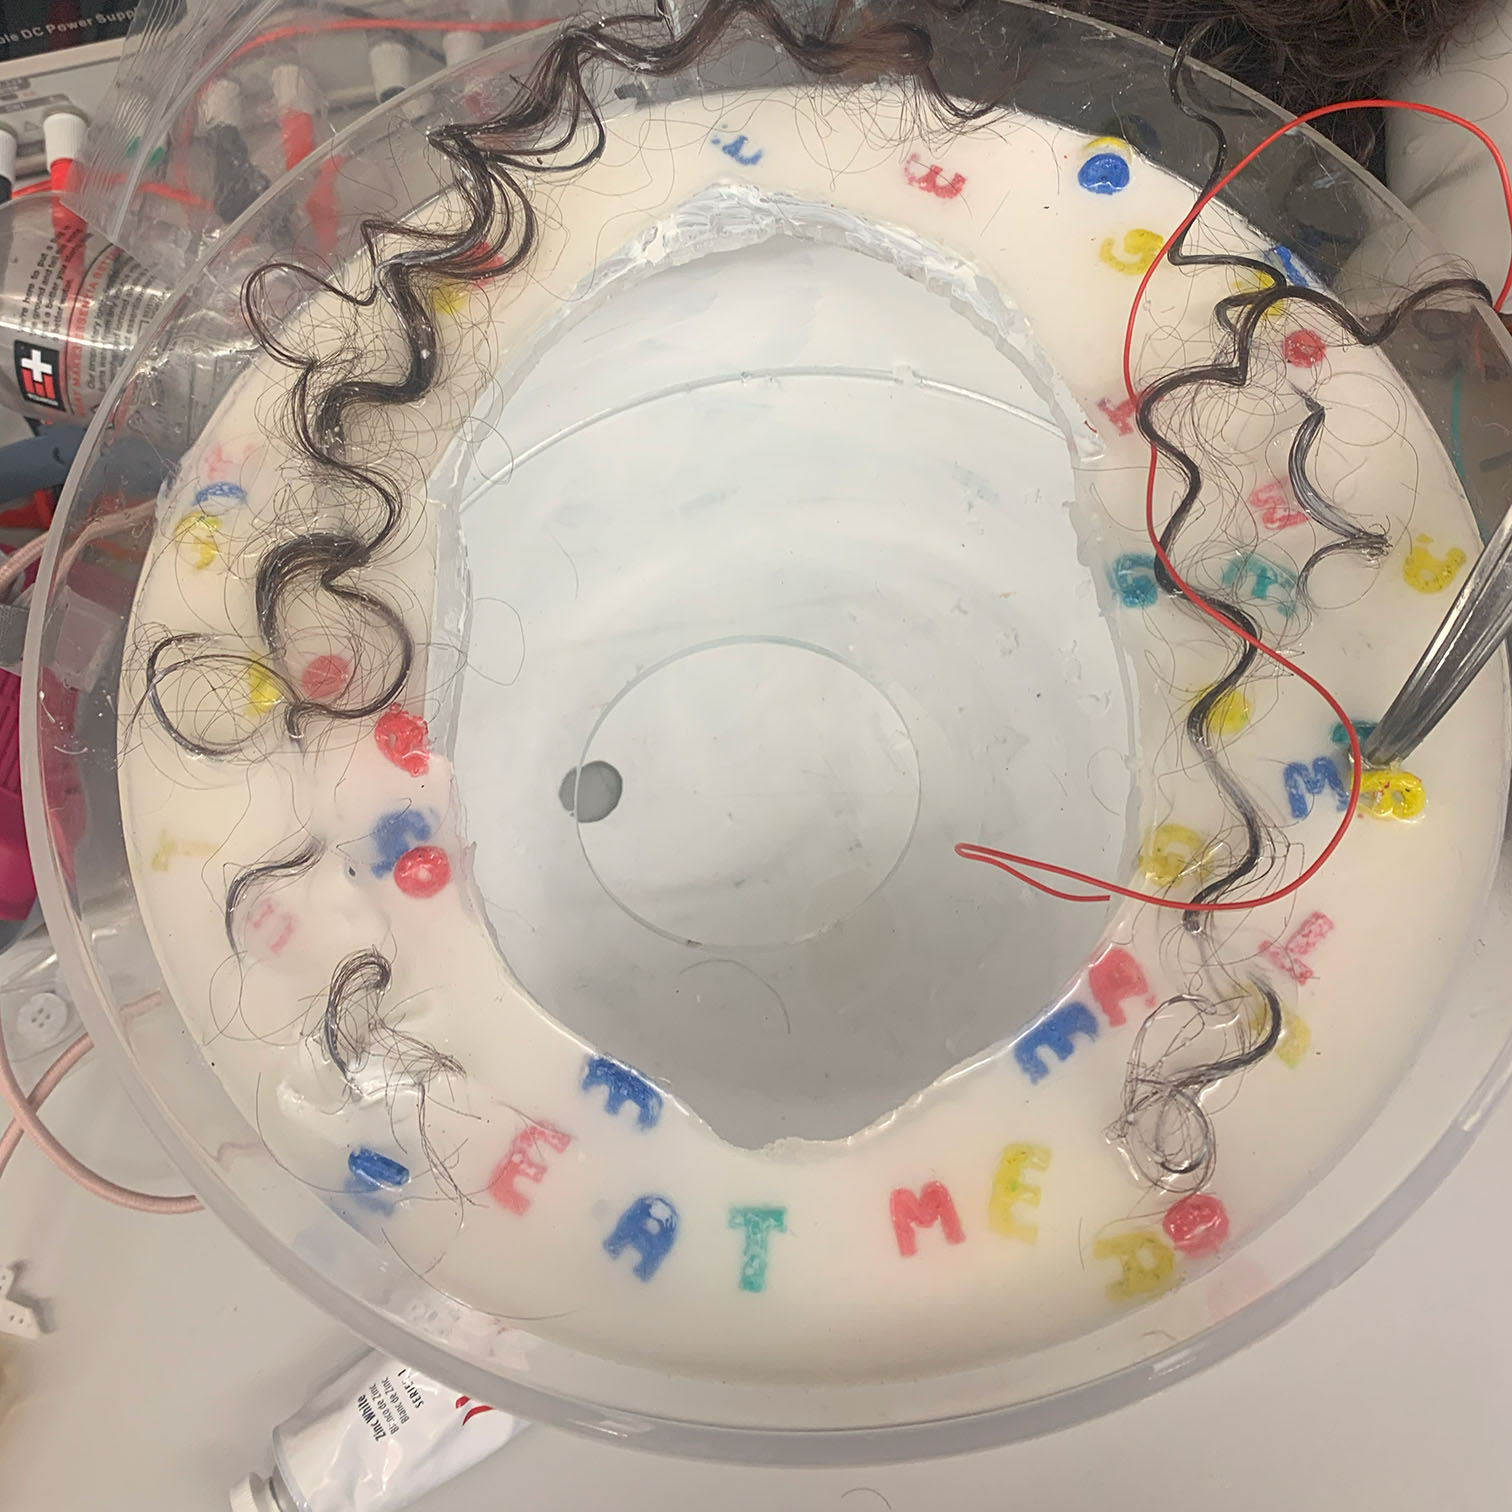
Cereal


Because I didn't have any white pigment on hand and changed my idea last minute again, I first designed my cereal pieces in Nomad, making tubes in the shapes of letters and then giving them texture, printed out a bunch of those and painted them different colors with acrylic paint.
After that I hot glued them into specific areas on the clear acrylic sheet, using hot glue to seal the edges and then using the whole hot glue sticks and more heated hot glue to put around the face to act as the mold to hold the resin.(which I don't have a picture of because my phone died)


Then adding the Poly Urethane, Smoothcast 65 from Smoothon as a thin layer on the top because it cures fast so it could plug any leaks and without white pigment it could help as the undertone because it cures white.


I then got some chalk and crushed it into a fine white powder, which looks a little suspicious, to act similar to a while pigment and mixed that into my clear resin to give a translucent feel to my milk.
The ratios for both of these resins were 1:1 by volume
To get the glue off, rubbing alcohol dissolves it so it is easy to take off.
Spoon
I took a spoon from my apartment and acquired and taught myself how to use a jeweler's saw to cut it in half, I then wrapped it in wire and soldered the wire to itself since it wouldn't solder to the spoon.


Assembly
Then once every piece was done I needed to sew the face and eyelids to head and animatronics. First I would sew each eye lid to each other very gently, because the eyes need to be sewn first, then assembled to the rest of the animatronics.

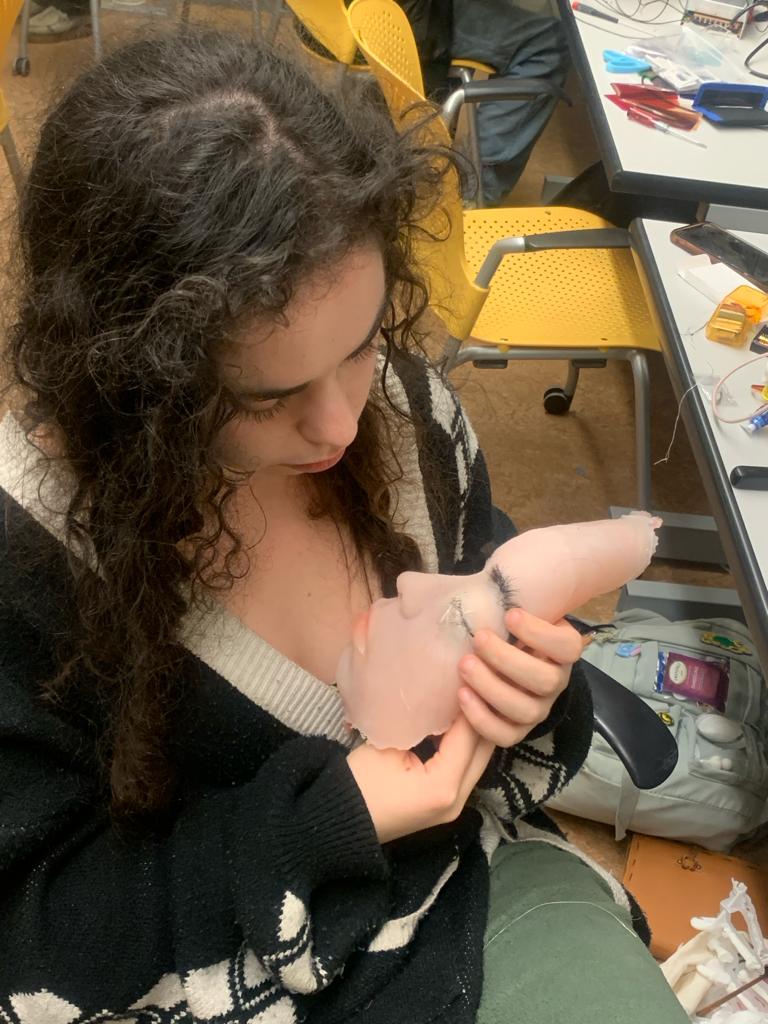


Then after screwing the animatronics on to one of the laser cut shelves, I use trusty hot glue to secure it into place, then went about sewing the face on.


Then it worked yay! But not well enough :l, I should have used stronger servos, made a more complex interaction, gotten the eyes I wanted in, changed the silicone shape design, and so many other things but I'll get back to that another day because I will probably make other weird things like this.
Final look
But also something went wrong while bringing it to the Media lab and it didn't work on the presentation time :DD so that was just great, but I have videos so it is fine.