How to Make (Almost) Anything
Week 4
Task1: Test the design rules for your 3D printer.
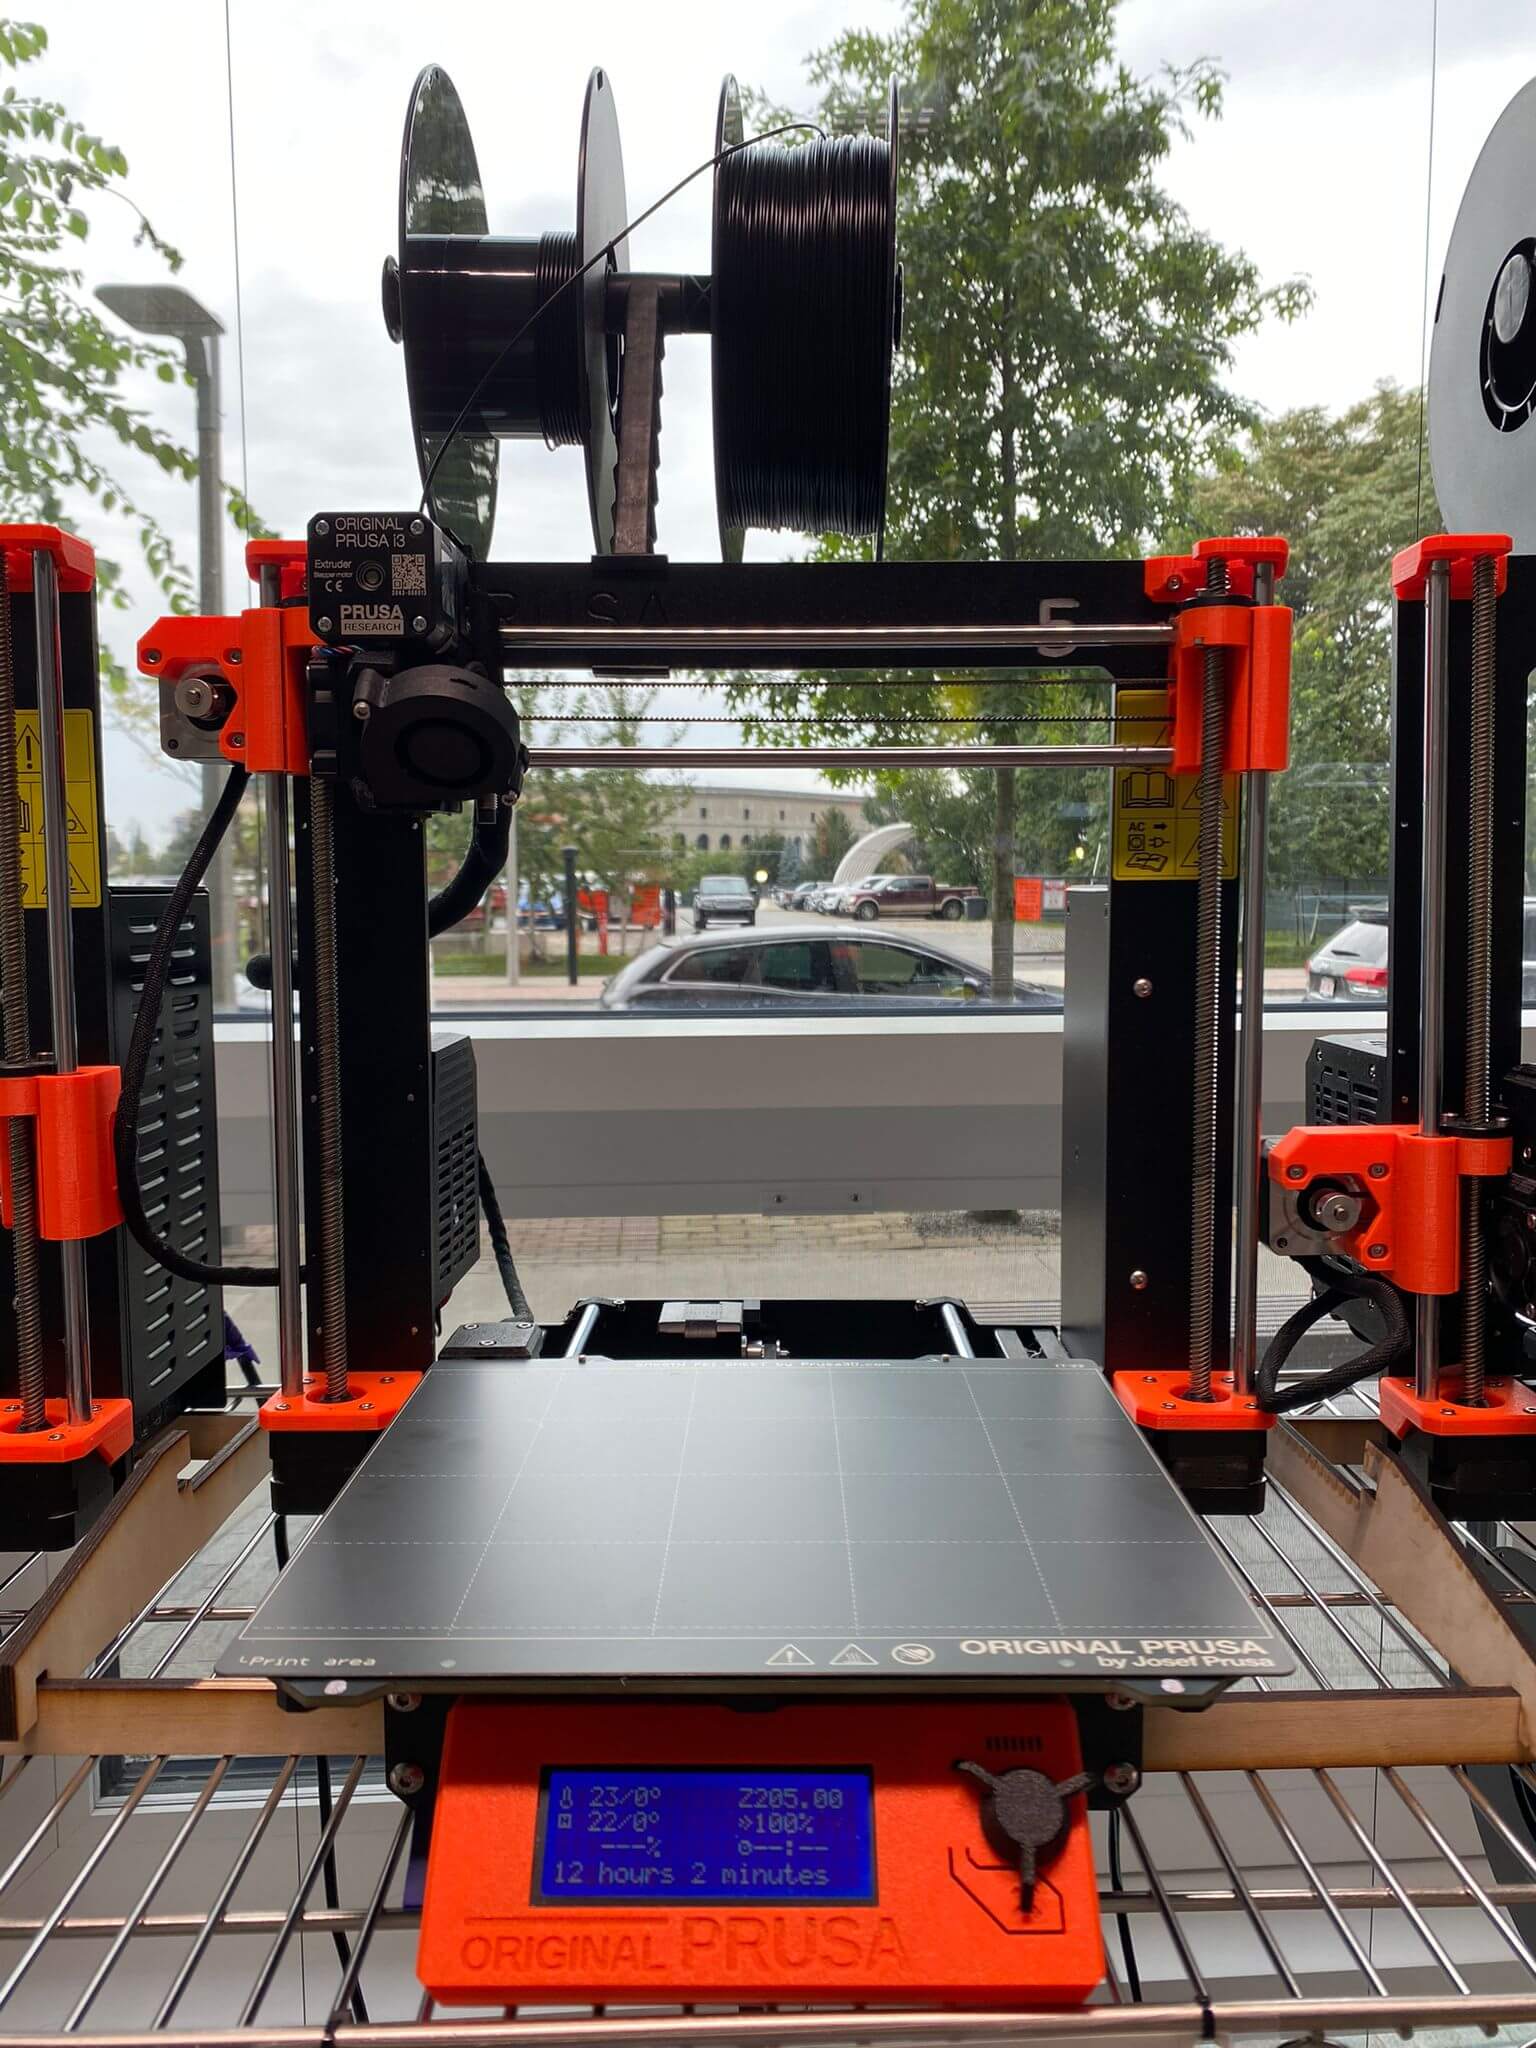
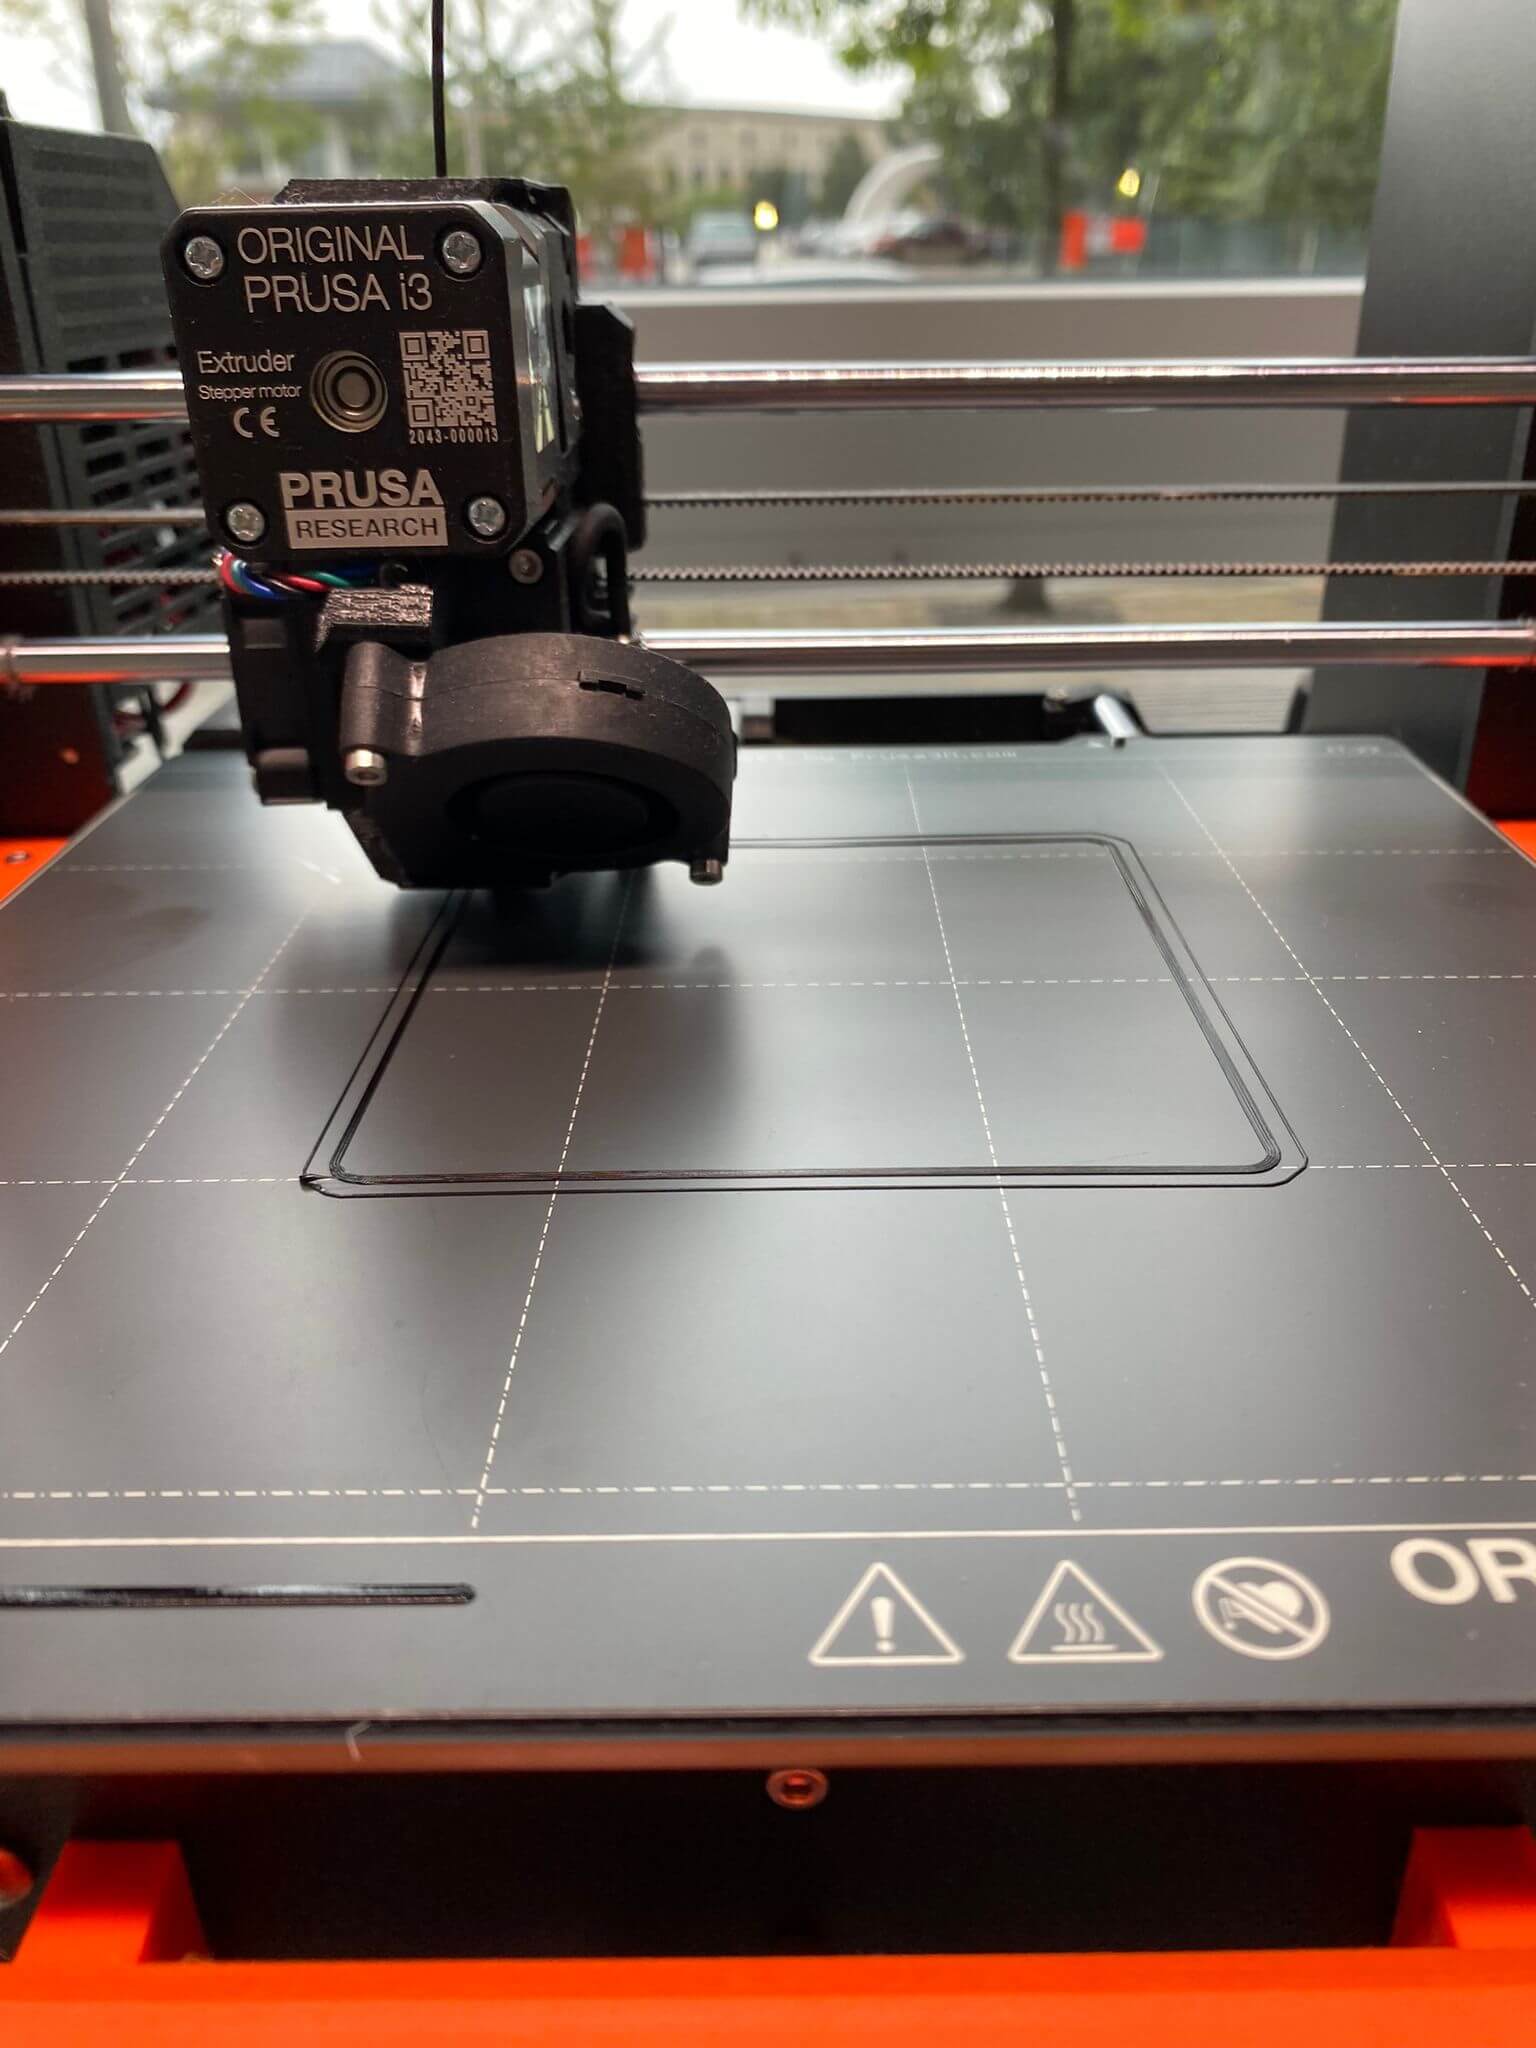
I used the Prusa MK3S, 3D printer at Harvard REEF, before I started to use the device, I installed the Prusa slicer [1] software to control all the settings and prepare the Gcode. Below is the picture of the printer I used for this week’s assignment [2].
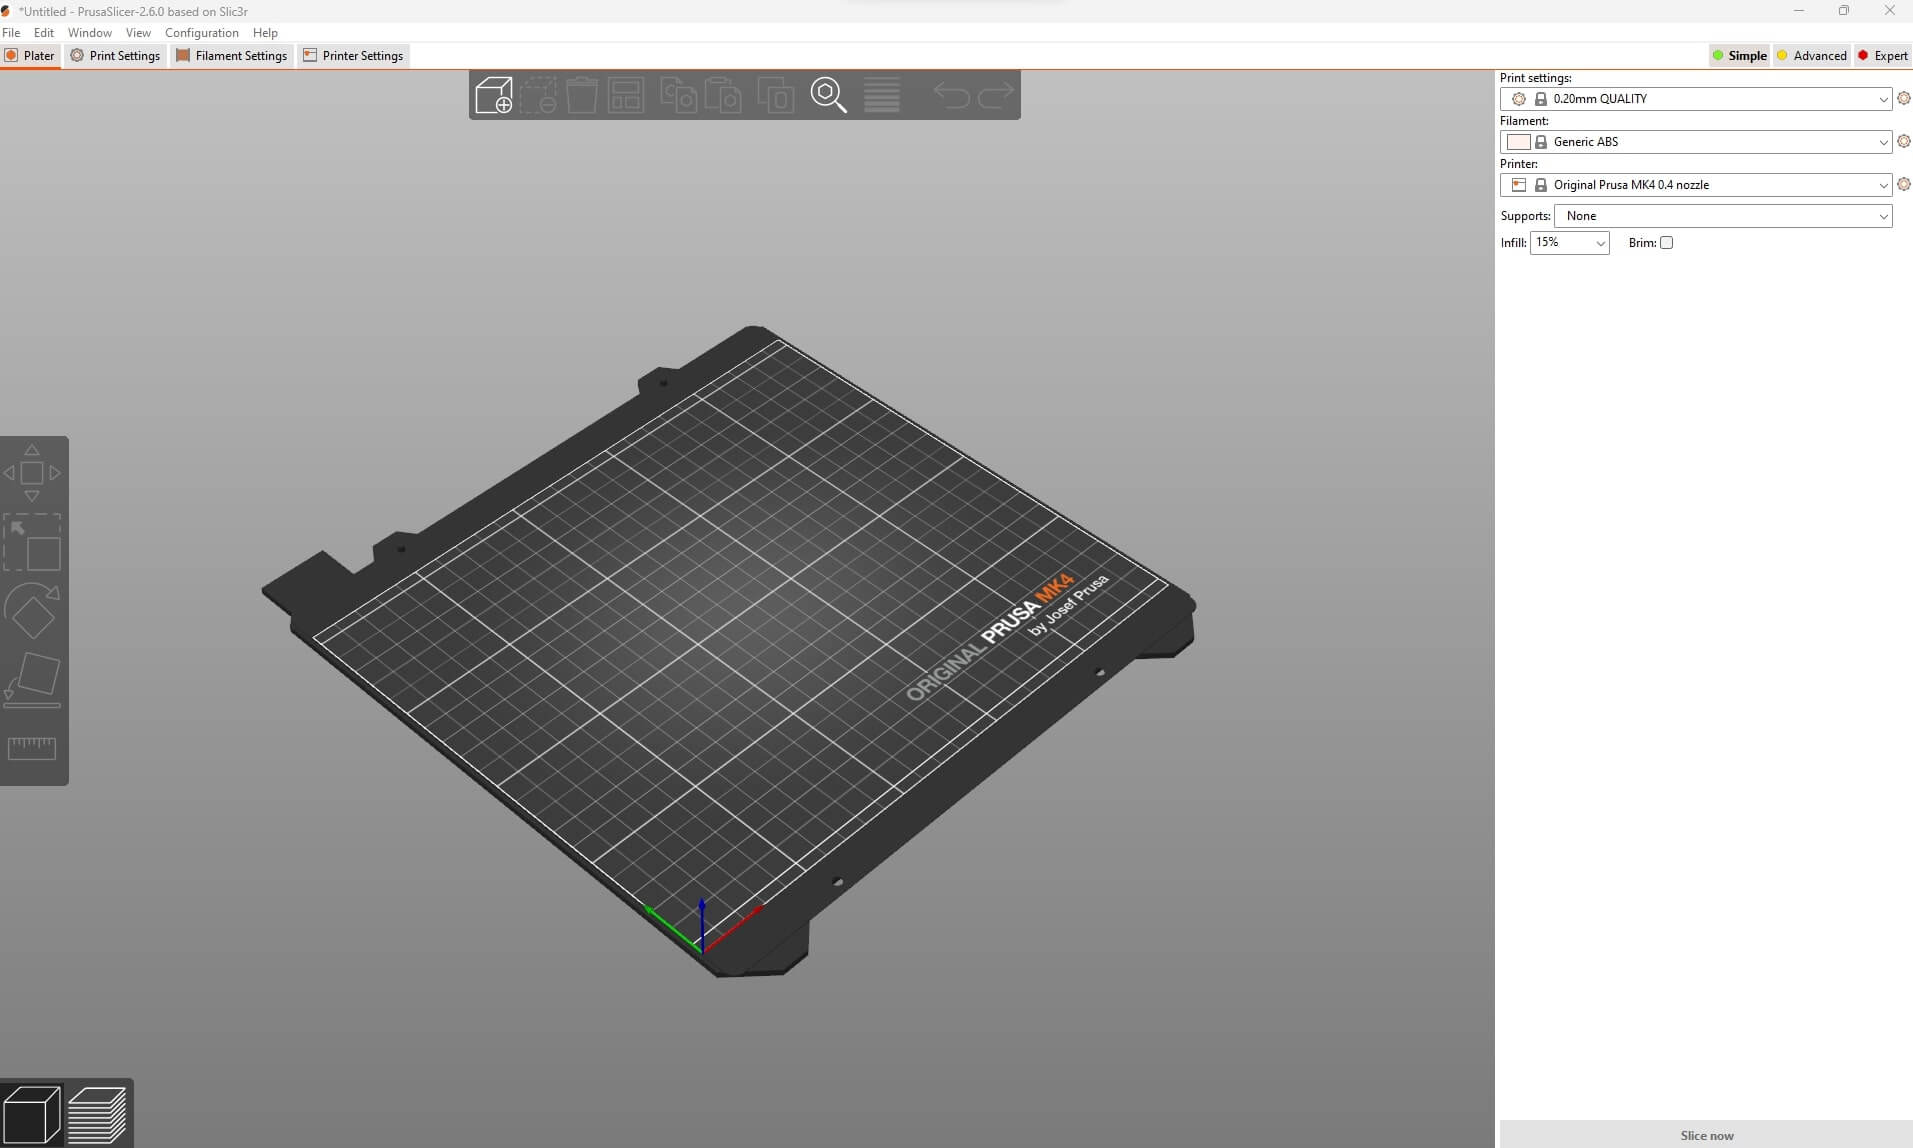
In the Prusa slicer software, I selected the printer model MK3S, it has (9.84"×8.3"×8.3") build volume, 0.4 mm default nozzle, and I used regular black PLA with a 1.75 mm filament diameter. Also, the printer has a removable magnetic steel bed, so after finishing the print I easily removed the parts.
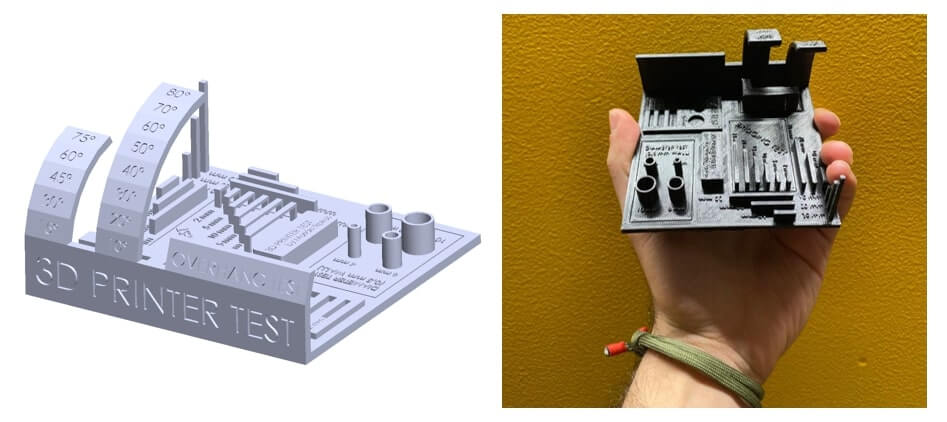
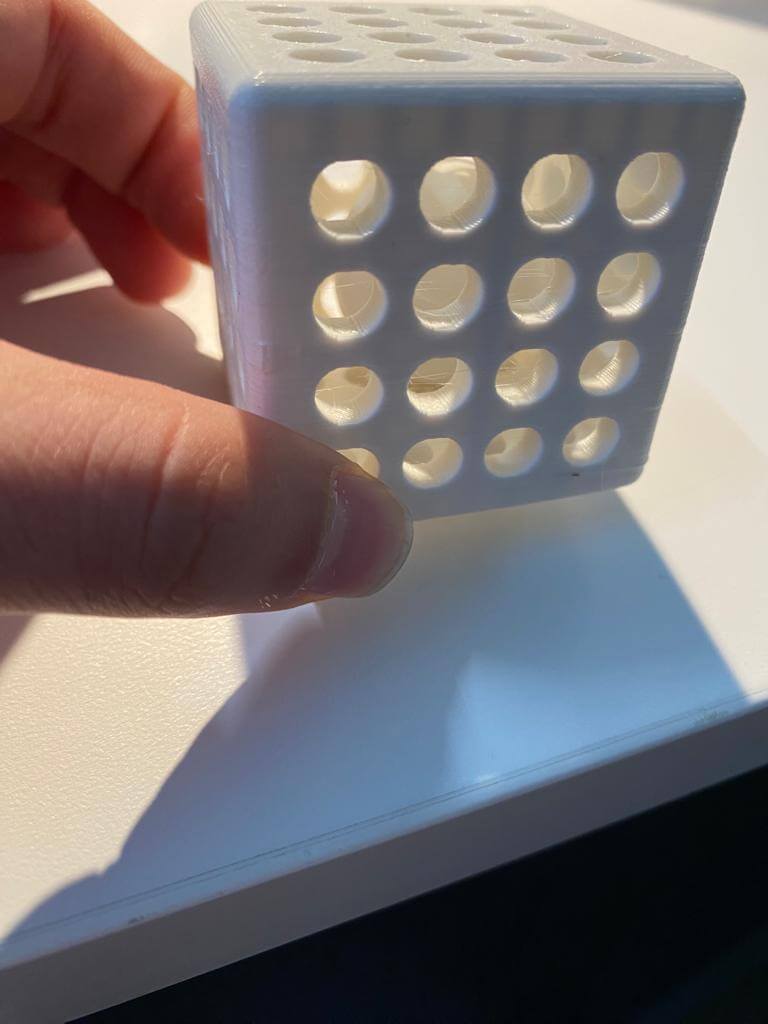
After I set it up the printer in the software, I wanted to test its capabilities, so I downloaded this model from Thingiverse [3] which can test printers’ capability in terms of overhangs, bridging, line thickness, layer thickness, print time, print angles, etc. First, I opened the Prusa slicer software then dragged and dropped the .STL file I downloaded.
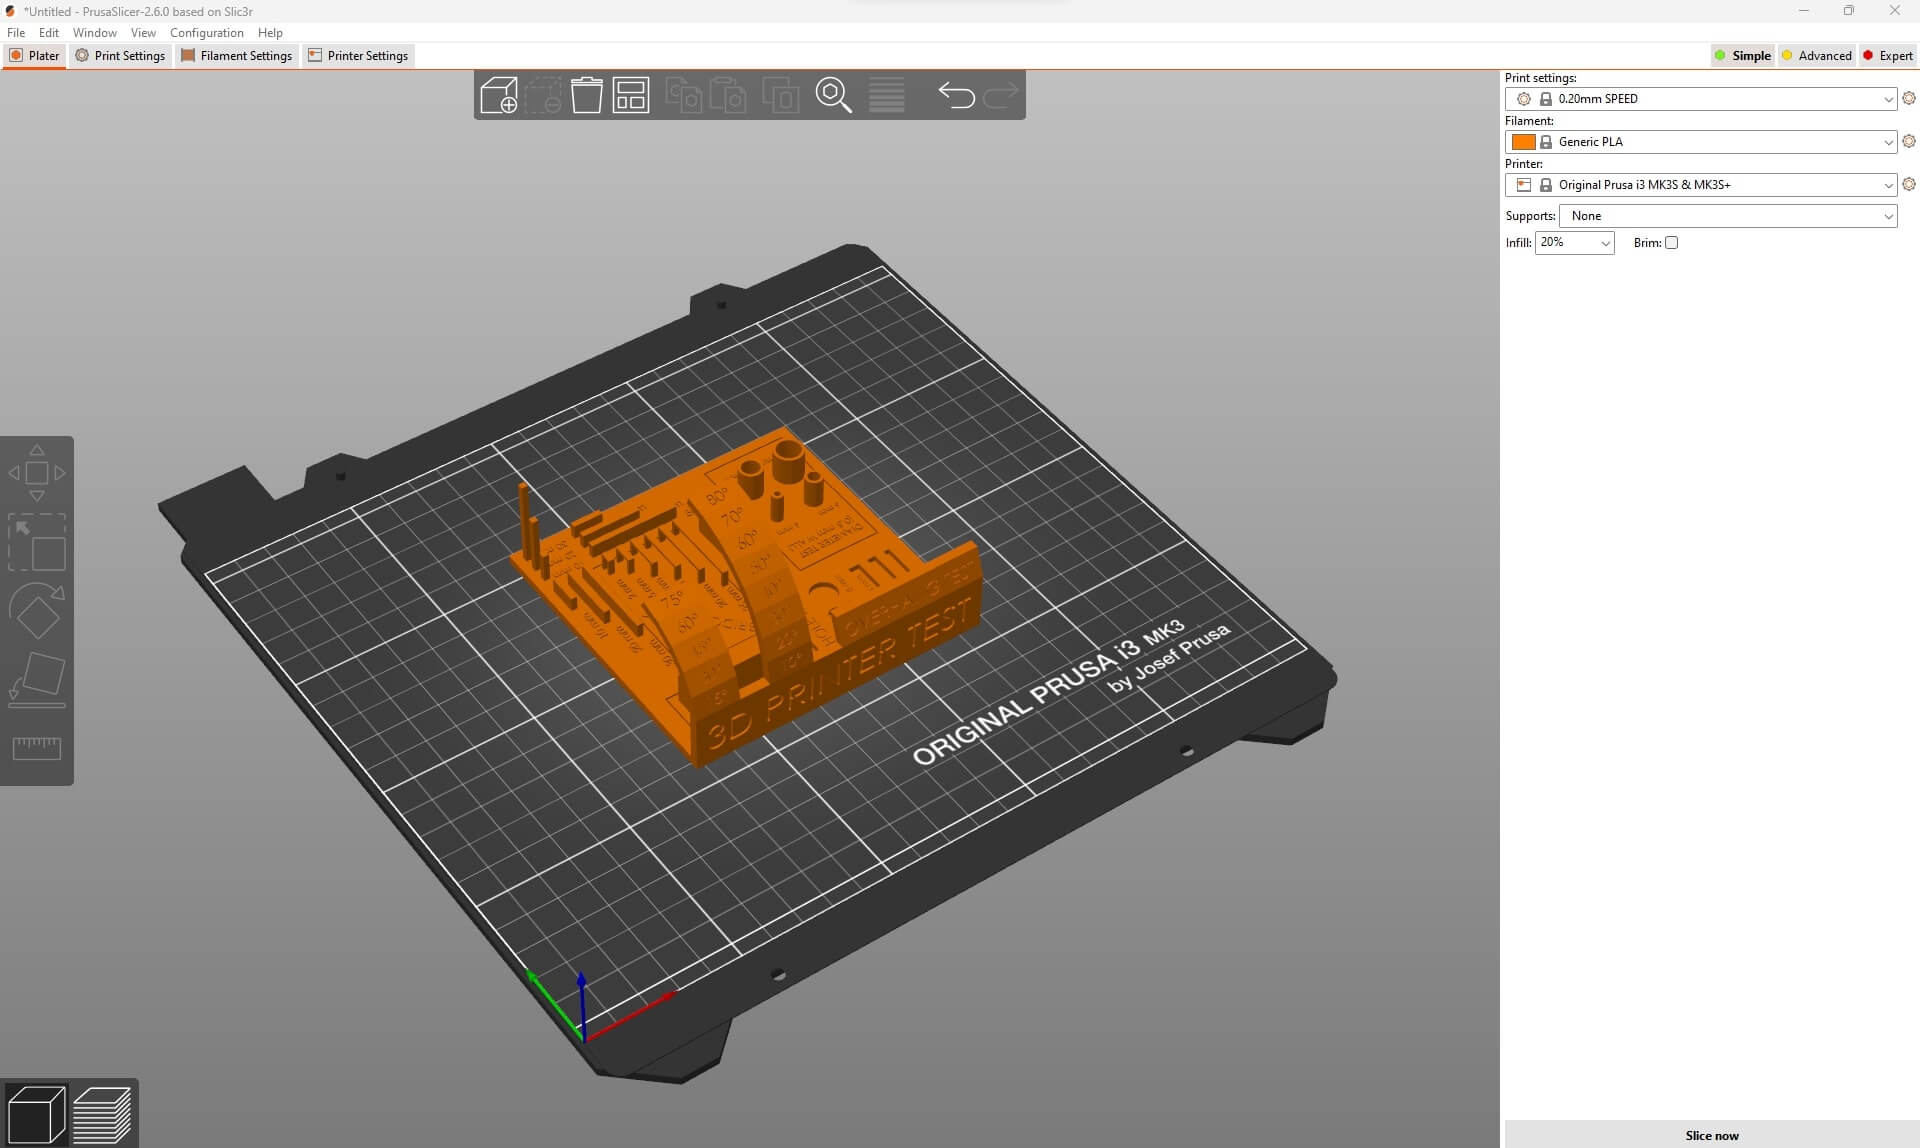
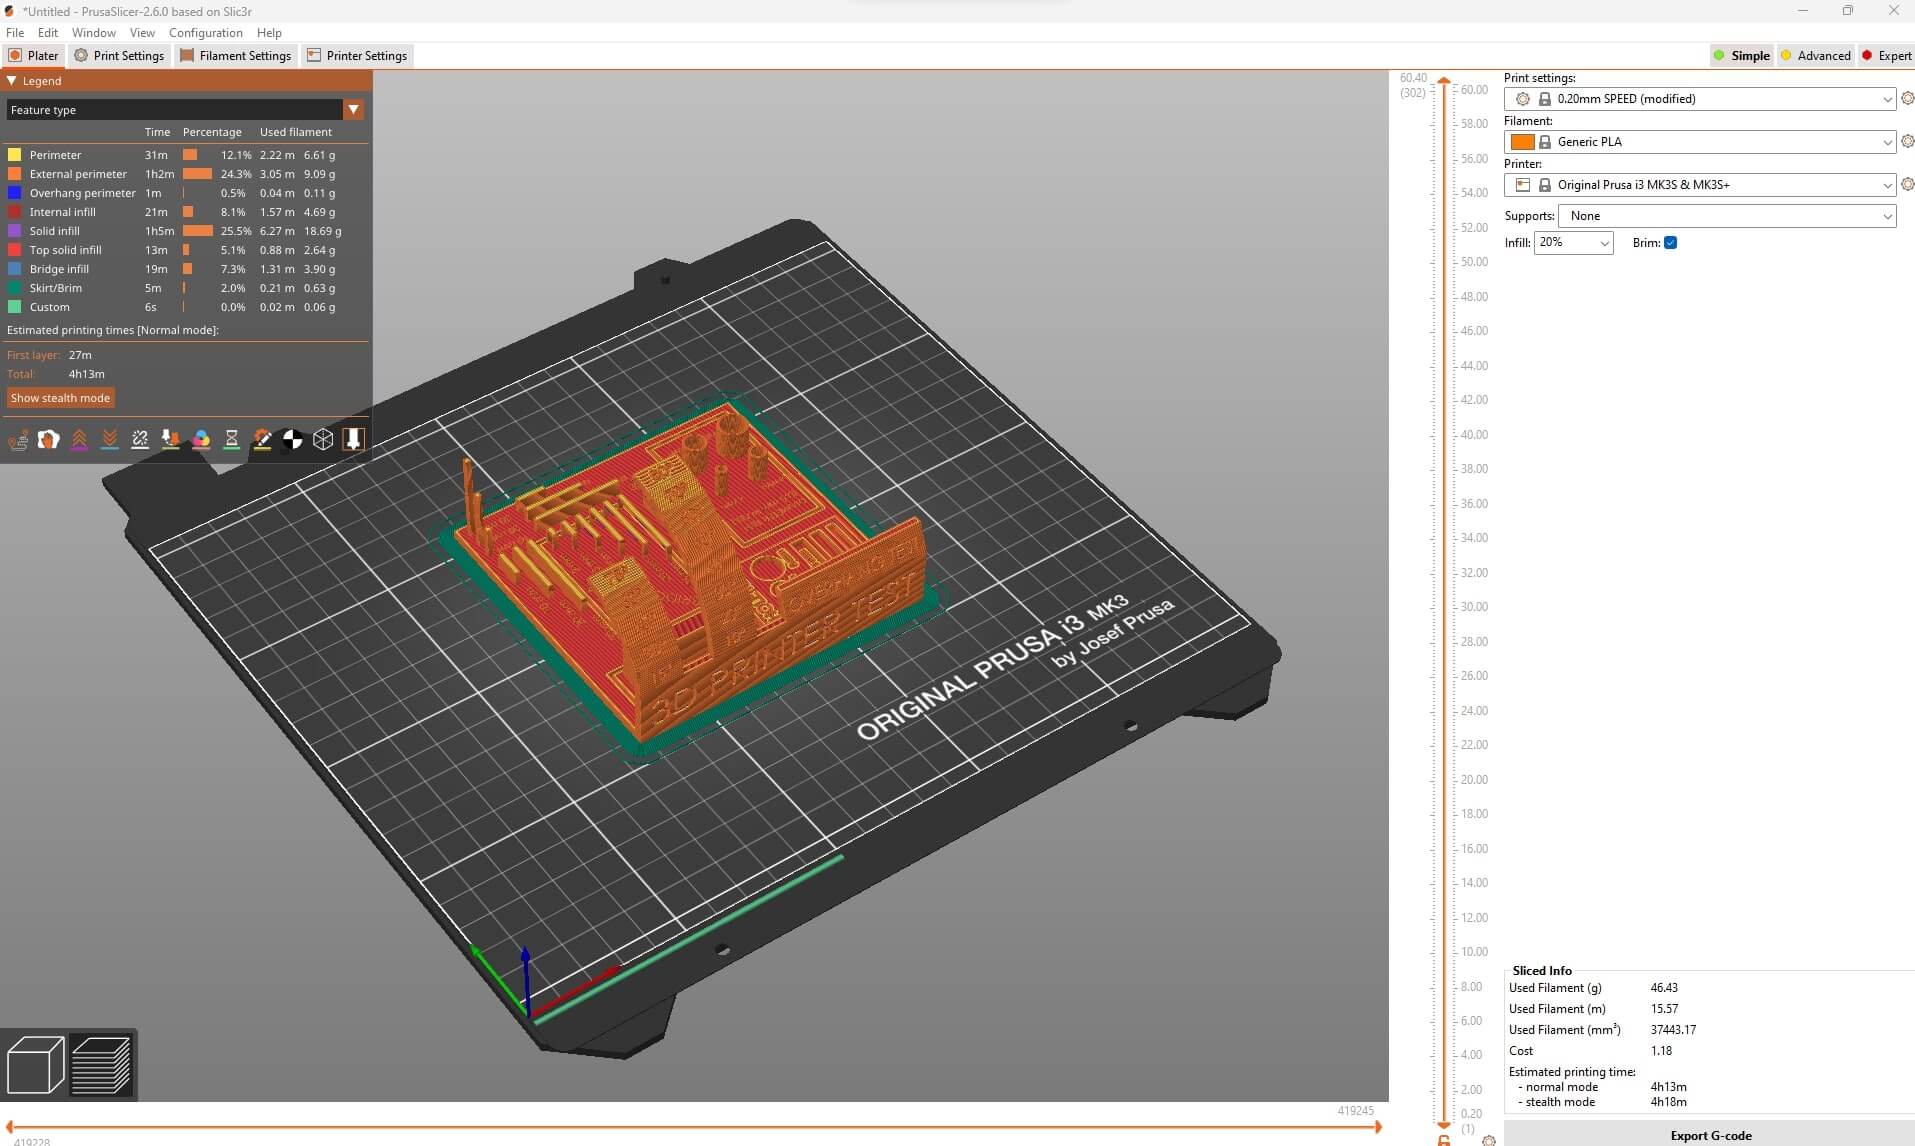
Then I selected the print settings 0.2 mm for layer thickness, 20% infill, generic PLA settings which is heated bed and 210 C nozzle temperature. Below is the picture for sliced model and the print time and layer movements and how its going to be printed.
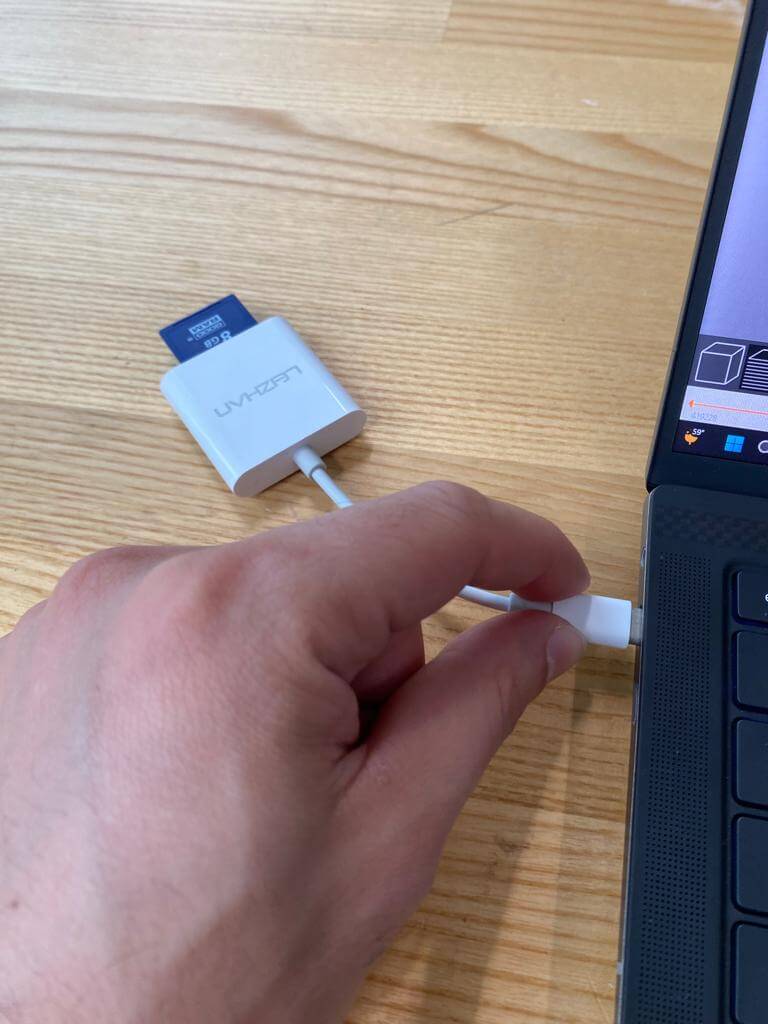
3D printers are CNC machines, and they work easiest way to communicate with these machines is the Gcode which is the way to explain stepper motors to build the model, so after slicing the model I exported the Gcode and placed it into the printer’s SD card.
After giving the 3D print task to the machine I waited to finish the first couple of layers to see if it’s going to stick to print bed or not. Below is the beginning of the printing process.
After 4h 13 min, printing was done and I took the part off from the print bed, cleaned up a little and checked the testing parameters, it went well.
Link for the STL: https://drive.google.com/file/d/1WUd1lJYQA_JEu8KB01ccfpJjkxhw2N1f/view?usp=drive_link
Task2: Design and 3D print an object that could not be made subtractively.
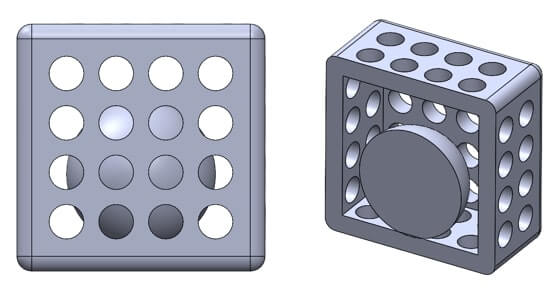
For the 2nd task I need to think about my 3D design so that it can not be machined or subtractively manufactured also we were limited by size and print time, so I wanted to design a simple cube and placed sphere inside so that sphere can move inside of the cube after the printing process. To do this, I intentionally designed the sphere to have an interference with the bottom surface of the cube by 0.6 mm so that it could stick to and print without fail. Below are the CAD pics. I used the same setting for printing that I used for test print above.
Link for the STL: https://drive.google.com/file/d/19QlPJmRsXIO9_0bbriLoNbZlsnuyH2pV/view?usp=drive_link
Task3: 3D scans an object (and optionally print it).
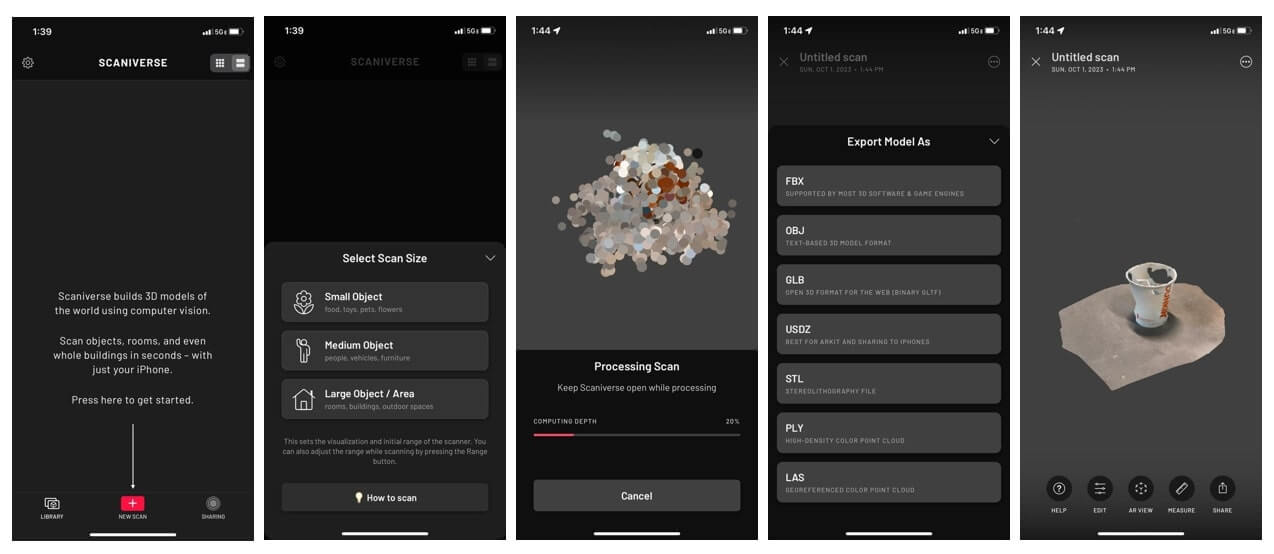
For the last task, I used Scaniverse app in my phone [4]. First, I clicked the new scan button, I placed my Dunkin coffee cup on the floor, and I selected the small object scan in the app. The most important thing to have a good 3D scanned model is related to the multiple angle object view in the app, so I tried to take as many as possible different angles. Then I hit the stop button and selected the high-quality processing data option which takes more time to finish the model. Then I wanted to export the model as STL. Below is the process and STL file in the drive.
Link for the STL: https://drive.google.com/file/d/1jsNRTDeErA1rdollAhazkXHEFSwk34-7/view?usp=drive_link
References:
[1] https://www.prusa3d.com/page/prusaslicer_424/
[2] https://www.prusa3d.com/category/original-prusa-i3-mk3s/
[3] https://www.thingiverse.com/thing:2806295
[4] https://scaniverse.com/