How to Make (Almost) Anything
Week 7
Task1: Group assignment, review the data sheet for each of your molding and casting materials.
Here is the SDS of the OOMOO I reviewed it and it seems like a very safe material to handle, with gloves and safety glasses, it is easy to cast this material [1].
Task2: Design a mold around the stock and tooling that you will be using, mill it and use it to cast parts. Extra credit: try other molding and casting processes.
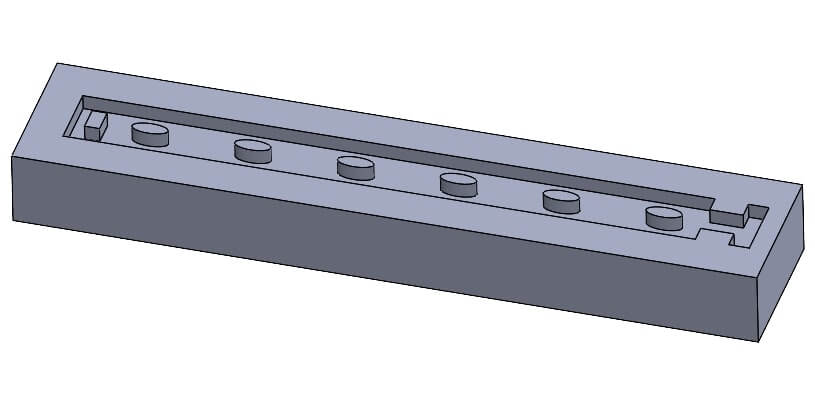
For this week I wanted to make a flexible bracelet out of OOMOO casting elastomer [2]. I wanted to compare both 3D printed mold and machined Wax. So first I designed the 3D model which is smaller than the machinable wax stock we have in the lab.
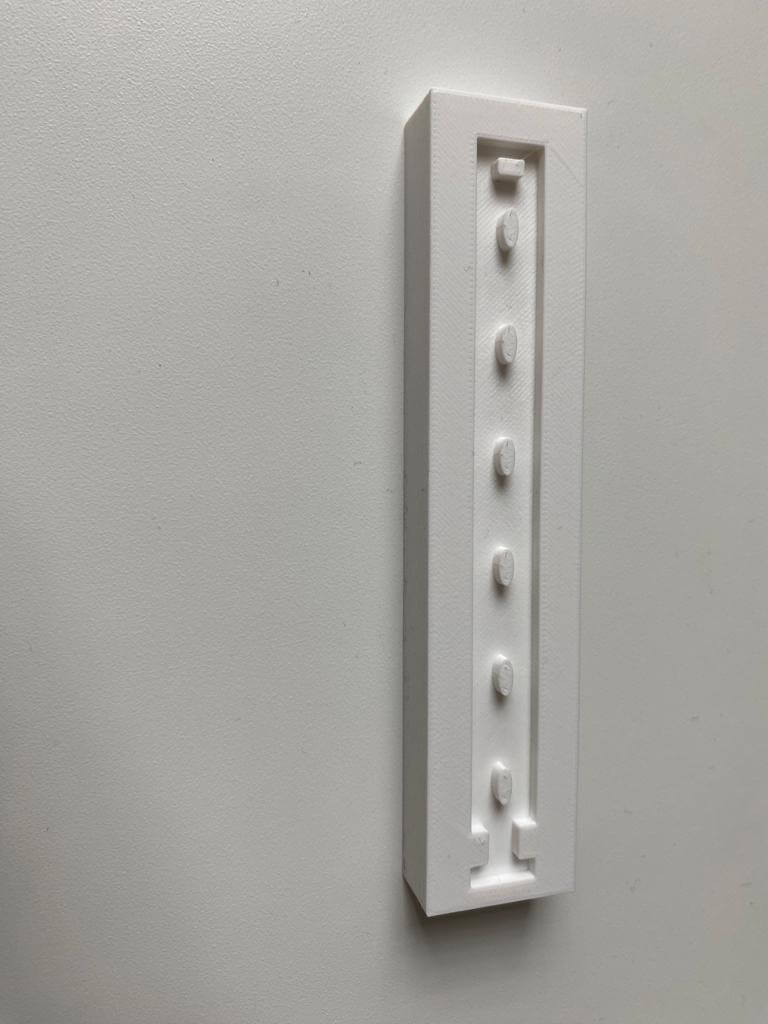
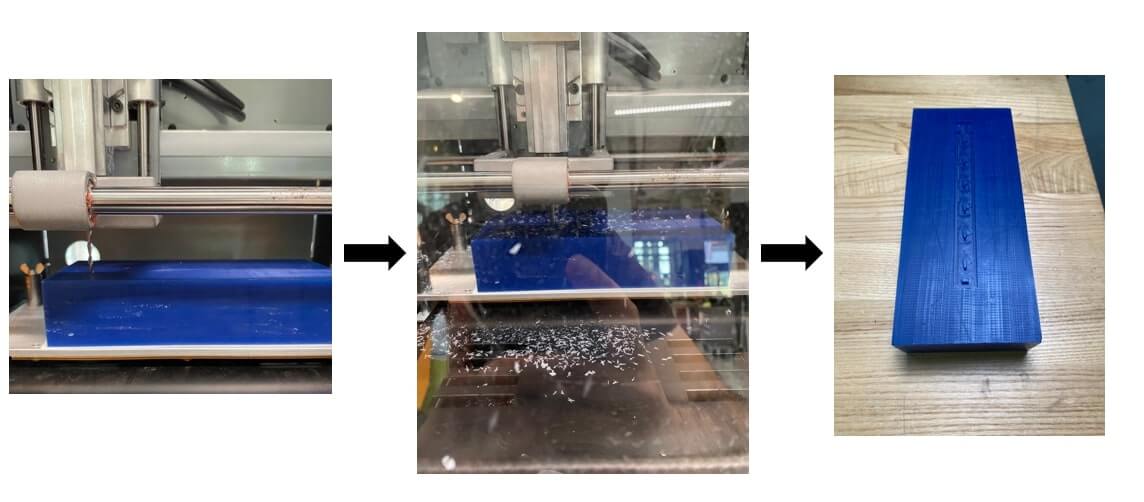
I printed the mold with PLA, and I used Prusa 3MKS printed. I just modified the layer thickness to 0.2 mm so that I can have smooth side surface finish and compare with Wax mold. Below is a picture of 3D printed mold.
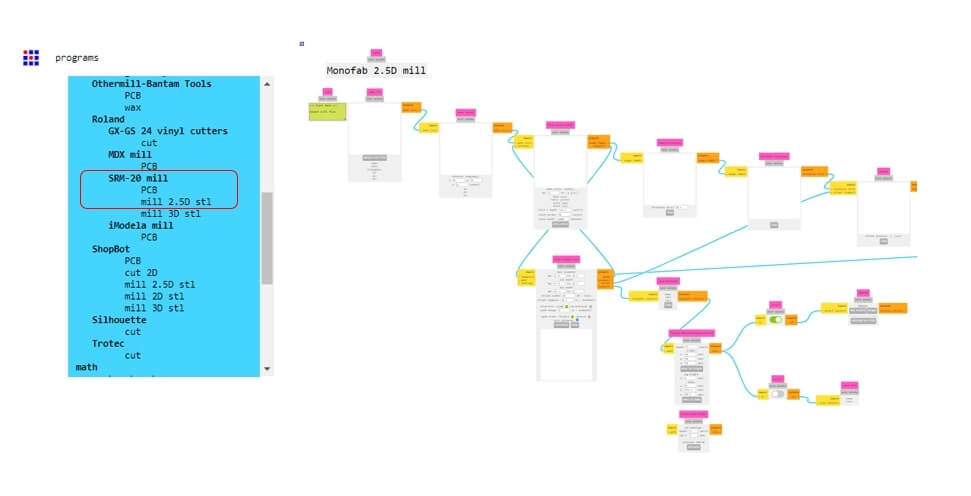
Later, I machined the Wax mold by using Mods interface [3] and Roland SRM-20 mil CNC machine. Steps in the Mods is easy, first I selected the program interface for SRM-20 mil machine 2.5D stl. (below is the interface picture).
After importing the stl file I hit calculate button for the tool path generation, after that I clicked get device to connect Roland CNC to the Mods interface. Then I prepared the Wax stock, I placed double sided tape to secure the Wax stock to the CNC bed.
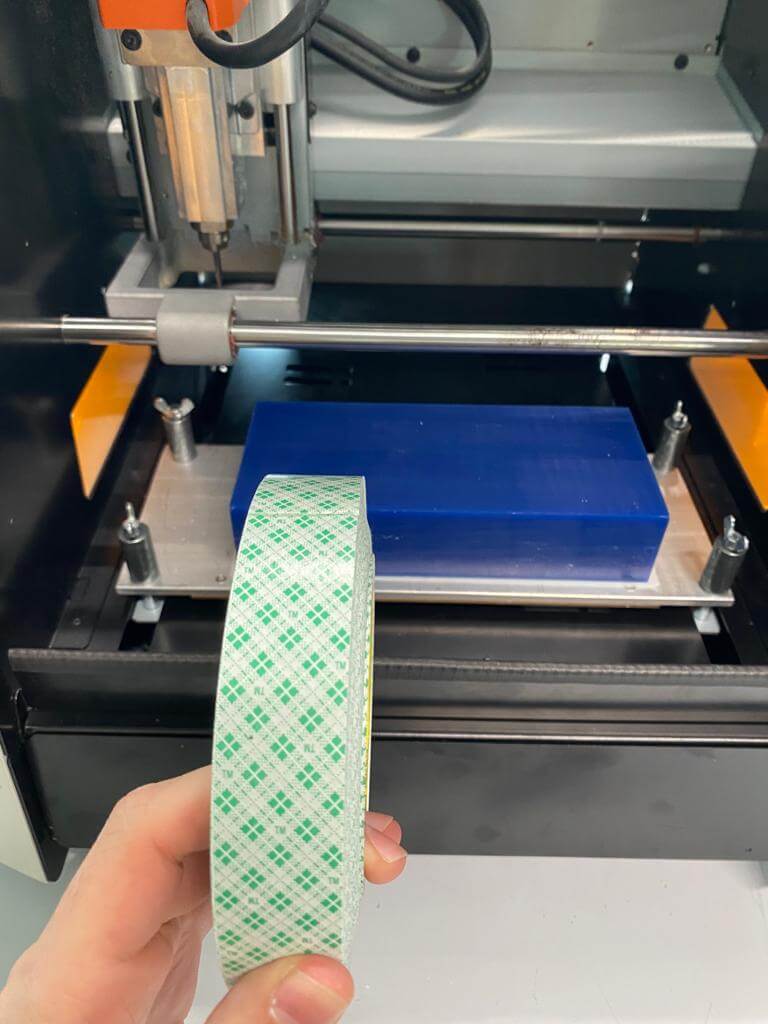
After that I set the home for the machine and lowered the cutting tool until touches to the stock material surface. Then I hit start and the machining process started.
After fabricated the two molds, I prepared the OOMOO casting material, I mixed 1-1 volumetric ratio from each of the box (A and B) and I mixed for 3-5 min, I realized that it was a very viscous mixture so even though I slowly poured the mixture into molds there was some excess material on top of the surface so used wooden stick to slide the excess material outside of the molds.
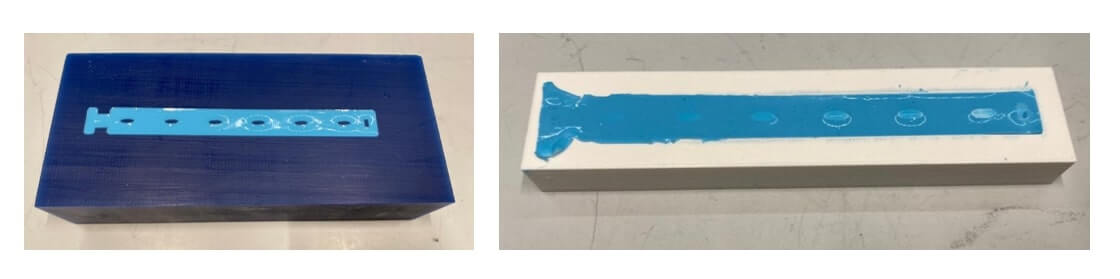
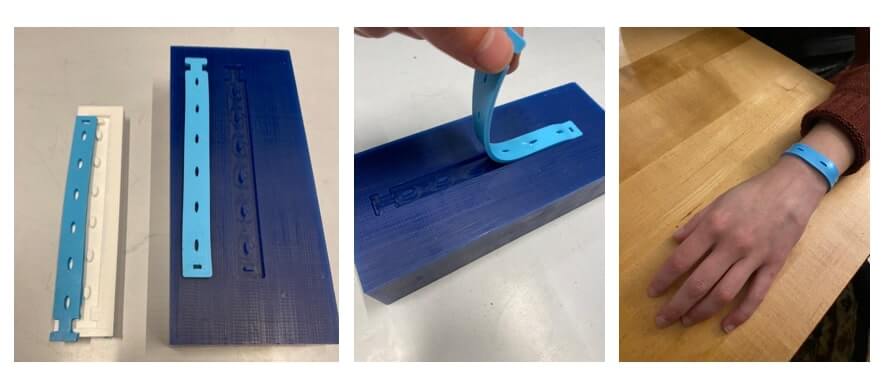
After 75 minutes curing time in the mold, I demolded the parts, since it was very soft material, I did not use any mold release and it was easy to demold.
Design files: https://drive.google.com/file/d/1AajZG2rJIFXqIPIEQWEMa4f6LATAnA-k/view?usp=share_link
References:
[1] https://s3-eu-west-1.amazonaws.com/s3-euw1-ap-pe-ws4-cws-documents.ri-prod/9781138212275/safety/smooth_on_oomoo_series.pdf
[2] https://www.smooth-on.com/product-line/oomoo/
[3] https://modsproject.org/