Assignment Prompt:
Design, build, and connect wired or wireless node(s) with network or bus addresses and a local interfaceStep 1: Micropython
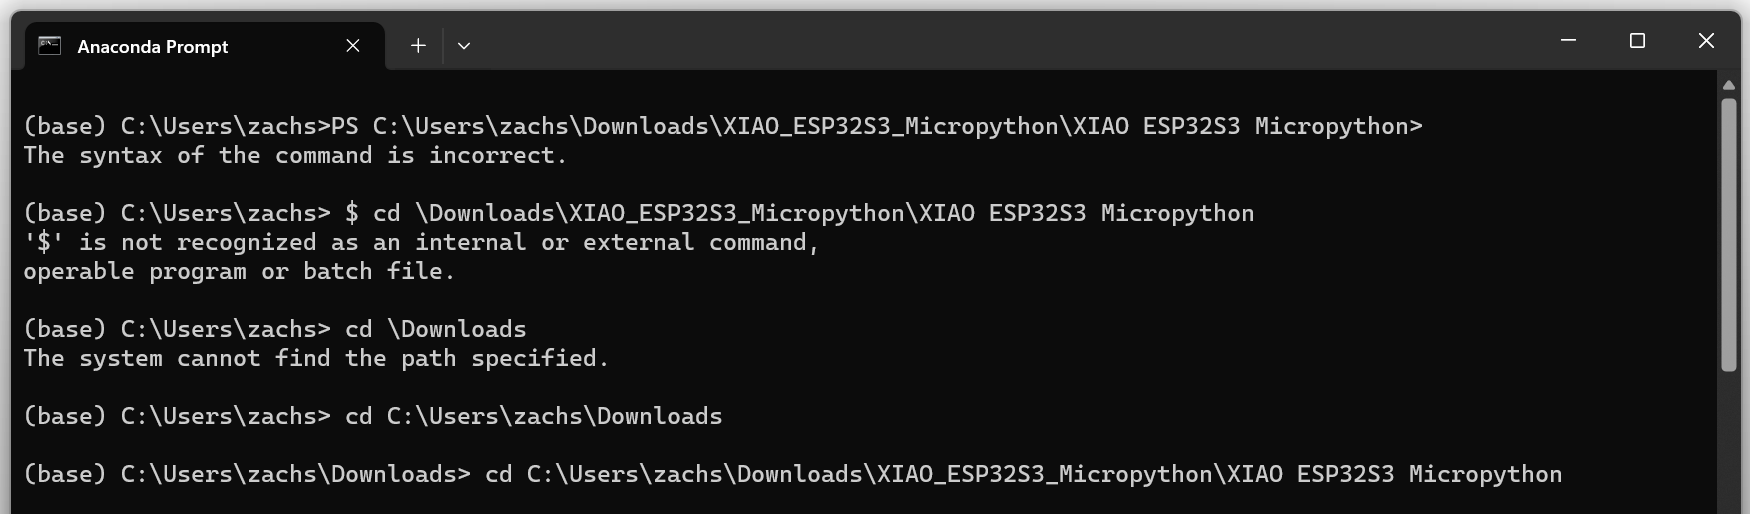
I wanted to start getting my microcontrollers setup on micropython because I think their pulse width modulation (PWM) libraries will end up being useful for my final project. Off the recommendation of a friend, I installed Anaconda to run my commandline prompts in python. After I got this installed I simply followed along seeed's website tutorial on how to get wifi installed on the ESP32-s3, which can be found here (https://wiki.seeedstudio.com/XIAO_ESP32S3_Micropython/)
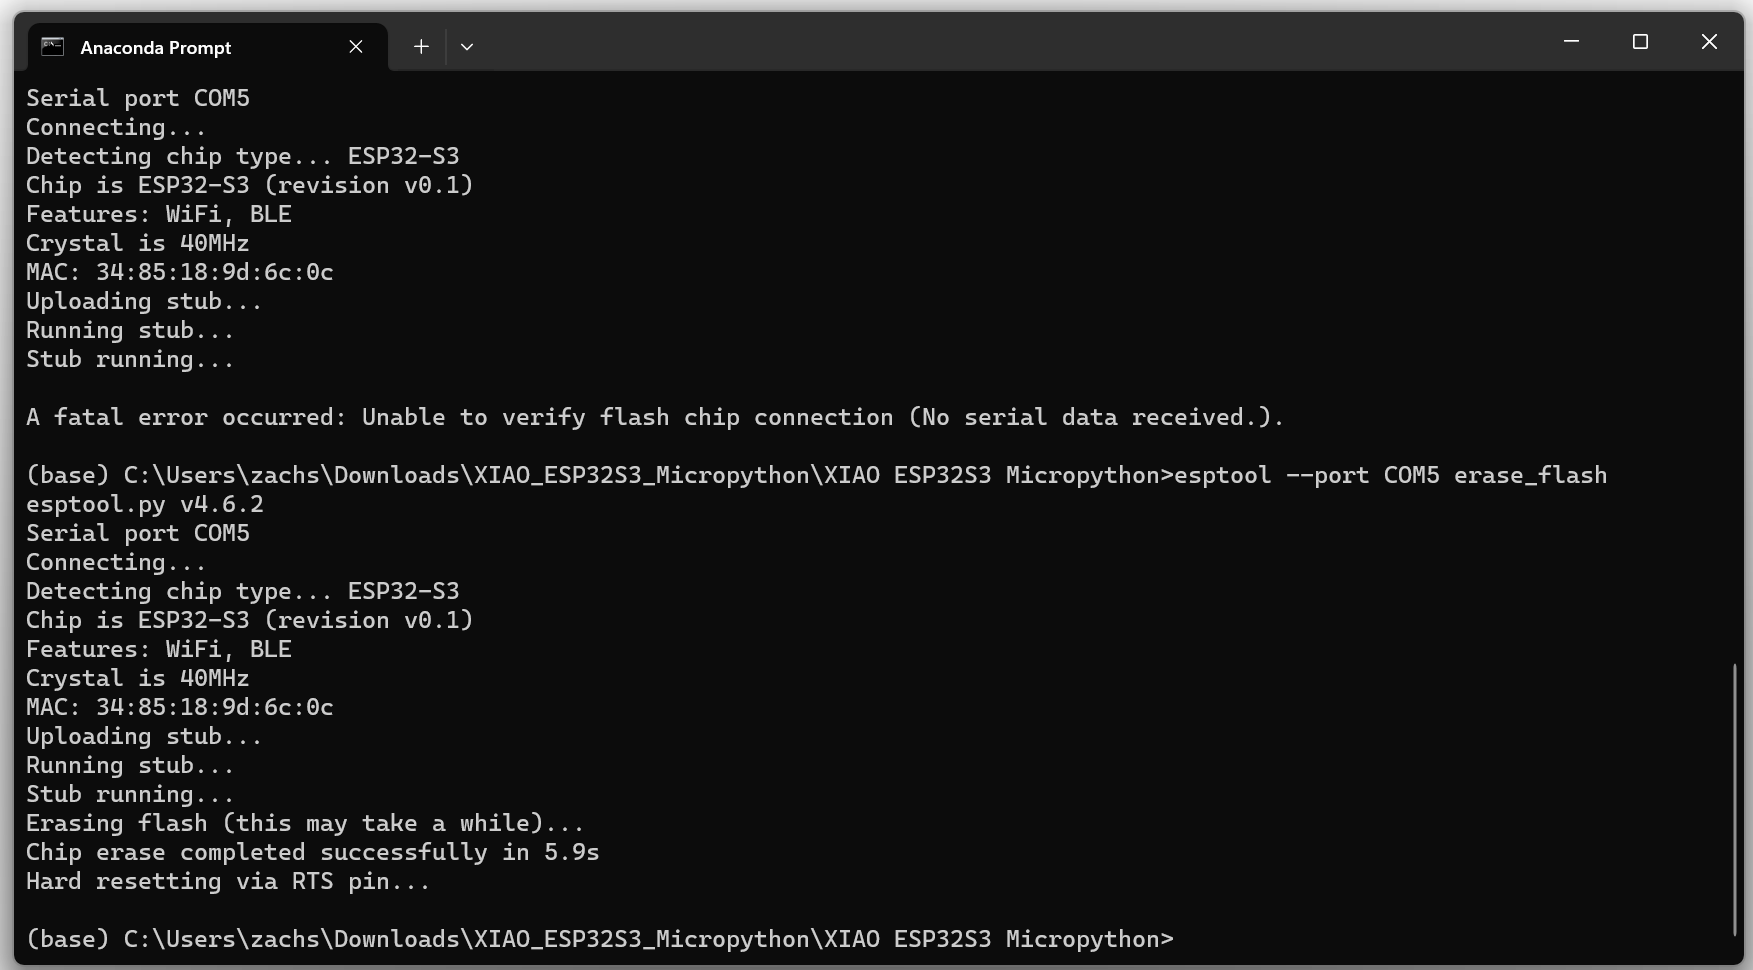
I've gotten this "no serial data received error" a million times at this point, you fix it by holding the boot button down as you plug in the microcontroller, then release. It resets and fixes itself. This first command simmply wipes the firmware off the original xiao so that you can later replace it with a new set of firmware that is compatible with micropython.
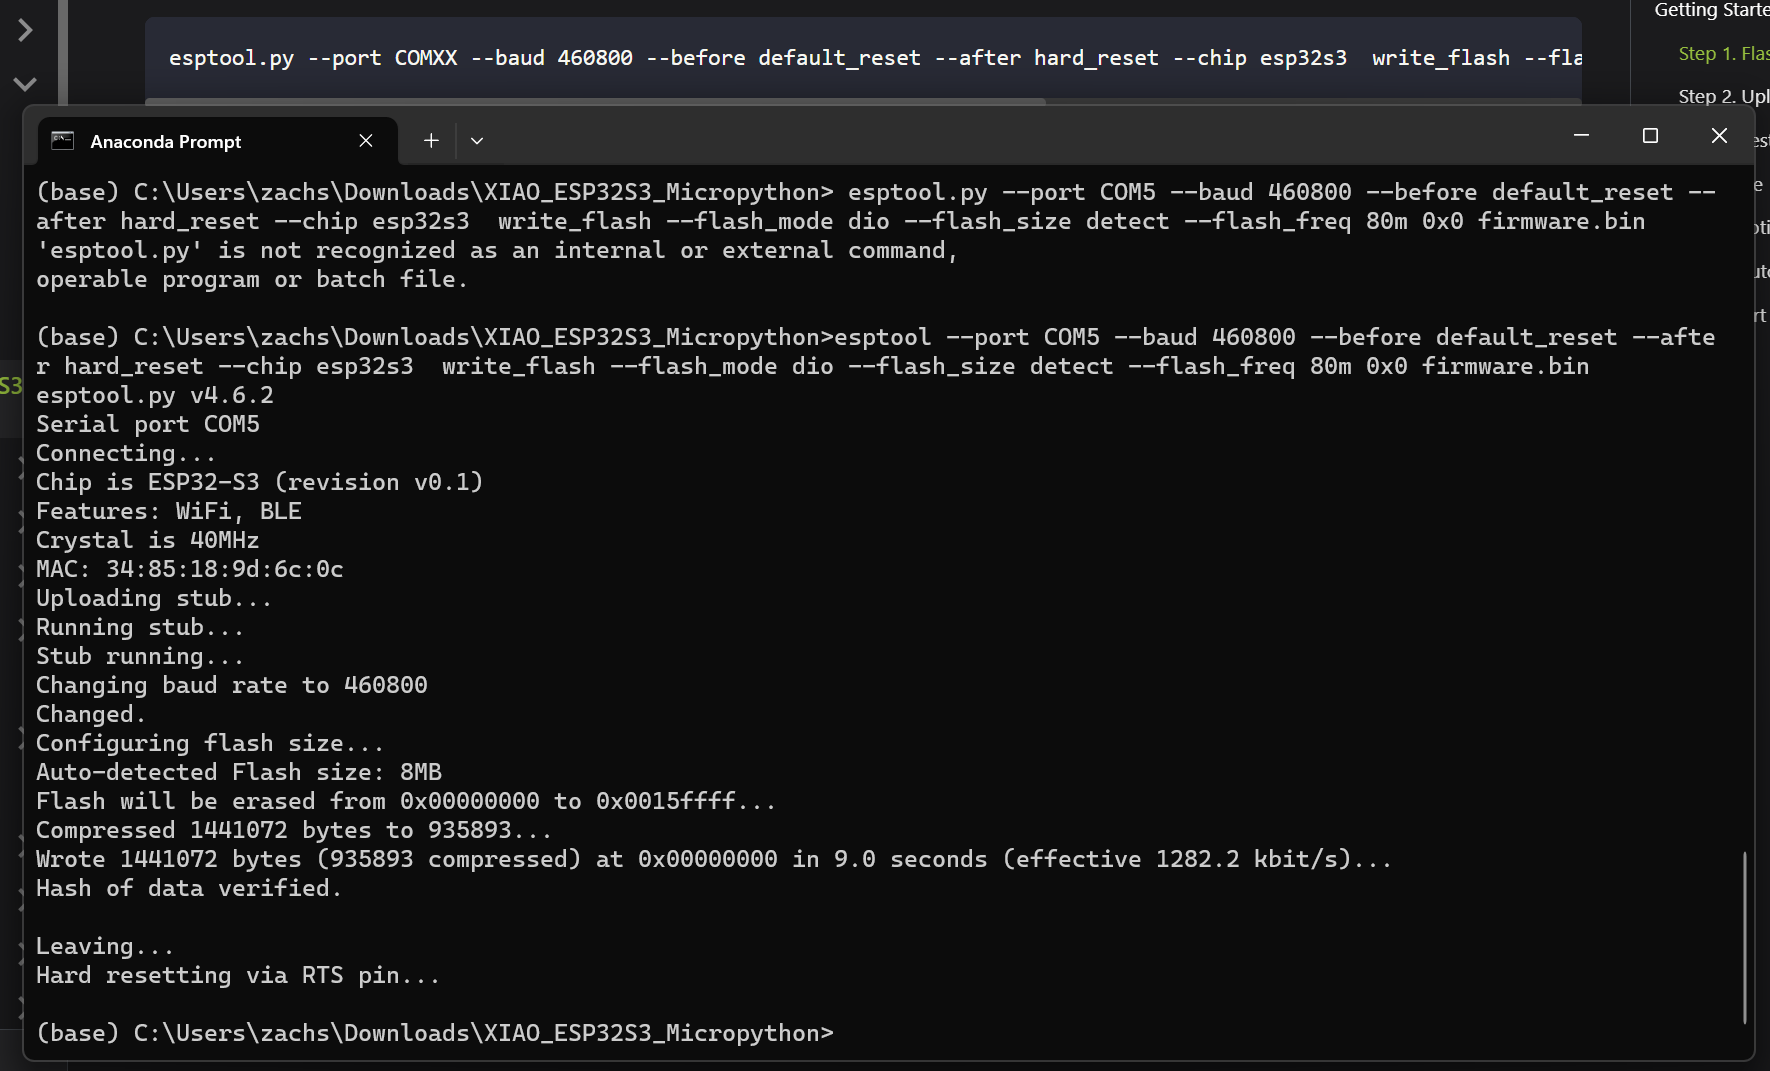
This is the command for reinstalling the micropython firmware onto the device. After you complete this command, download thonny and download the zip file that seeed provides for testing the new micropython firmware on the xiao.
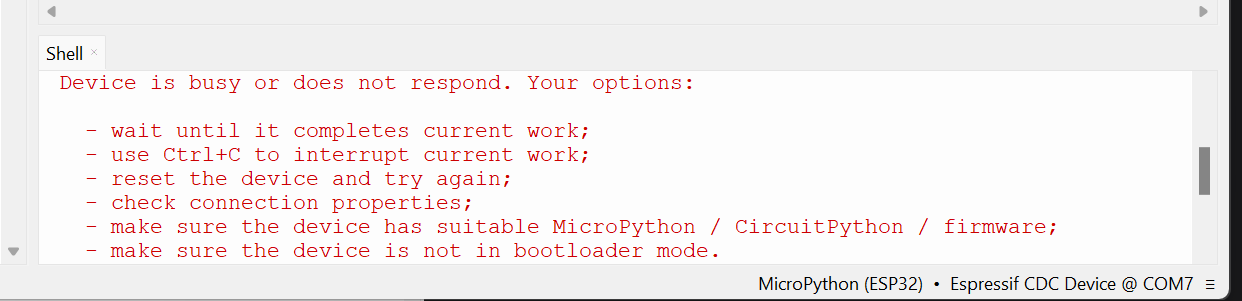
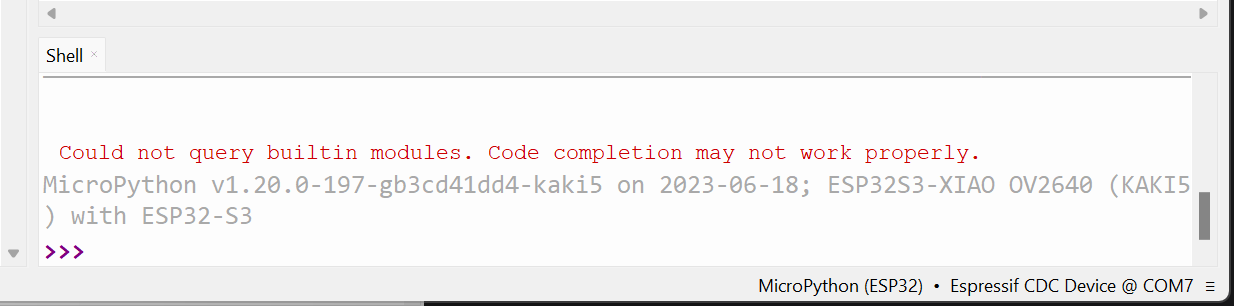
Make sure you have the right port selected in your options, or else you will get this error message.
After I got the correct port selected, I got this error trying to run their .py files. The issue was that I didn't right click the .py files in thonny and select "upload to" to transfer them onto the microcontroller before trying to run them. You need to upload them from your computer to the xiao before pressing play.
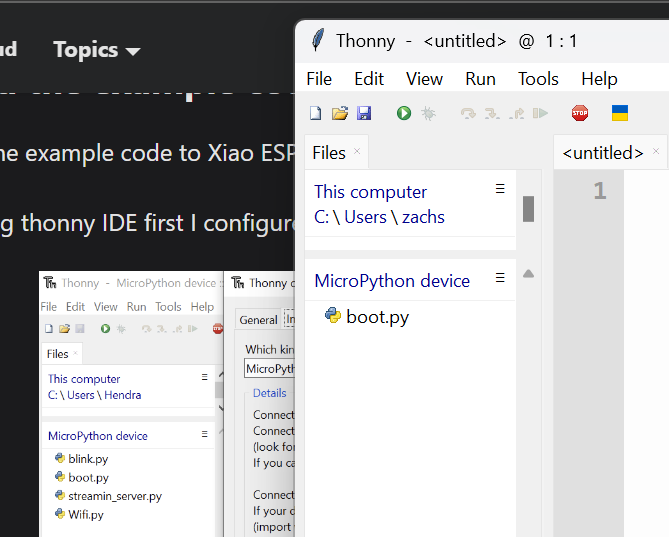
My micropython device only shows boot.py because I haven't yet uploaded any additional programs to it.

Here is a simple code I used to test whether or not my microcontroller was responsive to the new micropython firmware. Simple on/off.
Tahdah! Okay now to get the wifi to work. I'm going to start with Neil's example code, which you can find here. If you look at the top of his code, you will see in the comments:
# save Microdot:
# https://github.com/miguelgrinberg/microdot/blob/main/src/microdot.py
# https://github.com/miguelgrinberg/microdot/blob/main/src/microdot_asyncio.py
# https://github.com/miguelgrinberg/microdot/blob/main/src/microdot_websocket.py
# https://github.com/miguelgrinberg/microdot/blob/main/src/microdot_asyncio_websocket.py
You will want to travel to each of these links and download the raw file here. These are dependencies that you will have to upload to your microcontroller for the code to work.
There are some other changes that needed to be made in order to get the code to work. I worked with TA Amira to get this figured out. You can find our working code here. The main changes are that we greyed out anything to do with the local button inputs, since I wasn't using a board that had this functionality avilable. Secondly, we greyed out all the LED functions, and replaced them with a new LED function that I used in the previous test, one that spoke to the LED already on board the xiao. Thirdly, we had to change "# wifi = network.WLAN(network.STA_IF)" to "wifi = network.WLAN(network.AP_IF)."
You can place some print commands to test that each part of the code is getting triggered or to better diagnose where the code is bugging out. Once you get it to run smooth you should be able to discover a wifi network with the SSID and password you assigned in the code. Log your computer onto this wifi network, then open the .html file that Neil has next to this example python code on the HTMAA website here.
It work's! So once you have your computer set up to the local xiao's wifi, then you open the html, you have to place the xiao's IP address into this part that says "WebSocket server address", which should have been generated as a print text in your Thonny after running the code. Press connect, and then it should be good to go. You can see the text is coming out different than the OG html bc I was playing around with it to test which part of the code affected which part of the interface.