Assignment Prompt:
Individual Assignment: Write an application that interfaces a user with an input &/or output device that you madeFind a Framework
At first I completely struggled with this and couldn't figure out how to do it over break, but the basic assignment qualification actually ended up being pretty easy once regained the courage to try again. I know Neil's got some examples on the website, but I decided that I wanted to make a web connection using Arduino IDE instead of micropython so I went to google and searched "webserving for pico W arduino". And it really was as simple are following a few tutorials.
The first tutorial I tried was here. I don't know how to code at all really, but it was fairly straightforward. Just start by copying their code and pasting it into your Arduino IDE.
This is on windows 11. You're going to want to make sure that you're hosting a 2.4 ghz wifi network, not a 5G. I'm pretty sure one of the new XIAO's is able to connect to 5G wifi, but the Pico W can't, and I think that's standard at the moment. Here's where you can make sure you're hosting a 2.4G network. Once I got this launched, all I needed to do was change the SSID and password in the code to reflect what I am setting the 2.4G network to have, this will make it searchable for the pico.
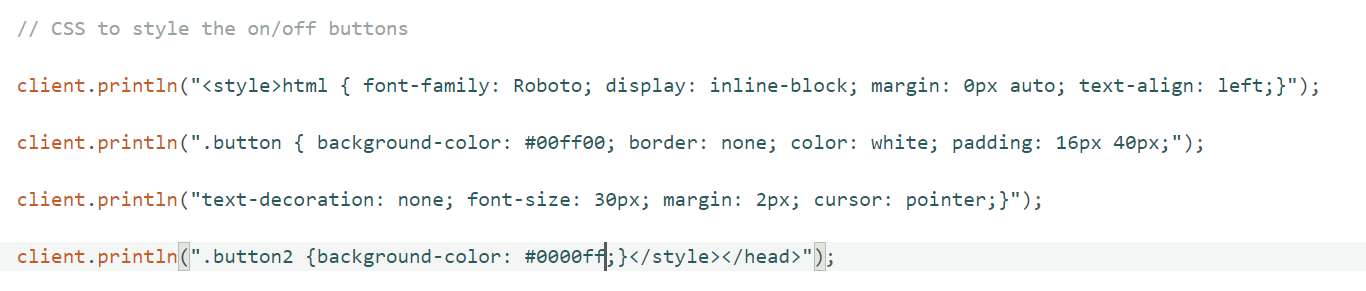
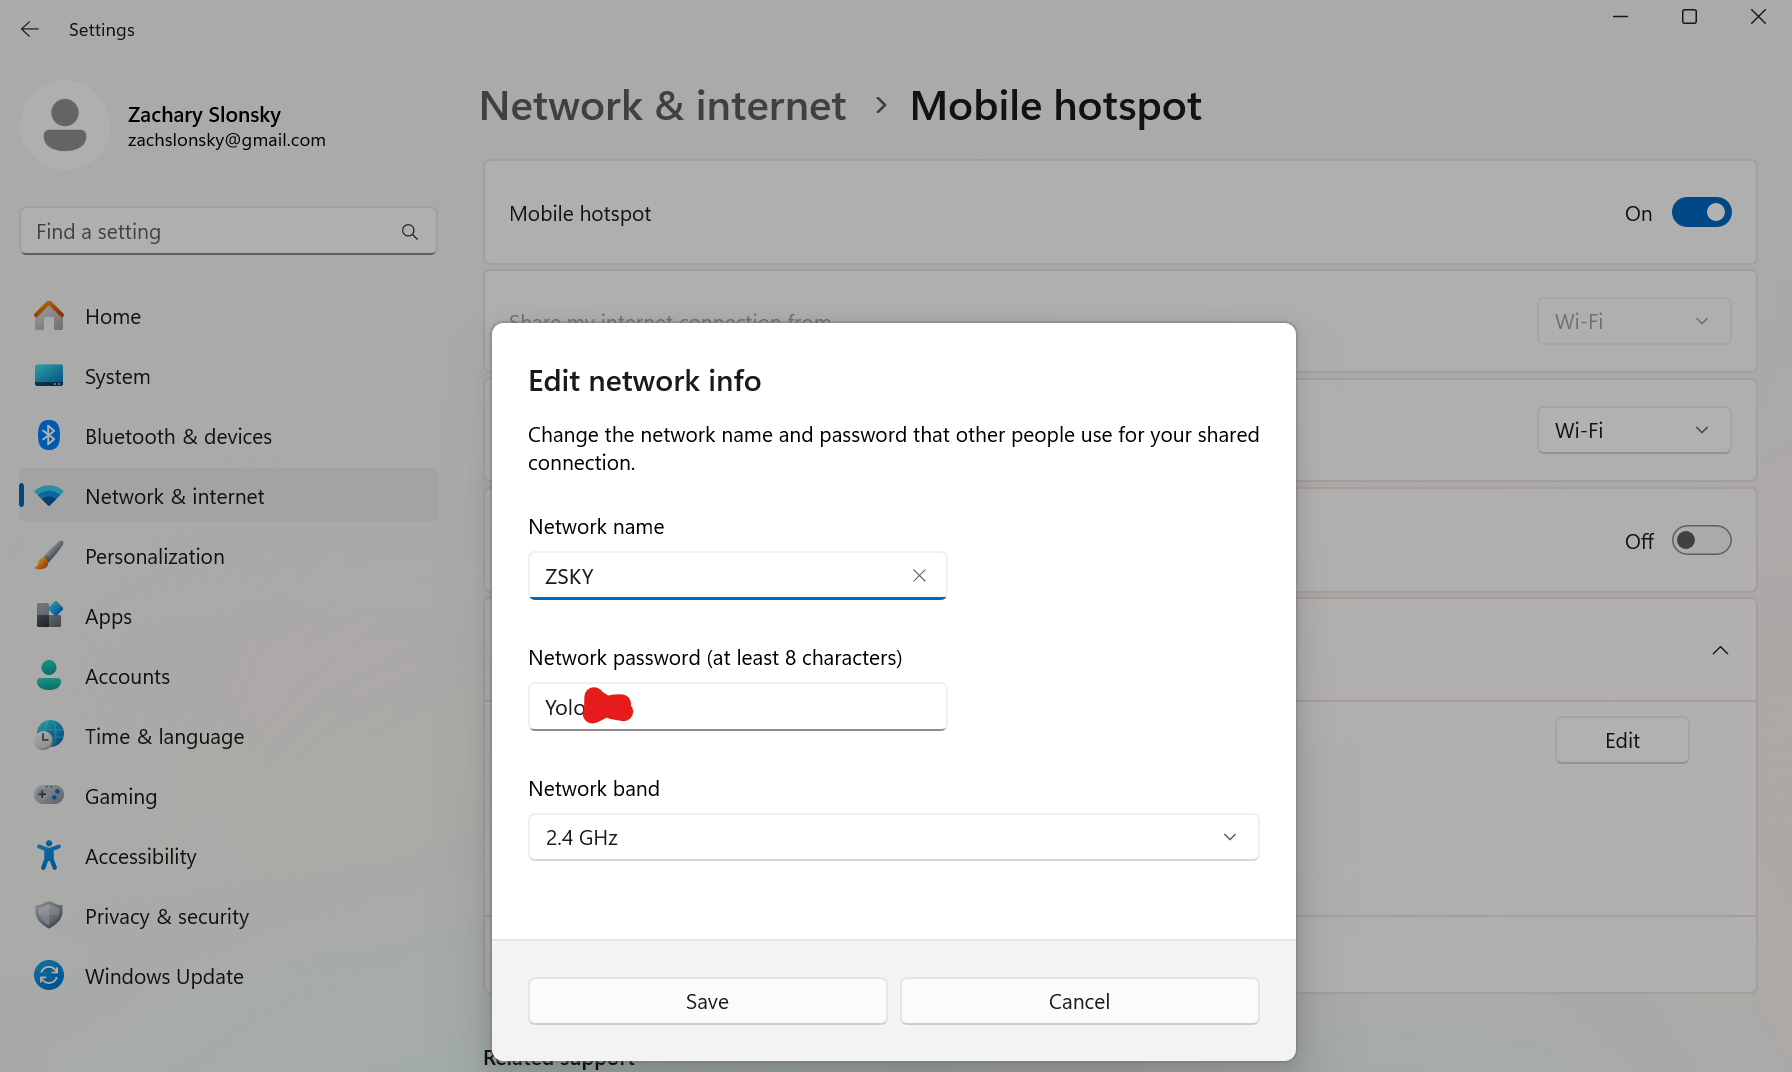
Once I got it to connect, I opened the serial monitor and copied the IP address it printed. You simply paste this number into your web browser search bar and it will take you to the web interface designed by the code. If you go back into Arduino IDE and look closer at the code, you can see the part of it that is writting in html. This is where you can make adjustments to the look and layout of the webpage.
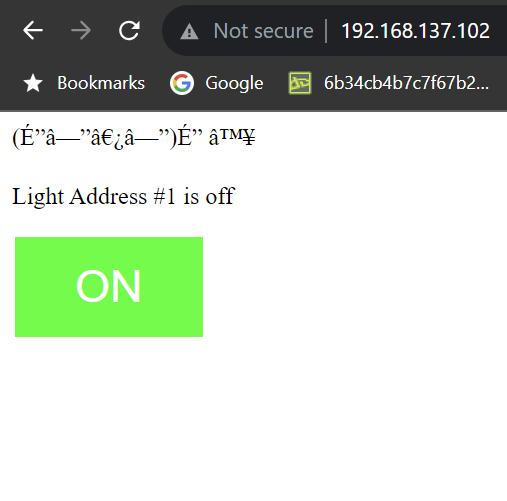
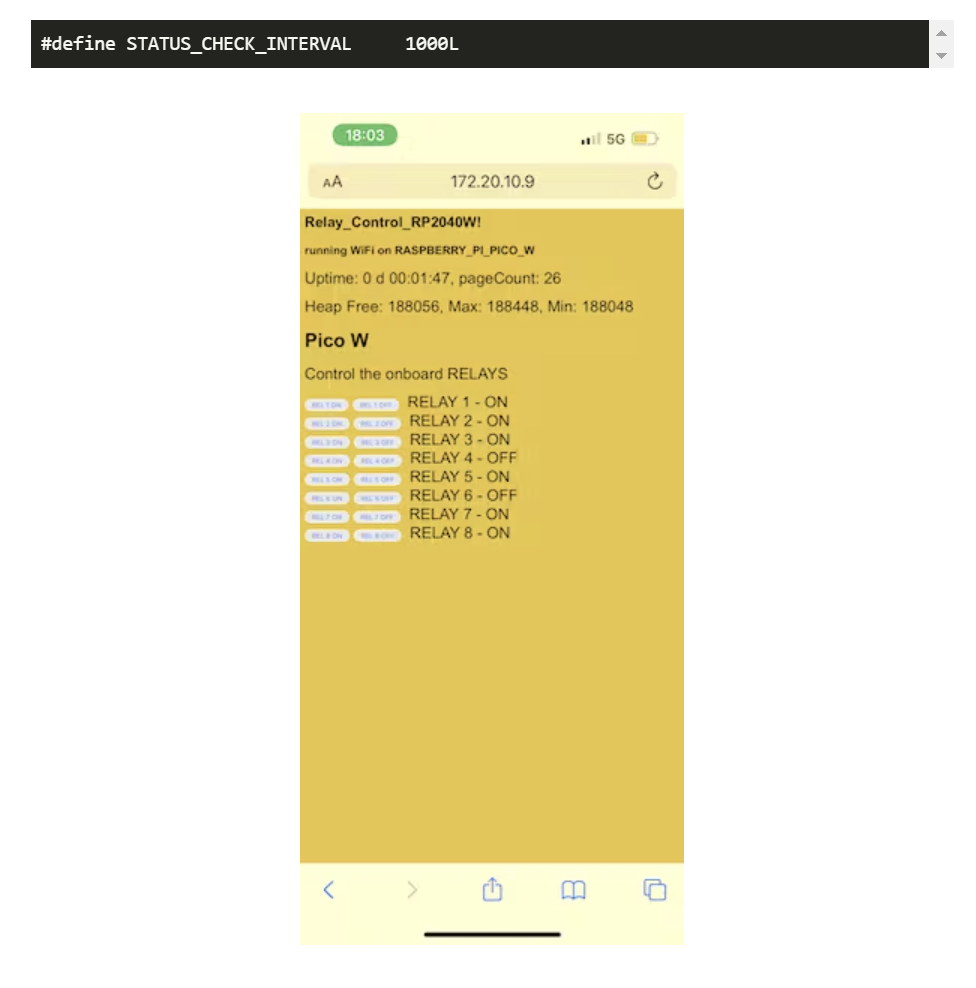
The code just made one button that could send a voltage to one of the pins on the microcontroller. It would update its look to describe in the interface as to whether or not the LED extending from that pin should be on or off. These photos show me messing with the html and styling to try and make it cooler. I didn't get super far lol.
I wanted to do a couple of things with this code, but I really didn't know shit for code and everytime someone with more experience would come to take a look at it they would say the code looked bad and was confusing. So I thought instead of trying to doctor this one up to health, I could try to find another one for what I wanted to do. I specifically wanted to control an array of LEDs, not just one, so I looked up something like "Pico W LED relay arduino", and ended up finding this.

This one also has the SSID / password placement--pretty standard.
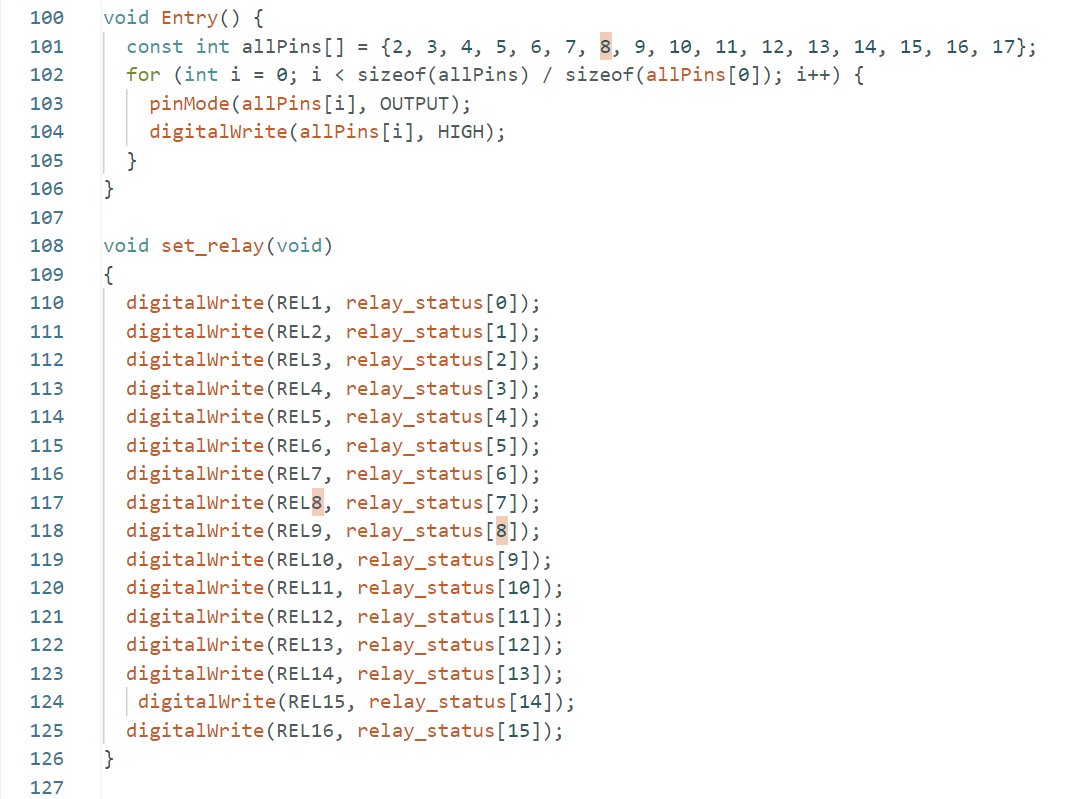
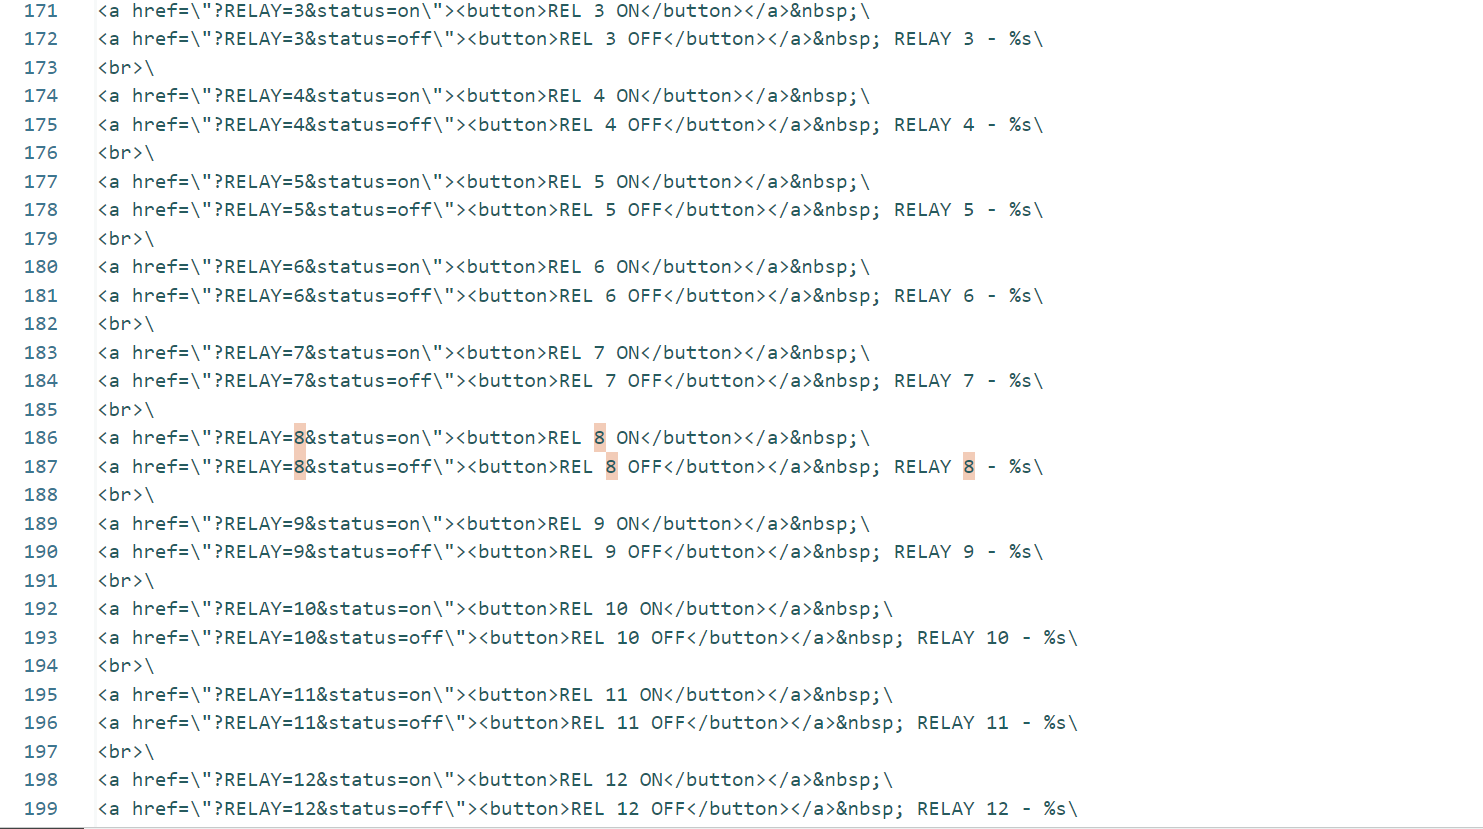
If you noticed beforehand, the original code only provided button control for 8... but I have 16 lights for my final that I want to be able to control using this. So to accommodate for that, I just ctrl-f -ed "8" and tracked every part of the code that was addressing the creation of the buttons. Then I just copy and pasted whatever code pattern these sections were expressing, and updated the numbers to make their way up to 16. There were a few funky bugs that needed to be worked out, like there was a point where the text started getting cut off (sorry no pix :c ) , but this was solved by doubling the "buffer size". Sometimes its hard to understand what part of the code restricts or controls what in the output, but I just guessed incorrectly half a dozen times until trying that and it worked.
Voila, you can find my edited version of the code here.