Design and produce something with a digital fabrication process
(incorporating computer-aided design and manufacturing) not covered
in another assignment, documenting the requirements that your
assignment meets, and including everything necessary to reproduce
it. Possibilities include (but are not limited to):
Step 1: Design
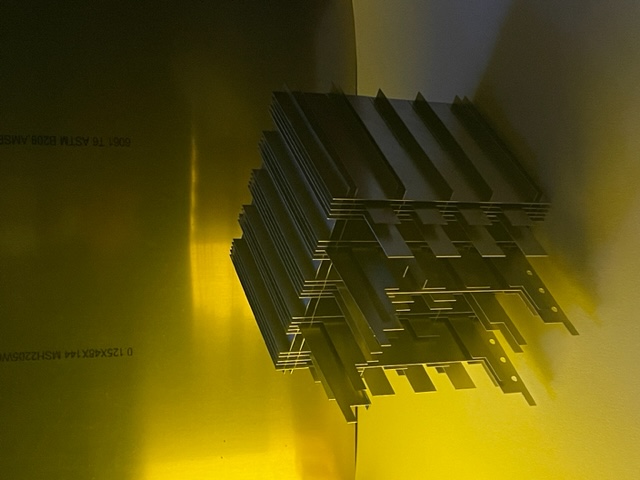
I had loads of other finals this week so I wanted/needed to pick a wildcard that was quickly accessible and relevant to my final. It was time for me to start fabricating the housing for my 4x4 COB array. I knew that I needed to use aluminum sheets for this because it's an accessible, not-that-cheap but relative-to-other-options cheap, highly conductive material. This housing is designed to both make the light of each COB directional, and dissipate the heat generated as this can produce a dangerous failure-mode. The solution to this is high-surface area low volume, so I figured I could pull this off with an interlocking matrix of aluminum sheets with press-fit joints.
I used Rhino for my CAD work since it works great for quickly designing and arranging complex geometries. Note: In model space, I do not model with tolerances so as to not produce alignment issues in rhino, they get added in later.
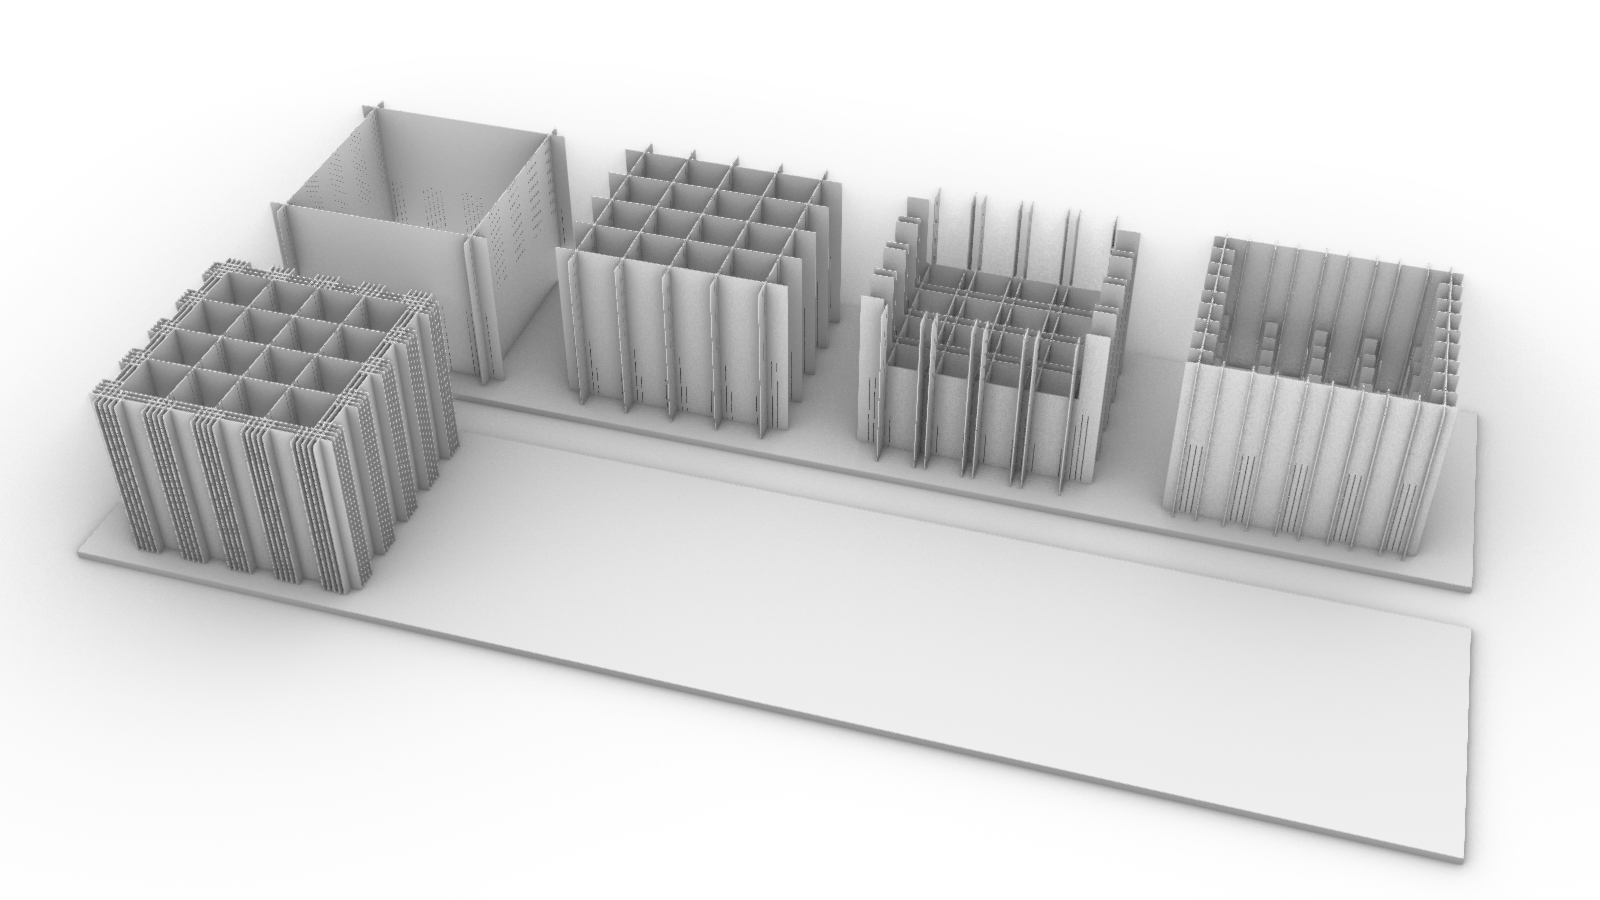
In order to make the geometry shown in the bottom left here, four systems of interlocking planes had to be designed. I used a 20 gauge thickness for the sheets because I knew .032" is a commonly found sheet metal variety and I called Riverside Sheet Metal in Medford to check stock and get a quote. This was half the price of anything I found online that had to ship it to Cambridge bc you end up paying so much to ship metal. I was able to borrow a friends car and pick up the same day by using a local fabrication house. It was still like $80 tho x.x
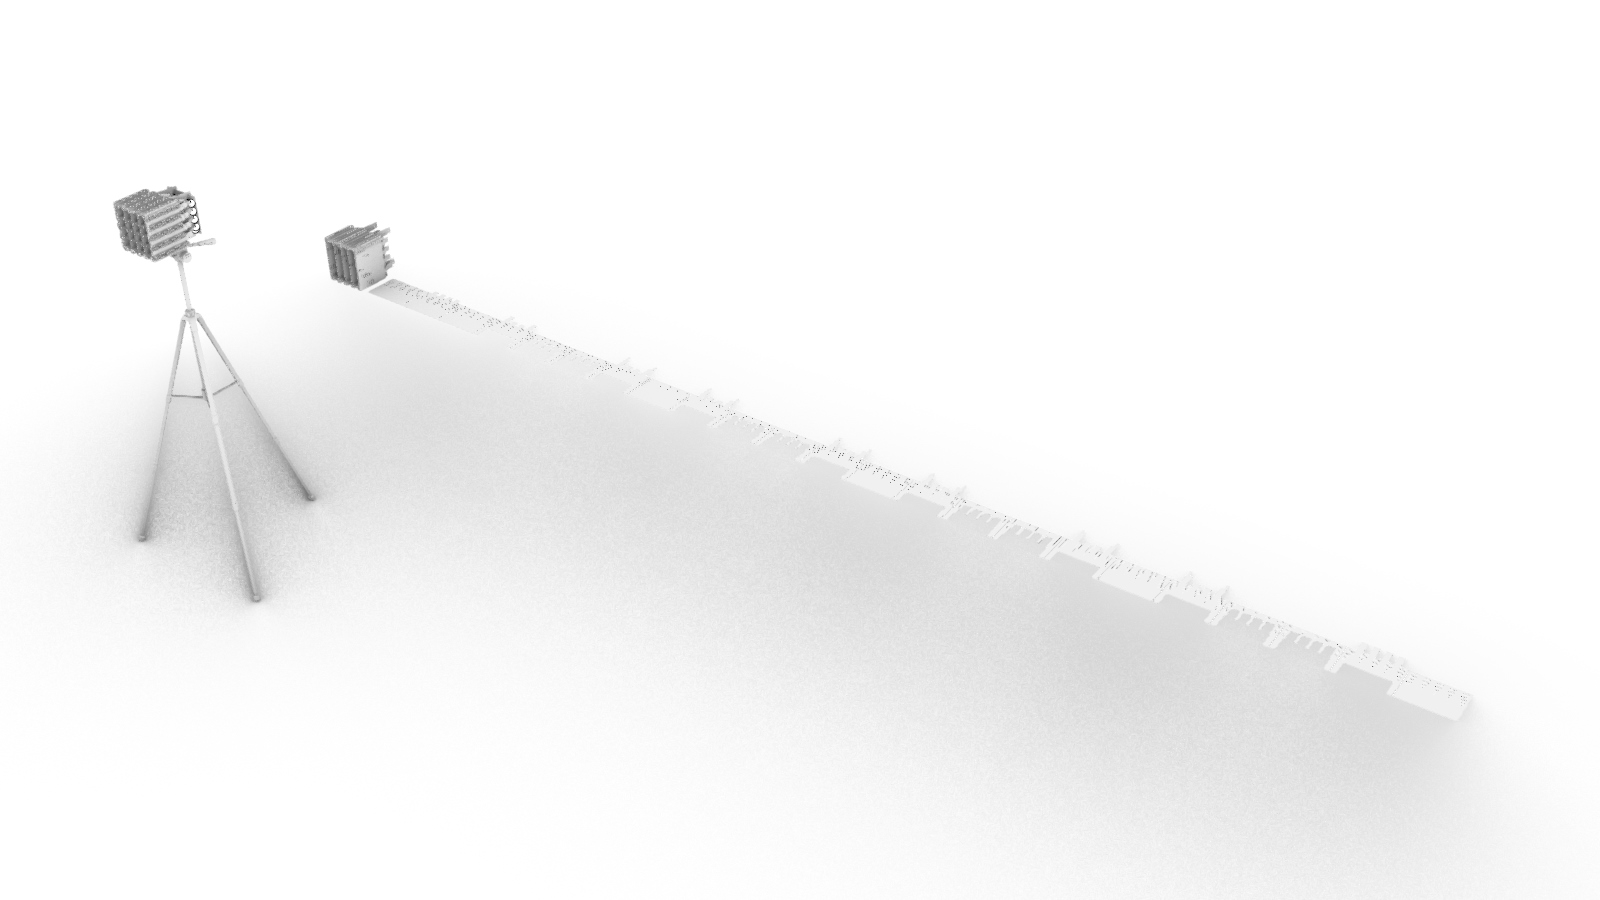
Once I had the design figured out I laid all the pieces out side by side. When all was said and done this little 6x6x8" matrix of sheets will require 20 square feet of aluminum. Lucky for me they use this thickness for roofing and had ten foot long strips available at Riverside. I had them get cut down to 4, 1x4' strips and 2, 1x2' strips. The bed of the fablight laser-cutter is just over 4' long.
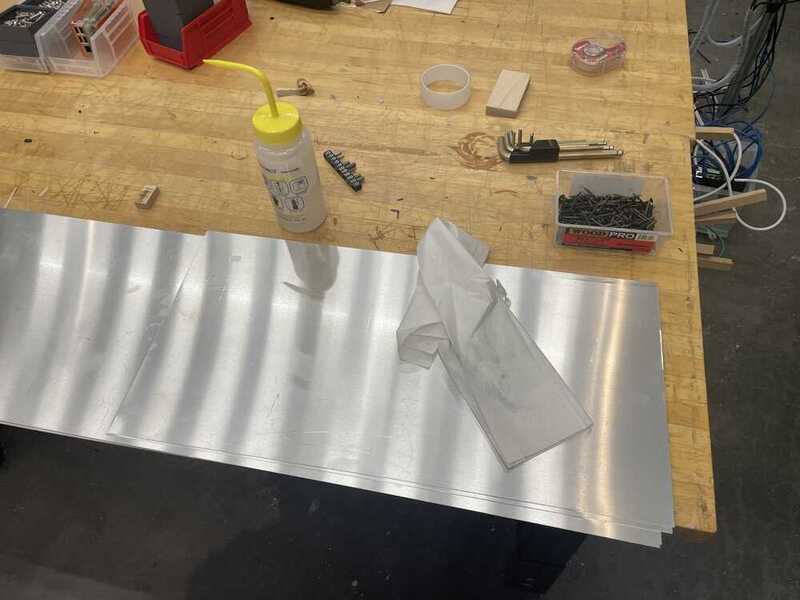
First step, clean the sheet metal with sum isopropyl alcohol and a wipe. The residue can stain the metal when the laser hits it, it's probably fine but also just a somewhat unpredictable contaminant.
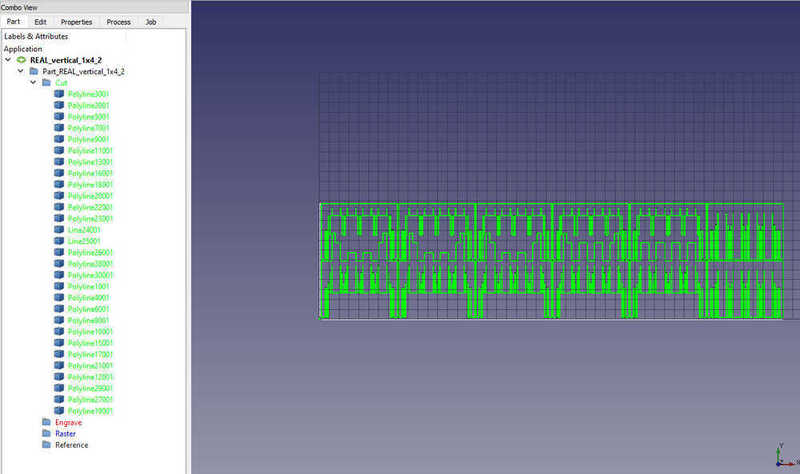
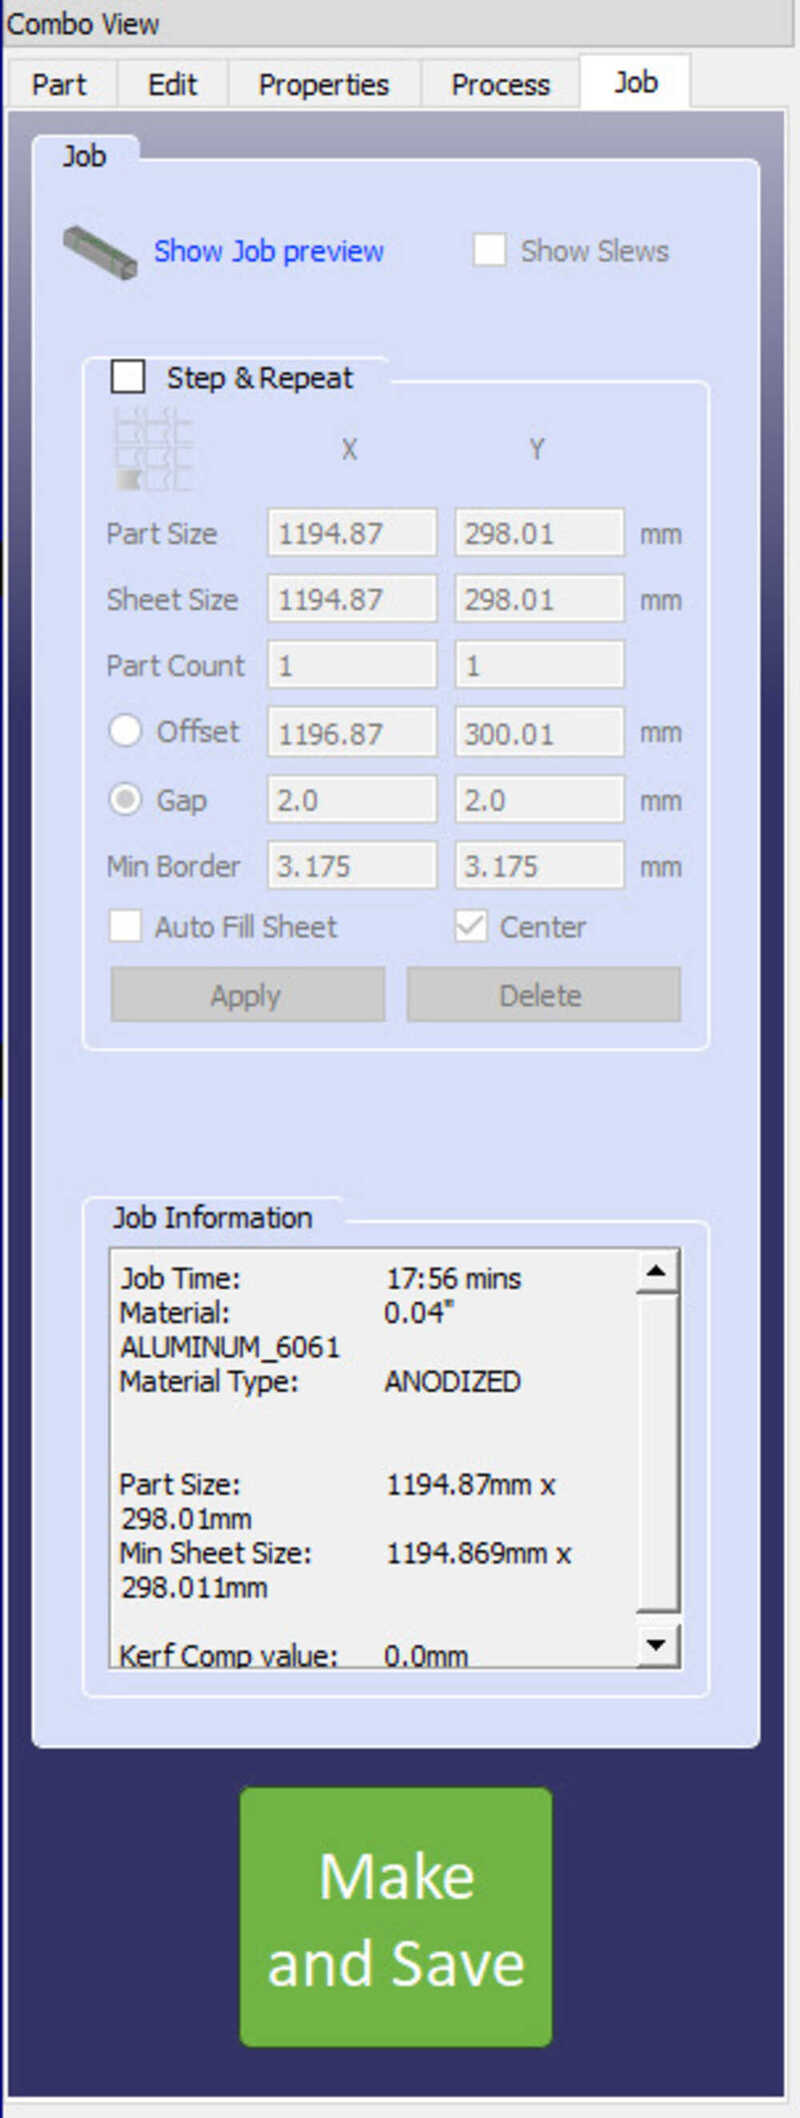
The fablight machines use a software called FabCreator. It's pretty dumb, old, and bad, but these machine softwares often are. You're going to want to save your vector file in a .dxf format for this software to read. The Fablight can do engraving and rastering passes, but I'm only needing to cut so I'm making sure all of my lines are on a cut layer first.
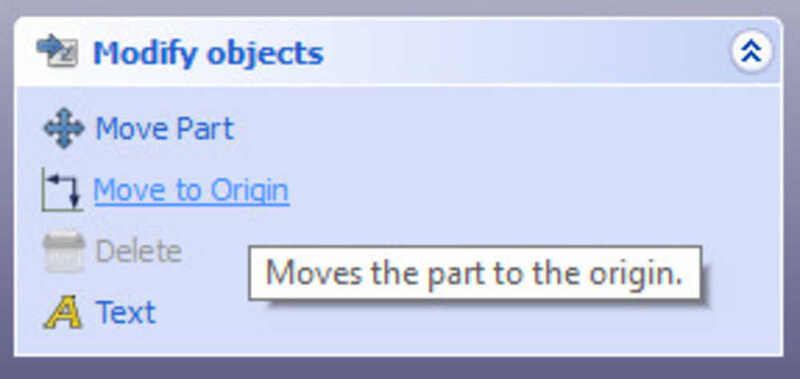
If you're trying to make the most out of your stock sheet as possible as I am, you'll want to be super cognizant about where your origin point is. Make sure to set all of your curves to origin in the FabCreator software, and then tell the machine where you want its origin to be on the hardware side of things (there is an interface screen on the machine where you can very easily pull up your file and set the origin).
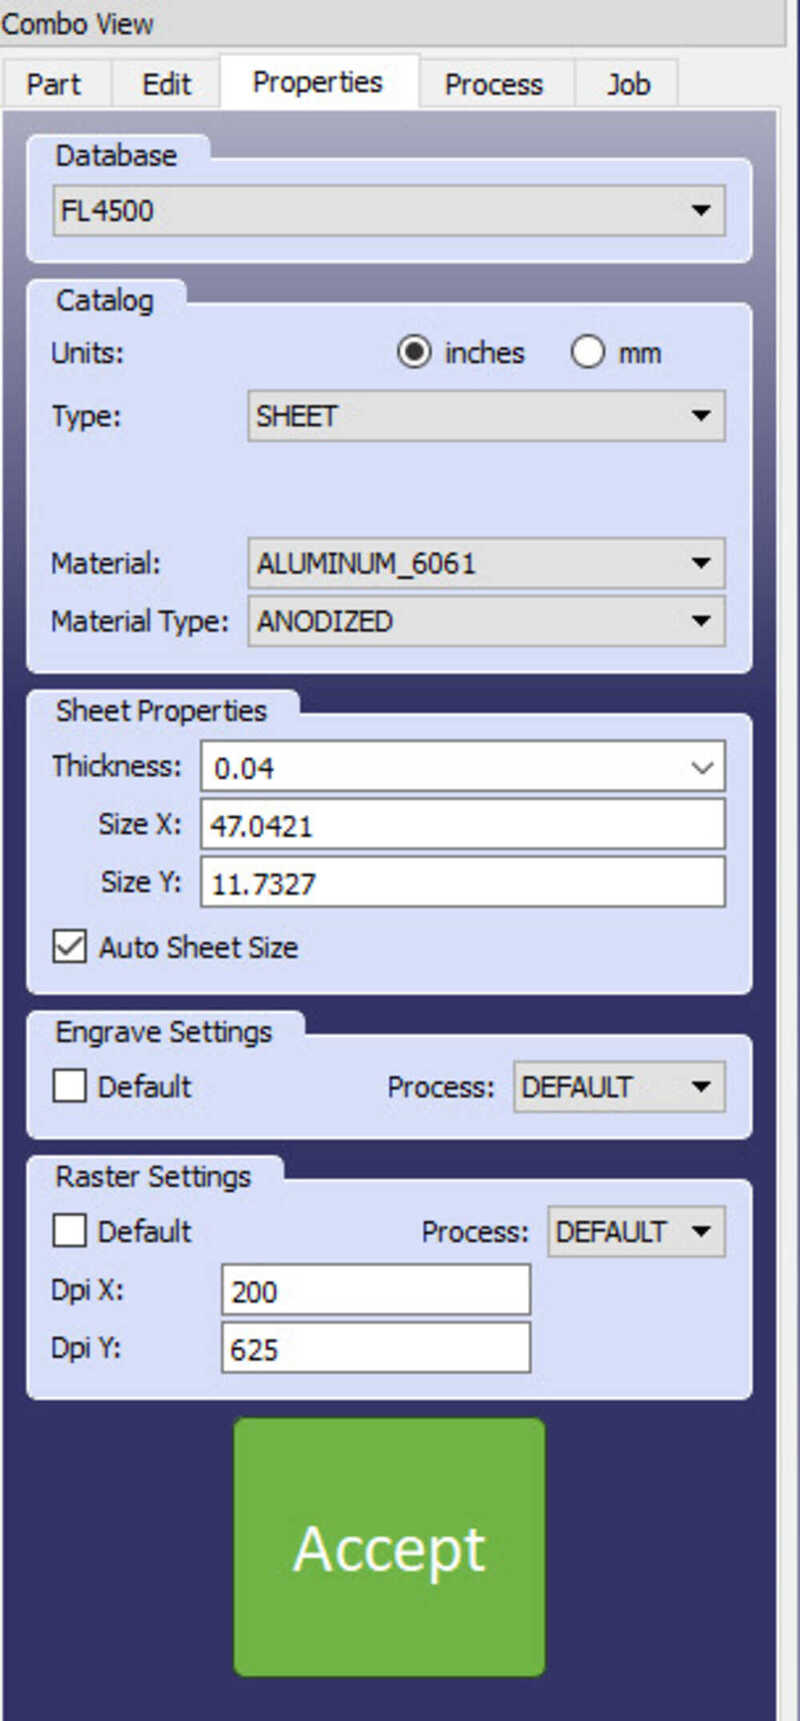
Here is where you select which sort of material you will be using. This is super important because its where the fablight generates its laser settings. I'm using aluminum_6061, which they have as a preset. Each preset offers certain preset thicknesses, I found out that I just needed to use one of these presets or else the file wouldn't actually run. So instead of using the .032" thickness preset, I stuck with the pre-loaded .04 and because it was close enough the cut ended up still being plenty clean.
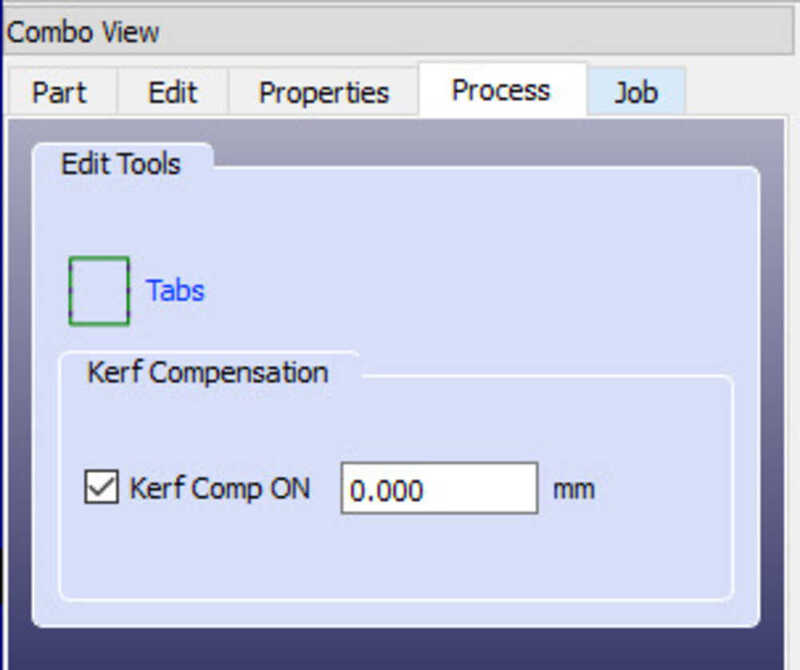
In a lot of scenarios this would be a super helpful setting to deploy. The keft of the fablight is next to nothing, something like .127mm, and giving that my pressfit joint slots are only 1/32" to begin with, I'm thinking that the kerf of the laser could be just about perfect for giving me the tolerance that I'll need to slide everything together. Best to test first.
Here's where you make and save onto a flashdrive. You then take this flashdrive, plug it into the fablight, and its contents will show up on the interface screen. It's really straight-forward.
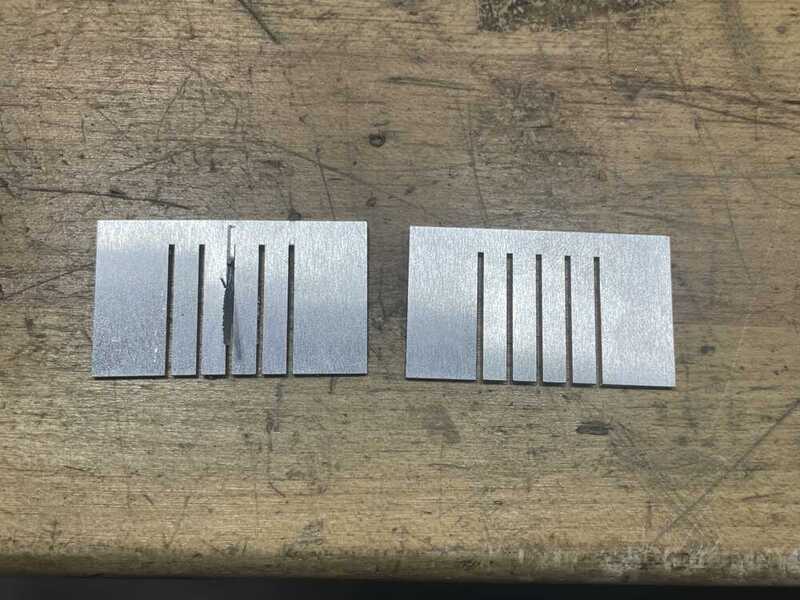
My test was a success and a failure, both are helpful. The kerf of the laser made for a good tolerance, so that was a success, but one of the pieces ended up getting messed up. This clued me into finding out that the order you arrange your lines in FabCreater matters. Those at the top get ran first, and it works it's way down the list. What had happened hear is the outline was cut first, so by the time it got to the end of that middle cut the piece had moved and it was messing up the cut. For all my future files I just organized the cut-order and ran into no issues on that front.
Works like a charm.
There was one issue, which regrettably happened as I had a friend look over the file when I went to the bathroom (the laser needs to be watched). Neil had walked into the lab right as the file was approaching strips of tape that I had laid over the margin of the stock so that it wouldn't move (there are clamps, but if you use them you end up producing a lot more waste because they increase the margin of un-reachable material). This caused an intensely loud vibration because as the compressed air blows down from the laser, the tape was lifting it back up, which created a horrible sounding vibration. I recreated the error with Alfonso where we figured out it was just the tape. This particular video just shows the sound for a brief second, but when it would run longways parallel to the tape, this sound would amplify and continue. Sorry to stress Neil.
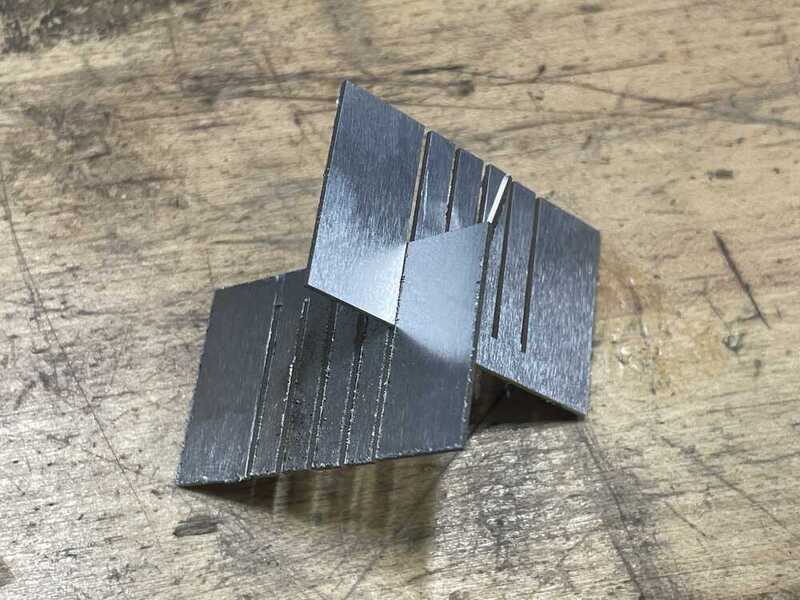
Time to put together! First half went fast, and then I got further in the other direction, they started to take much longer to install. You basically have to "trip" each forked surface because they catch on one another. And while I found there is a technique to do this, it takes a very long time and maybe isn't work it given the time remaining. But I wanted to make sure there was enough plates installed for each light to get their own container, so that the effect maintains.